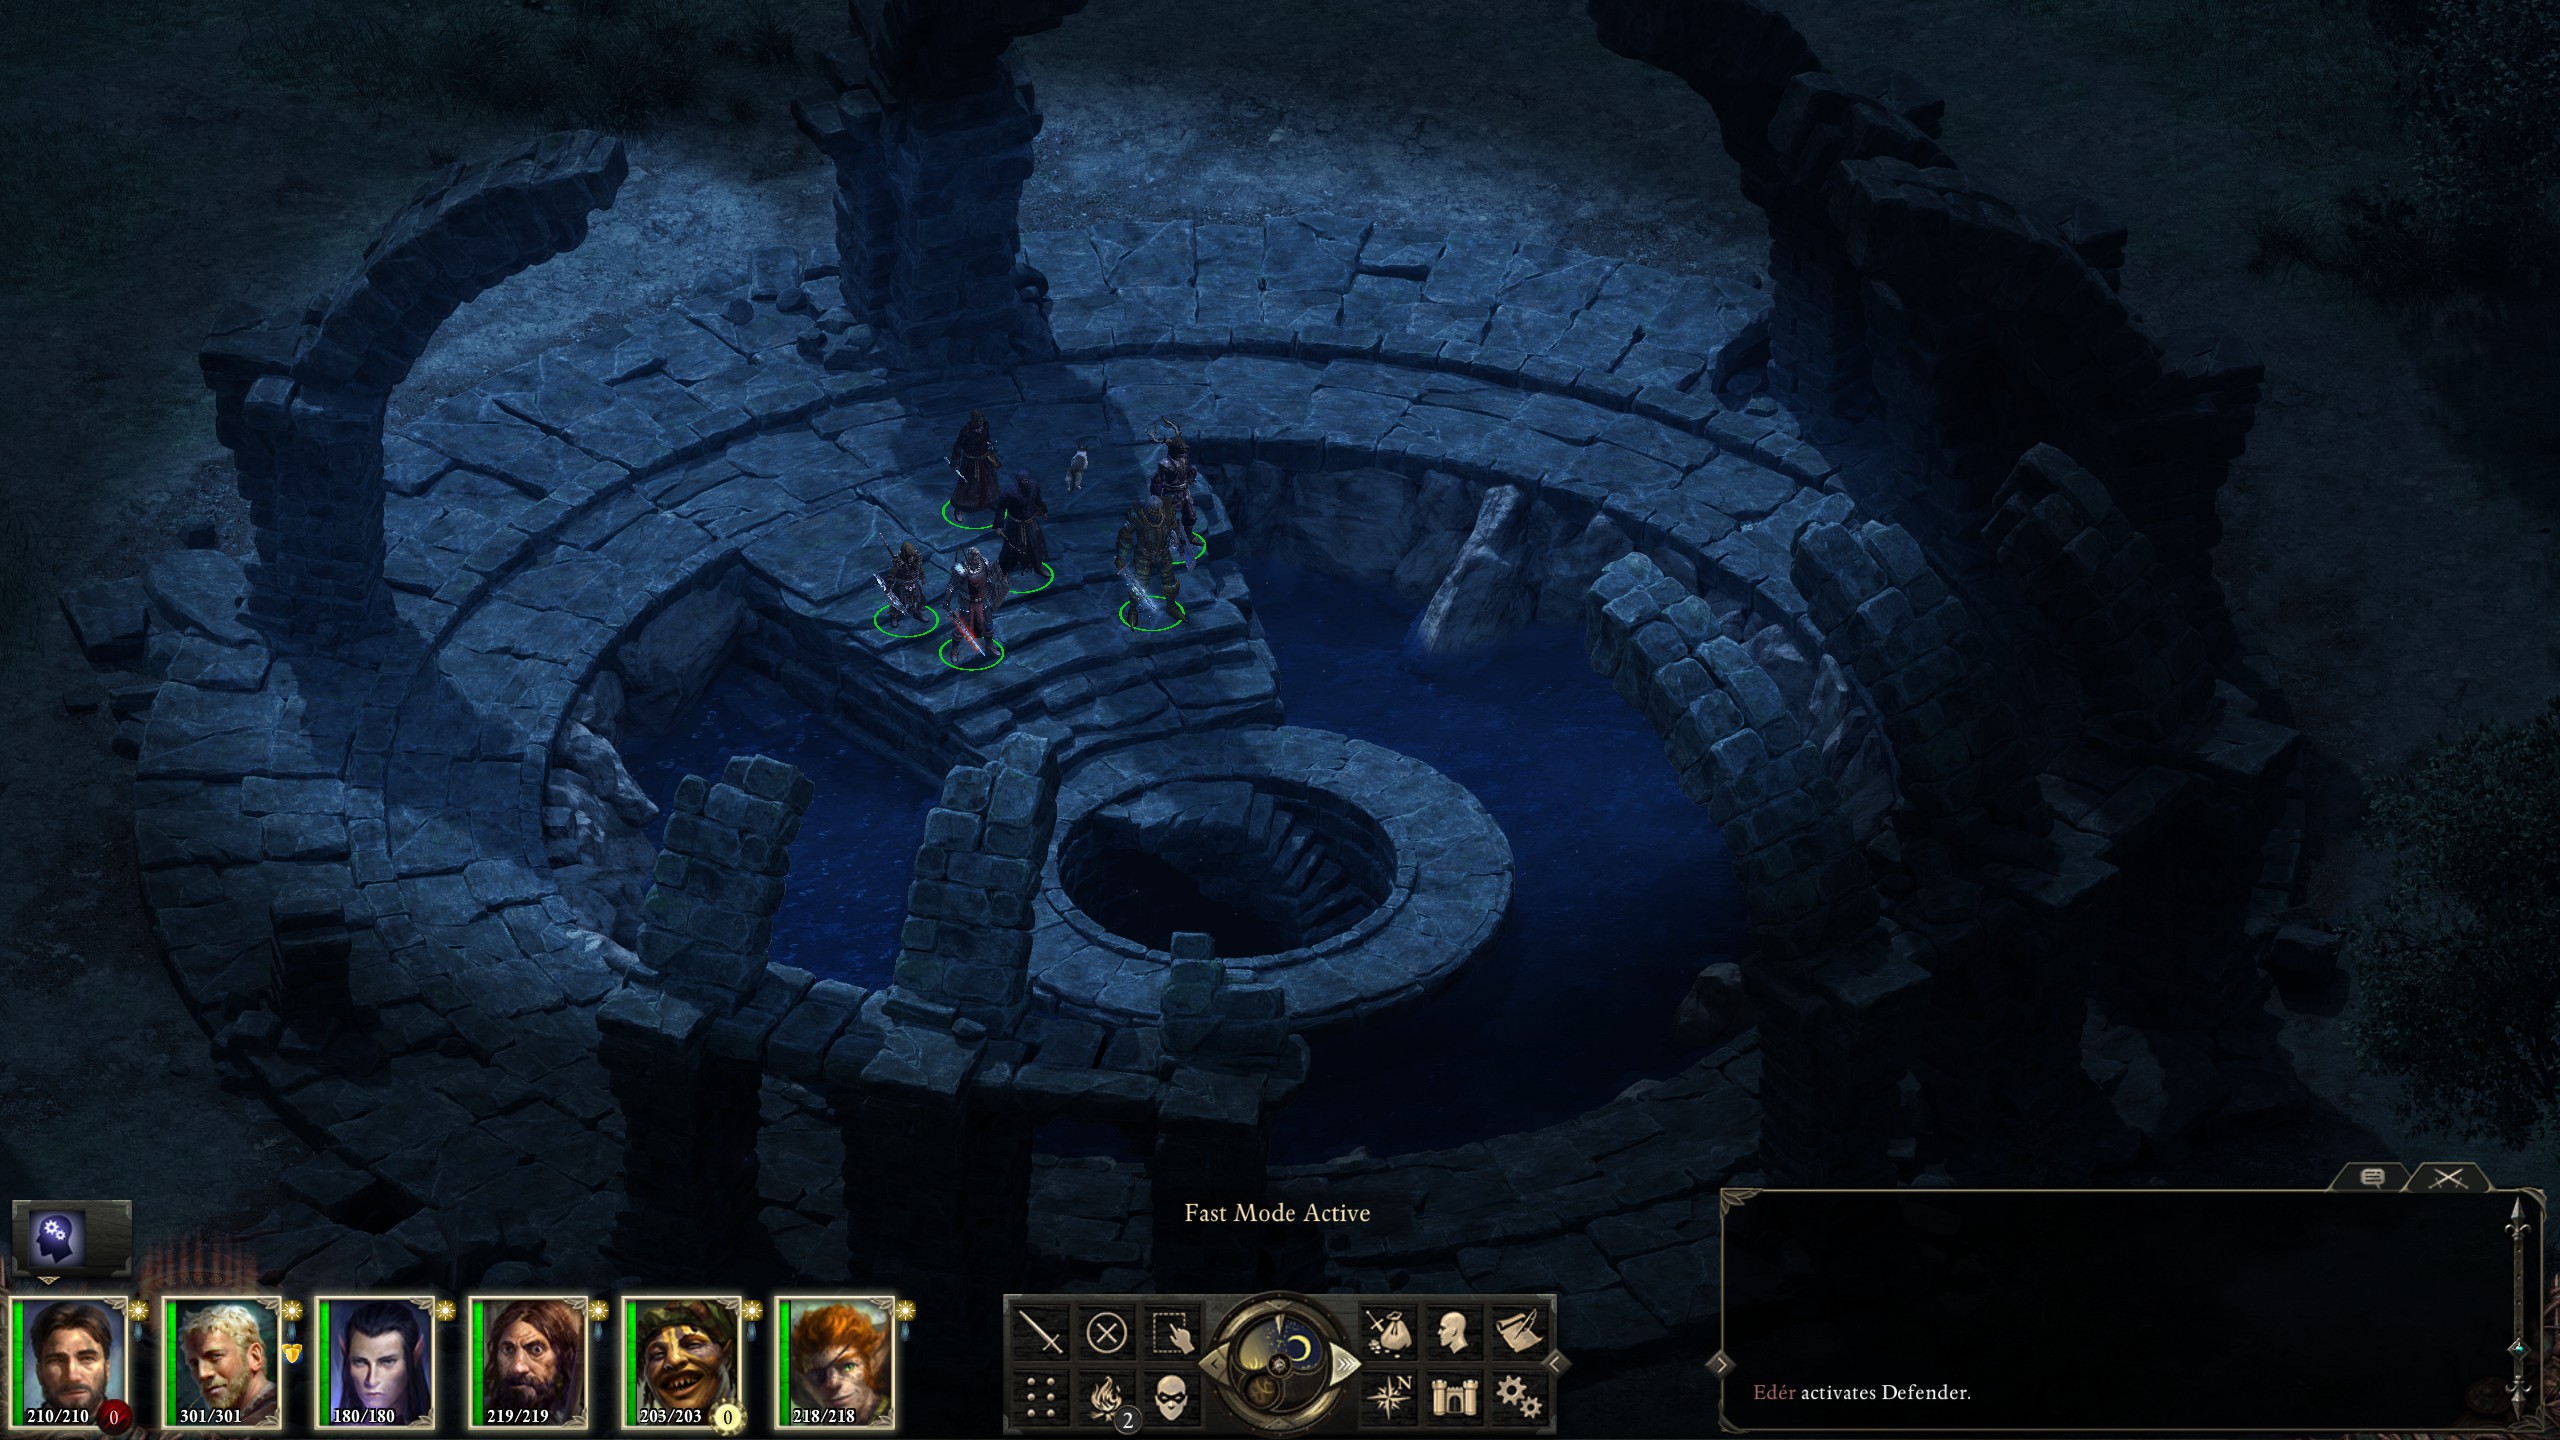
The creatures inside were moderately tricky with their freezing pillars; I also made the mistake of sending the monk in alone against one, and he was promptly petrified and knocked out.
The final floor was much easier despite its narrow ledges.
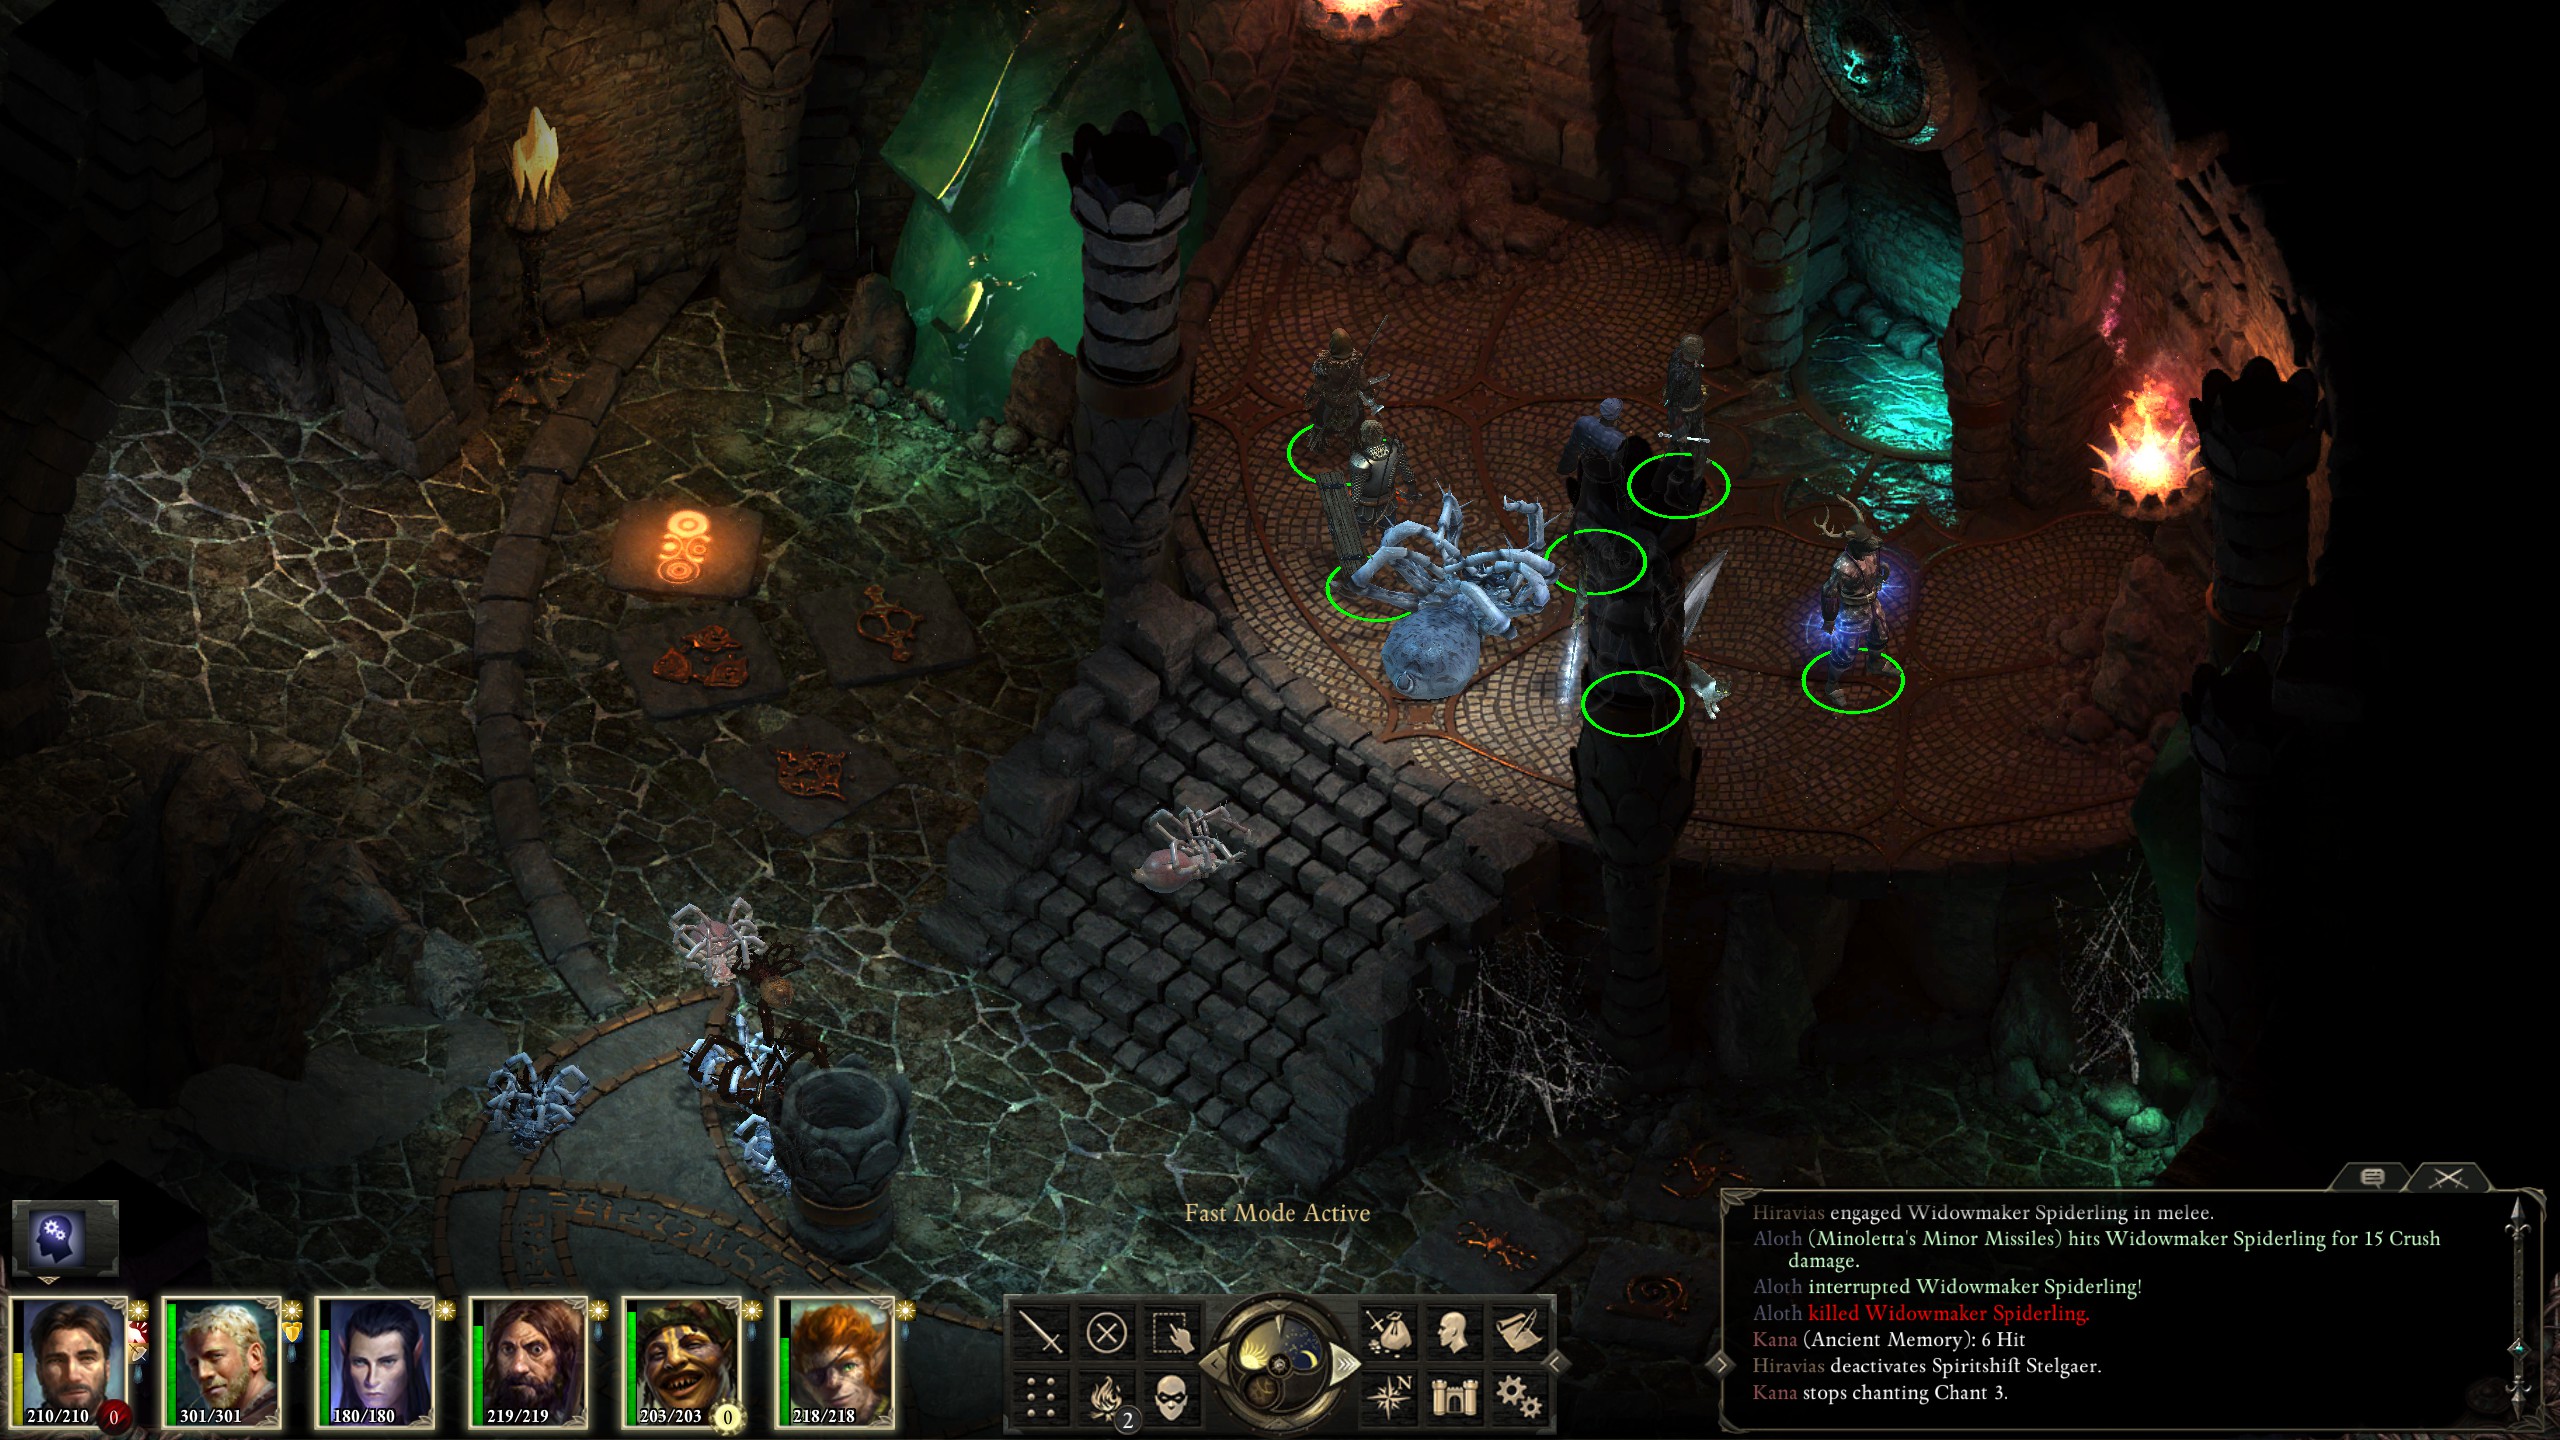
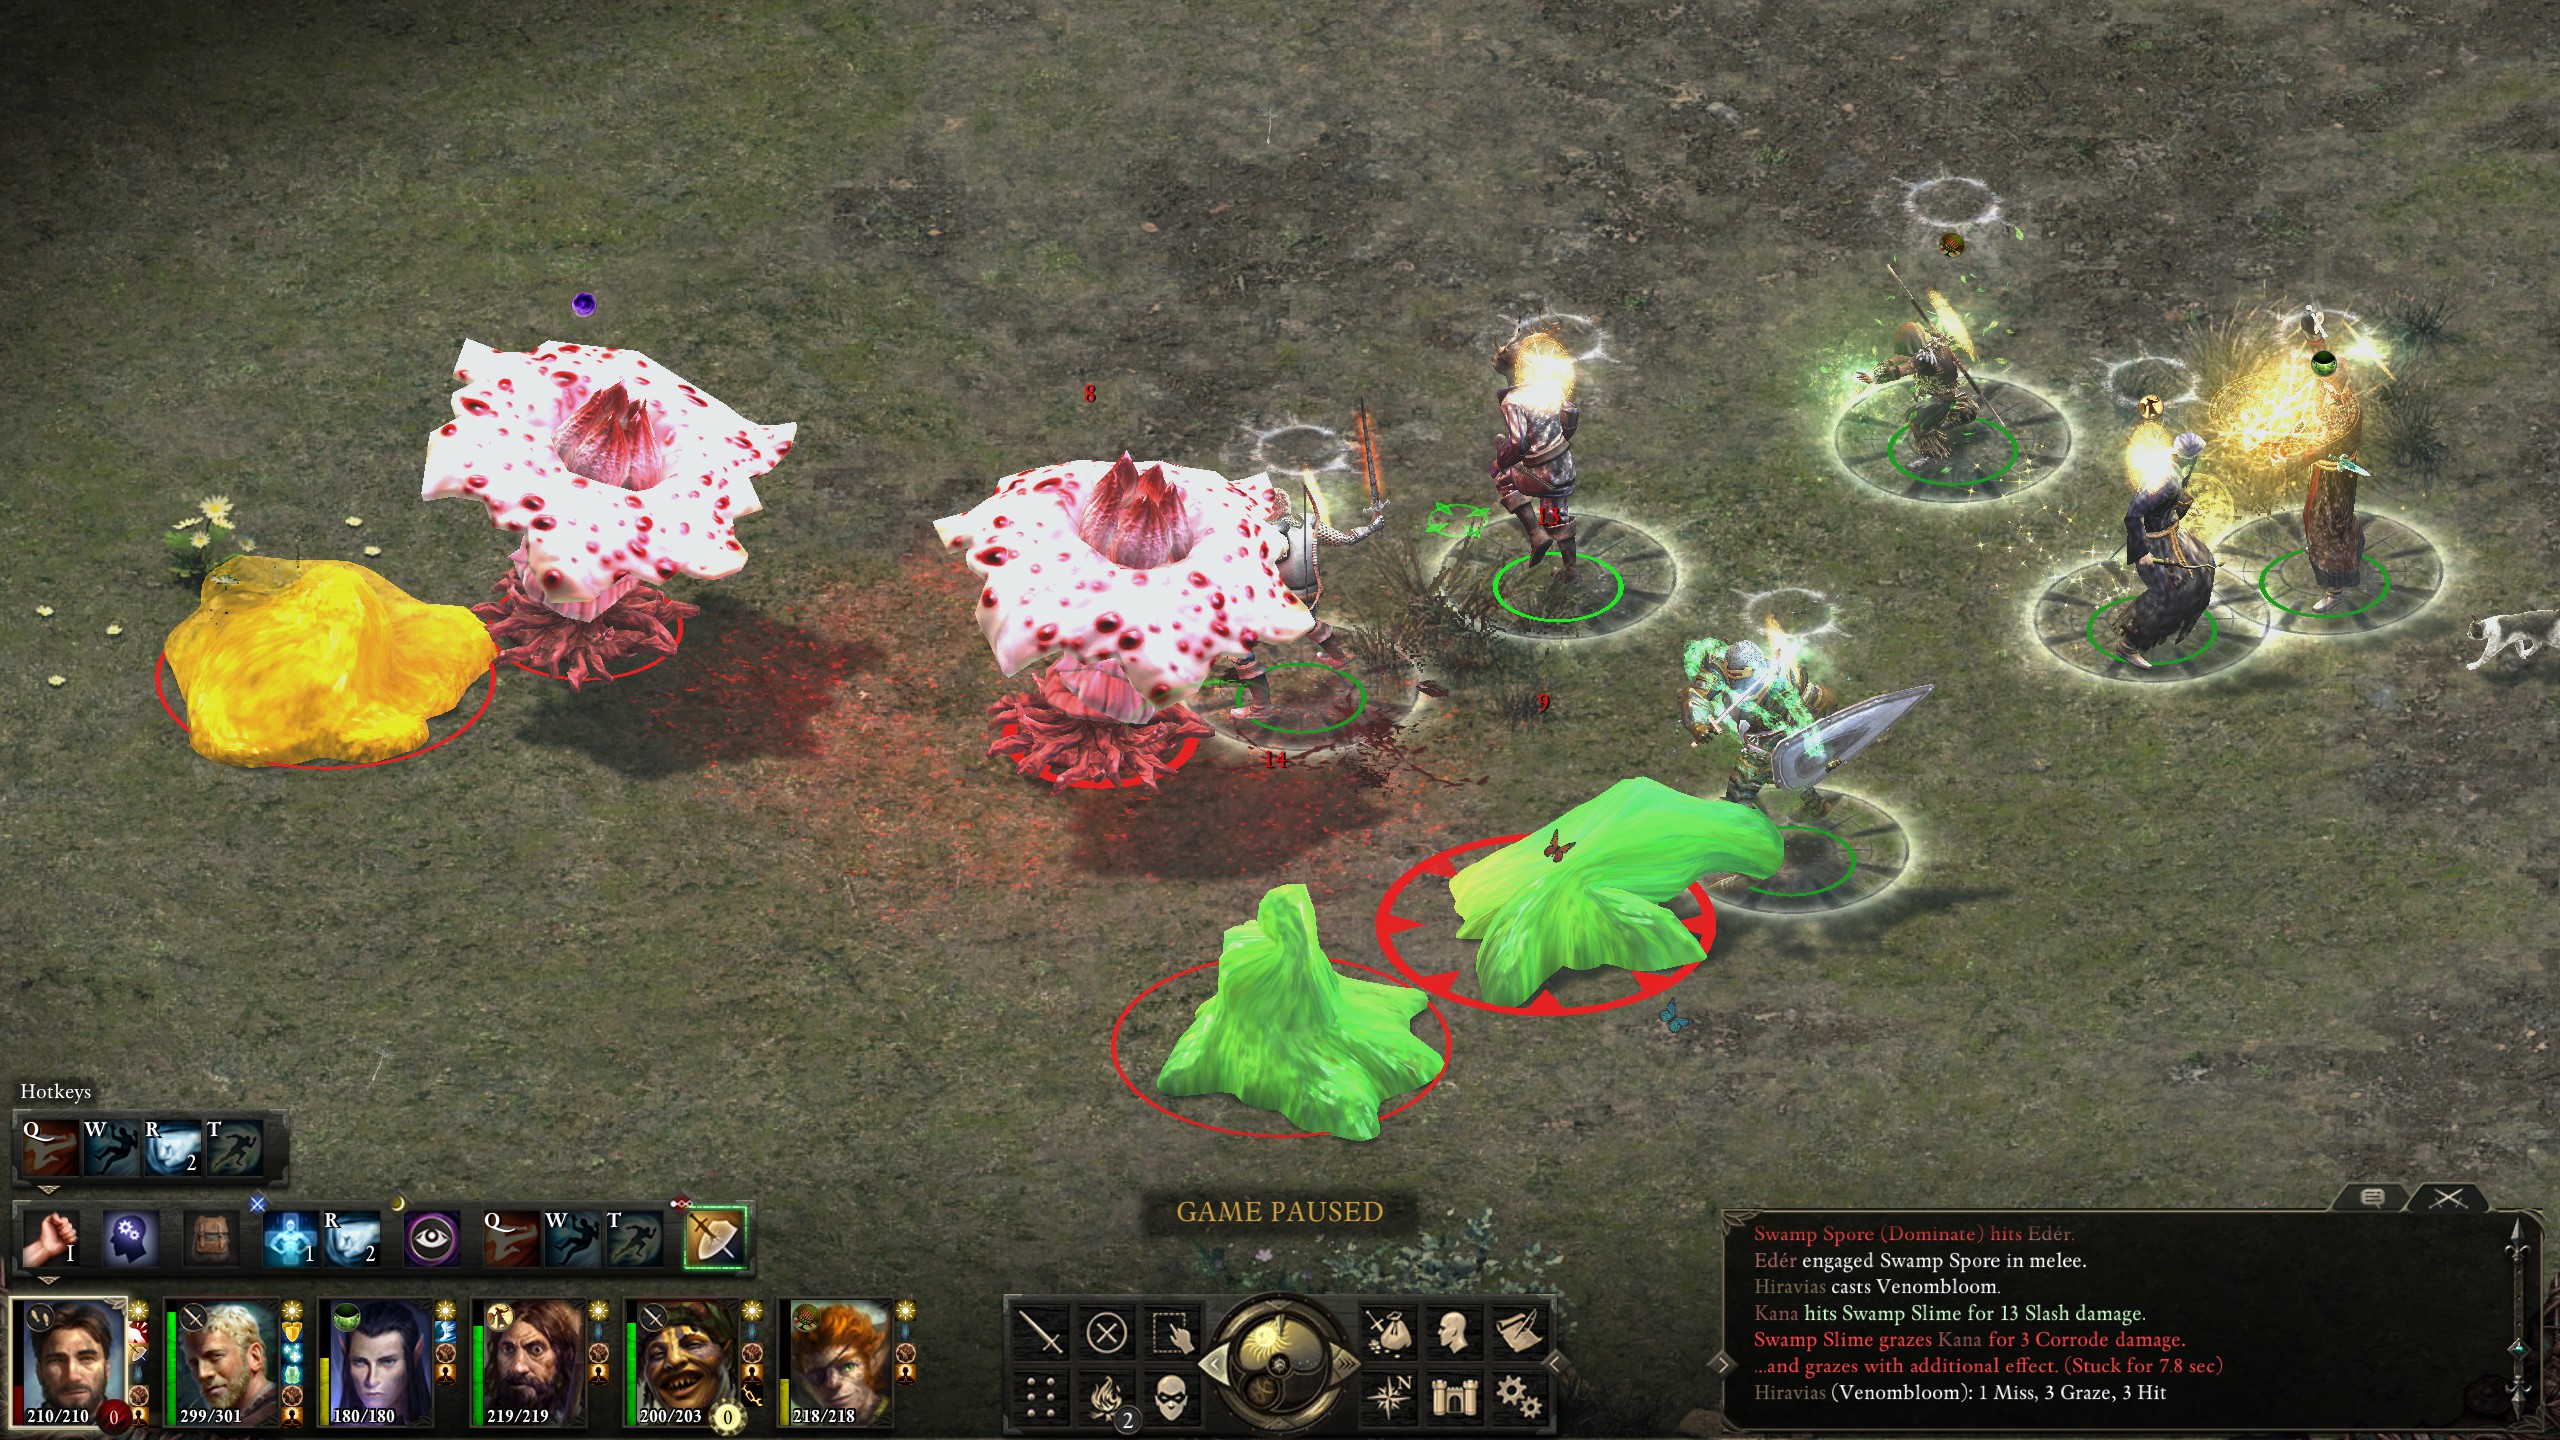
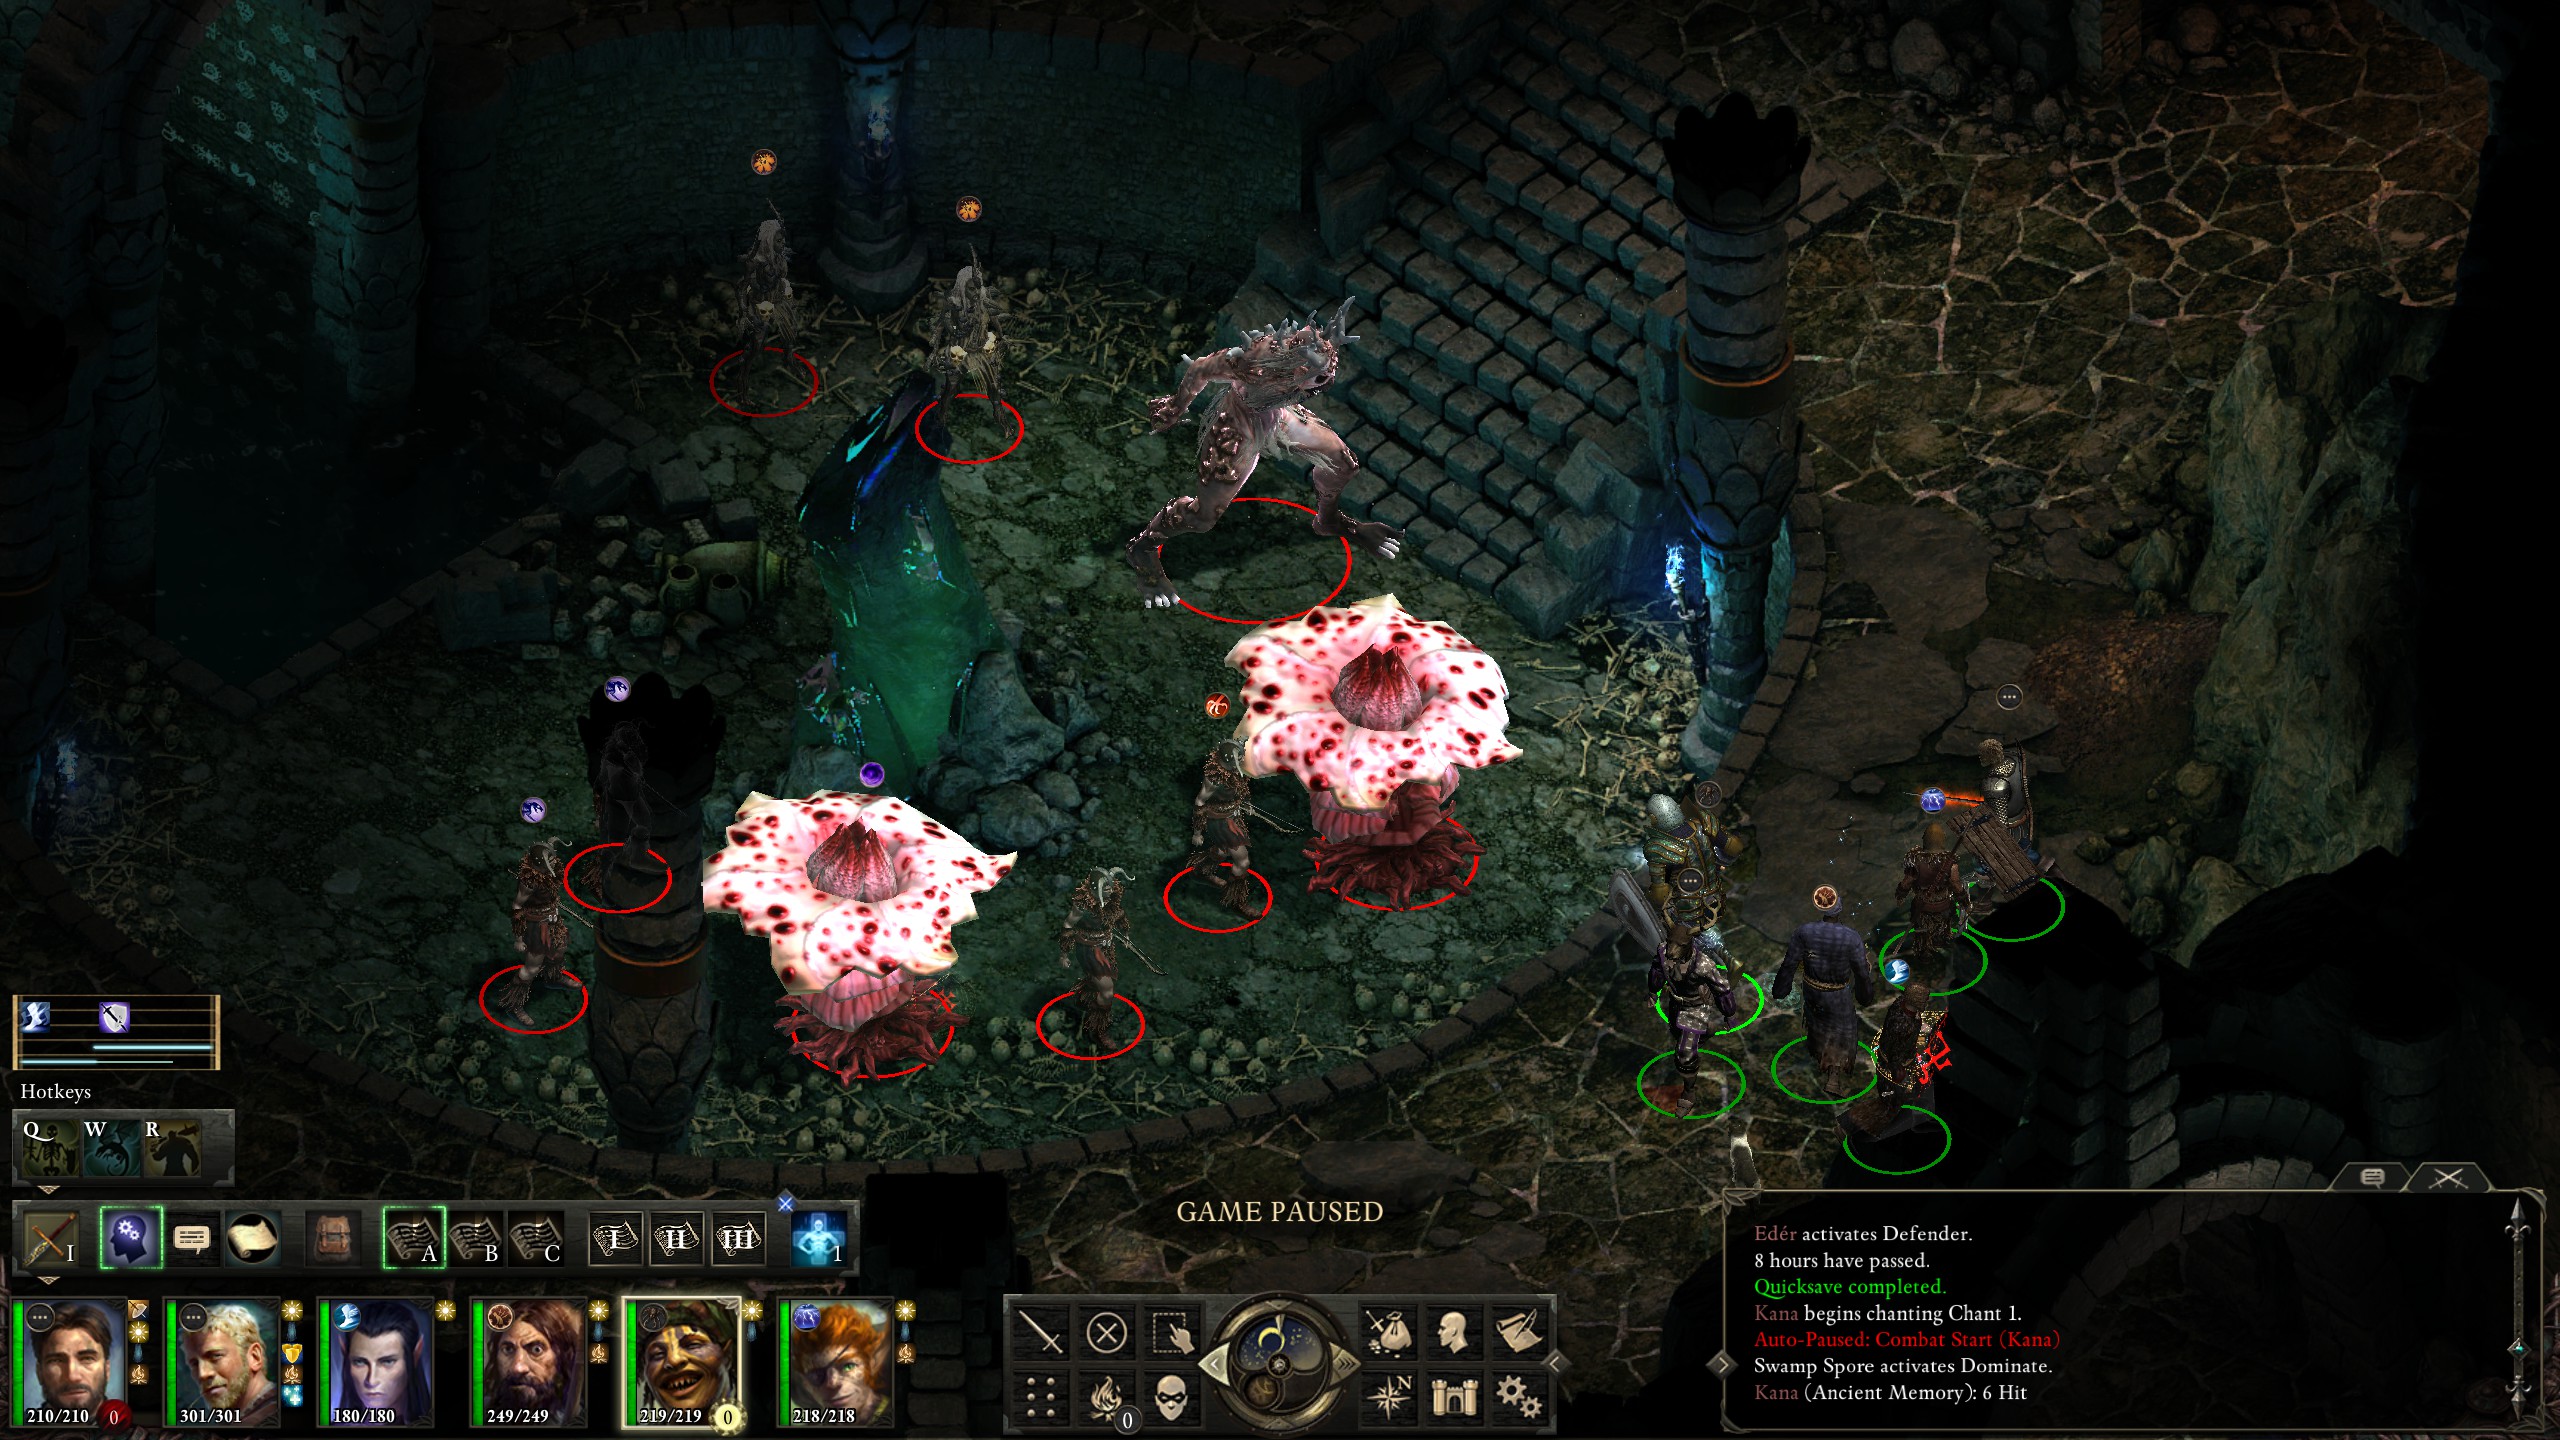
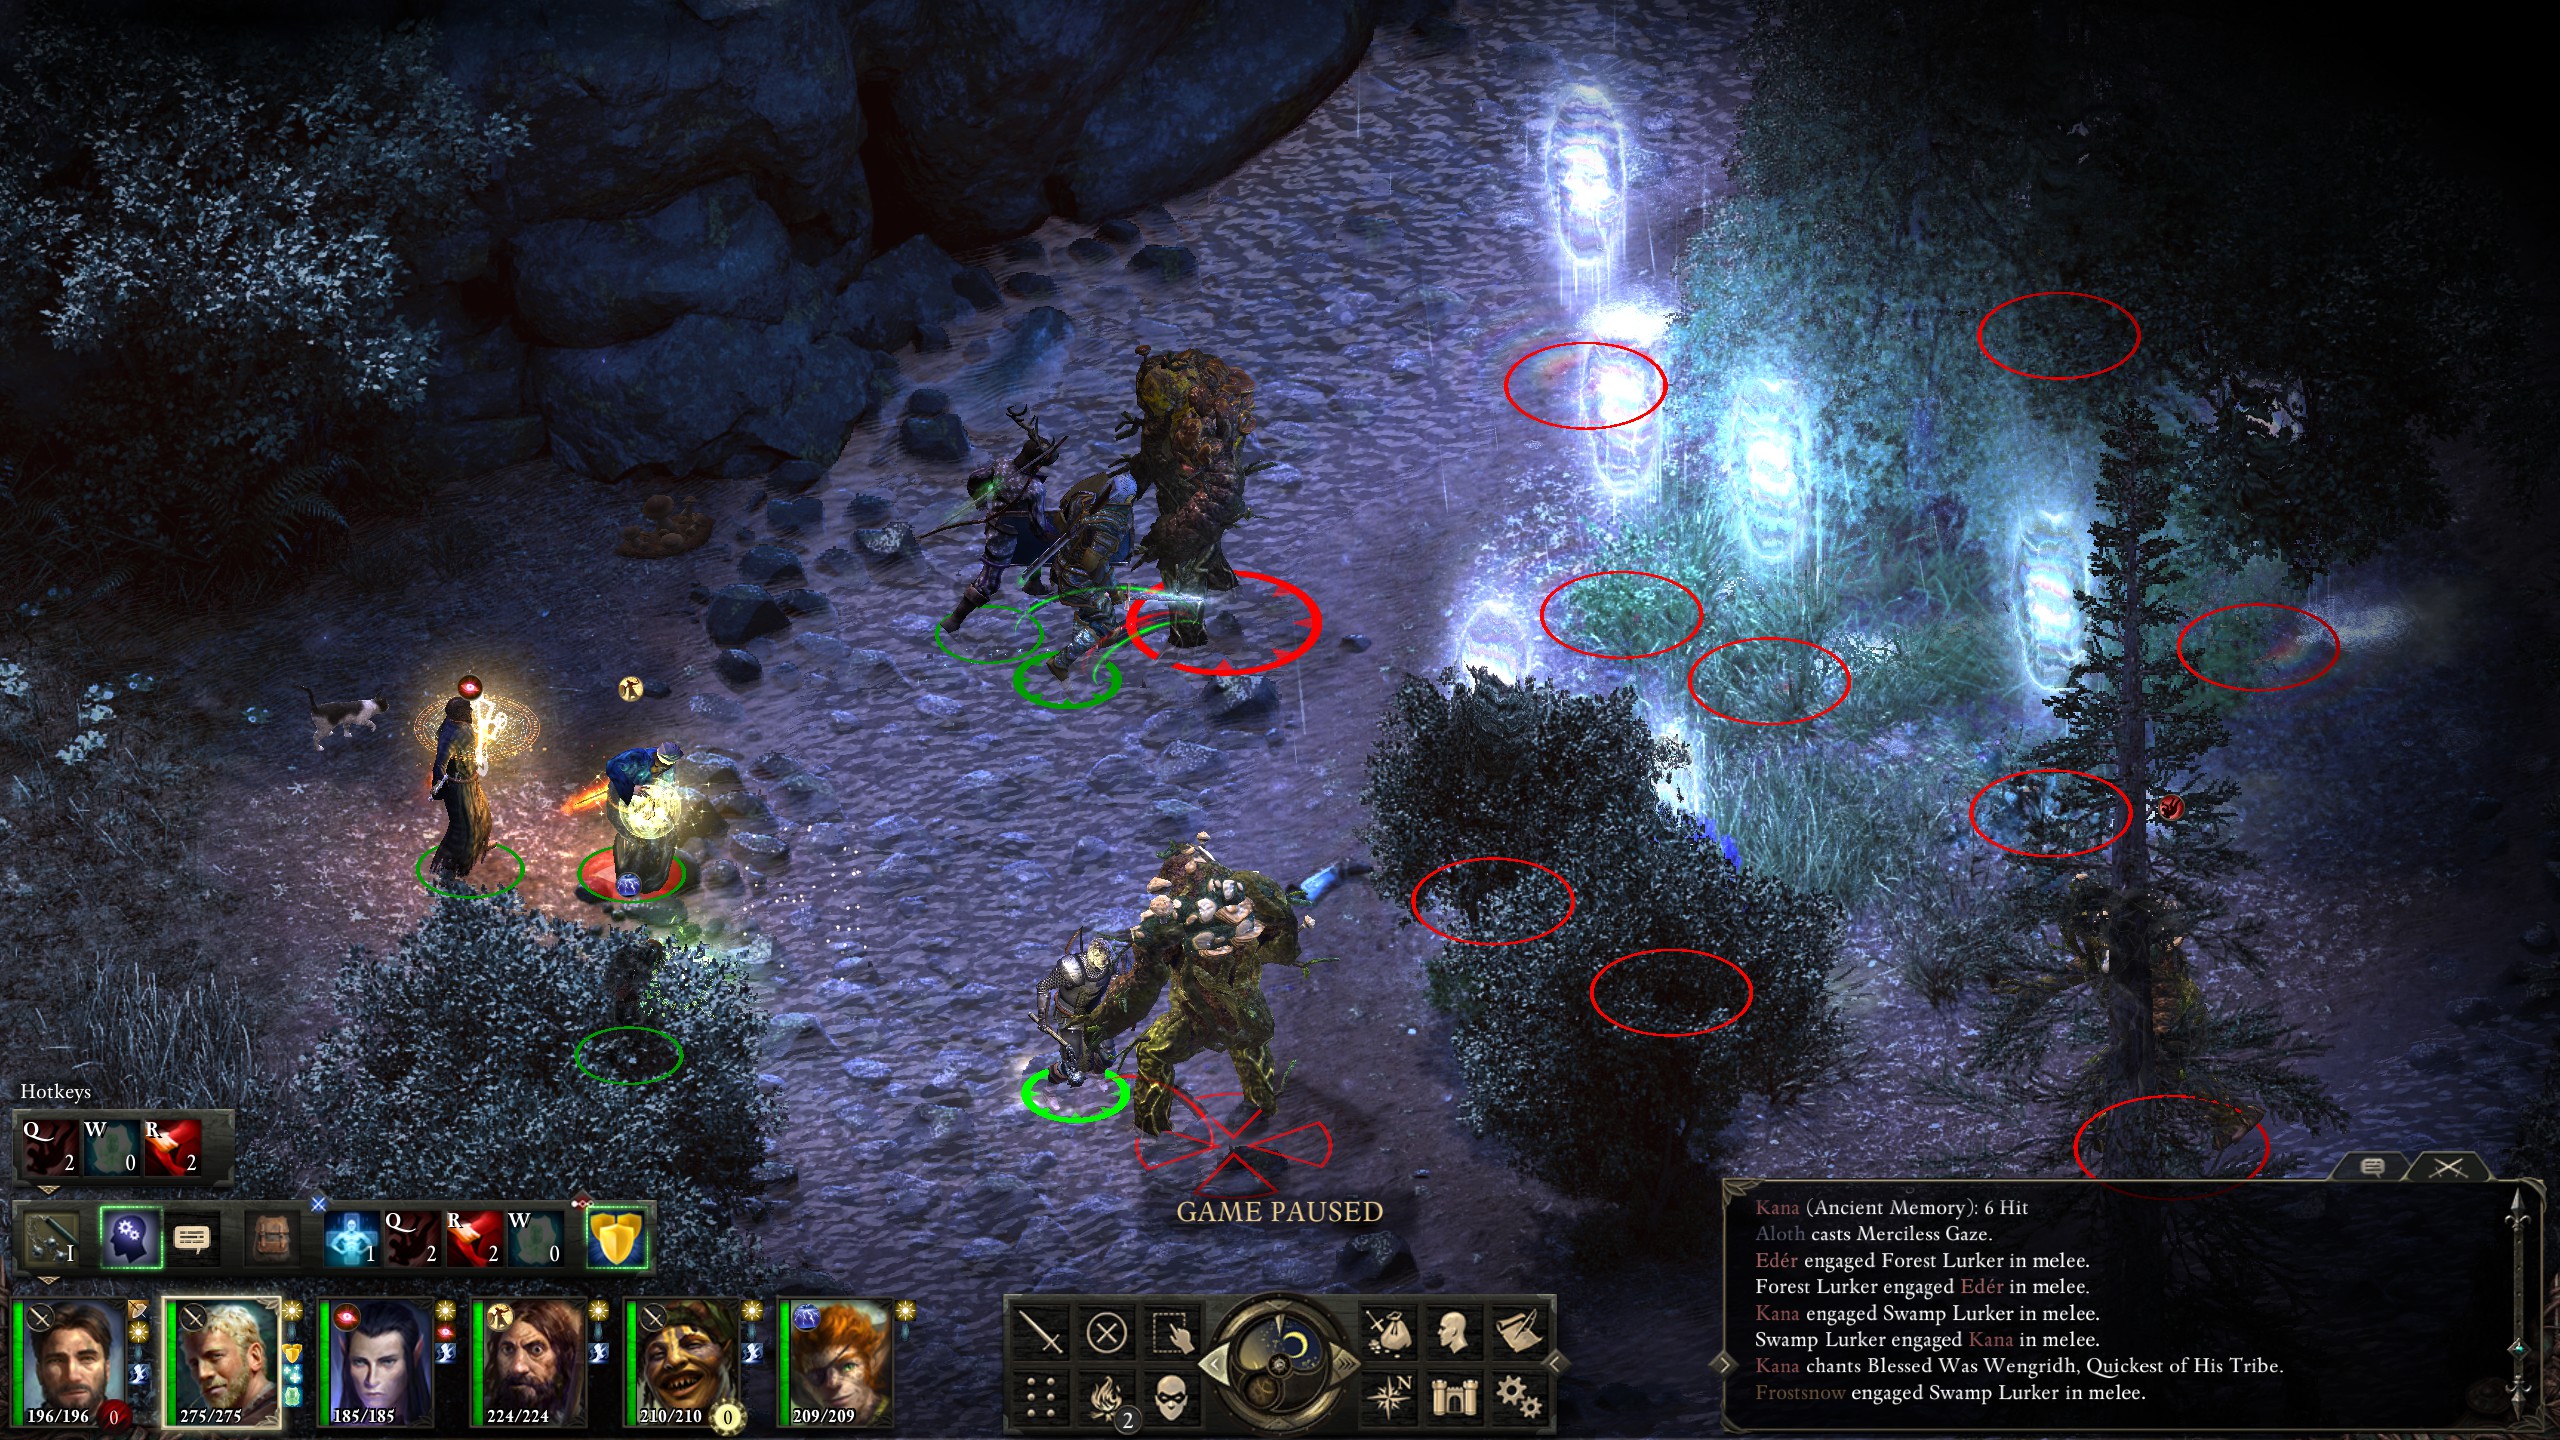
Once outside I cleared out the oozes and spores with their annoying confusion and dominate abilities.
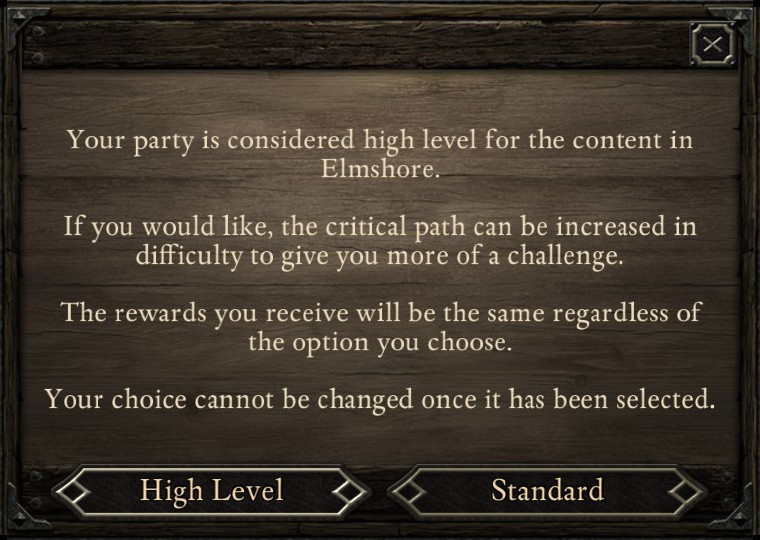
Moving onto Elmshore I received the usual "High Level" challenge (despite not having any of the expansions installed), which I accepted.
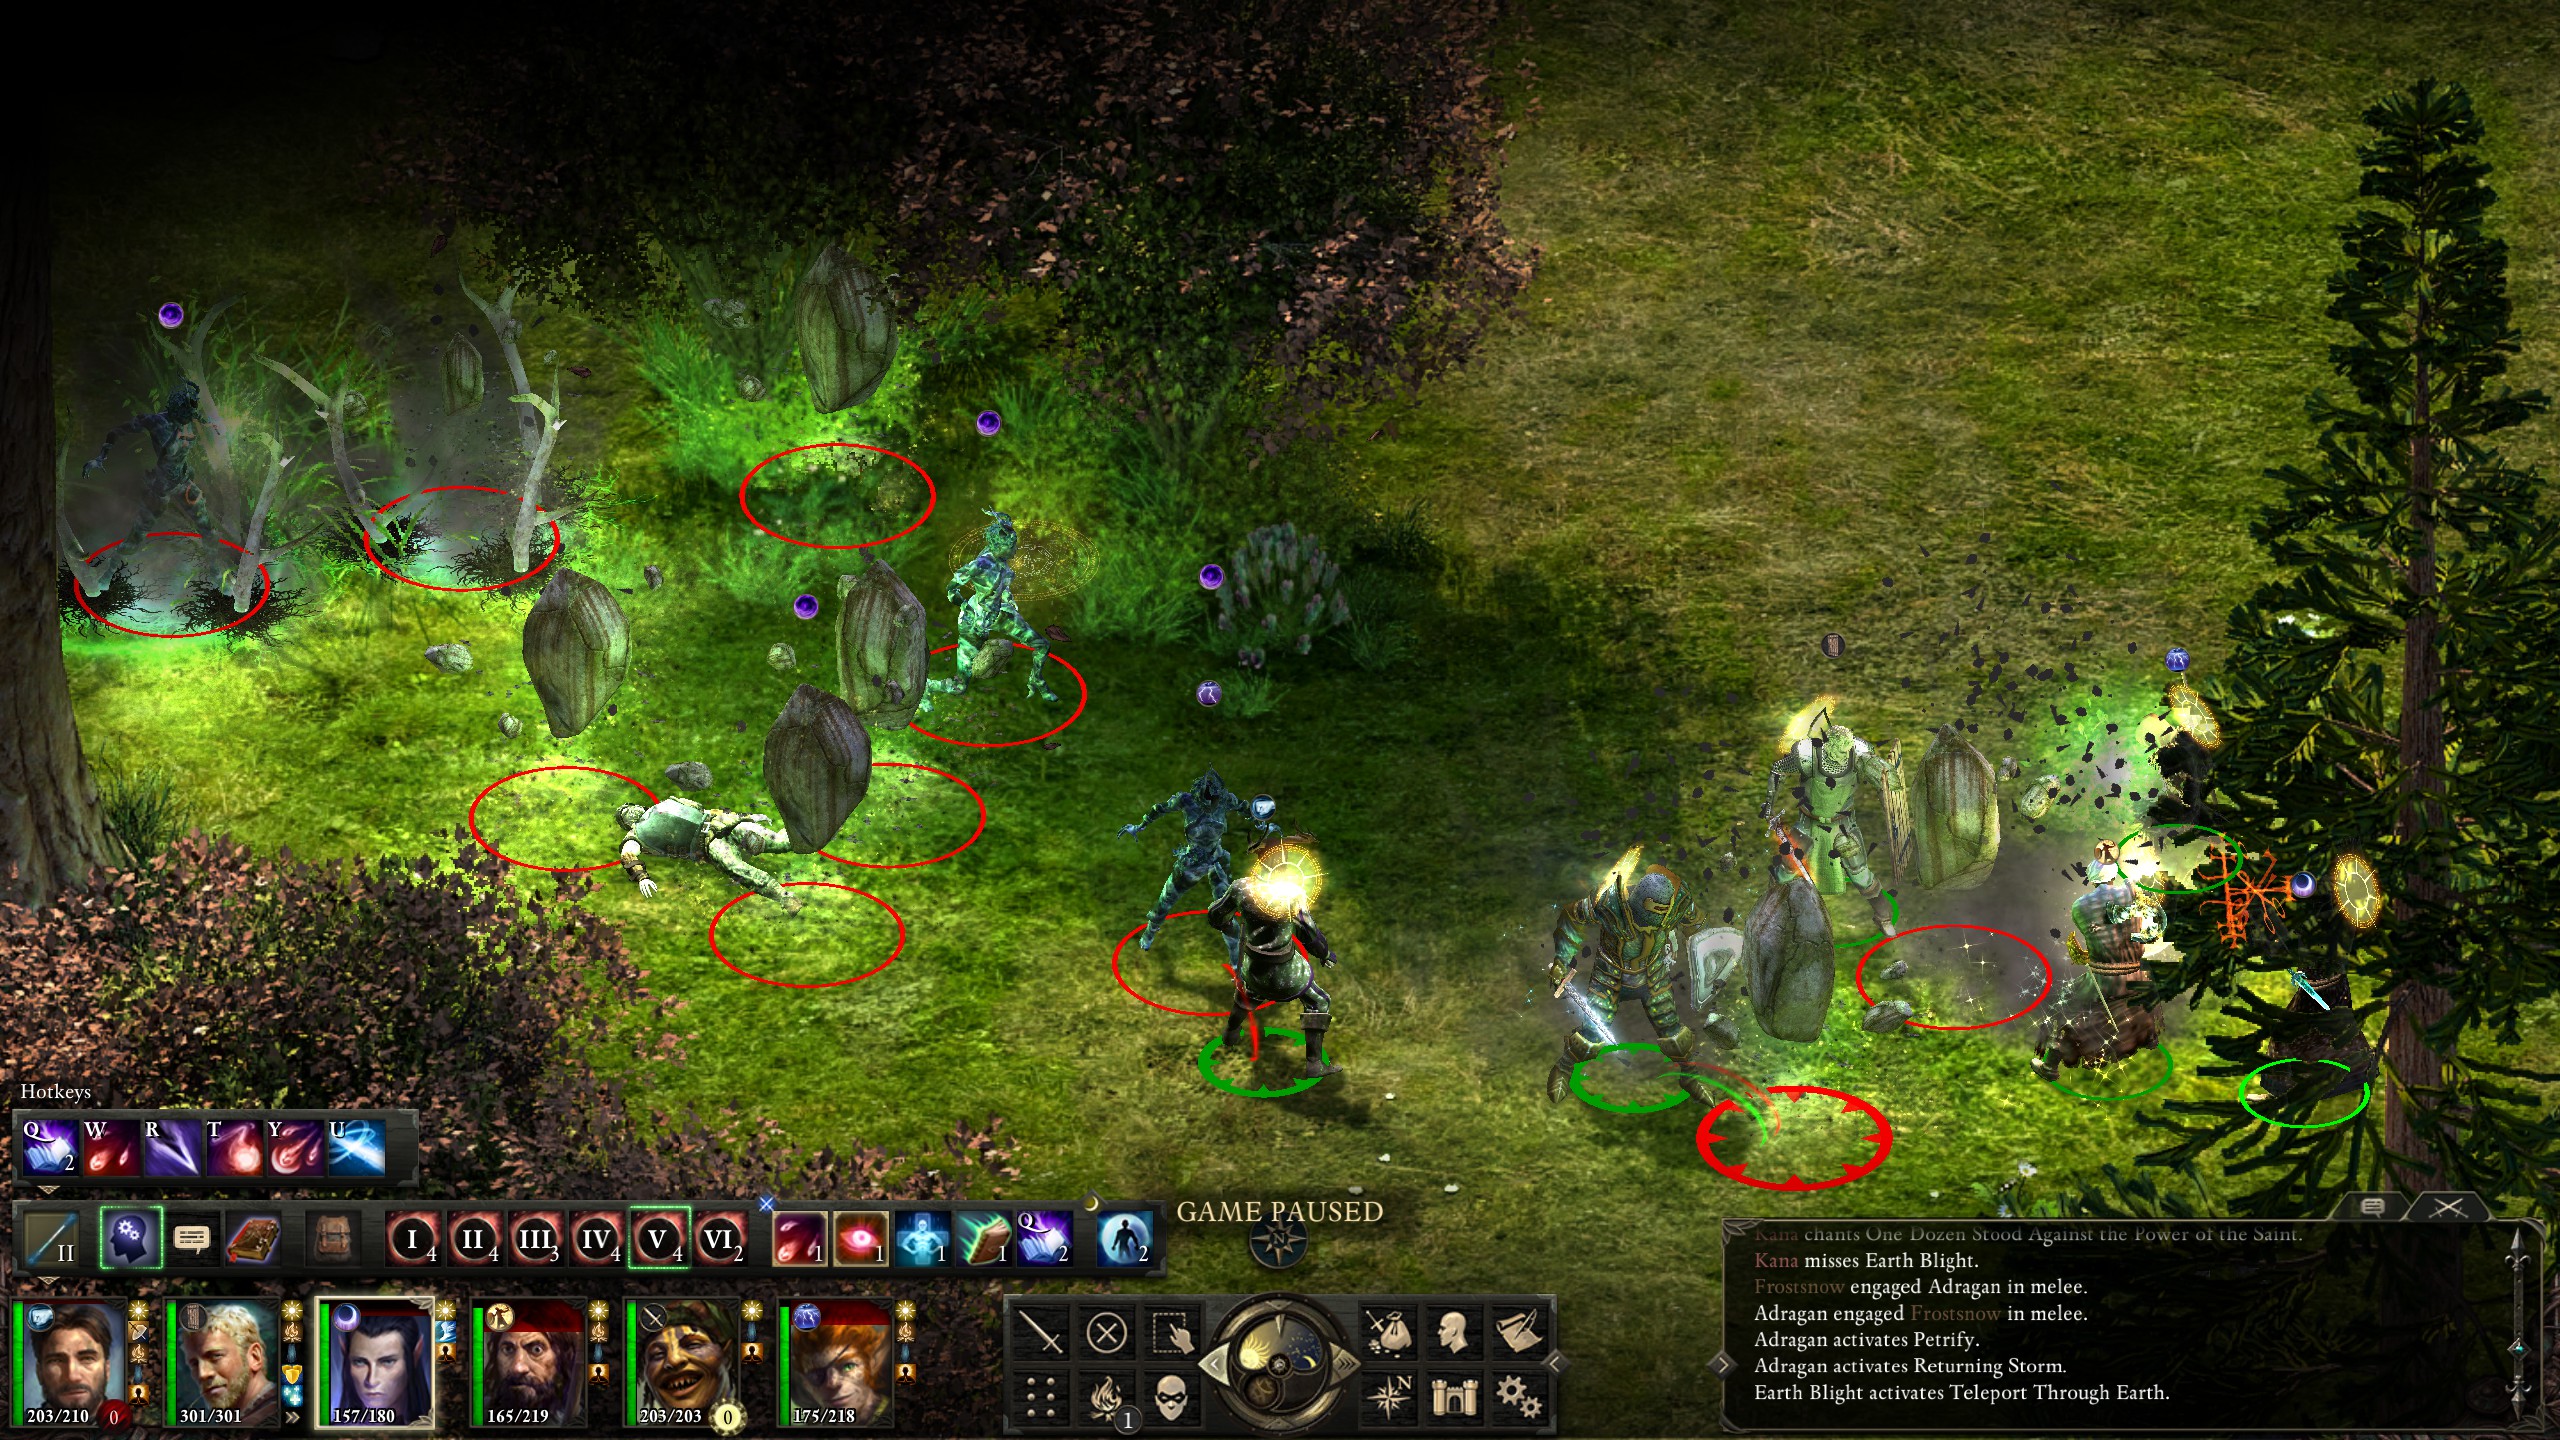
Elmshore had only a few fights but most of them were decently tough; I also learned that blights, unlike undead, could be rendered unconscious.
The way to Twin Elms was then clear.
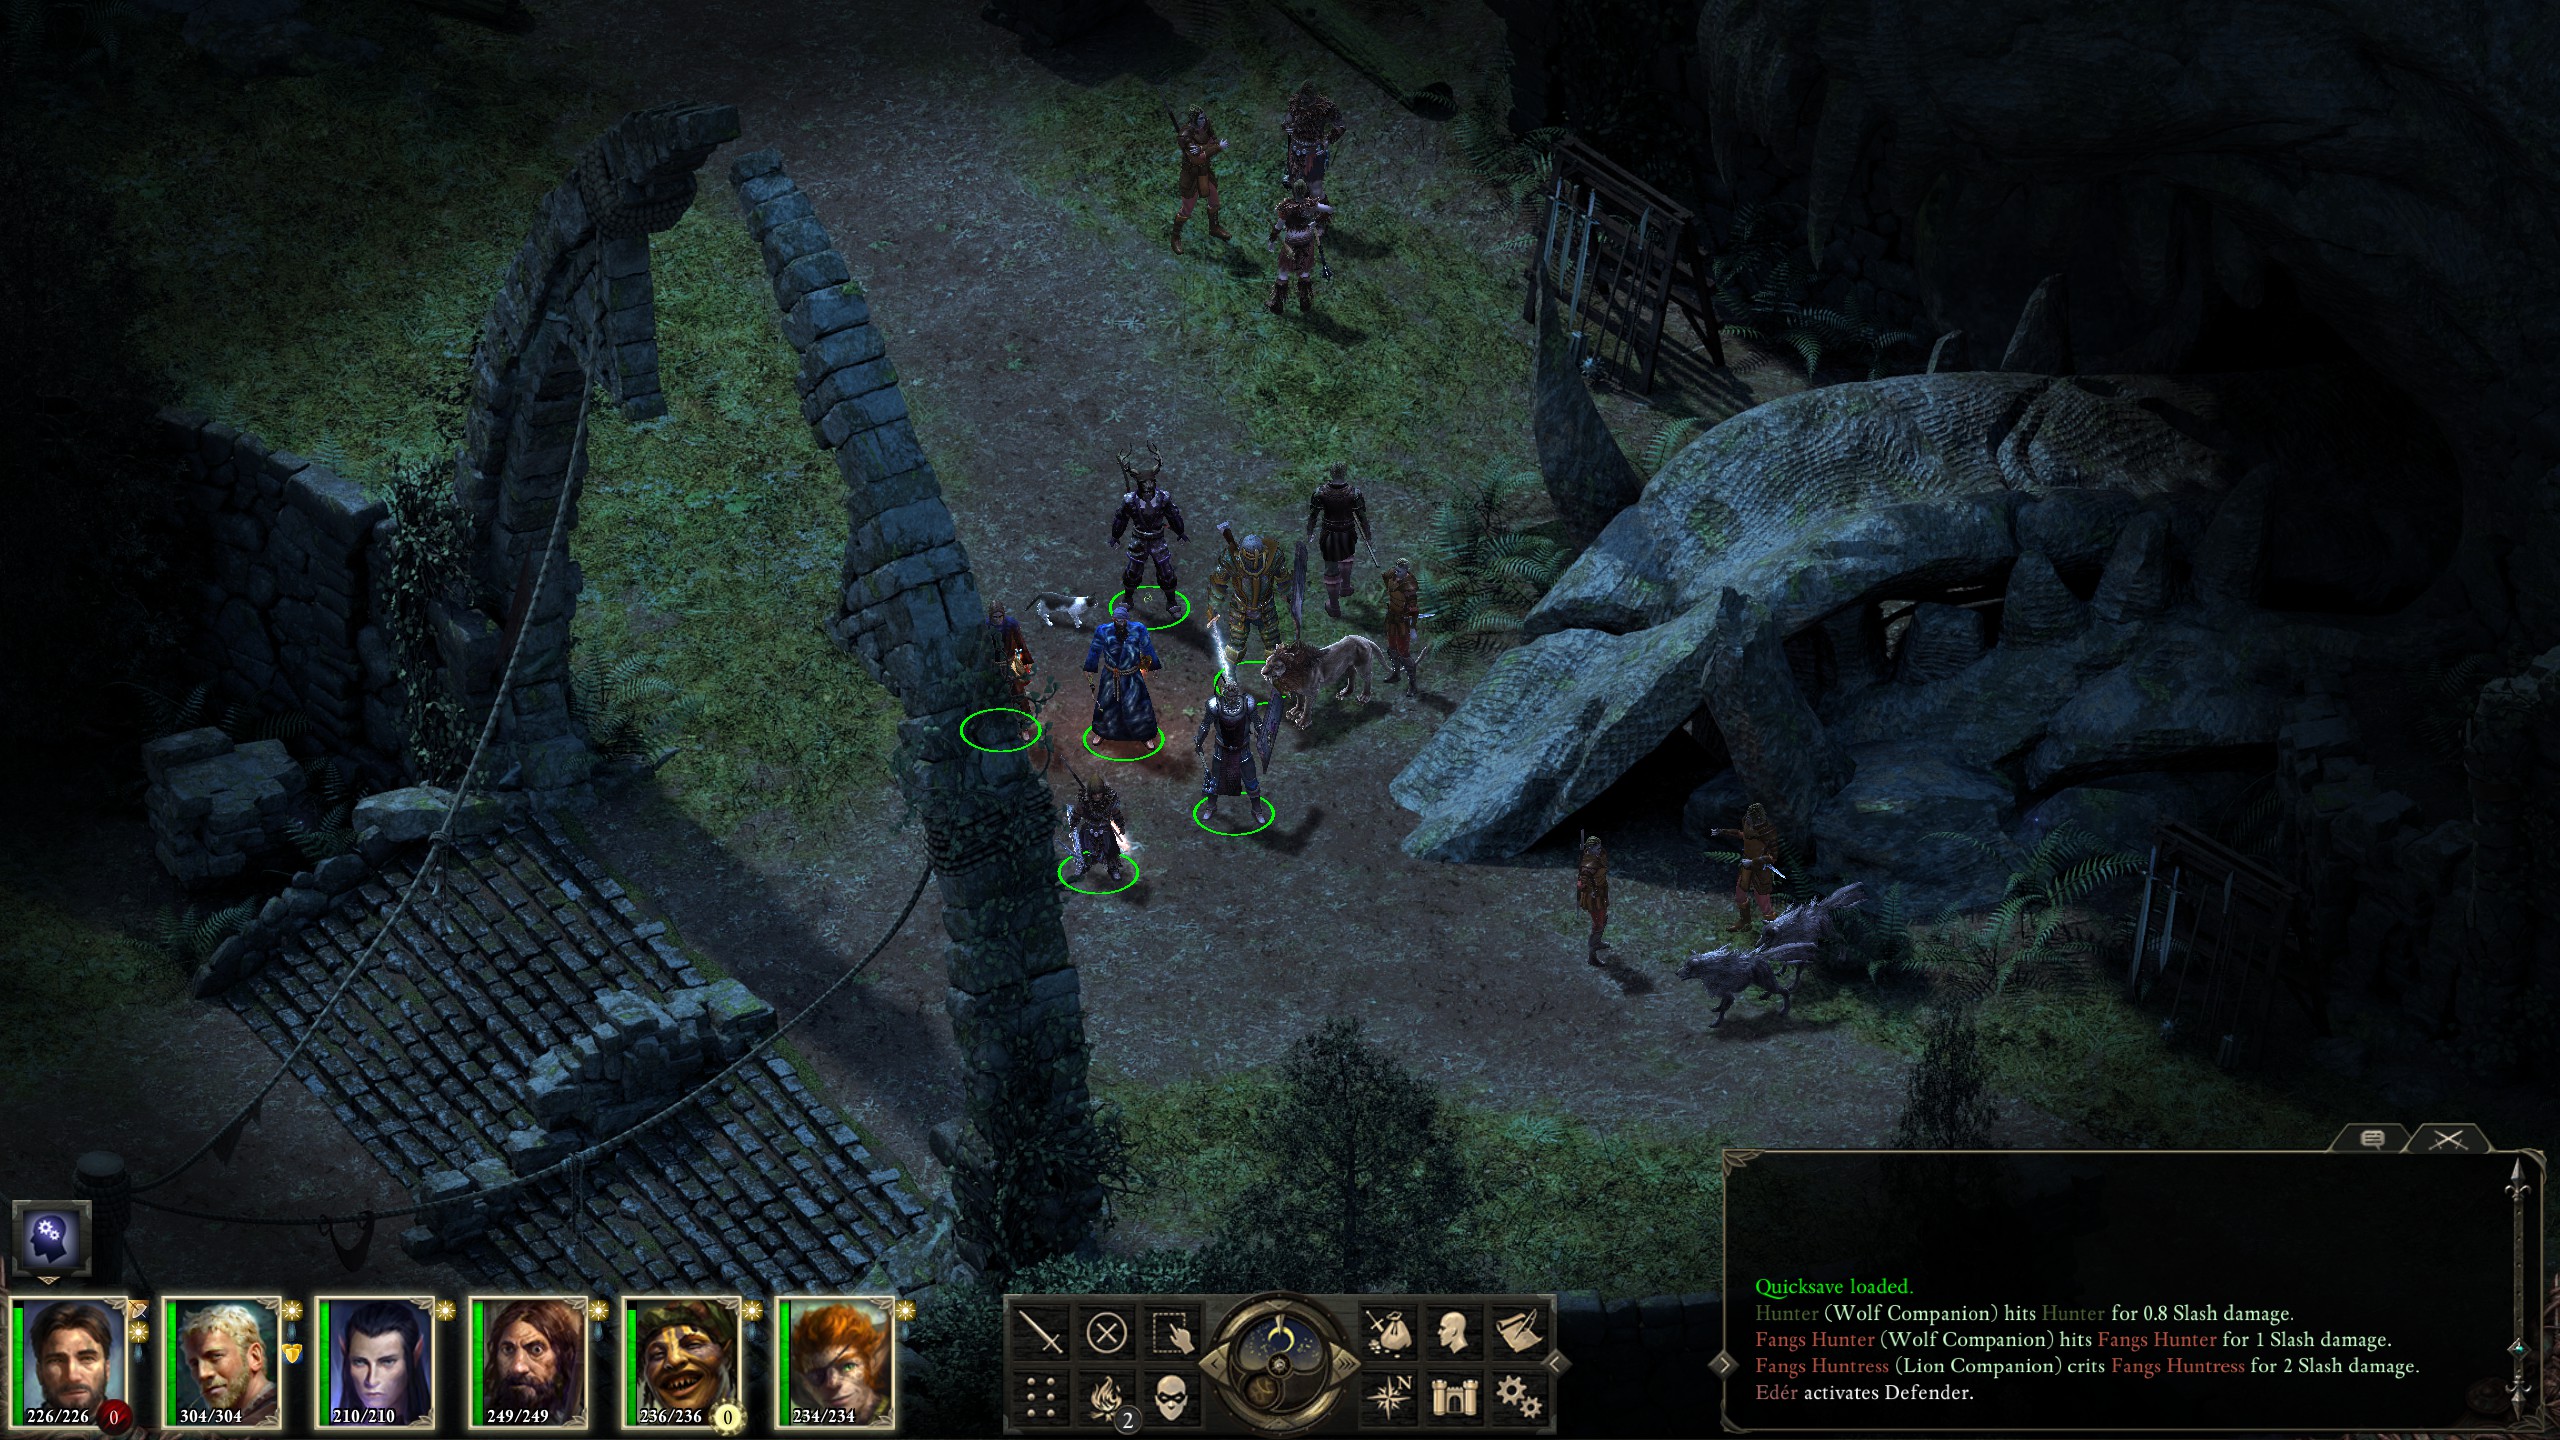
First, though, it was time to do a few bounties (after clearing the a way to the cave).
I made the mistake of trying to pull Nalrend the Wise across a trap; his adds then blasted me with spells while the bears blocked my path...
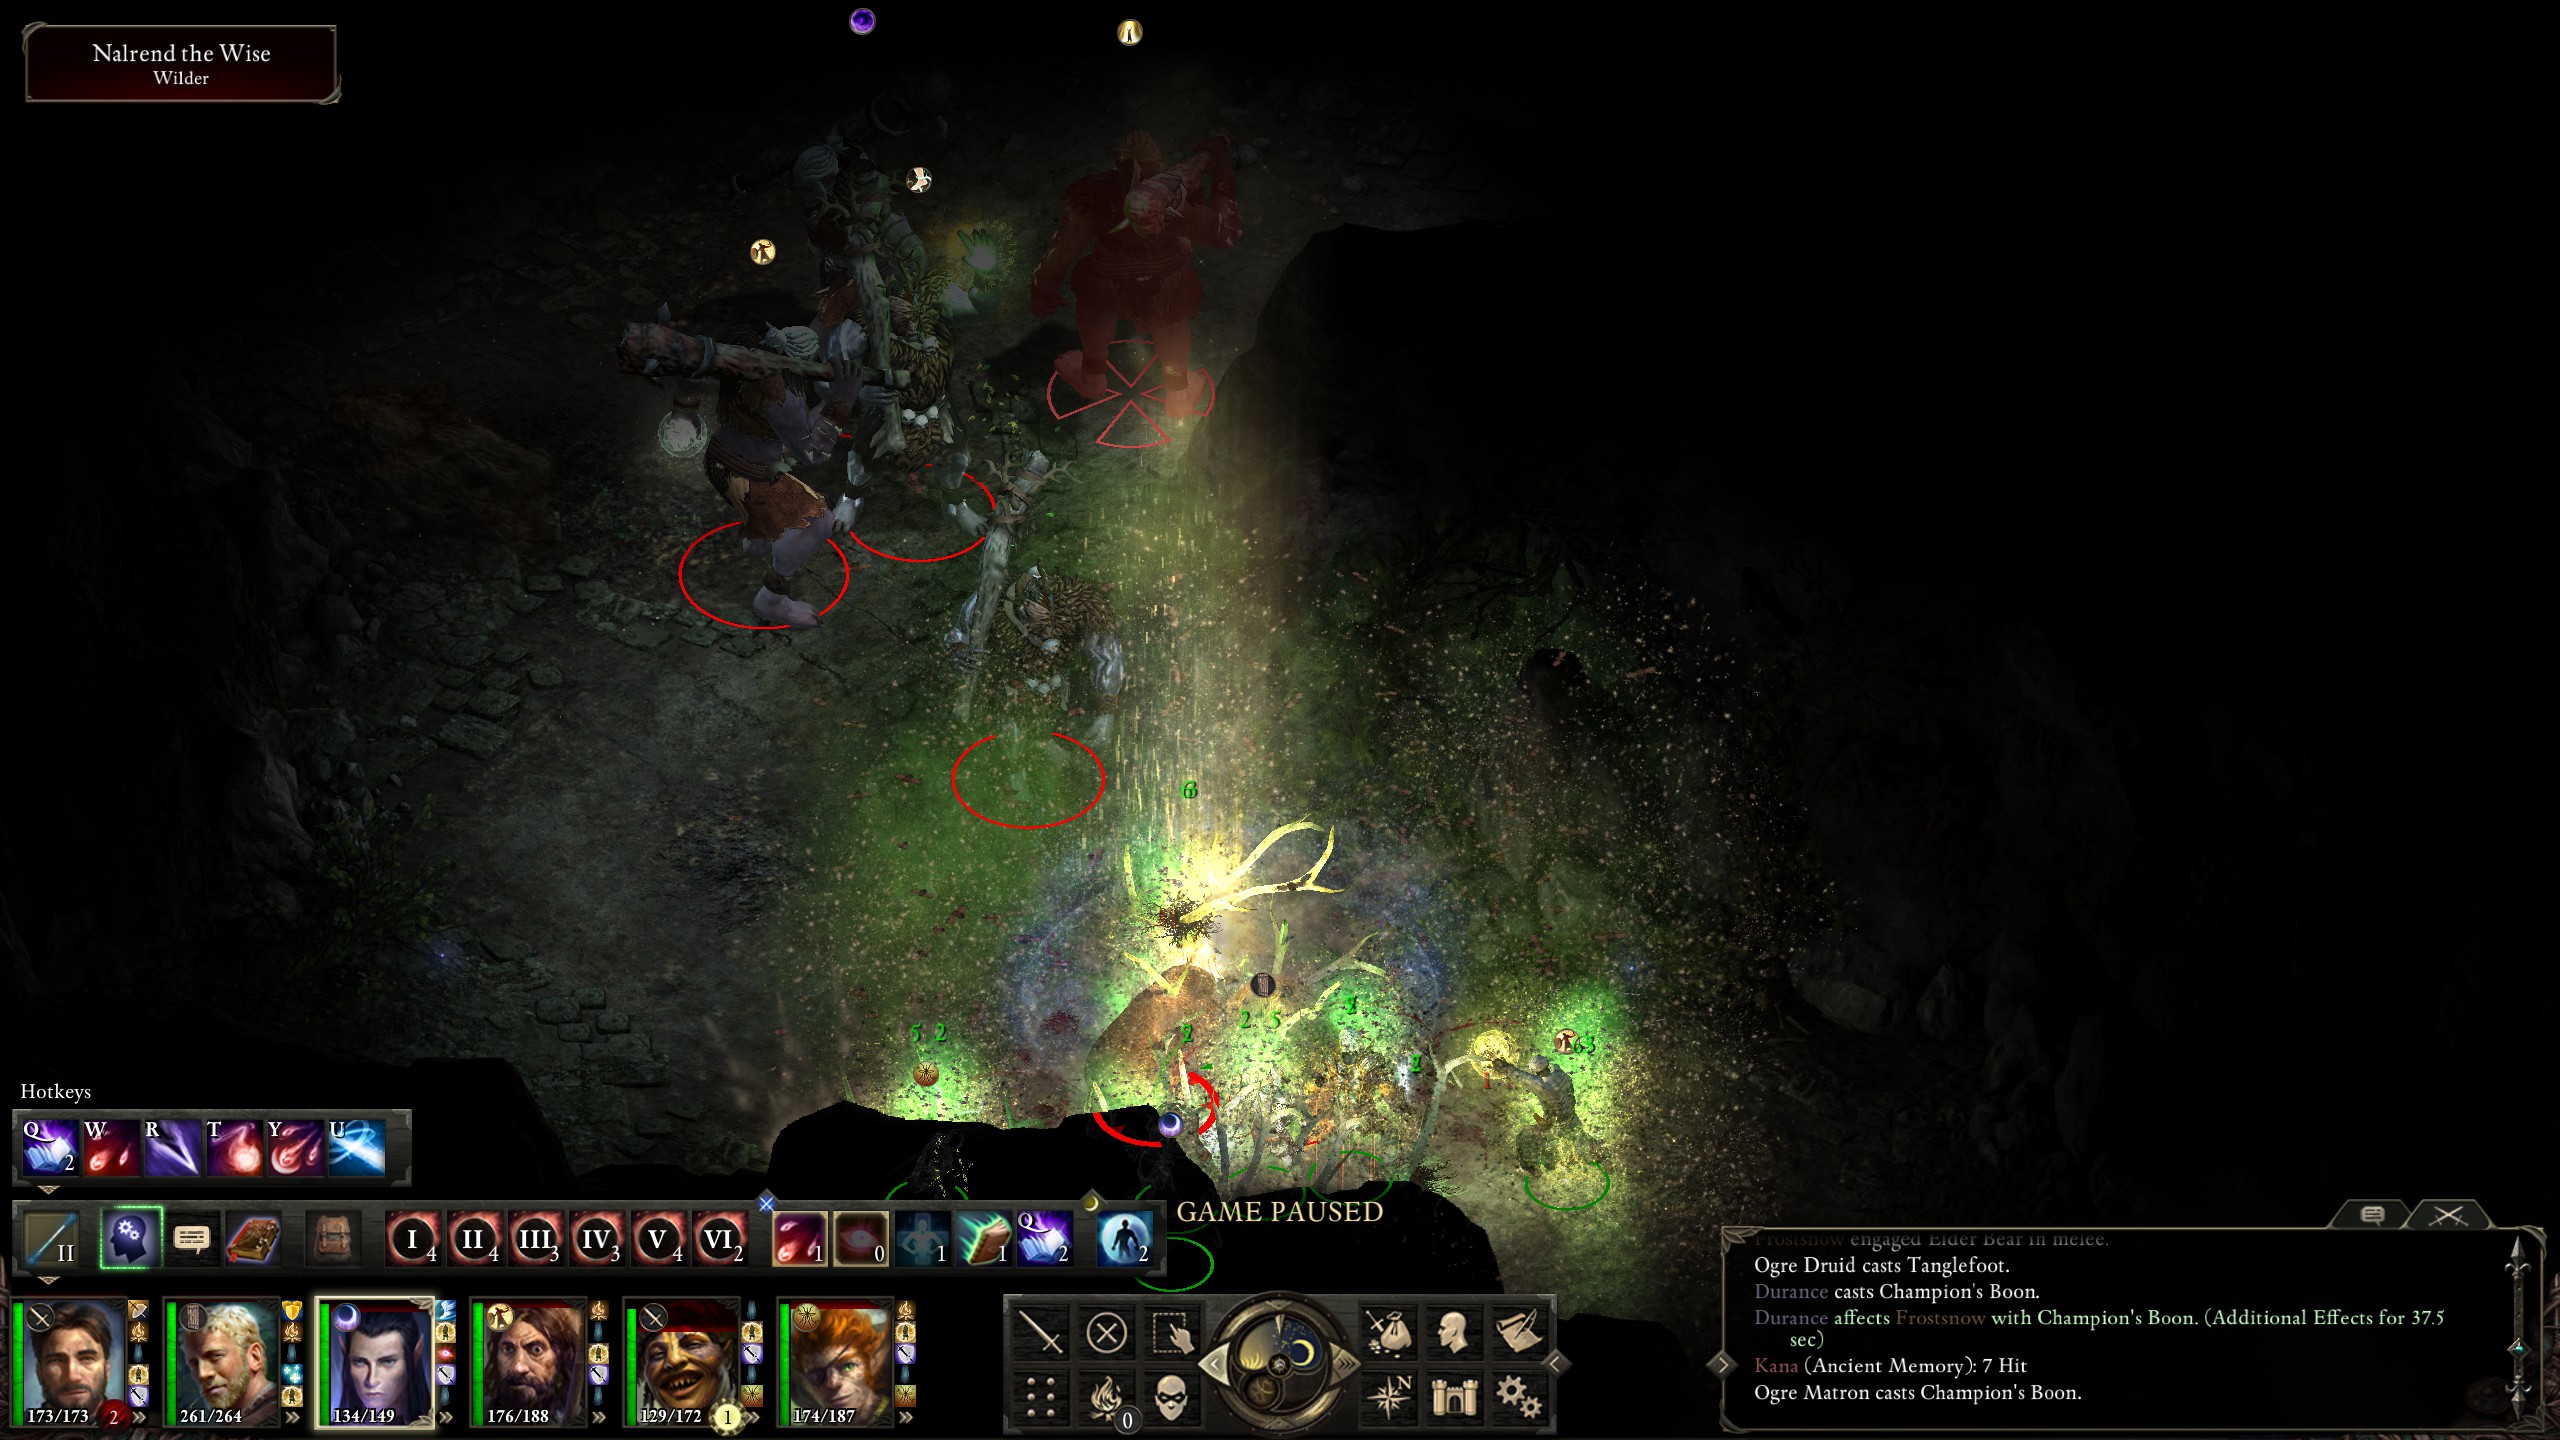
not that it was enough to save him.

Next up was Thorfen...
Who was easily defeated.
After him came Songsmith Roska.
Who was also easily crushed (especially by Durance's "Pillar of Holy Fire").

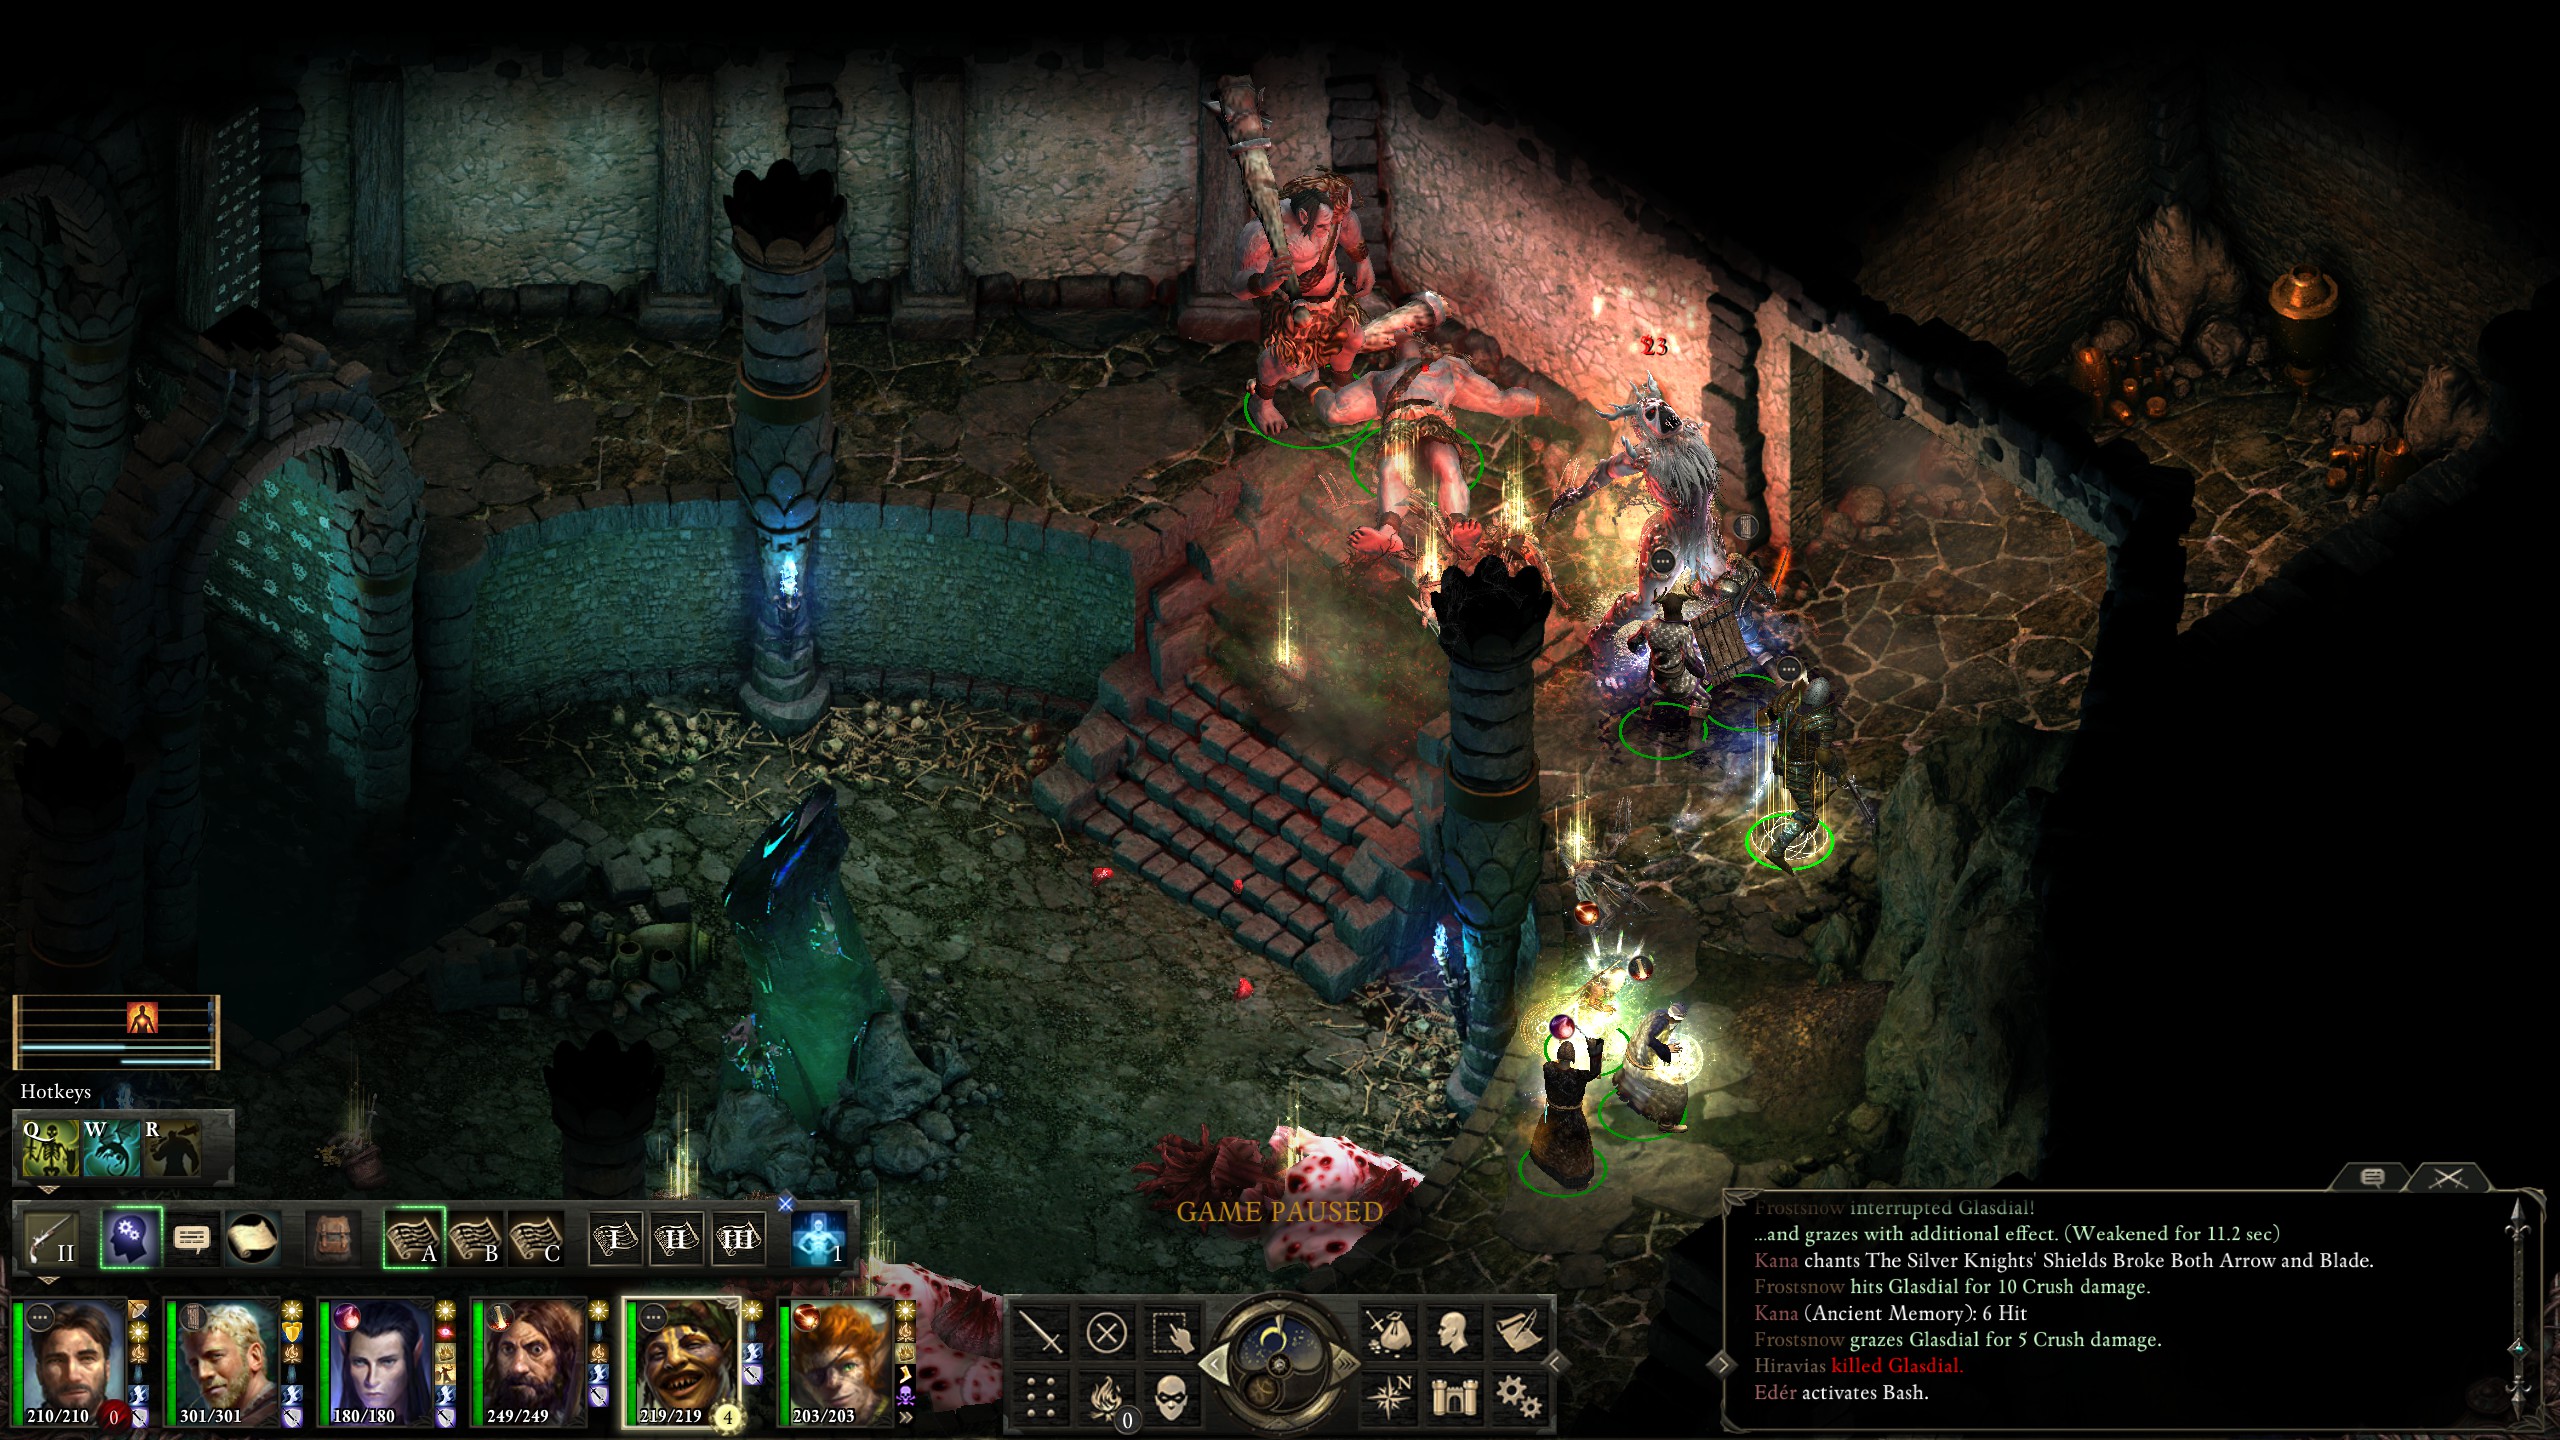
I made the mistake of getting too close to the ledge when fighting Glasdial...
but made up for it by casting spells from above.
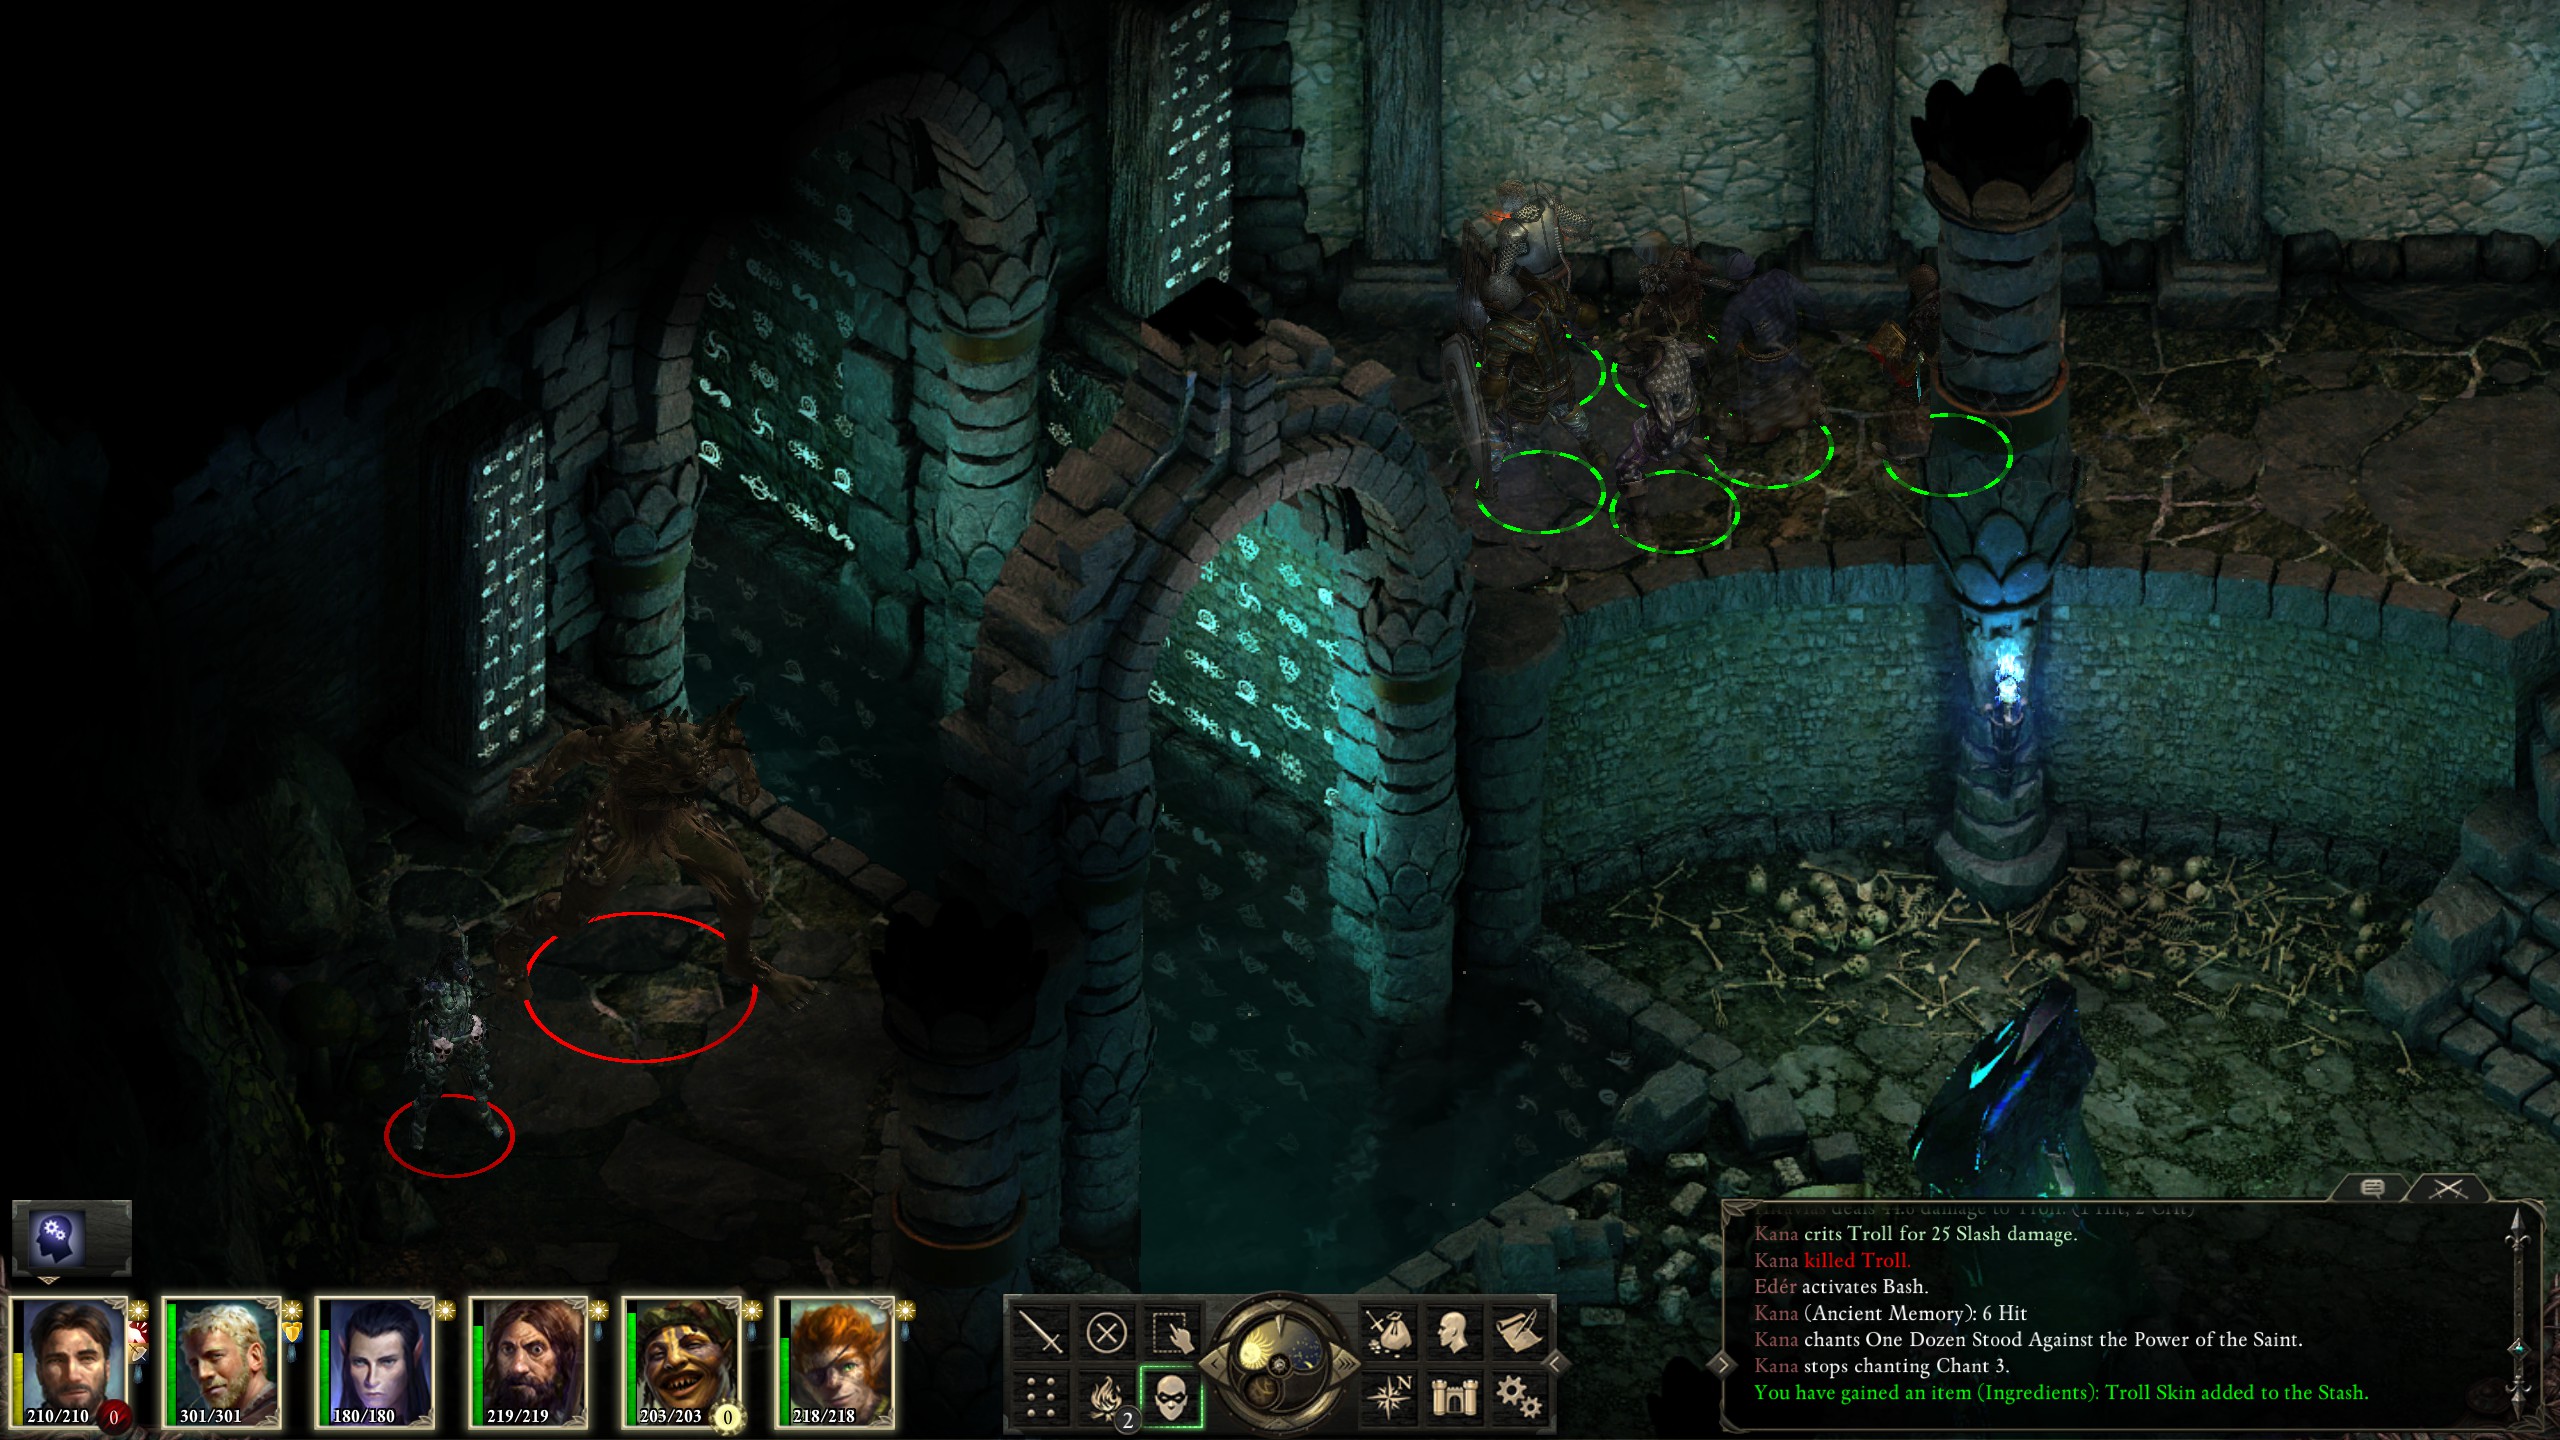
Daroth Grimault, being undead, was immune to the unconscious affliction...
but petrify and stunned still worked.
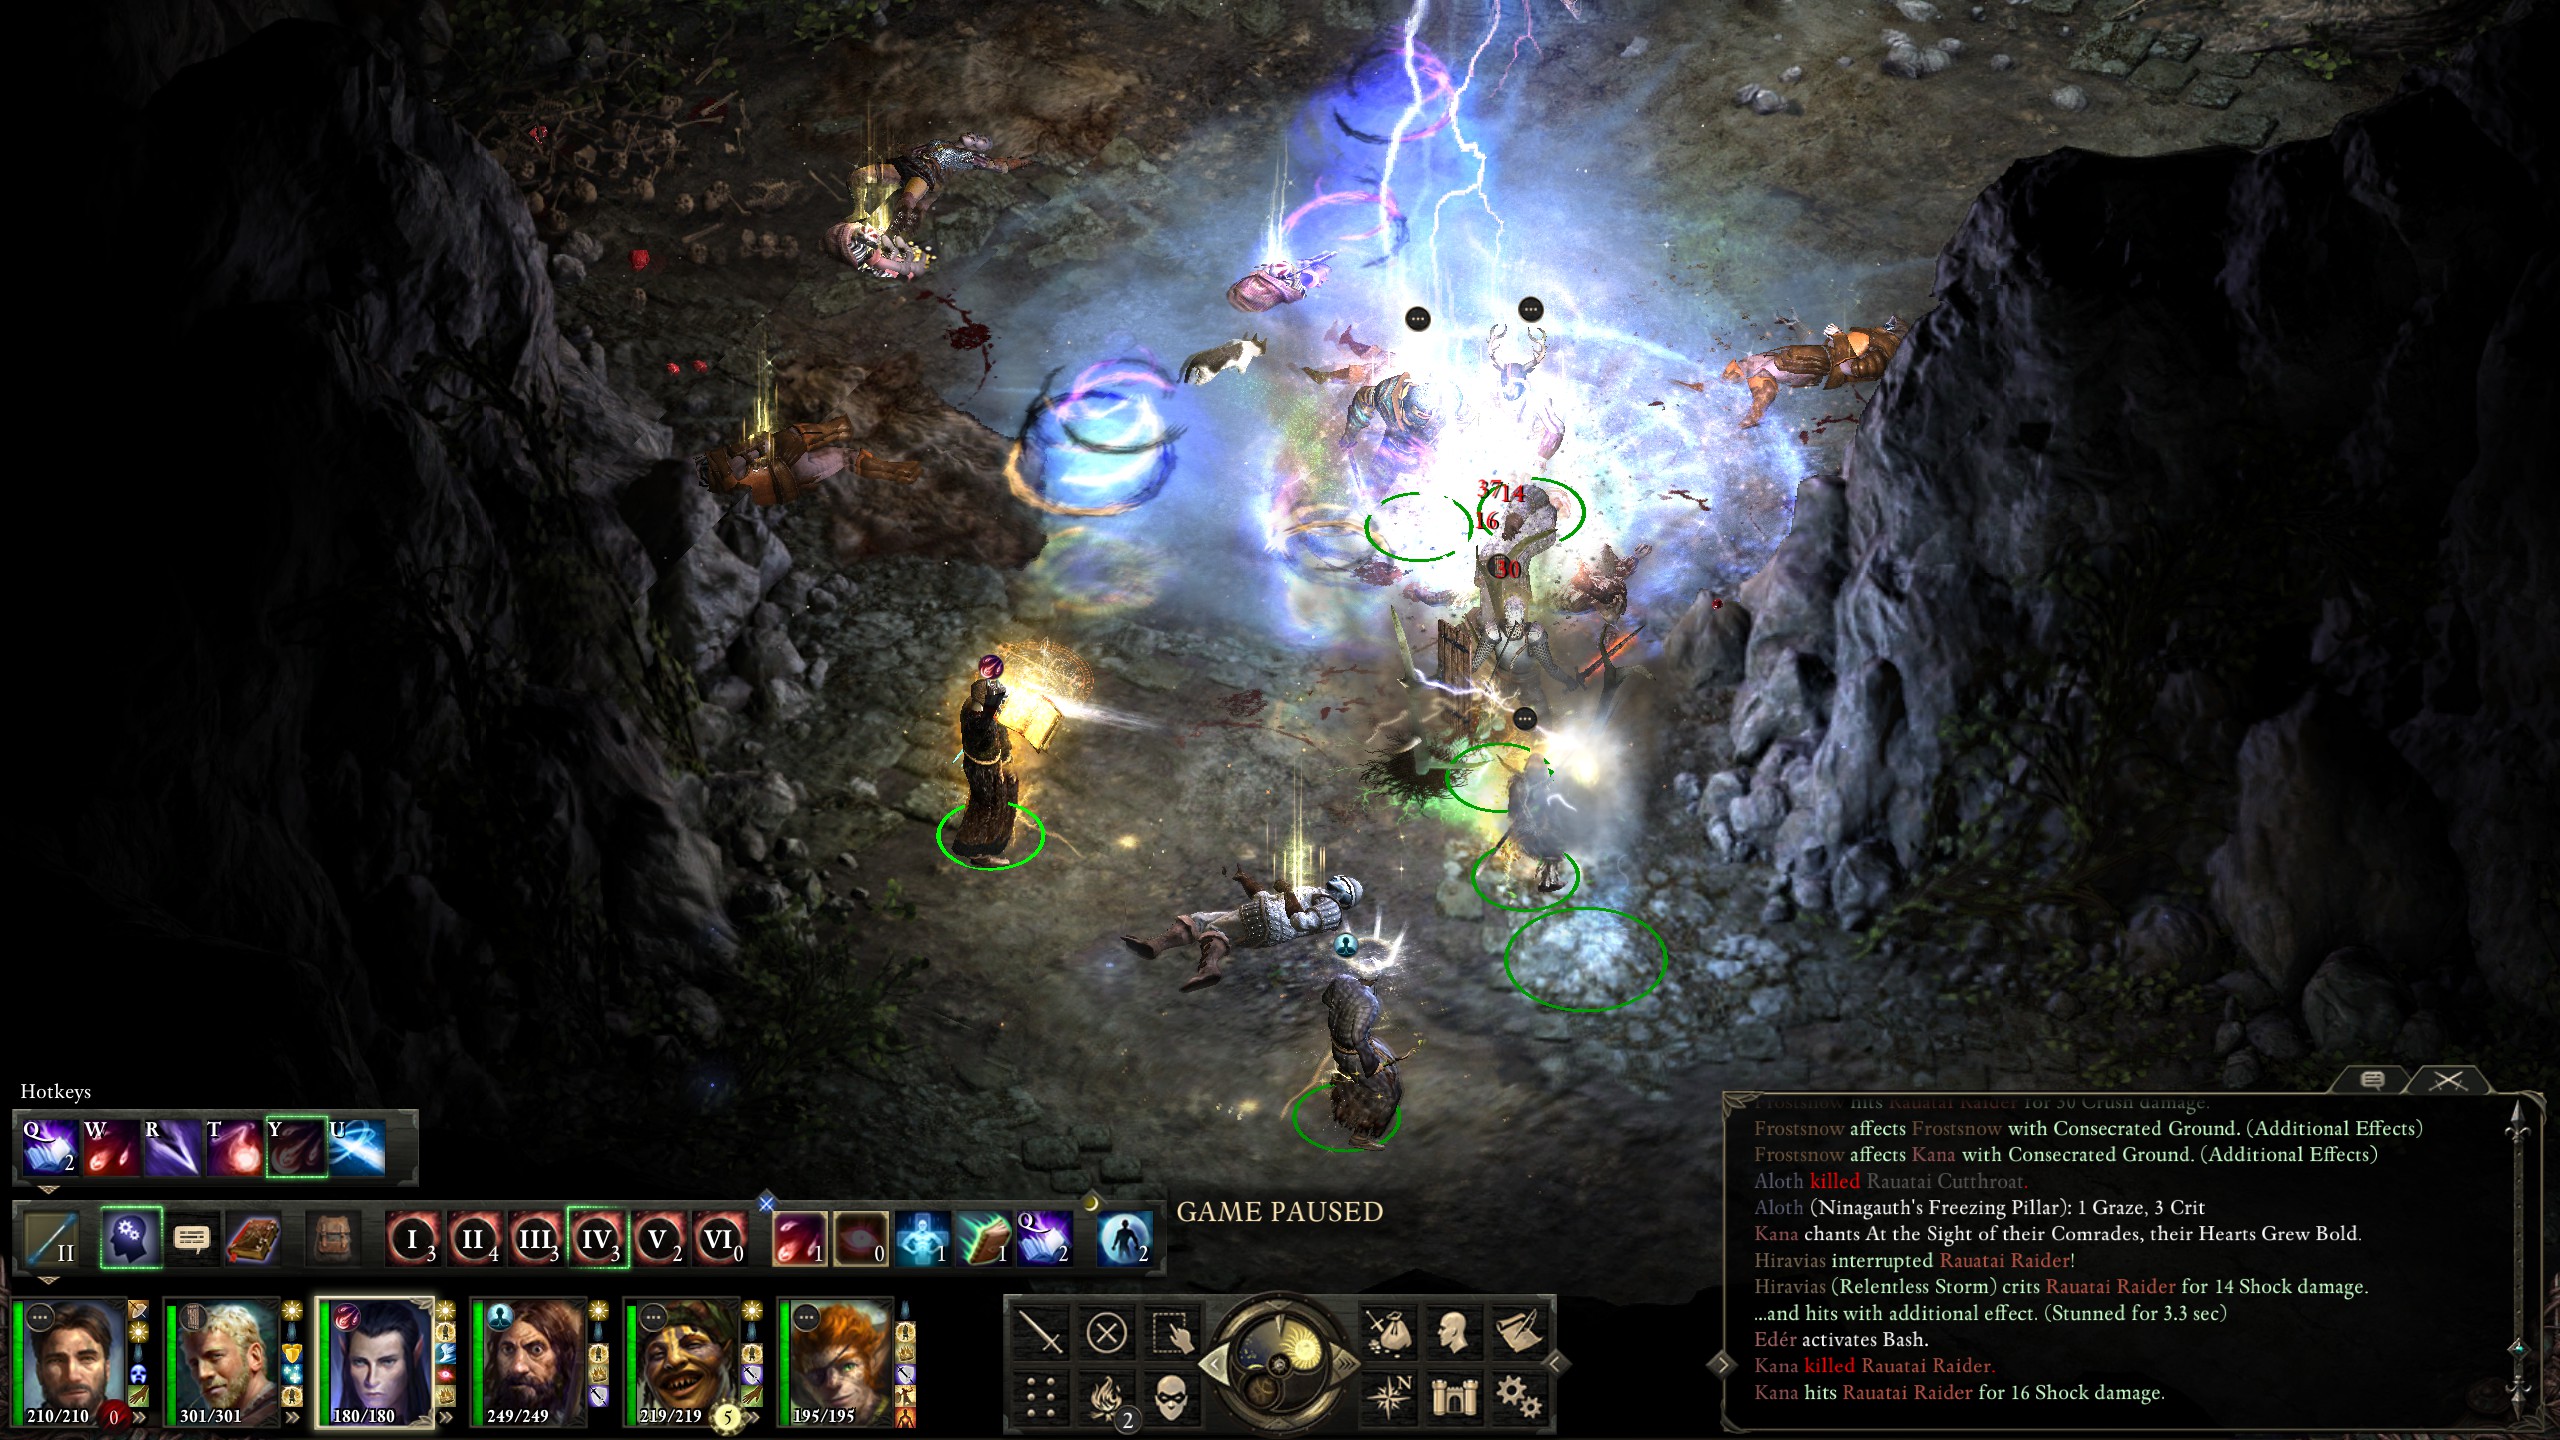
Captain Muarumi and his crew, however, being regular kith, were not so immune.
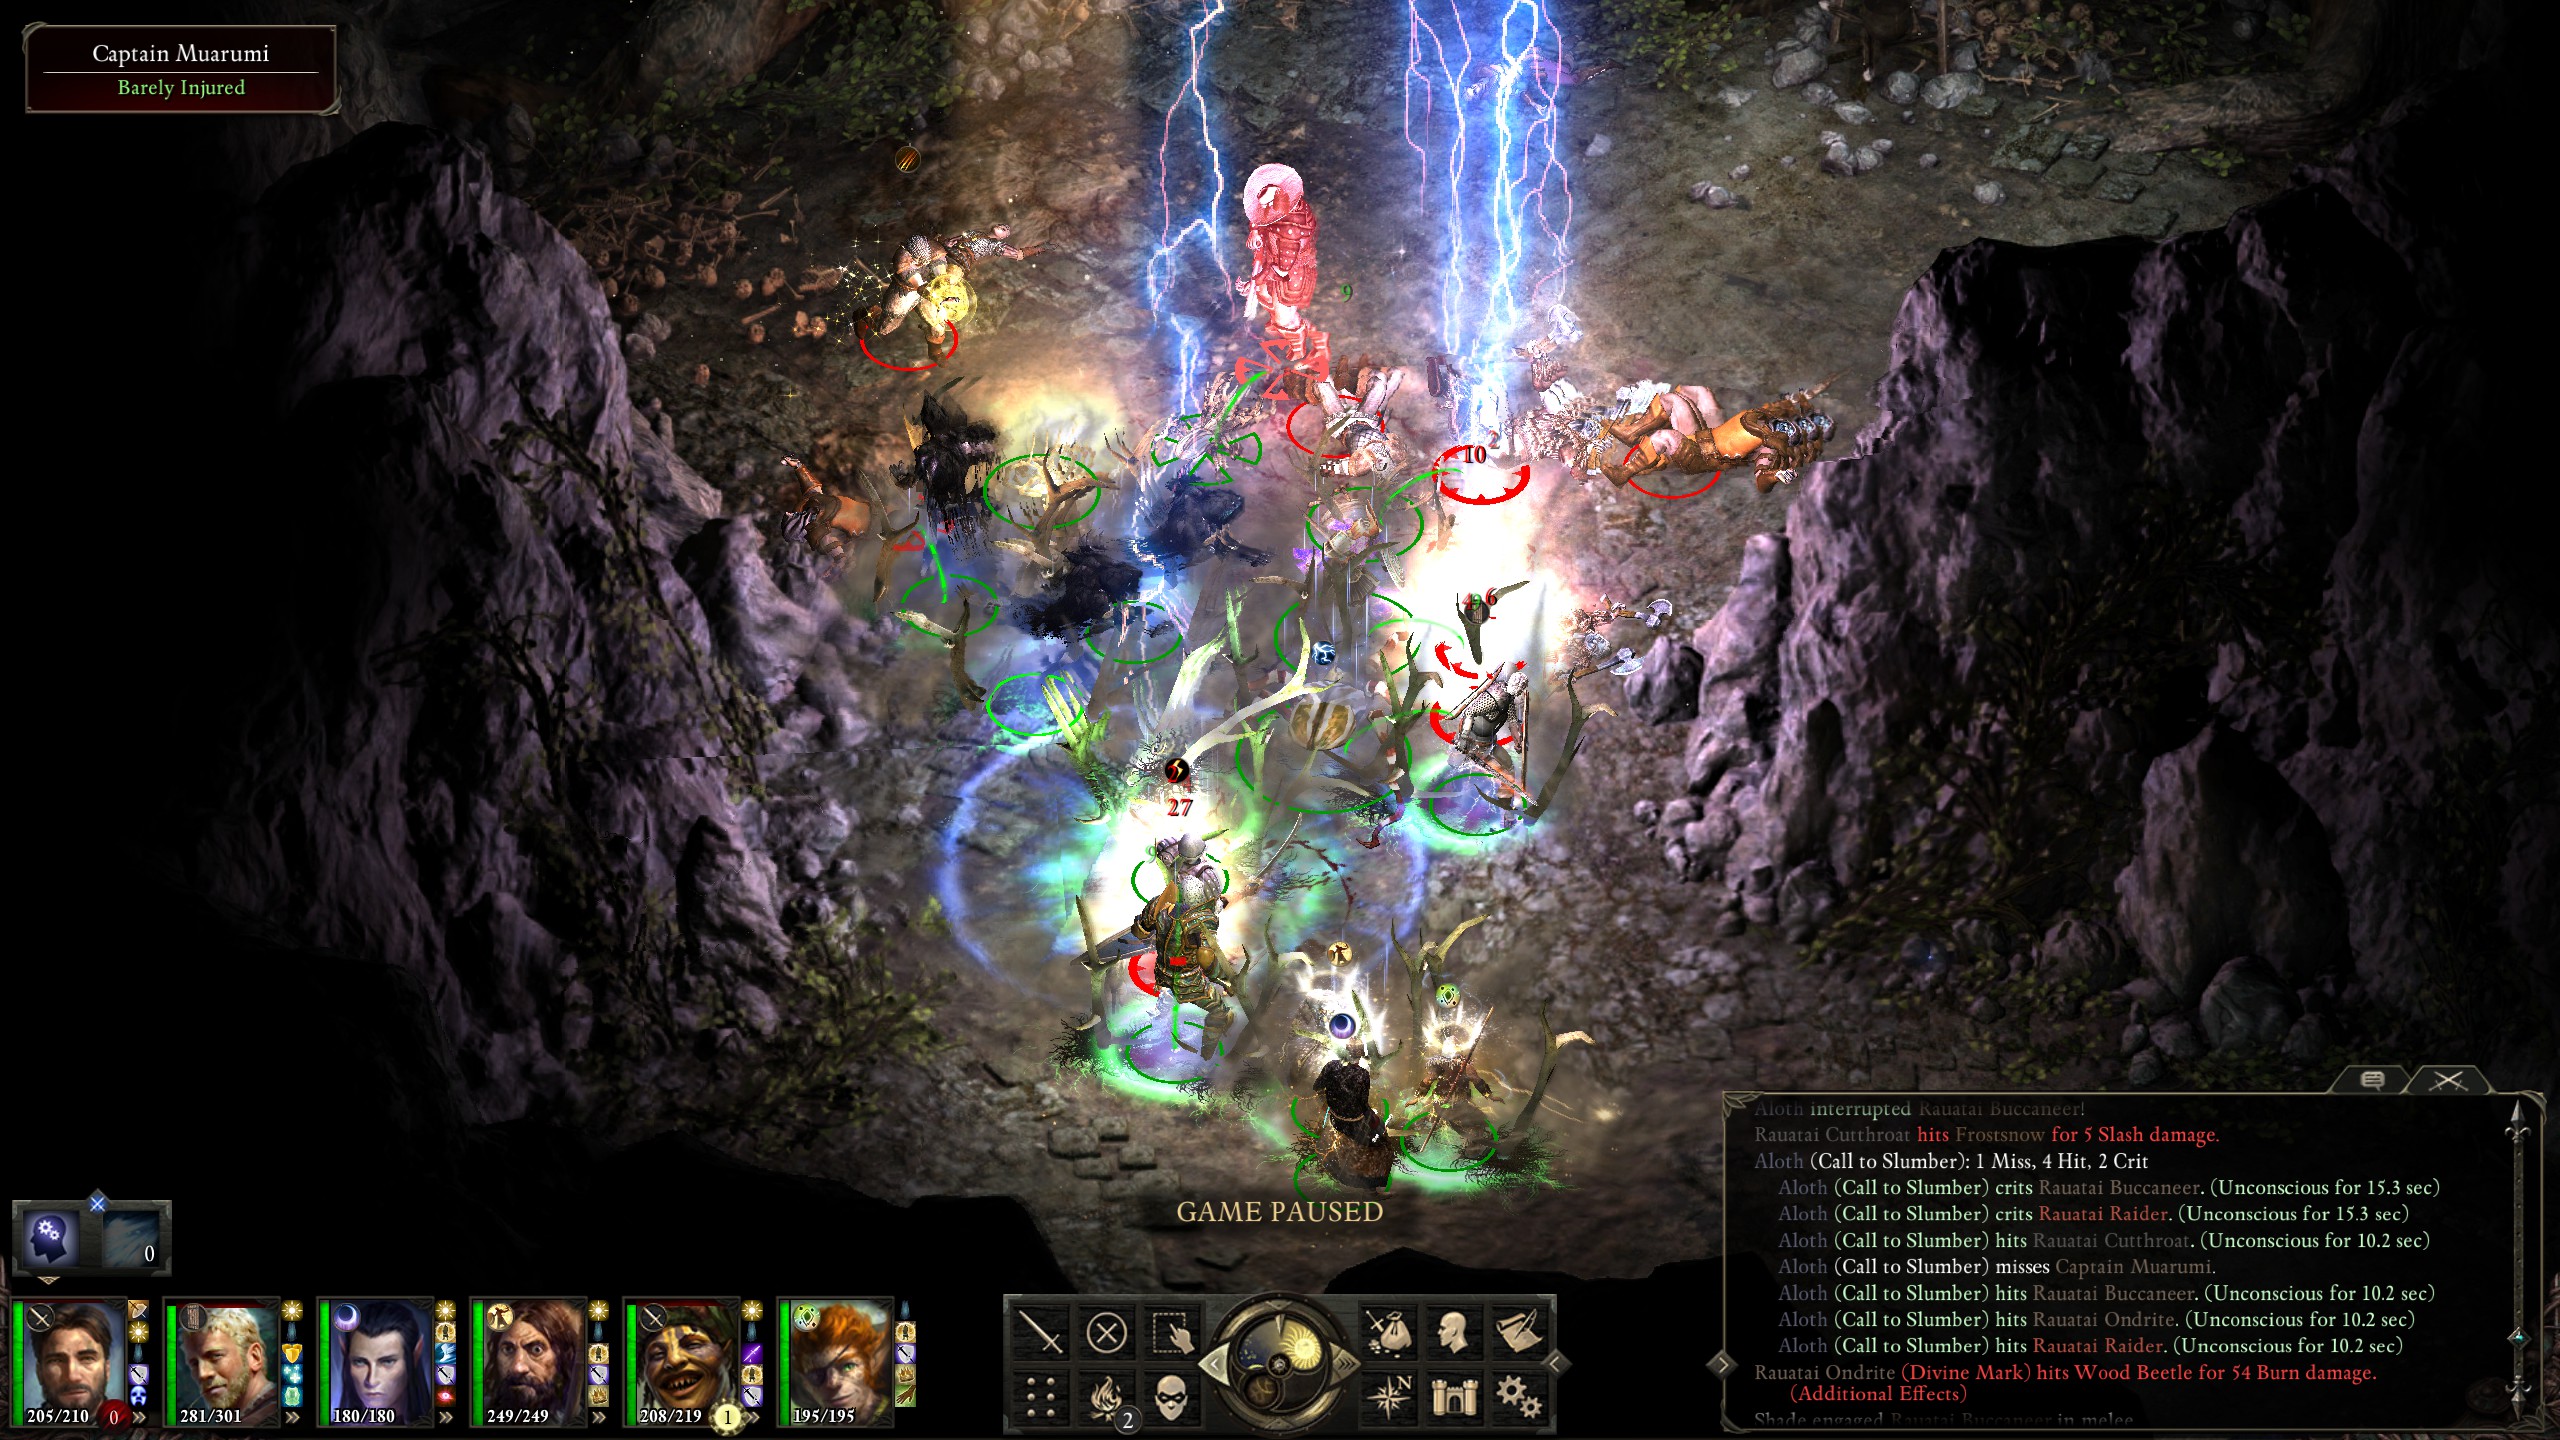
"Ninagauth's Freezing Pillar" then demolished them while their reflex saves were low.
I don't even recall the fight with Galen Dalgard...
but I know that I now use that excellent shield (Old Gerun's Wall) of his!
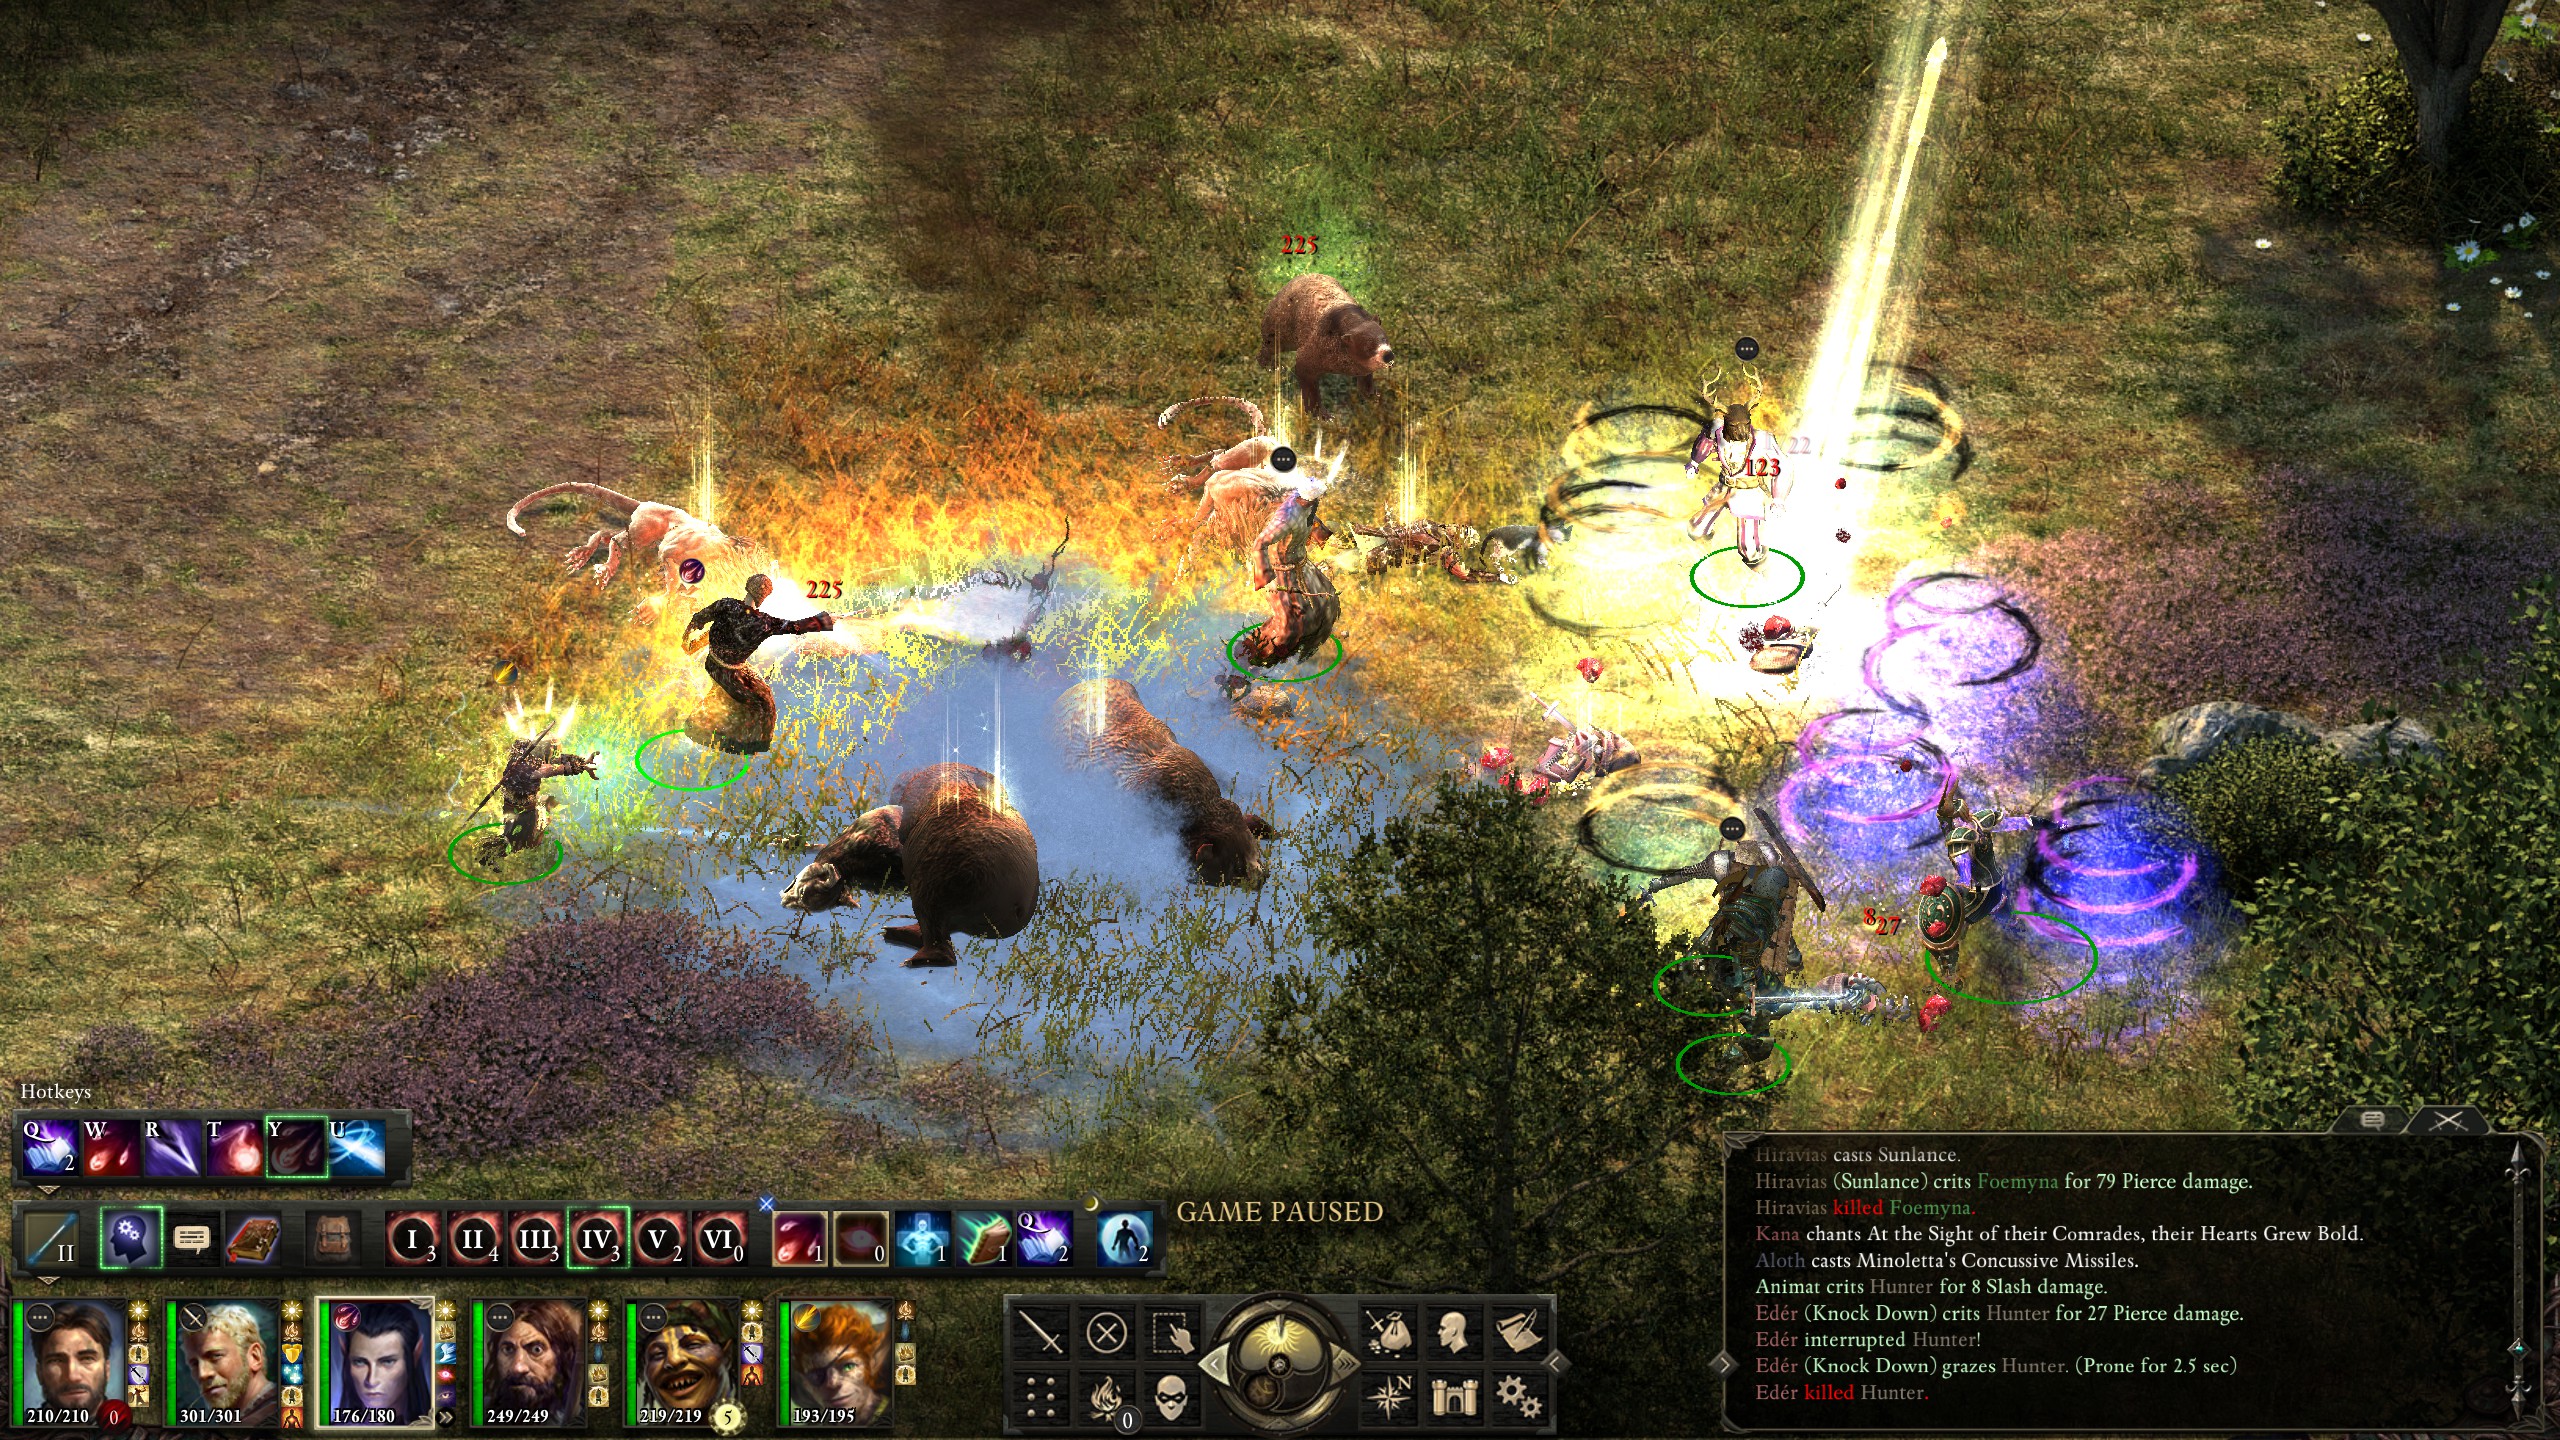
Foemyna and her beasts were easily distracted by the summoning trinkets...
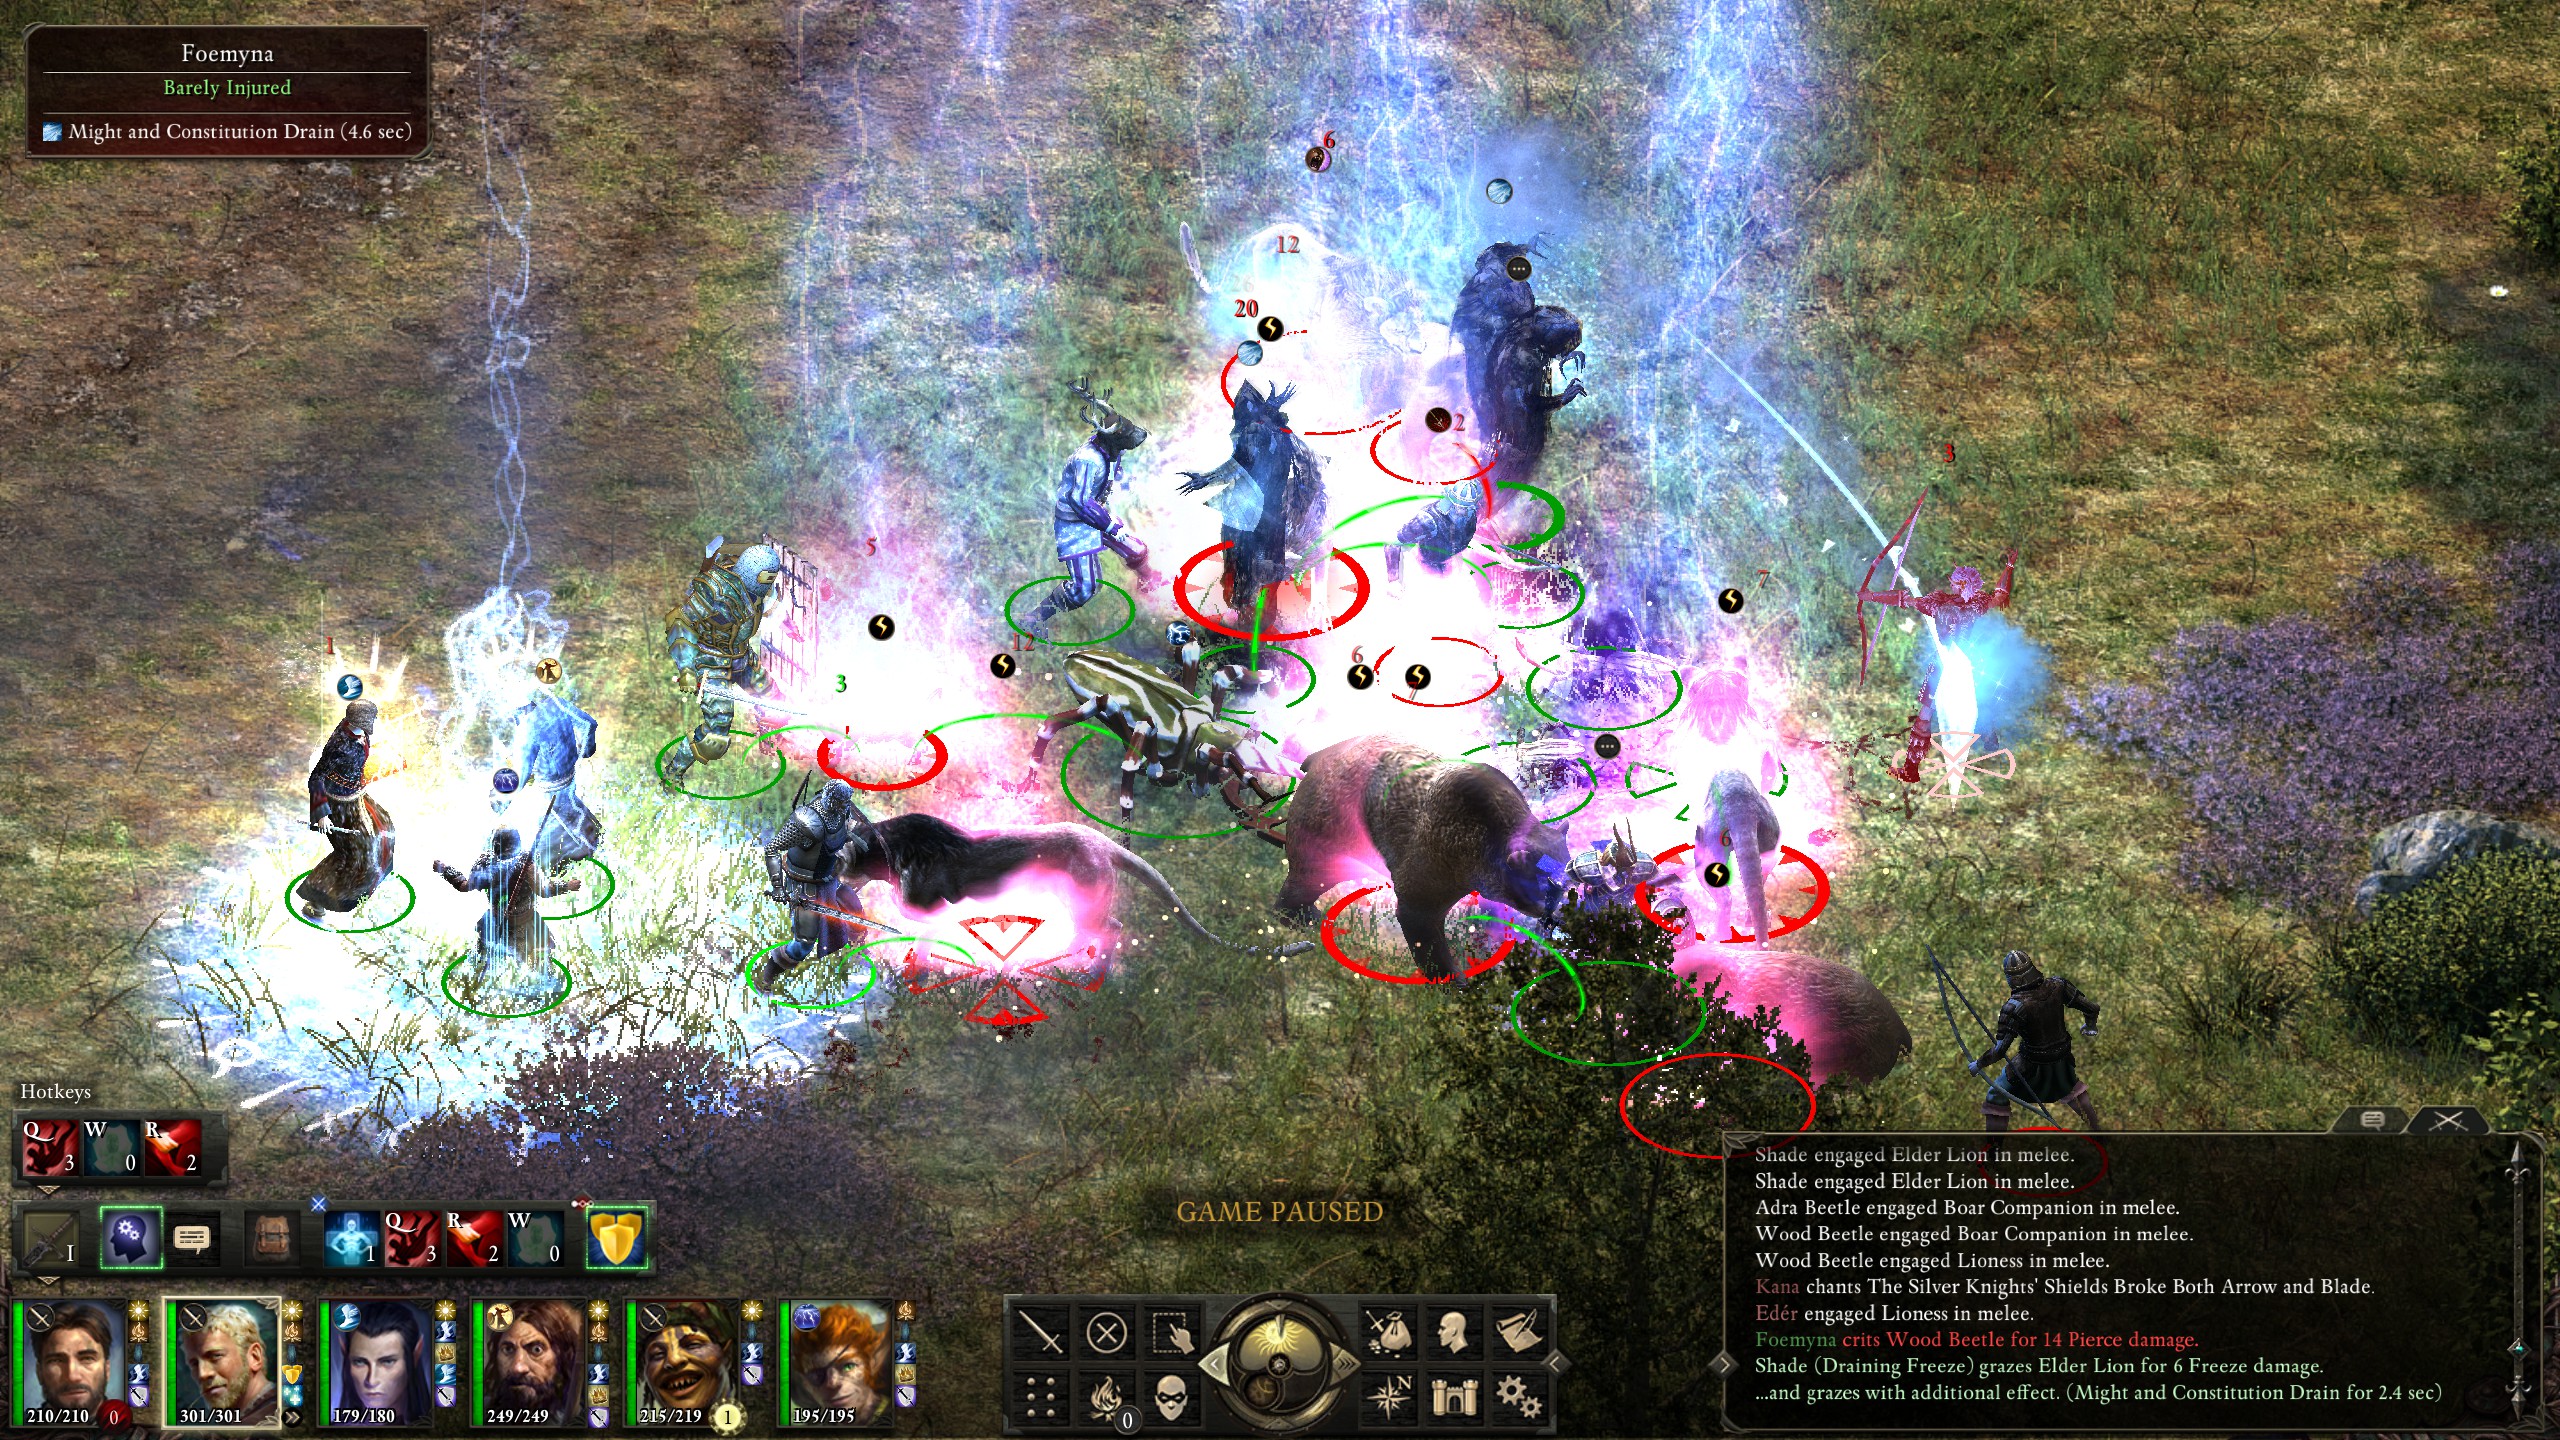
Then quickly finished.
The next bounty was up in Northweald, so it and the ones after it would have to wait for me to explore Twin Elms first.
A storyline encounter with the anamenfath...
And a pretty awesome tree-house inn.
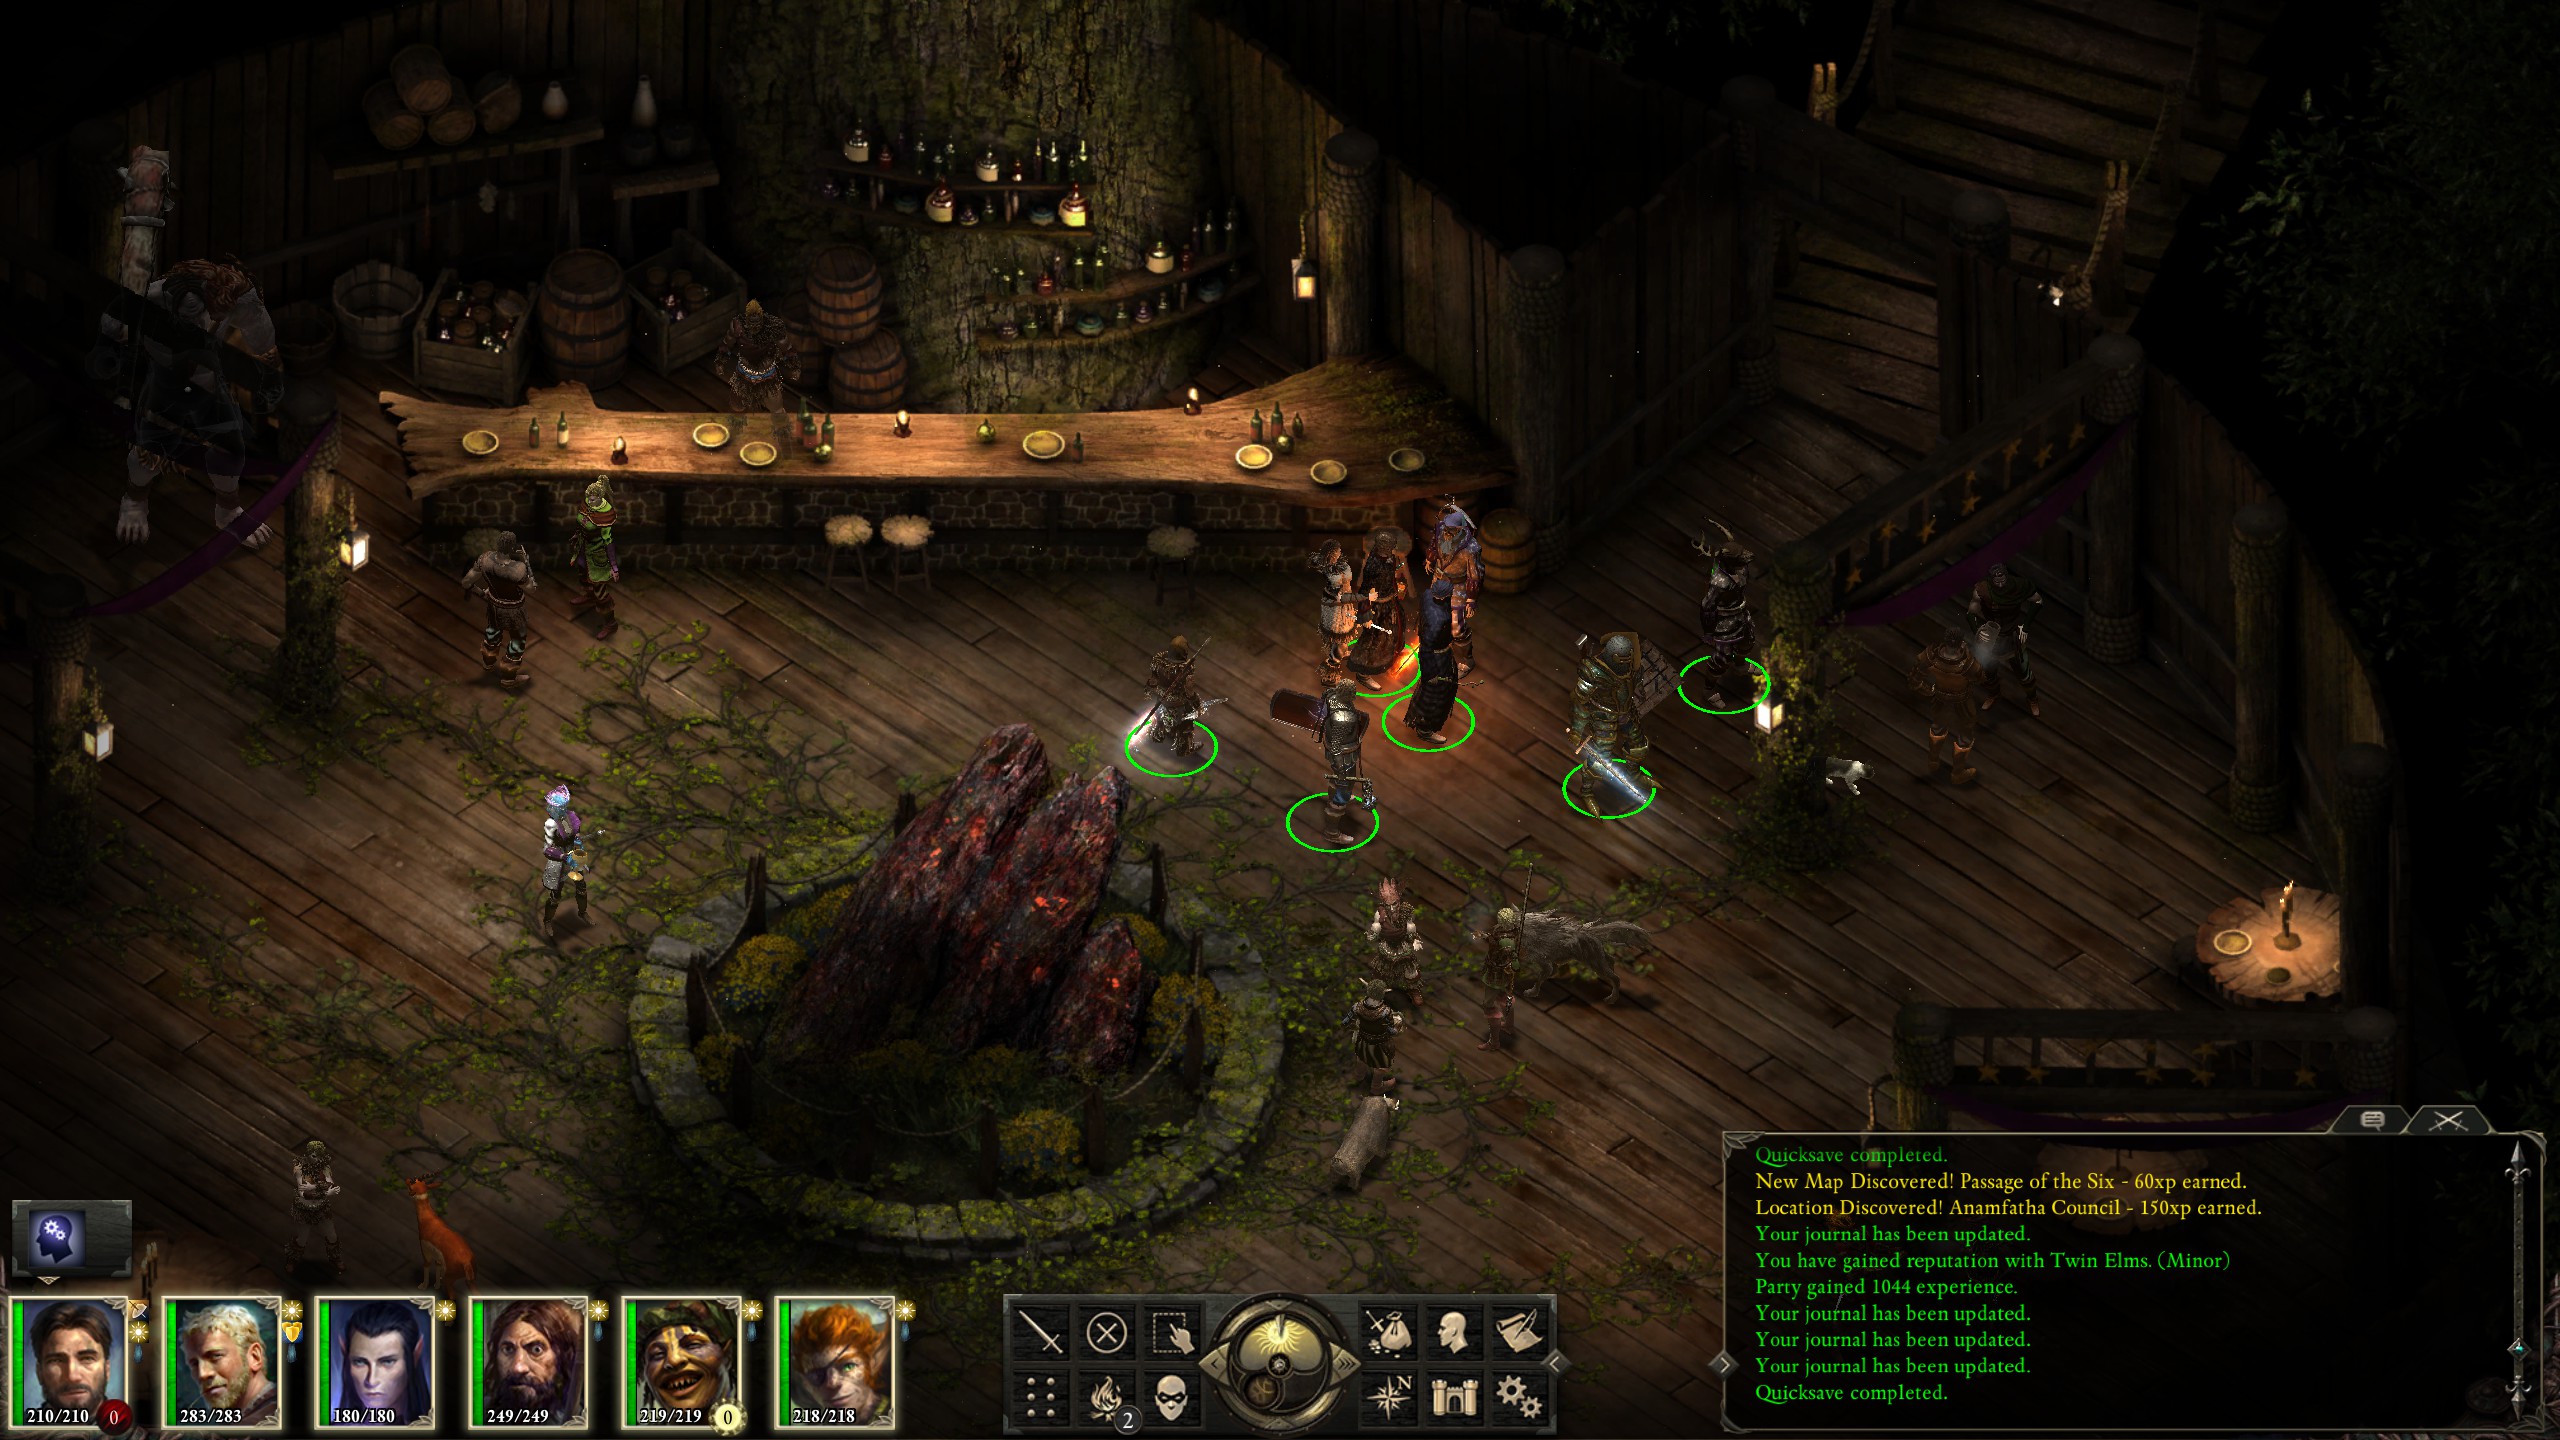
From Elms' Reach I then went towards Teir Evron.
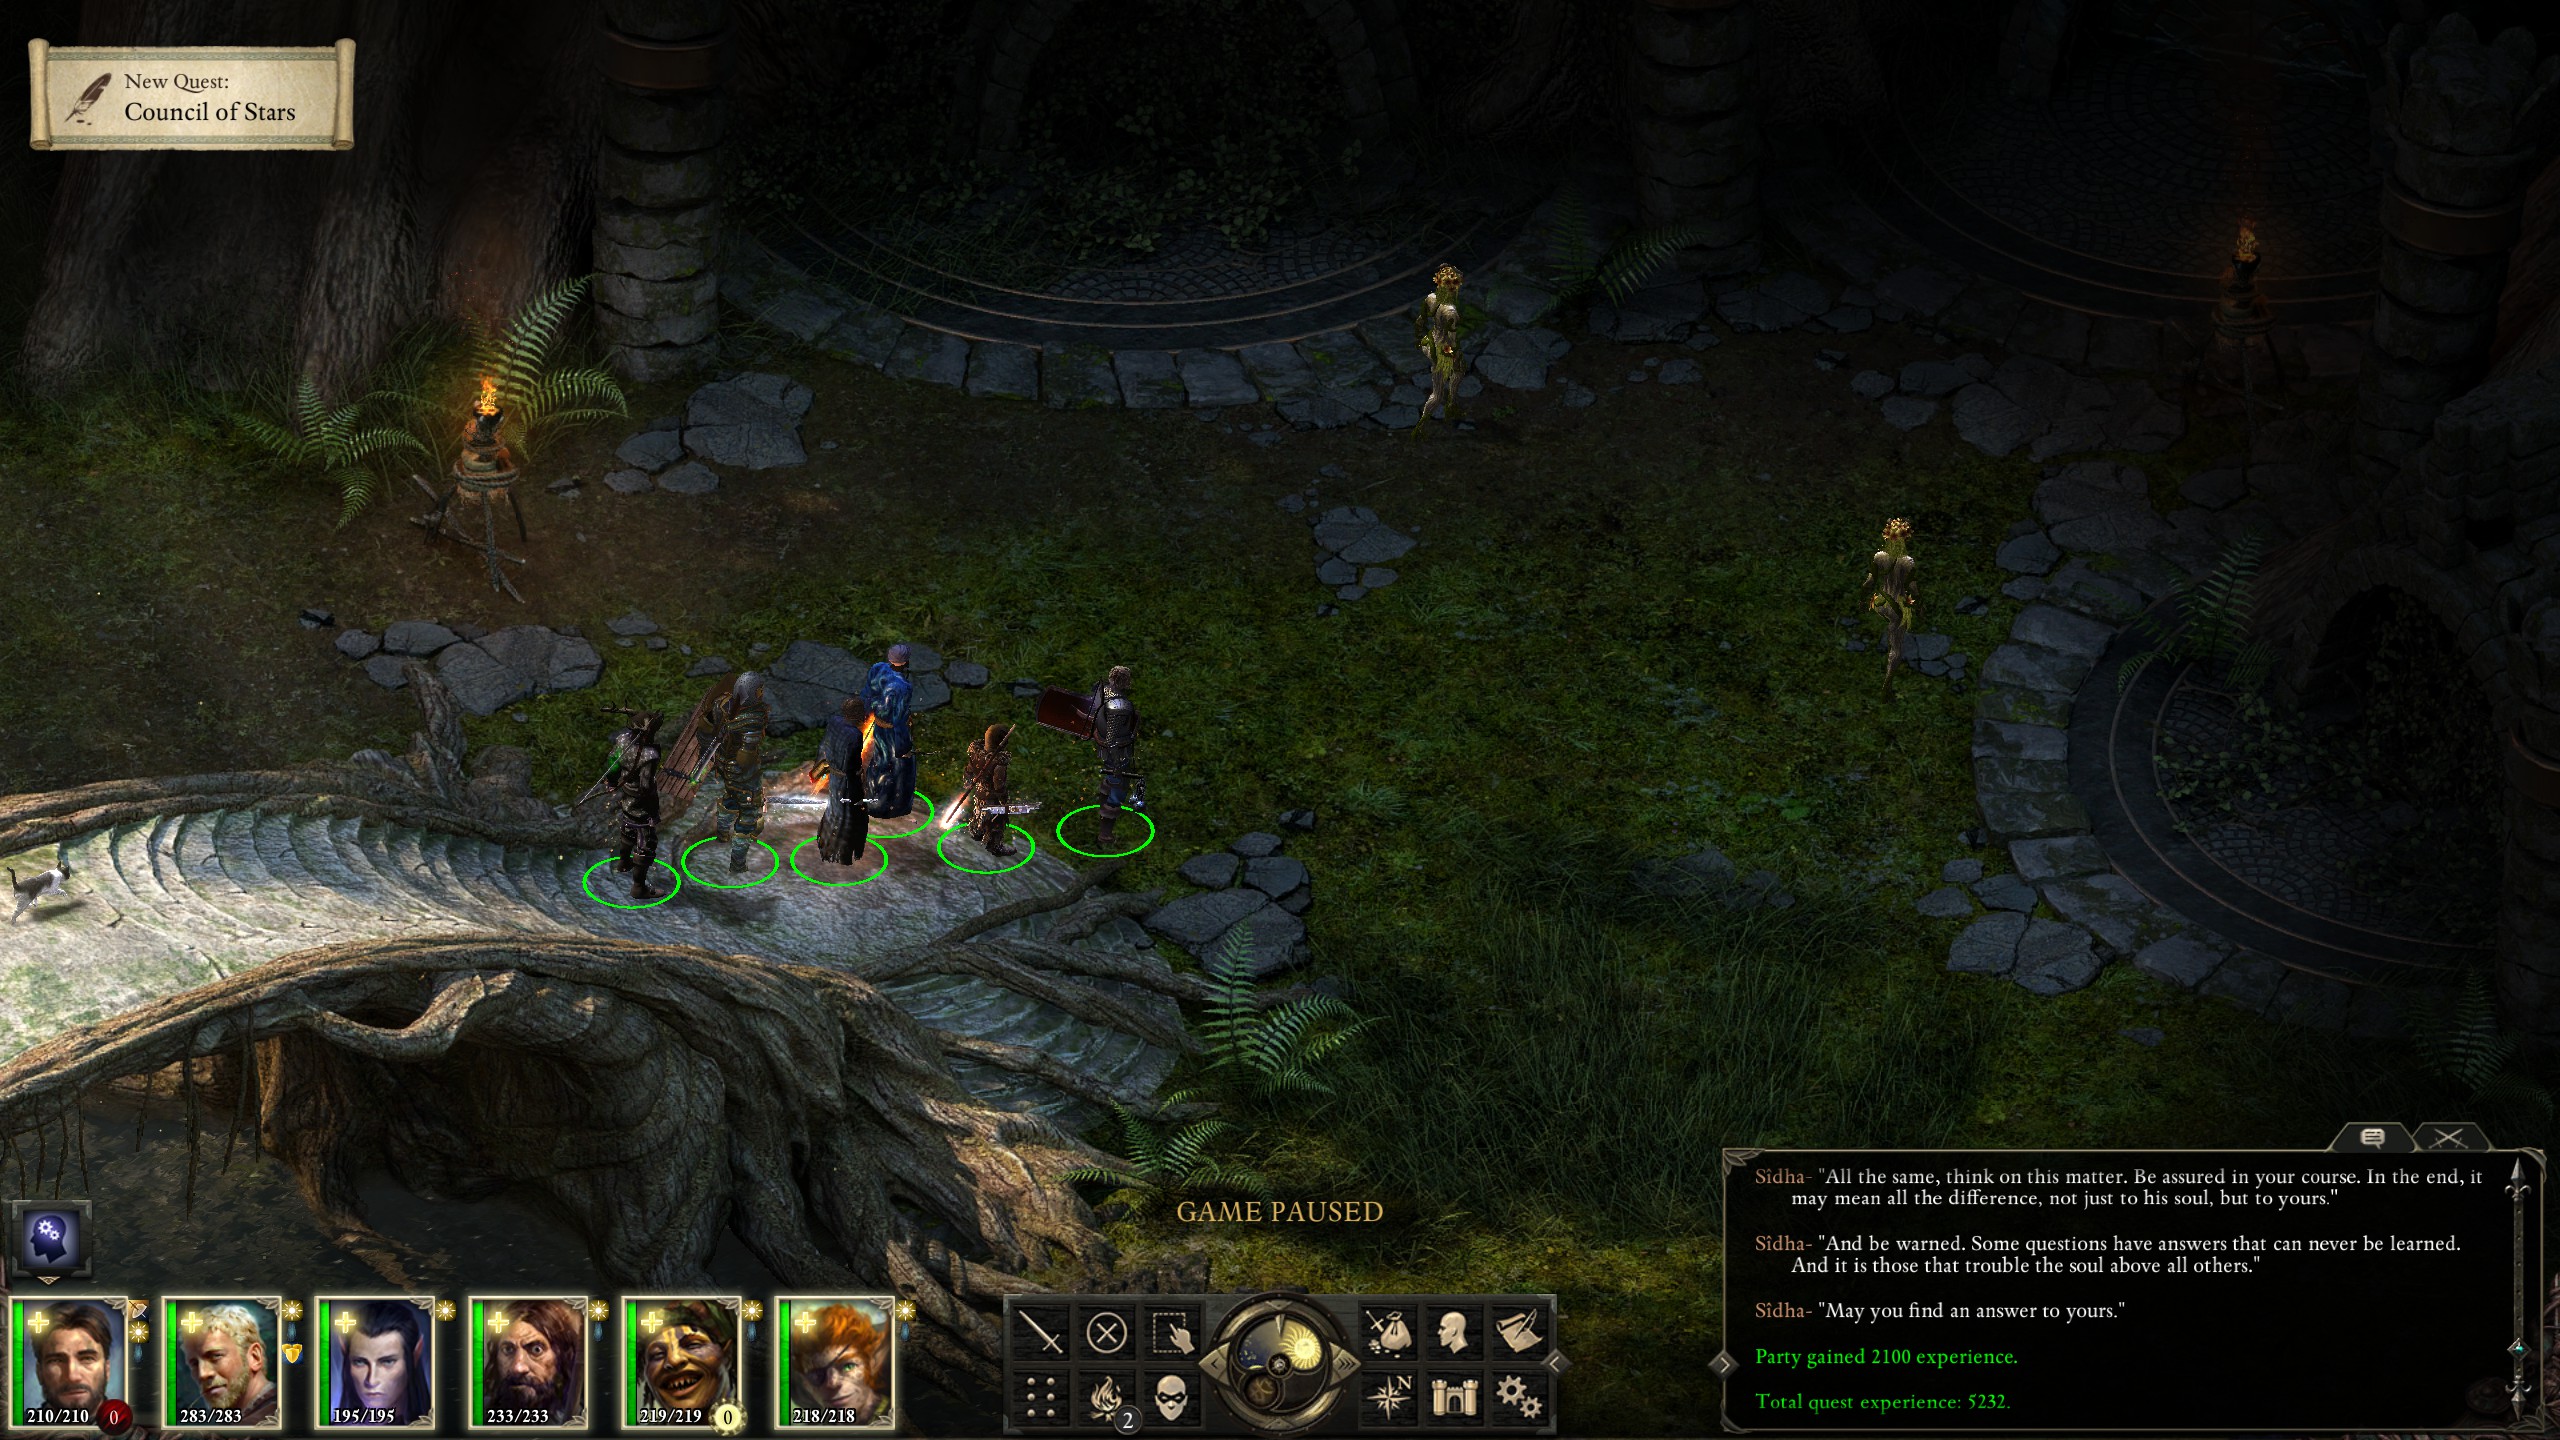
Although I took a quick detour in order to deal with the brute Simoc...
before actually entering Teir Evron.
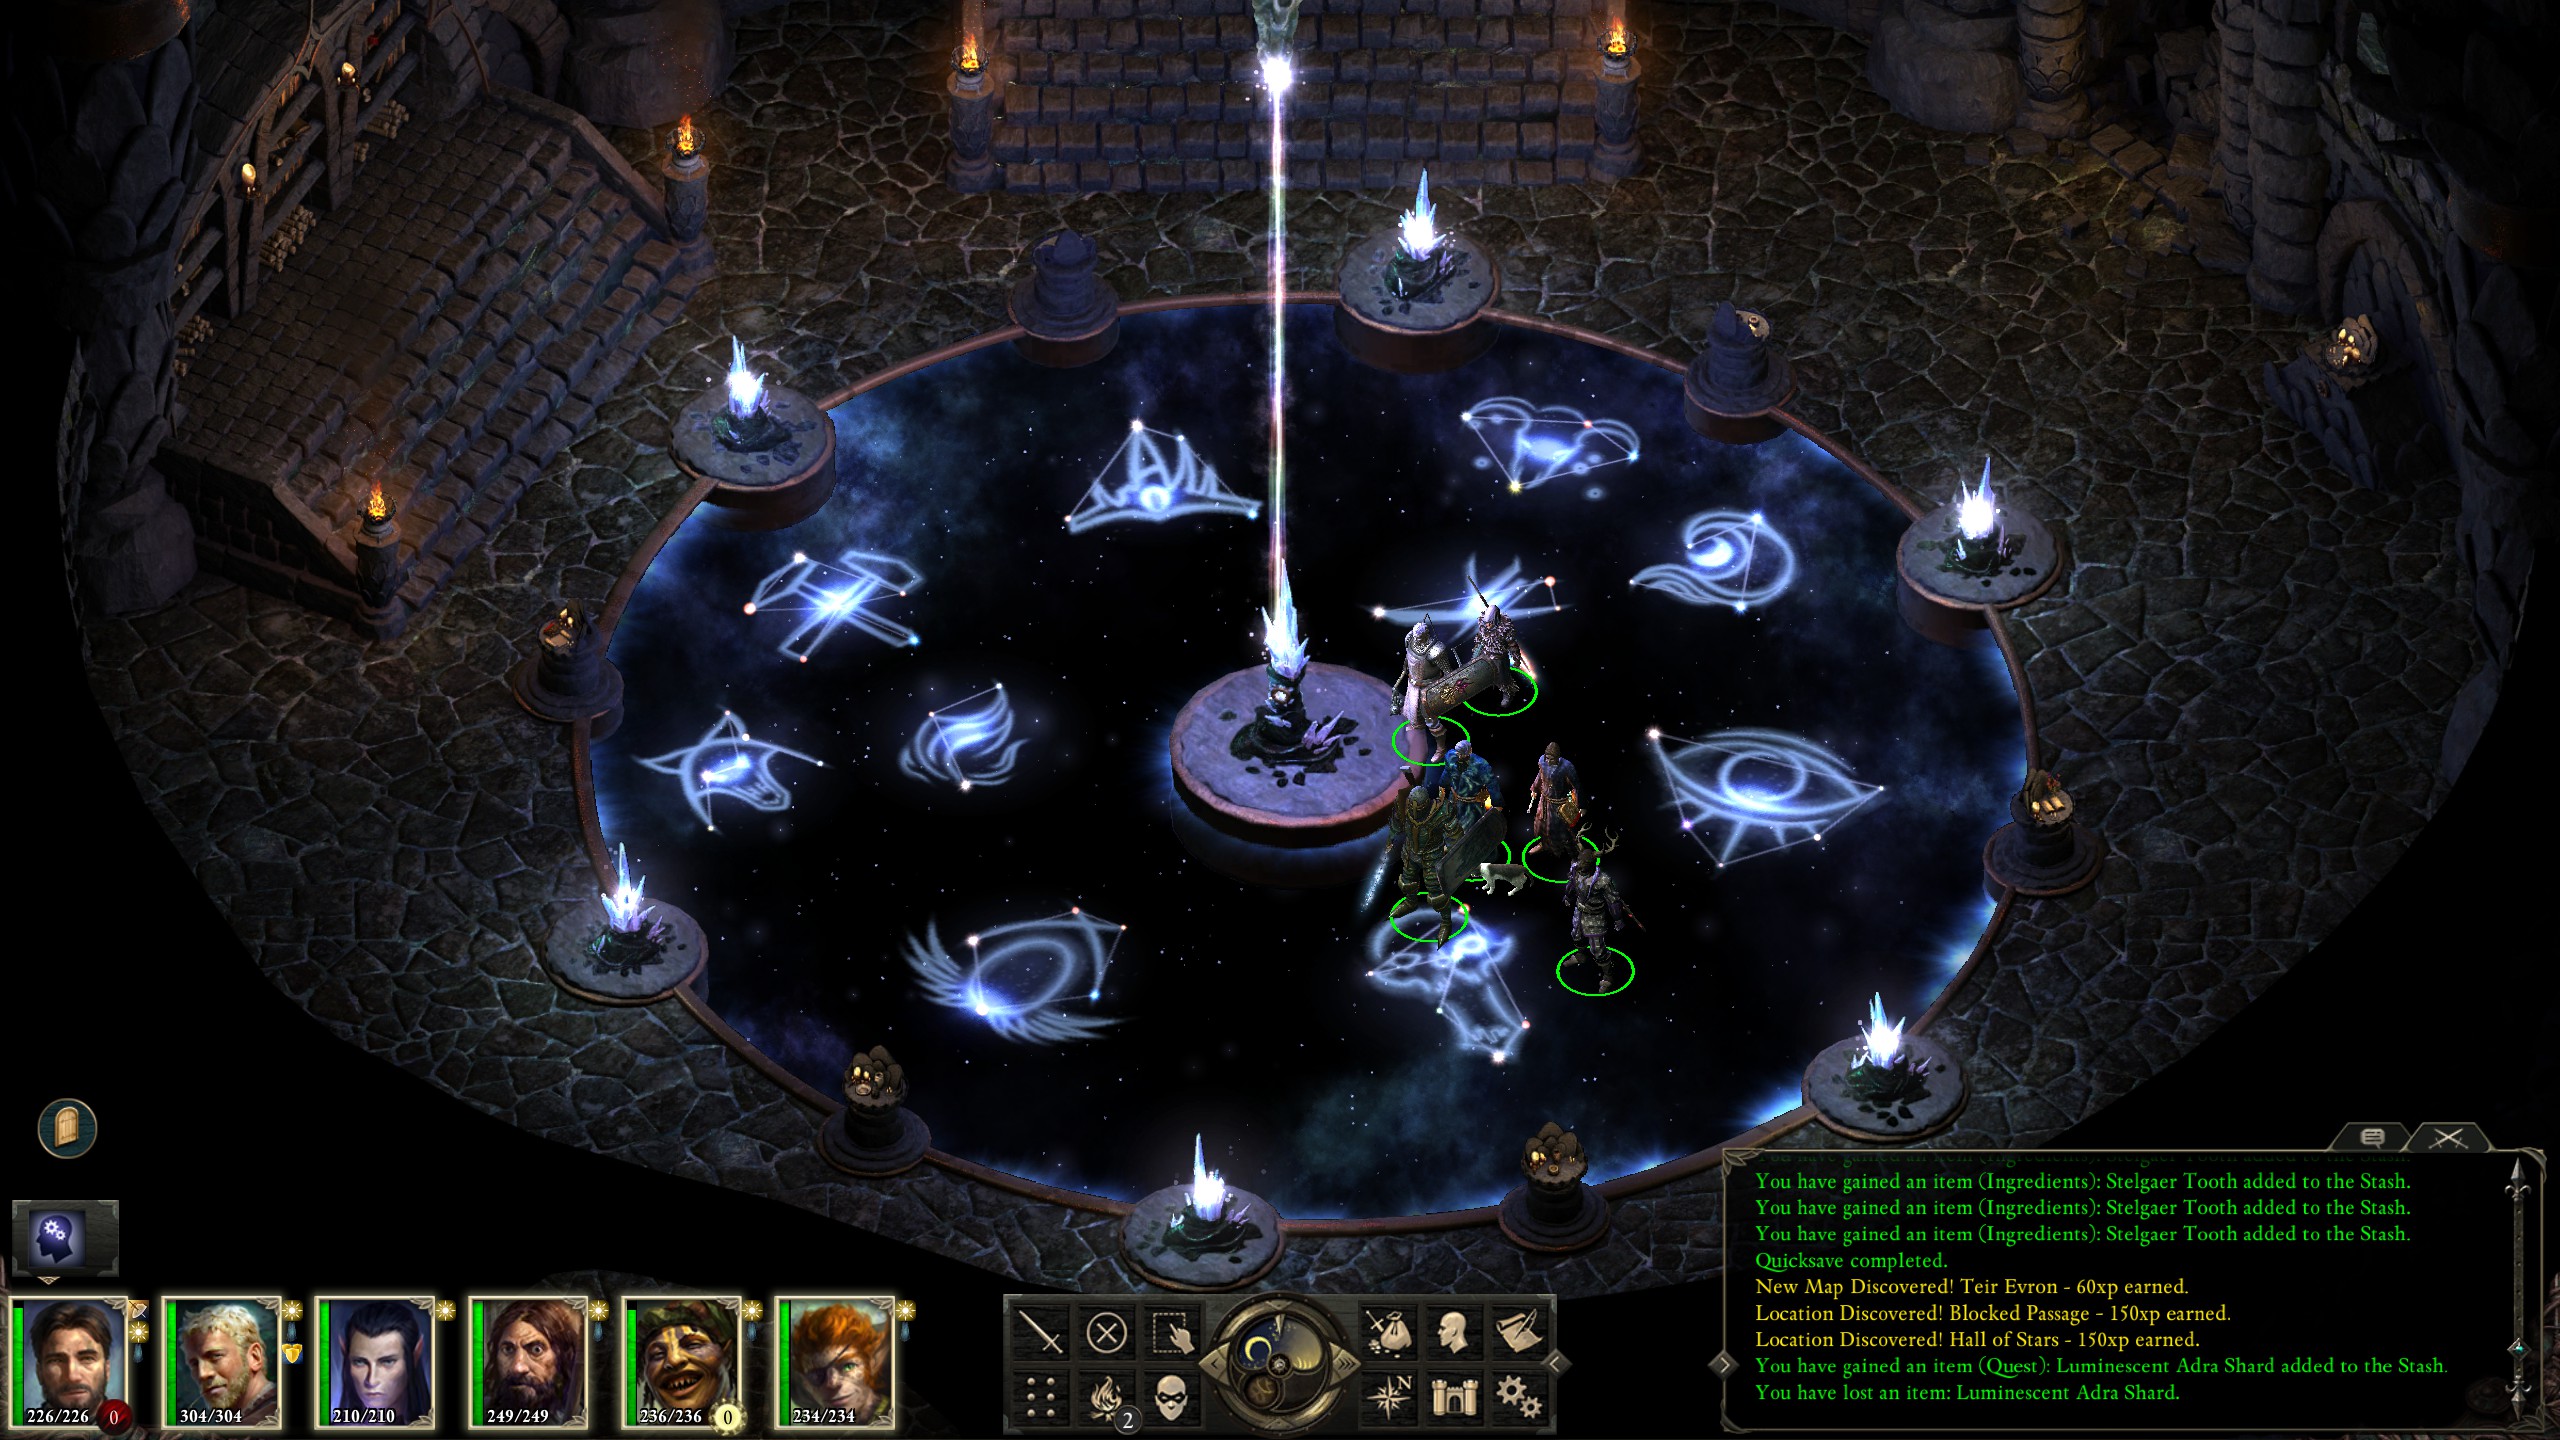
Quests in hand I went to Oldsong.
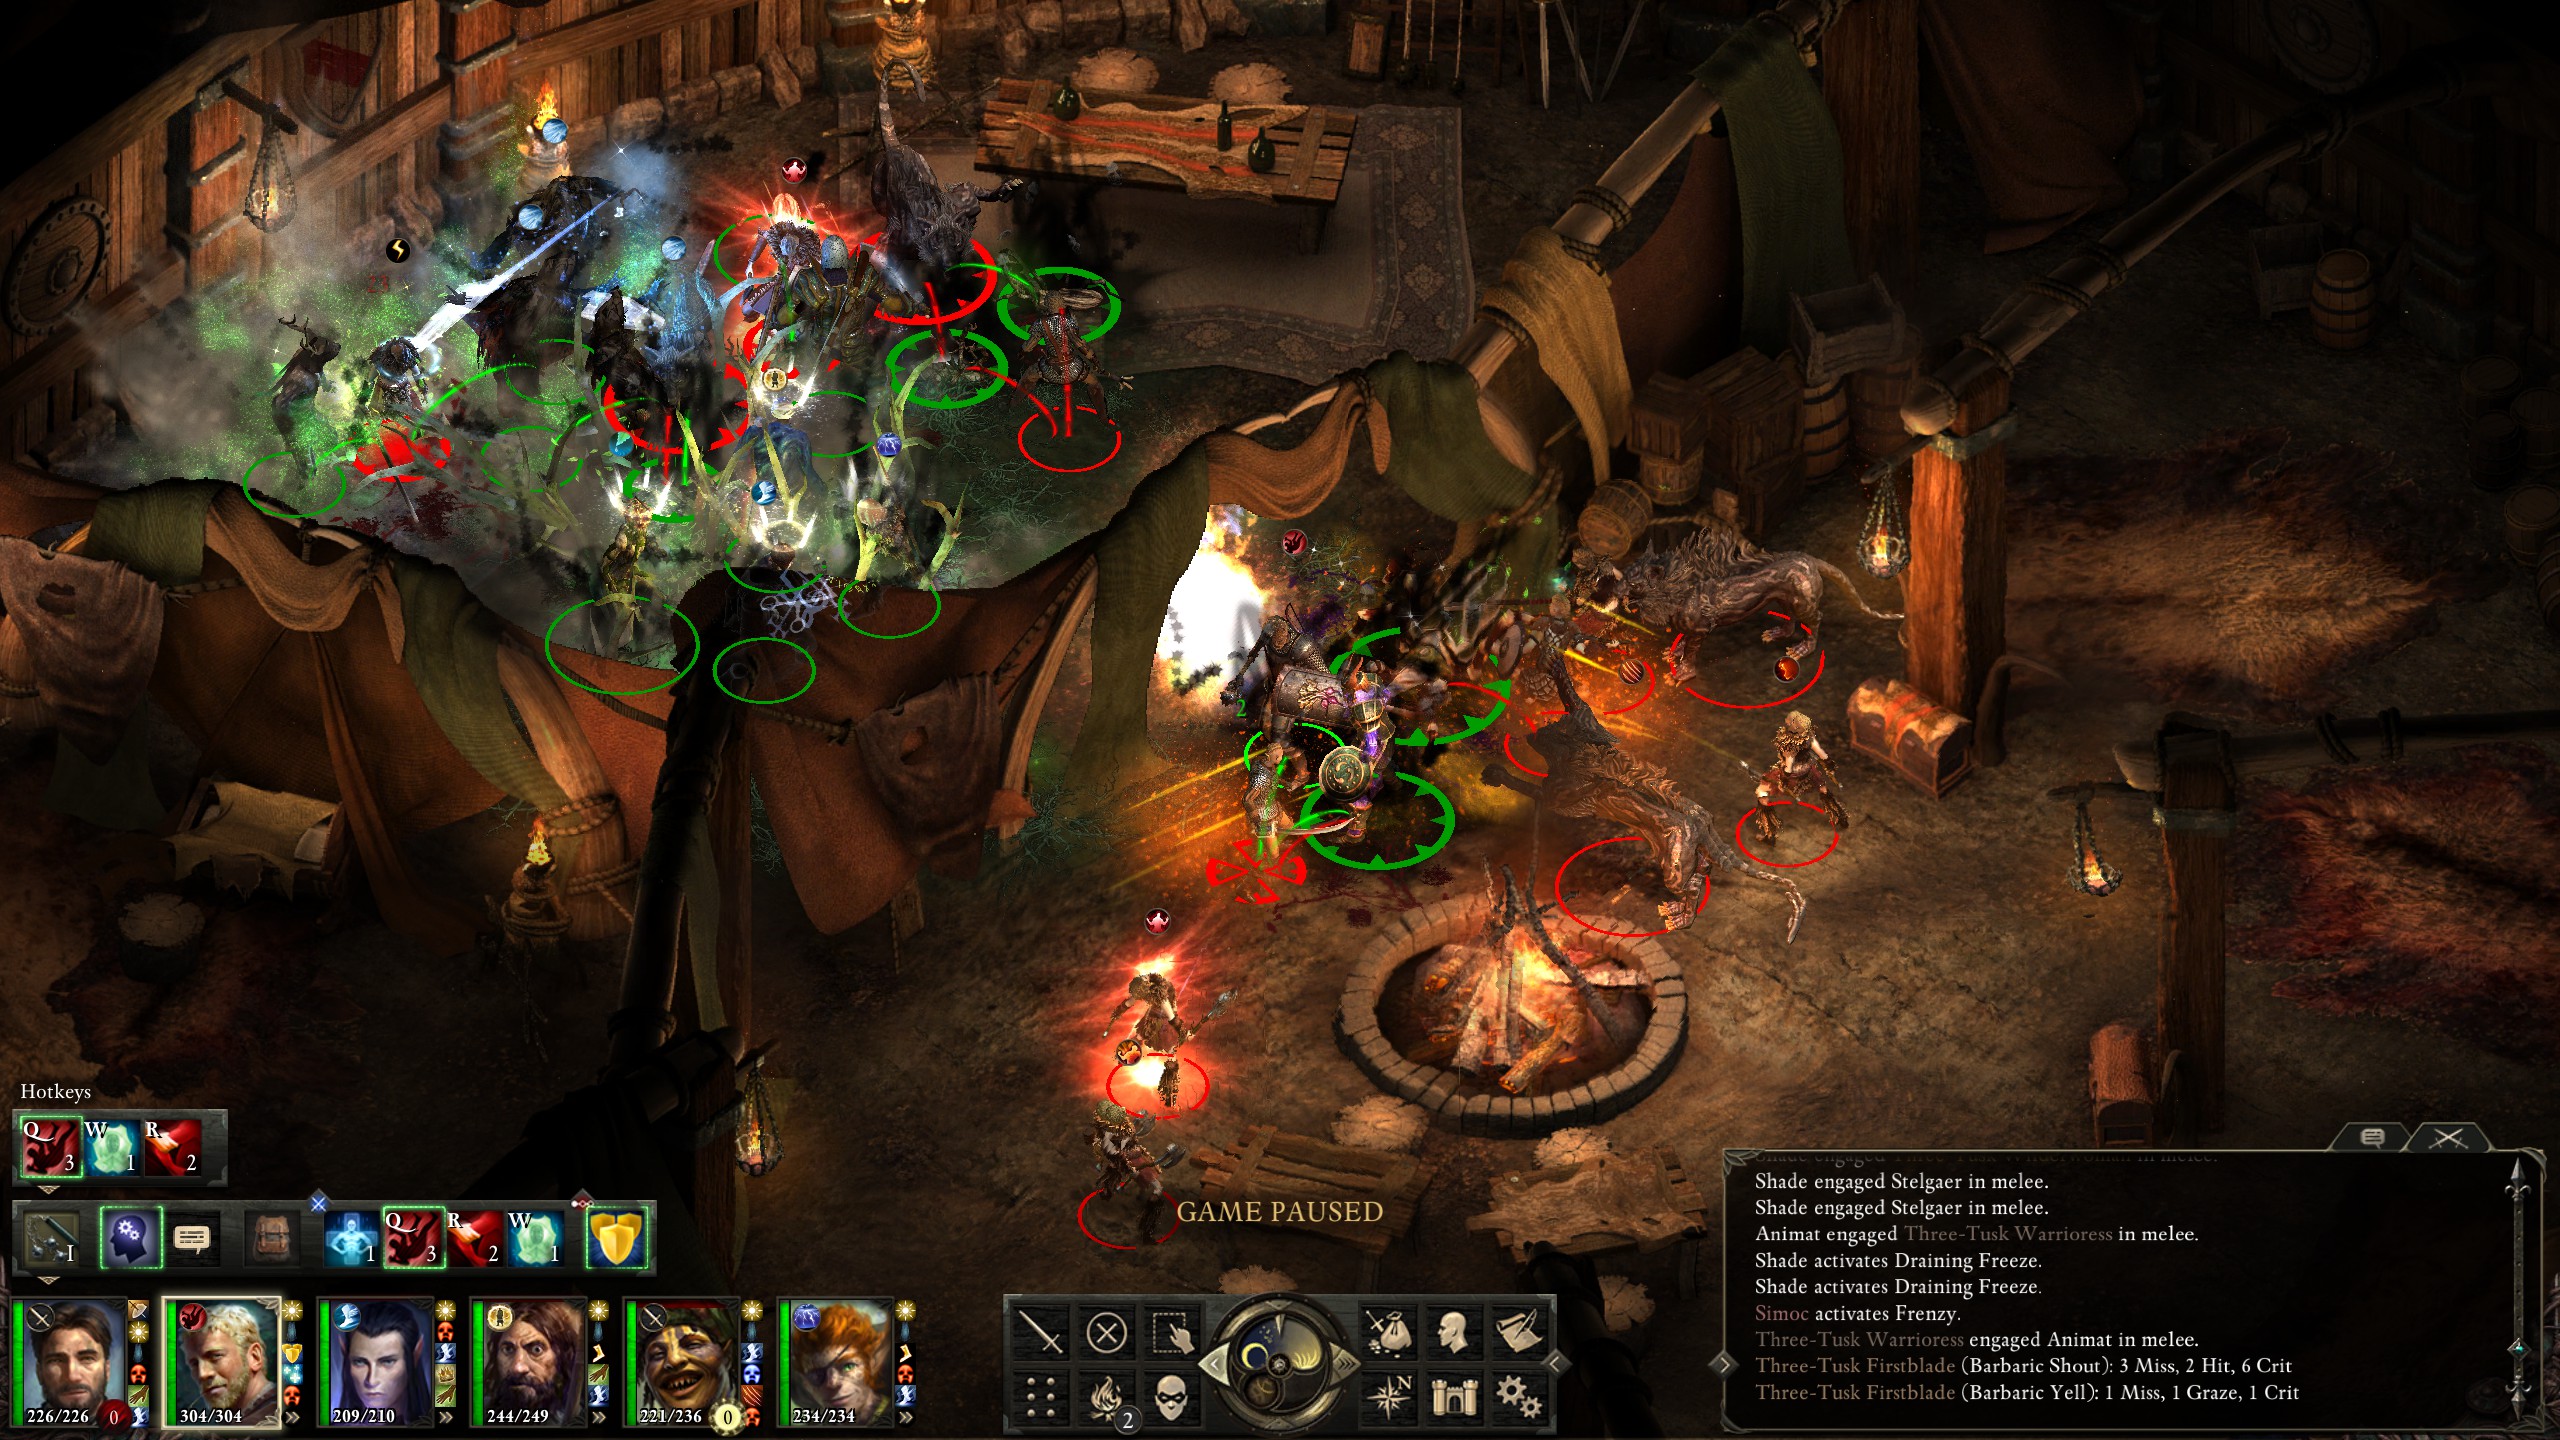
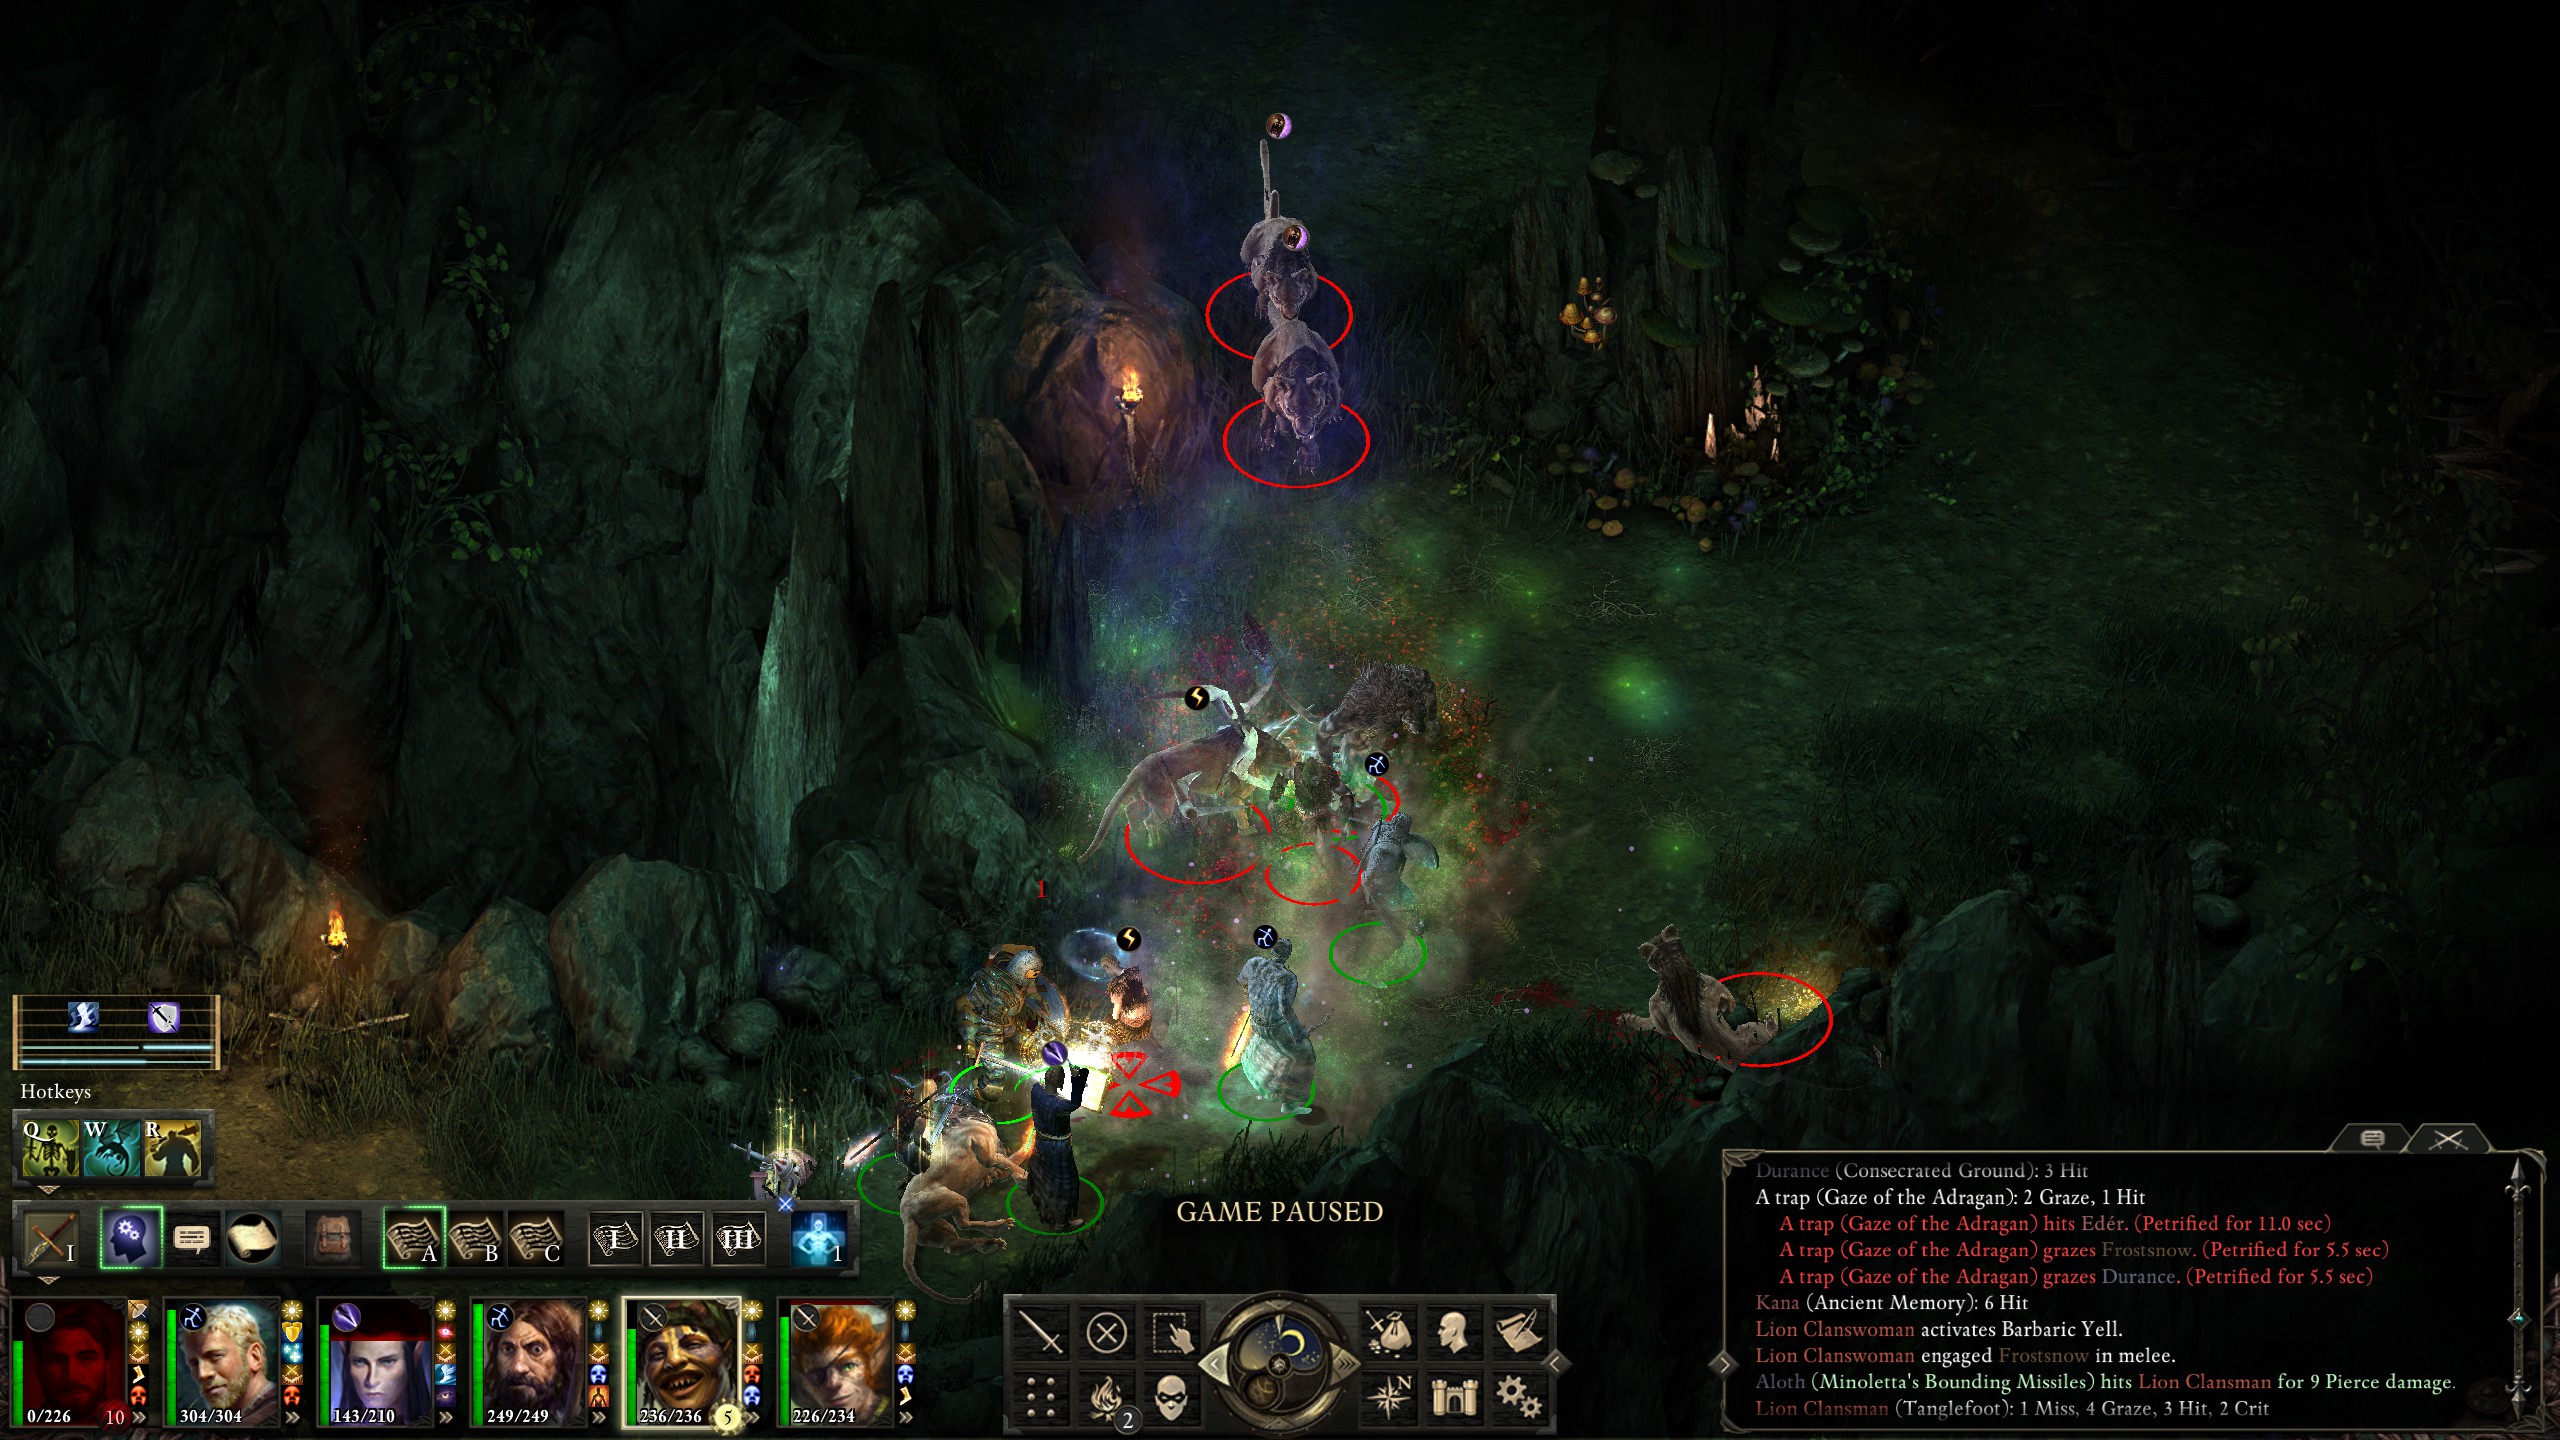
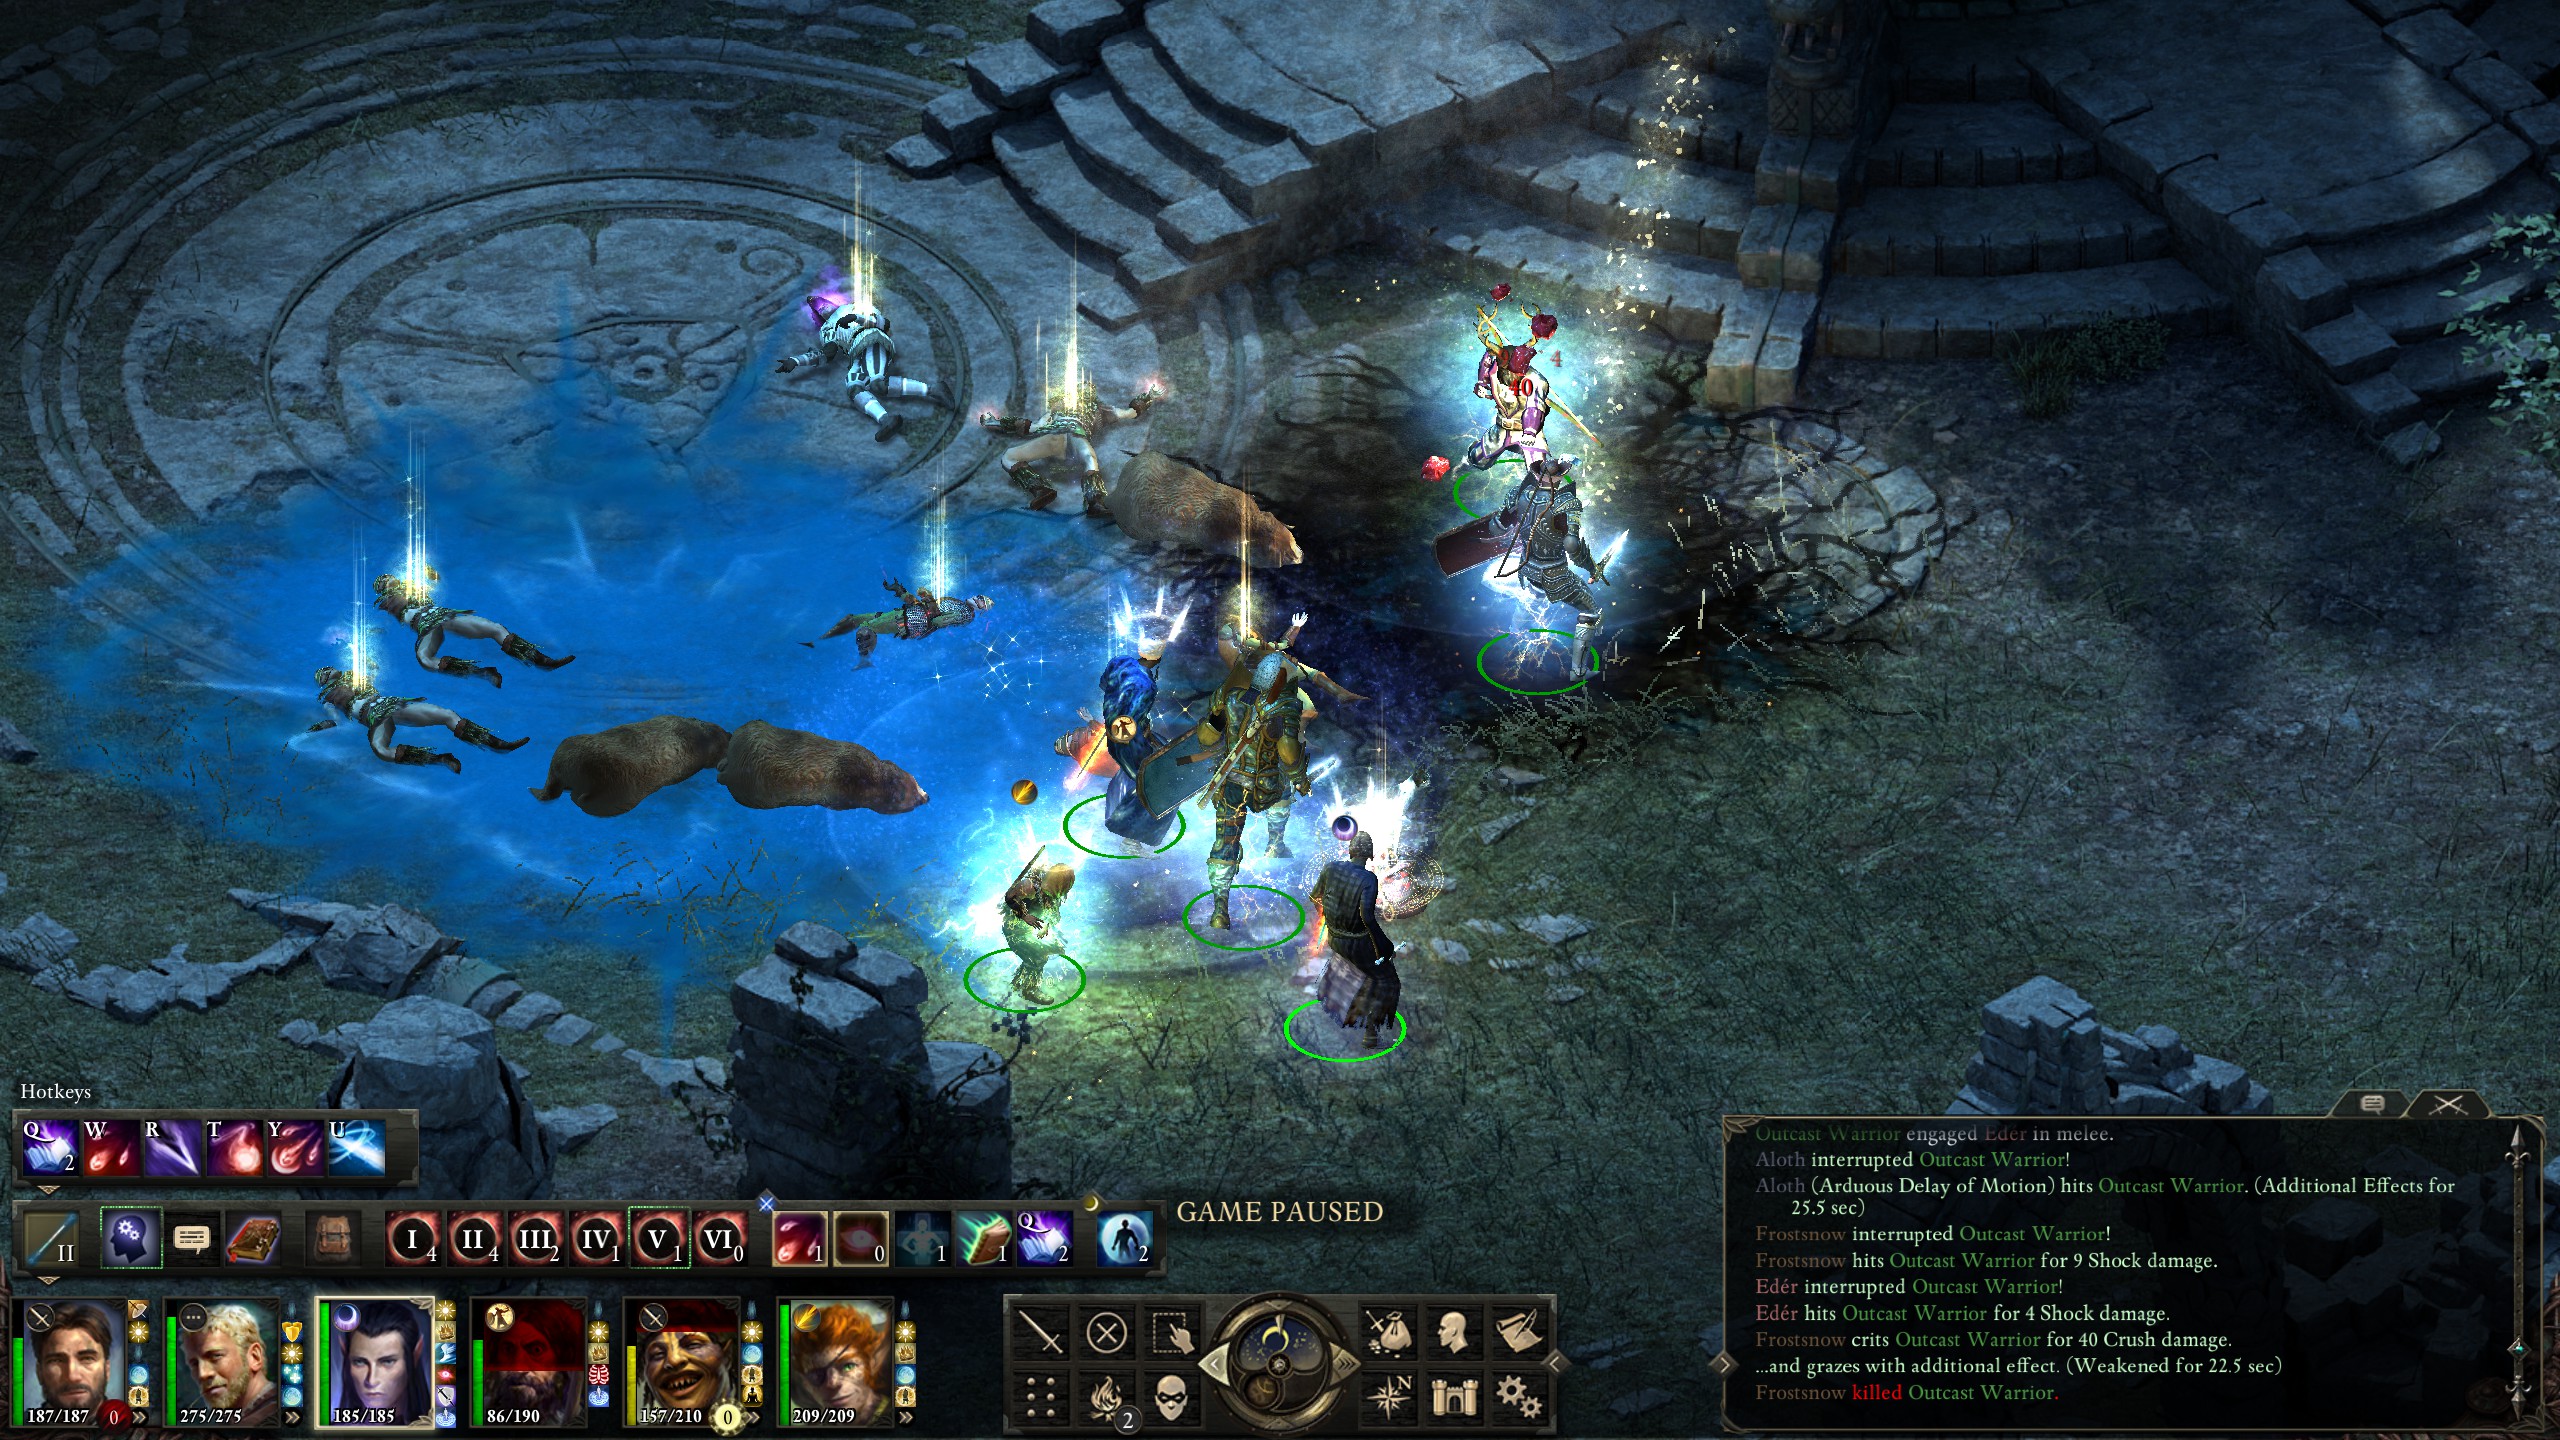
While doing the Maw I accidentally agro'd another group of enemies, then ran straight into a "Gaze of the Adragan" trap which almost took me out, though I managed to recover and win the fight.
Not learning from my previous mistakes I took on a group in Rymrgand's temple while low on spells...
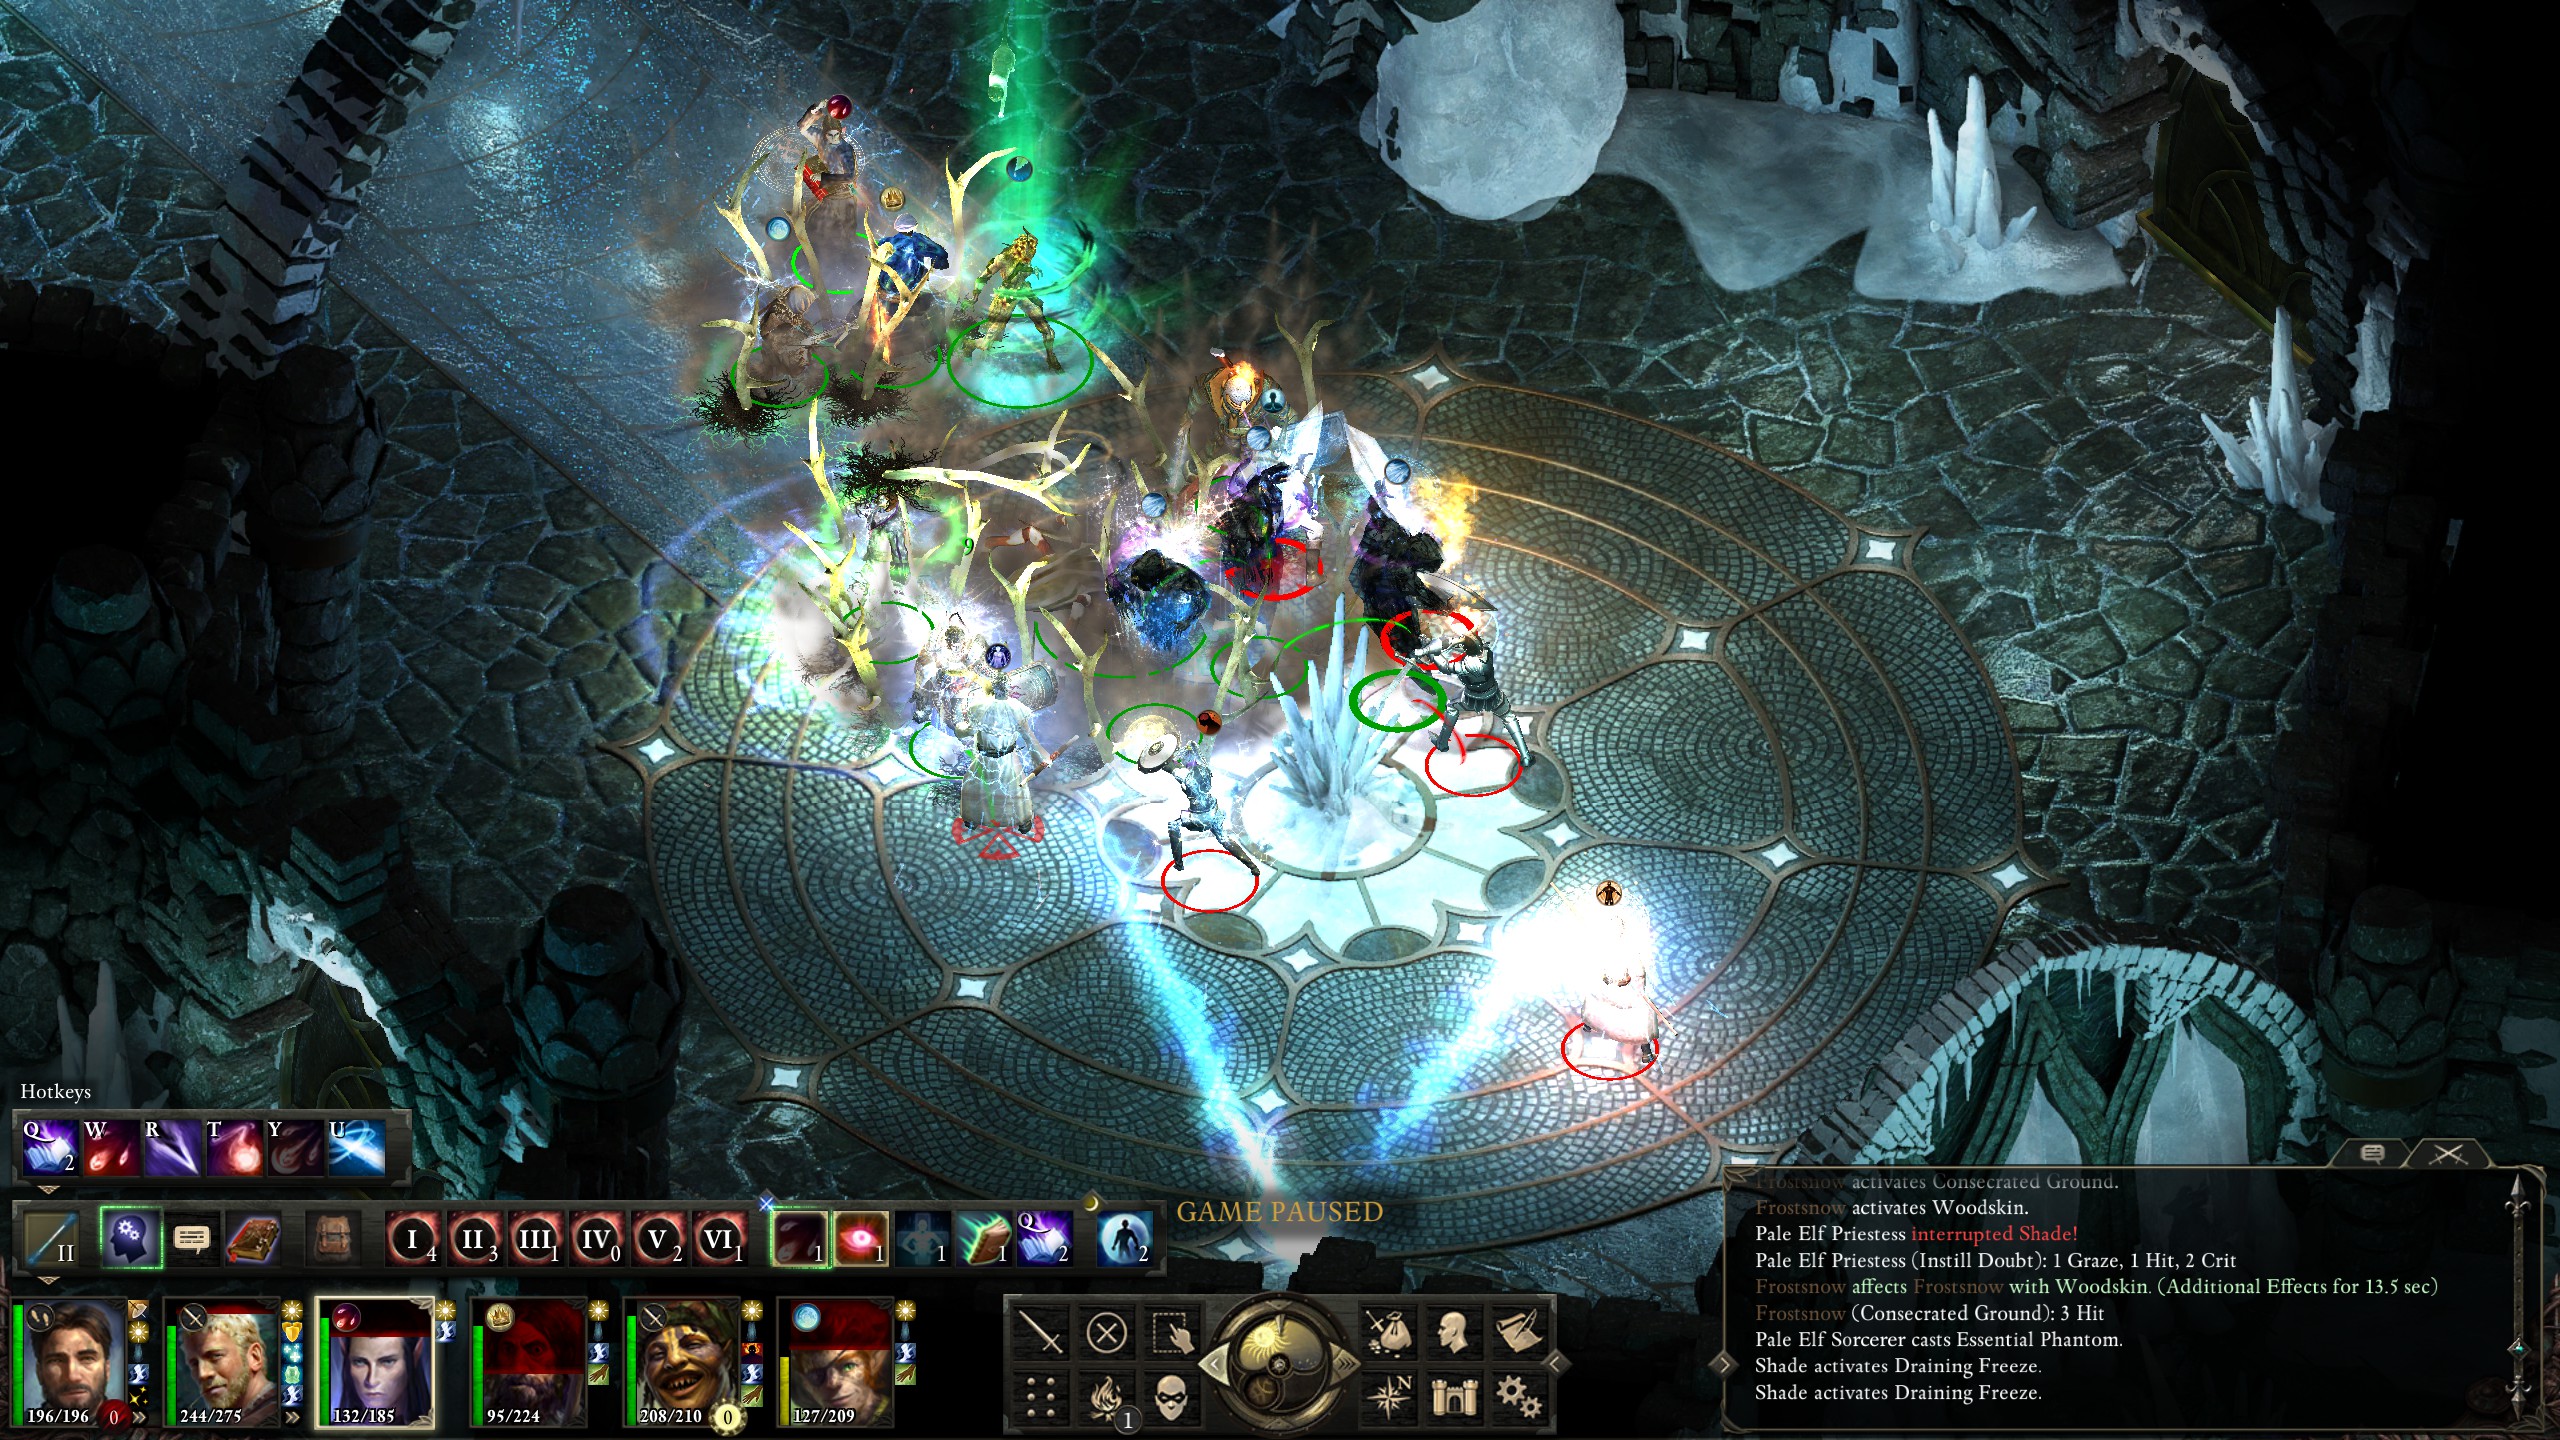
Only to have a patrol open the door and bring another wave of enemies in.
I managed to survive again, but the ordeal was more dangerous than I'd have liked.

Setbacks aside, after Twin Elms was clear it was onto Northweald for quests, including a bounty and a dragon!
The wilderness of Northweald is quite pretty, though it has its fair share of monsters.
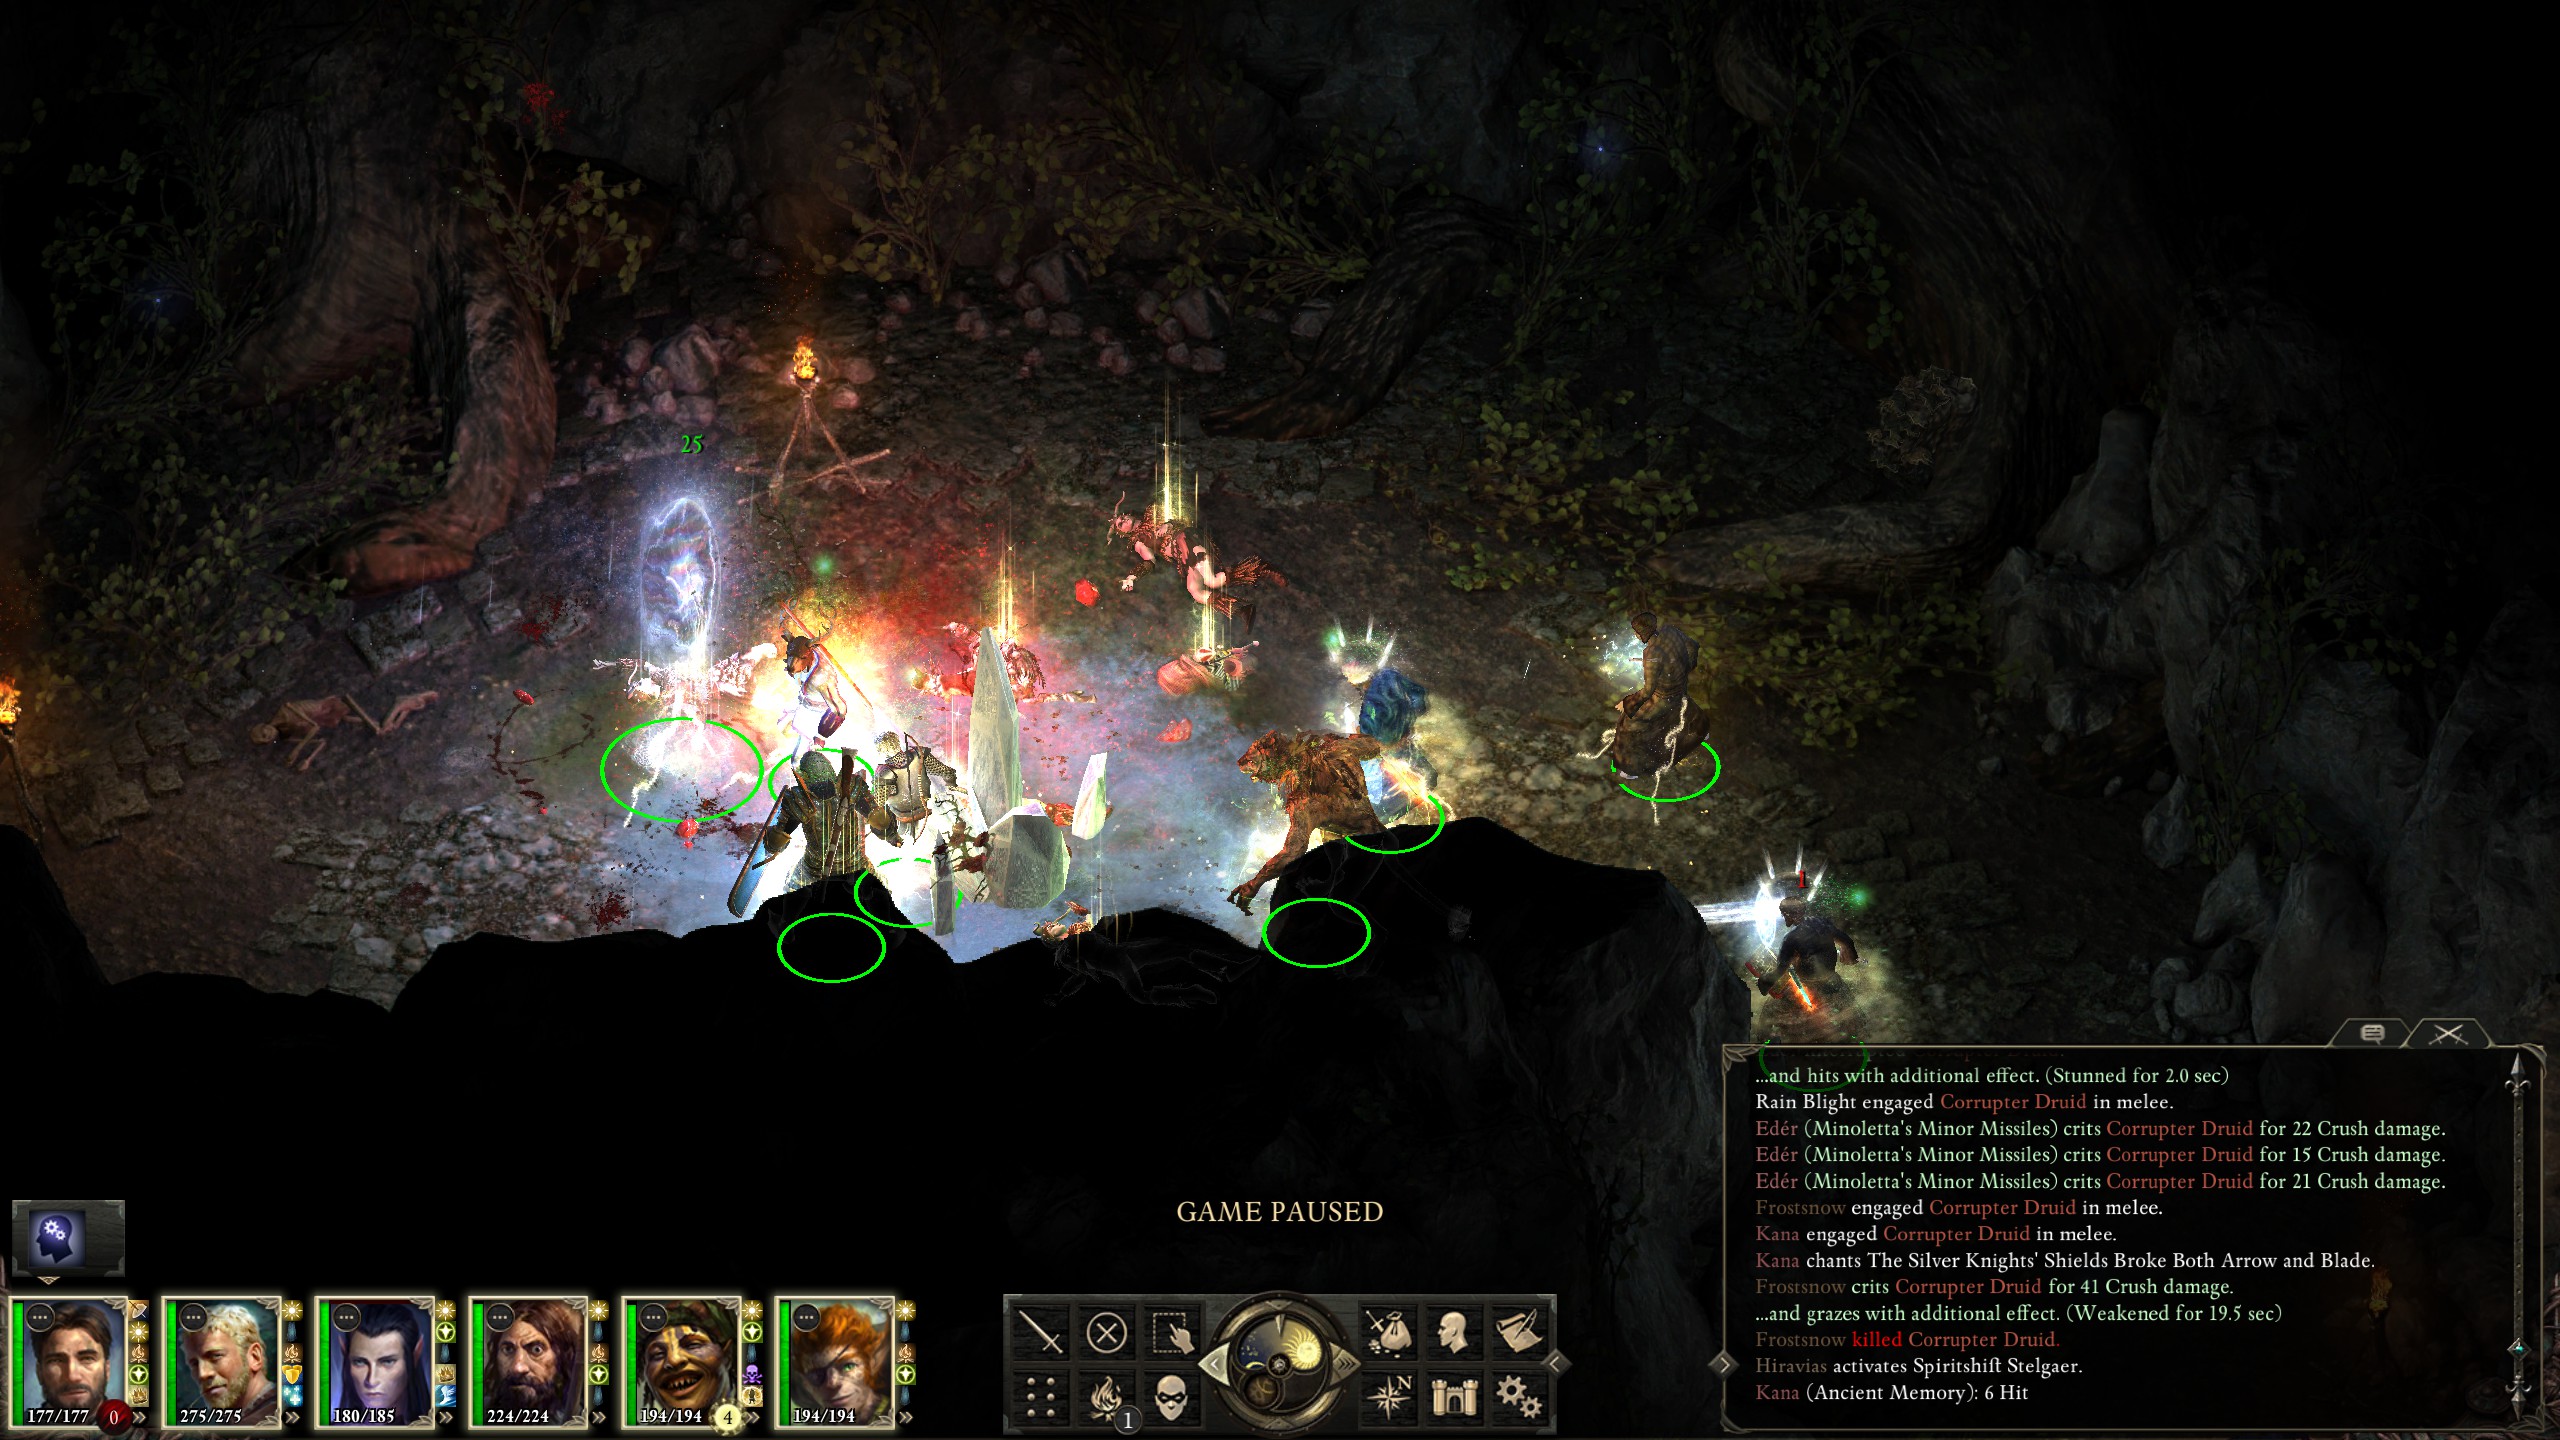
In the northern cave I found the next bounty: Devwen and her druids.
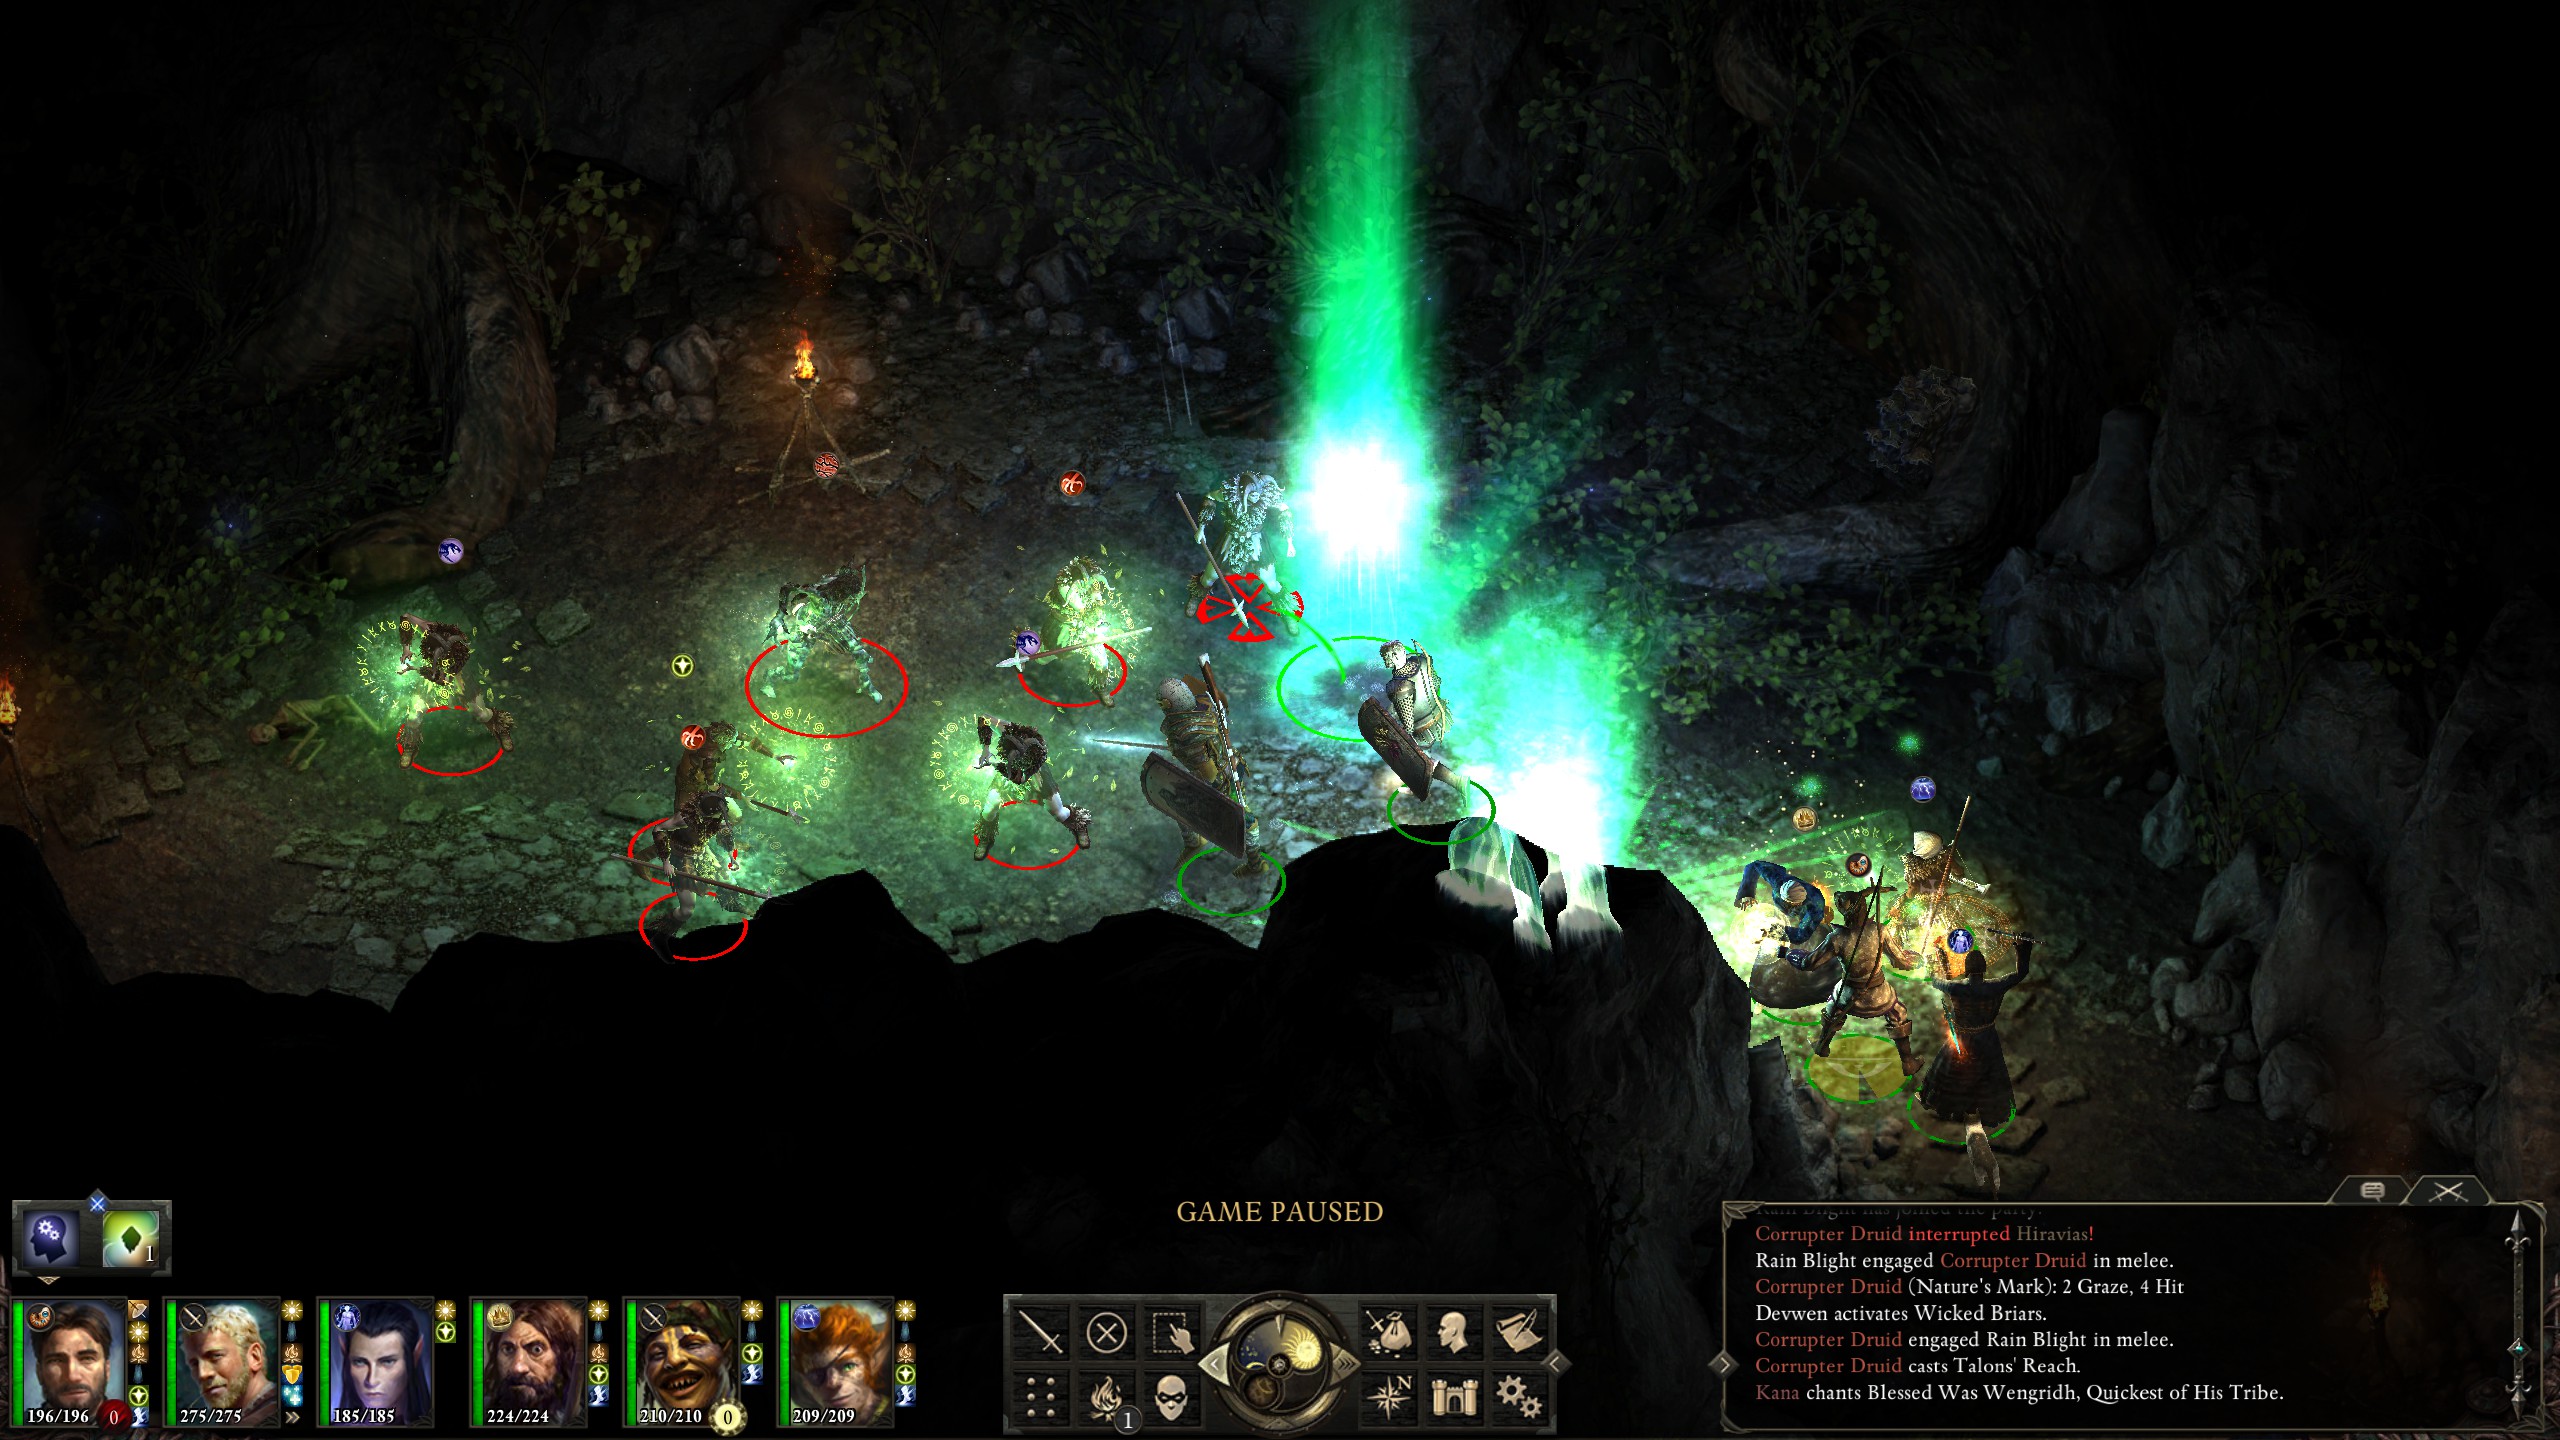
They didn't stand a chance.
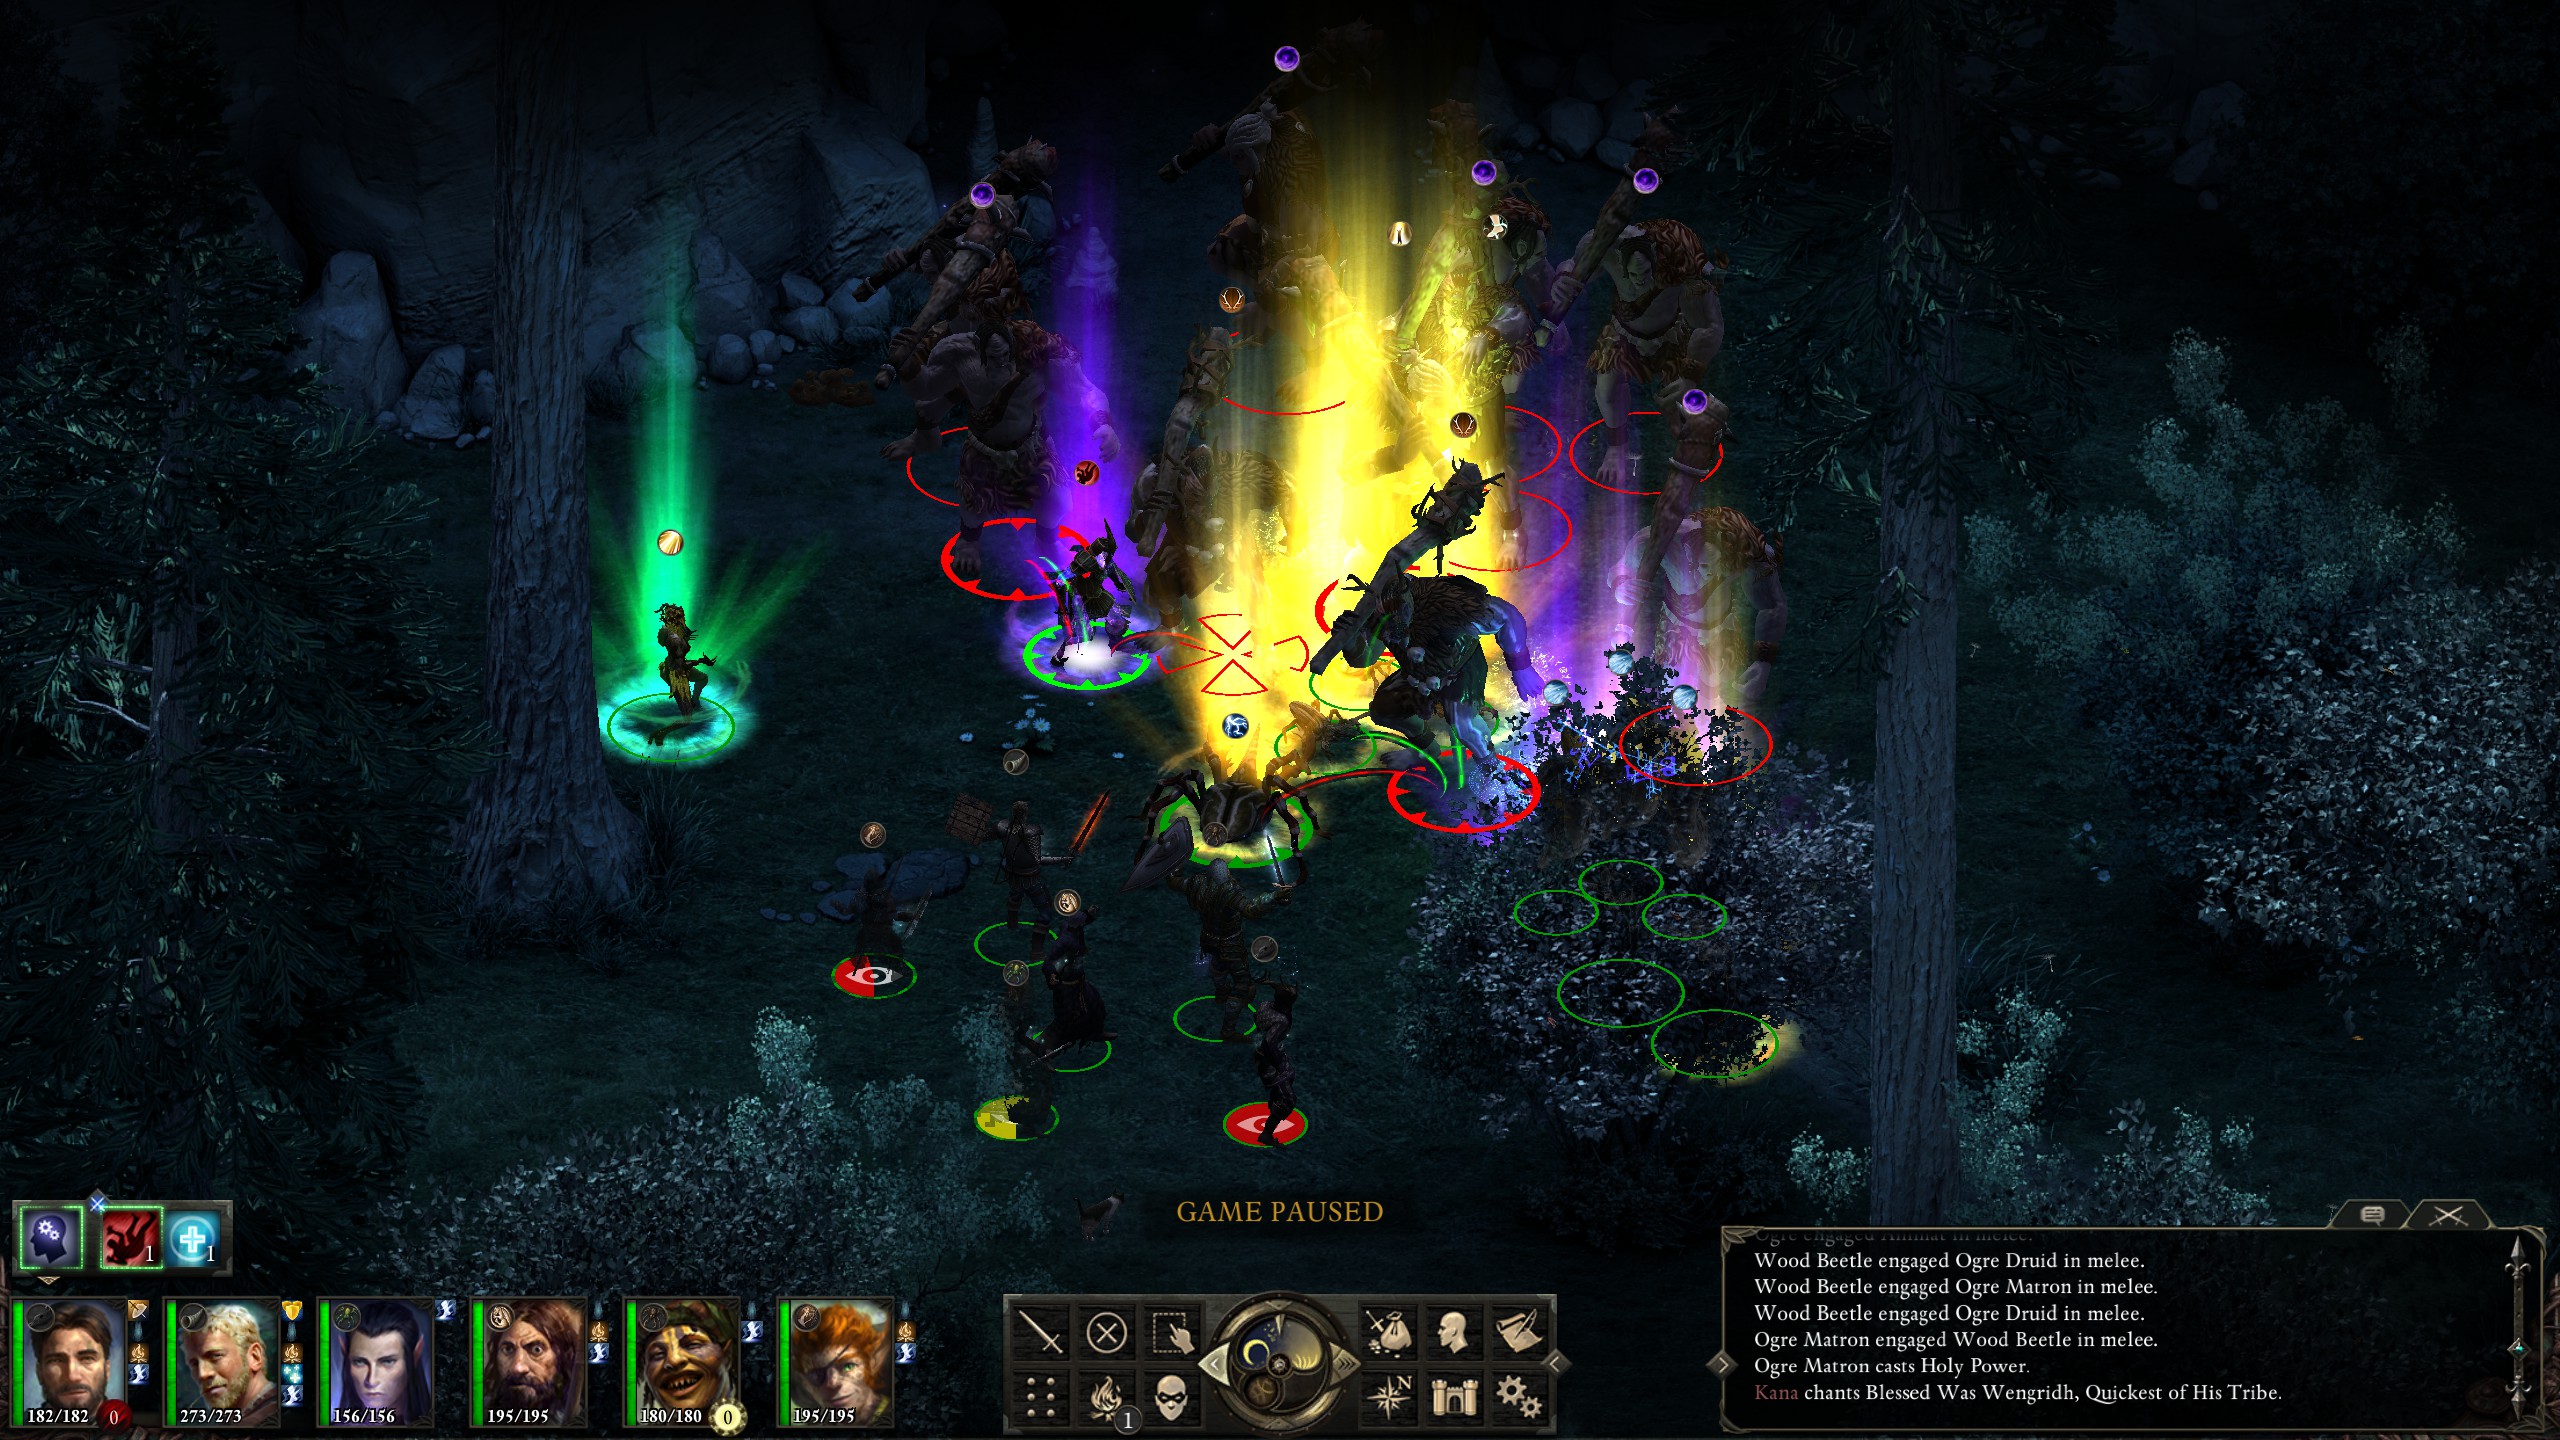
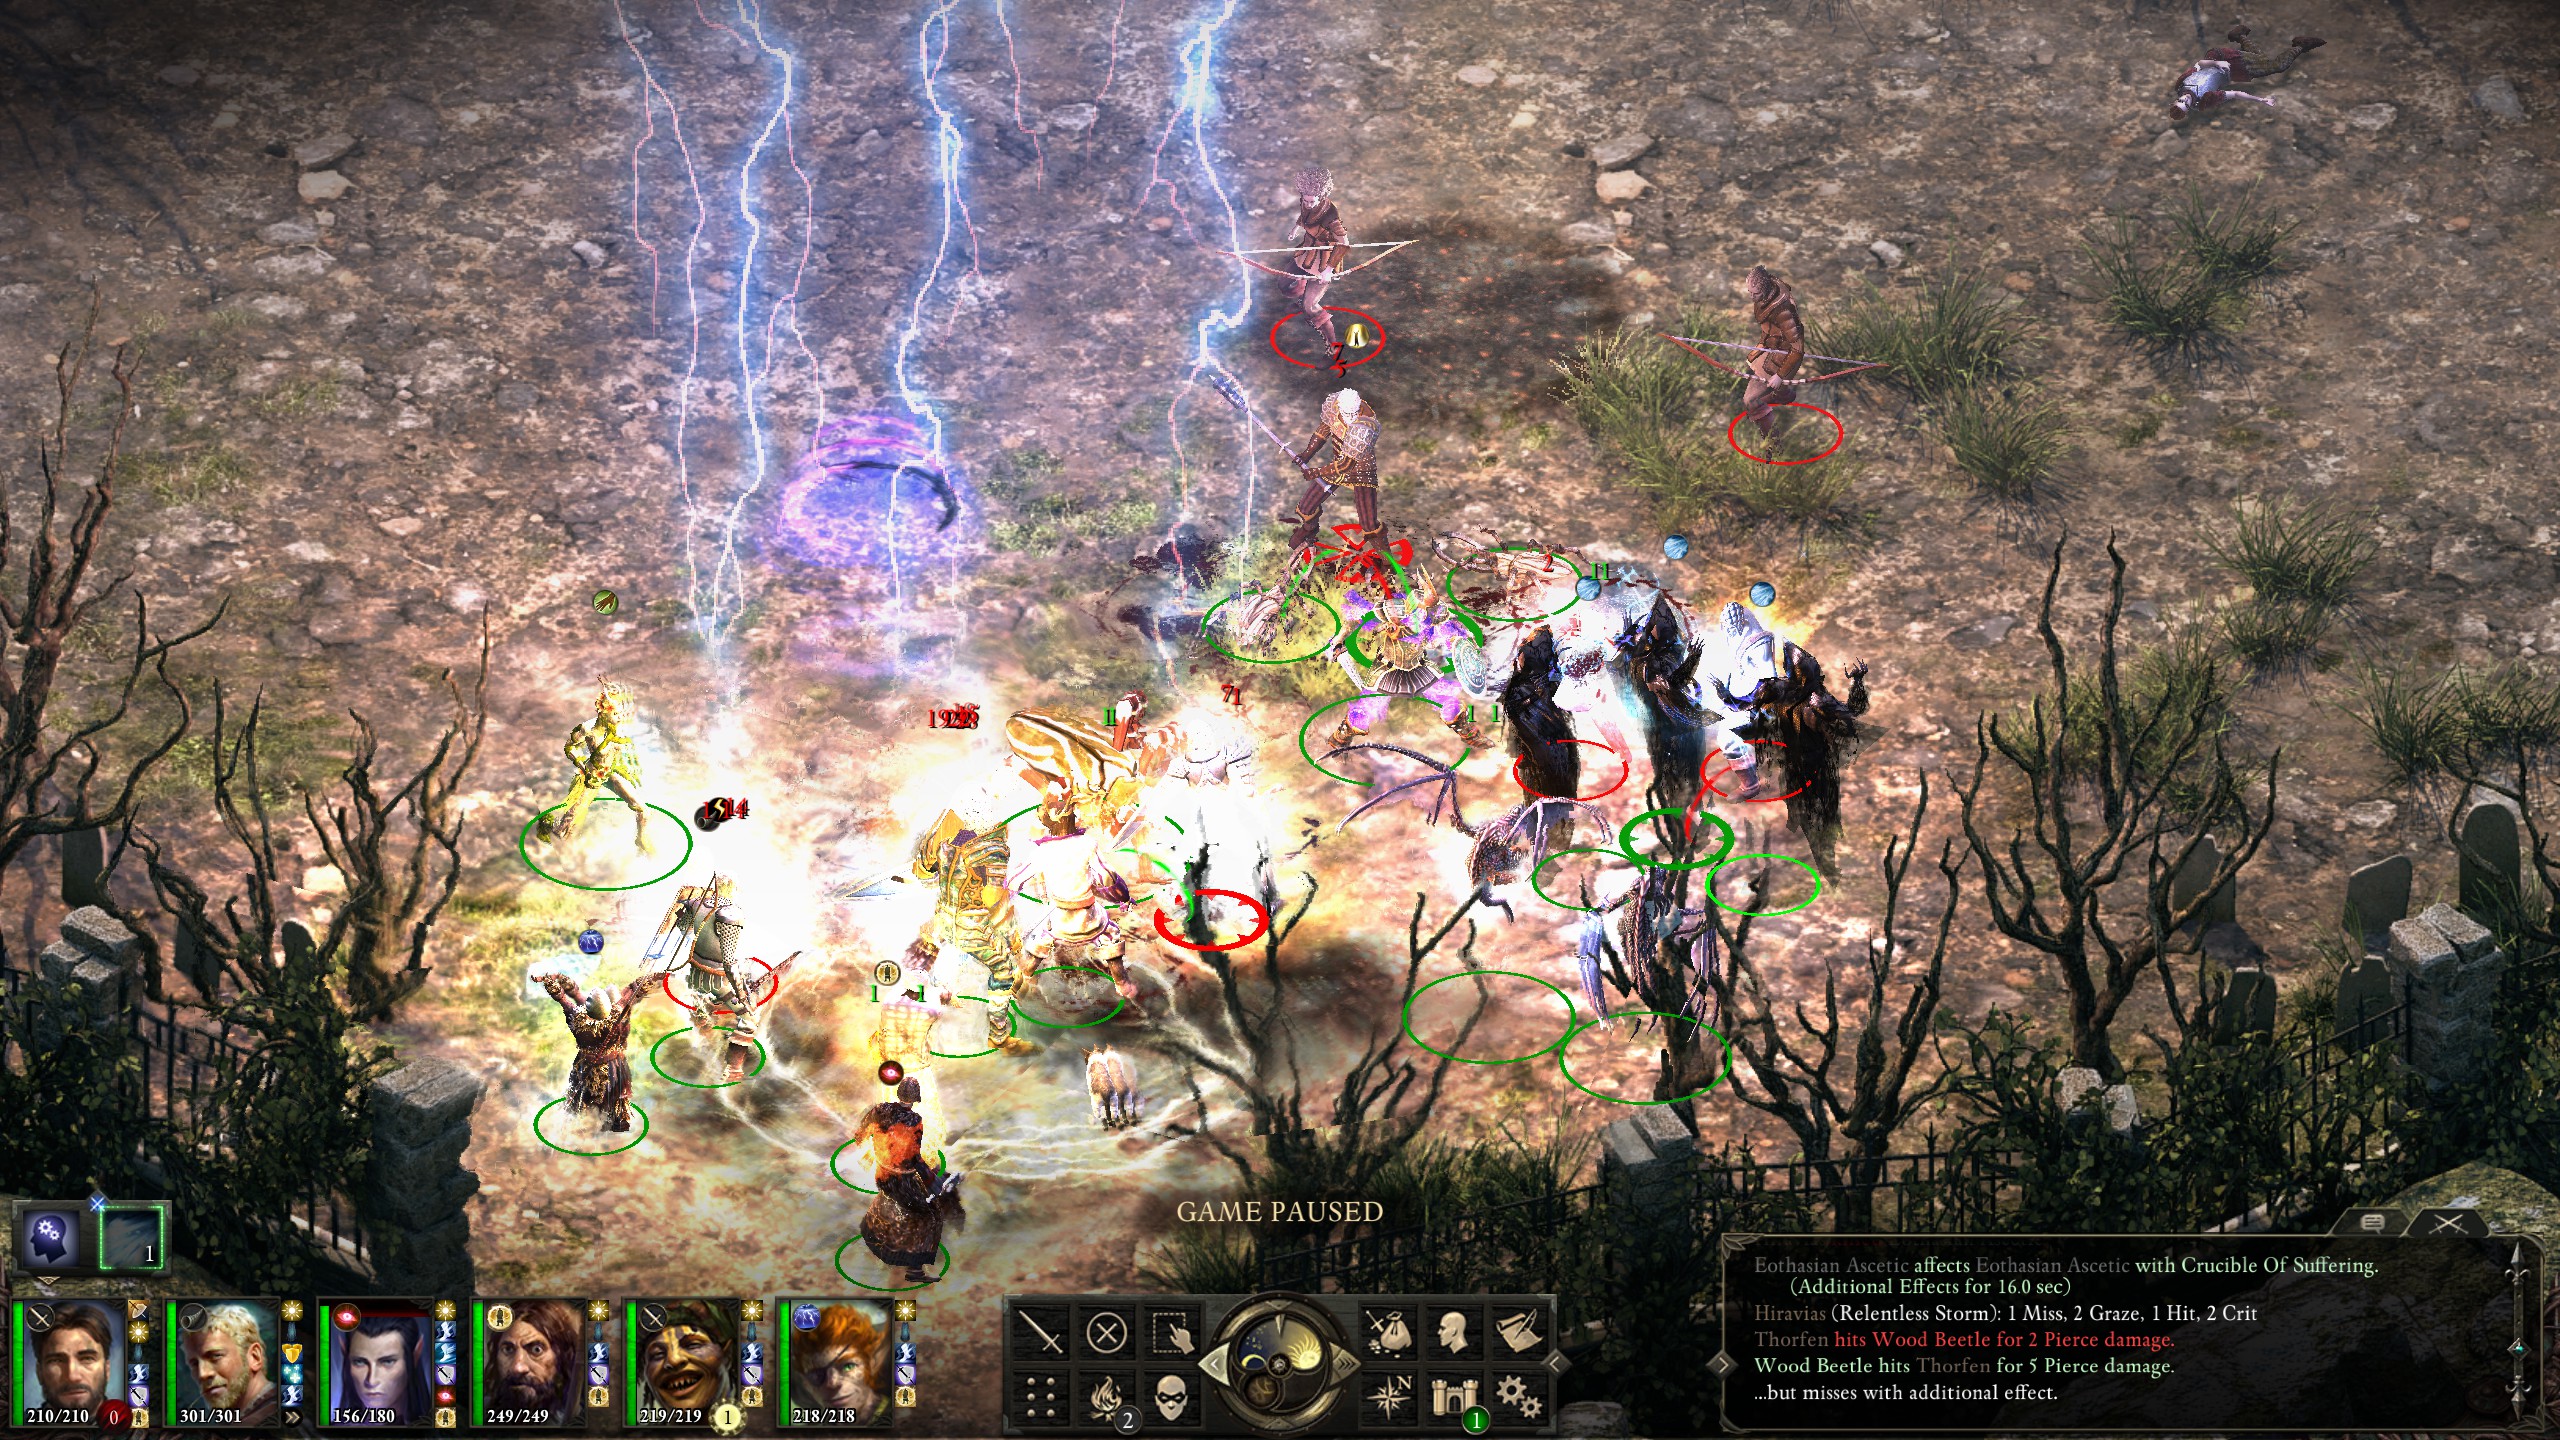
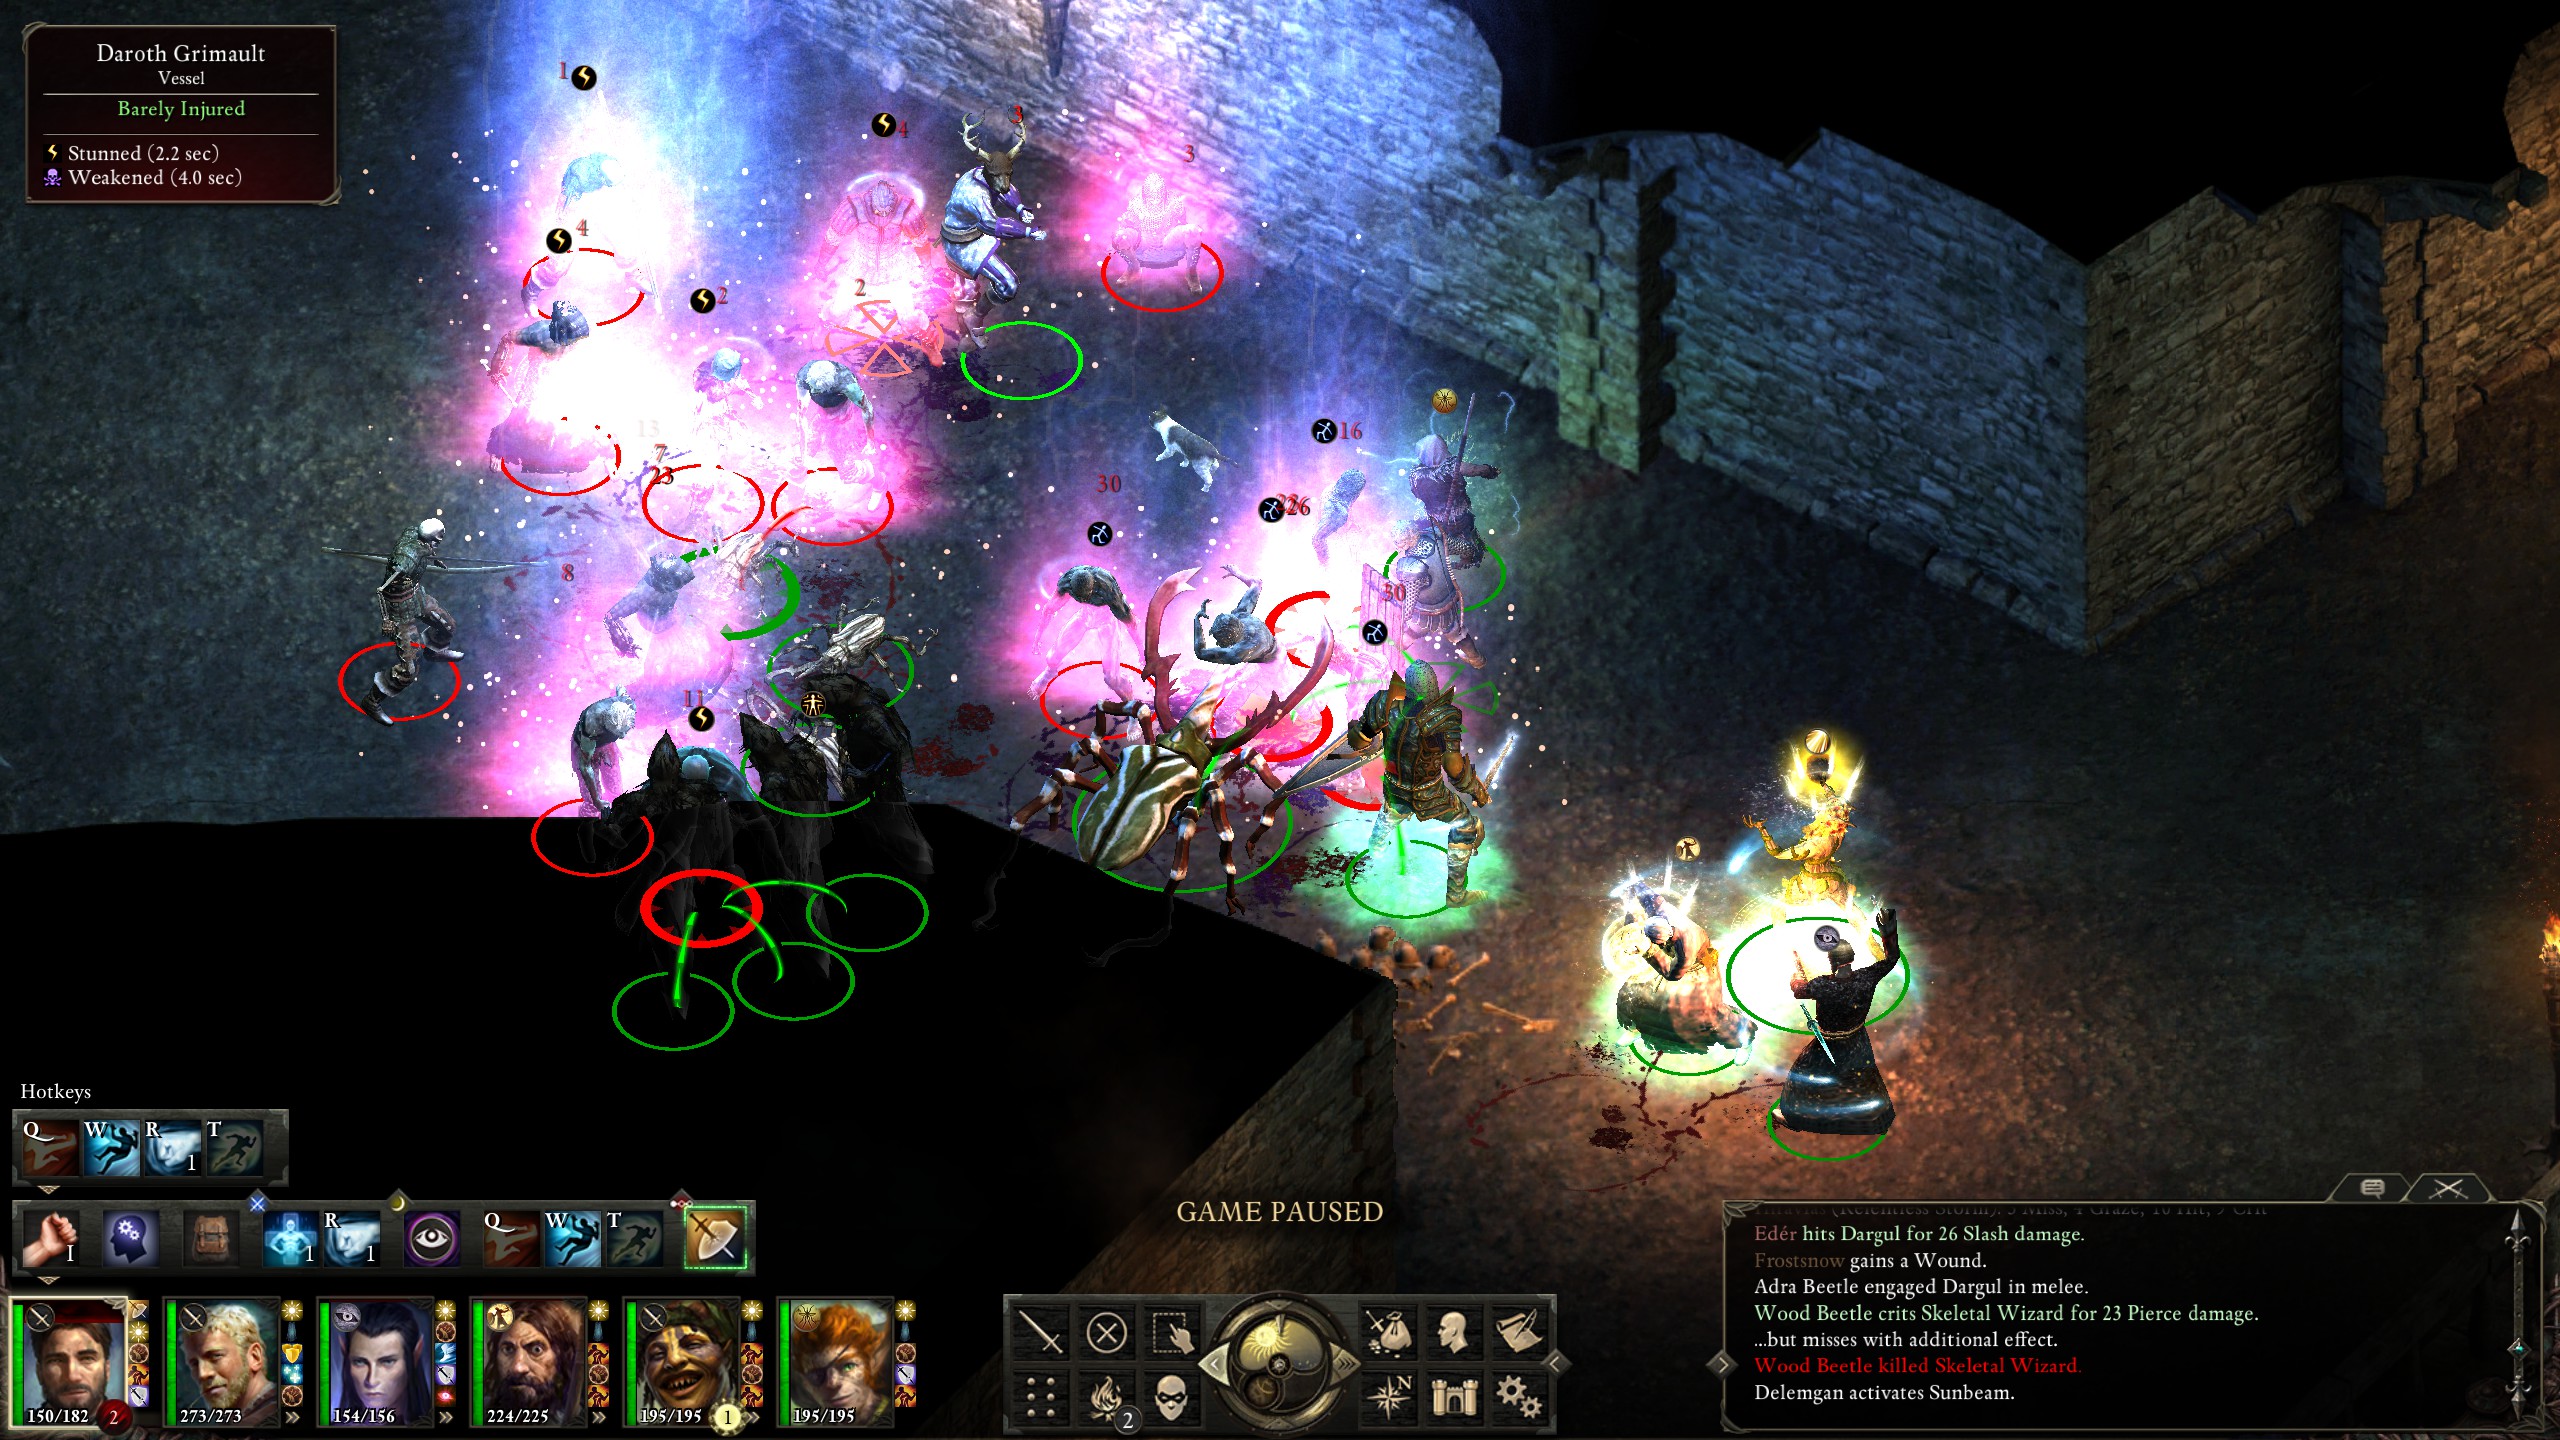
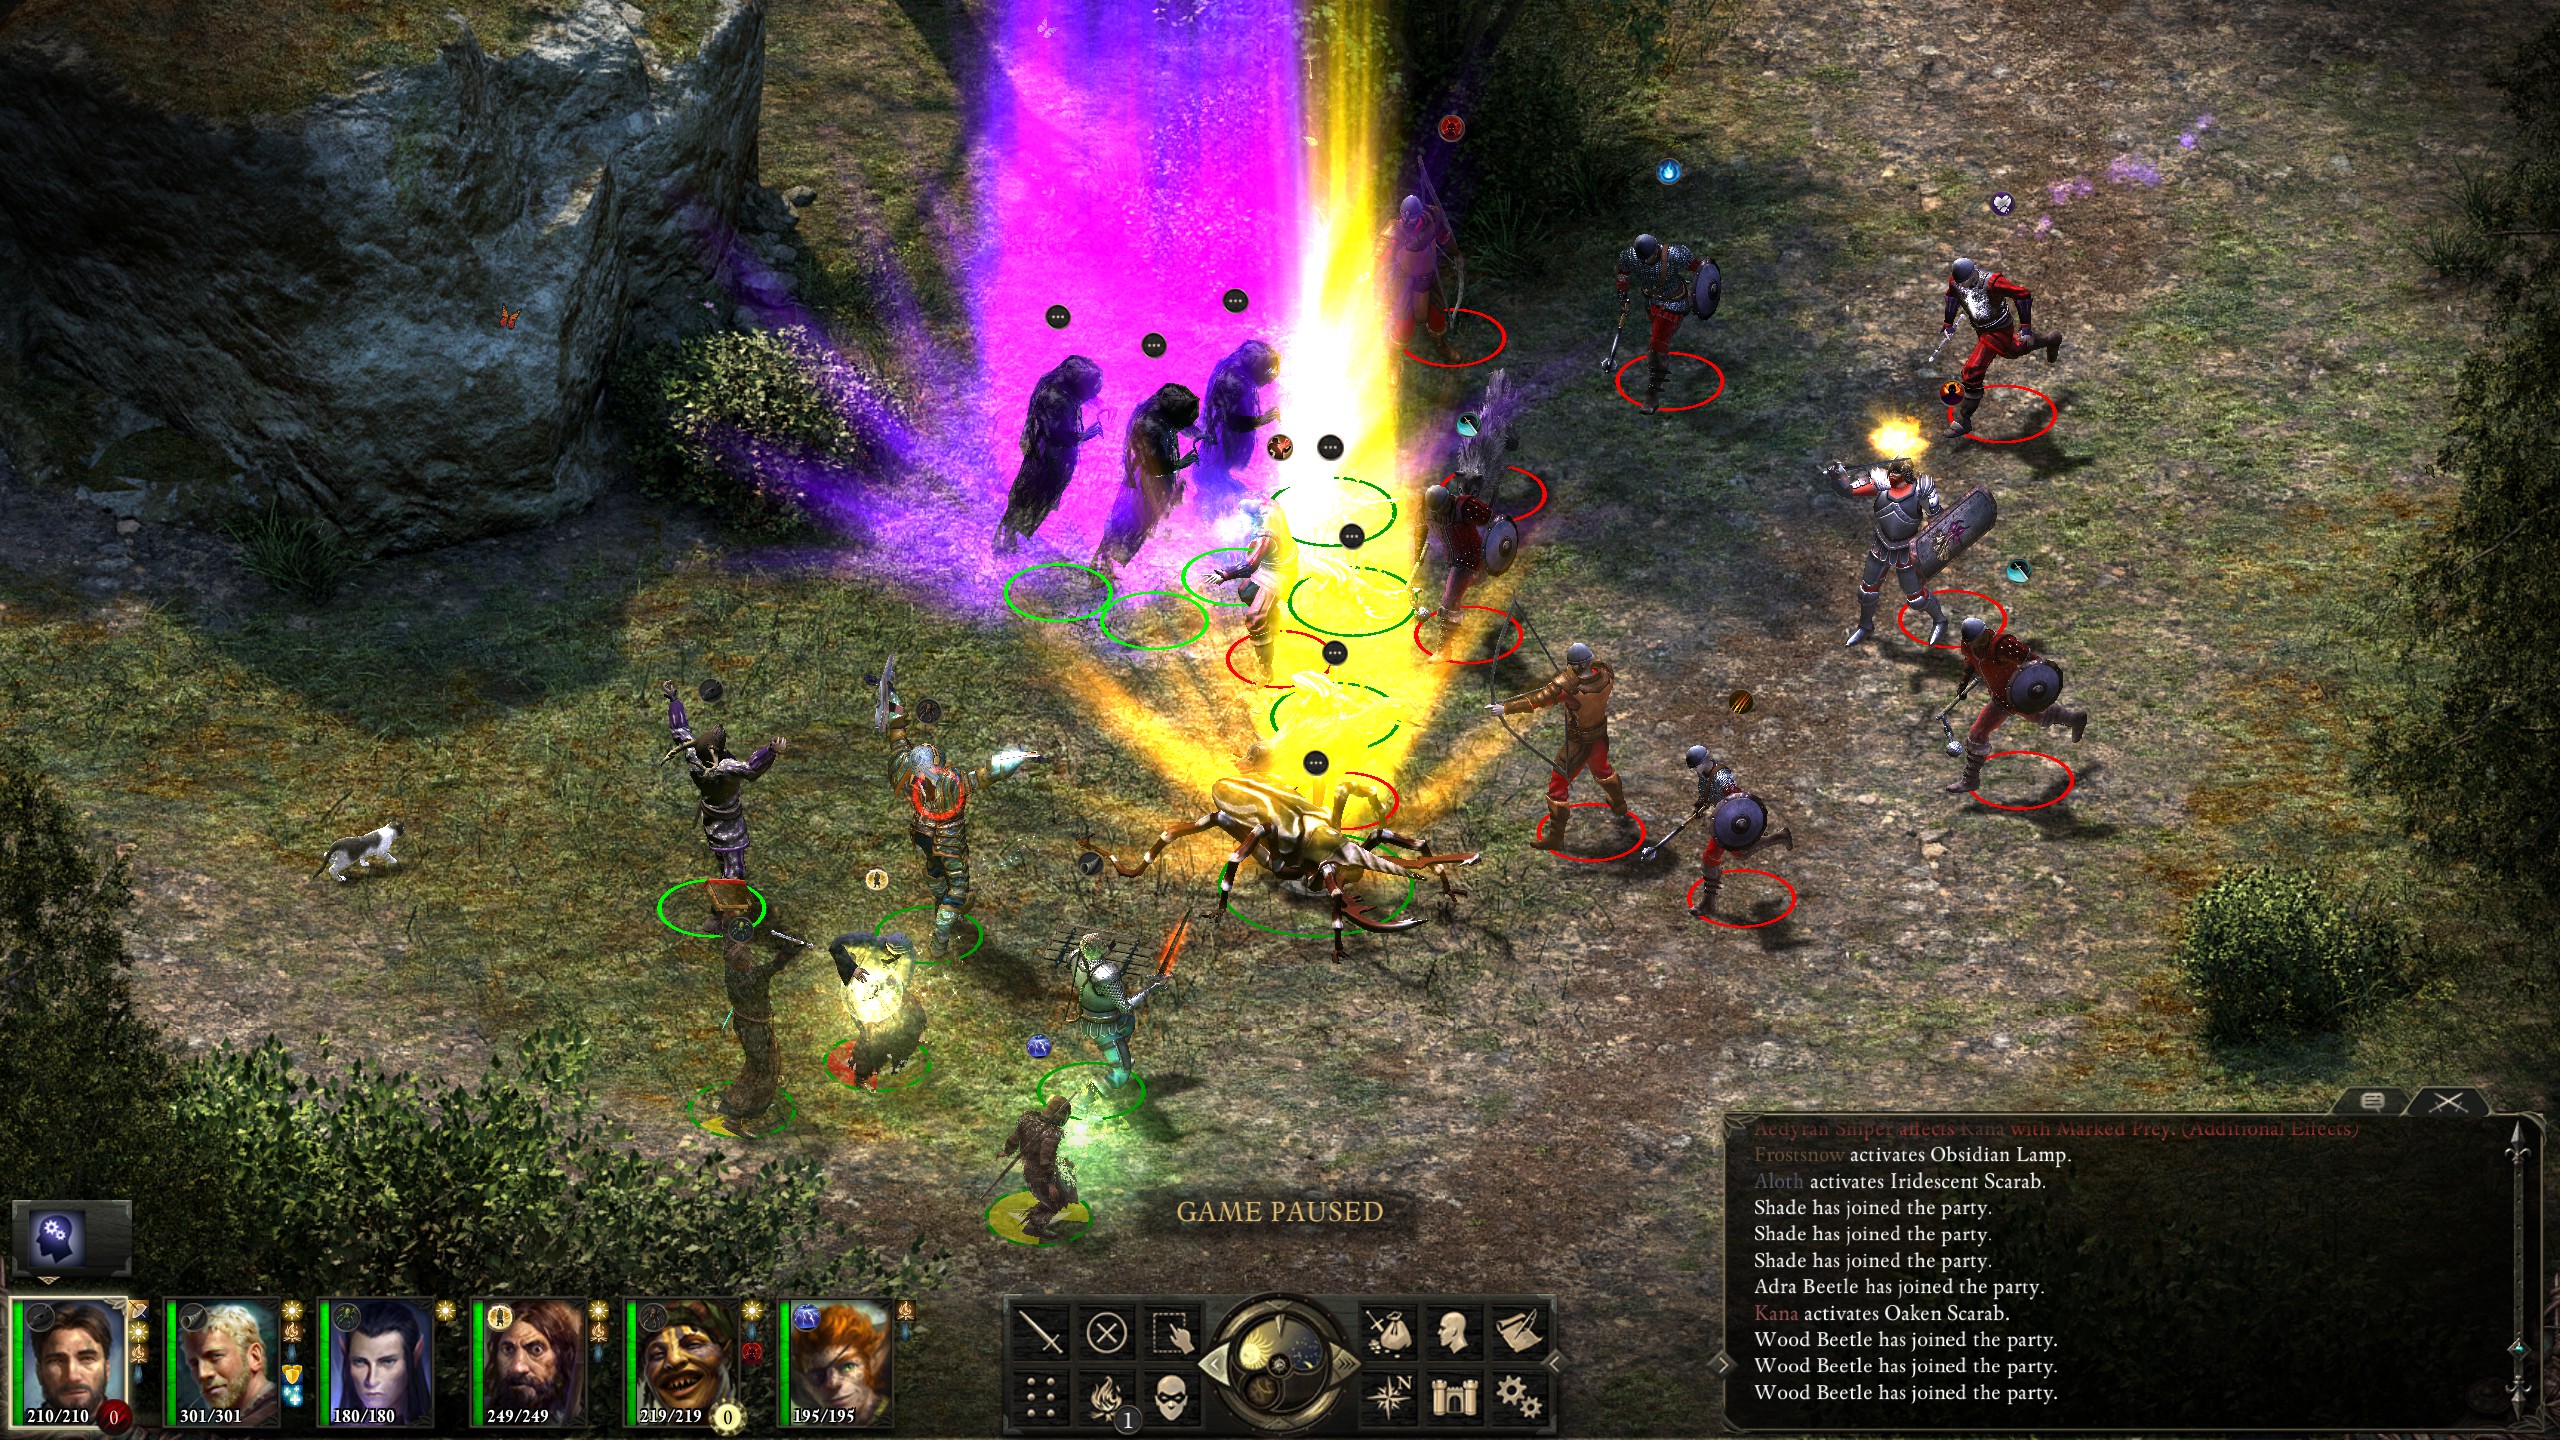
Up the stairs, however, to Hylea's Temple was where the real fun lay, though, for there was the Sky Dragon! I began the fight by using the summoning trinkets in order to eat up the "Returning Storm" spells of the wind blights, then focused the blights as best I could.
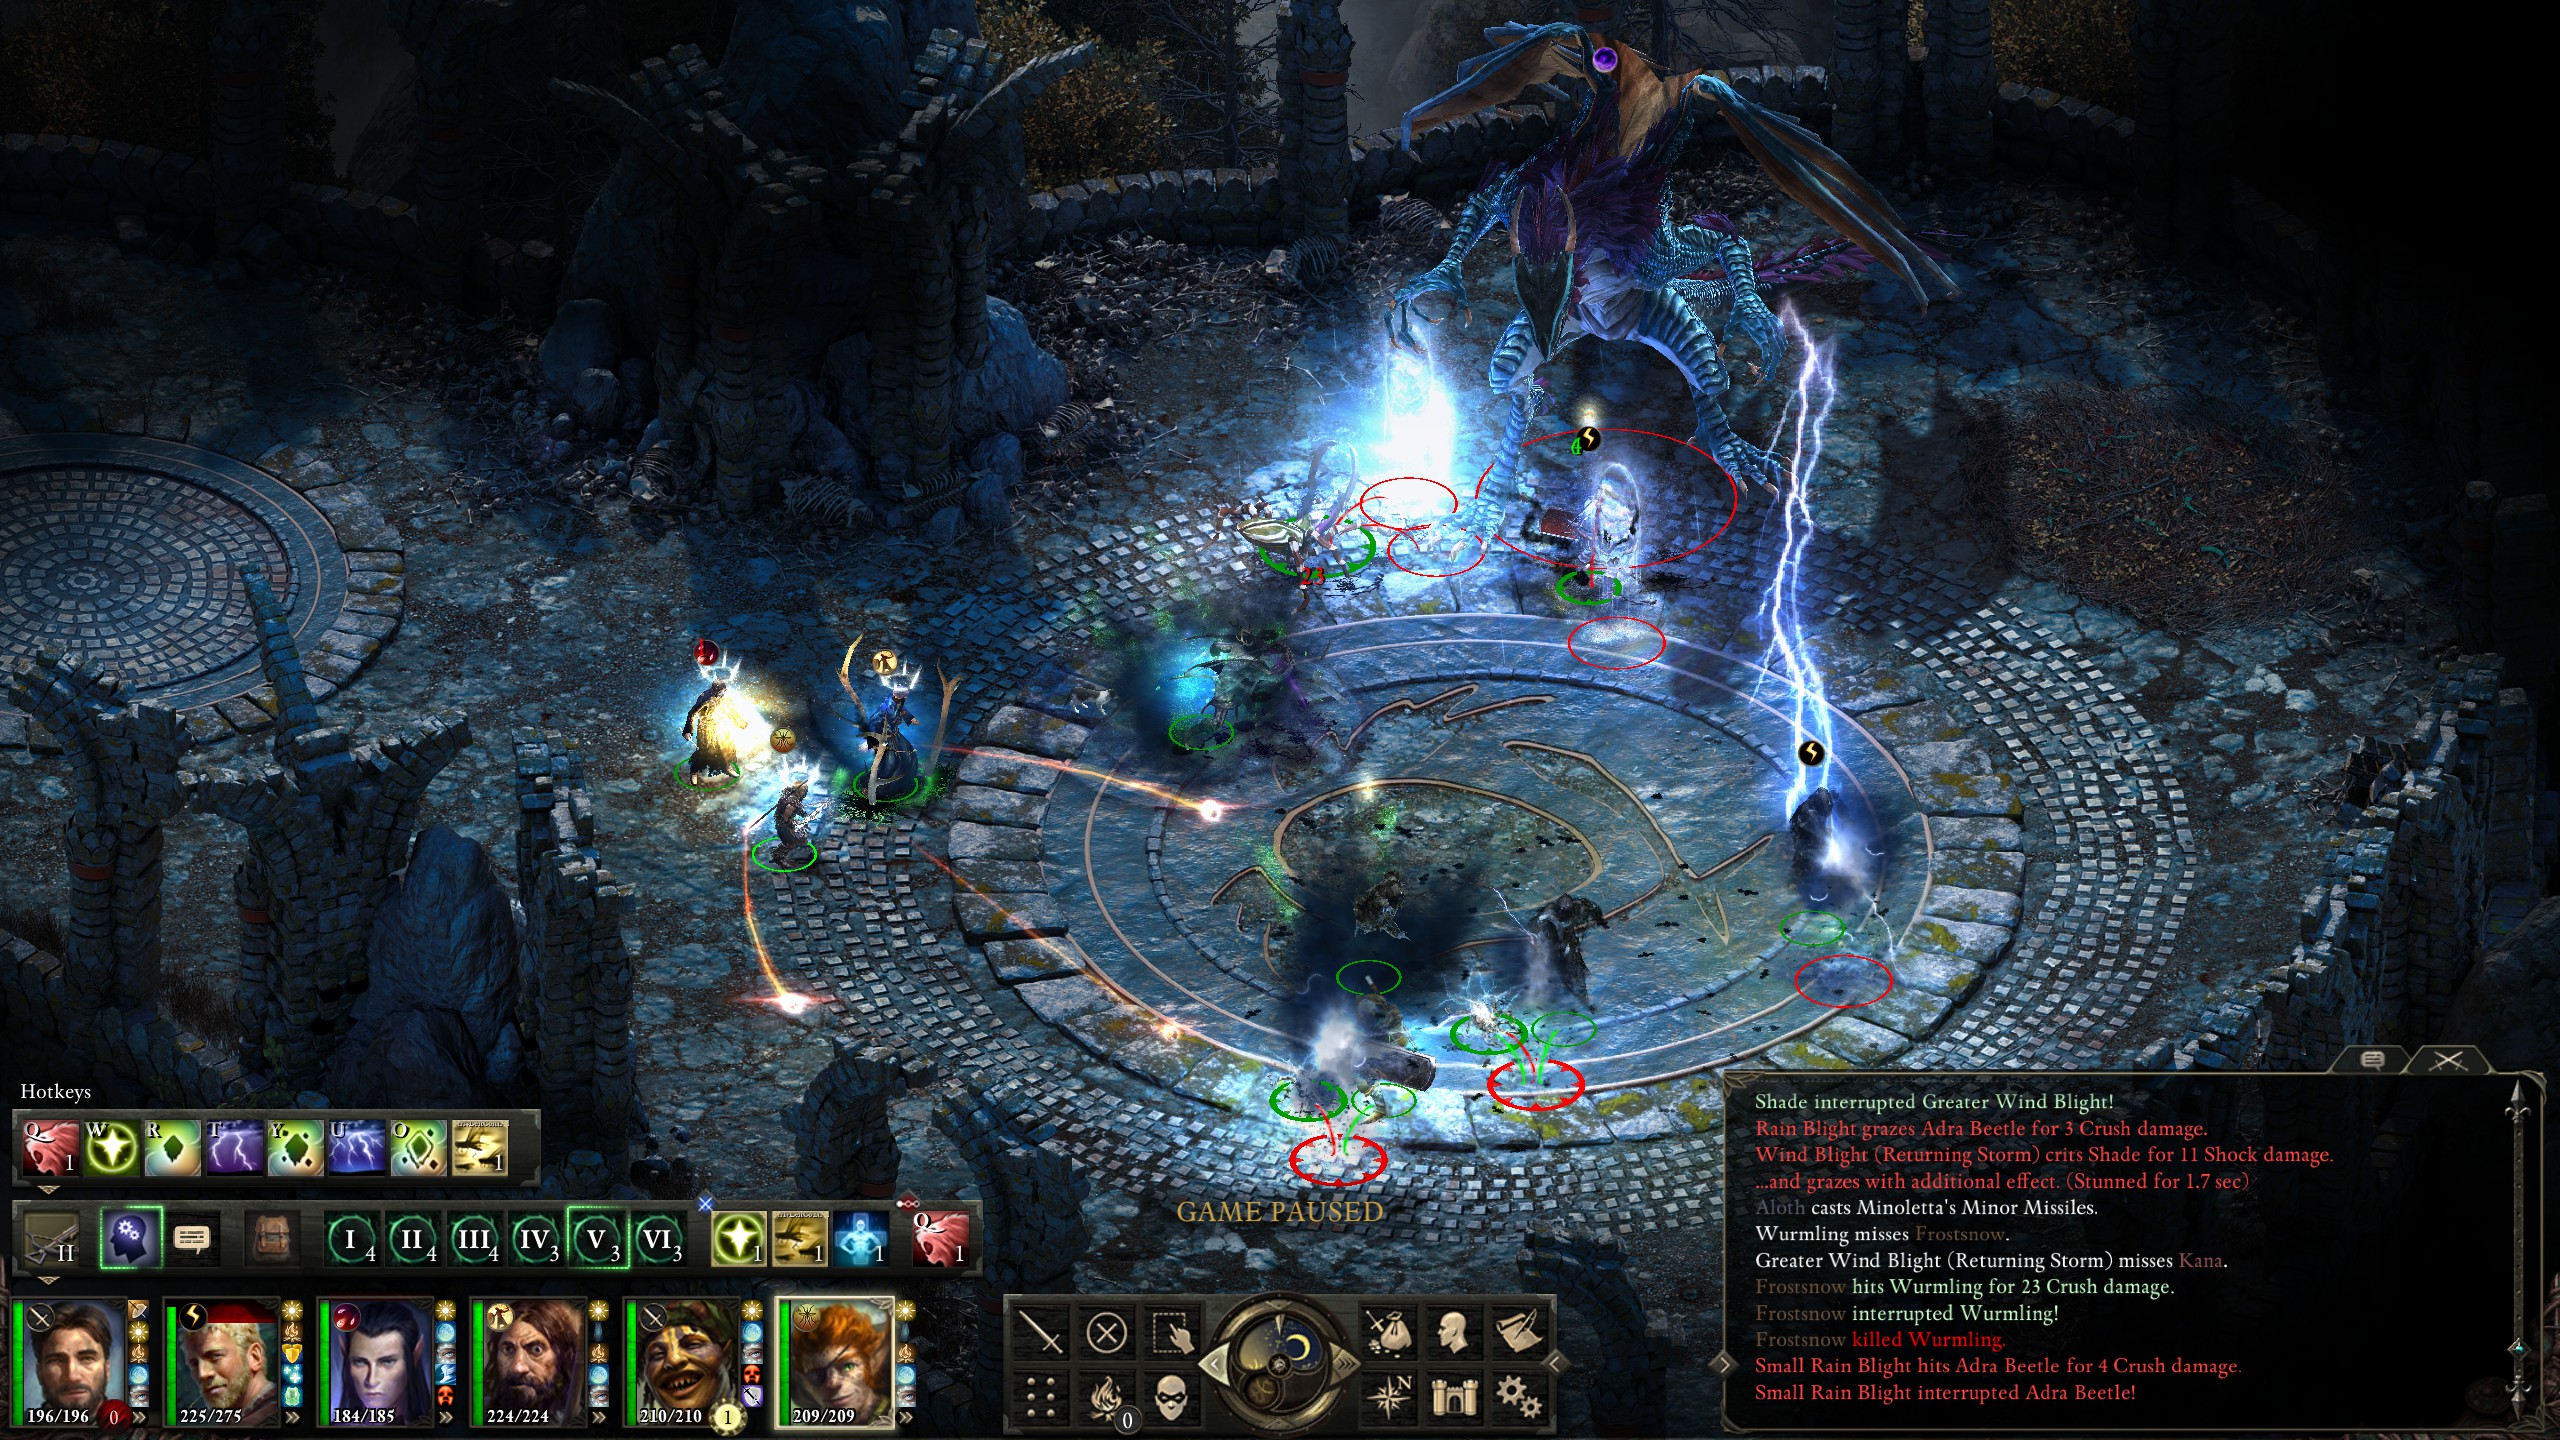
Eder then got rather unlucky against a breath attack...
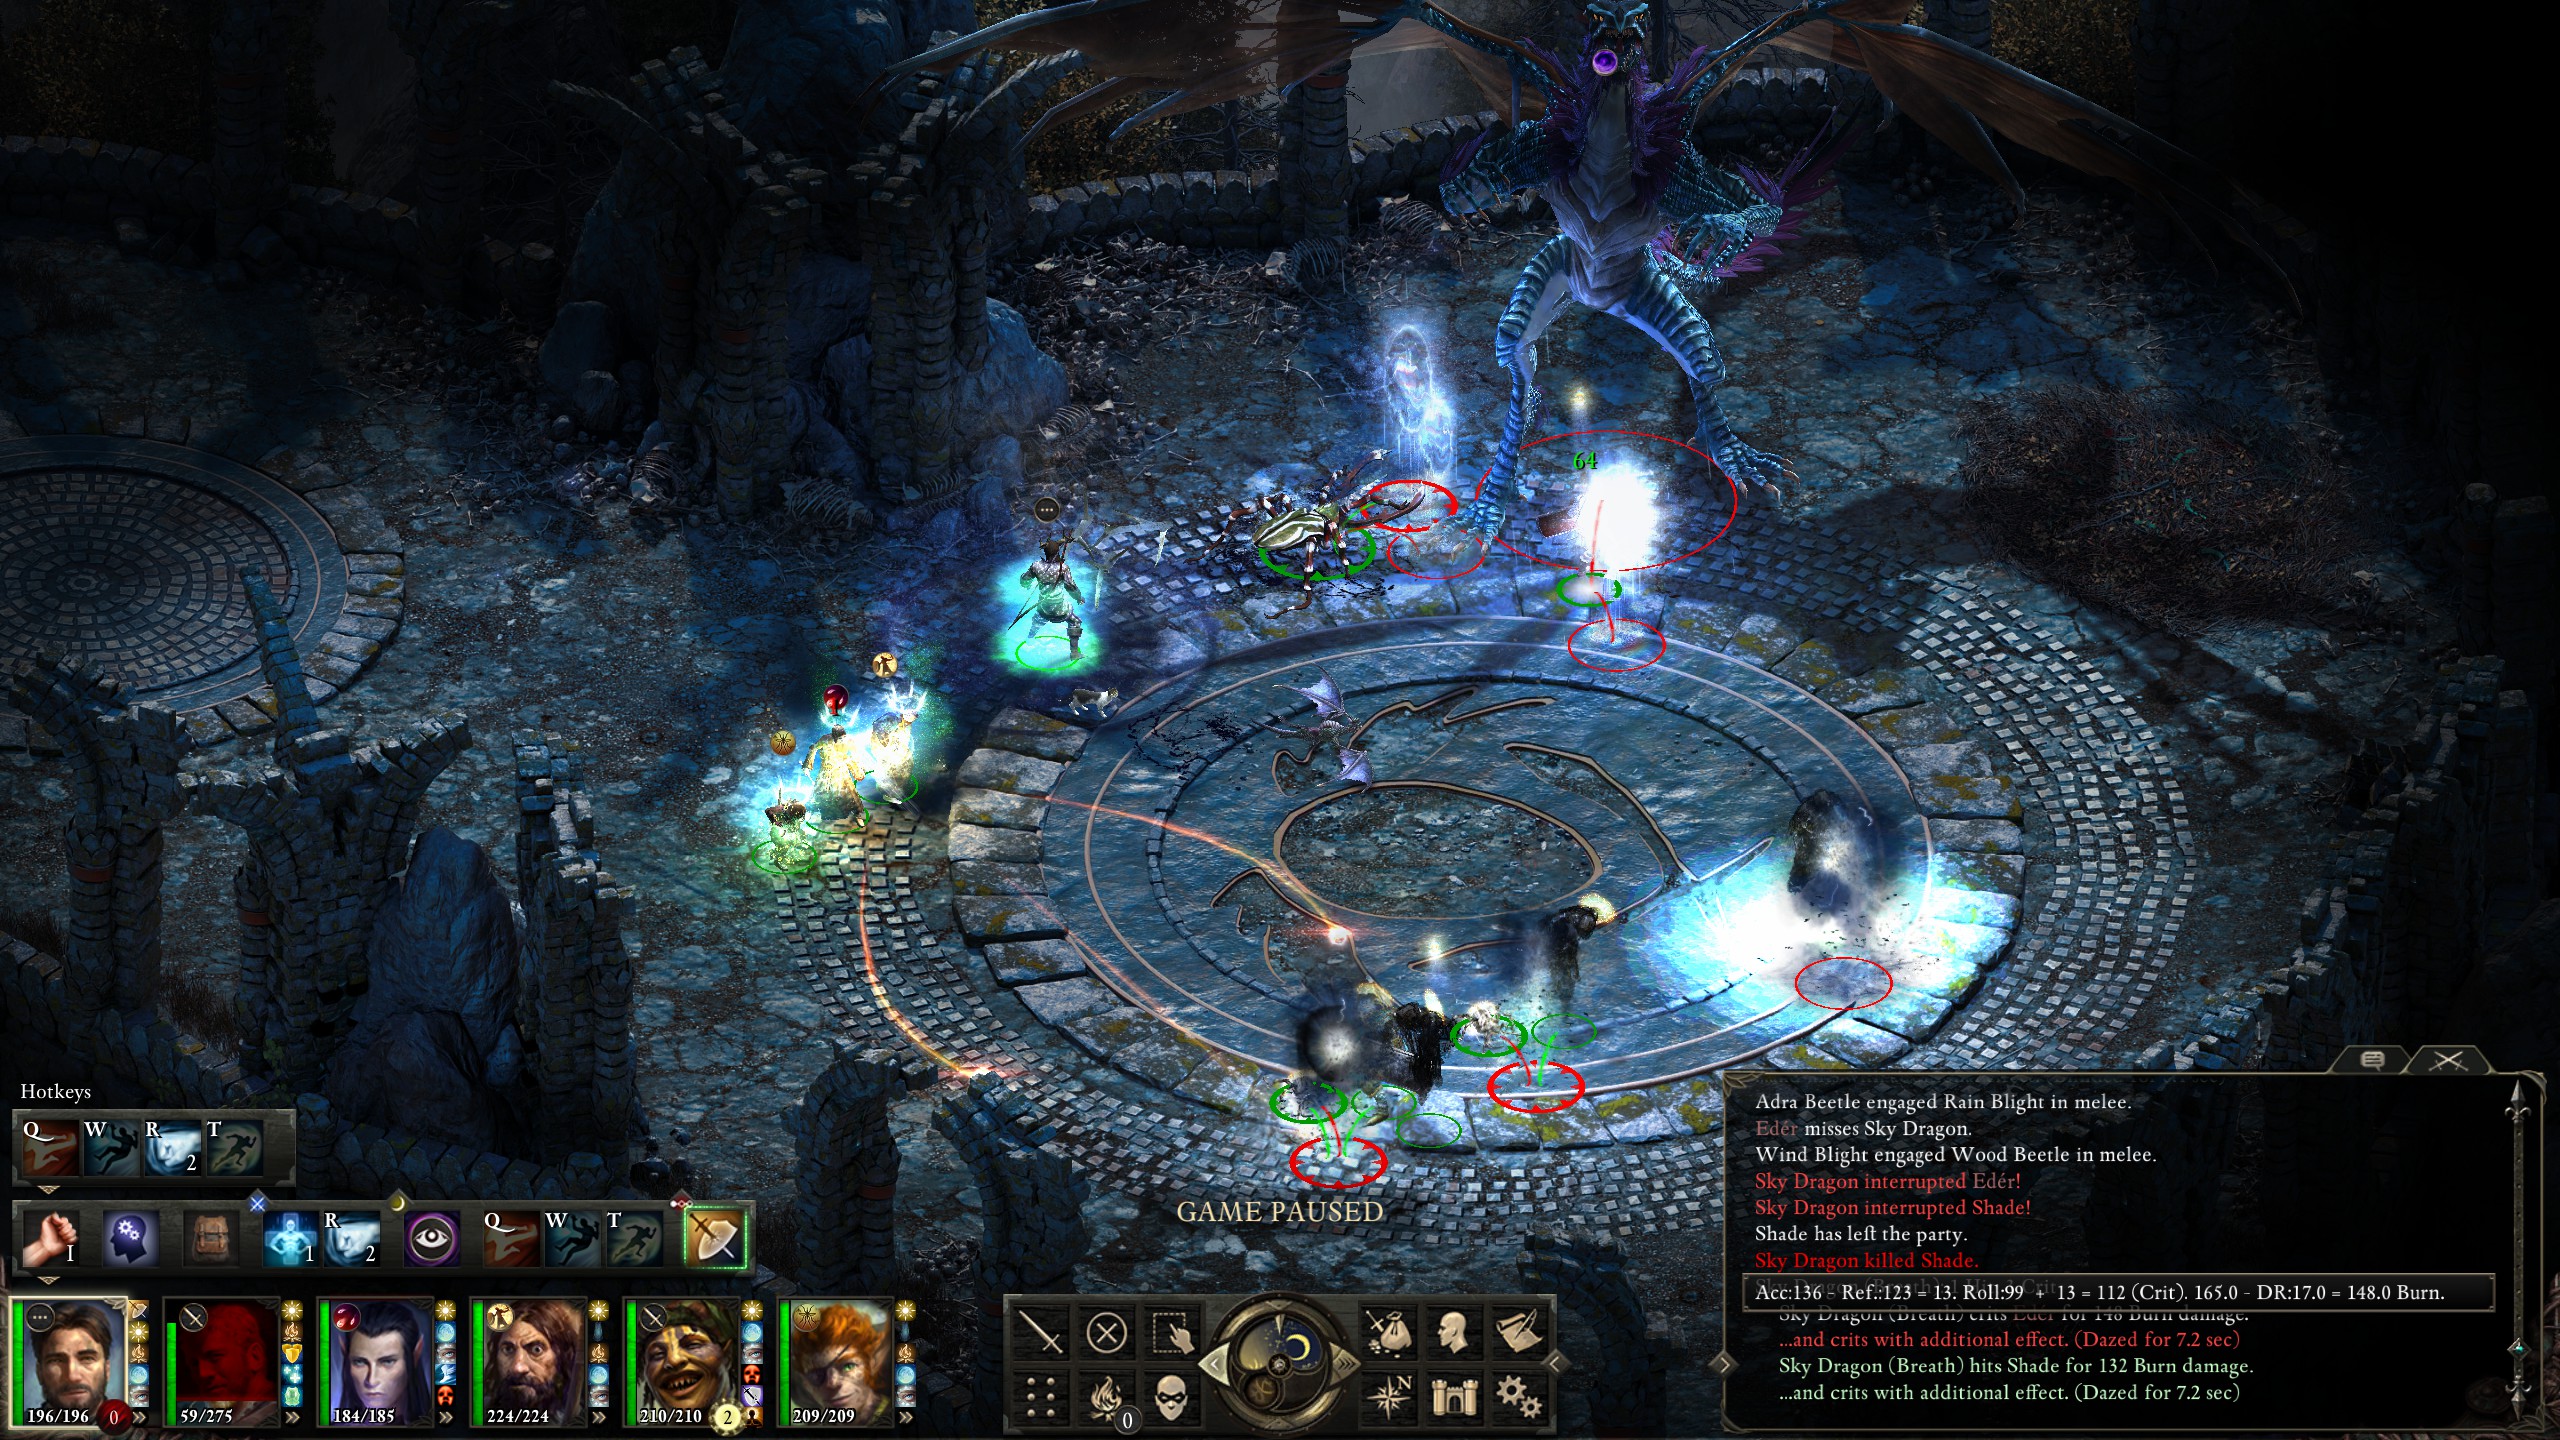
but I managed to recover and finish off the blights.
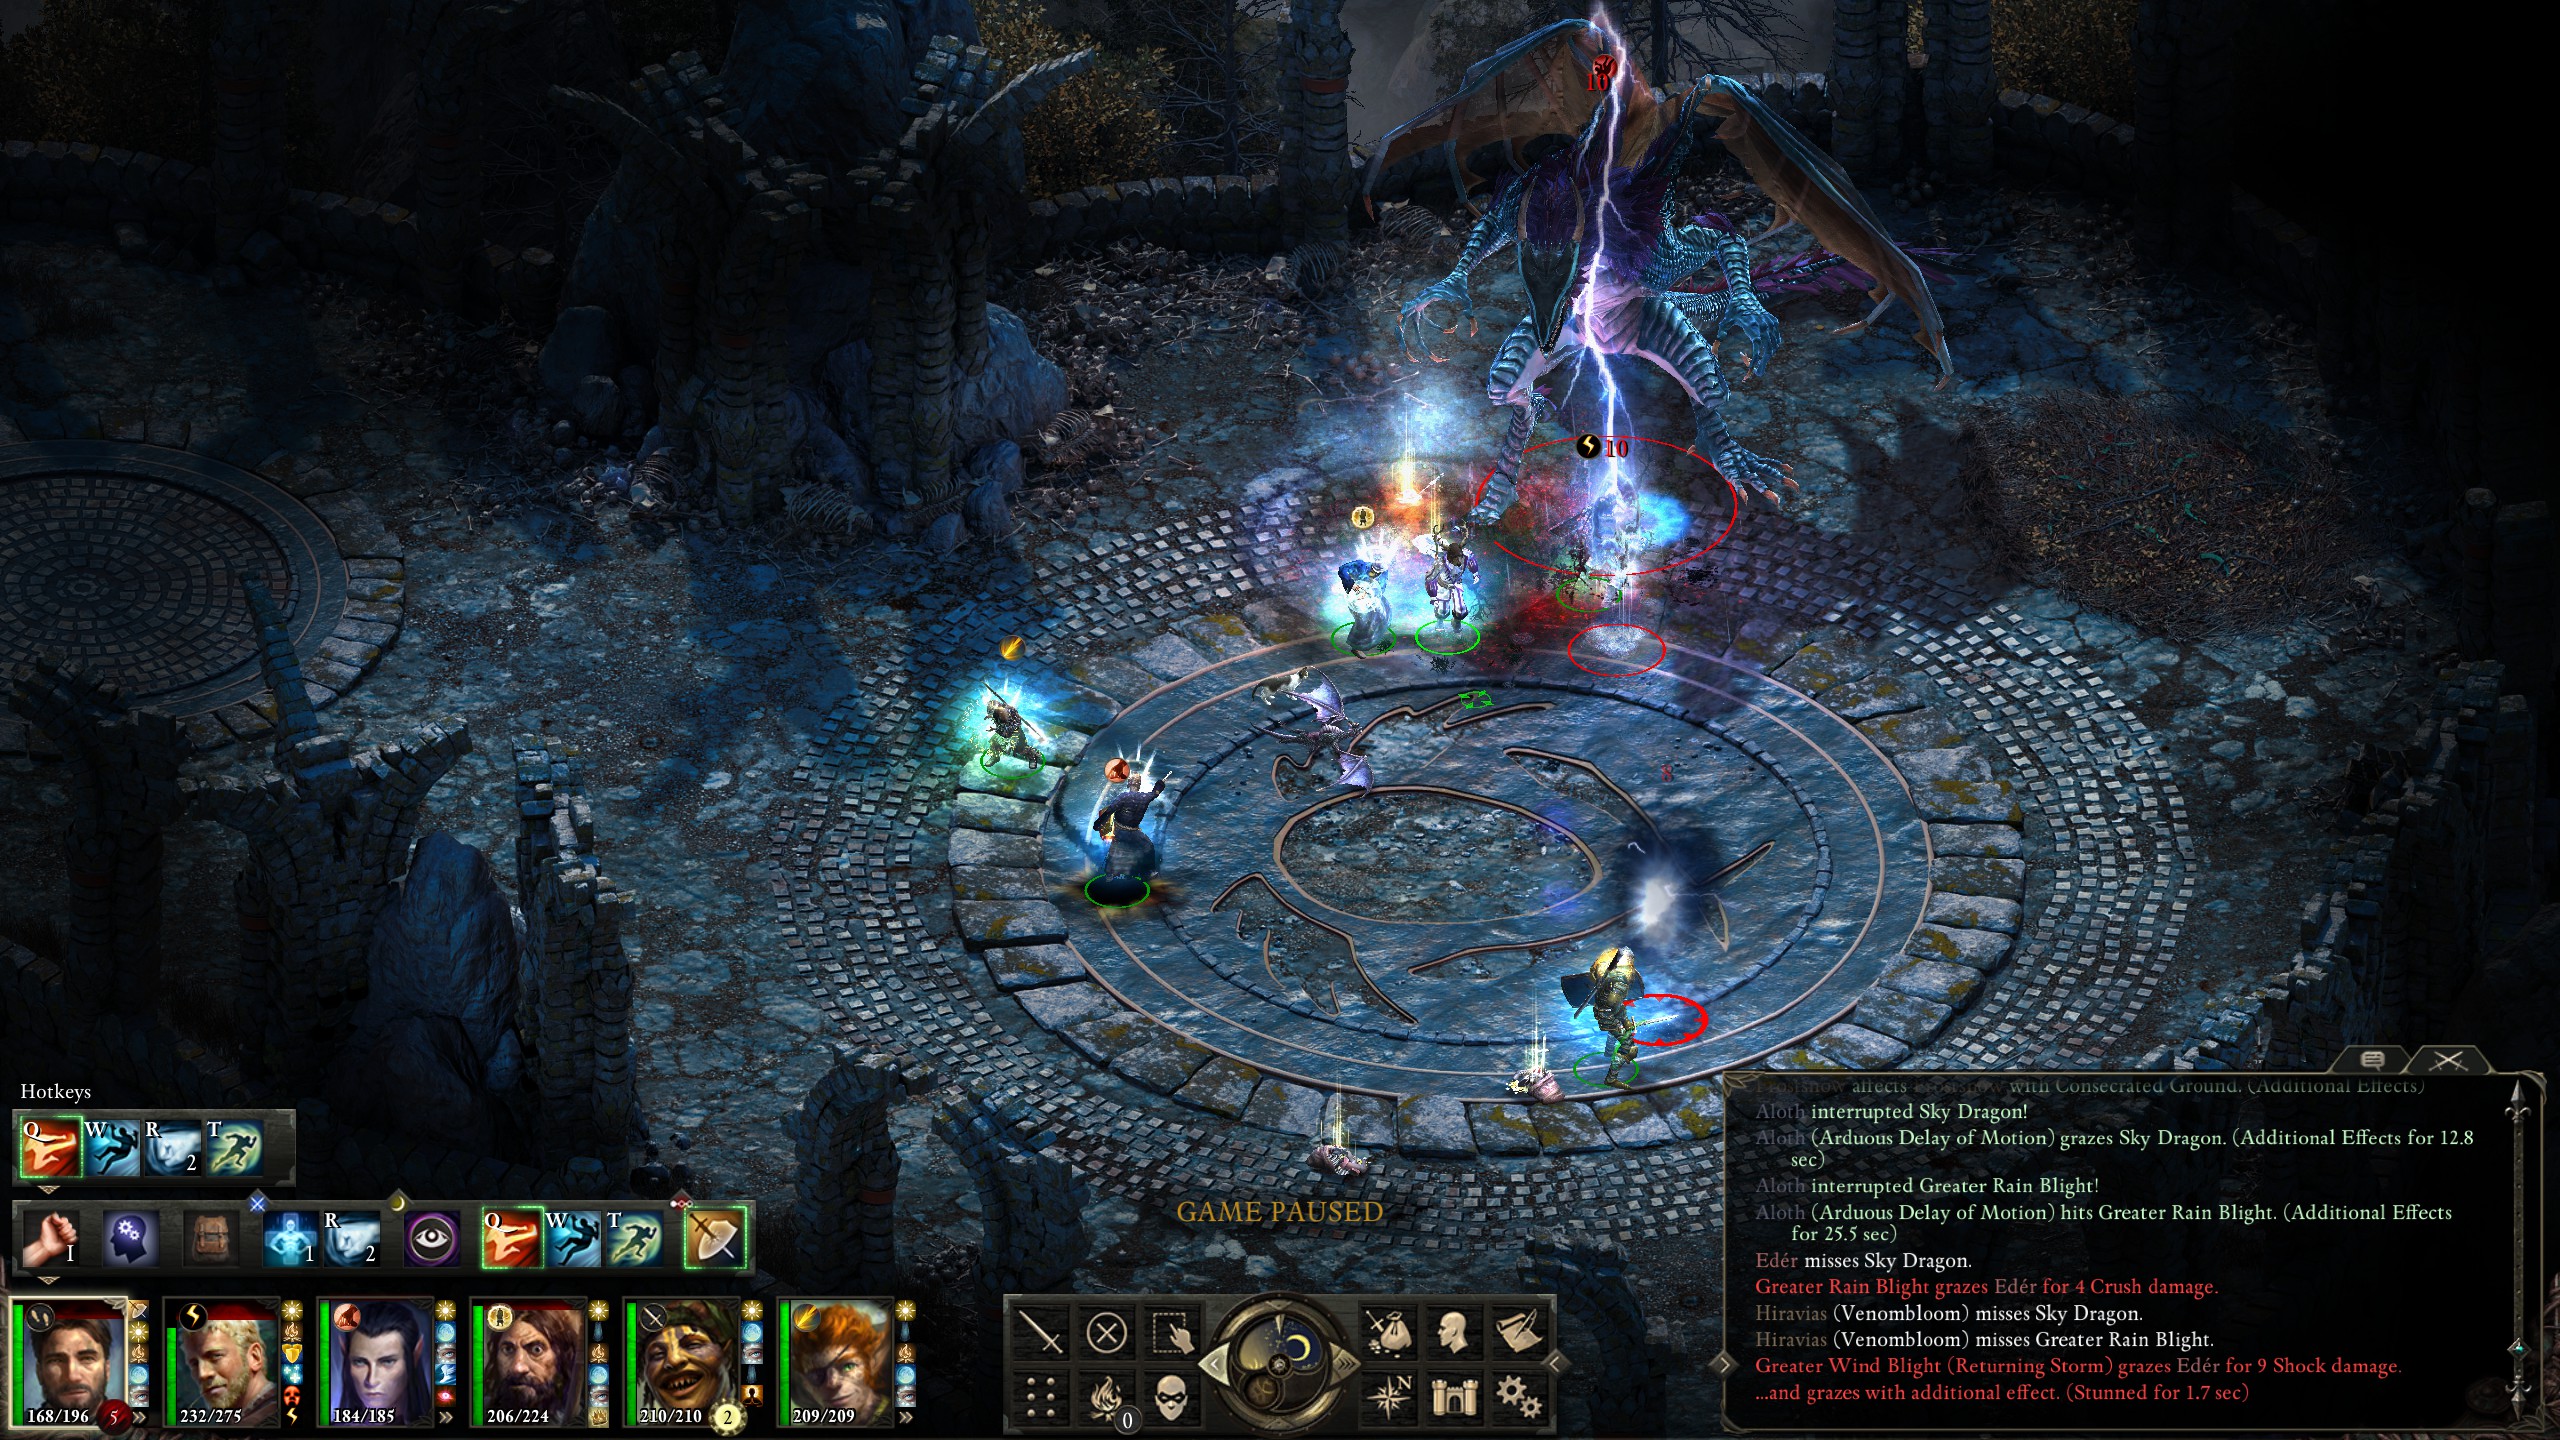
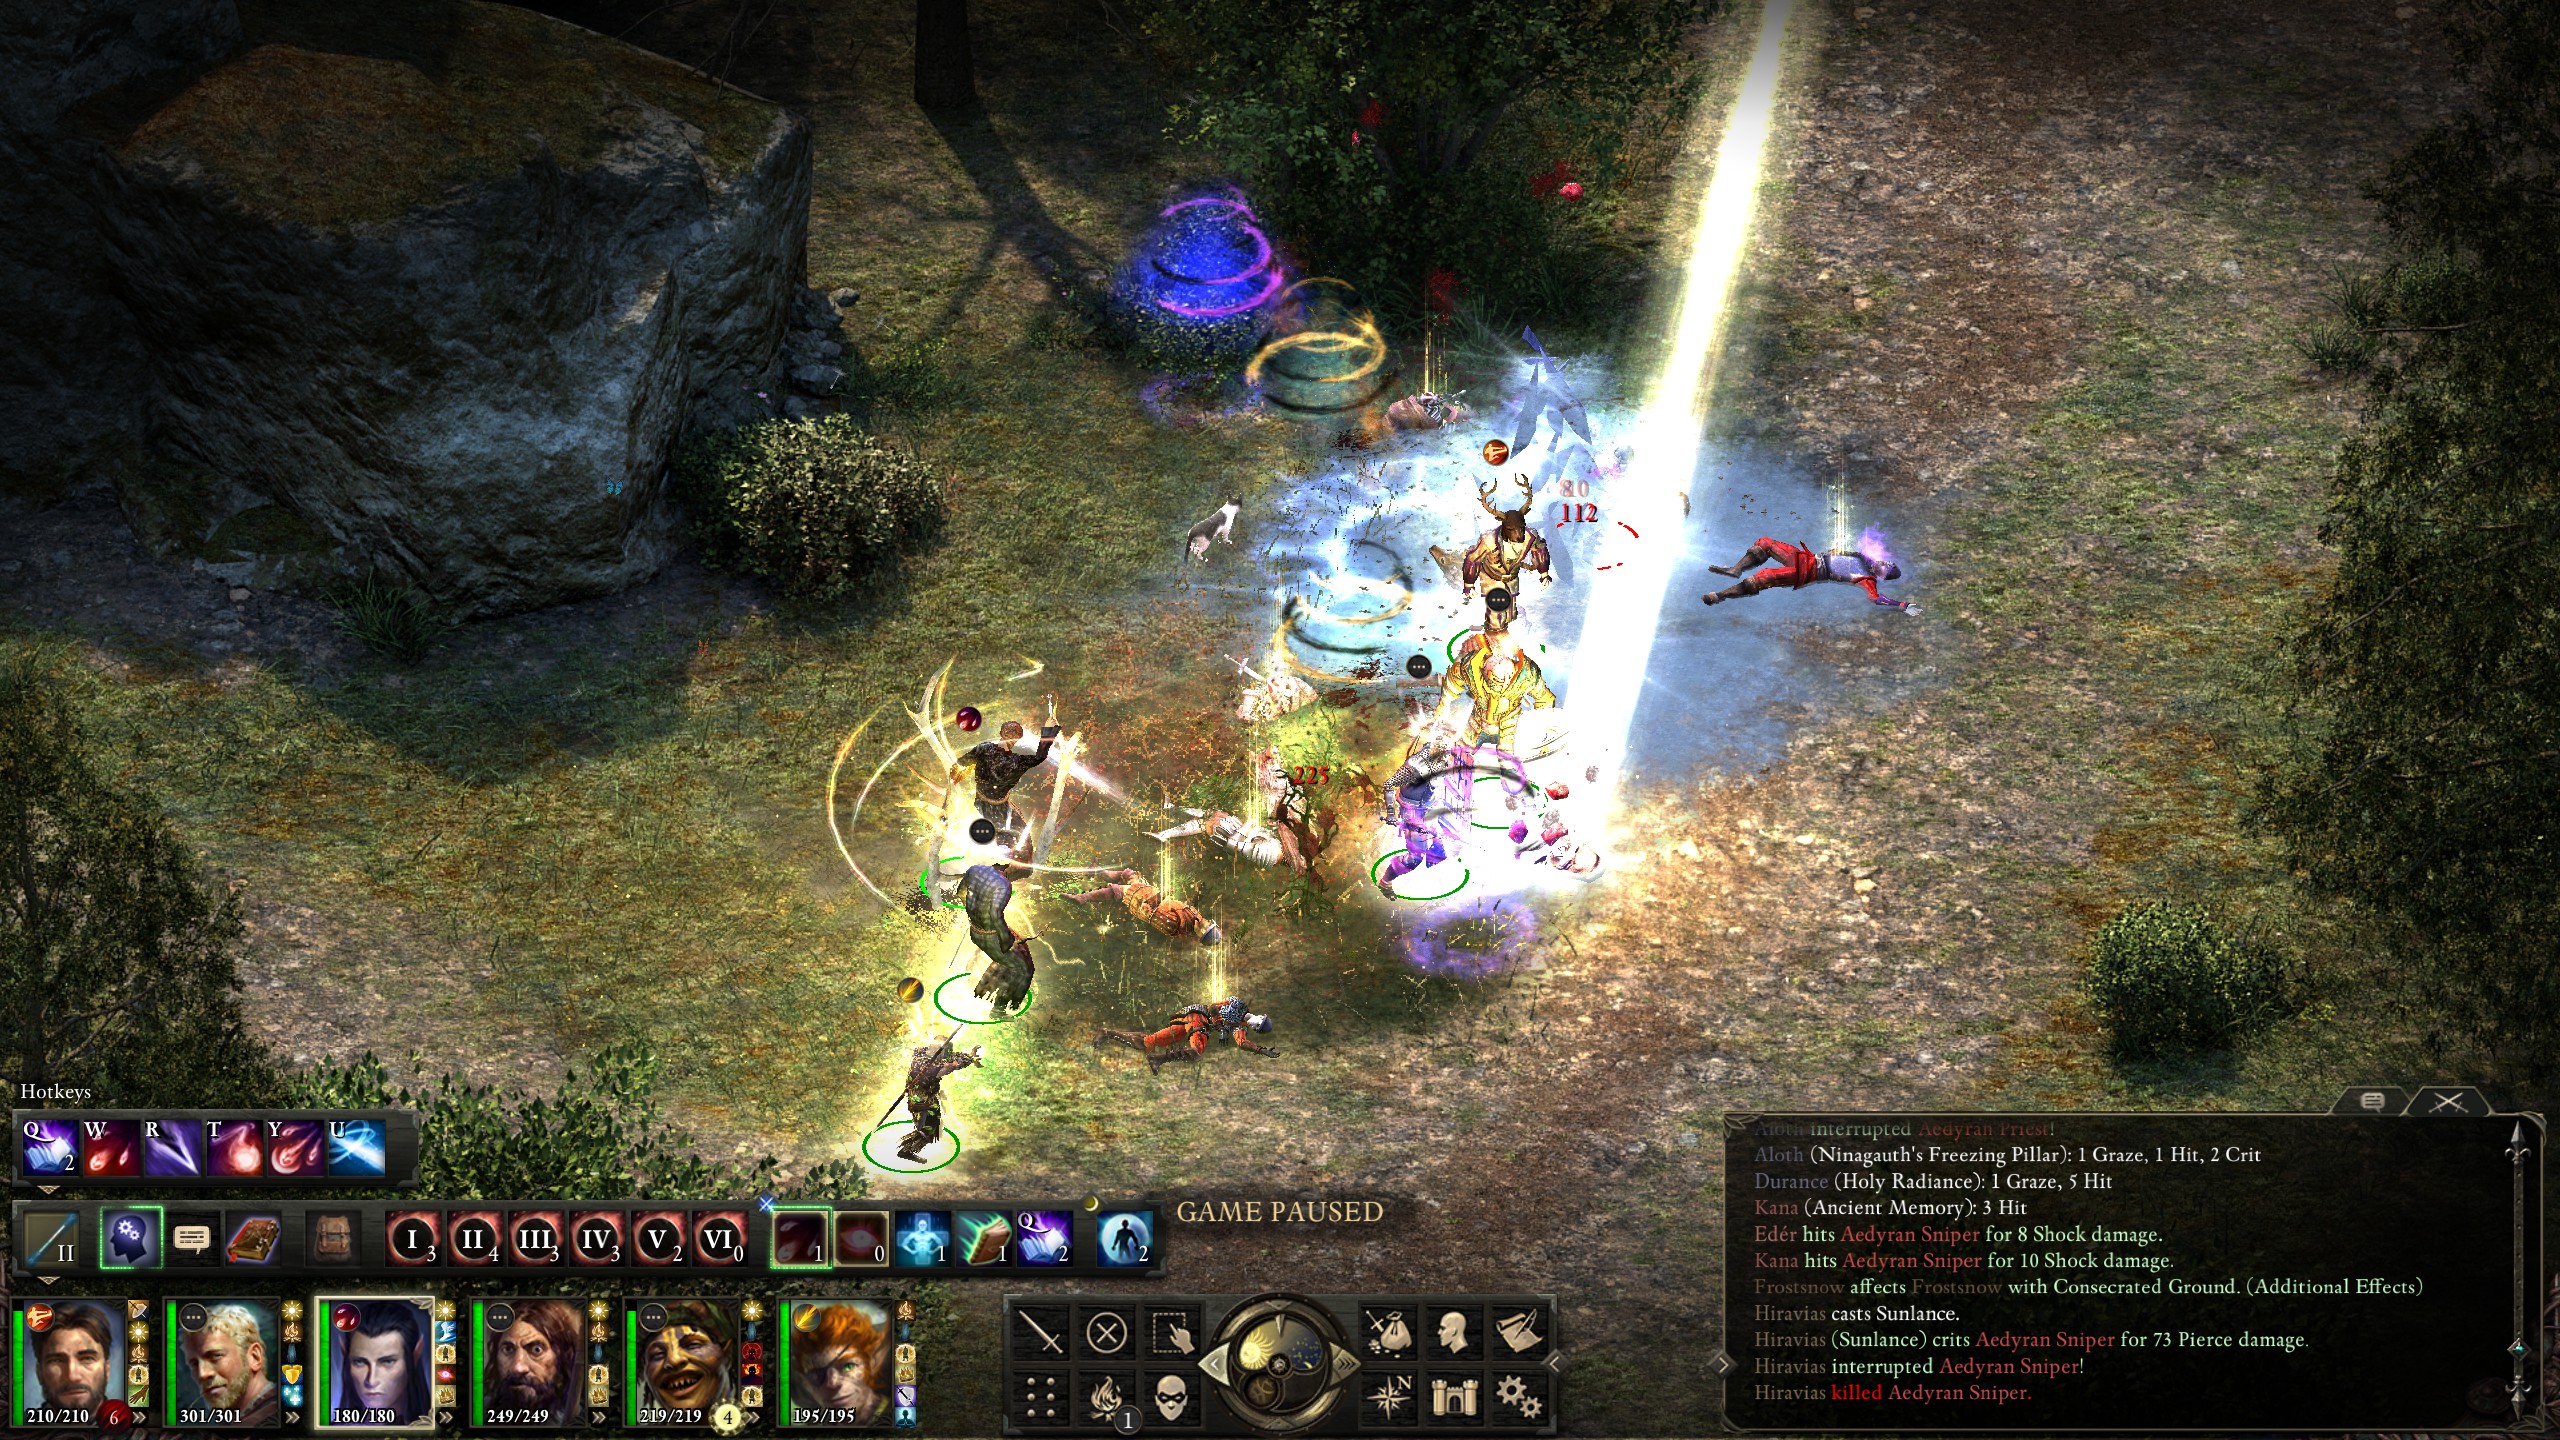
Luck decided to favor me next, as Aloth managed to land a "Gaze of the Adragan" on the dragon.

I used the opportunity to unlesh everything I could on it: Durance's "Pillar of Holy Fire", Hiravas' "Sunlance", and Aloth's "Minoletta's Concussive Missiles".
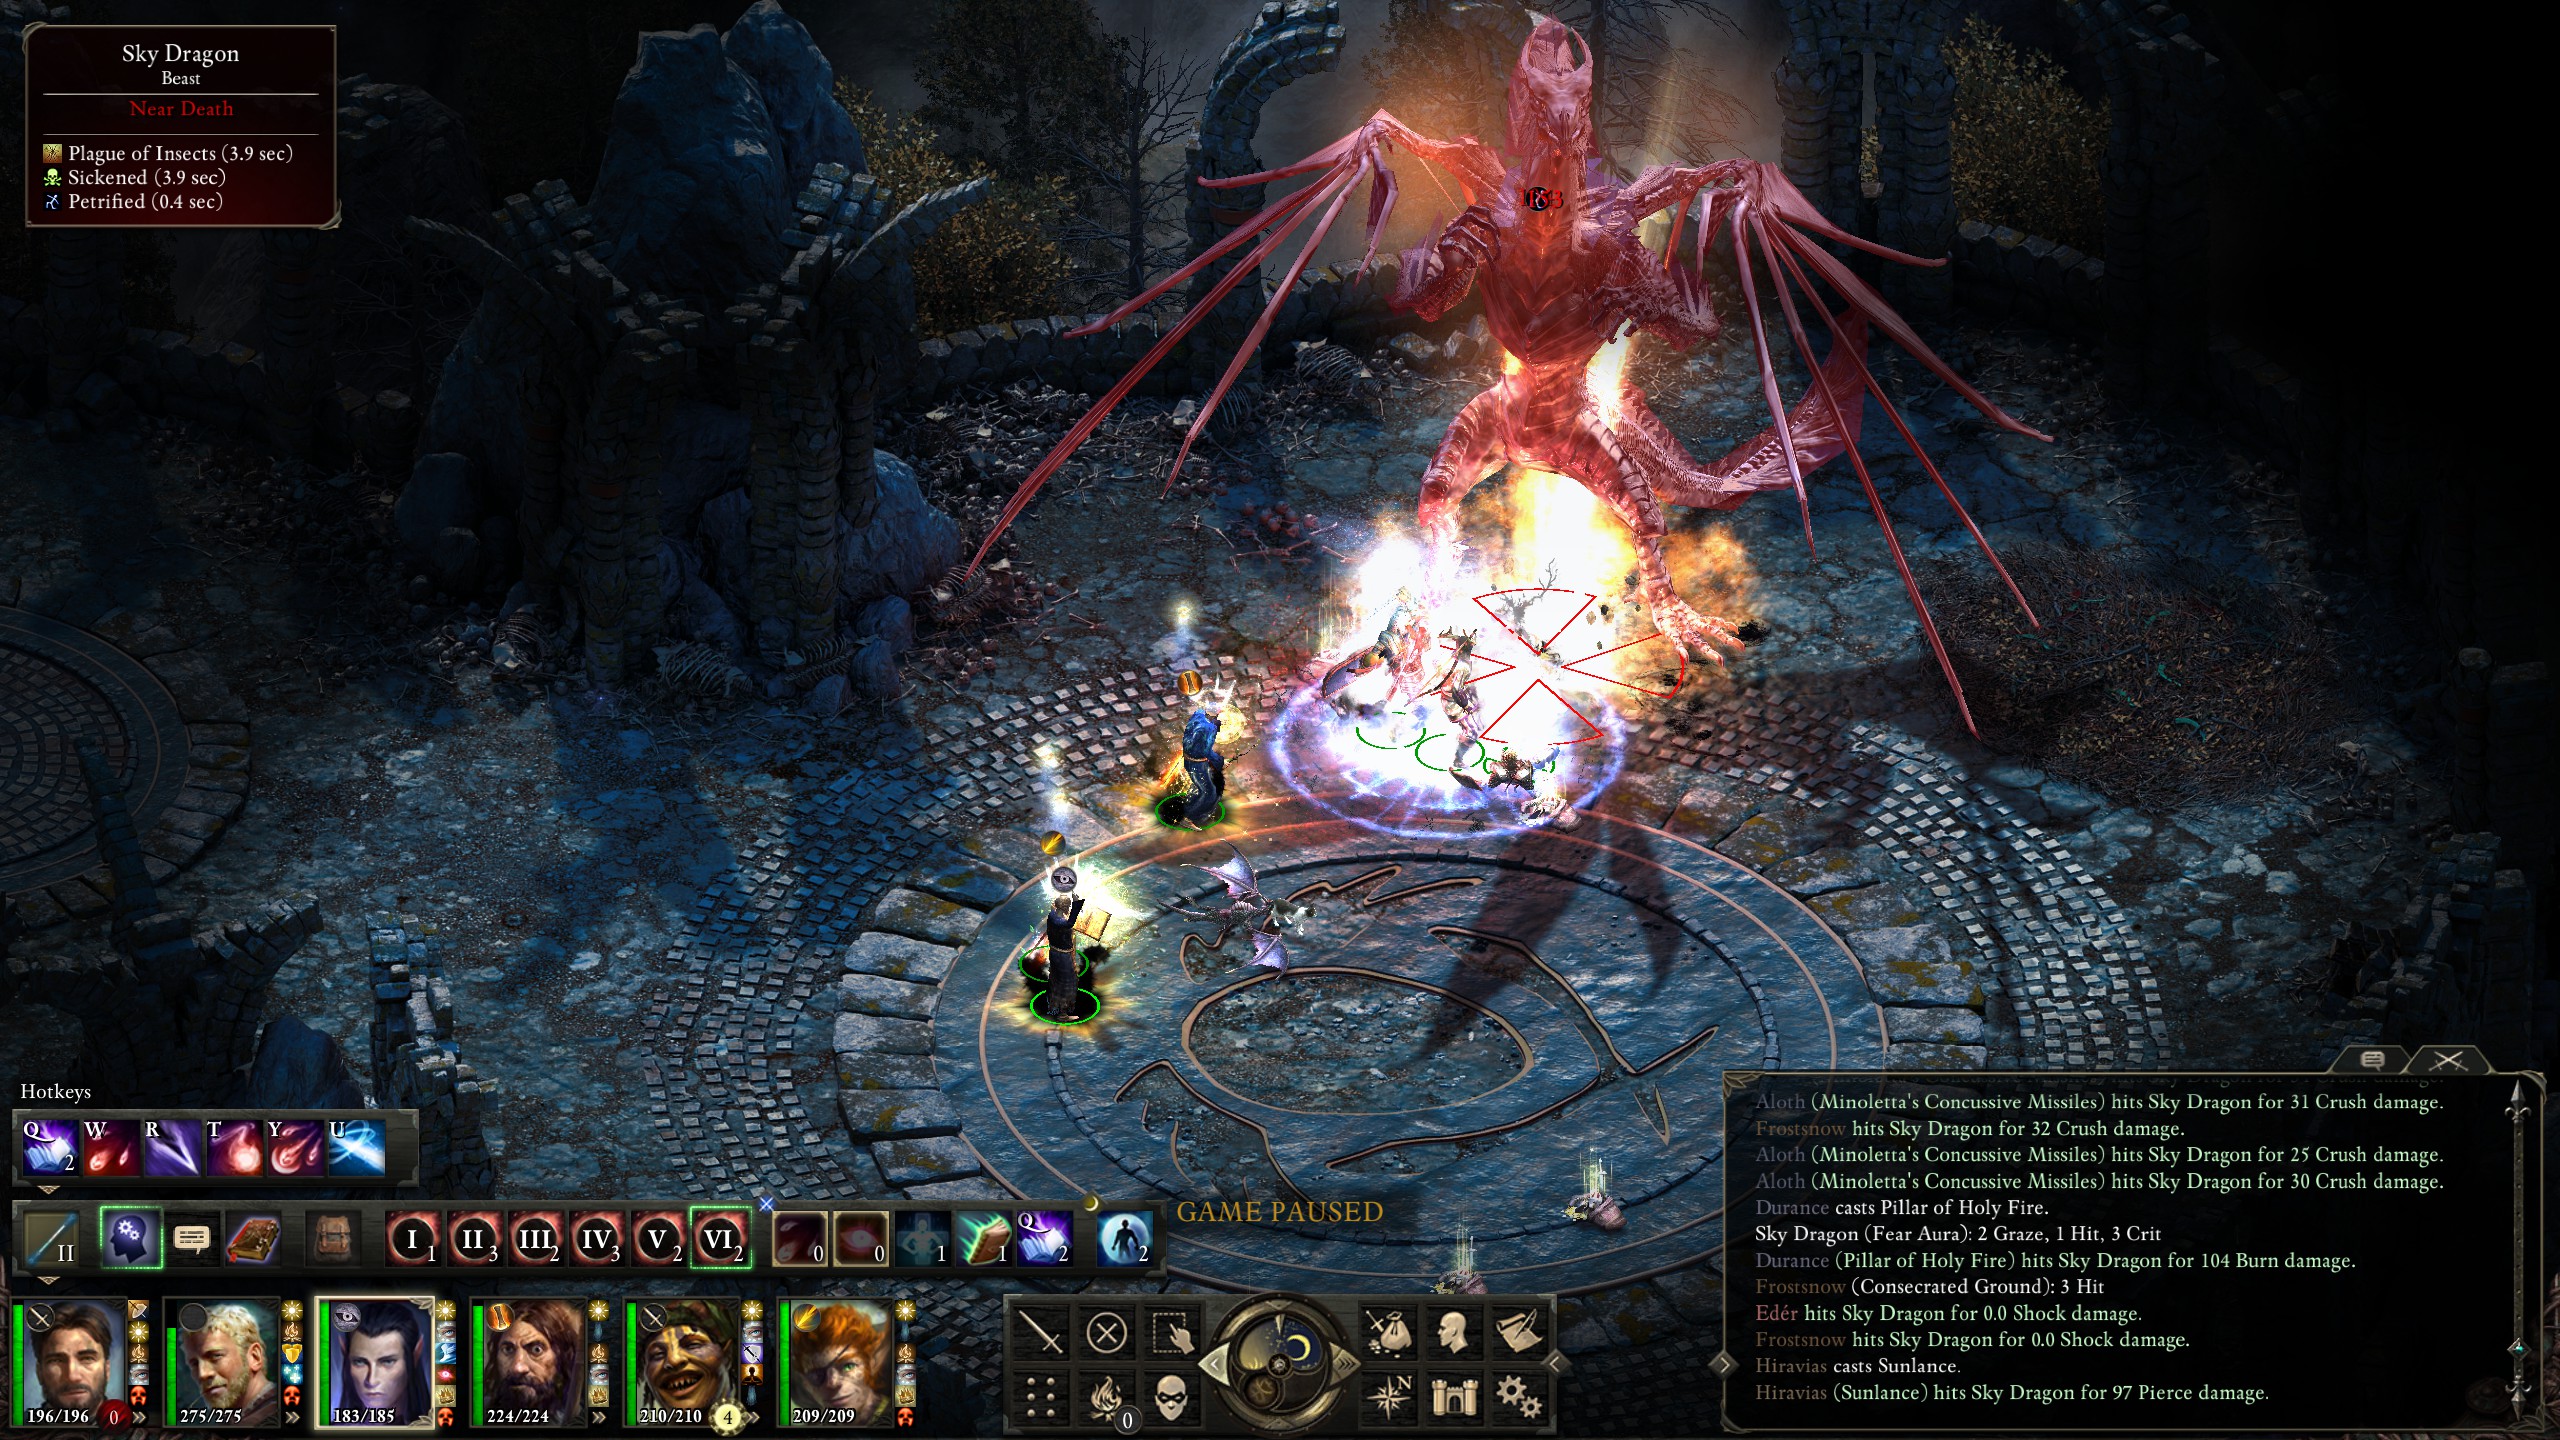
The volley didn't outright kill the dragon, but it took it most of the way down, and it wasn't long after that I won the fight.
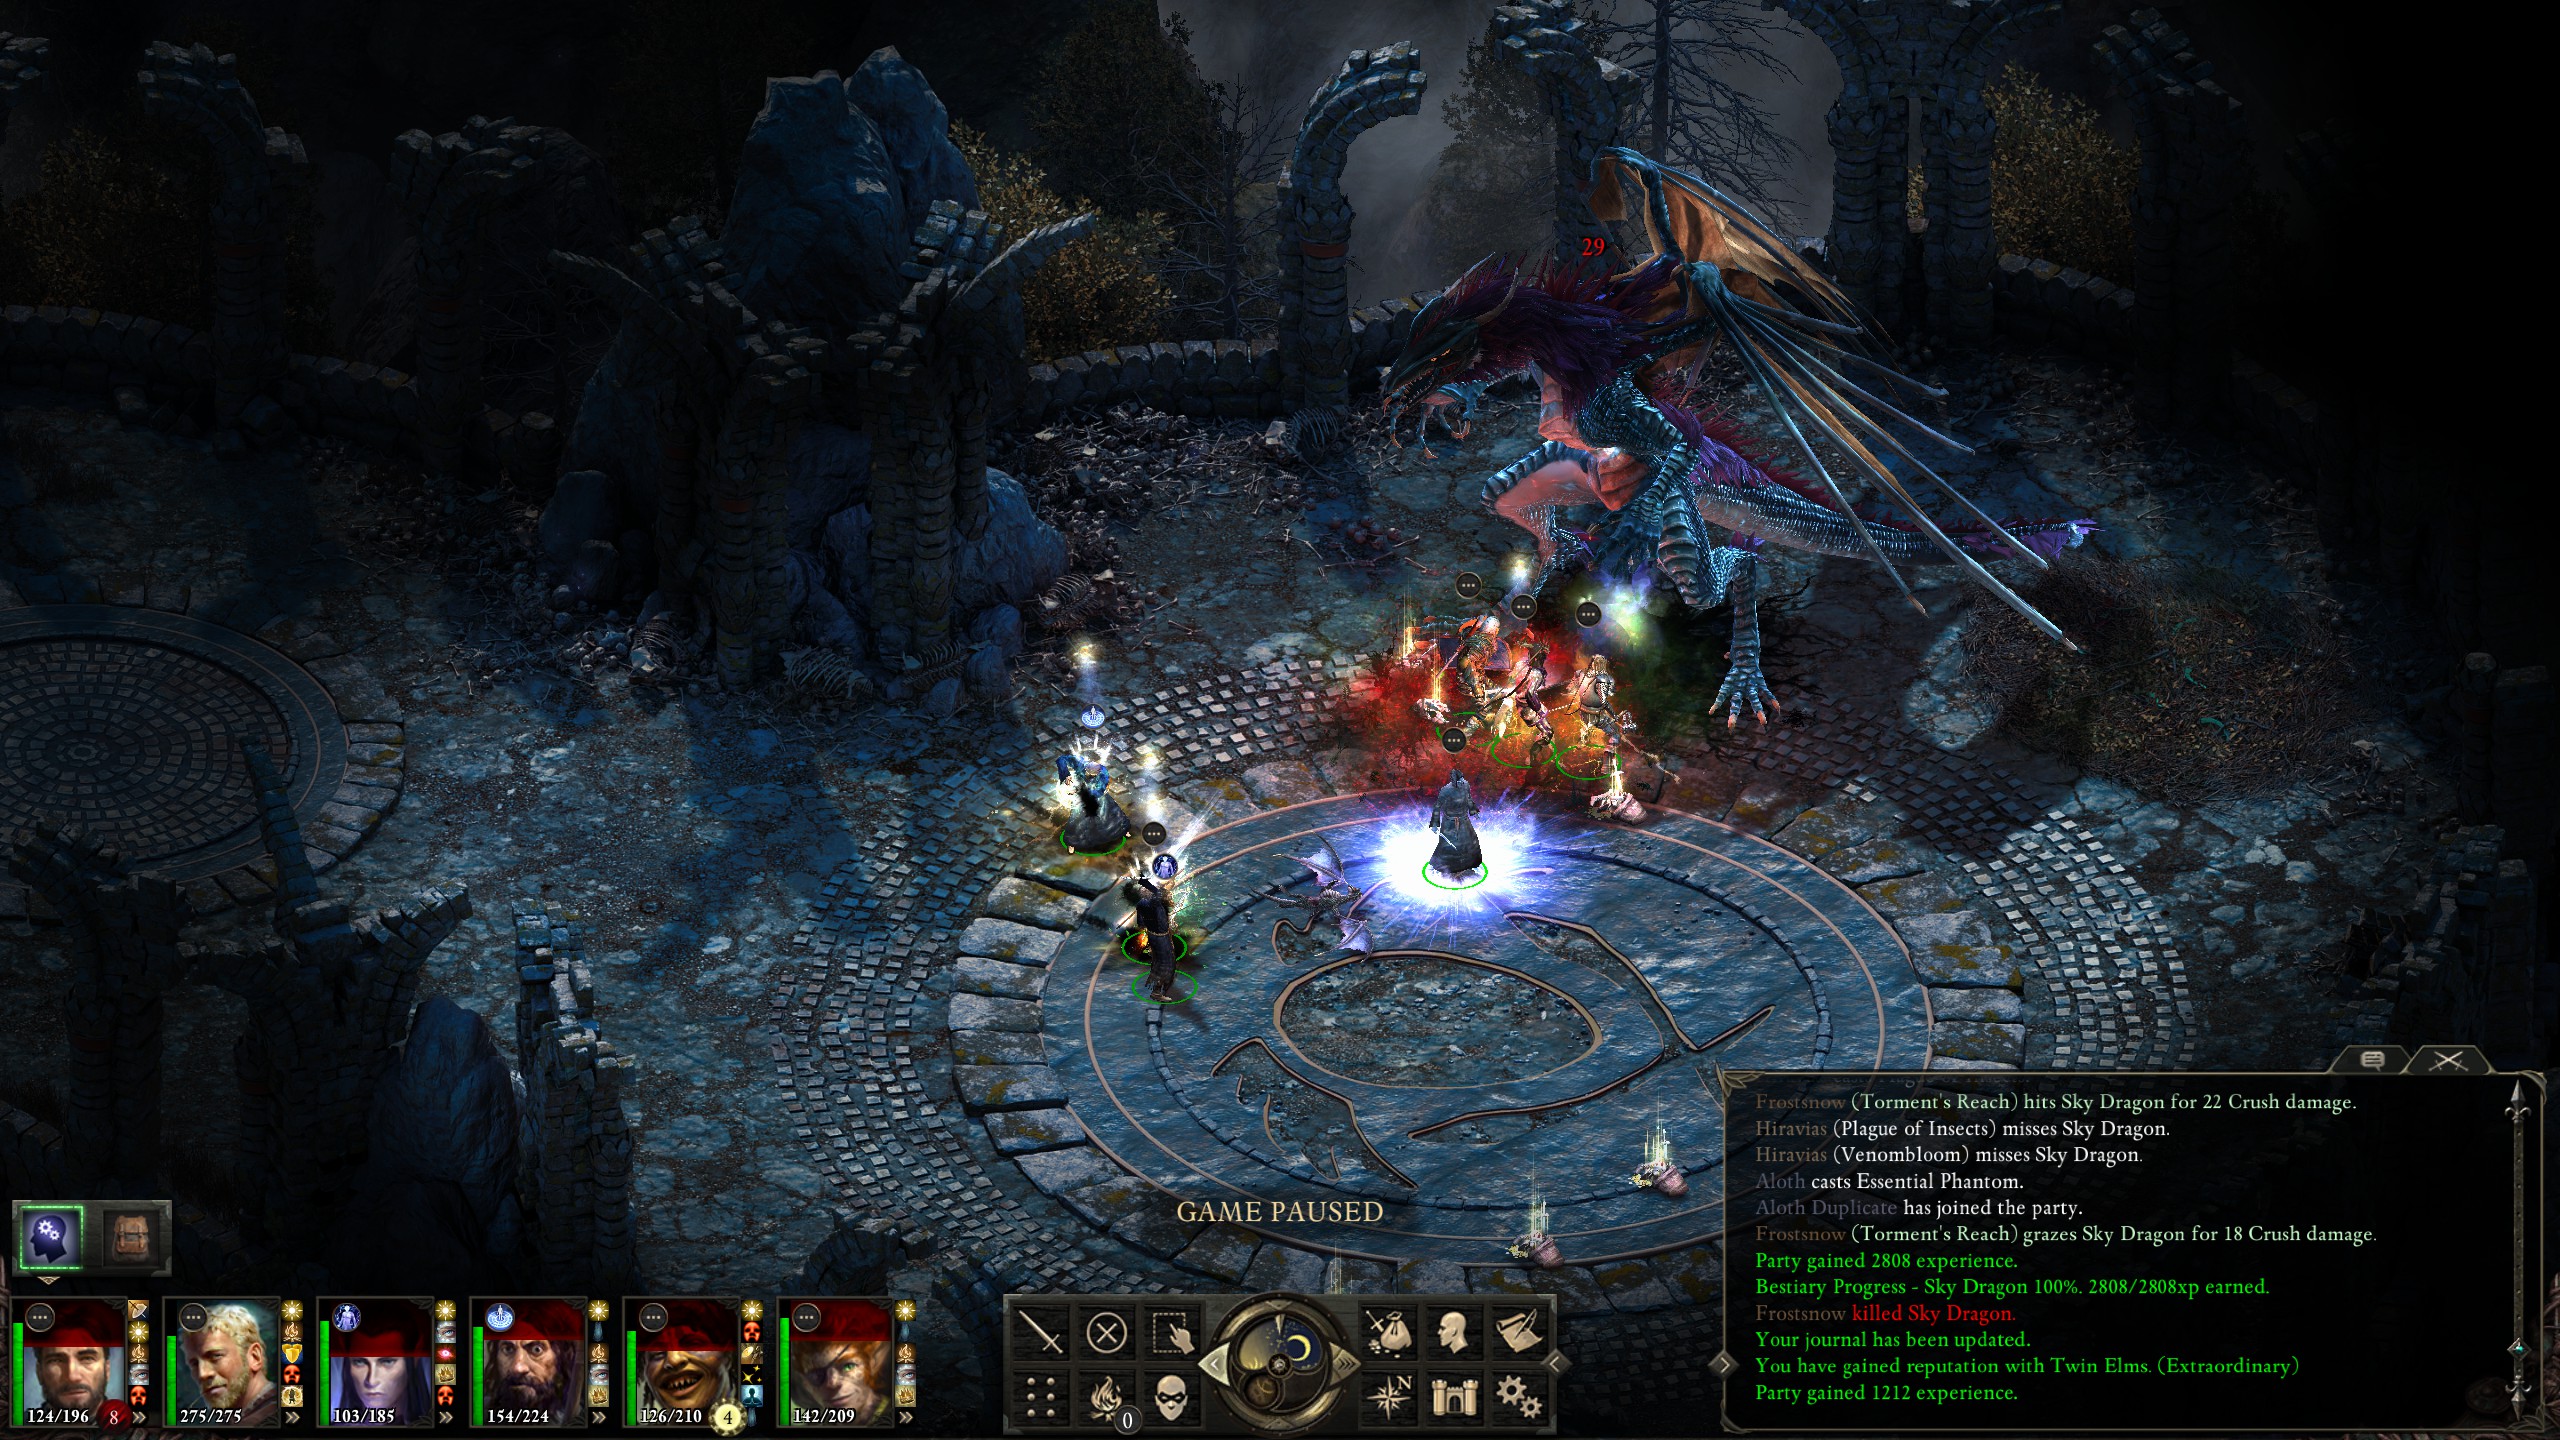
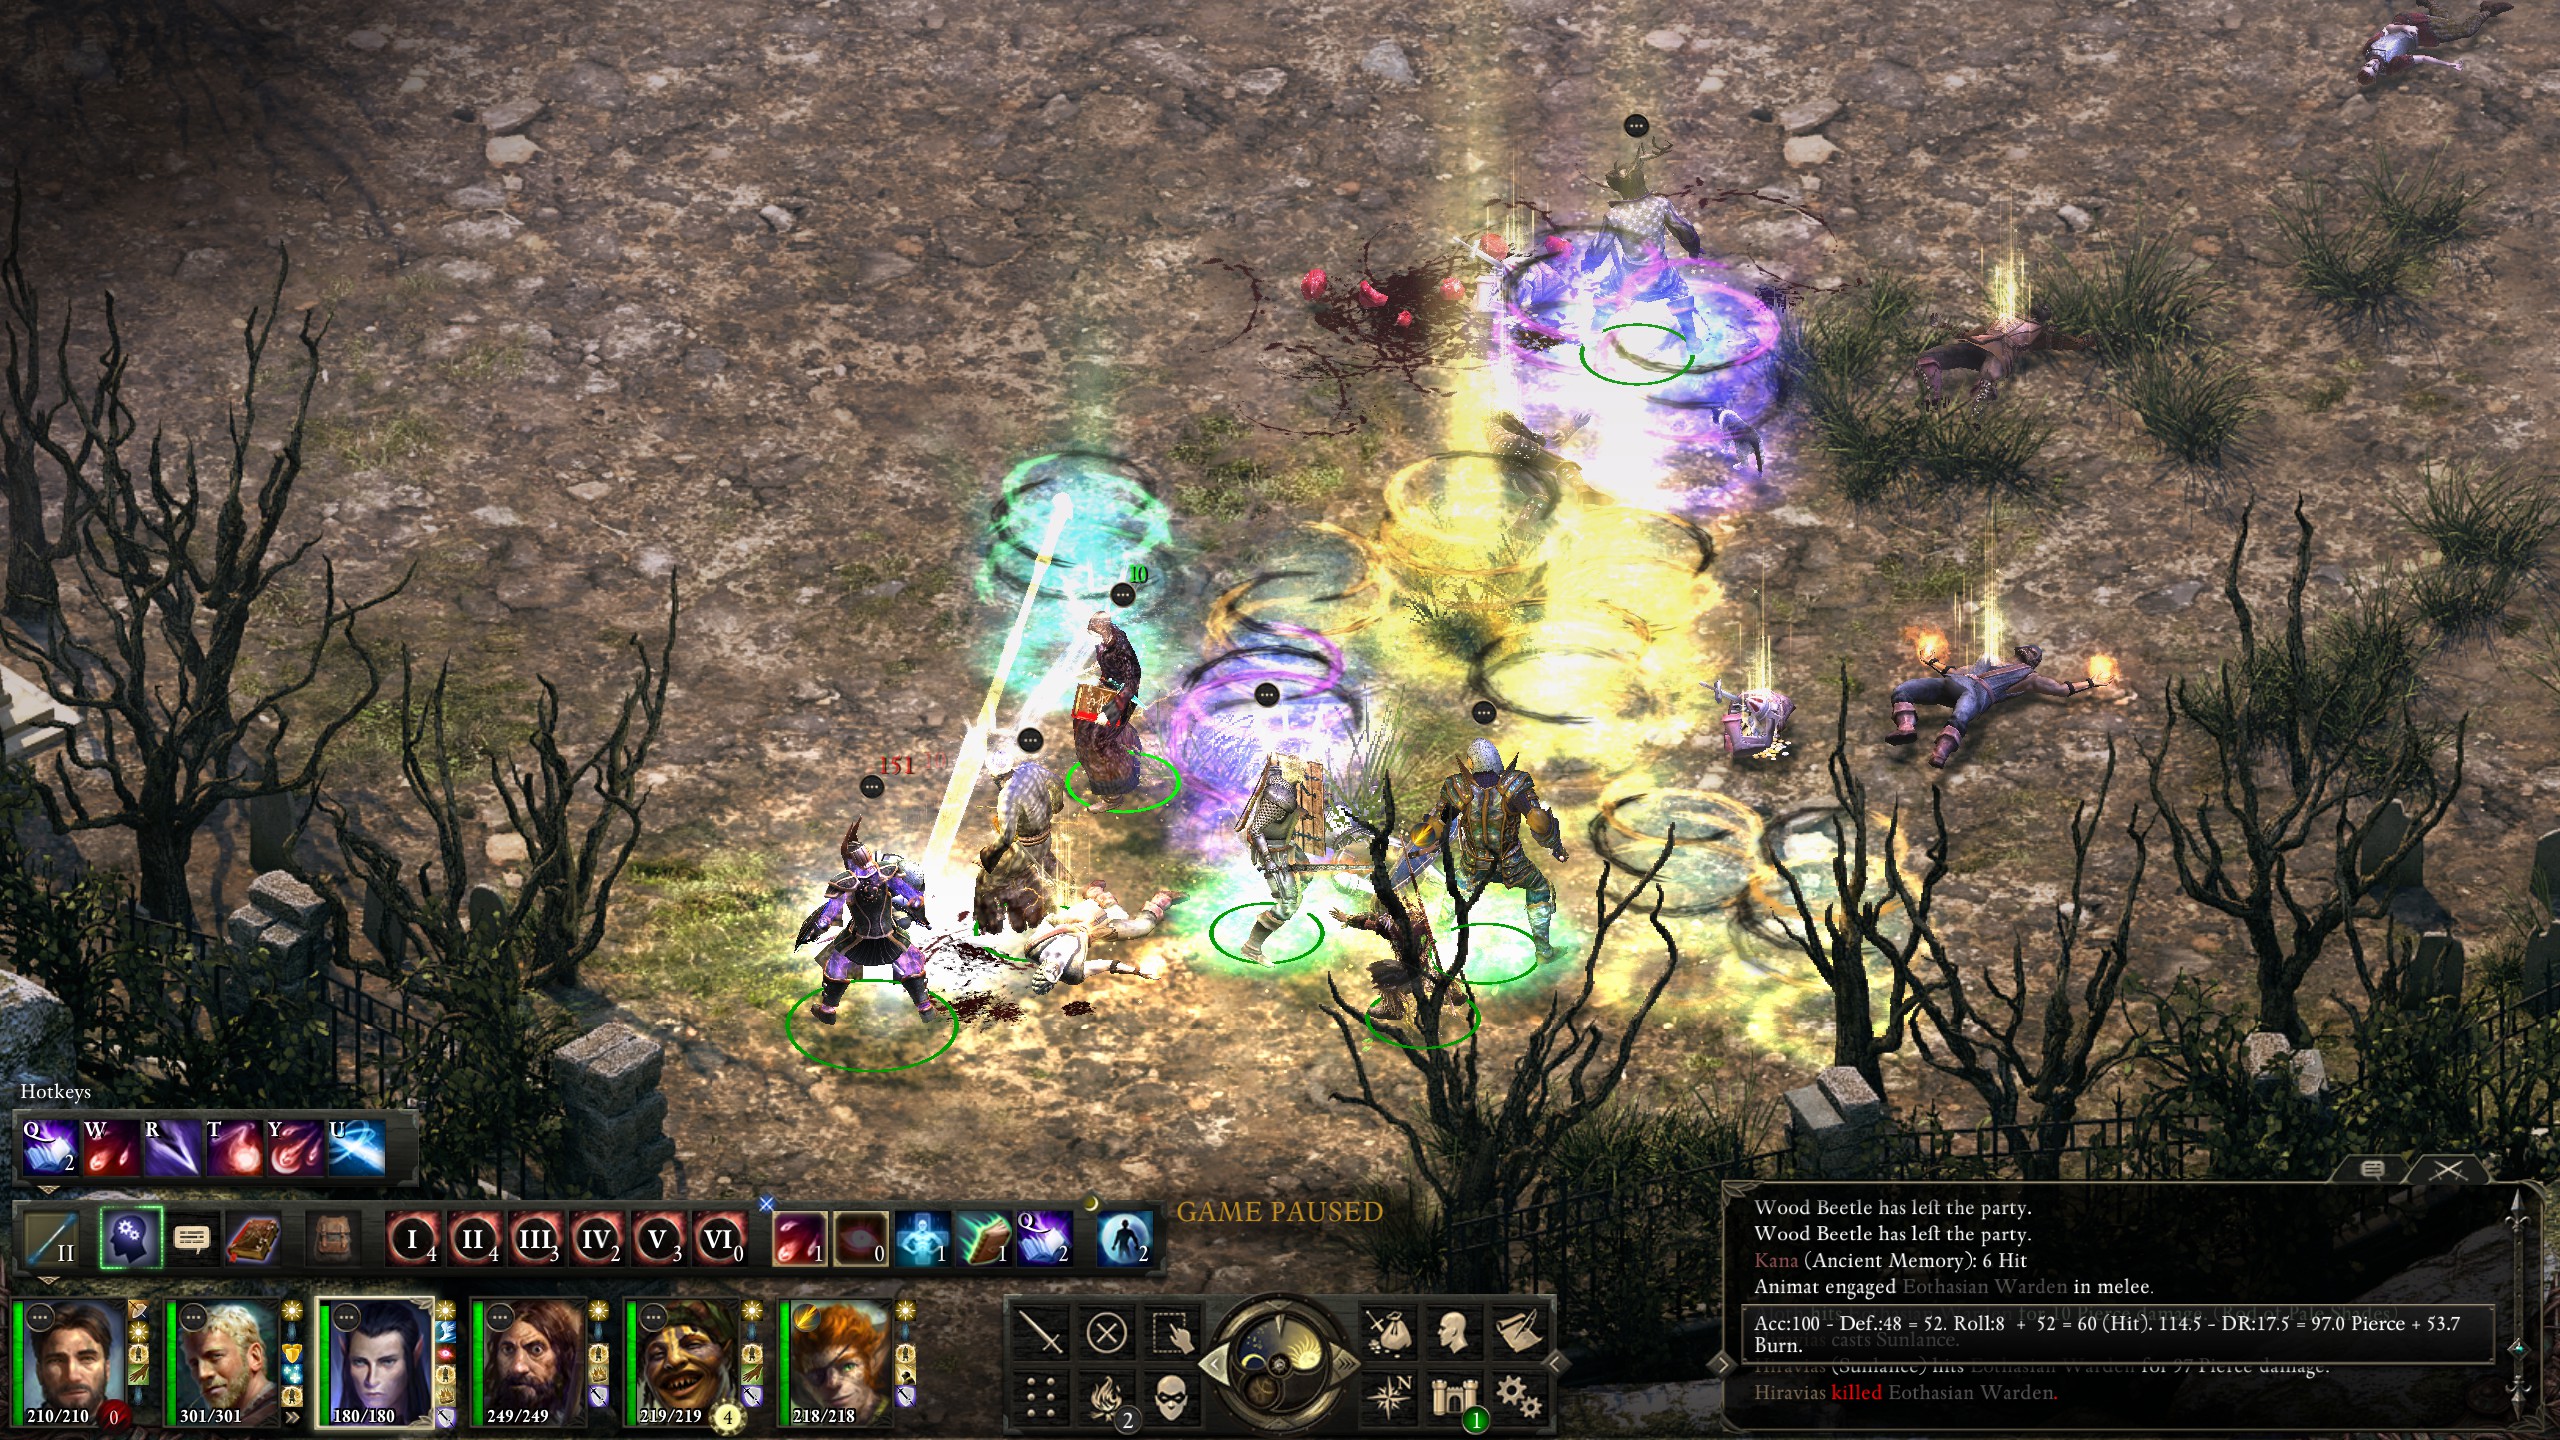
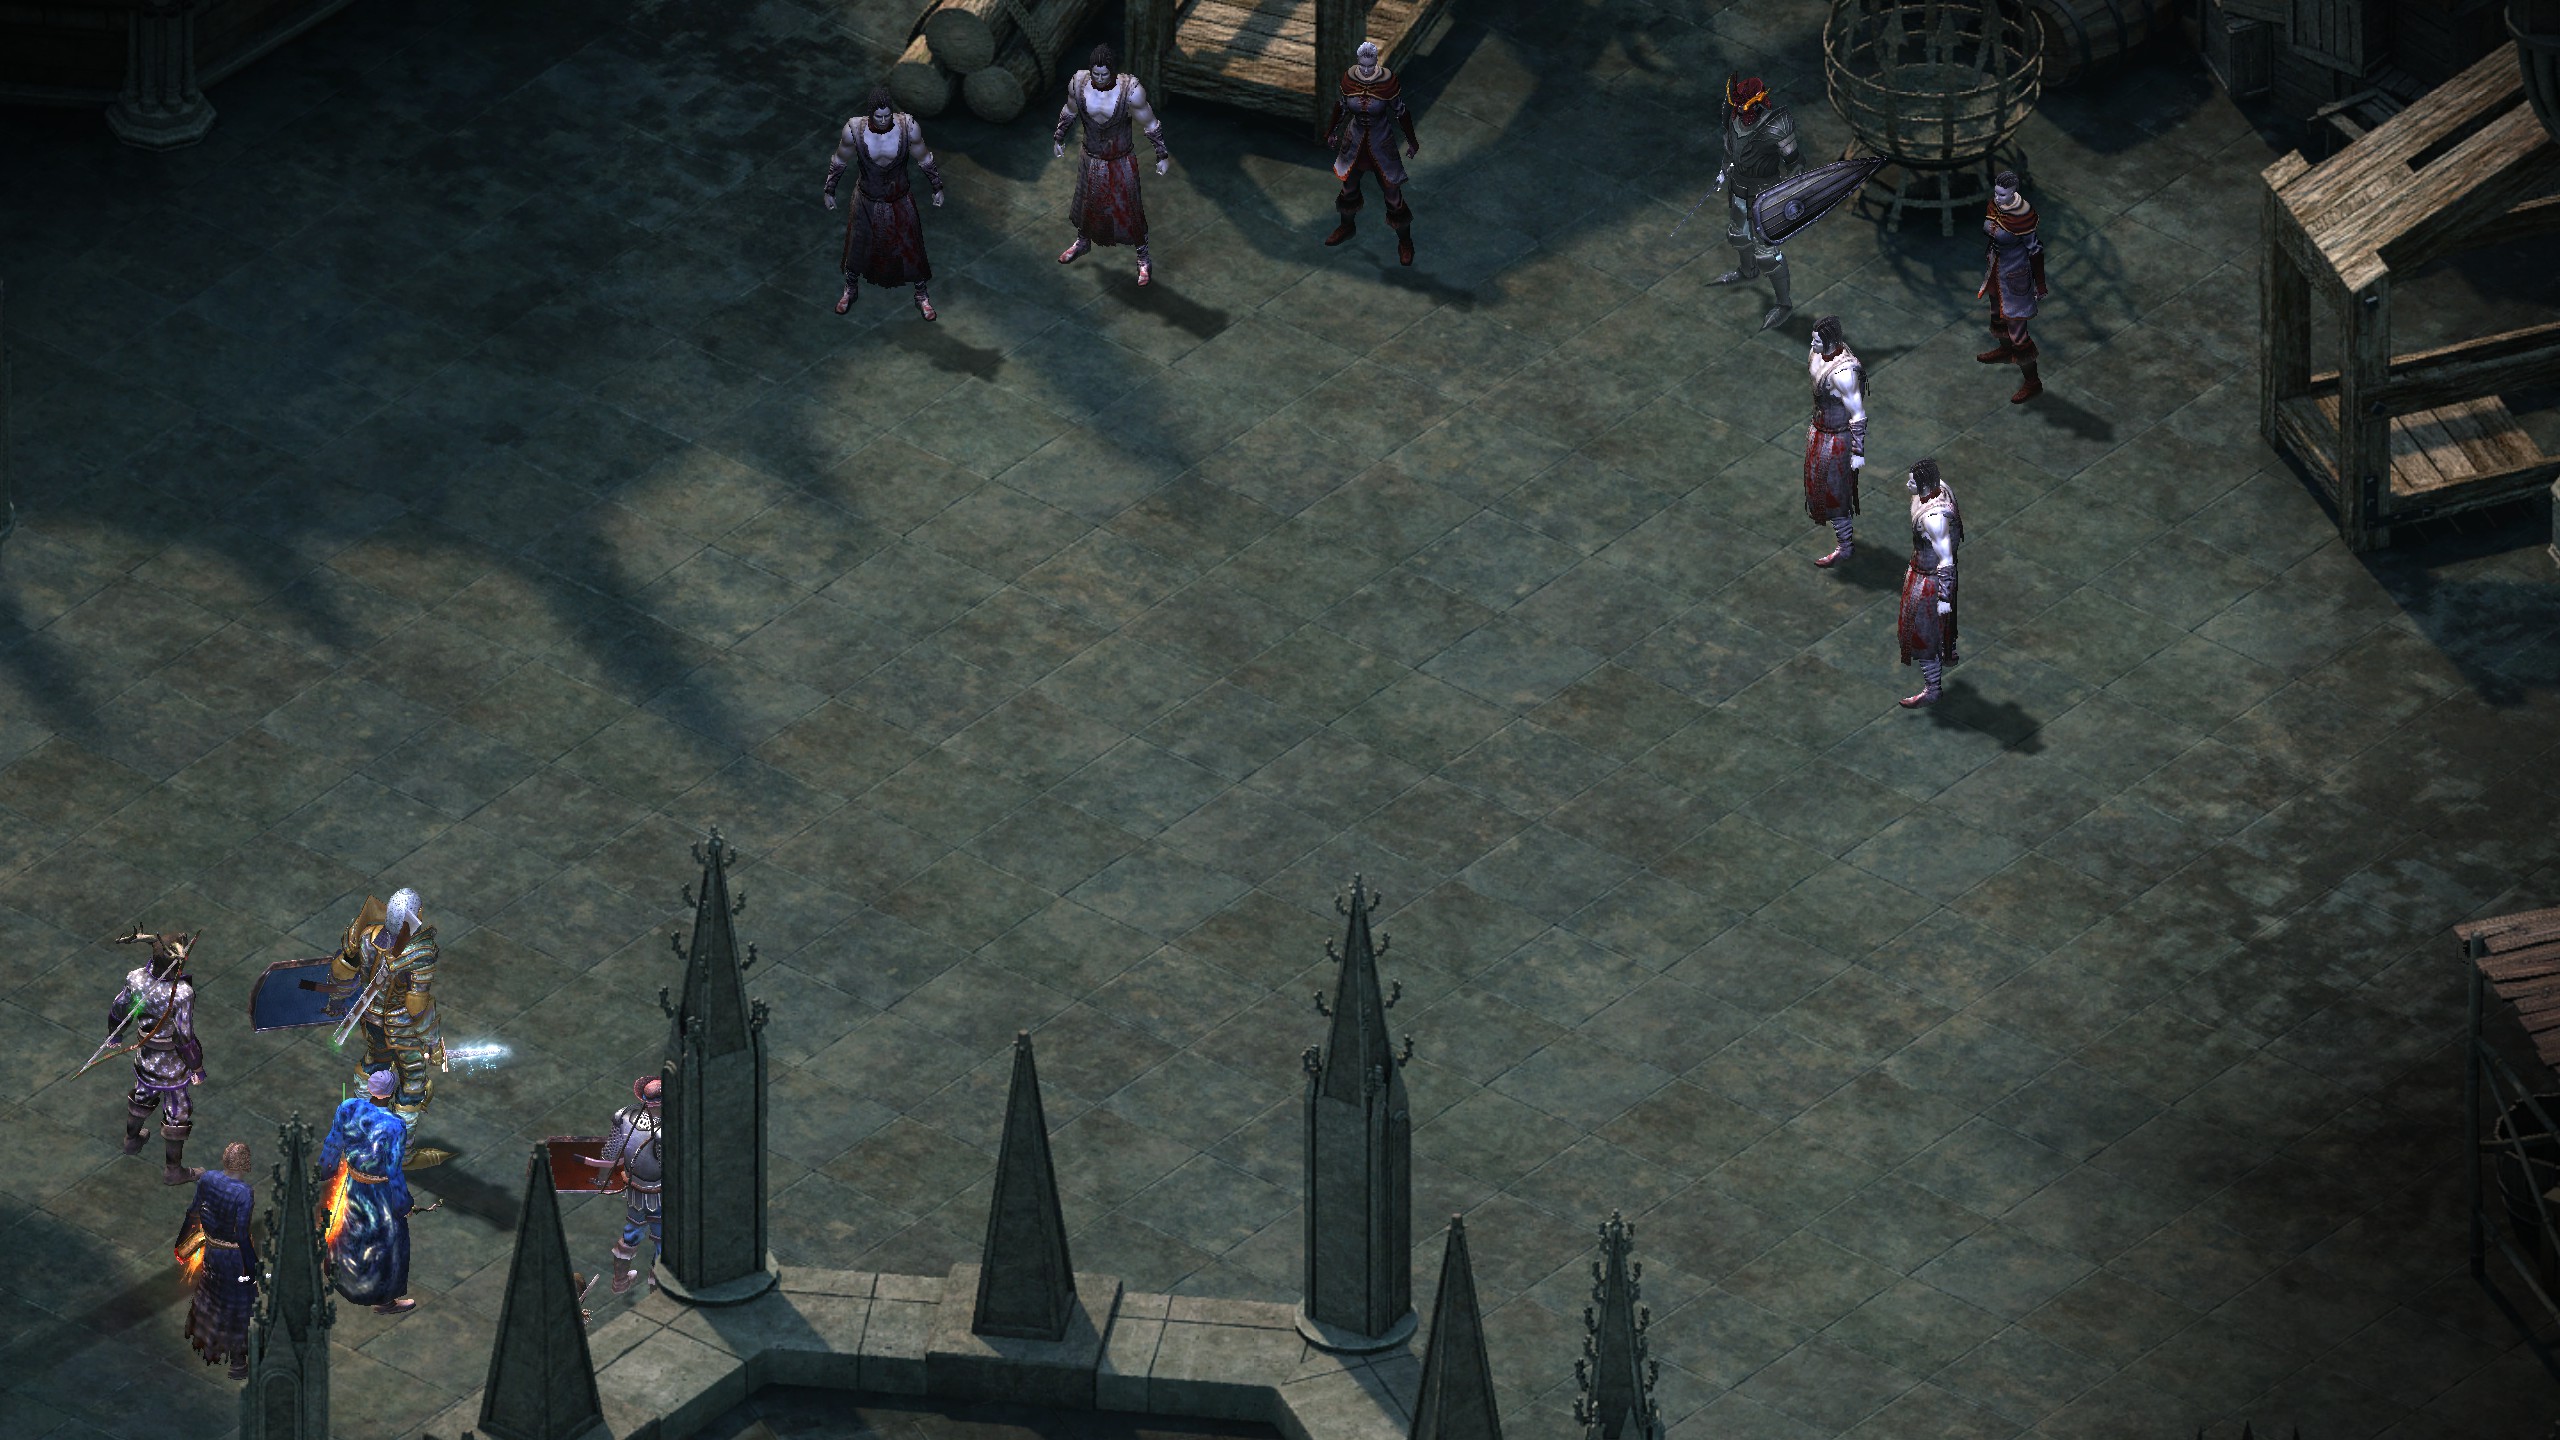
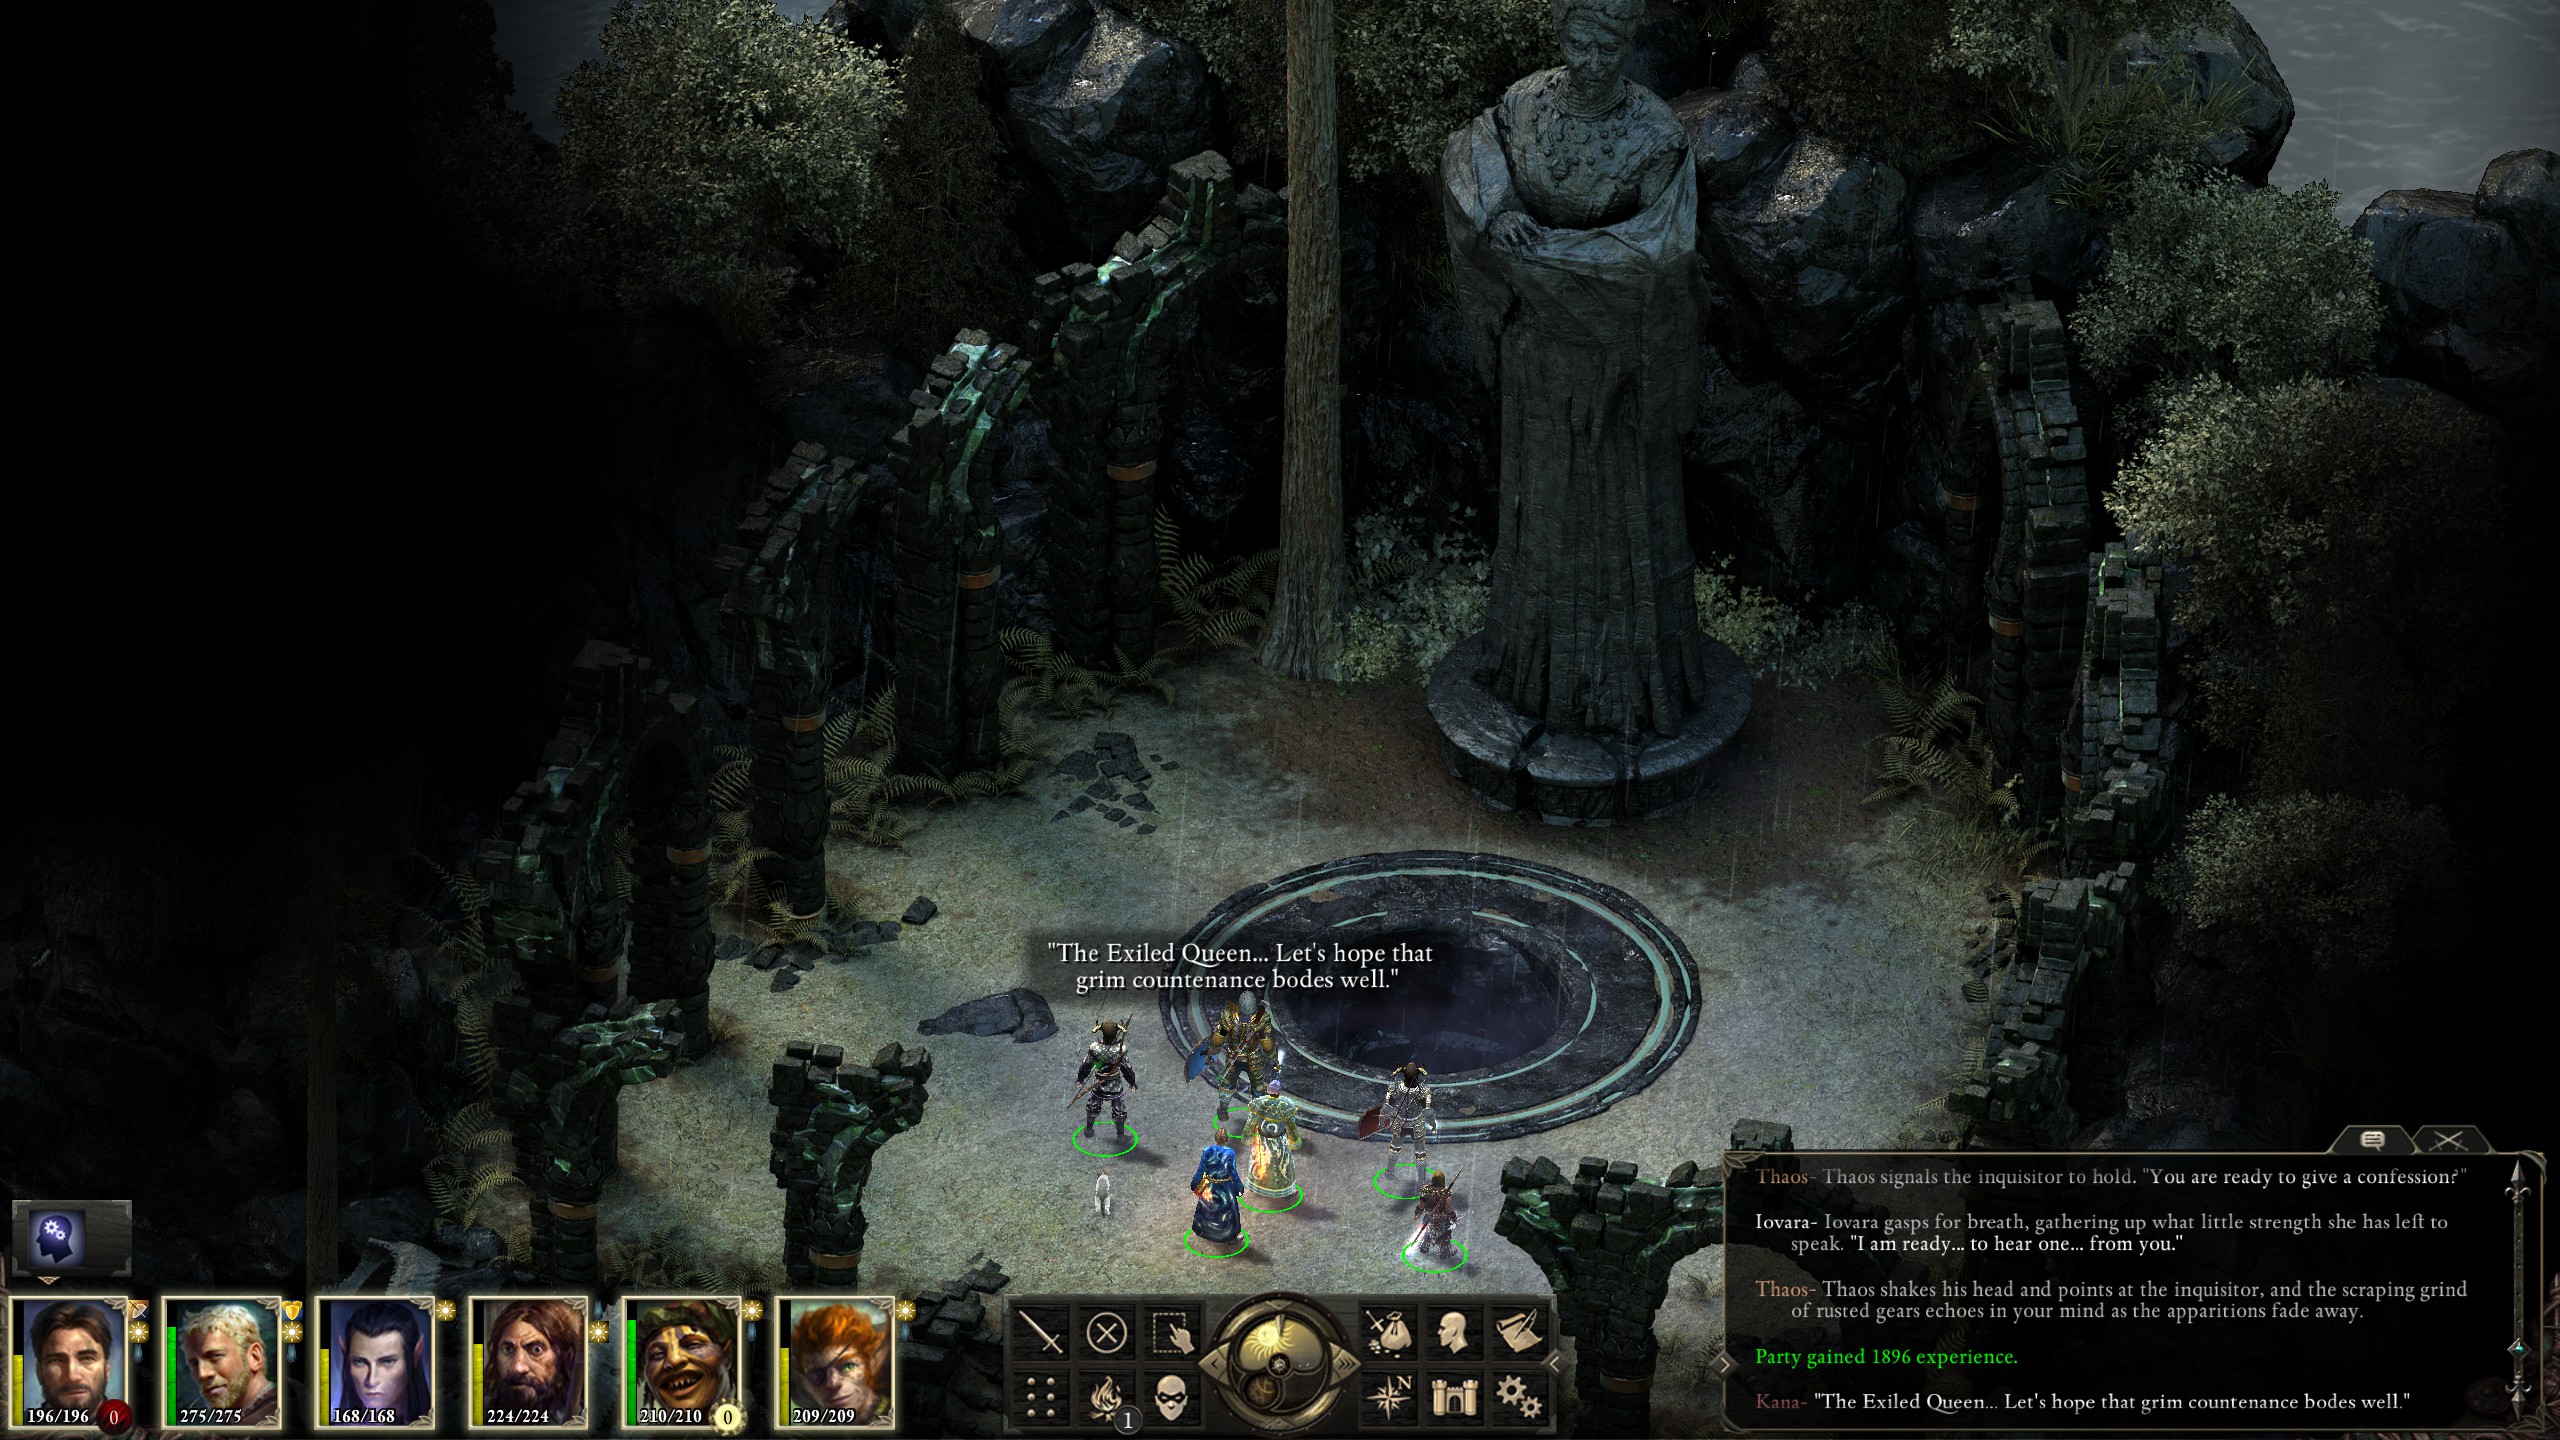
With the dragon dead and the bounty done I was ready to head to Burial Isle, but first it was time to show a certain tyrant that he should have stayed dead.
As blackberry vines cut but not pulled up from the root soon sprout stems anew, so Raedric rose as a death knight.
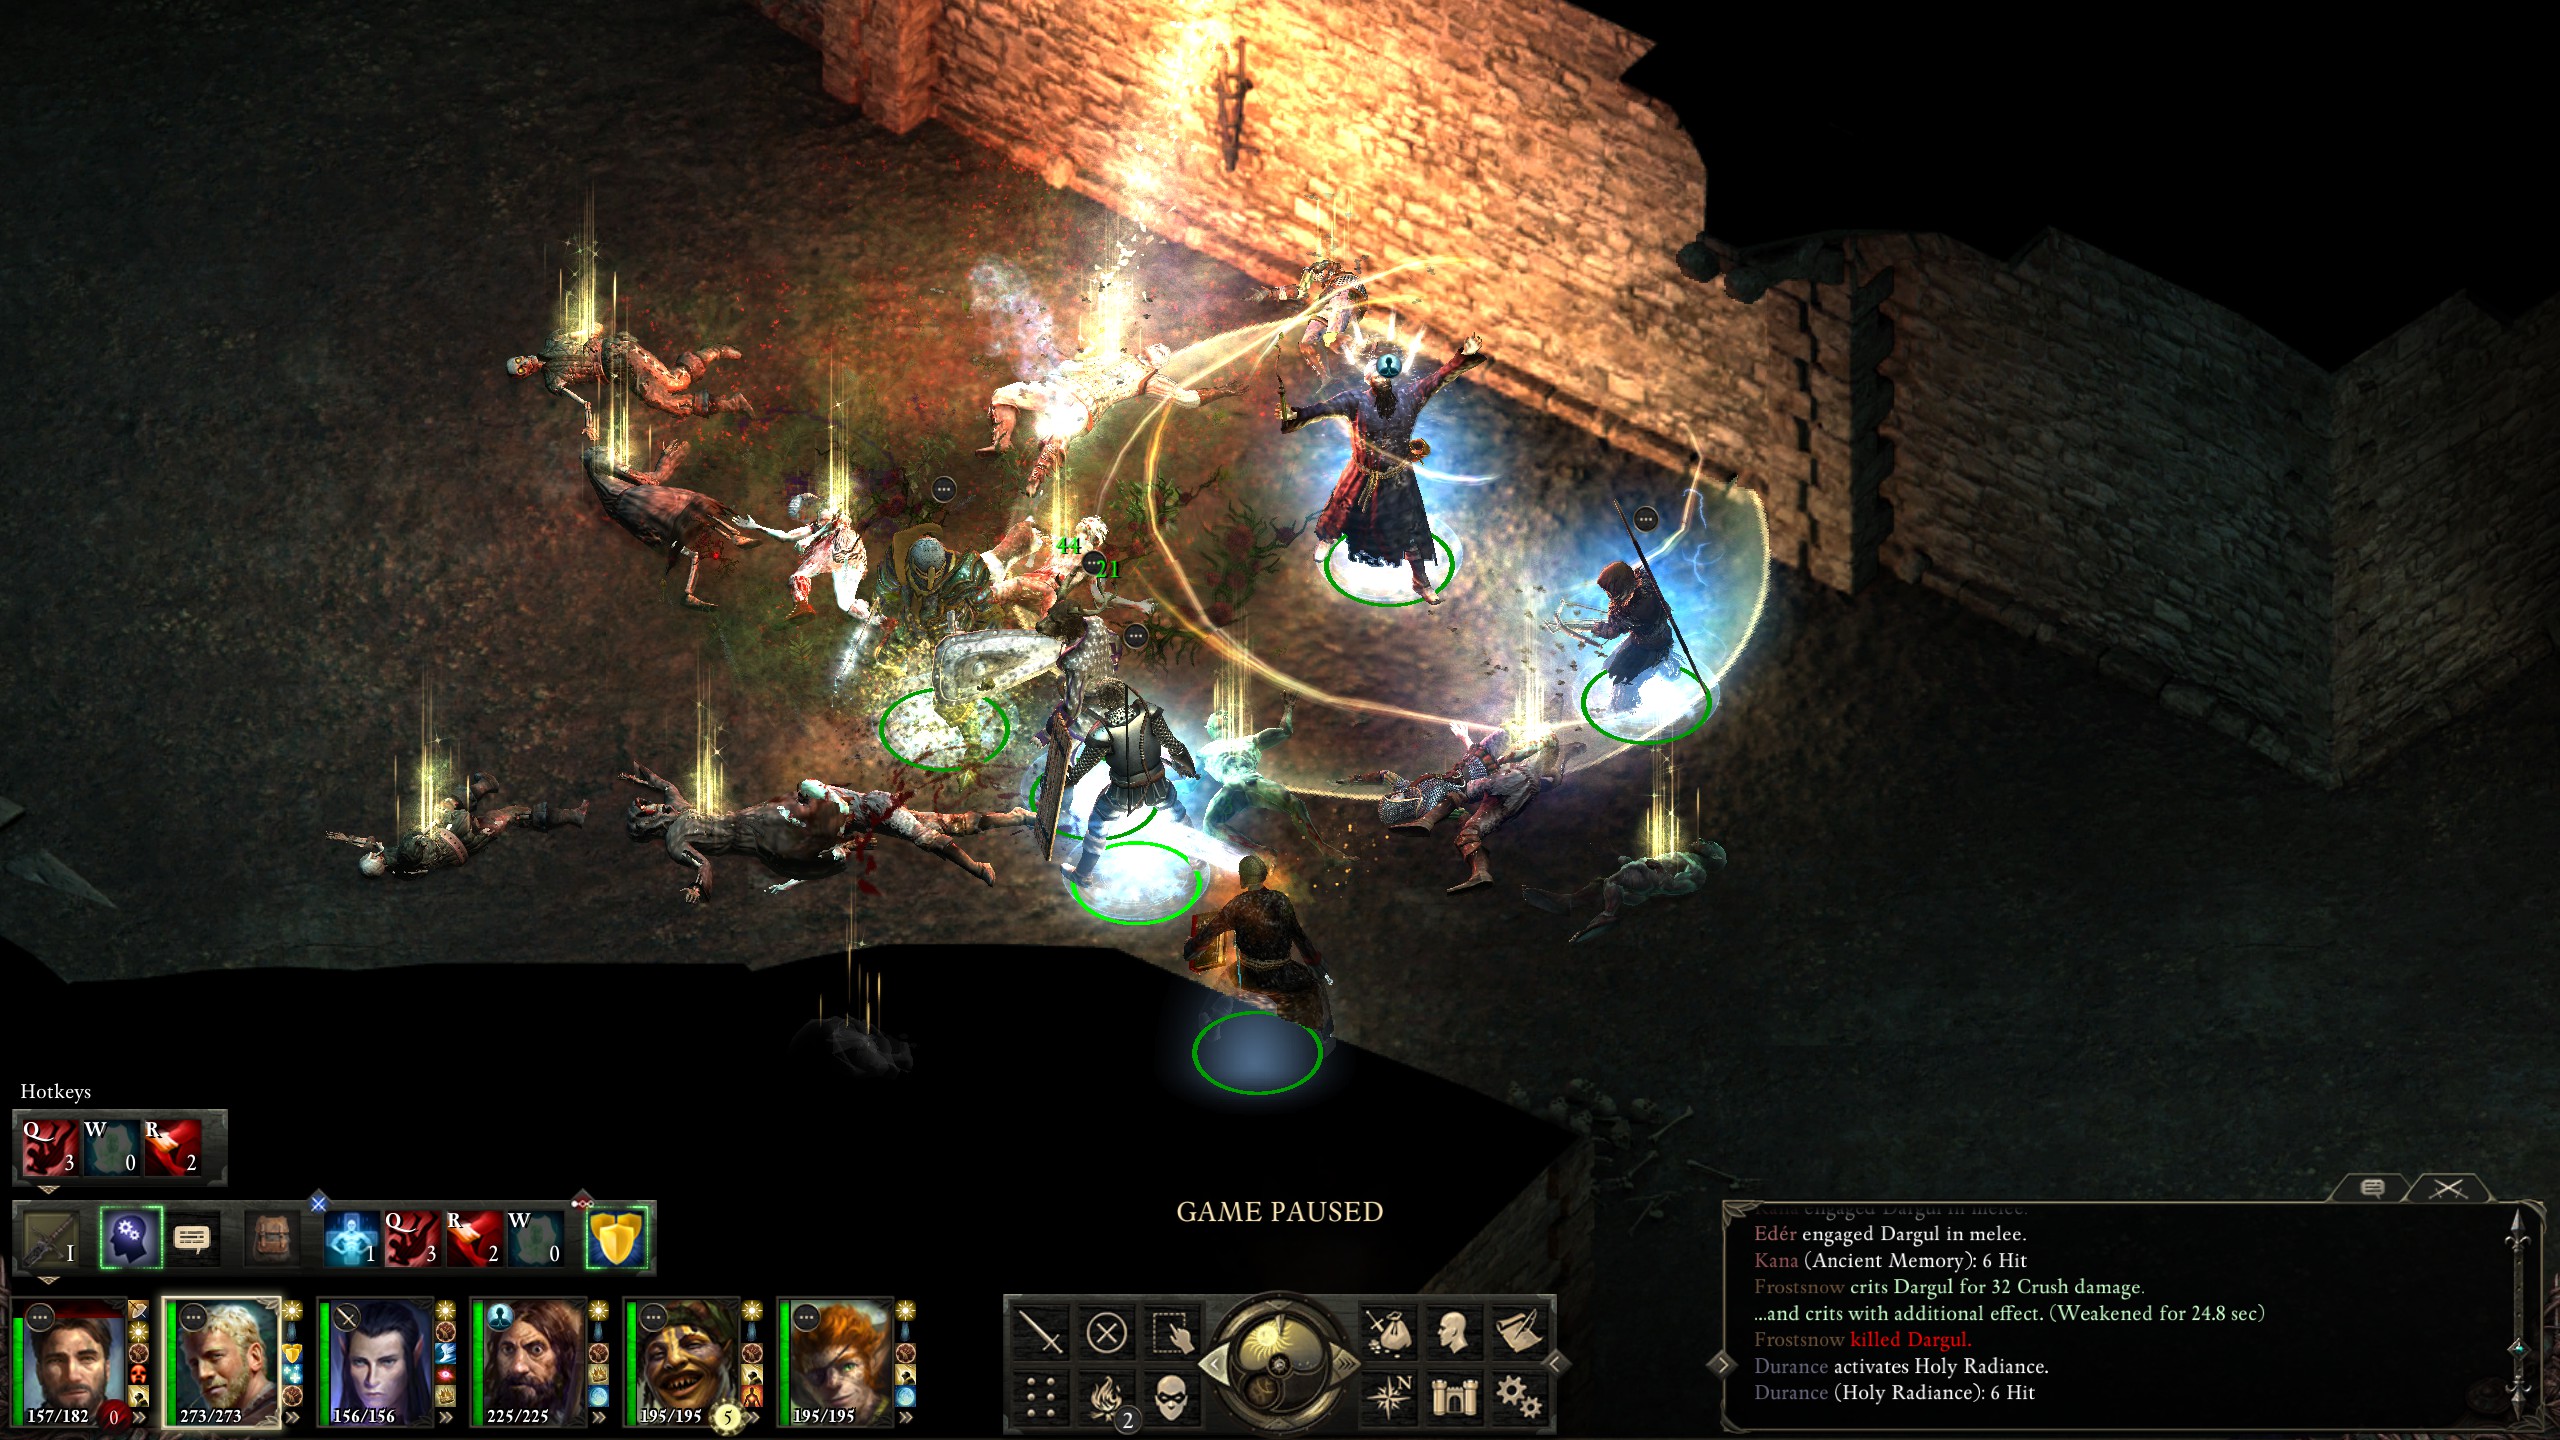
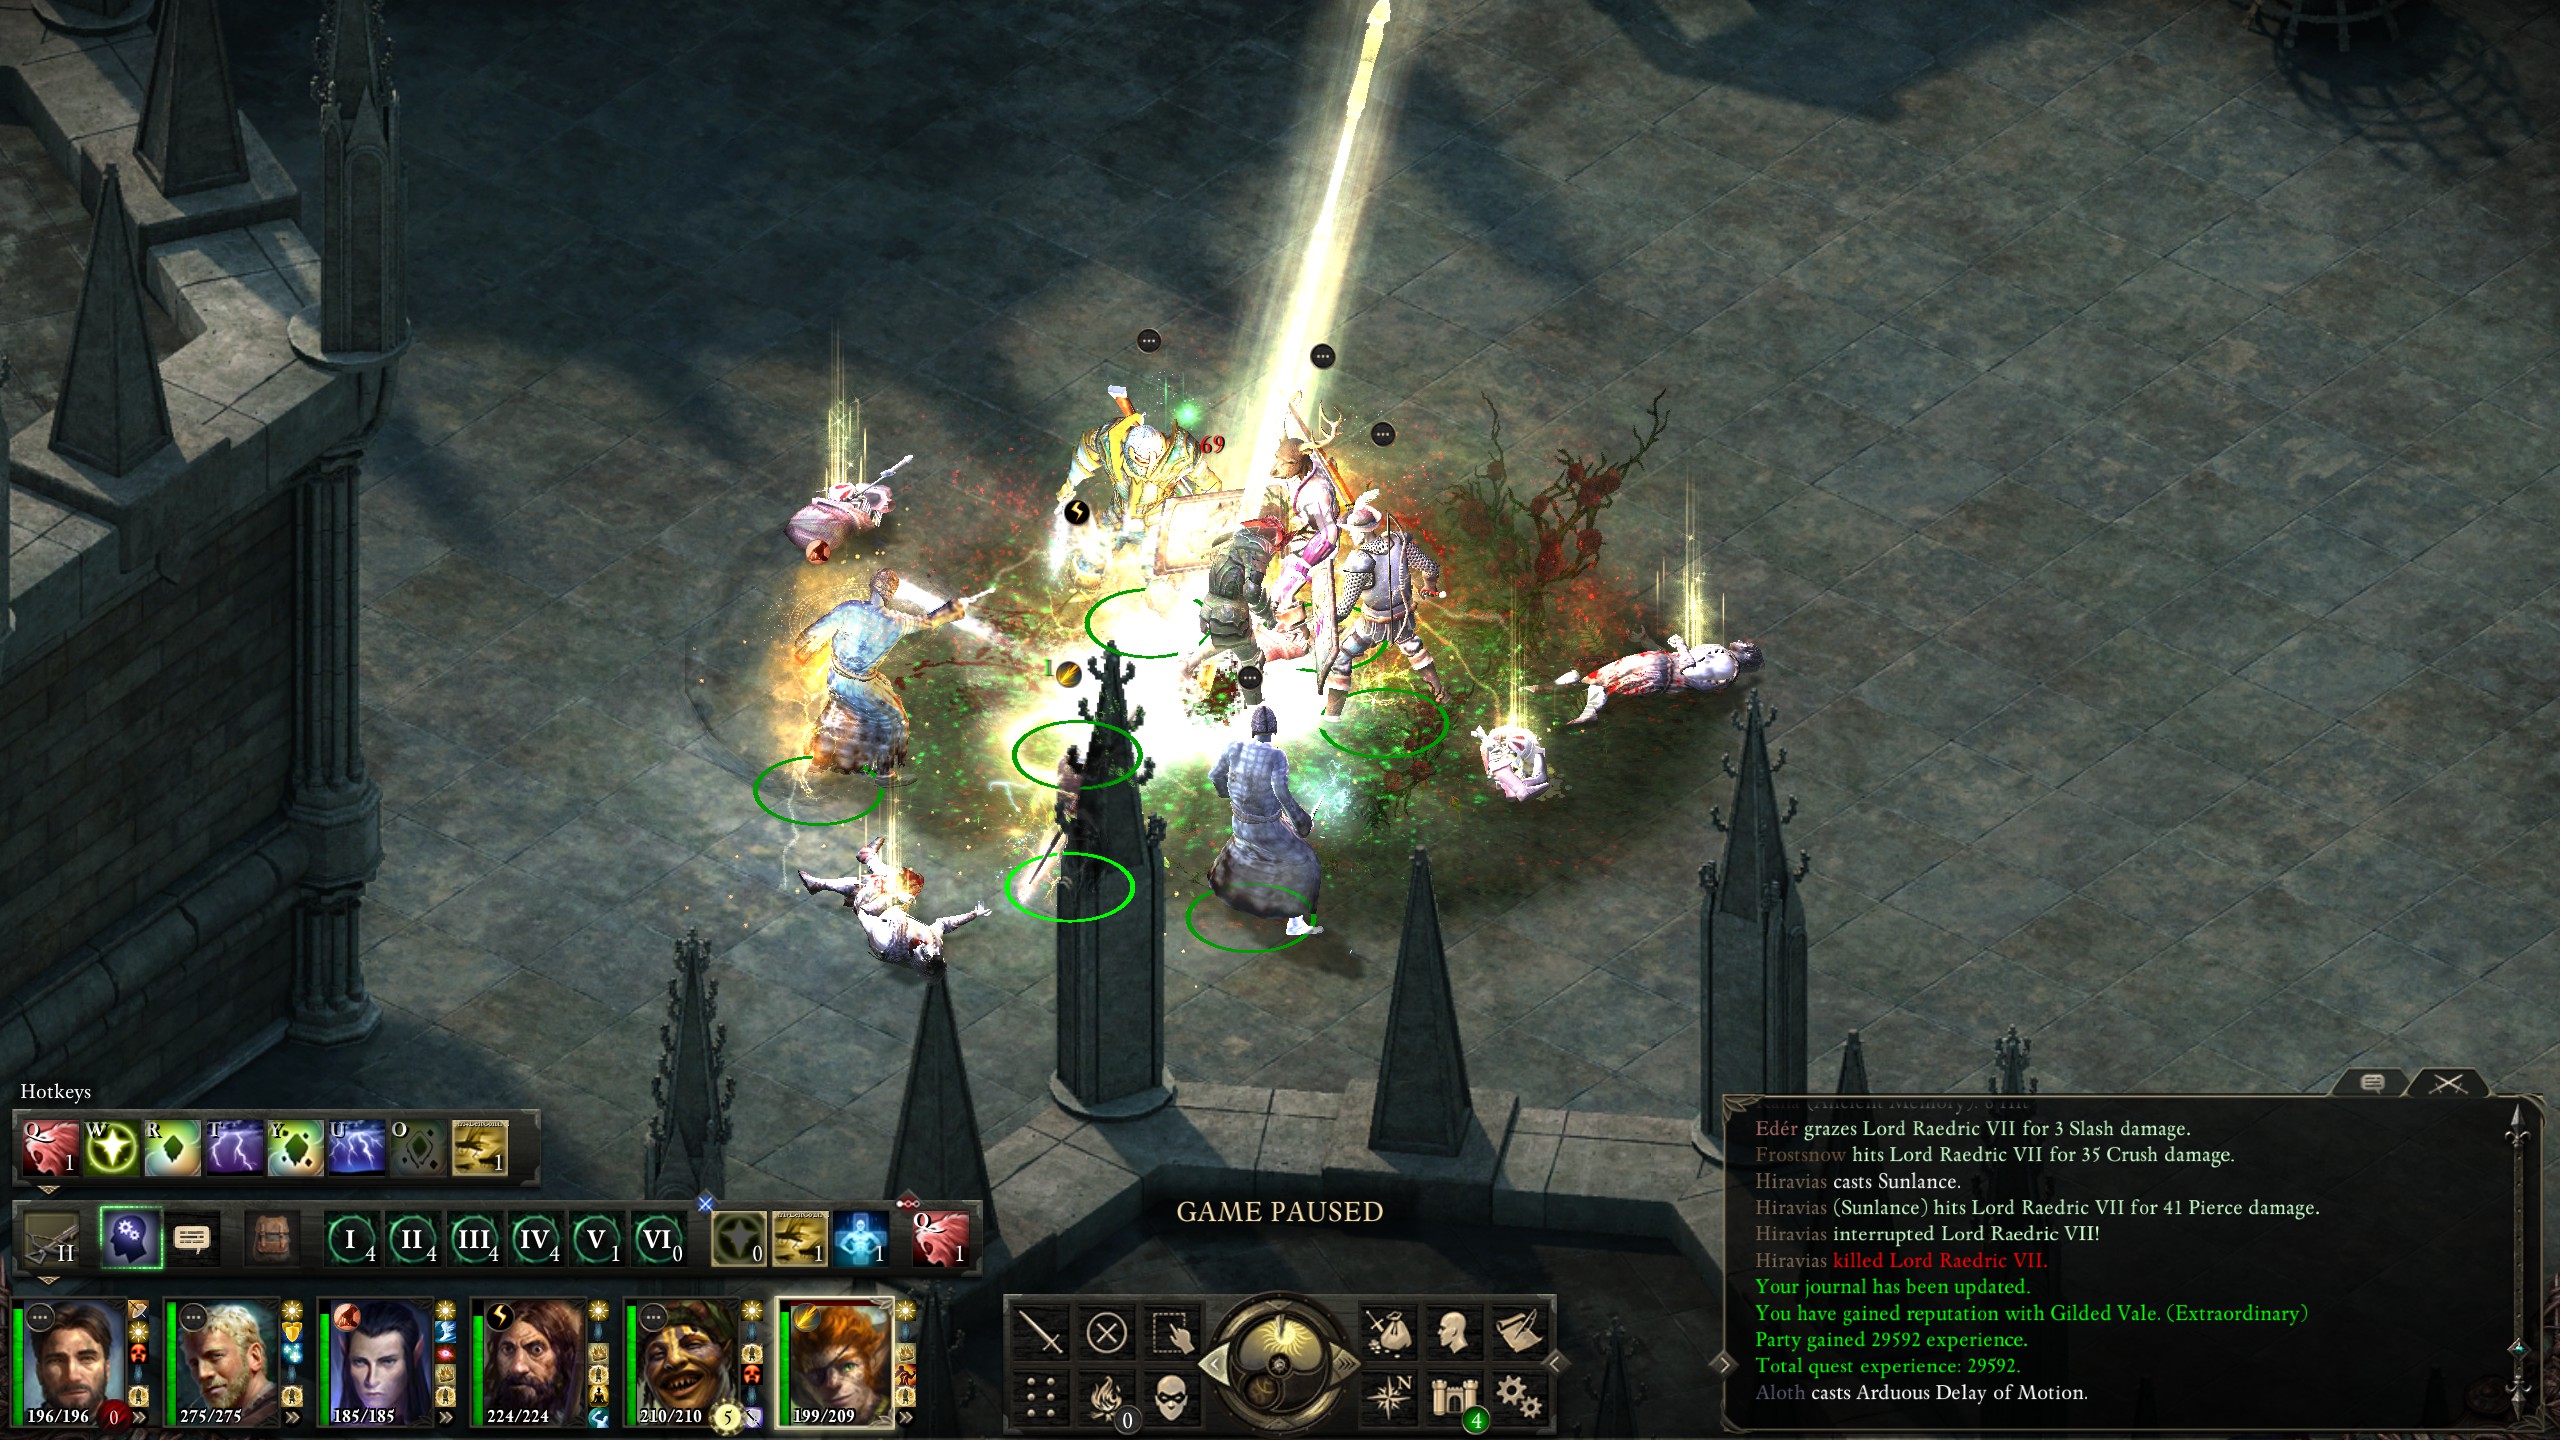
The trick to this fight was to mitigate the fampyrs' dominate afflictions by using Durance's "Prayer Against Treachery" on the party, disregarding the "Fireball" thrown by Raedric.
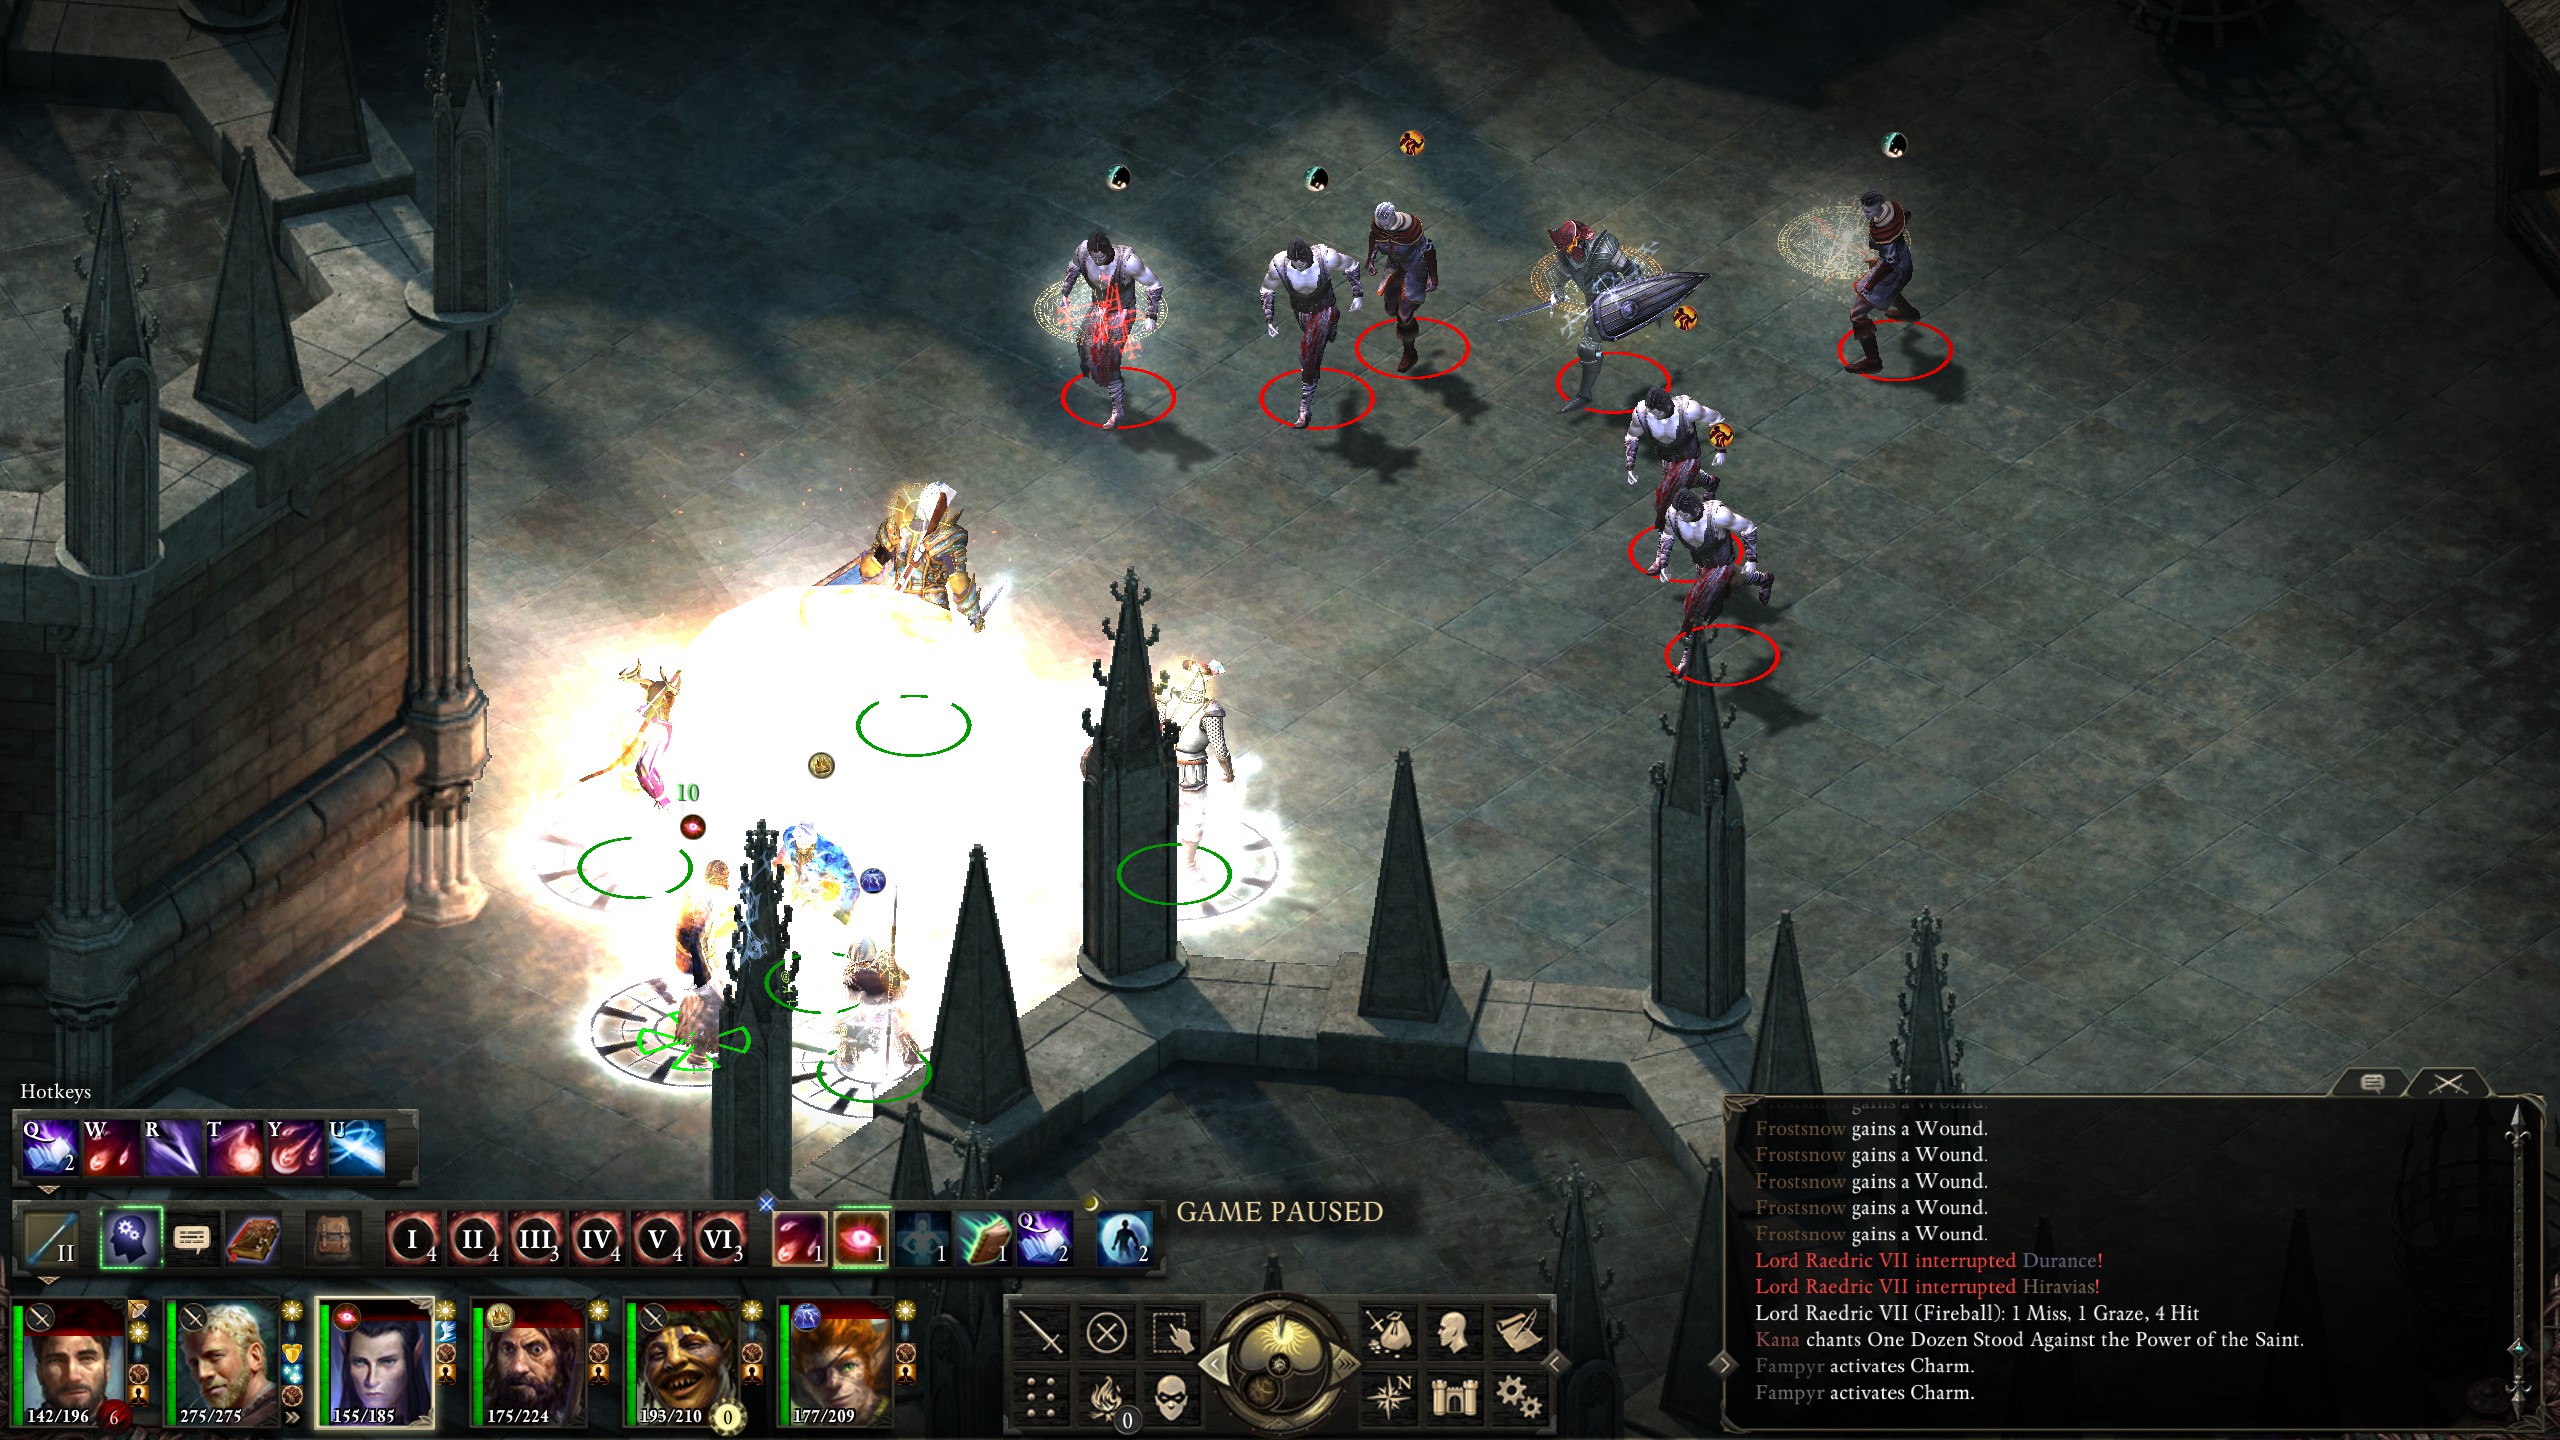
With their powerful affliction impotent, the fampyrs then became merely tough undead. Some skilled nuking then quickly dispatched both them and Raedric.
With that thug down it was then time to finish cleaning up the remaining ruffians in the Dyrwood.
The first of the final three bounties was Naroc the Prophet.

The fight had some difficulties as his barbarians seemed able to chain cast "Heart of Fury", but I managed to pull through.
Hiding in the ruins of previously-explored Teir Nowneth was Ysly...
who did not prove to be as much of a challenge as the previous bounty.
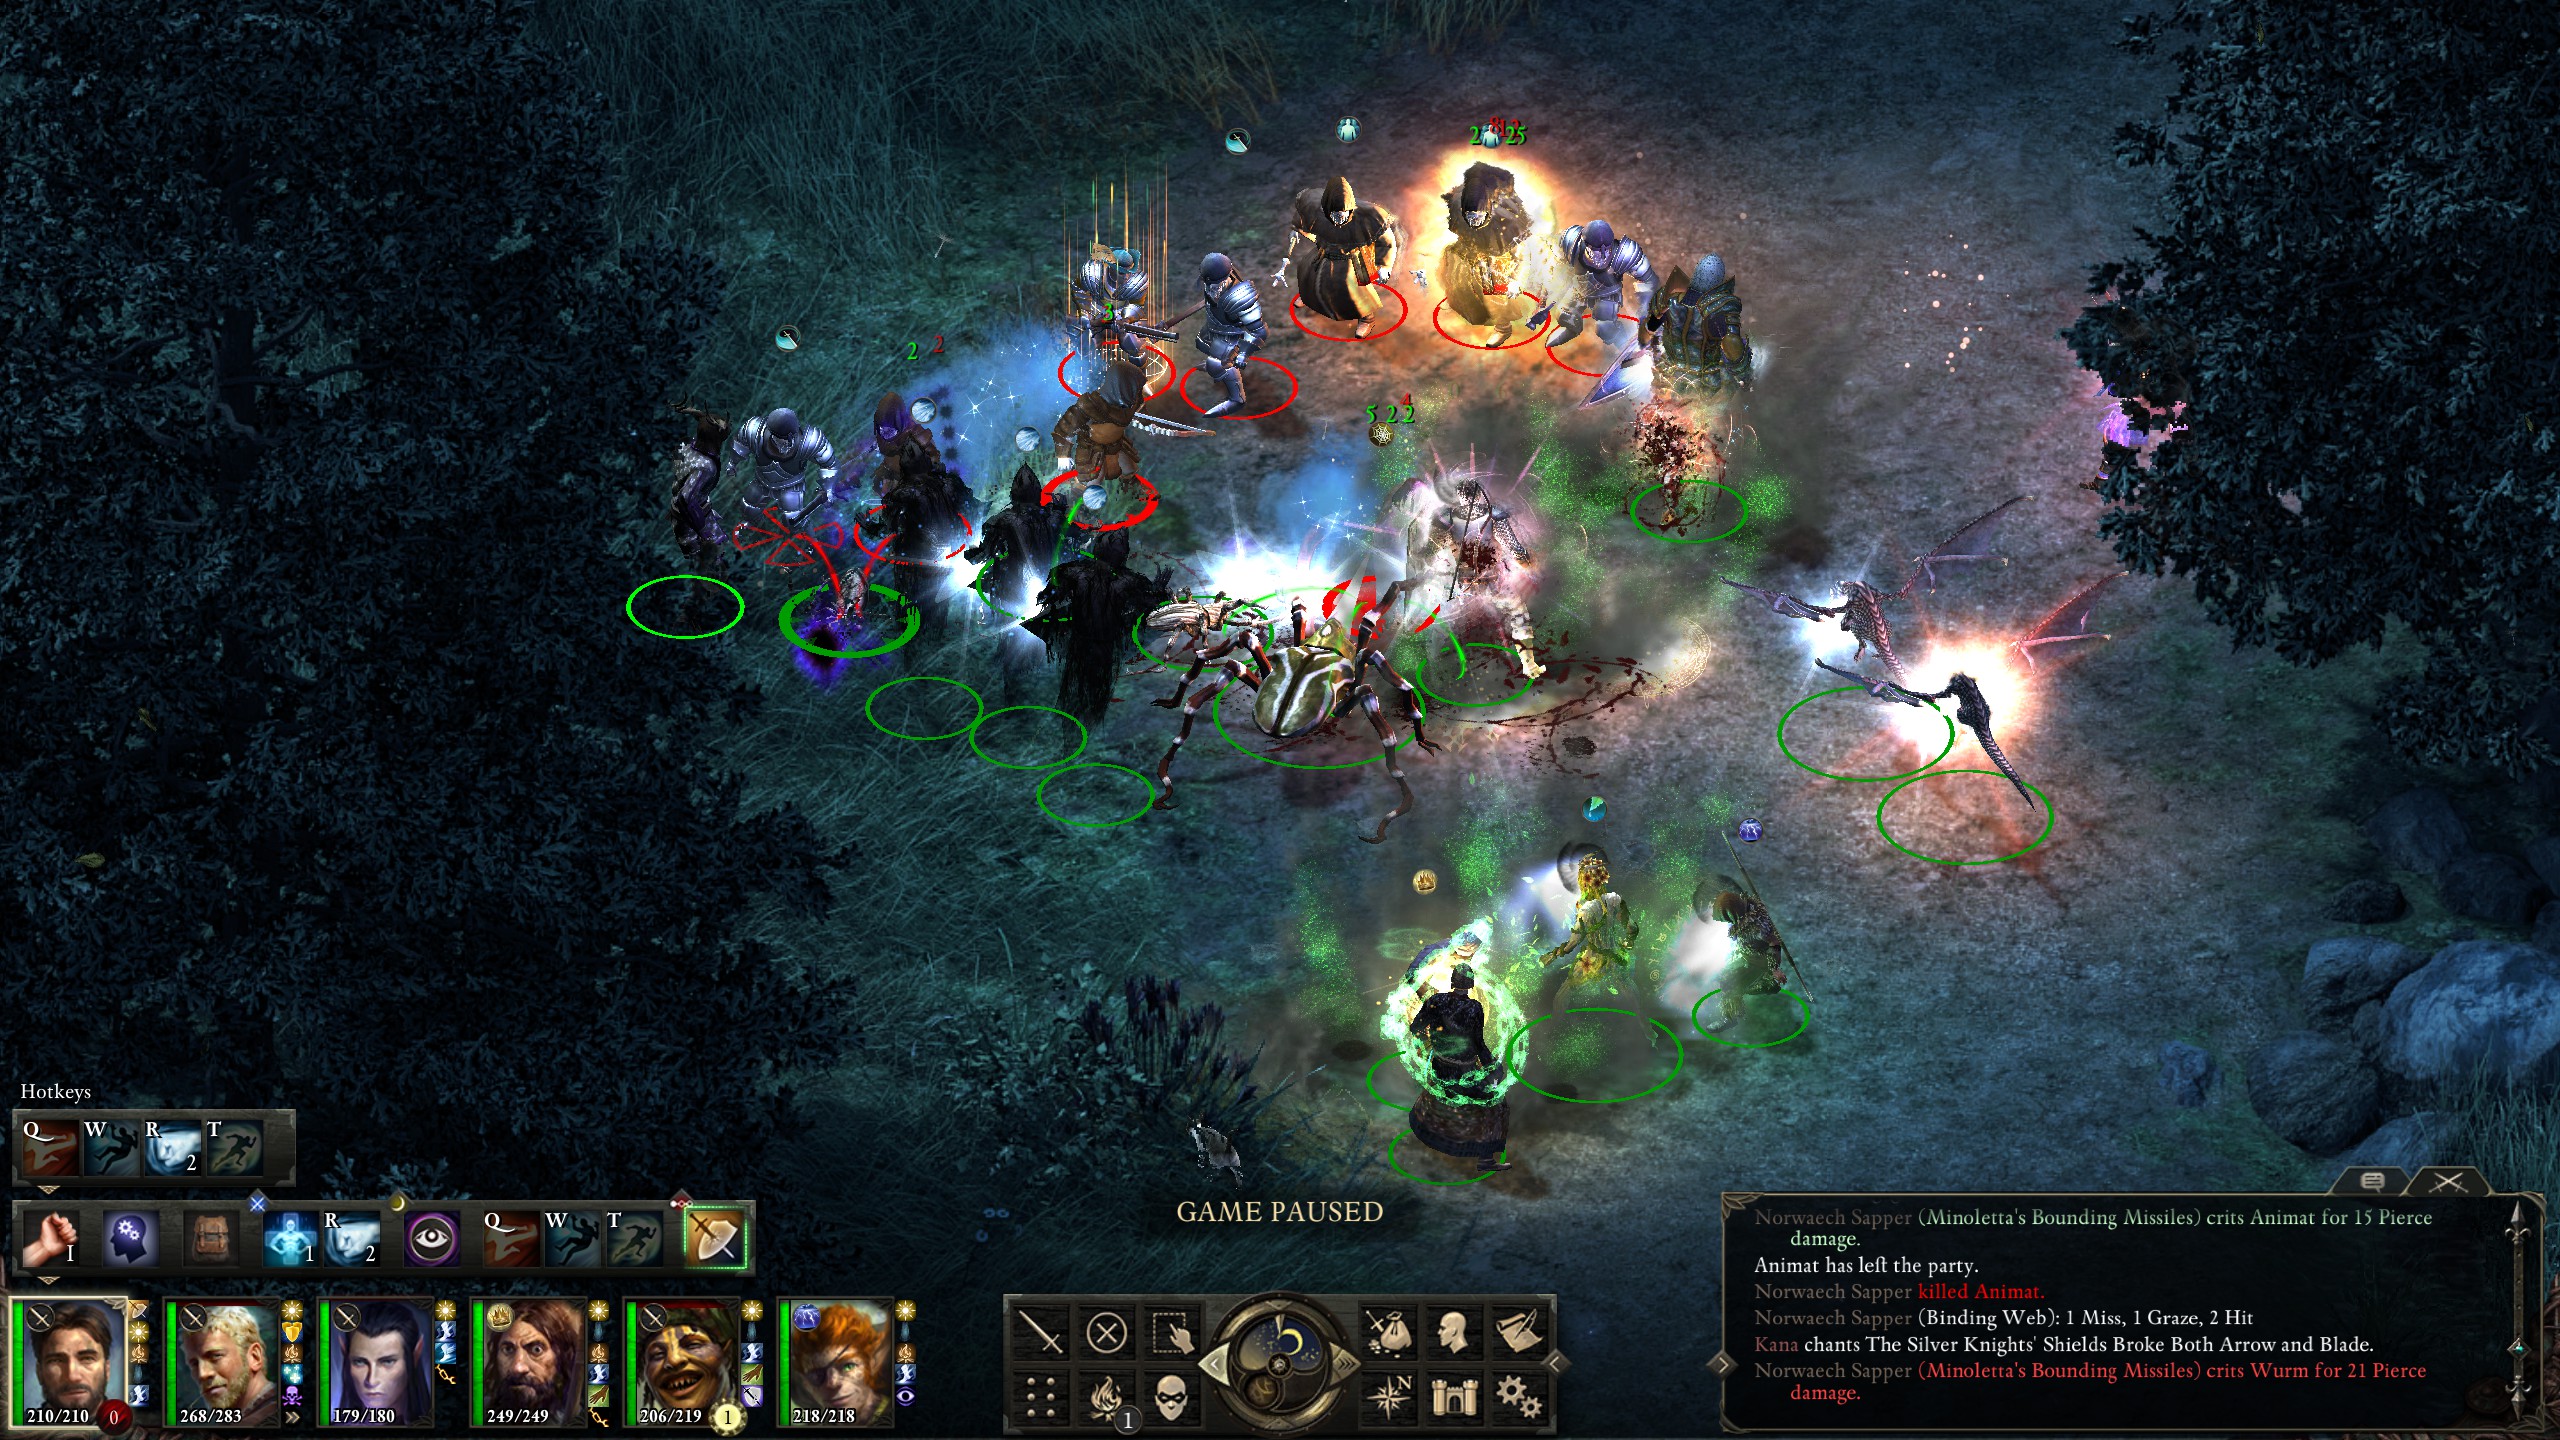
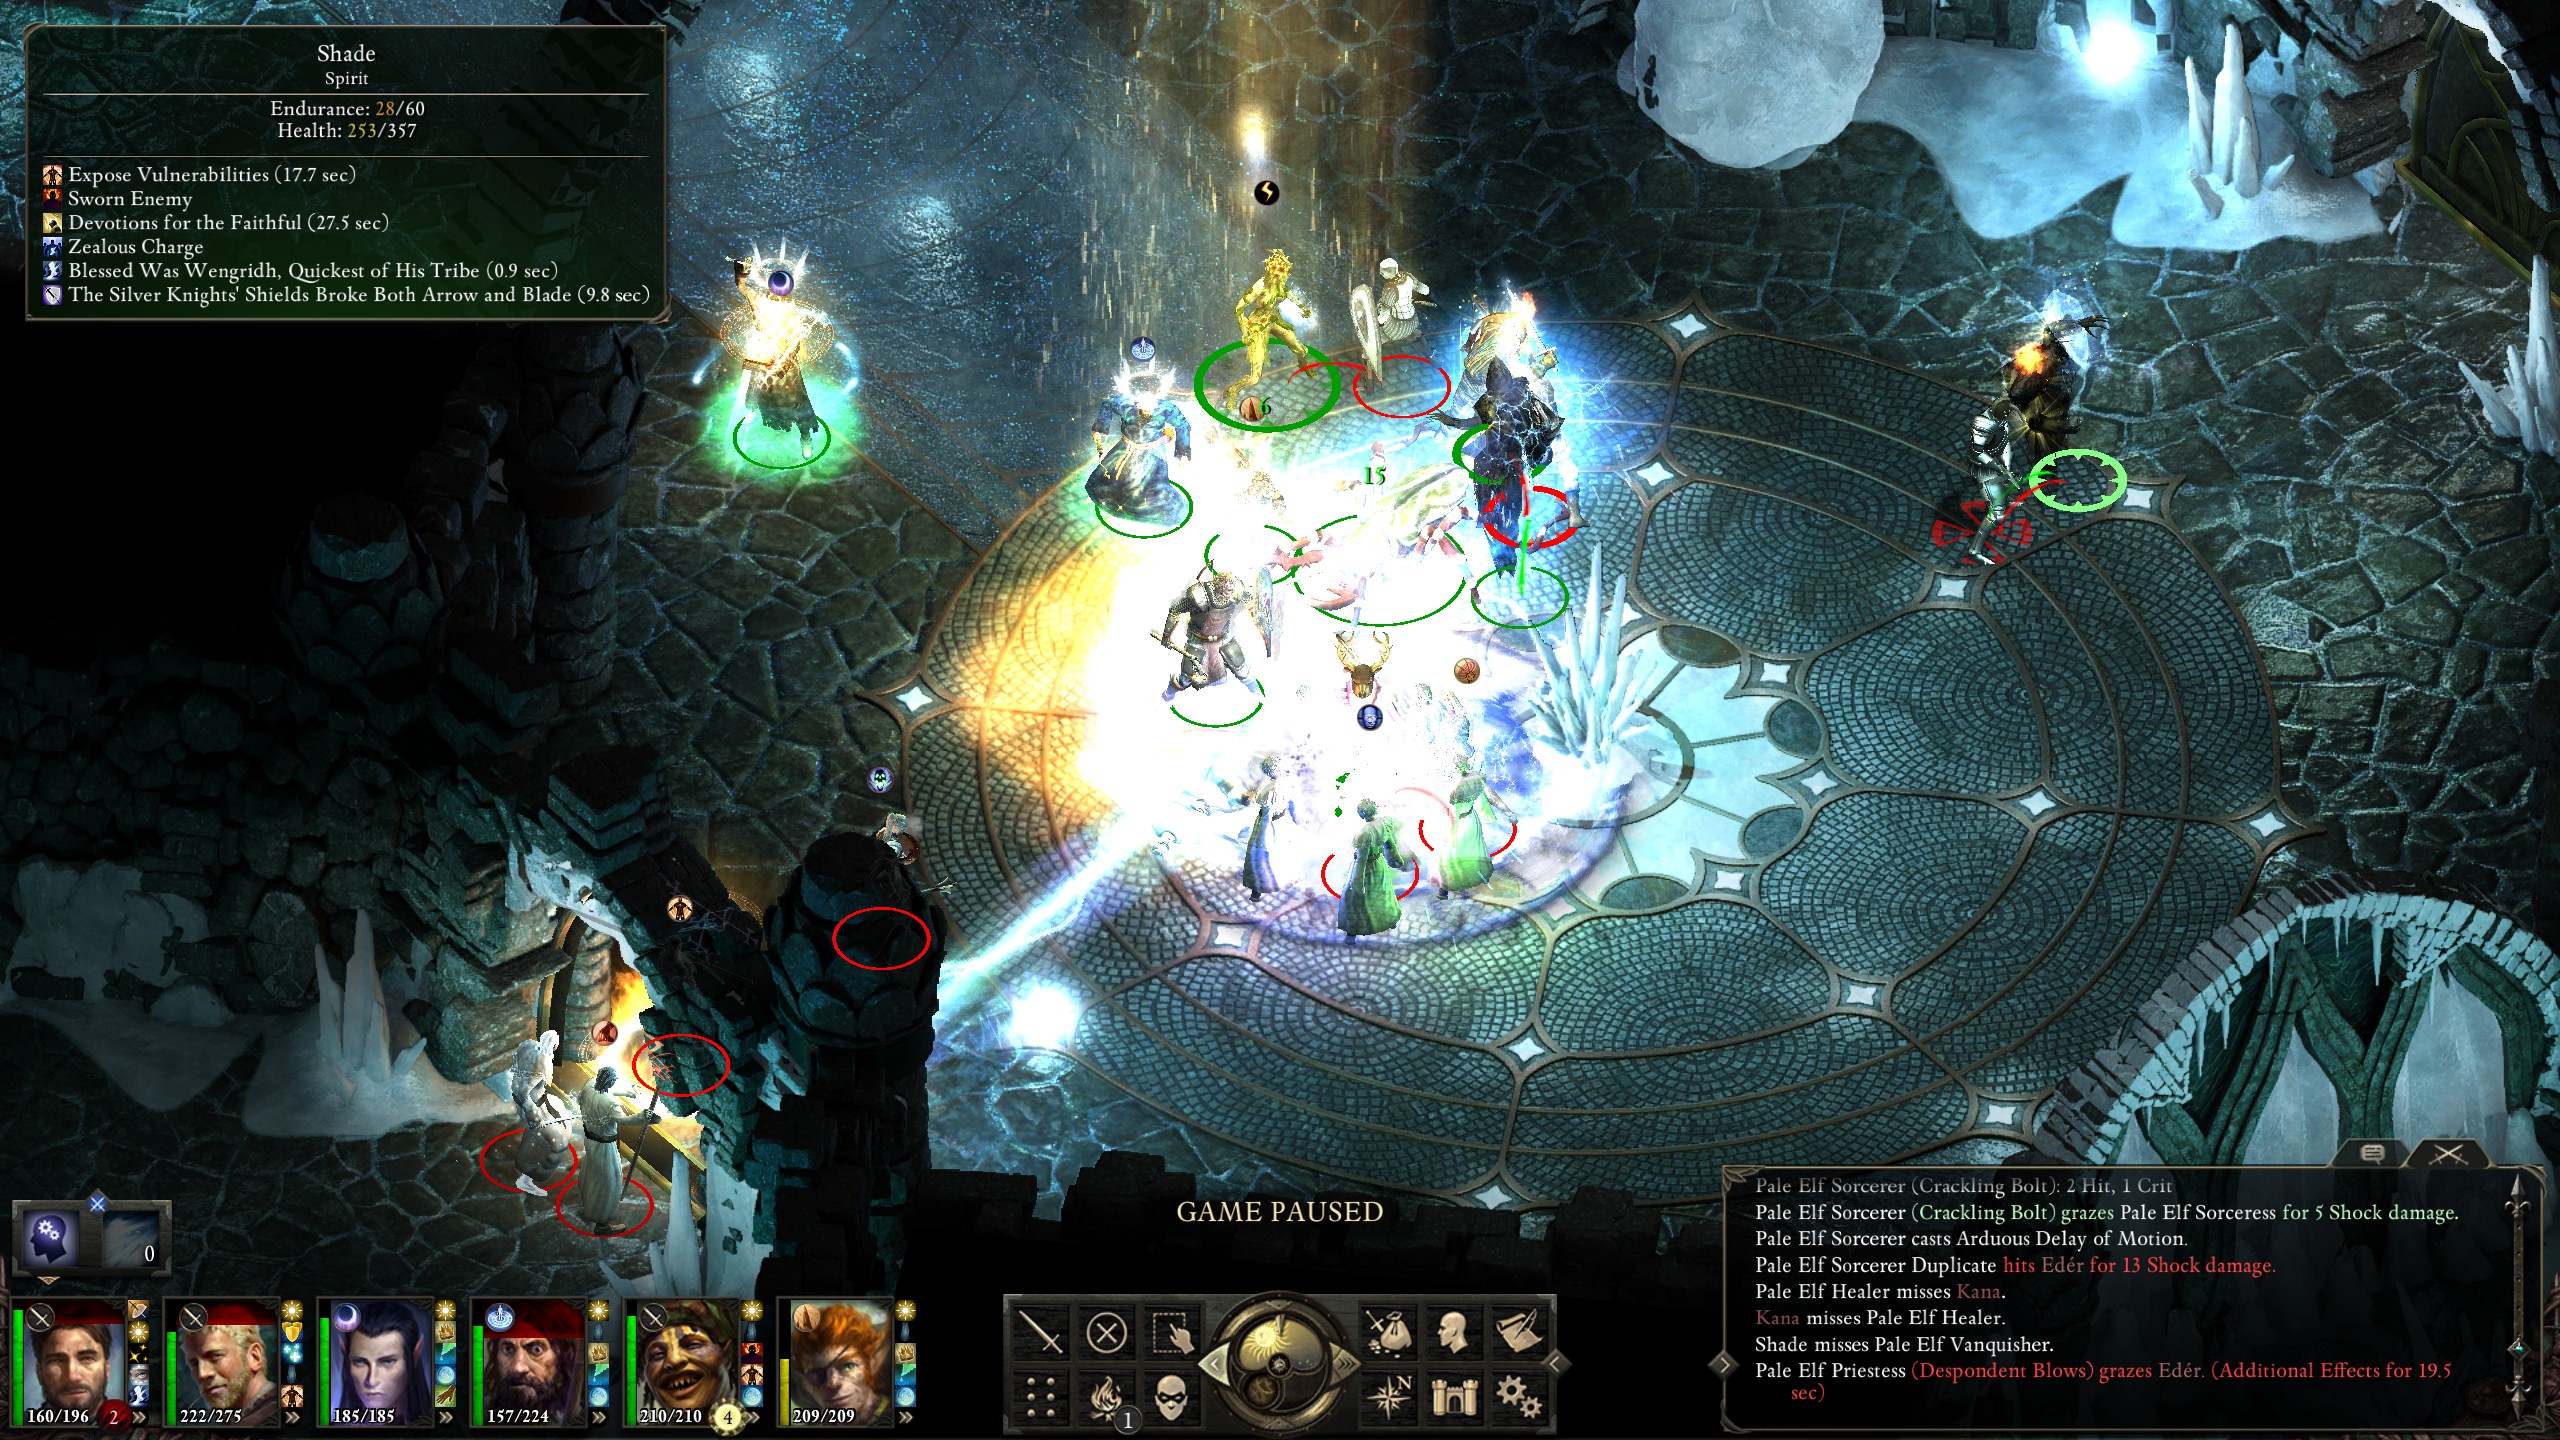
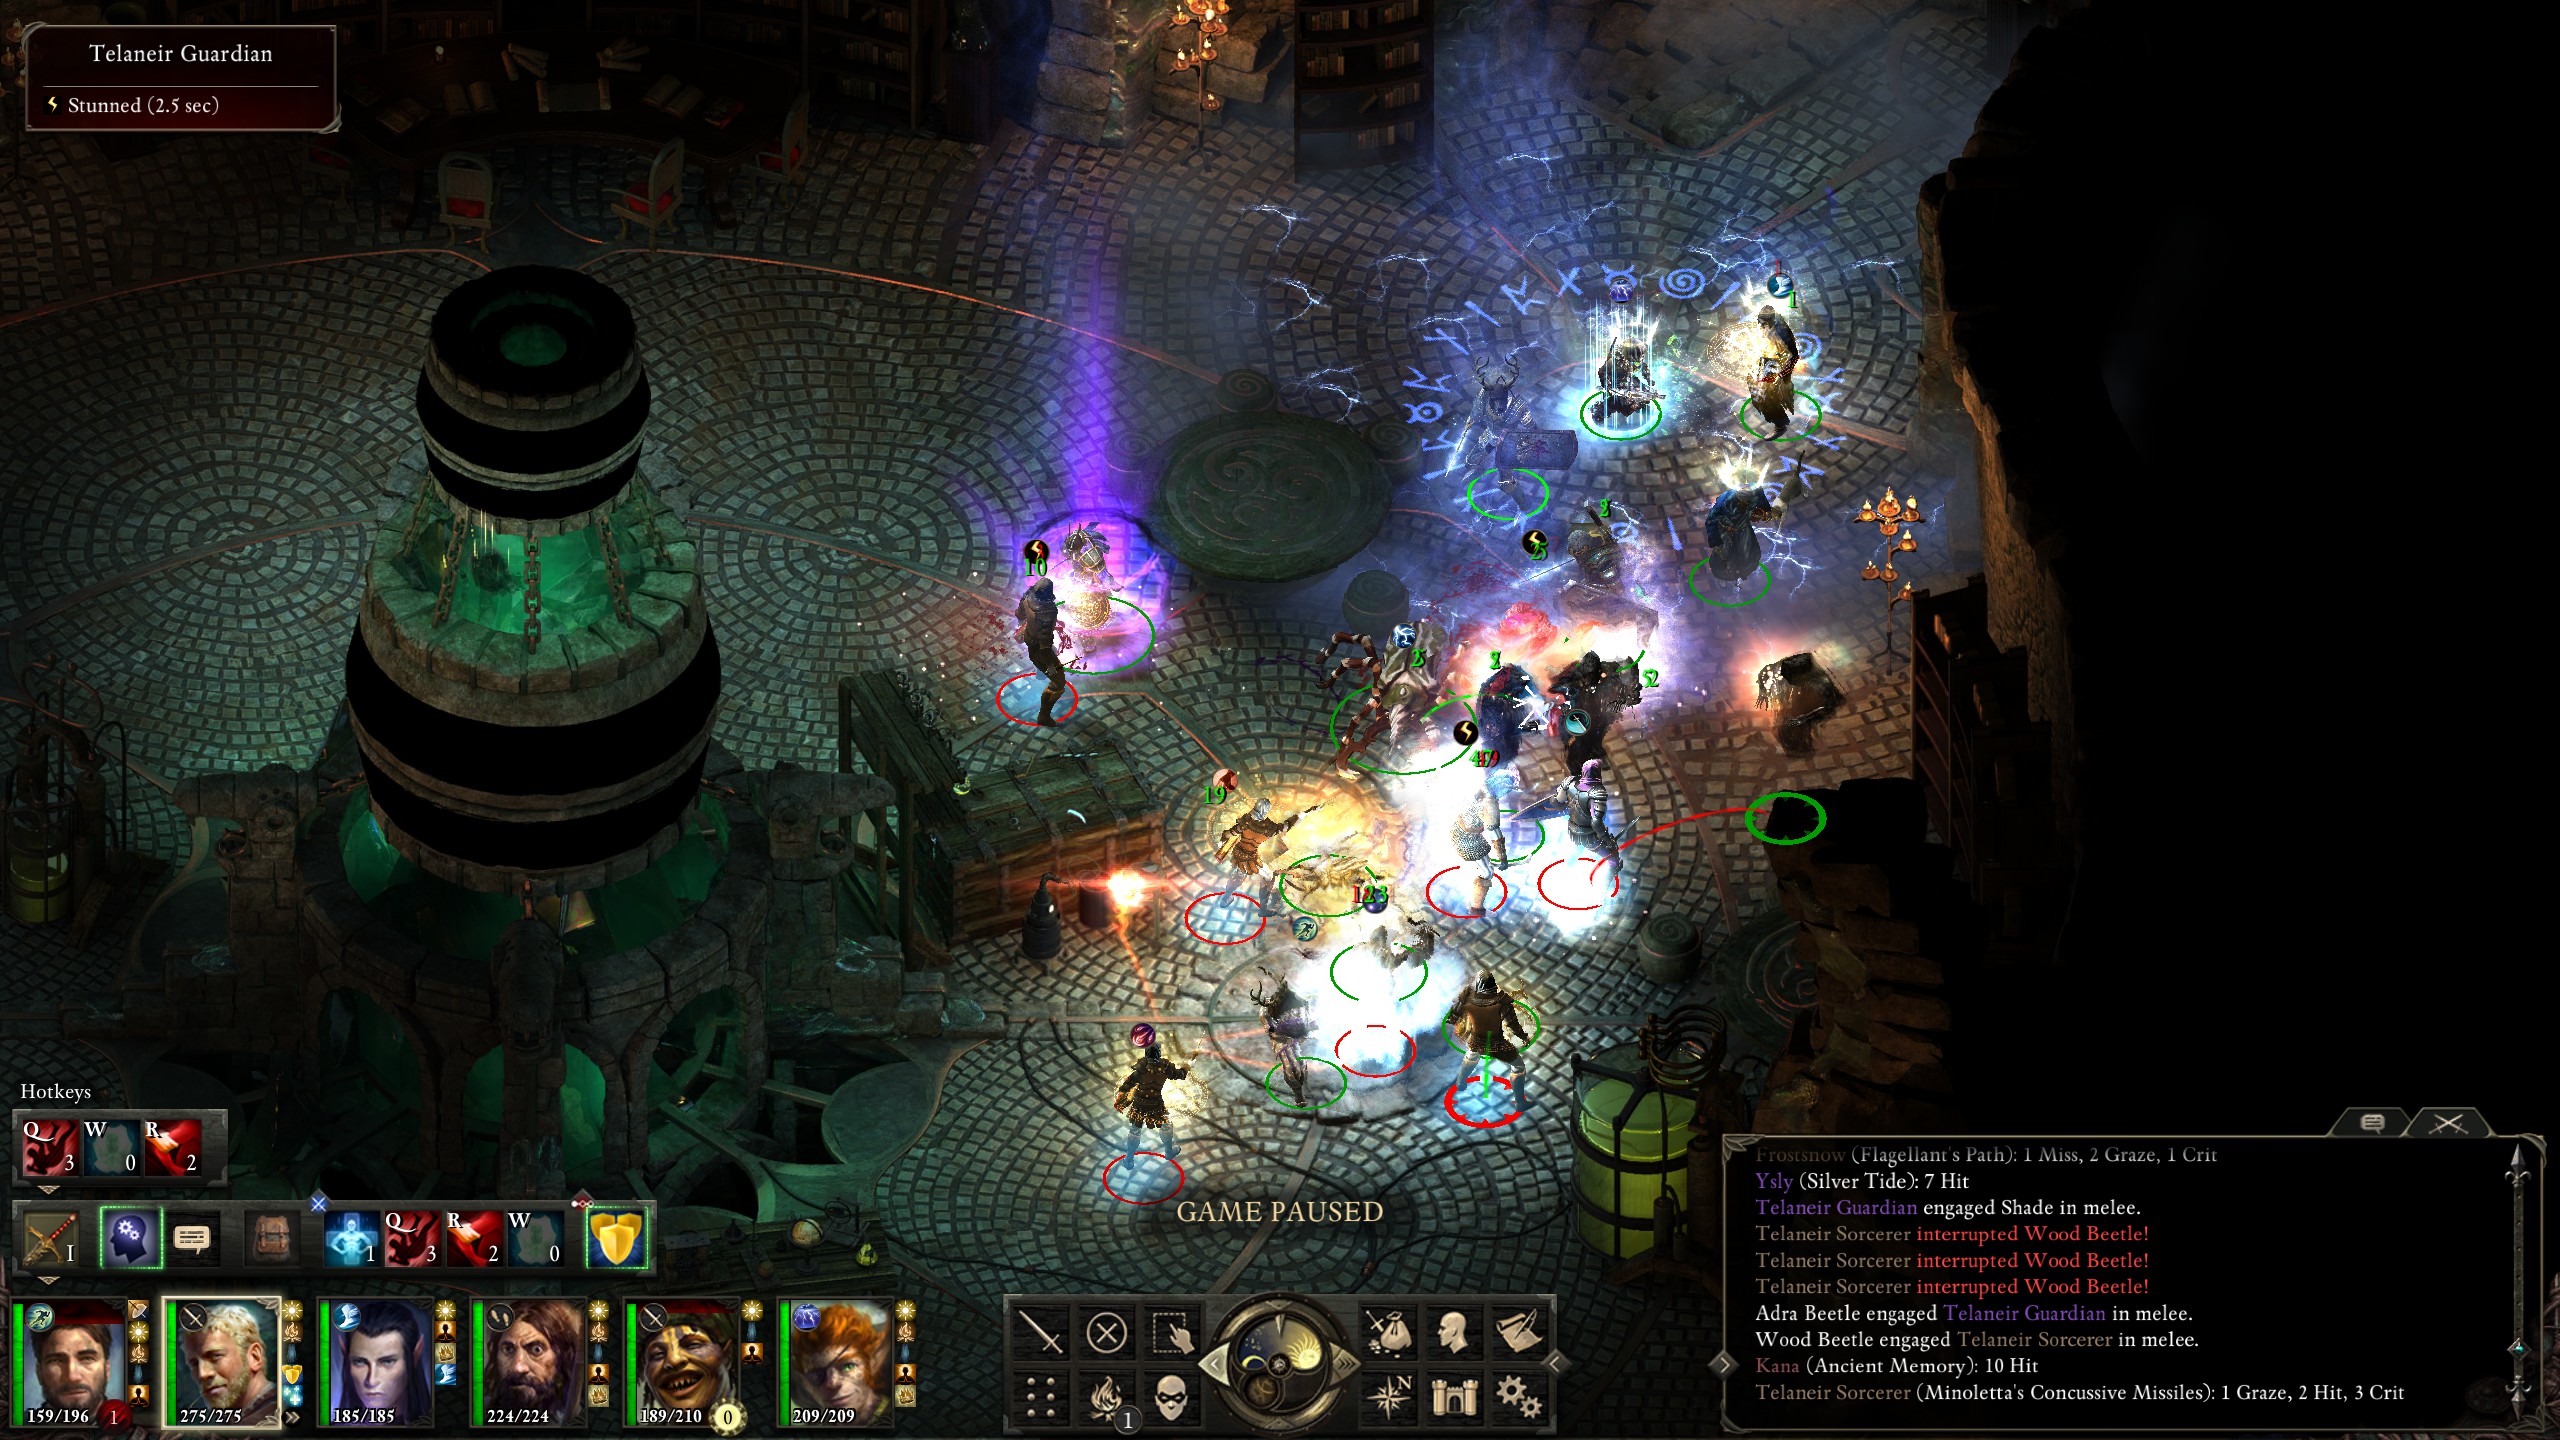
Last and most difficult was Lord Exarch Sserkal.
What makes this fight so difficult is the massive amount of crowd control used by him and his cronies. Their "Psychic Blast" spell stuns, and in addition they have a confusion. I had used "Prayer Against Treachery" in the belief that they had dominates and charms, but did not bank on having nearly my entire team confused.

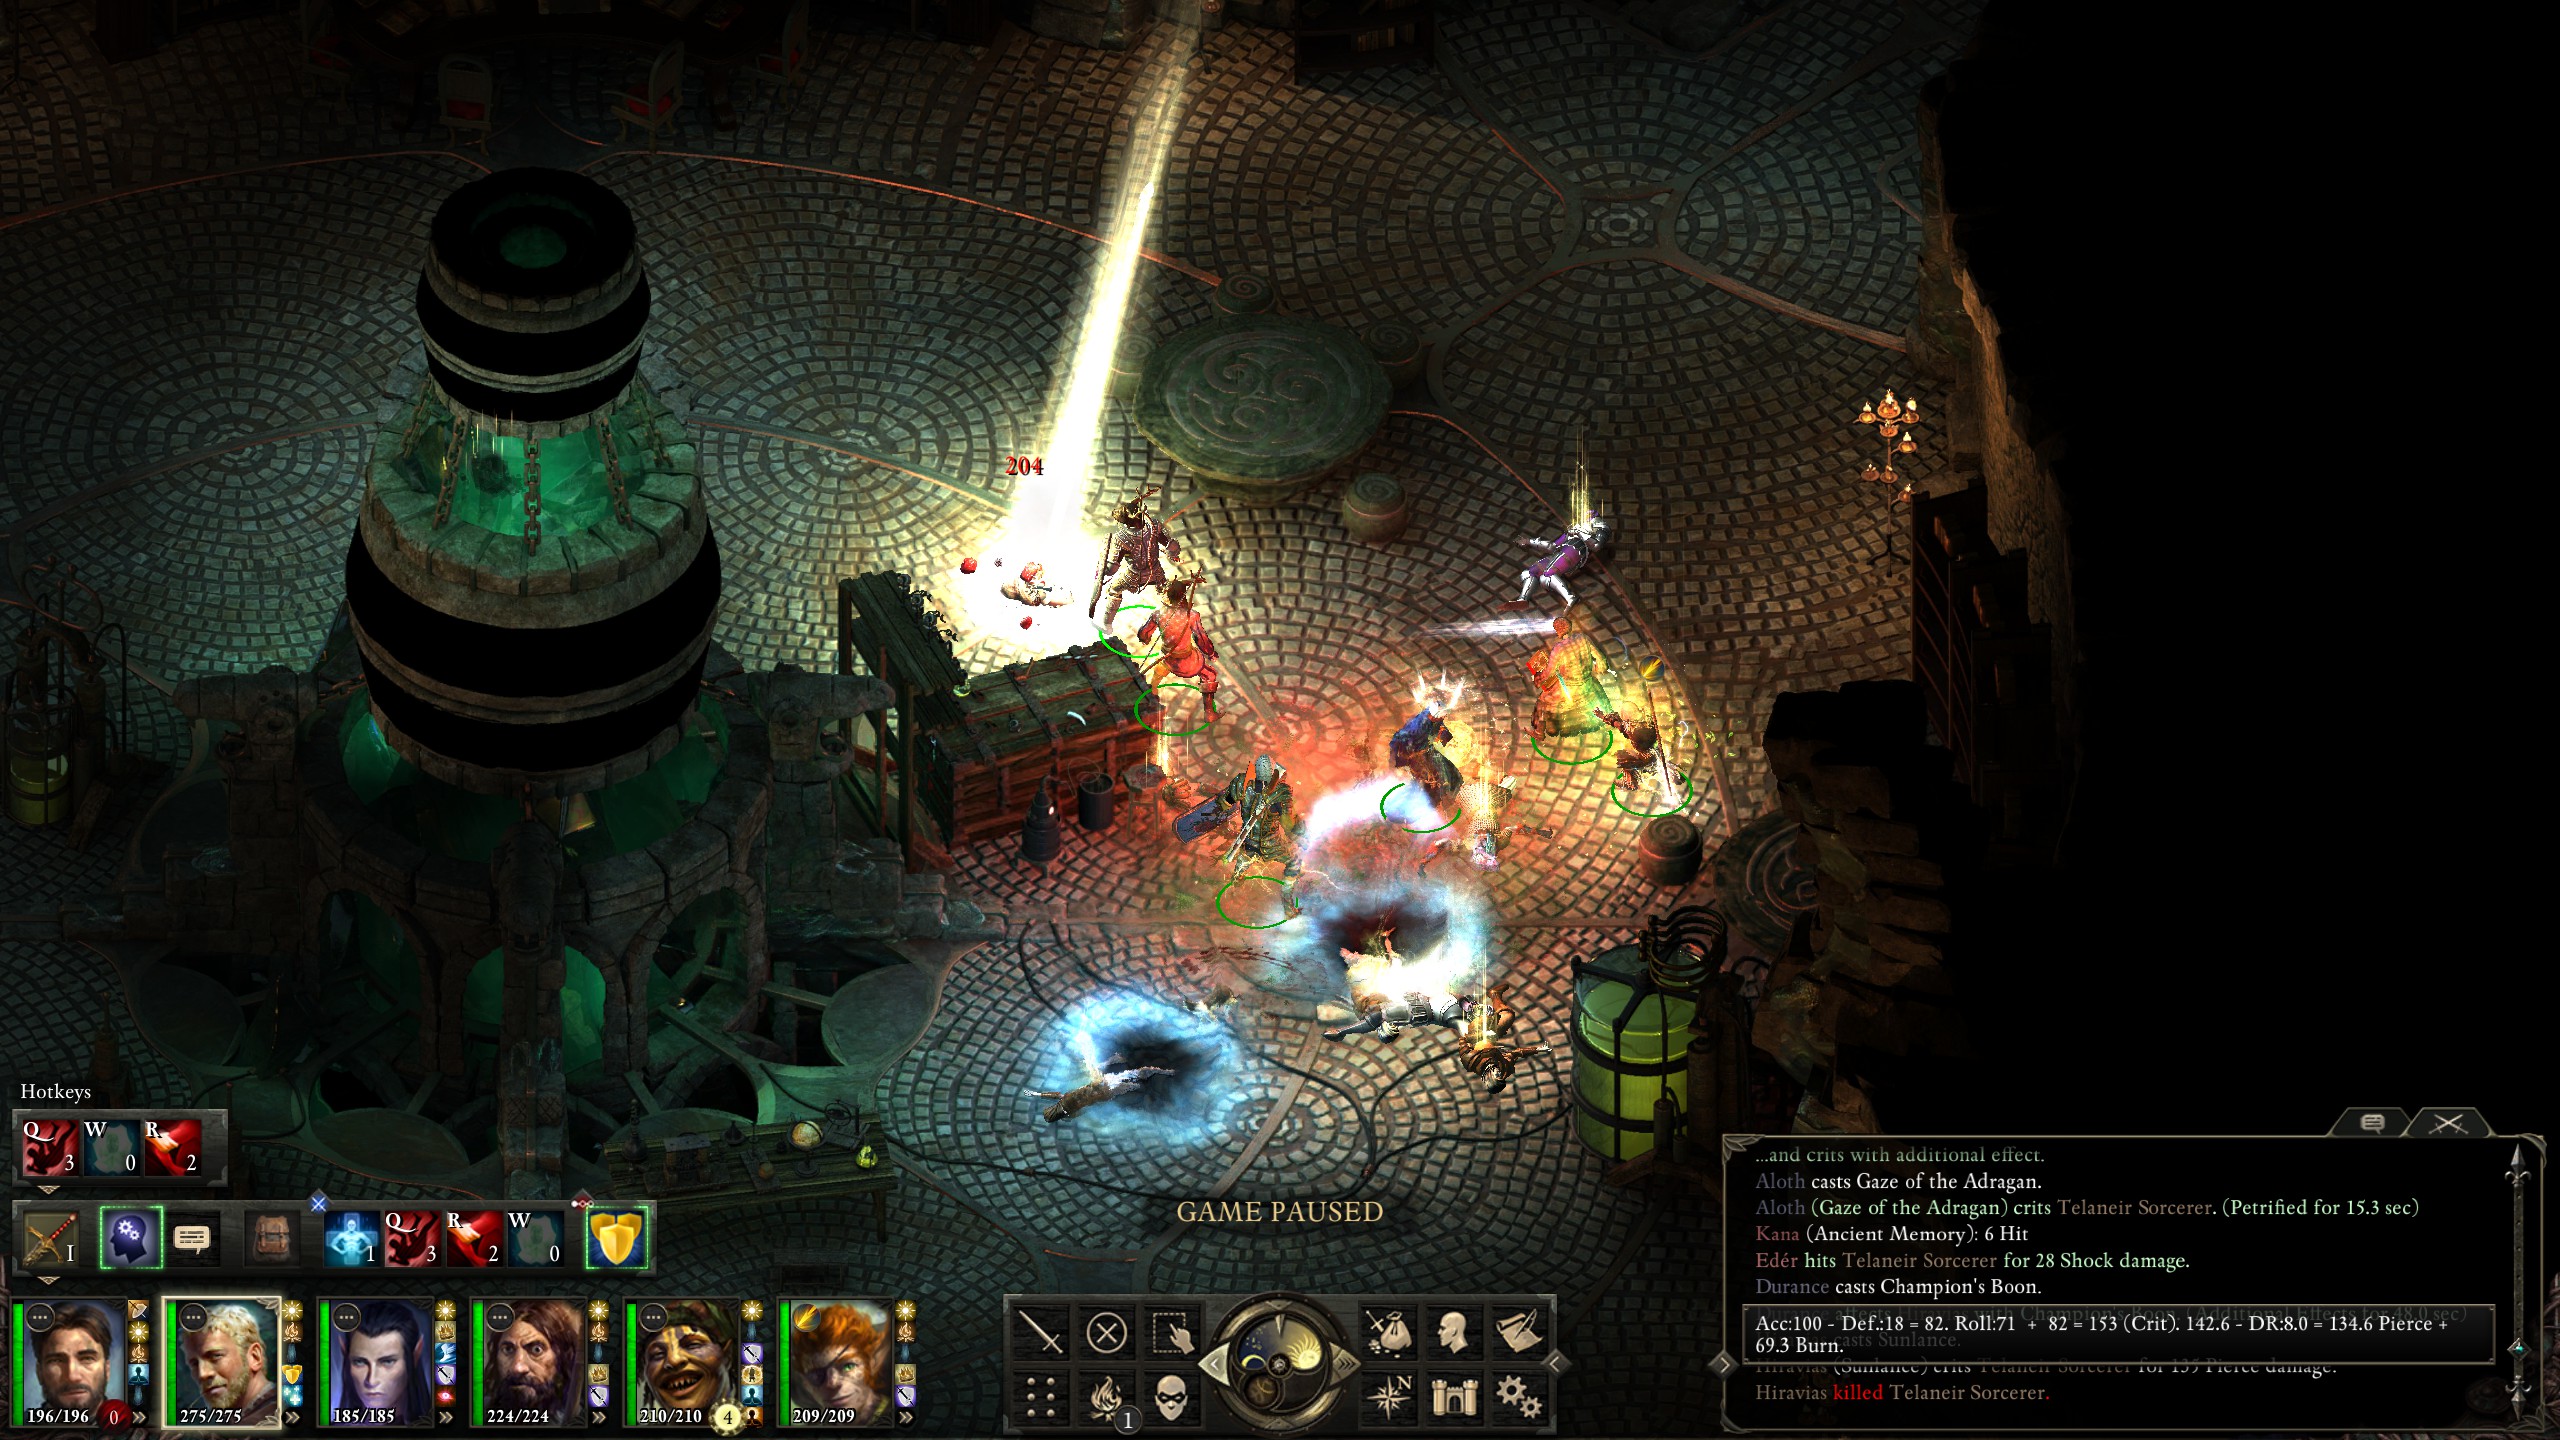
Despite the odds I managed to have Aloth kite and petrify the foes long enough to take a couple out (it helps that they are low health), then Durance's confusion wore off and he was able to cast "Crowns for the Faithful" on a few of my team members for the extra will saves. After that I was able to turn the fight around.
Despite the fight's difficulty, the "Gwisk Glas" won was well worth the effort.
Bounties done, I headed back to Twin Elms' Burial Isle.
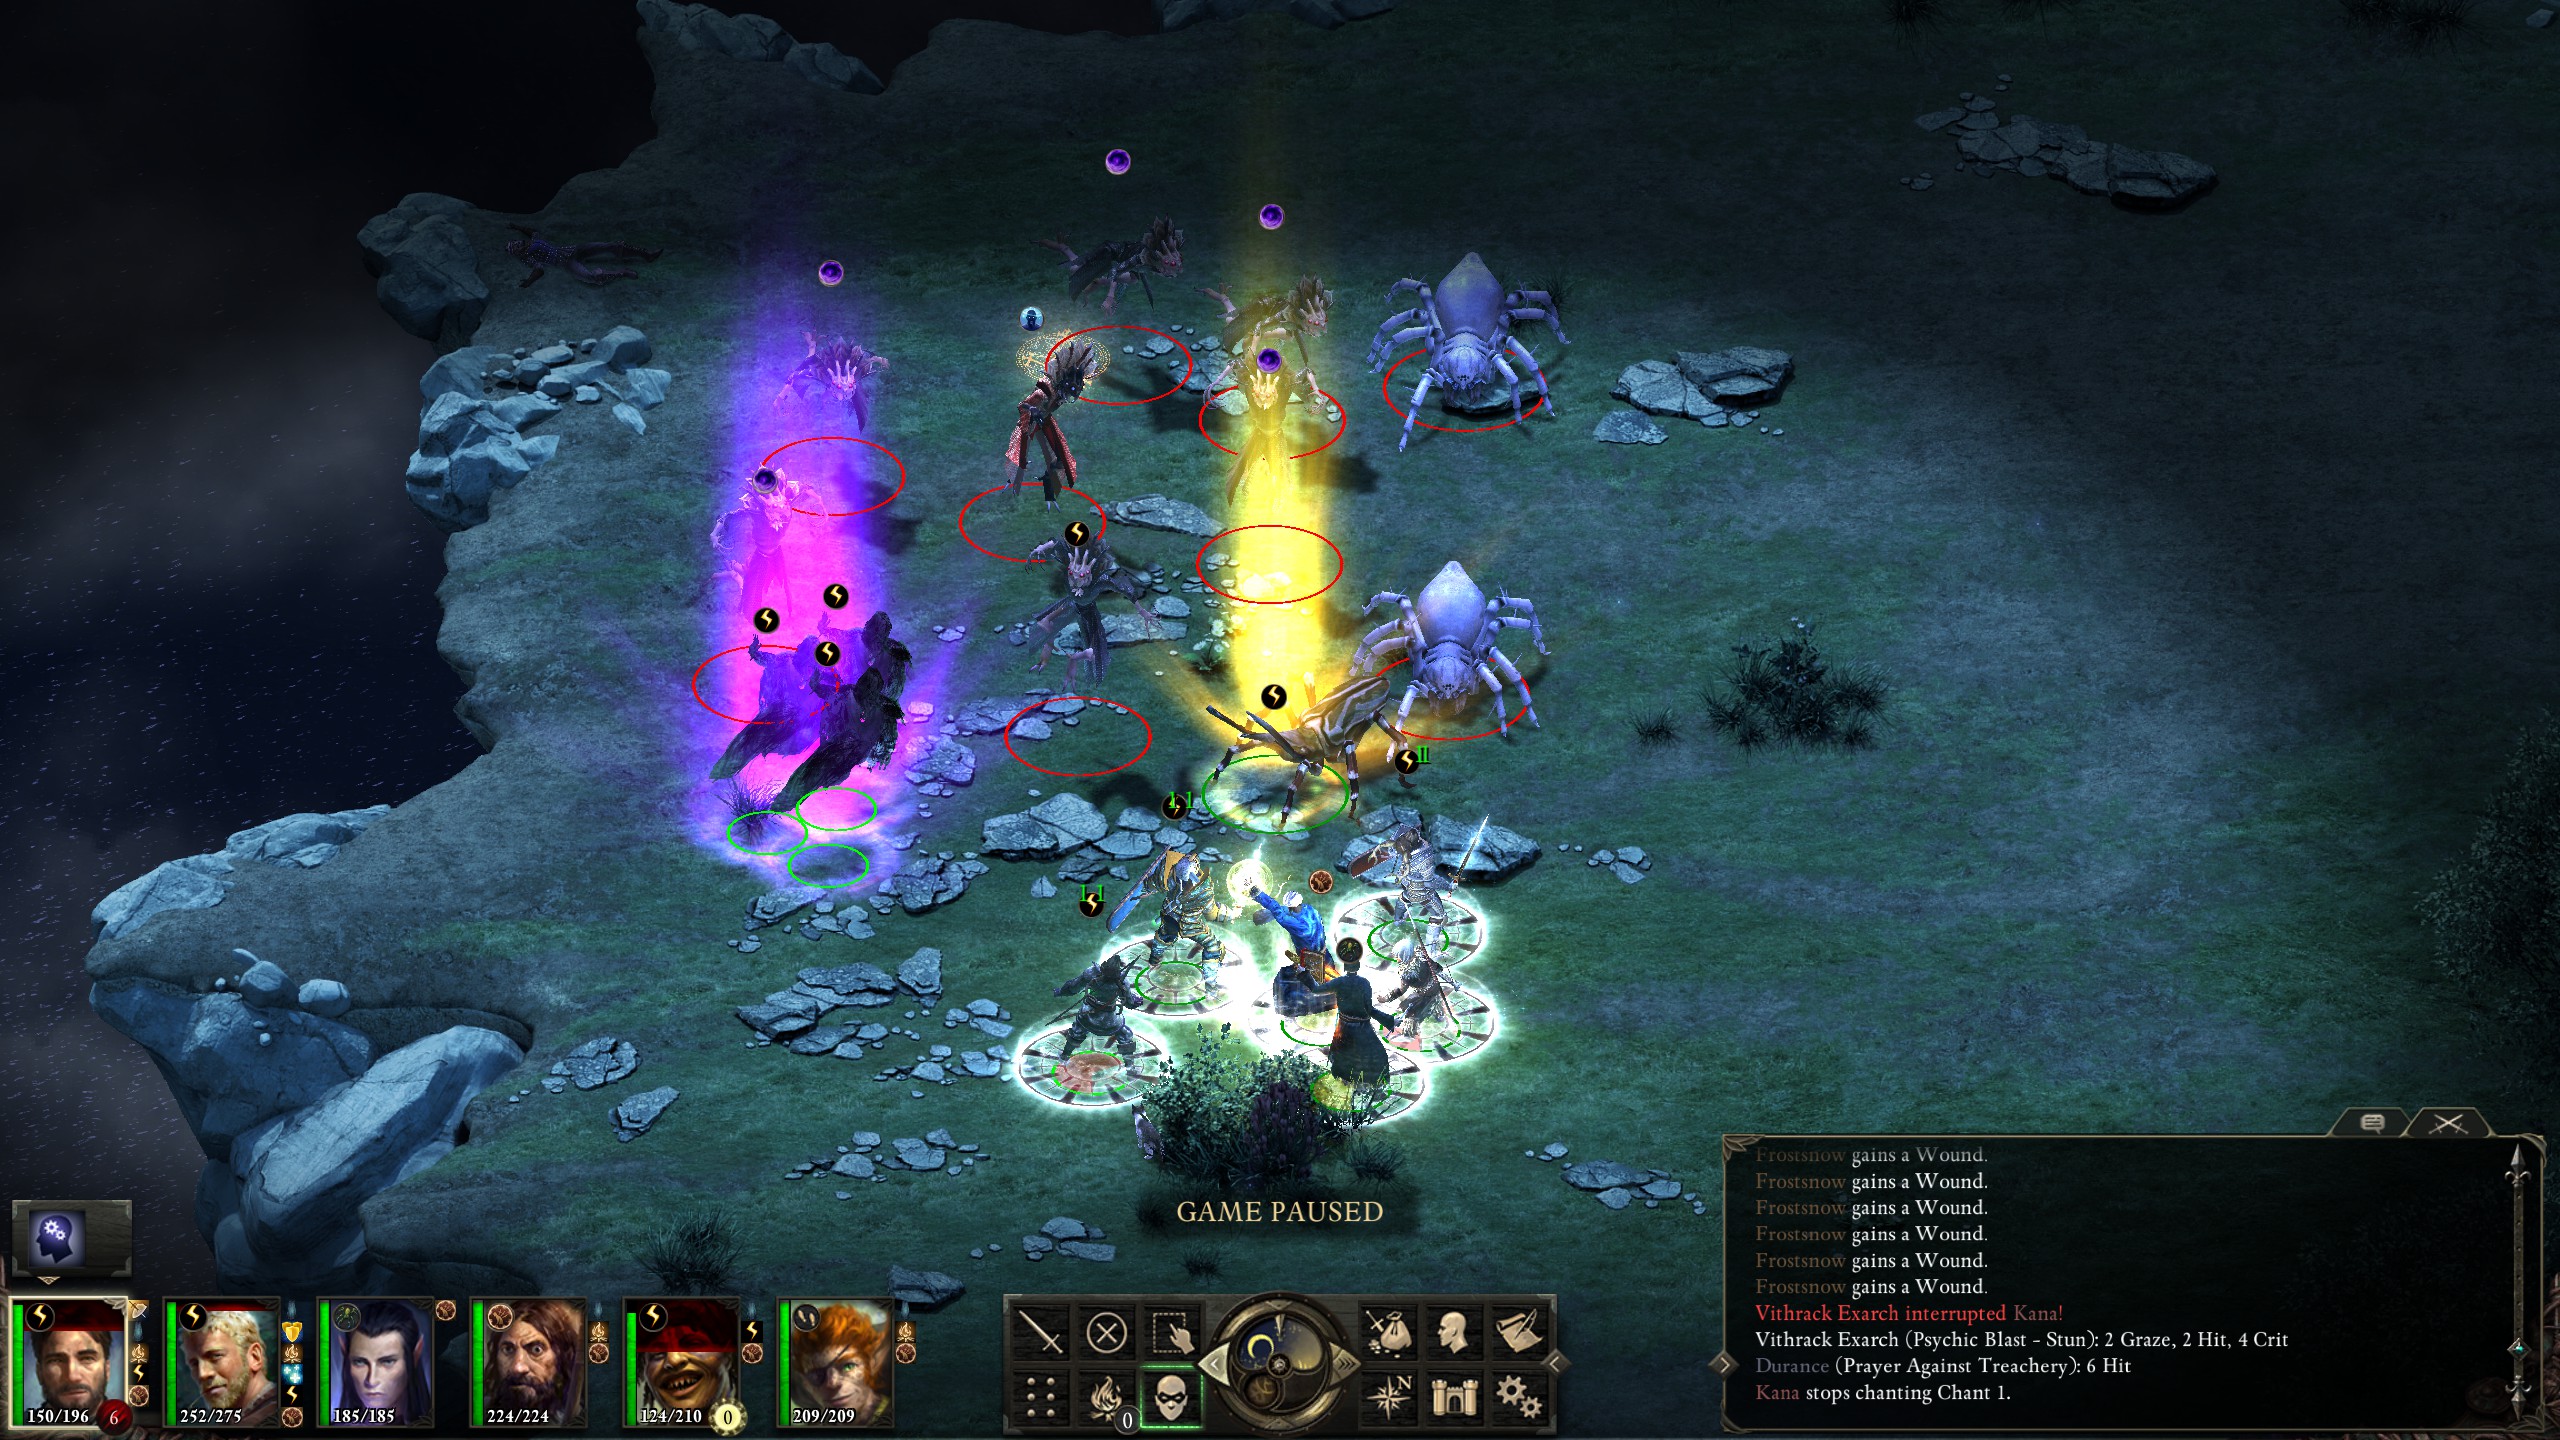
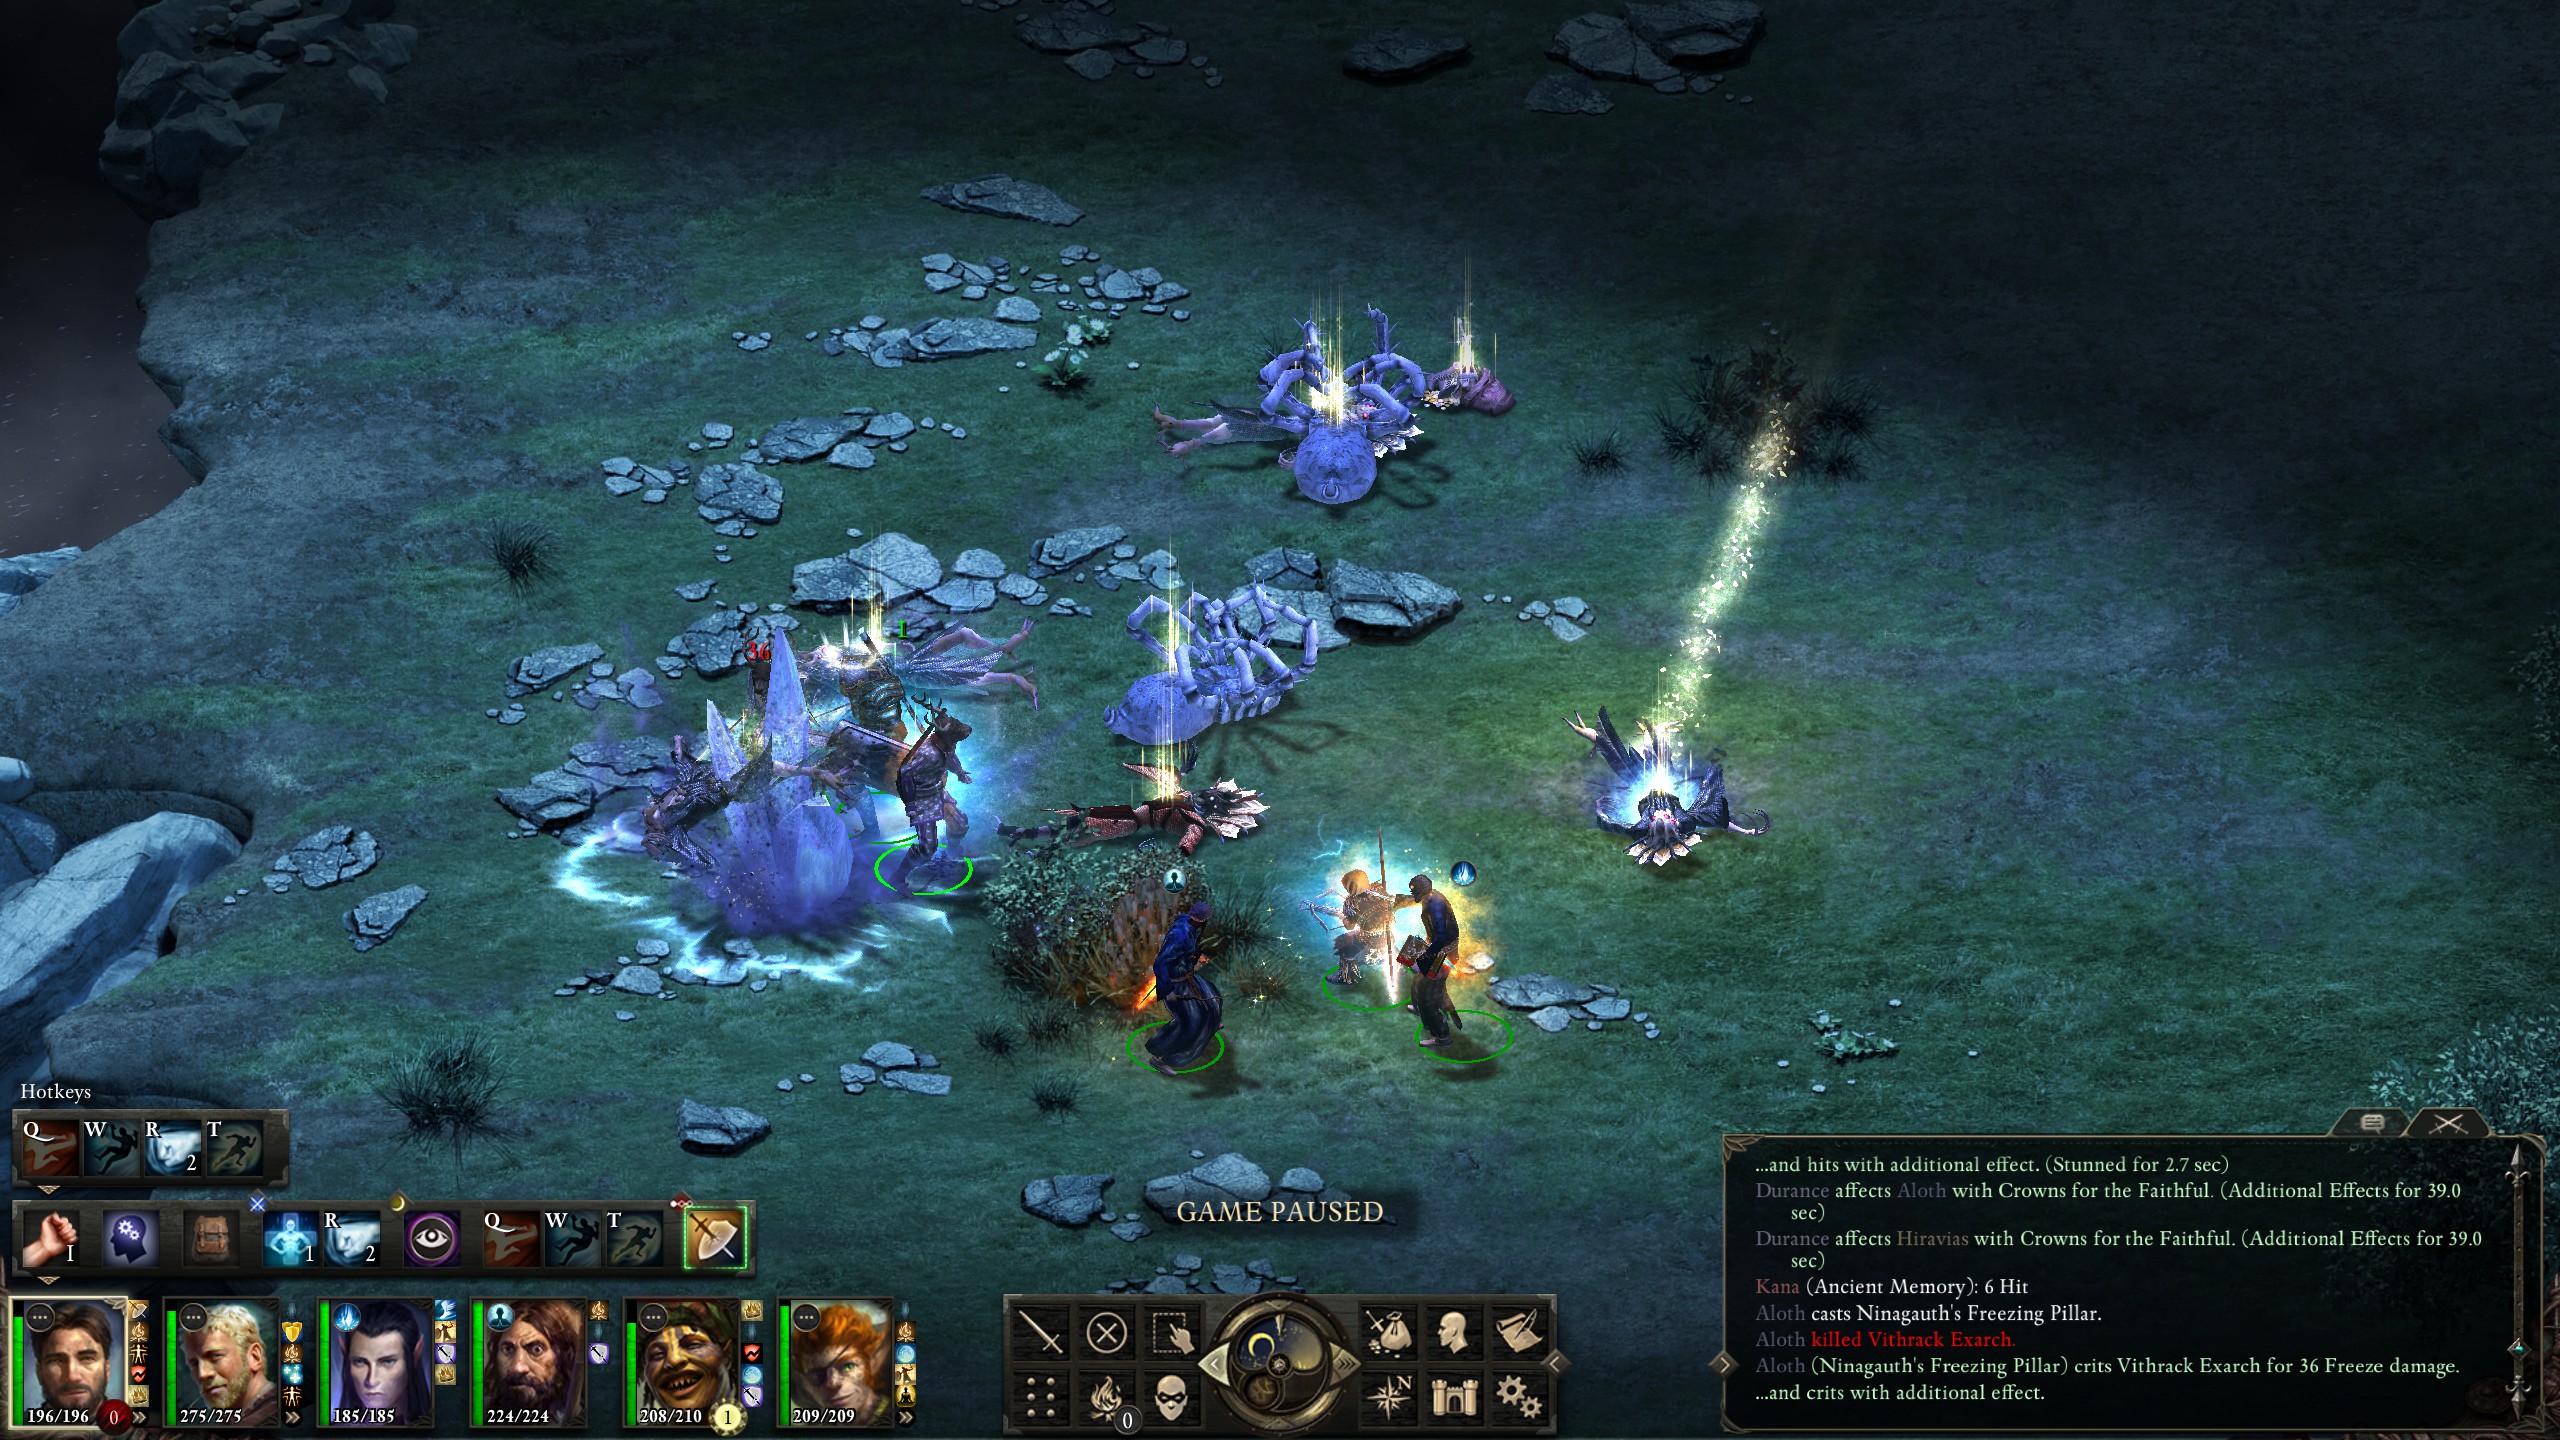
The isle itself was full of high-level spirits, especially Cean Gwla, making Durance's "Prayer Against Imprisonment" extremely useful. After a bit of fighting, I finally stood above Woedica's pit.
The pit beckoned me onto Act IV, but it would have to wait until the next blog, of course.