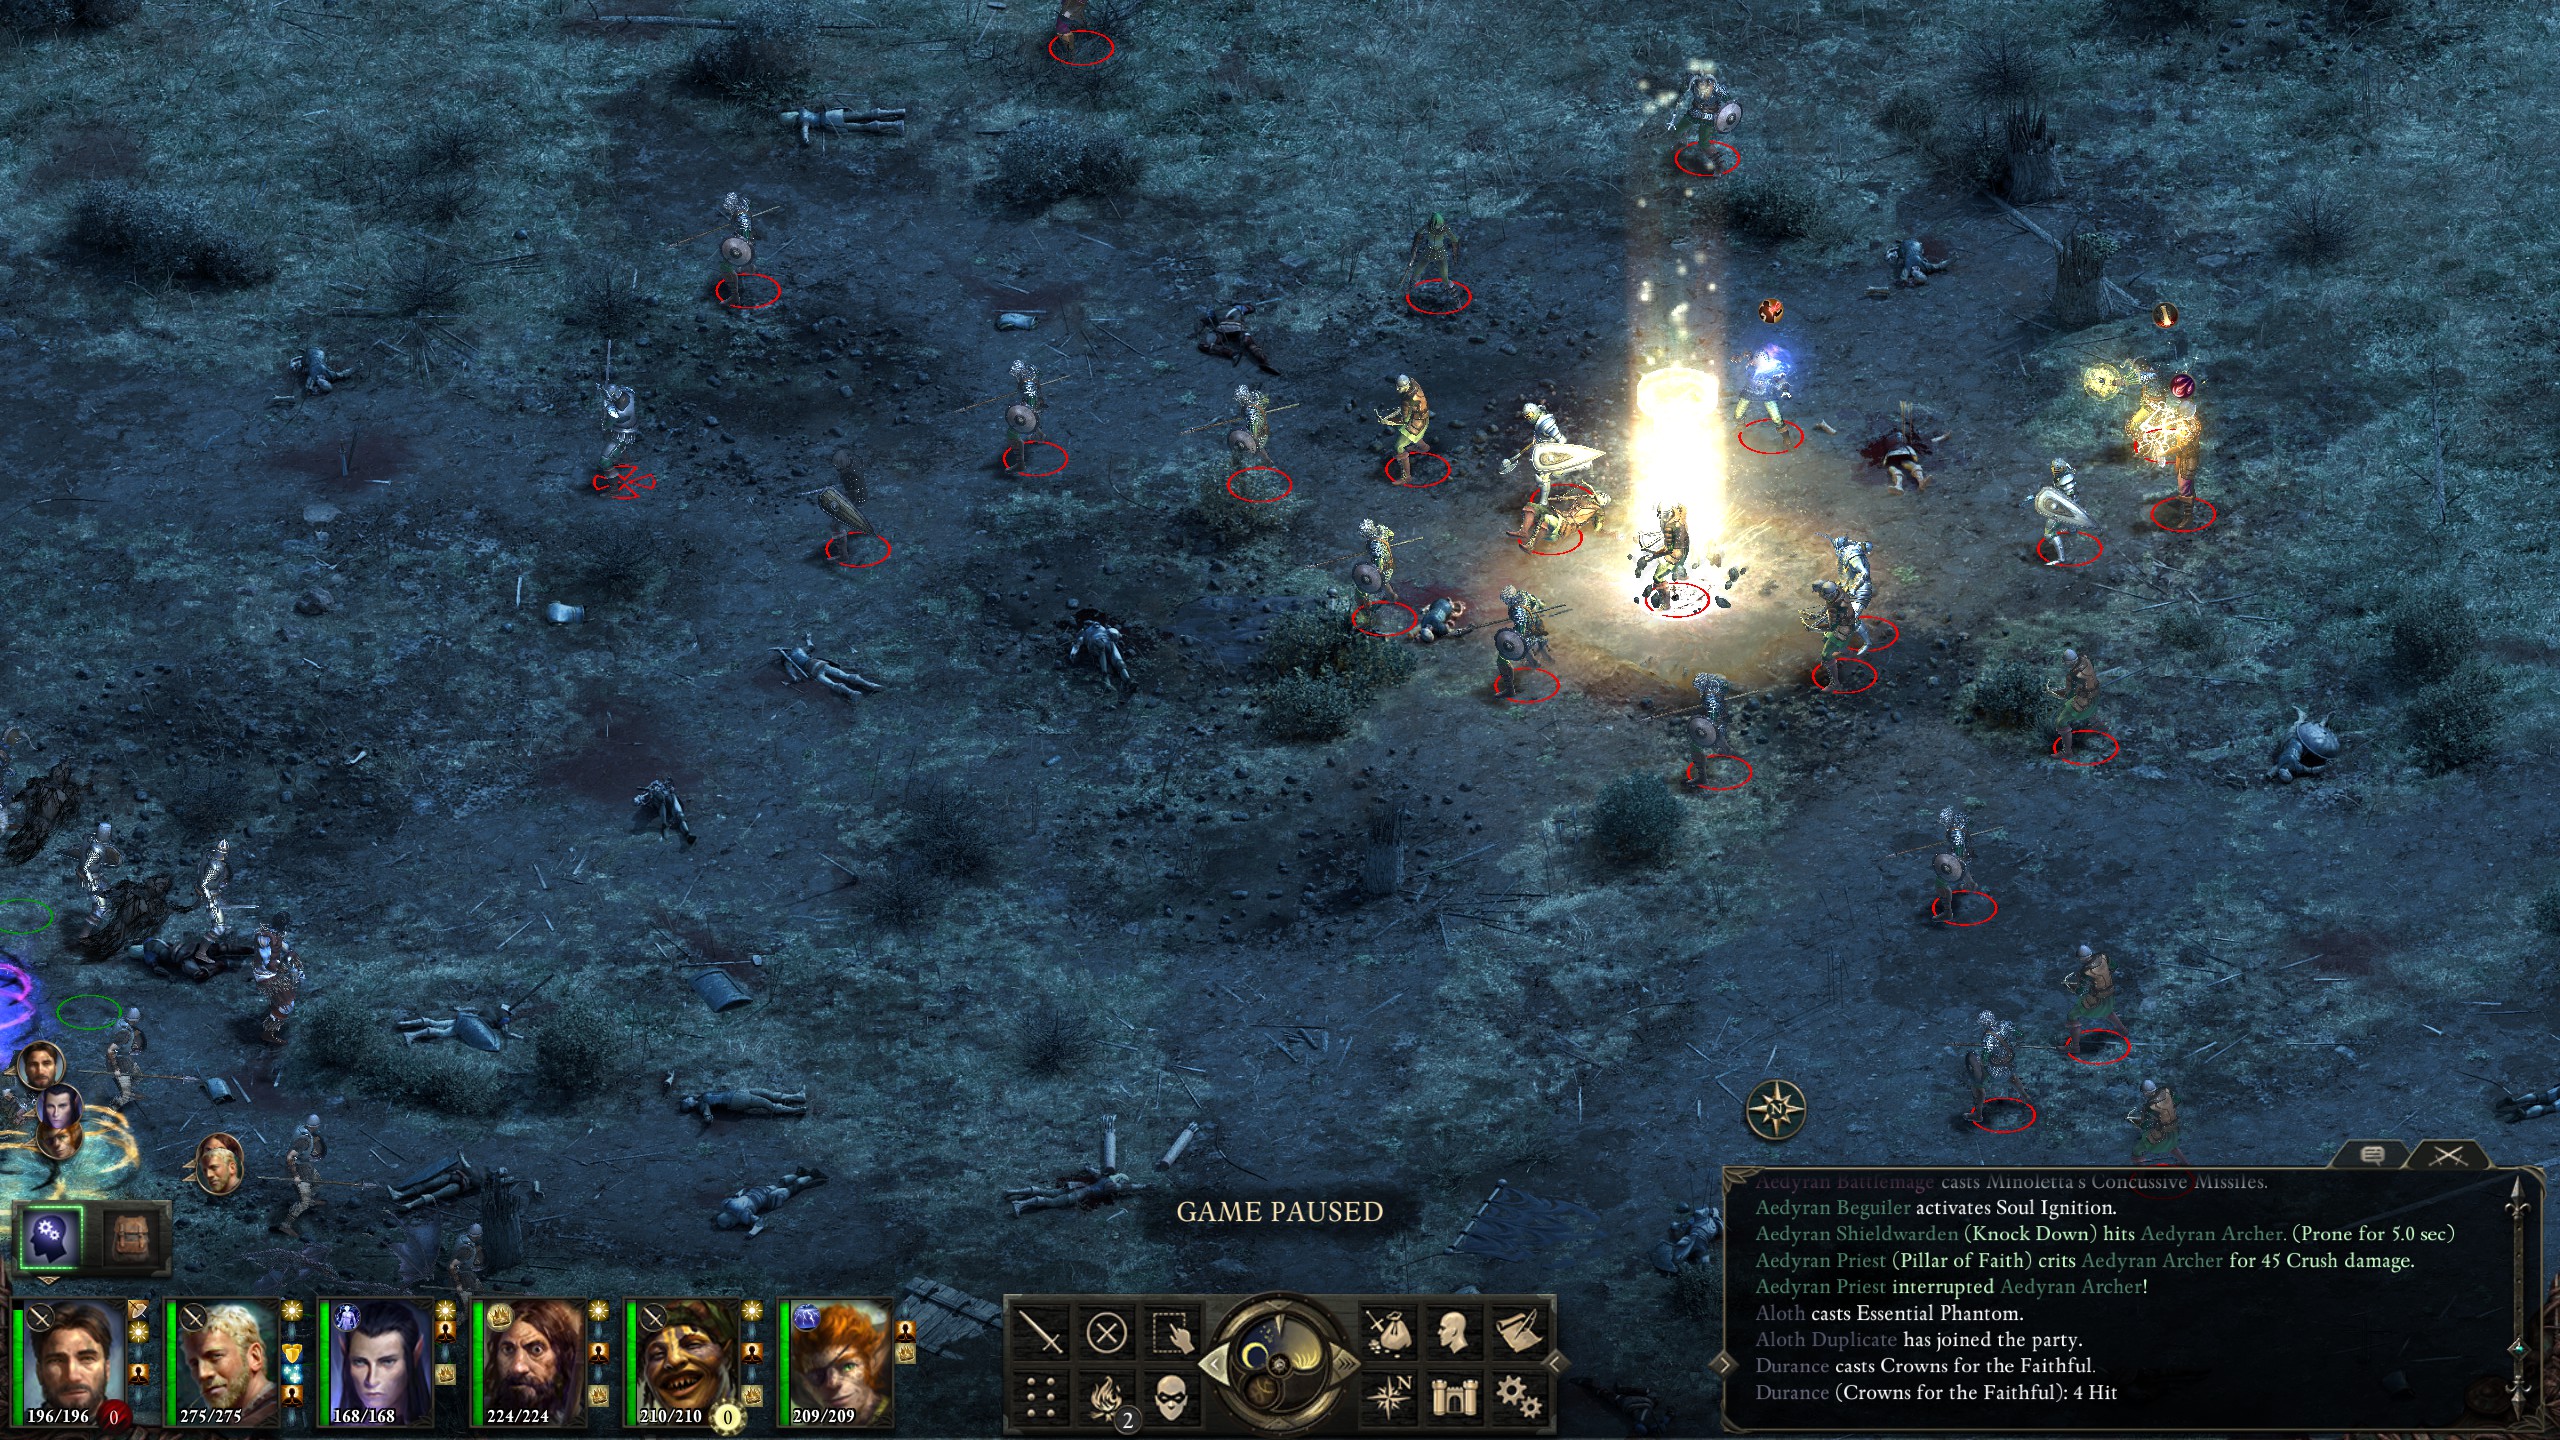
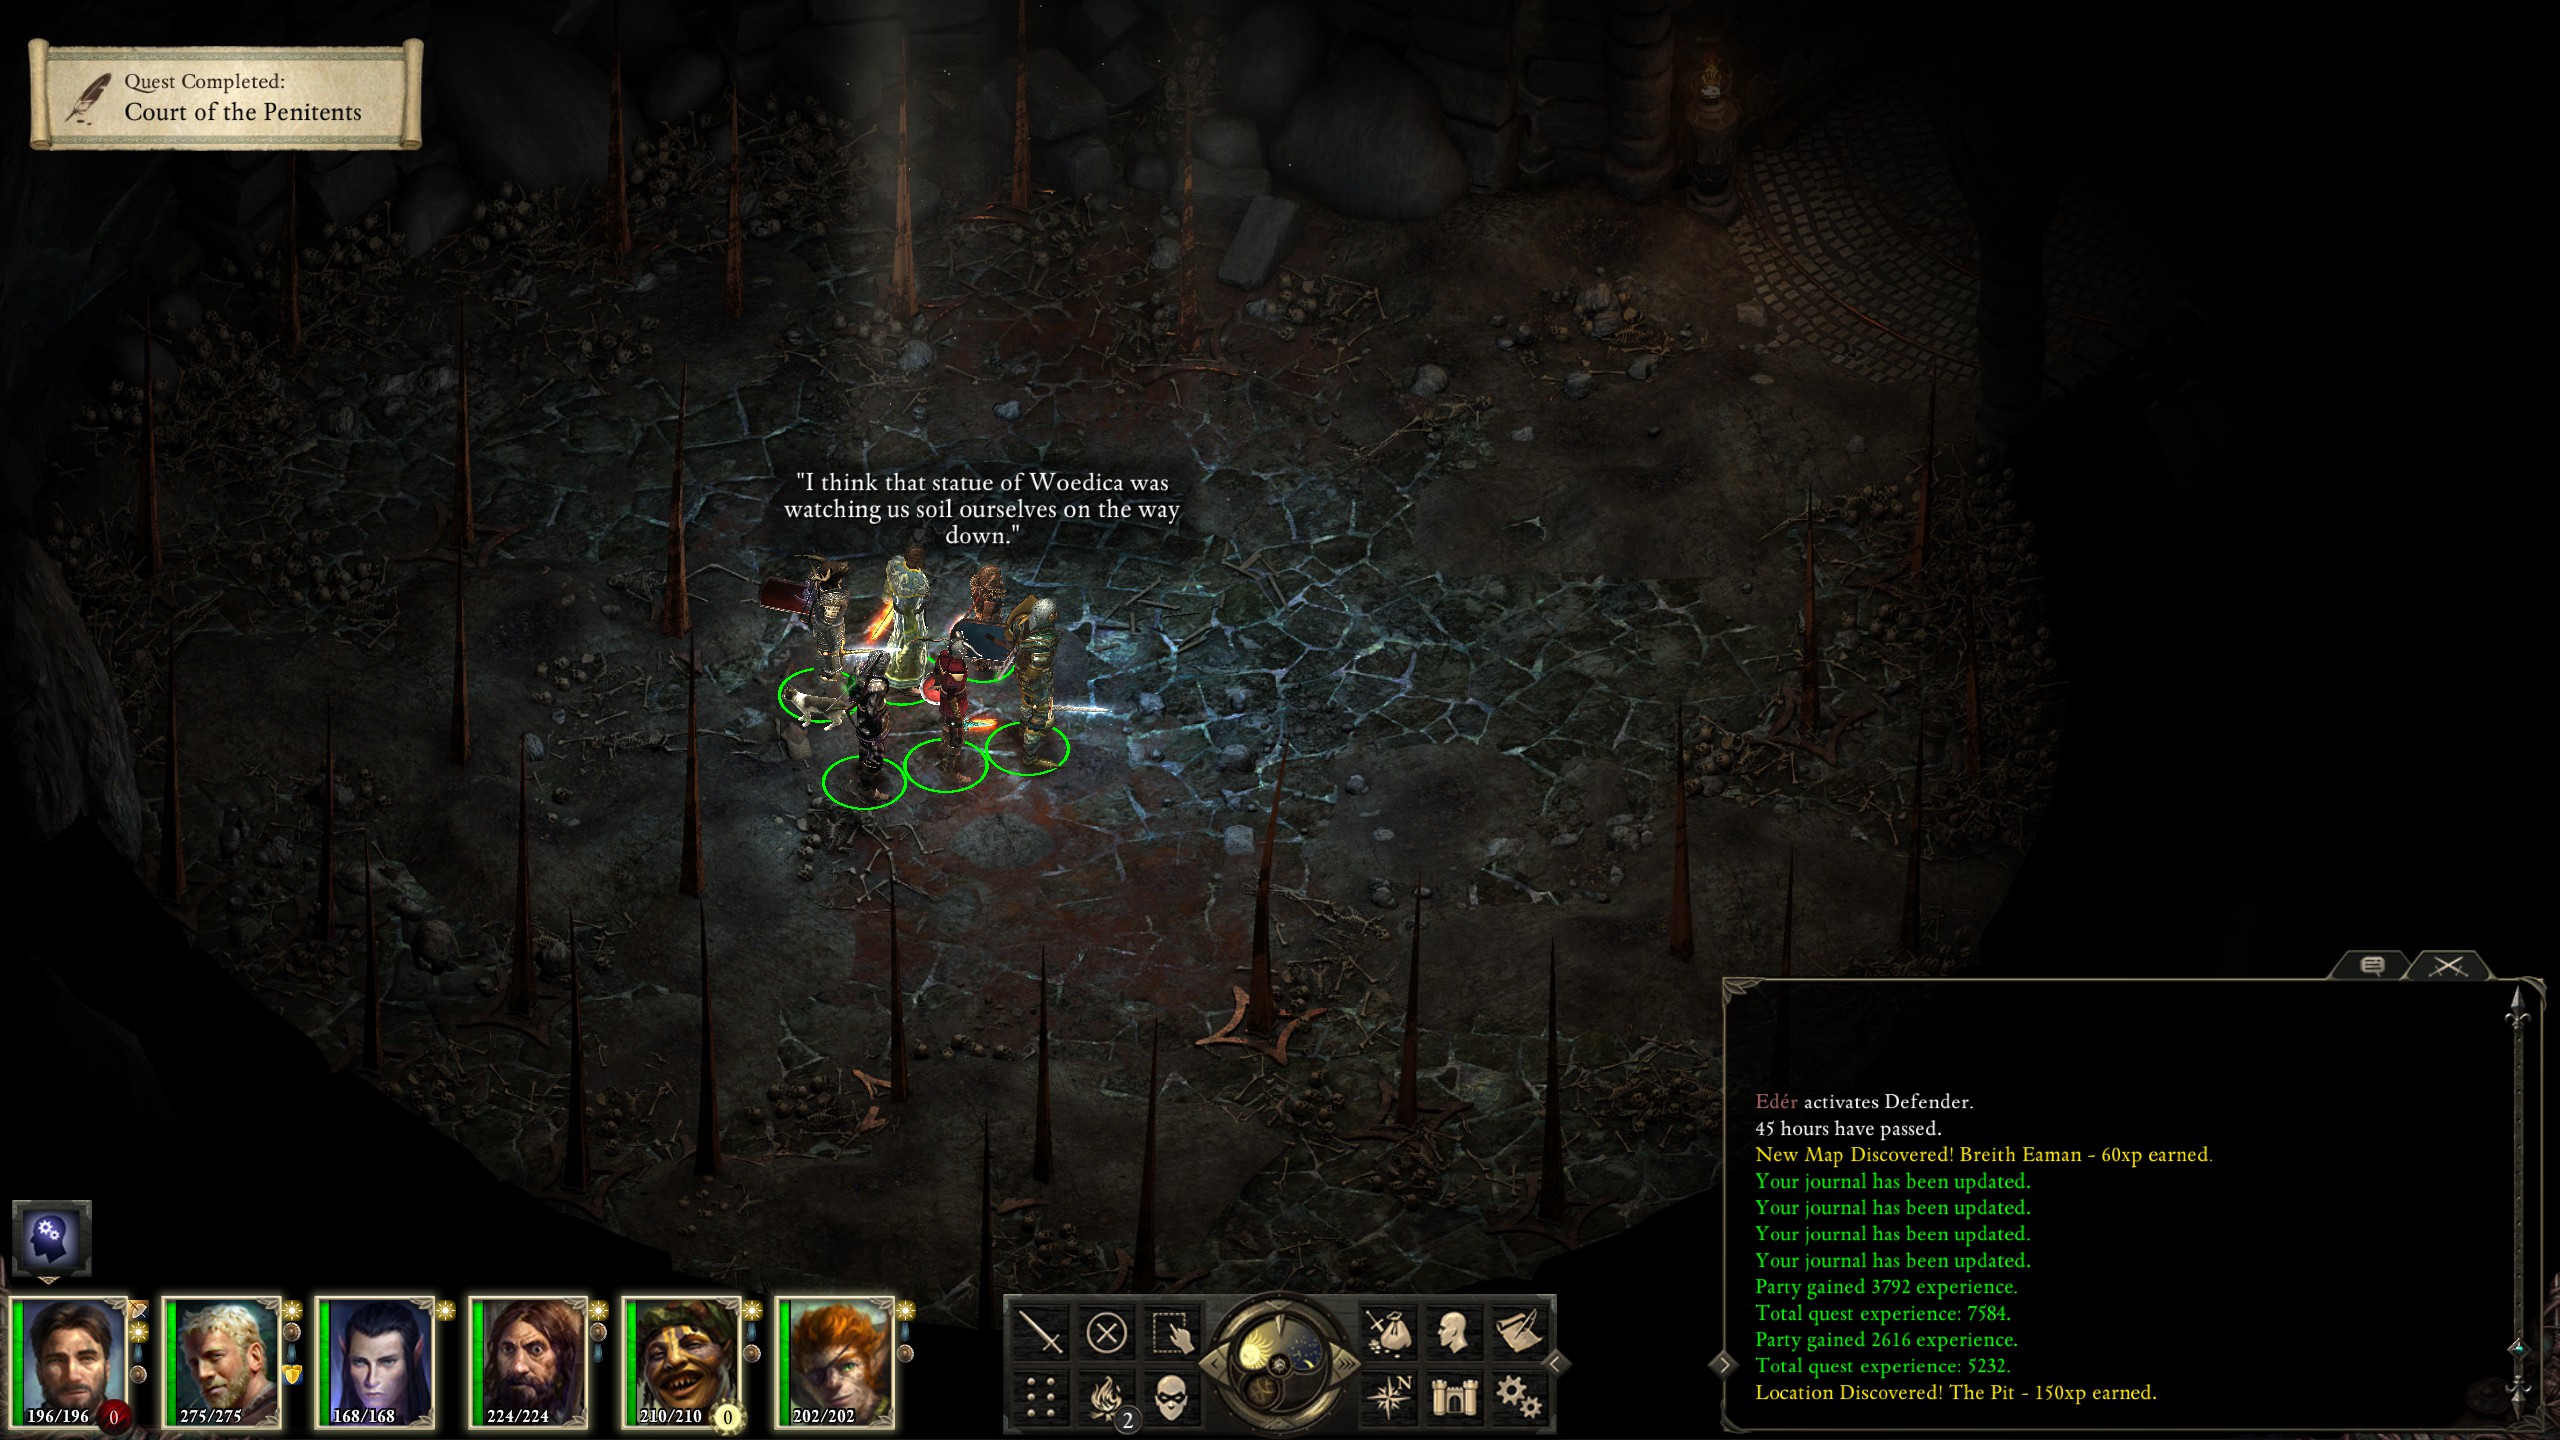
It didn't help them against the coming steamroll.
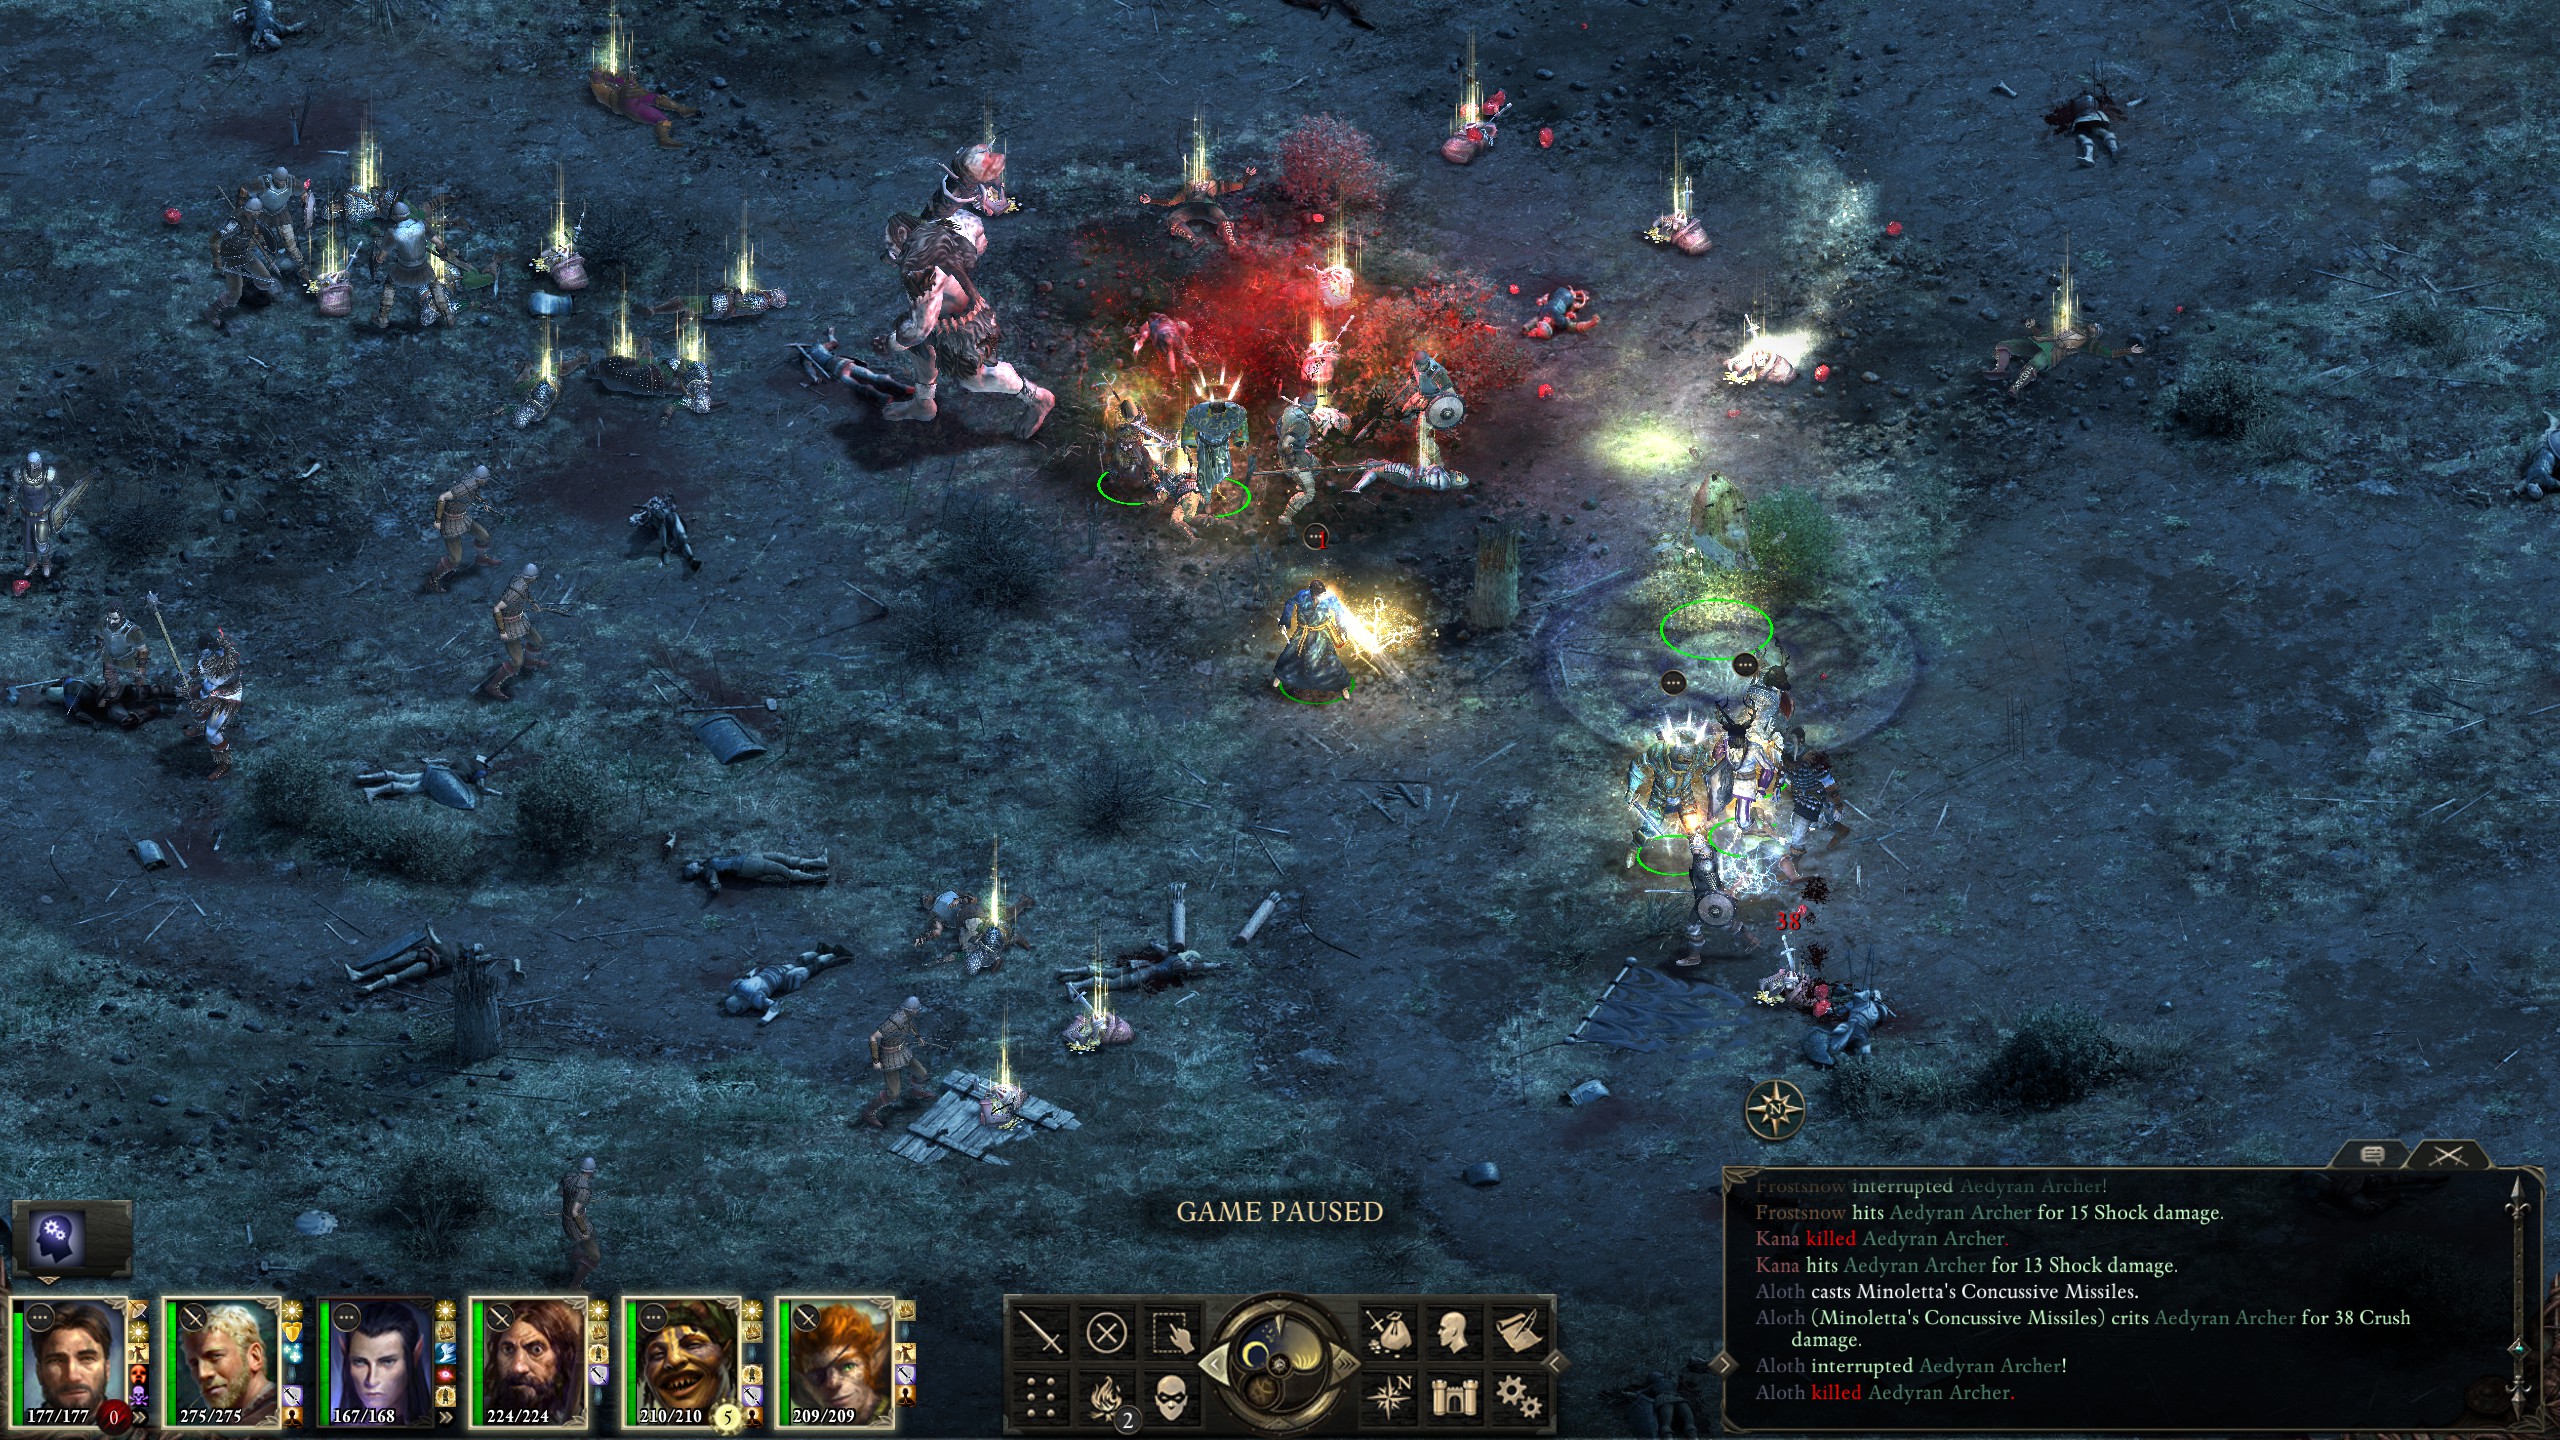
I actually didn't get any really cool combinations off as the enemies were all too far apart. Nonetheless, they were easily smashed, a nice warm-up for the next fight...
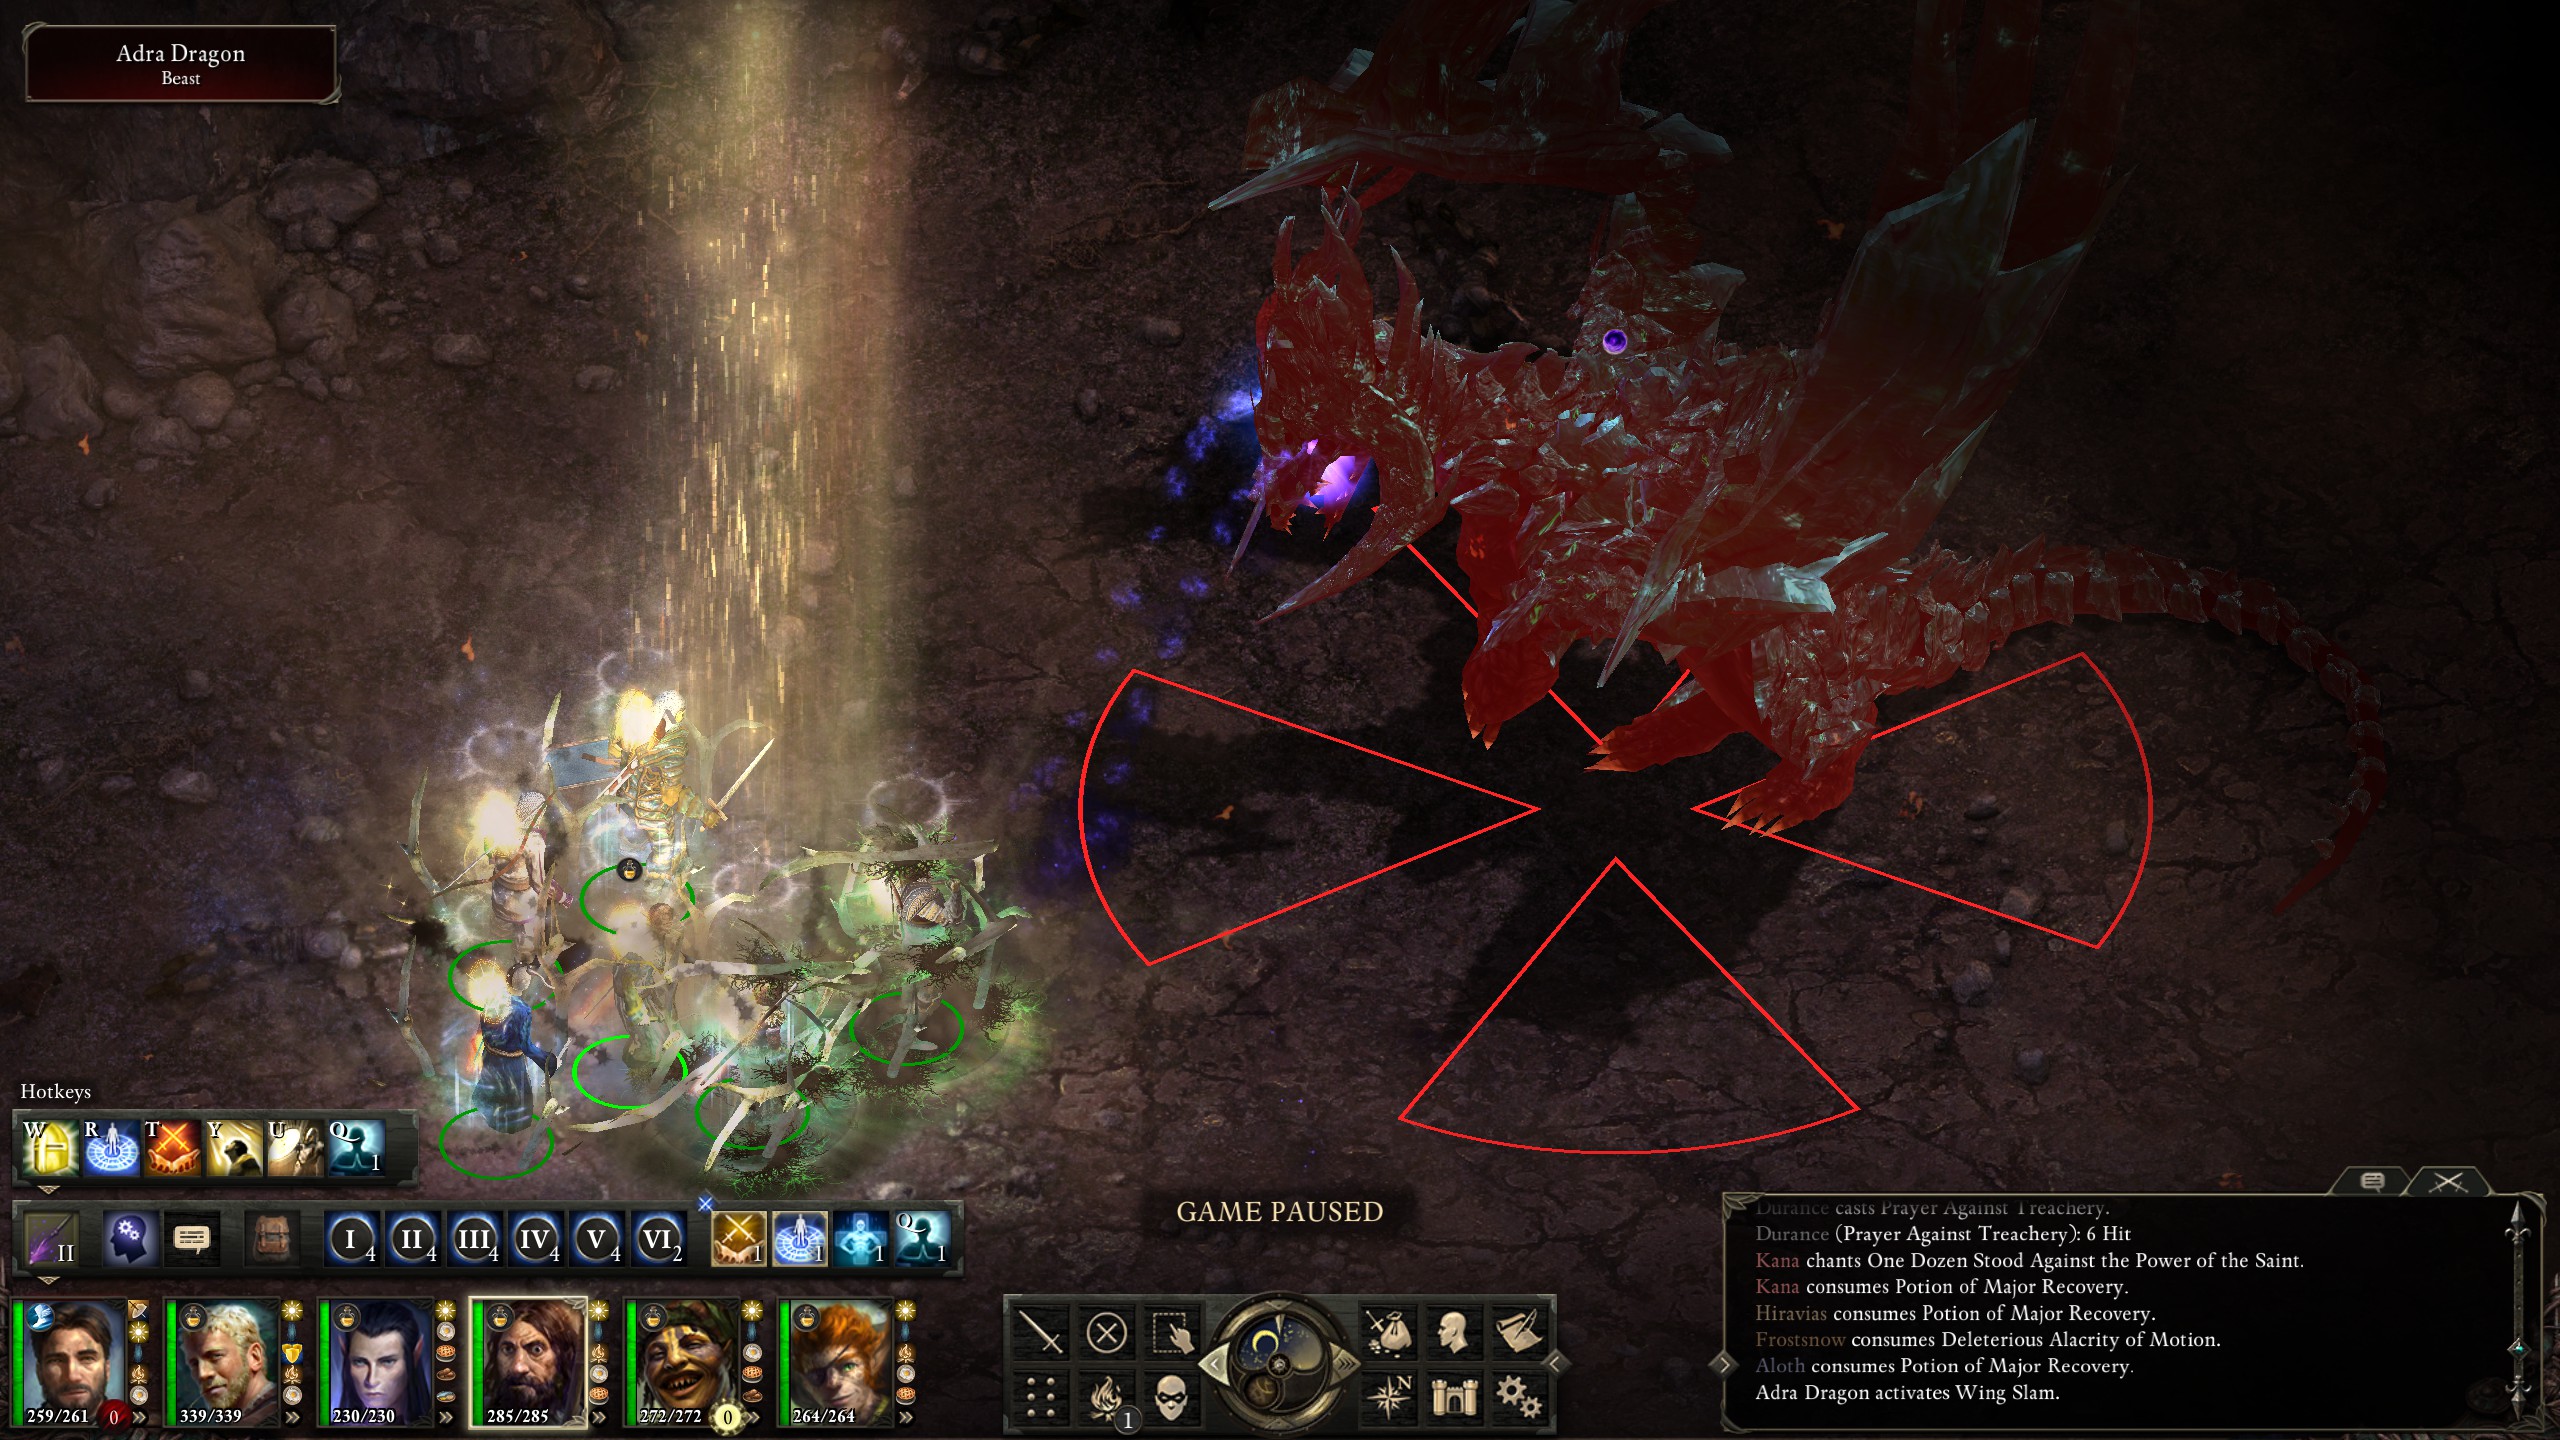
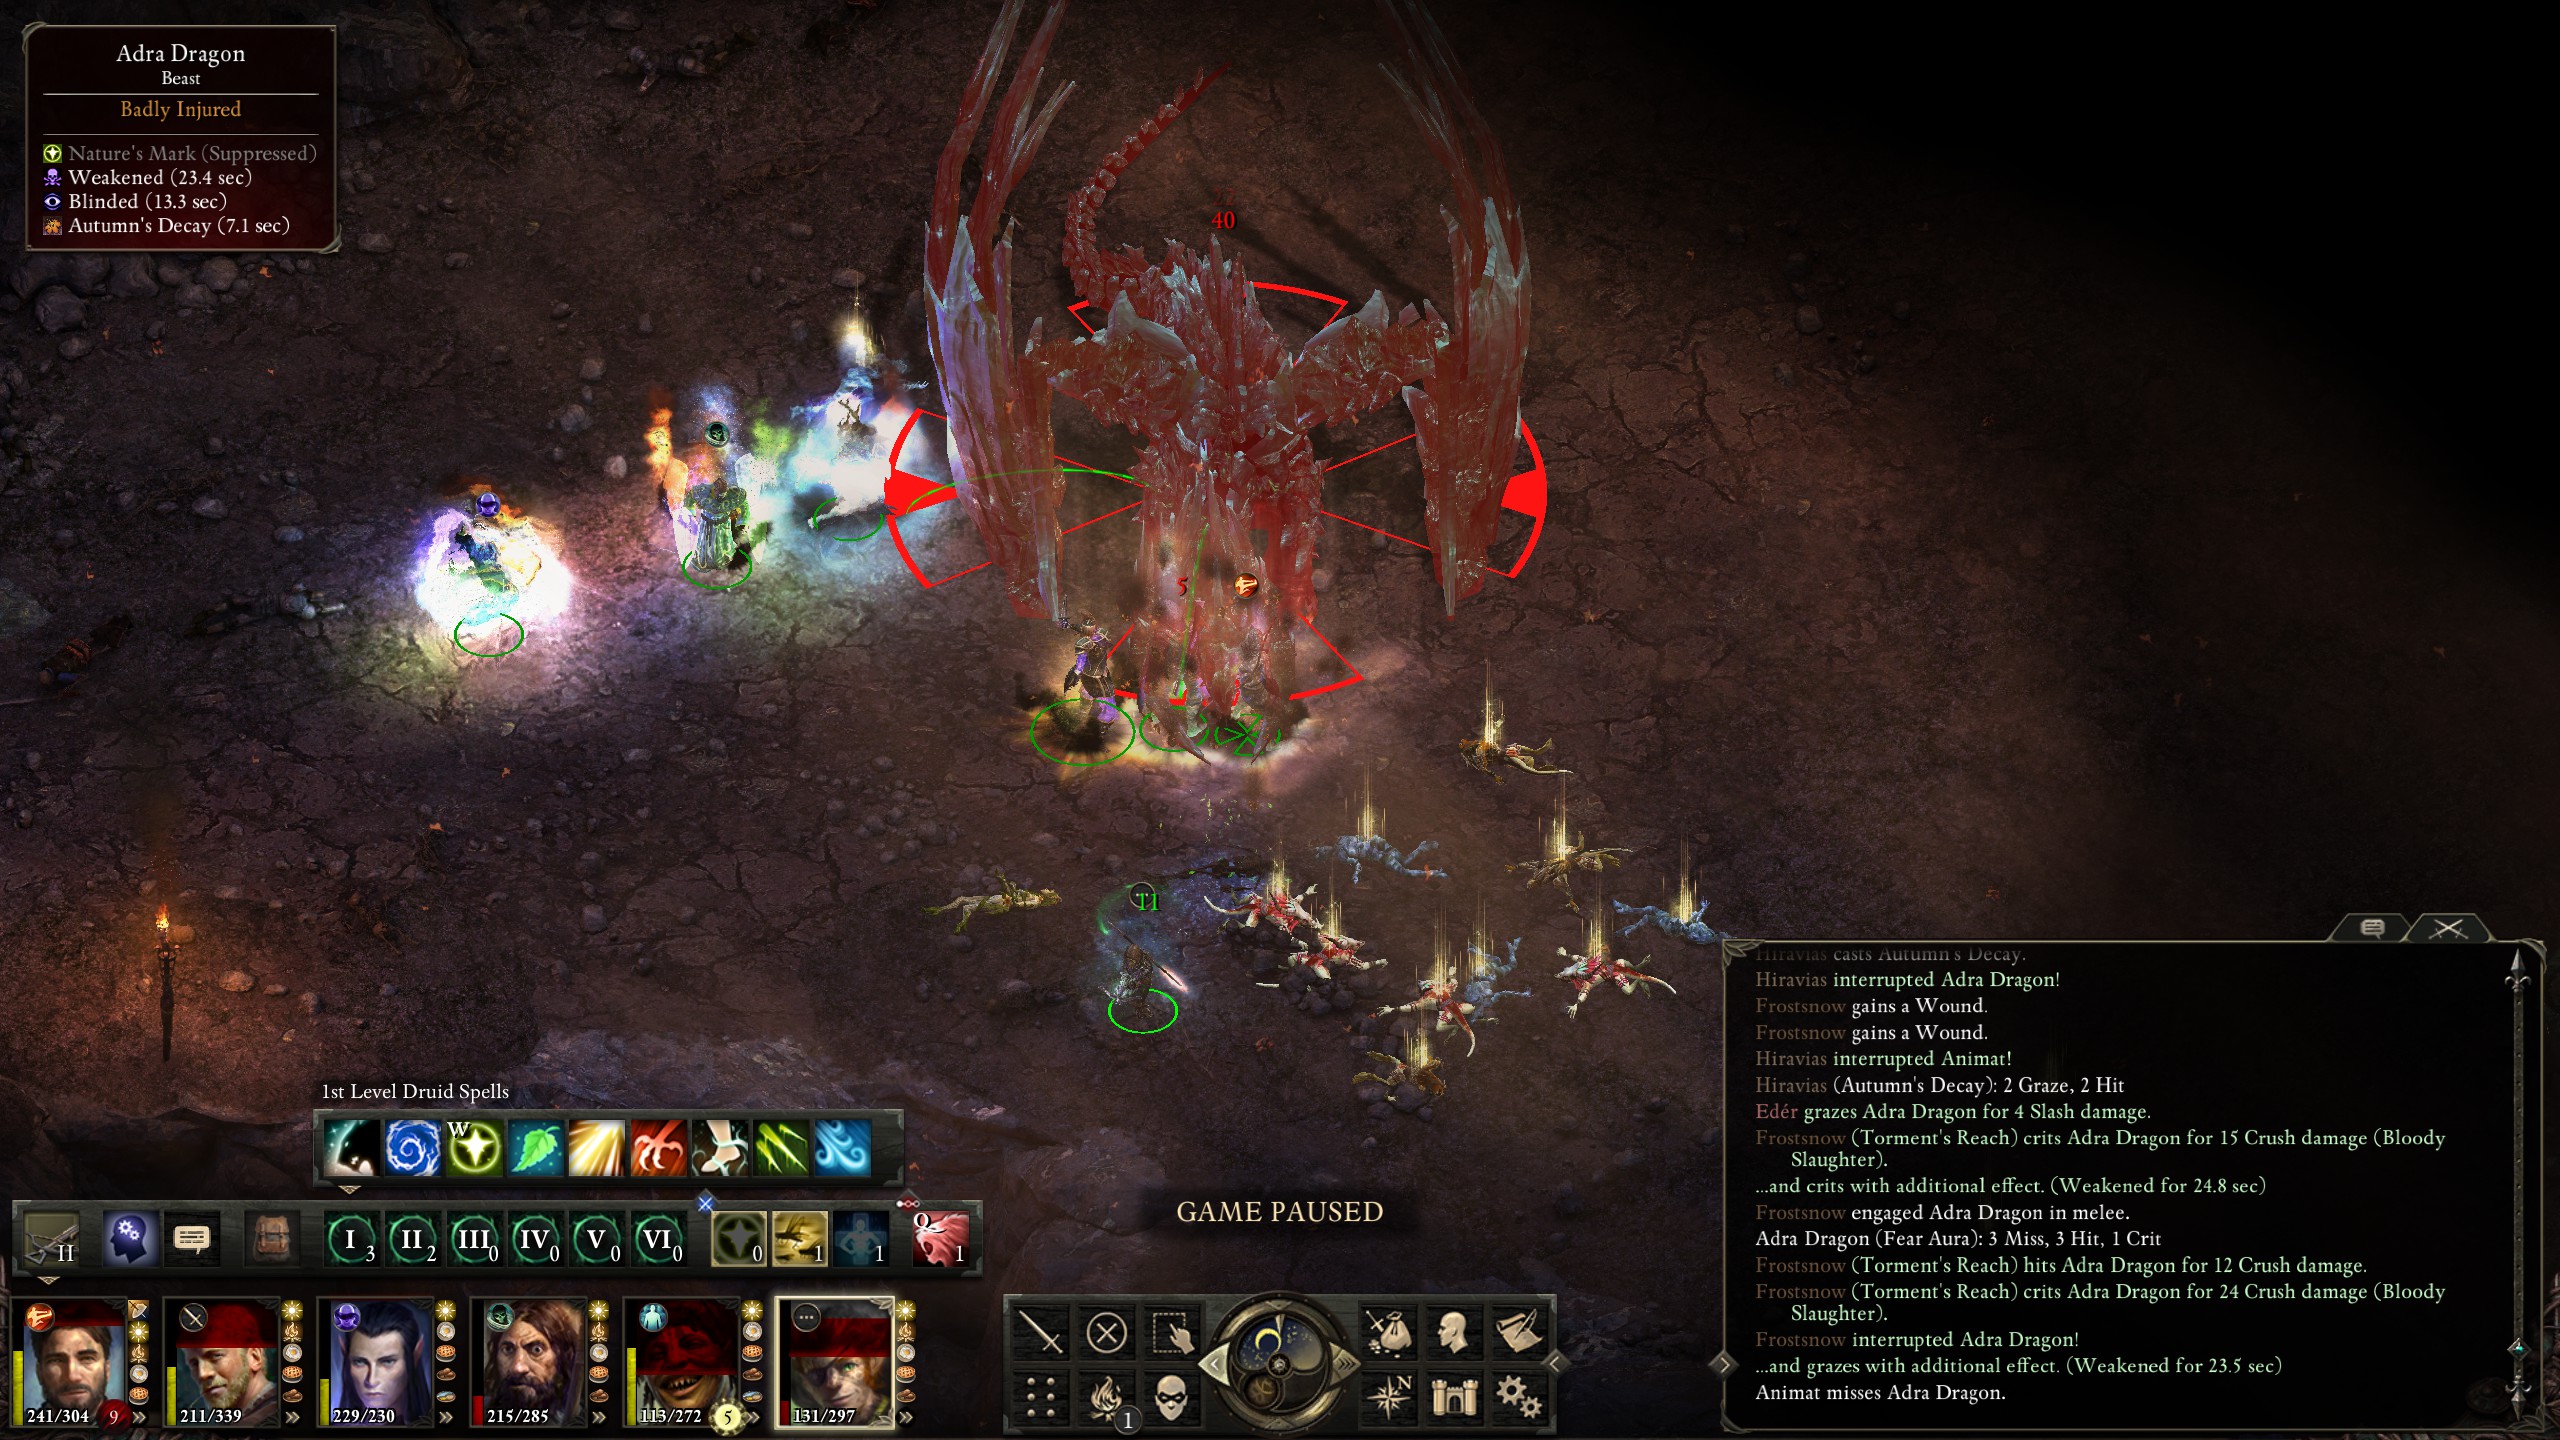
The single most challenging fight in the game: the Master Below, who, spoiler alert, is an Adra Dragon. My very first encounter on "Normal" mode with this dragon was such a disaster that I didn't play for three days, though I'd been easily crushing all my other foes. The dragon itself hits hard, and it has two special abilities which hit even harder in an area in front of it: Wing Slam and Breath; the first has the added effect of knocking characters down, and the second simply hits with tons of corrode damage. Then the adds start coming. There are adragans which have dominate and petrify abilities and a miniature horde of xaurips with their paralyzing spears. Combined with the dragon itself the fight is thus extremely difficult. Preparations were in order.
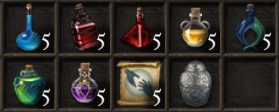
Equipping gear is an obvious enough optimization; I've always done it, and I'm not going to go into detail about it here, but this time I decided to take it a step further and see what I could do with consumables. I crafted or bought the following potions and distributed them amongst my party:

A big problem with the dragon is its Wing Slam and Breath attacks, which hit everyone in a cone in front of it. The first and most obvious way to counter this is to go behind it in order to get both flanking bonuses and avoid its breath attacks; this, in fact, does not work, because it has a tail attack that does even more damage, enough to knock out my main tank with one blow. Ouch. Astute players may note that, since turning is instant in this game, then why doesn't the dragon just turn around and one-shot the tank rather than attack it directly; well, probably because the developers wanted a challenging but fair fight so they don't have the dragon do that, though it is a bit weird from an immersion perspective. Nonetheless, directly flanking does not work. The next thing one might try is having the ranged characters run away from the dragon when it begins to do such an attack and let the melee characters simply get hit. The problem here is that I've not found an easy way to do this as the attacks are sudden enough and have enough of a range that running away is often futile.
Flanking was out, and so was backing away, but, after much thought, I finally thought up another trick: two squads 90 degrees apart, with at least one member in each squad having a revive and heals:
![\fbox{ % I don't like this but haven't fixed latex2html's cropping bug yet.
\beg...
...r=green, arrows={-Stealth[length=11]}] (0, 3.5) -- (0, 2.5);
\end{tikzpicture}}](img11.svg)
This meant that if one squad got hit with a Breath attack and Wing Slam that the remaining squad could then revive the fallen squad; if the Wing Slam and Breath hit different squads then they should both be able to heal themselves back up to full, and no one would be in a position to get hit by the dragon's deadly tail. I still needed to deal with the adds, however, so I decided to put Hiravas and my main on the South side and Aloth and Durance on the West side, since Hiravas' Relentless Storm would control the xaurips and Aloth would need to snipe any adragans that came around from the Northwest. Kana would then tank the South side while Eder tanked the West side. Strategy in hand, it was time to finally begin the fight.
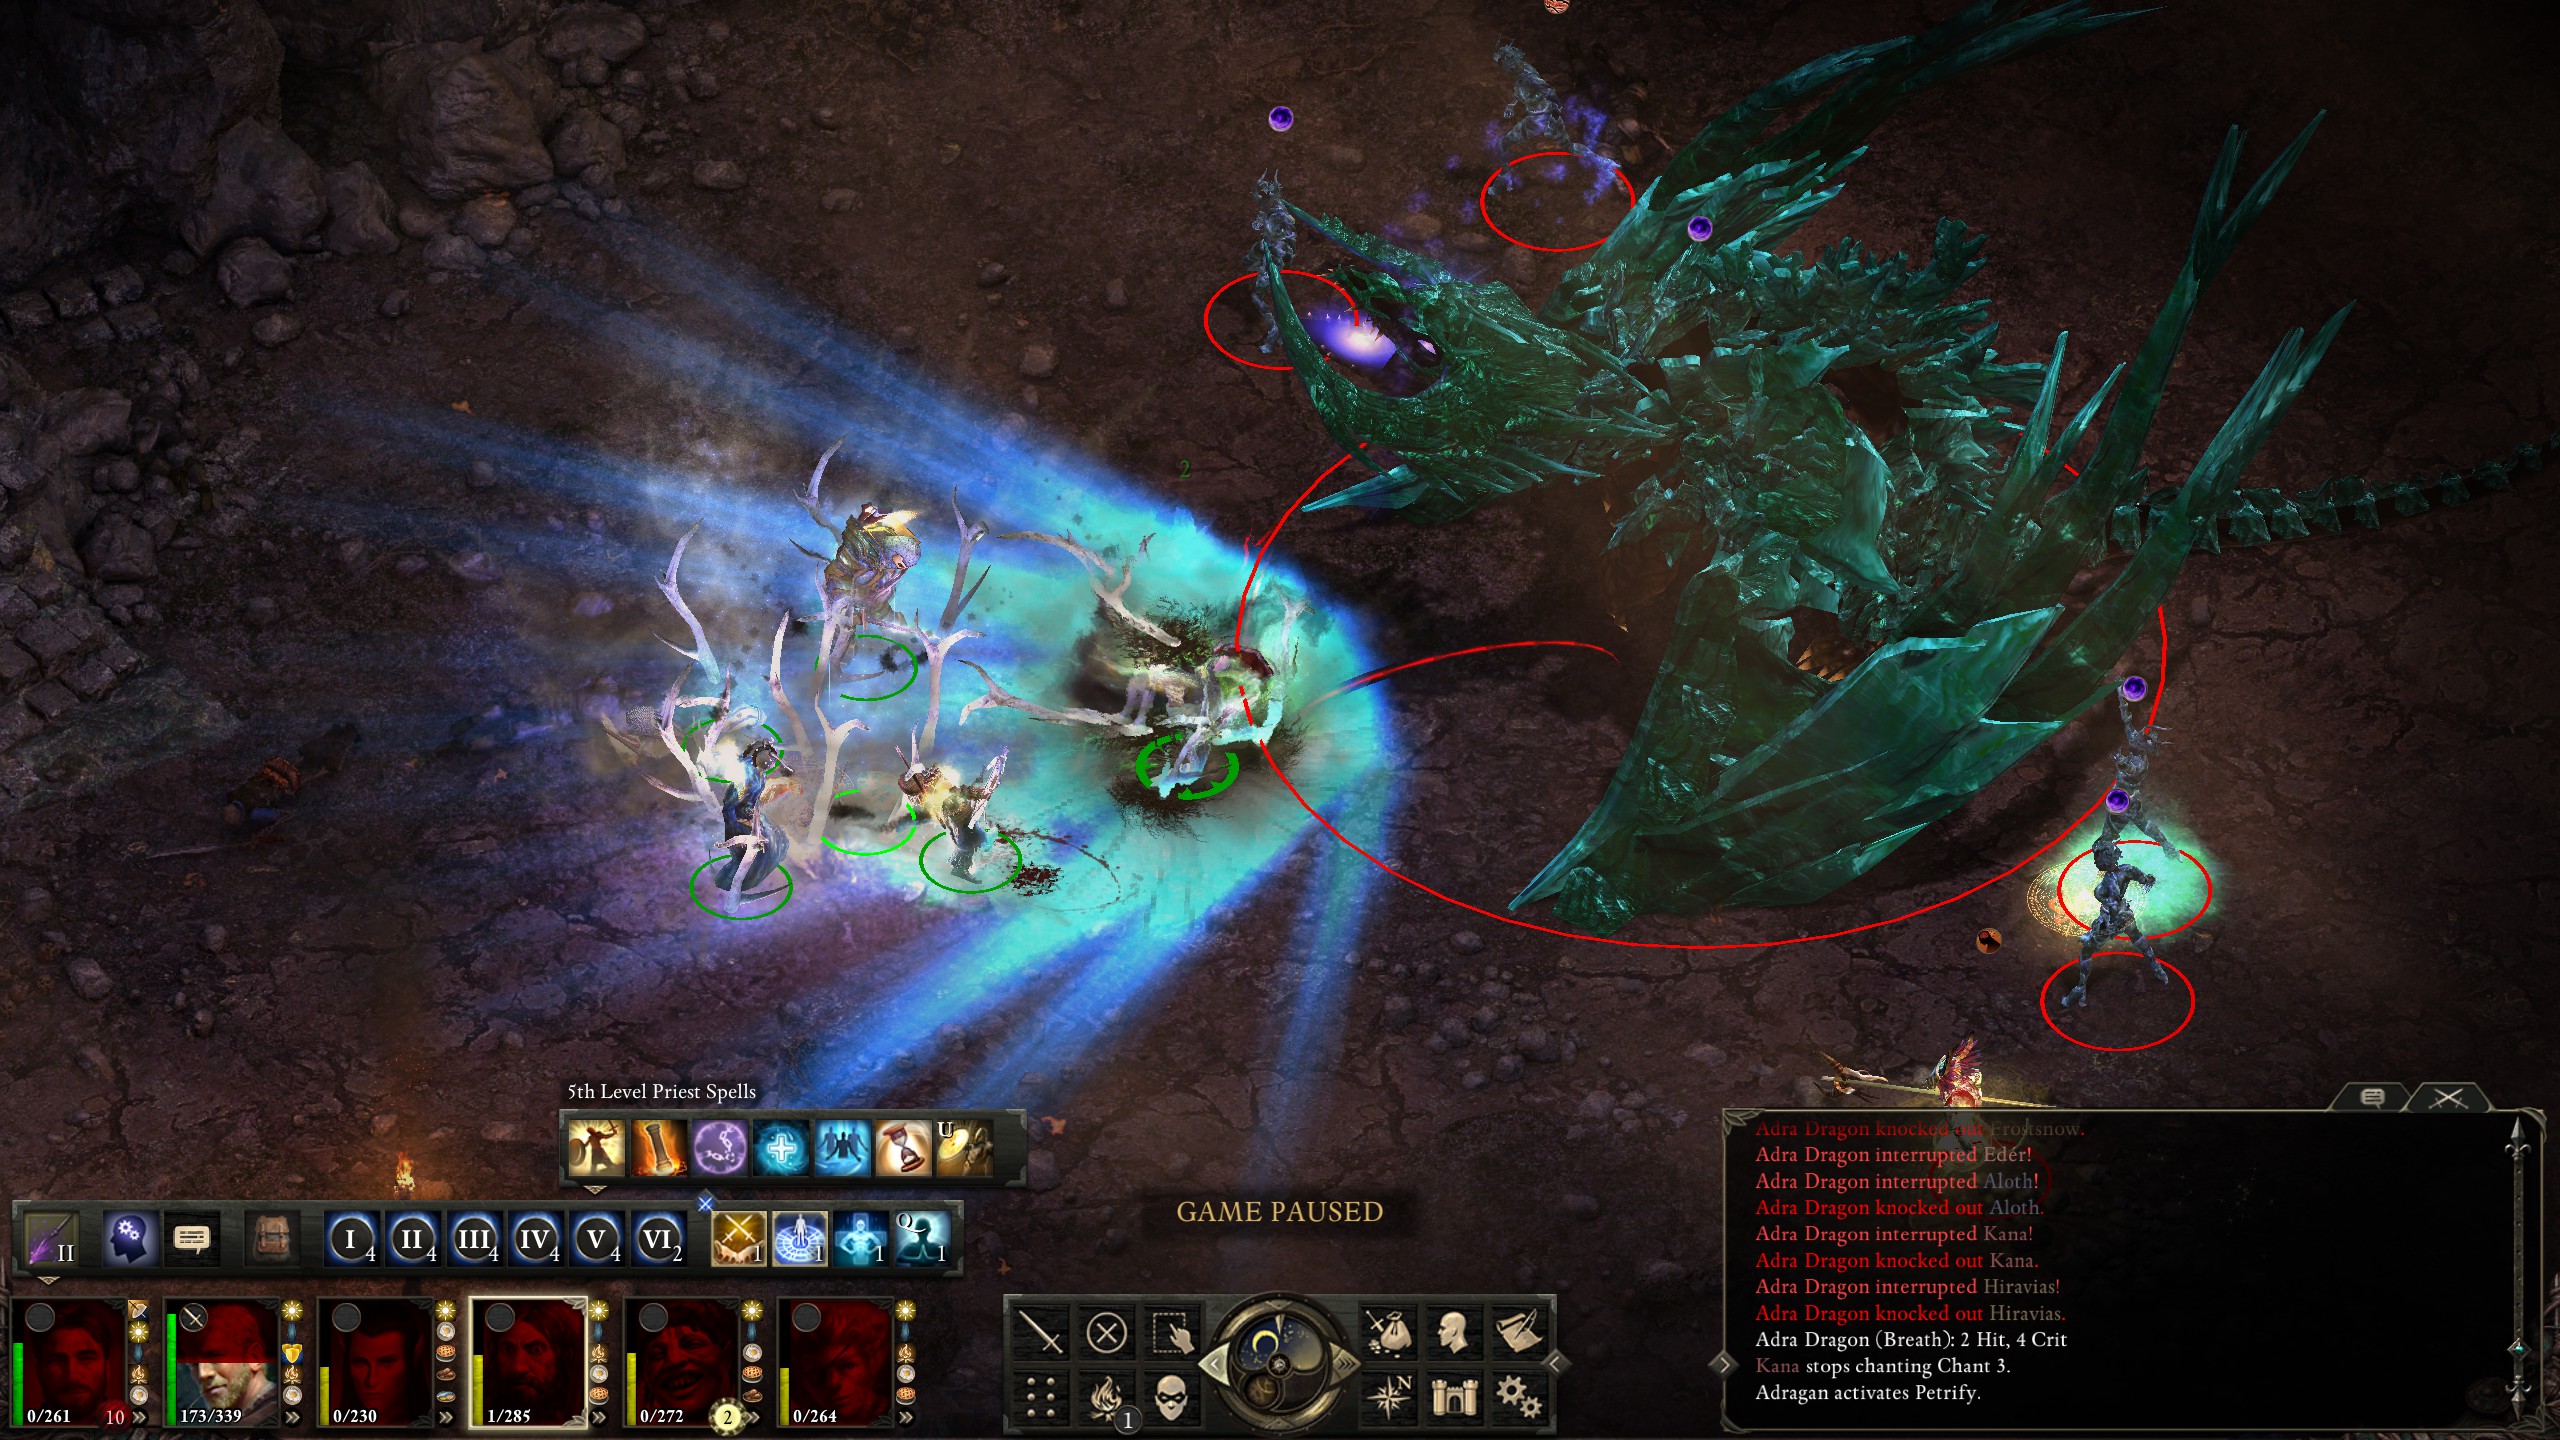
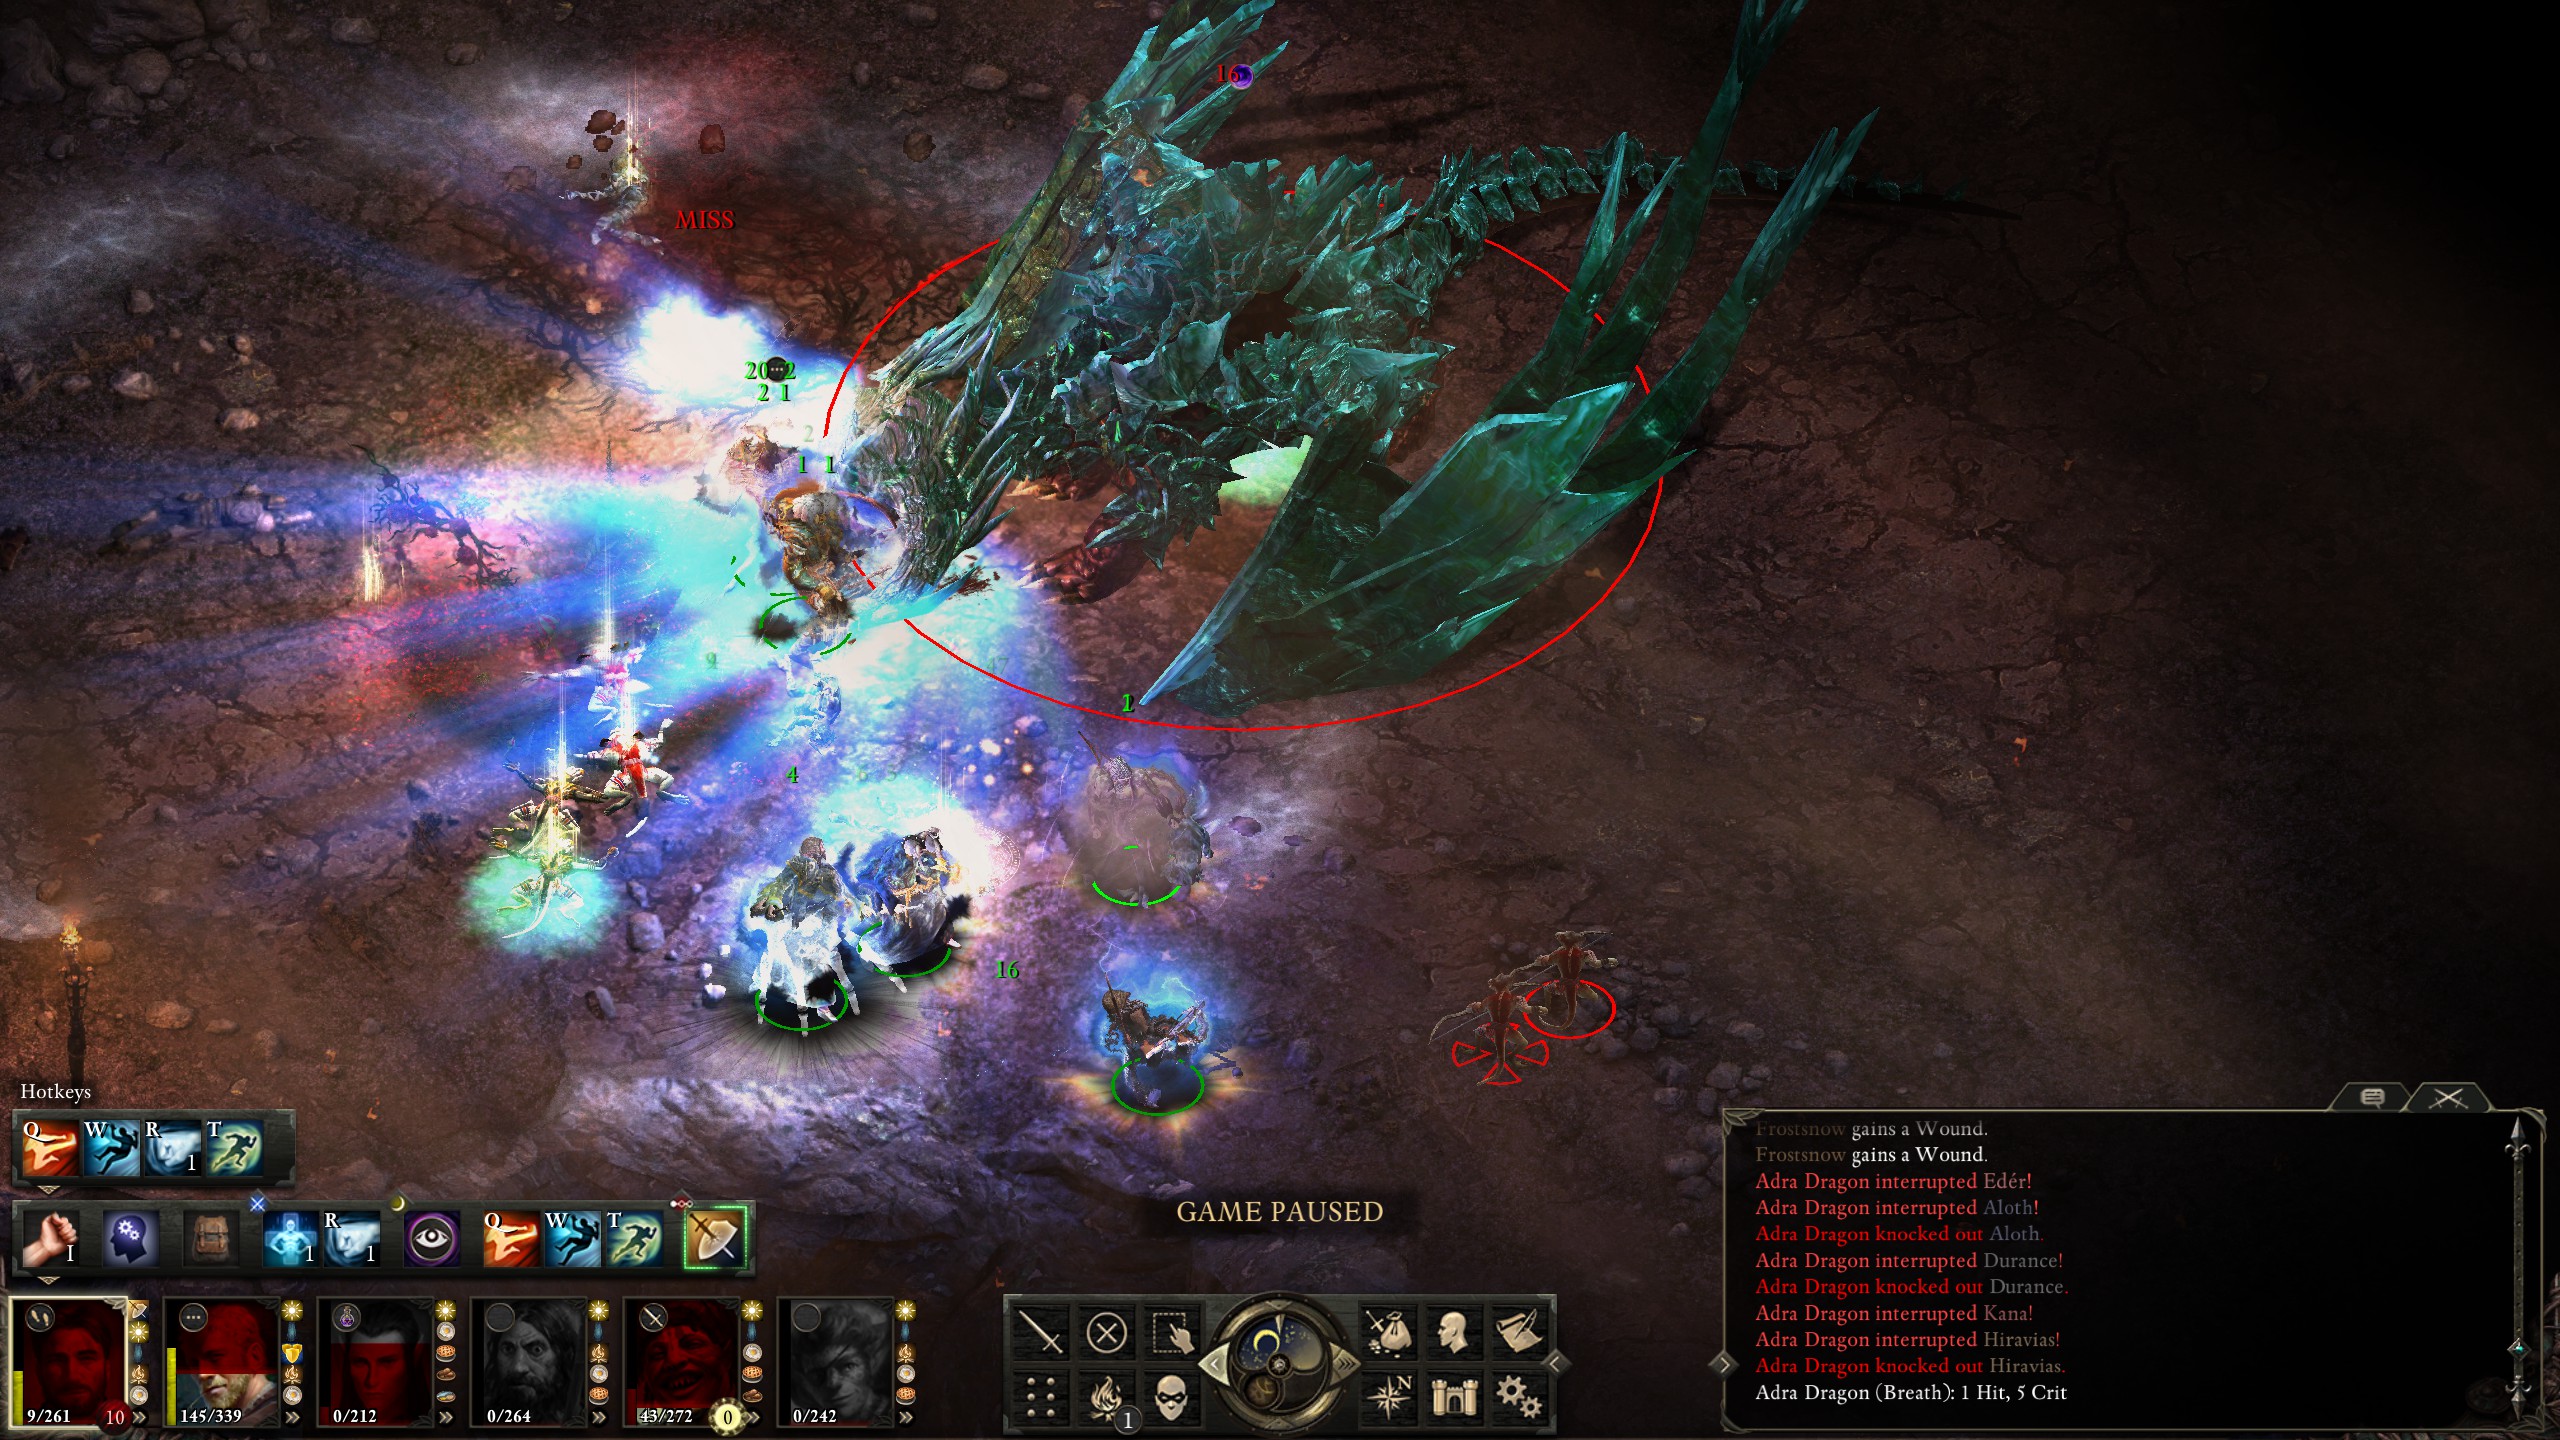
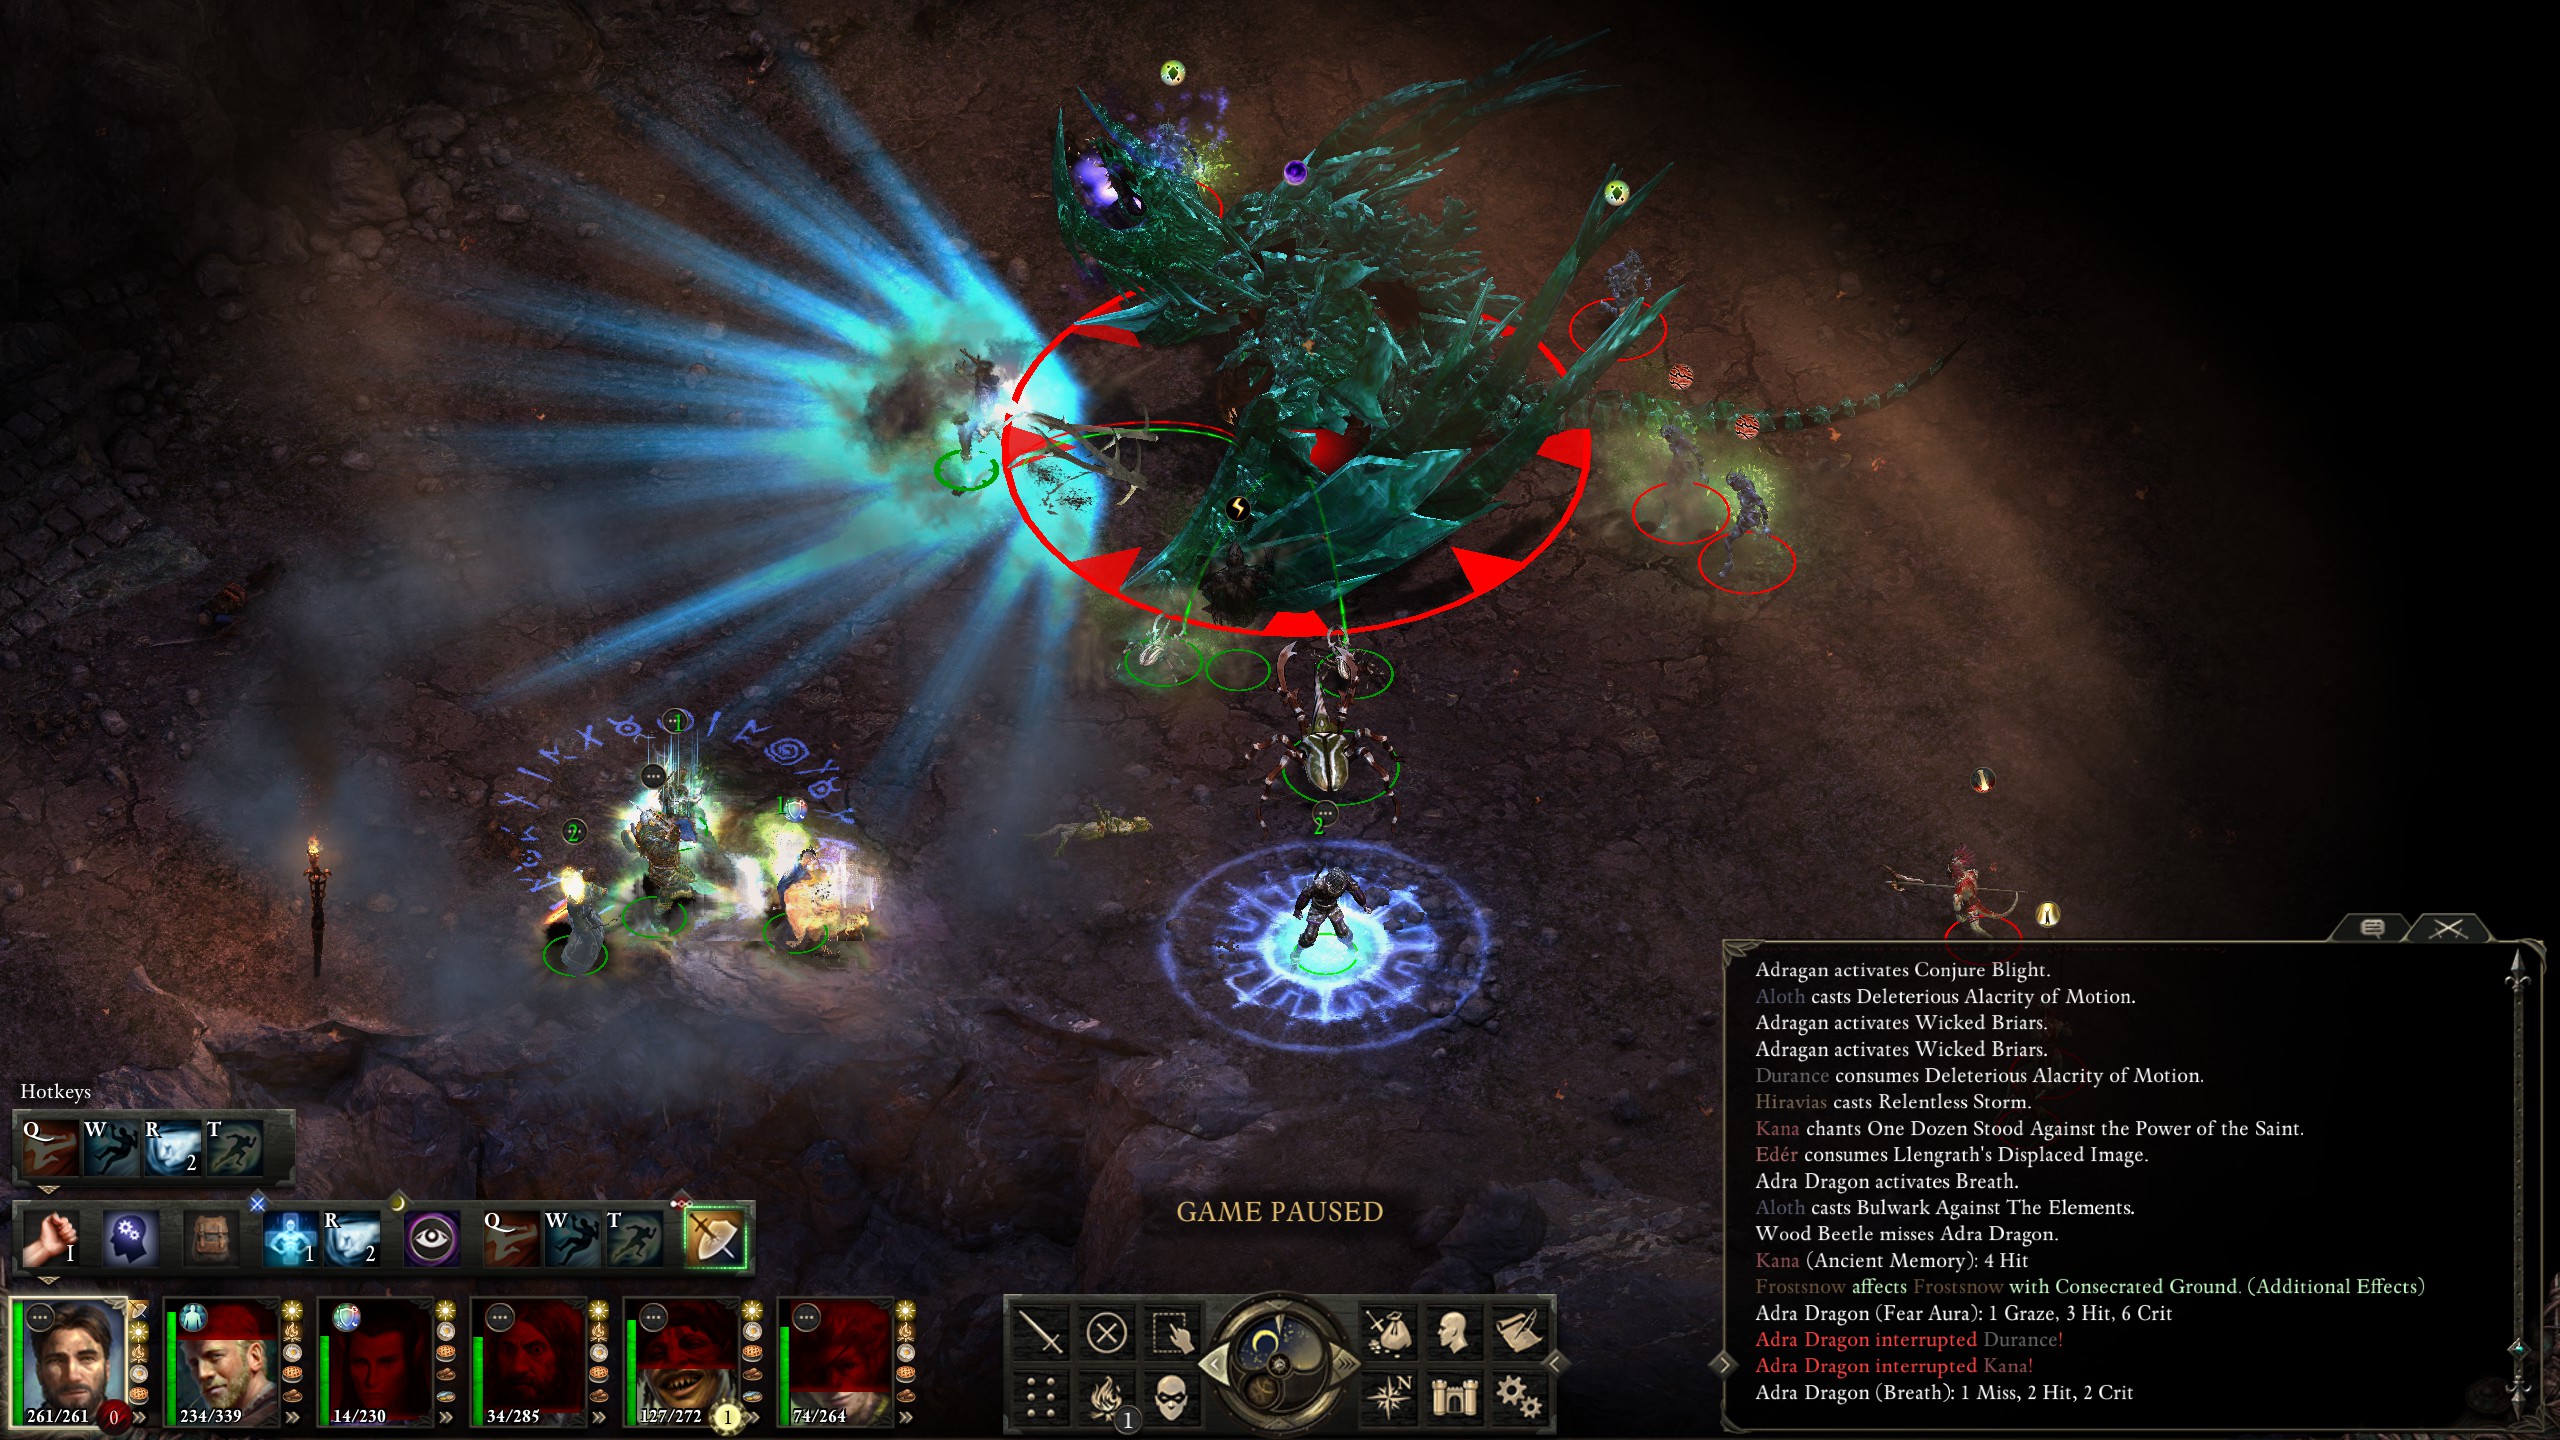
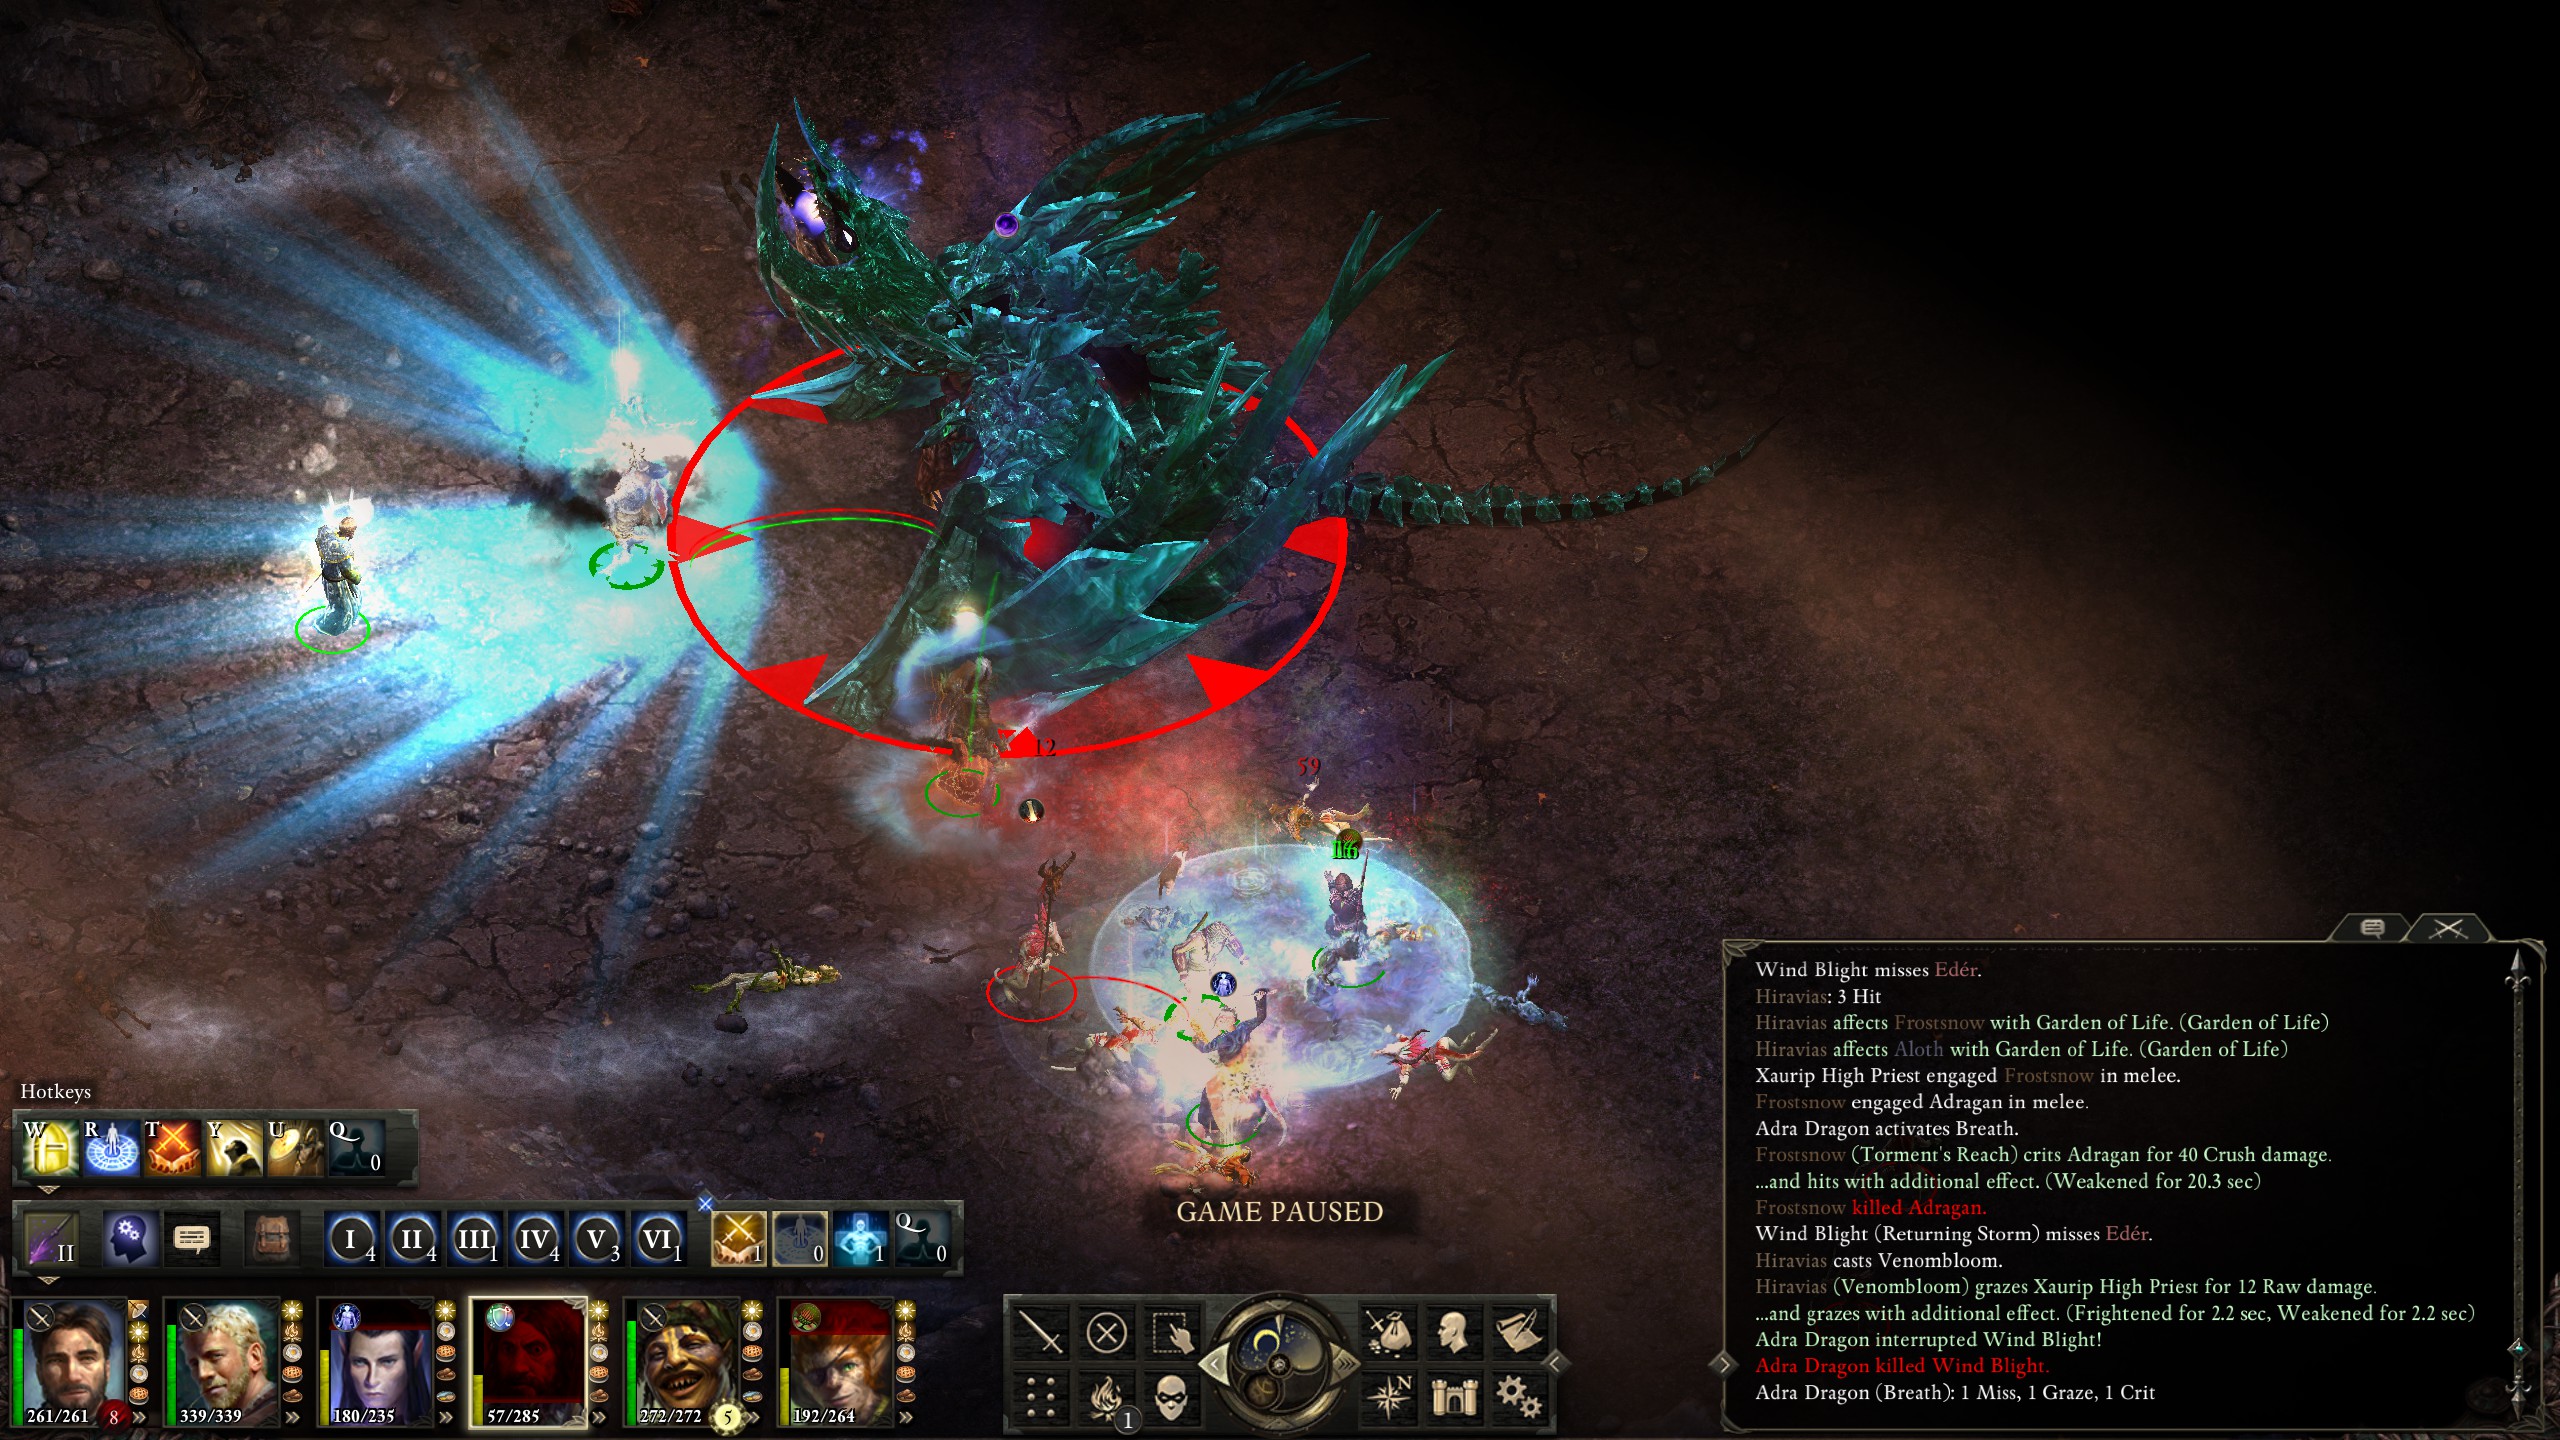
There's actually one more trick to the battle, and that's getting into position, something that I hadn't considered as thoroughly. This is complicated by the fact that the adragans have a dominate affliction, which, if it hit either of my tanks, could cause chaos with my positioning. I decided that the best way forward would be to start in a group and have Durance cast "Prayer Against Treachery" while the rest of the team drank "Potions of Major Recovery" in case they got hit with prone, then have them move into position. The dragon decided to use its Wing Slam.
The strategy was a disaster; my party was not able drink the potion before the Wing Slam hit, knocking most of them prone. Before they could get up, the dragon belched out a breath attack.
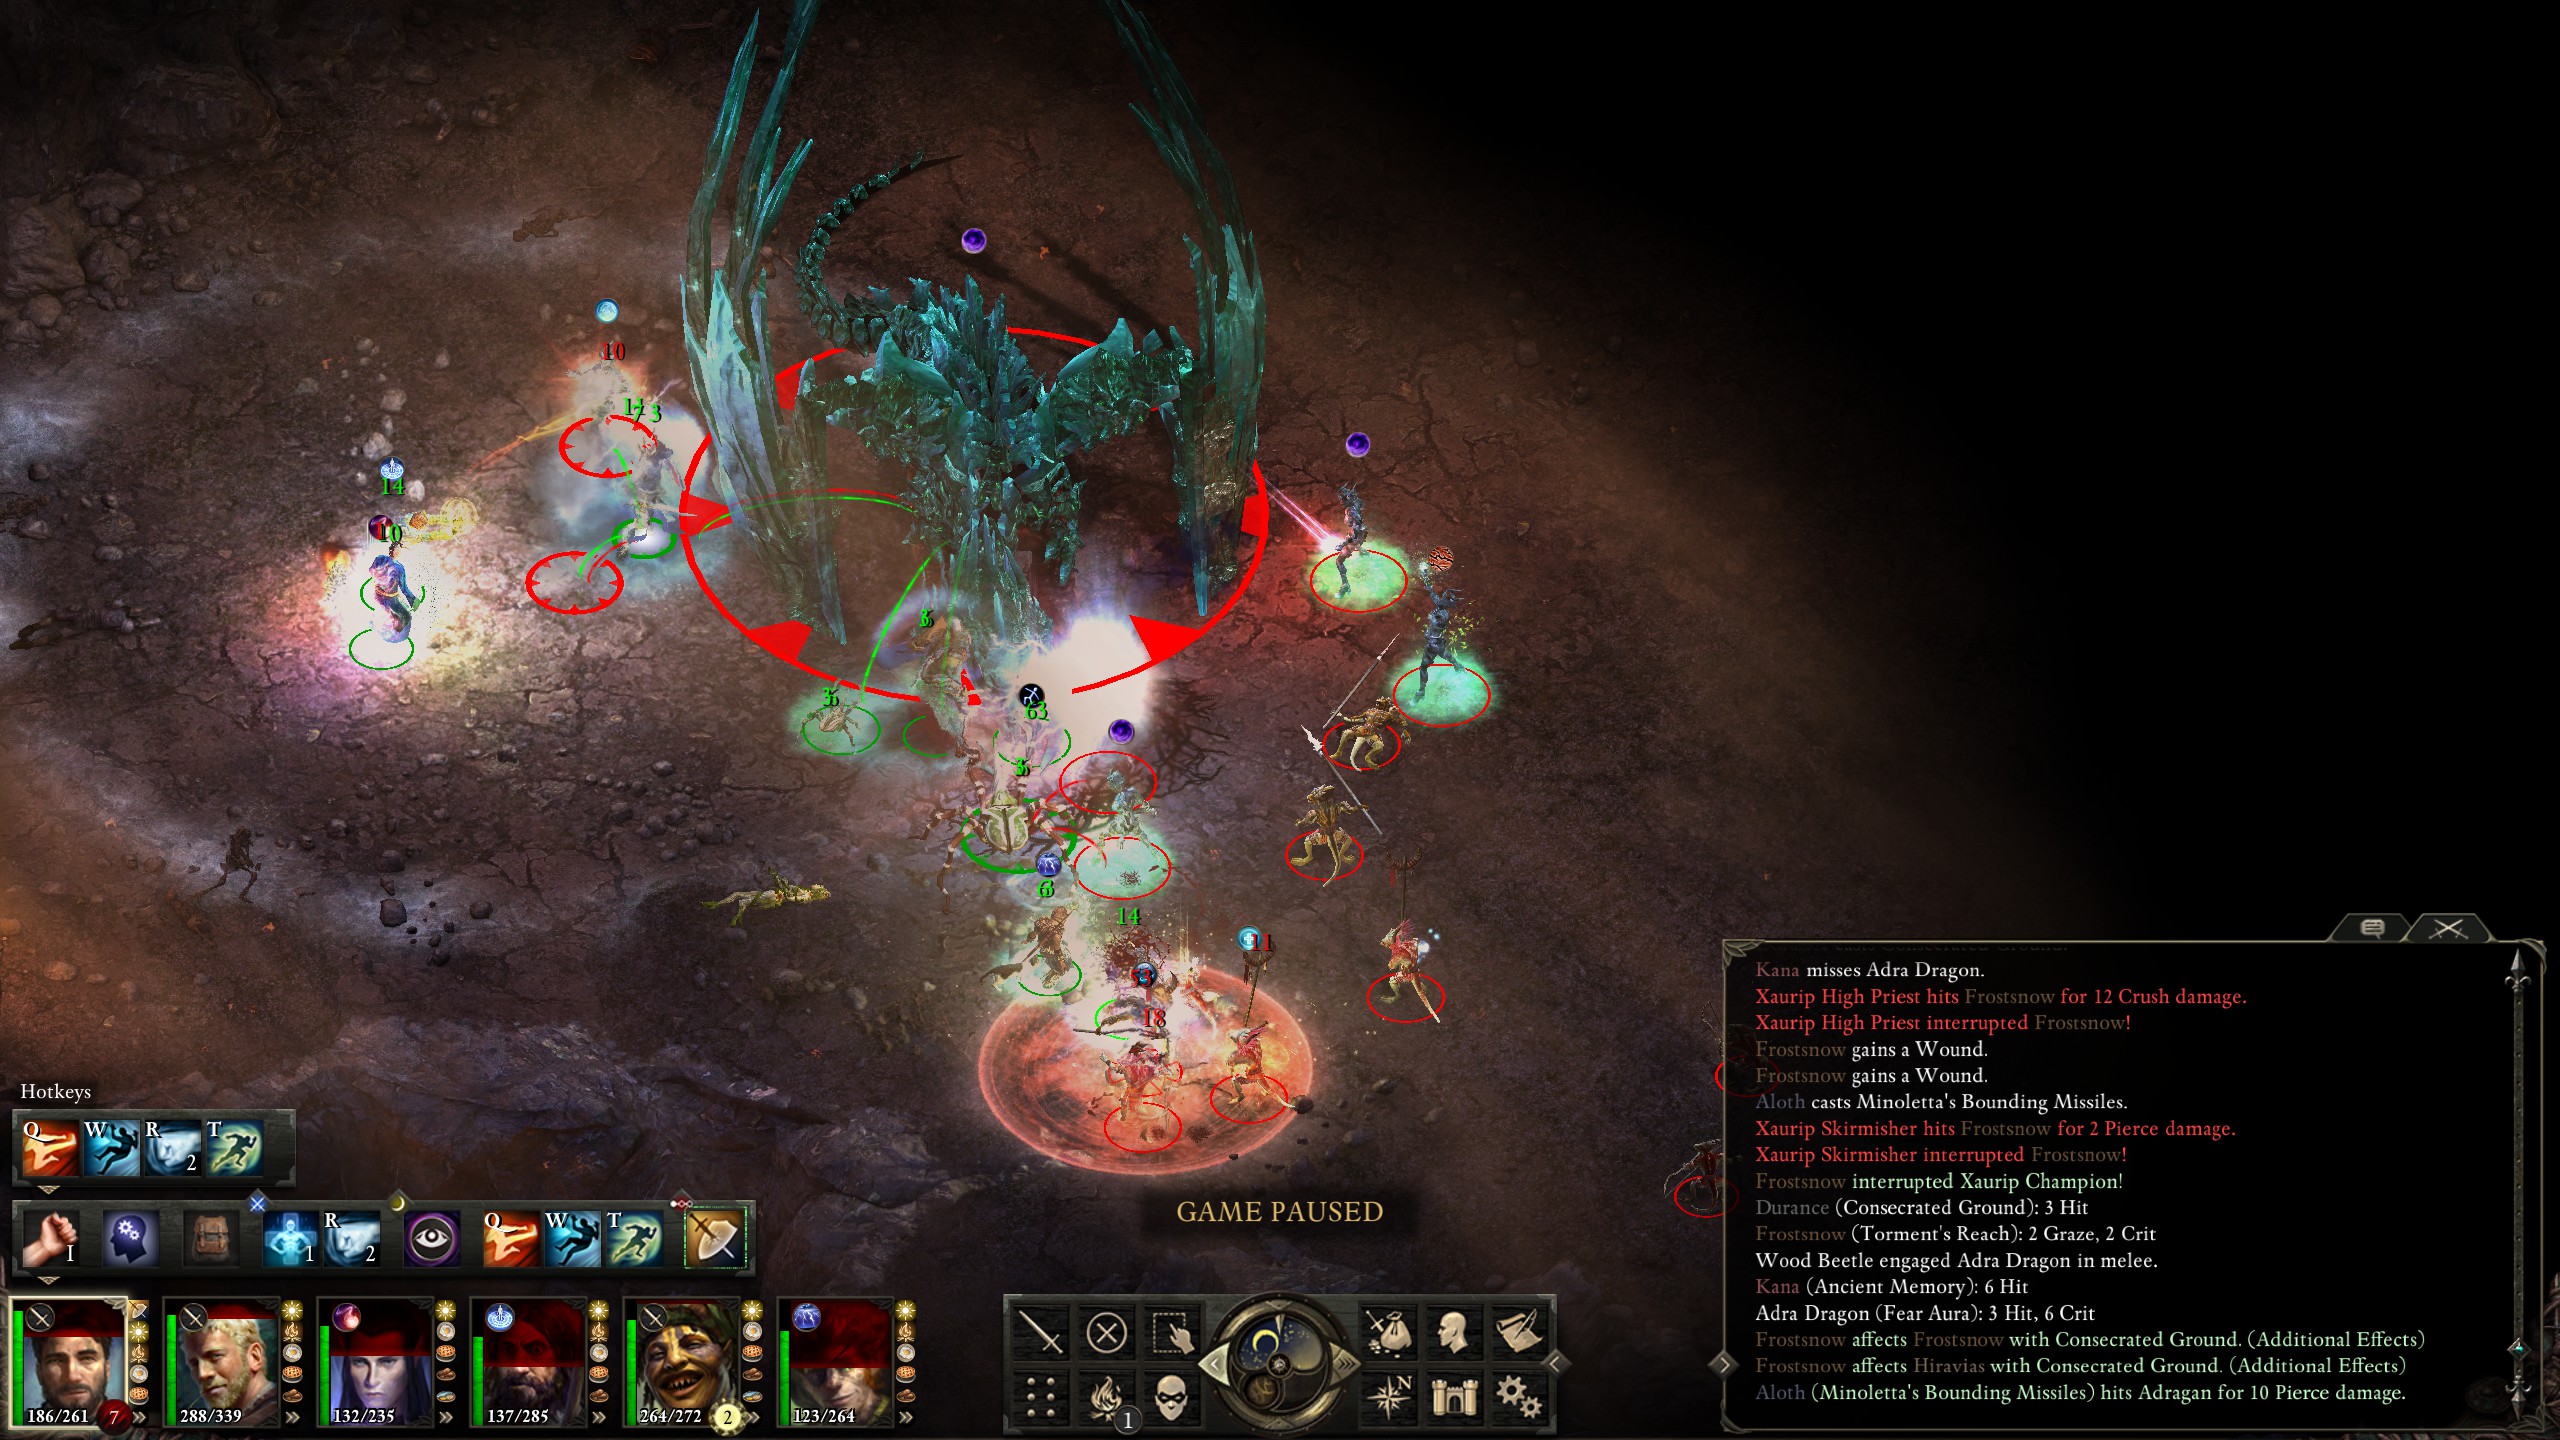
Ouch. Fortunately for me Durance, Hiravas and Kana had items that granted "Second Chance", so I quickly began healing up from what little health I had revived with.
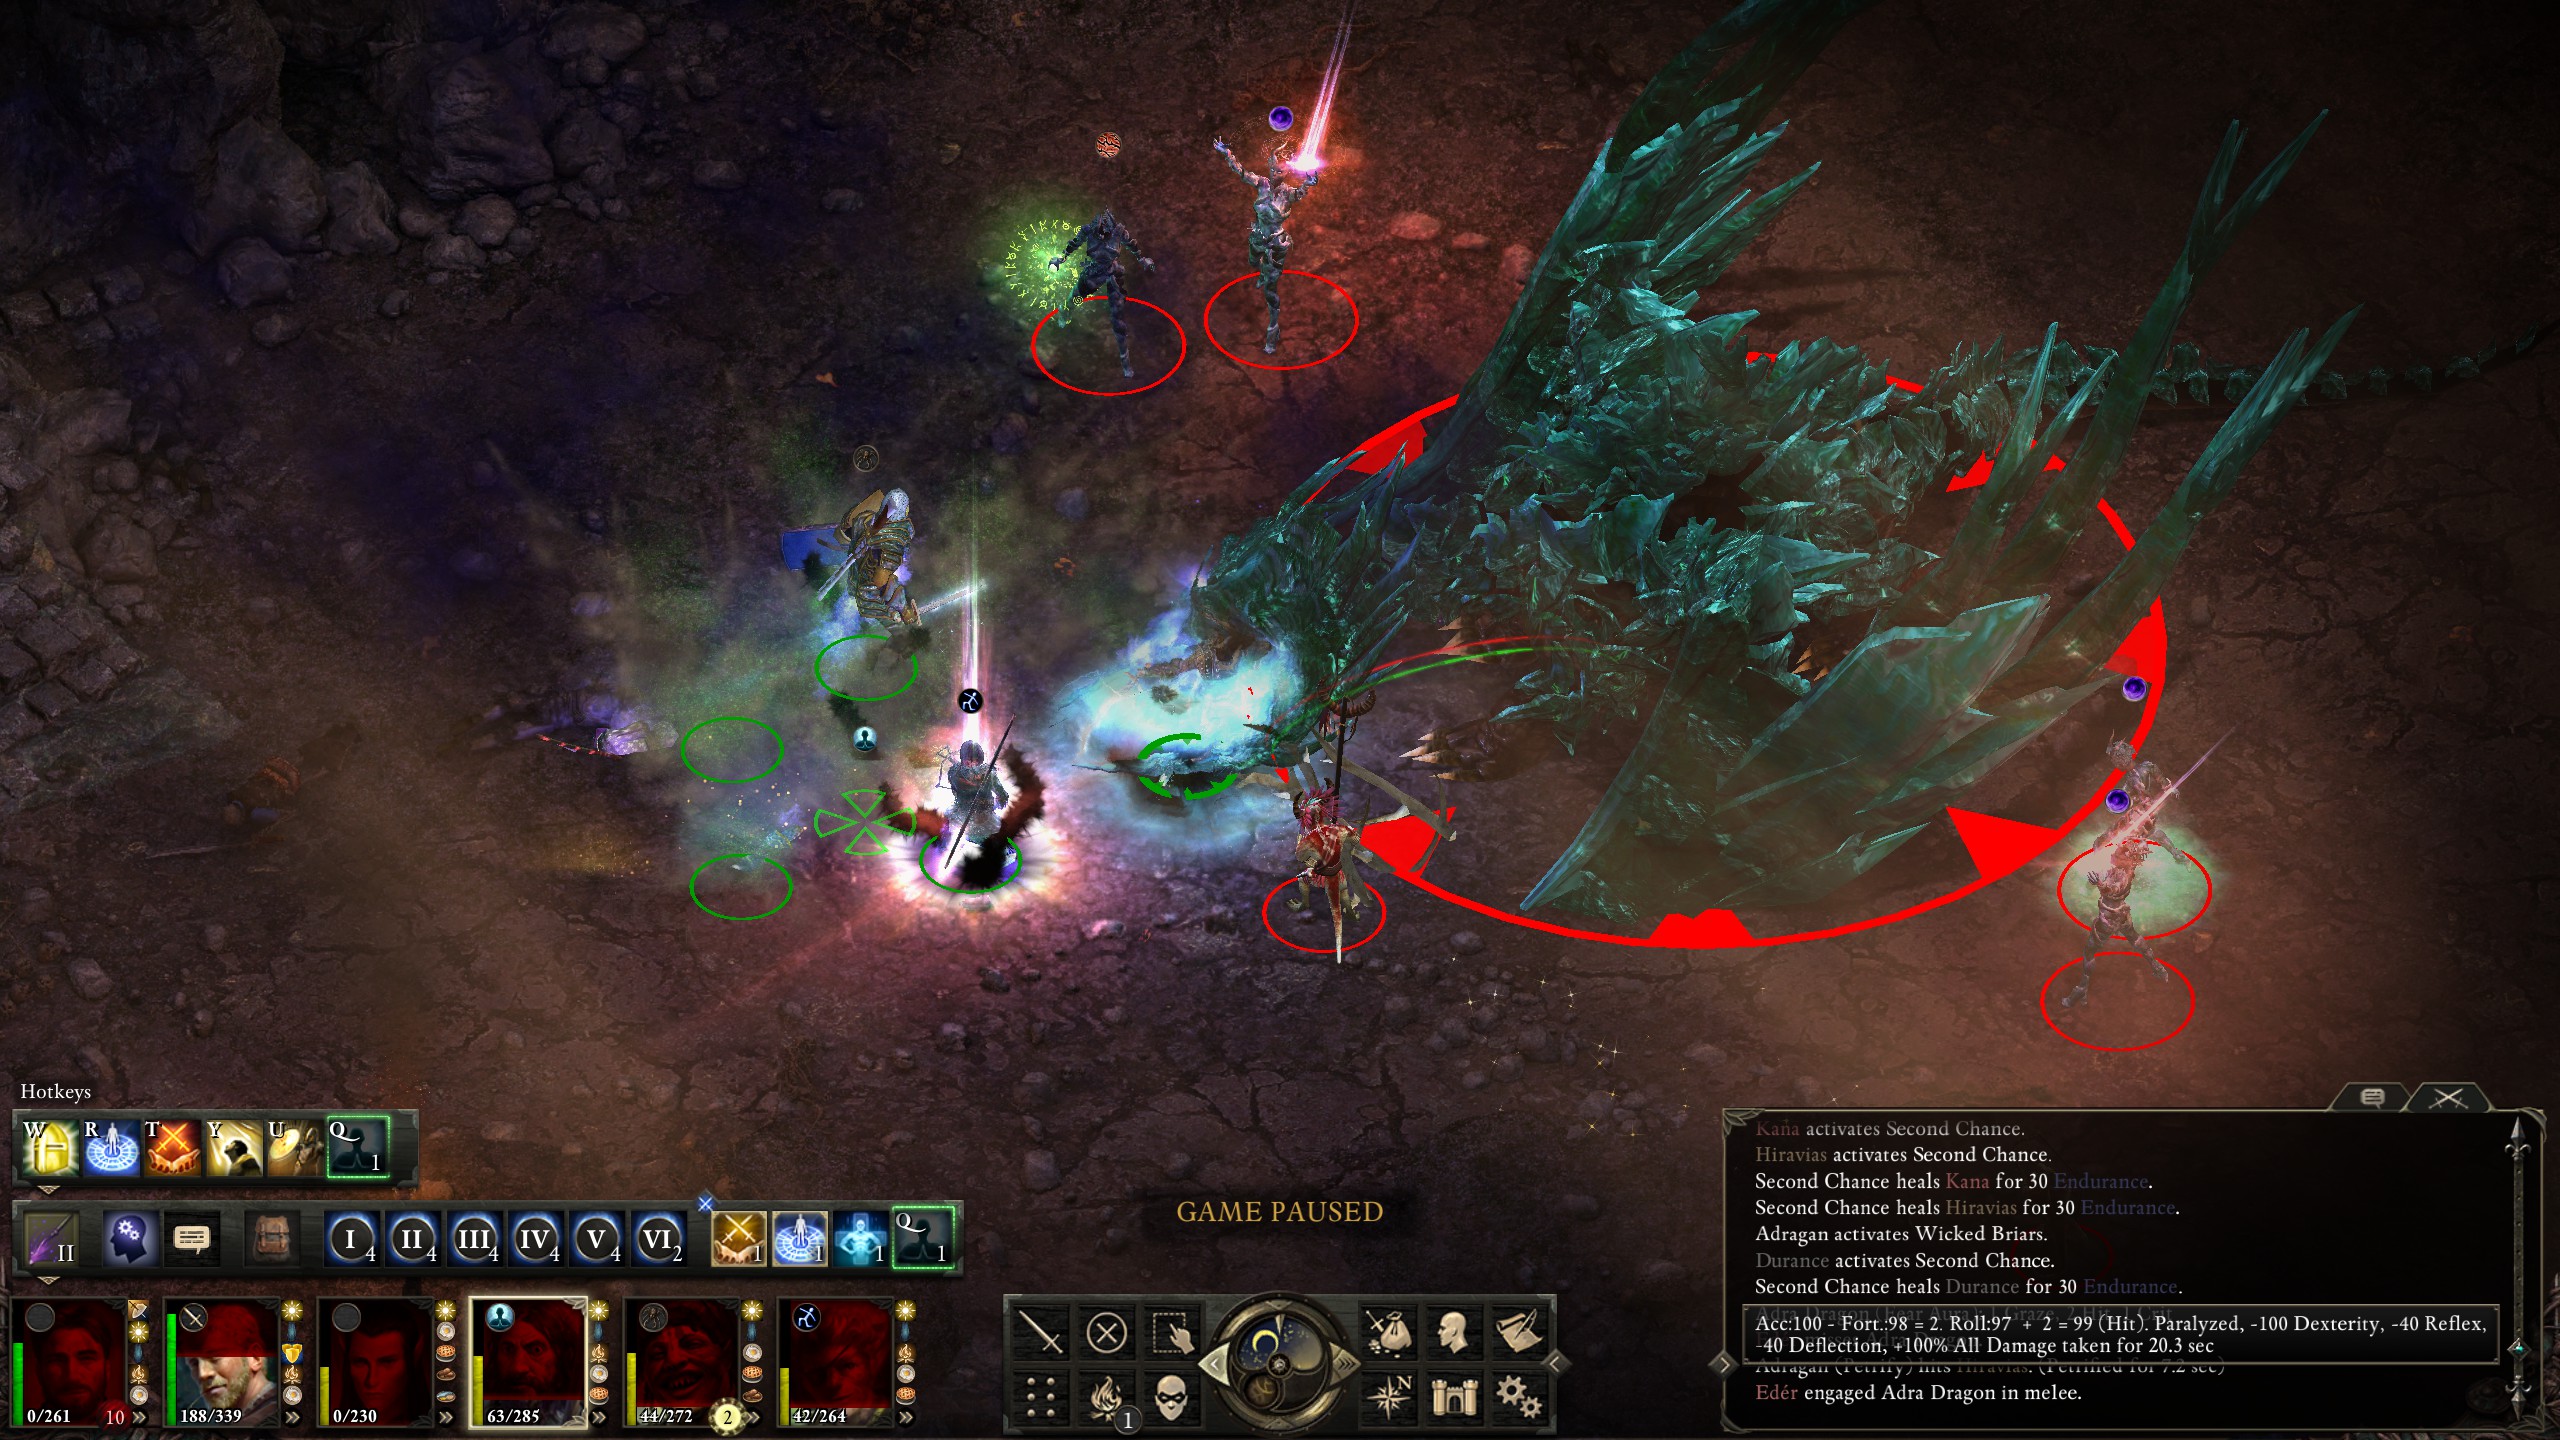
Then one of the adragans landed a petrification on Hiravas. At this point I almost rage-quit, but I decided to stick it out anyways in case I'd learn something. Luckily, Hiravas managed to recover rapidly from the petrify (perhaps he had managed to drink the potion, or perhaps he bugged out of it), and I started having Durance revive Aloth and my monk.
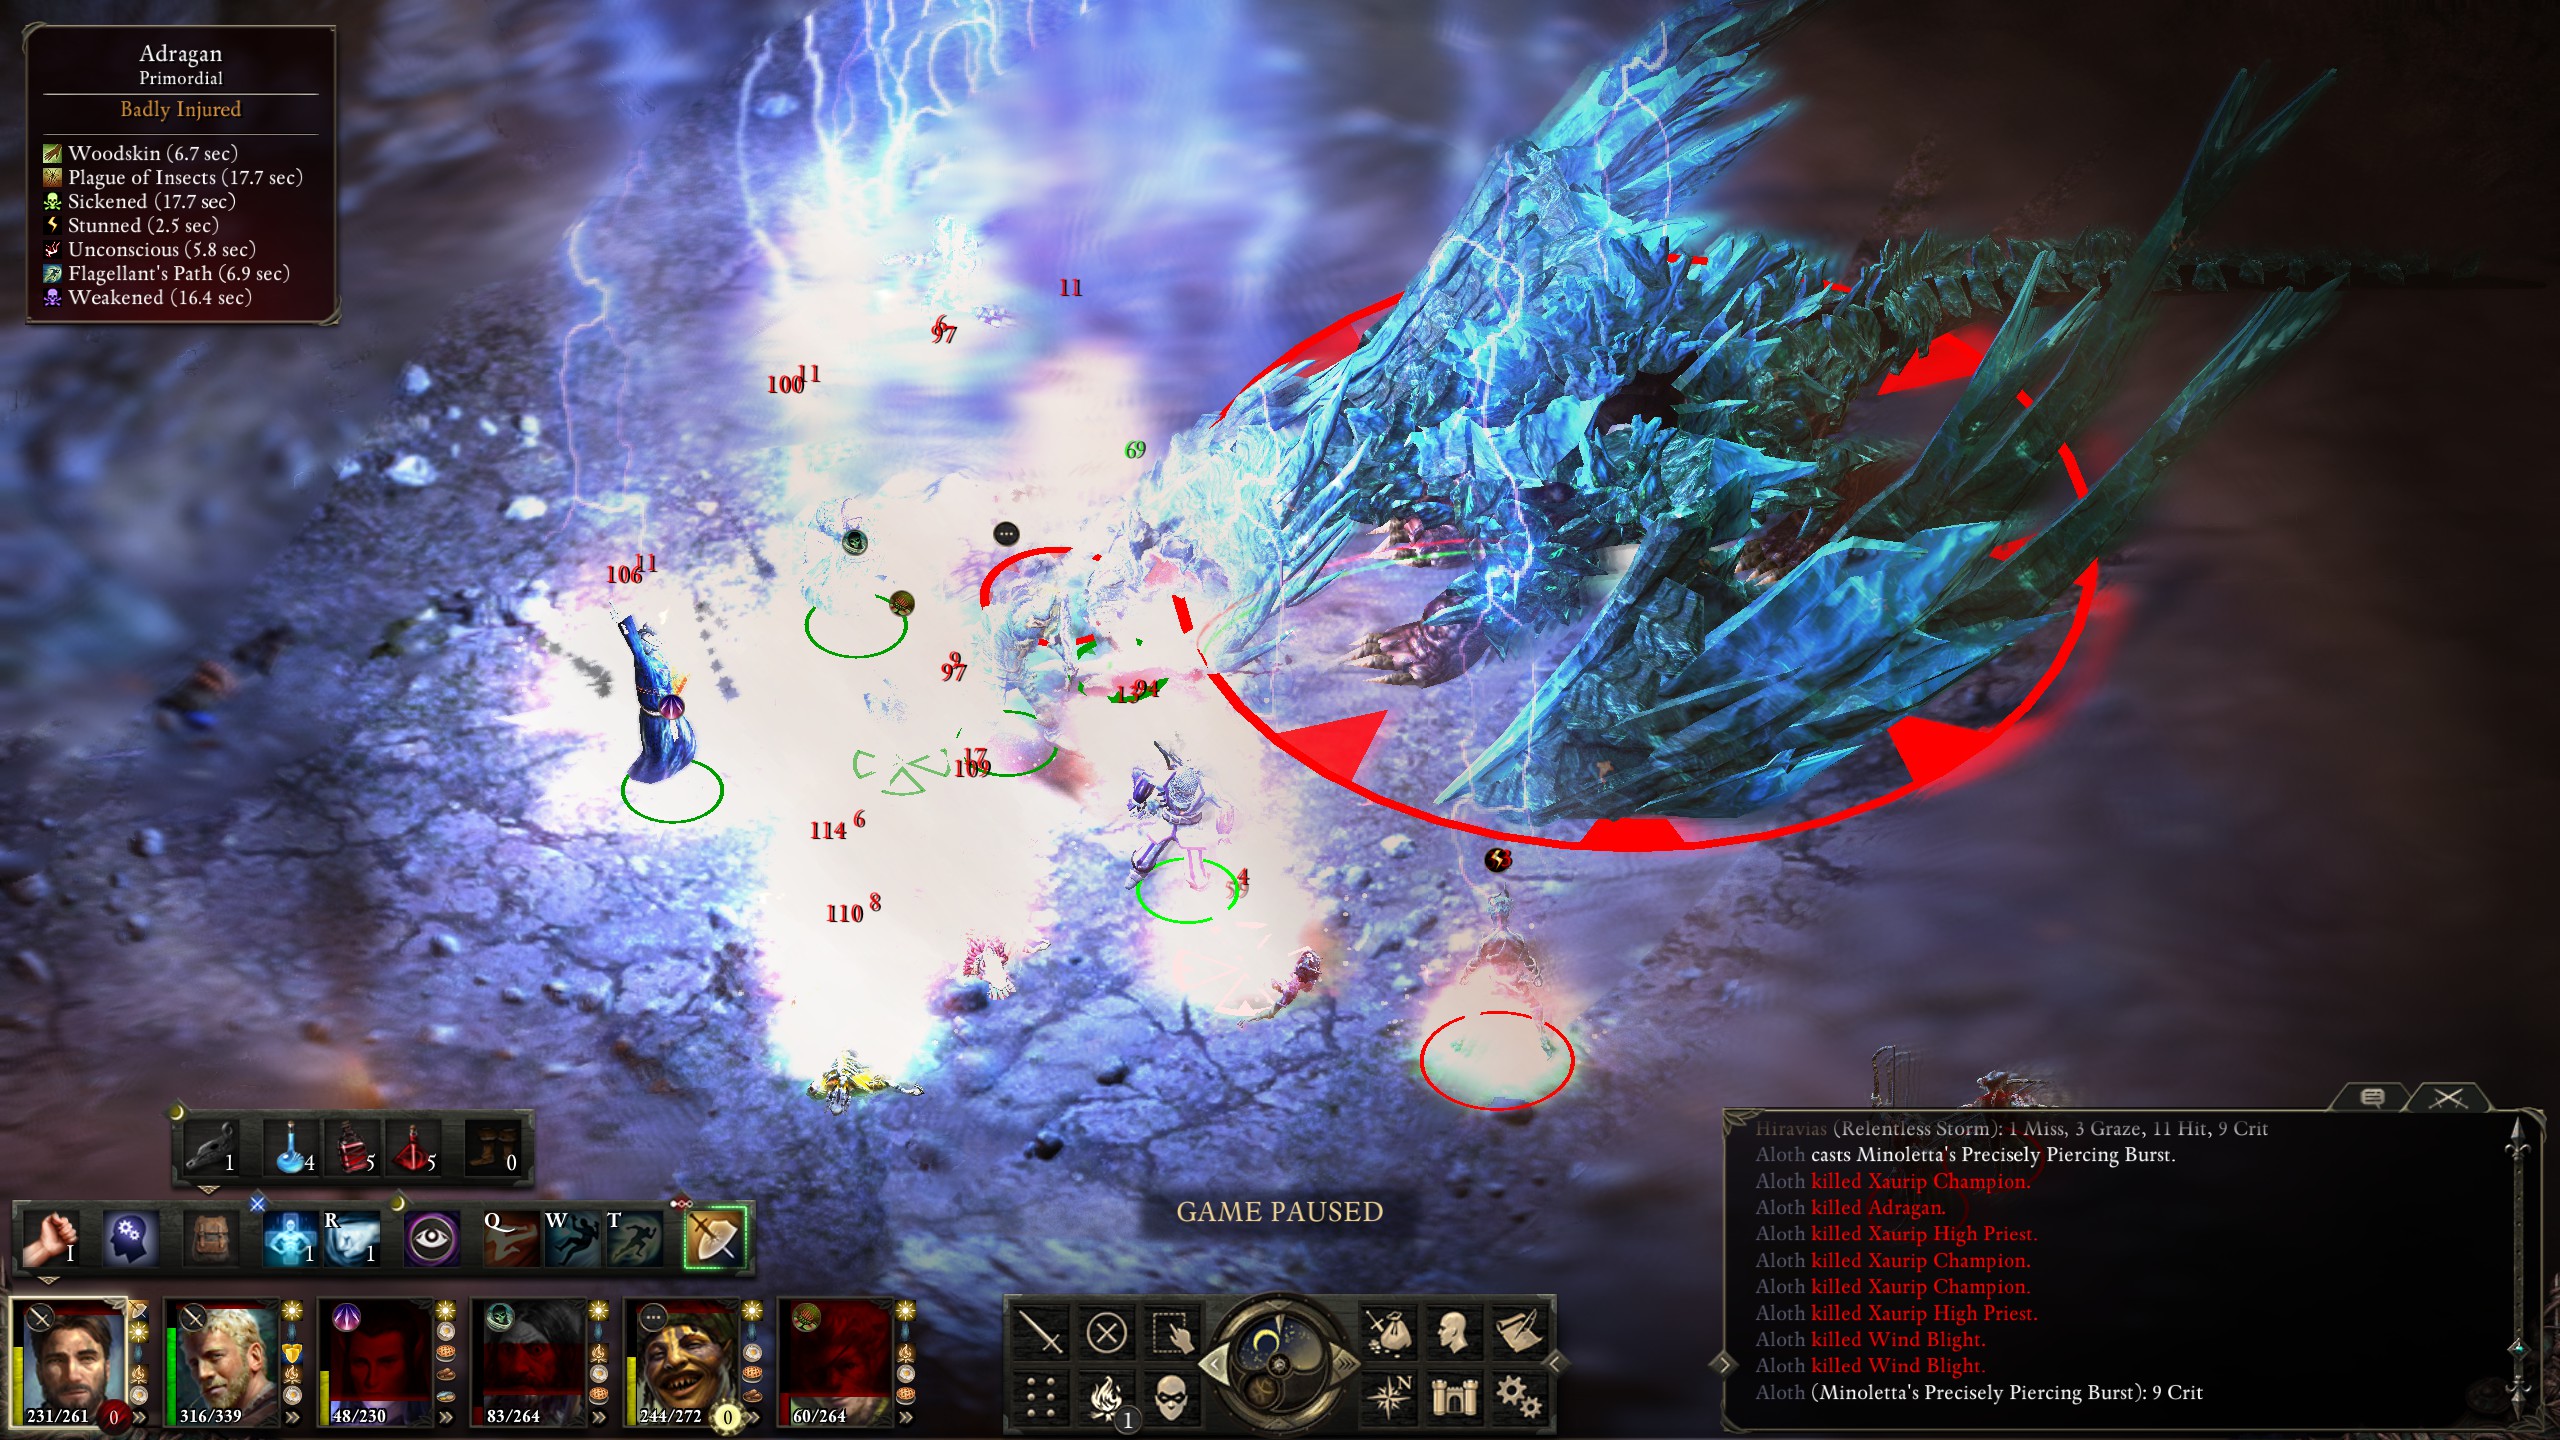
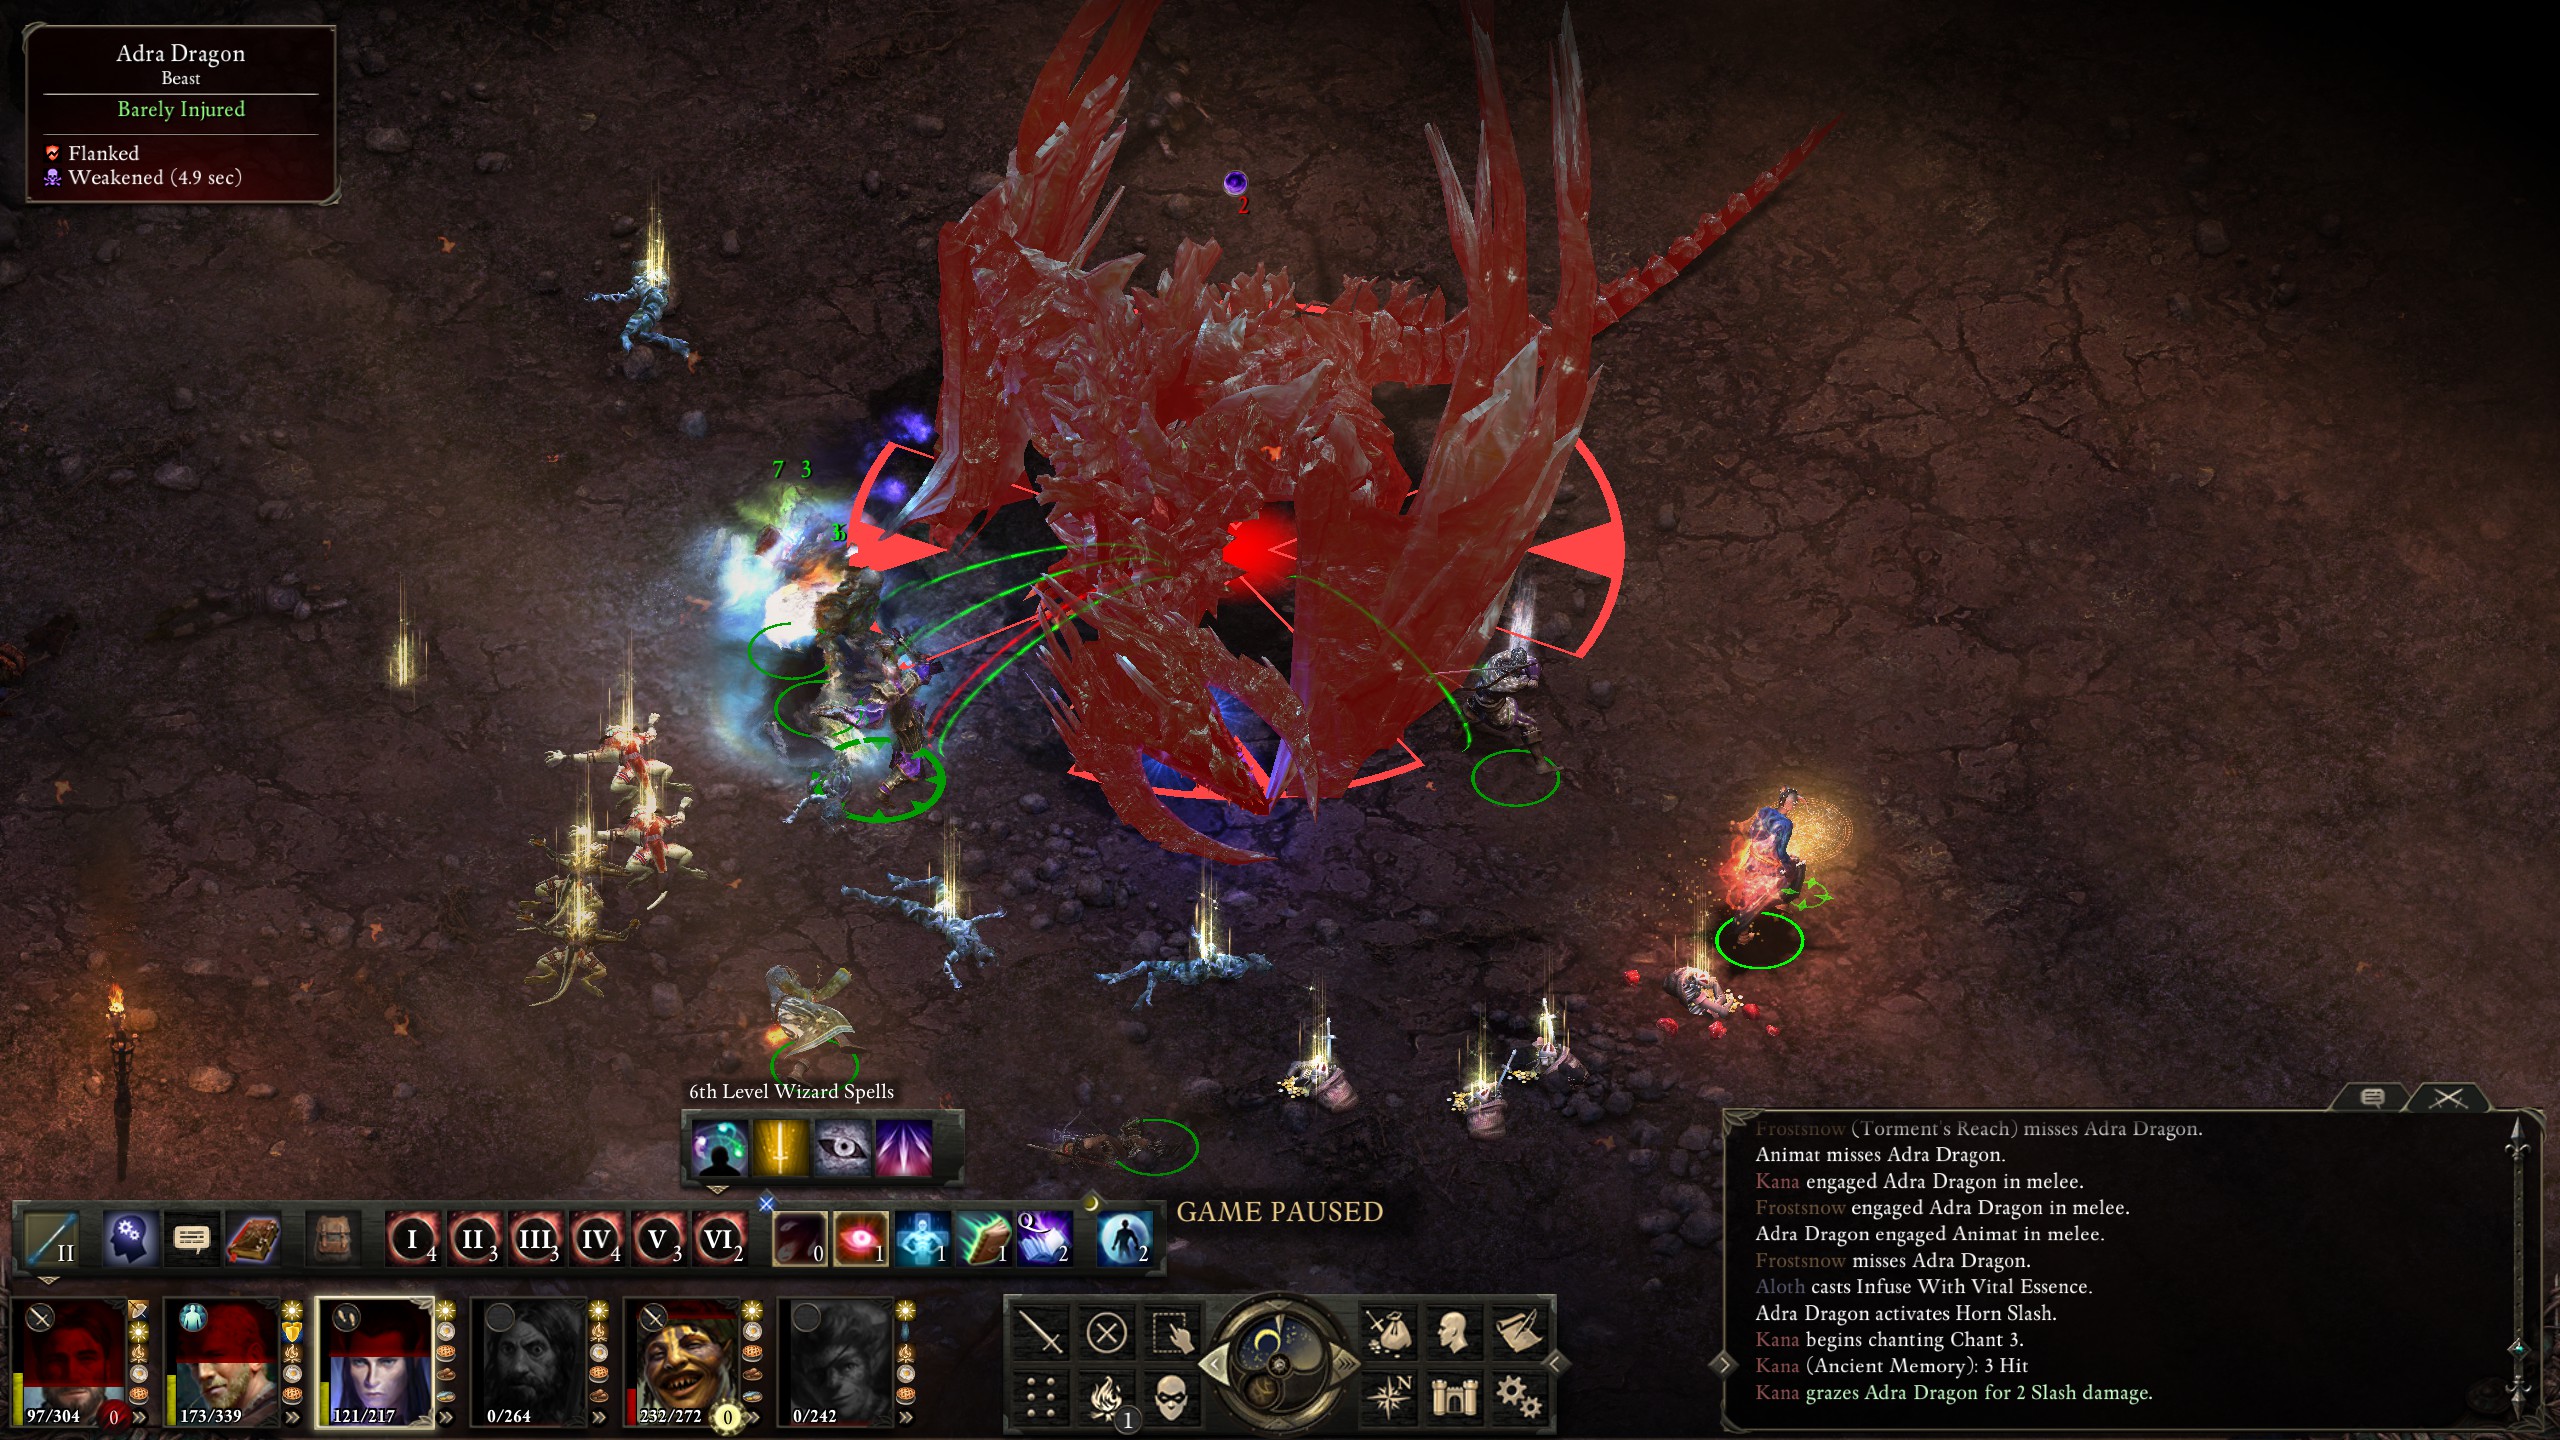
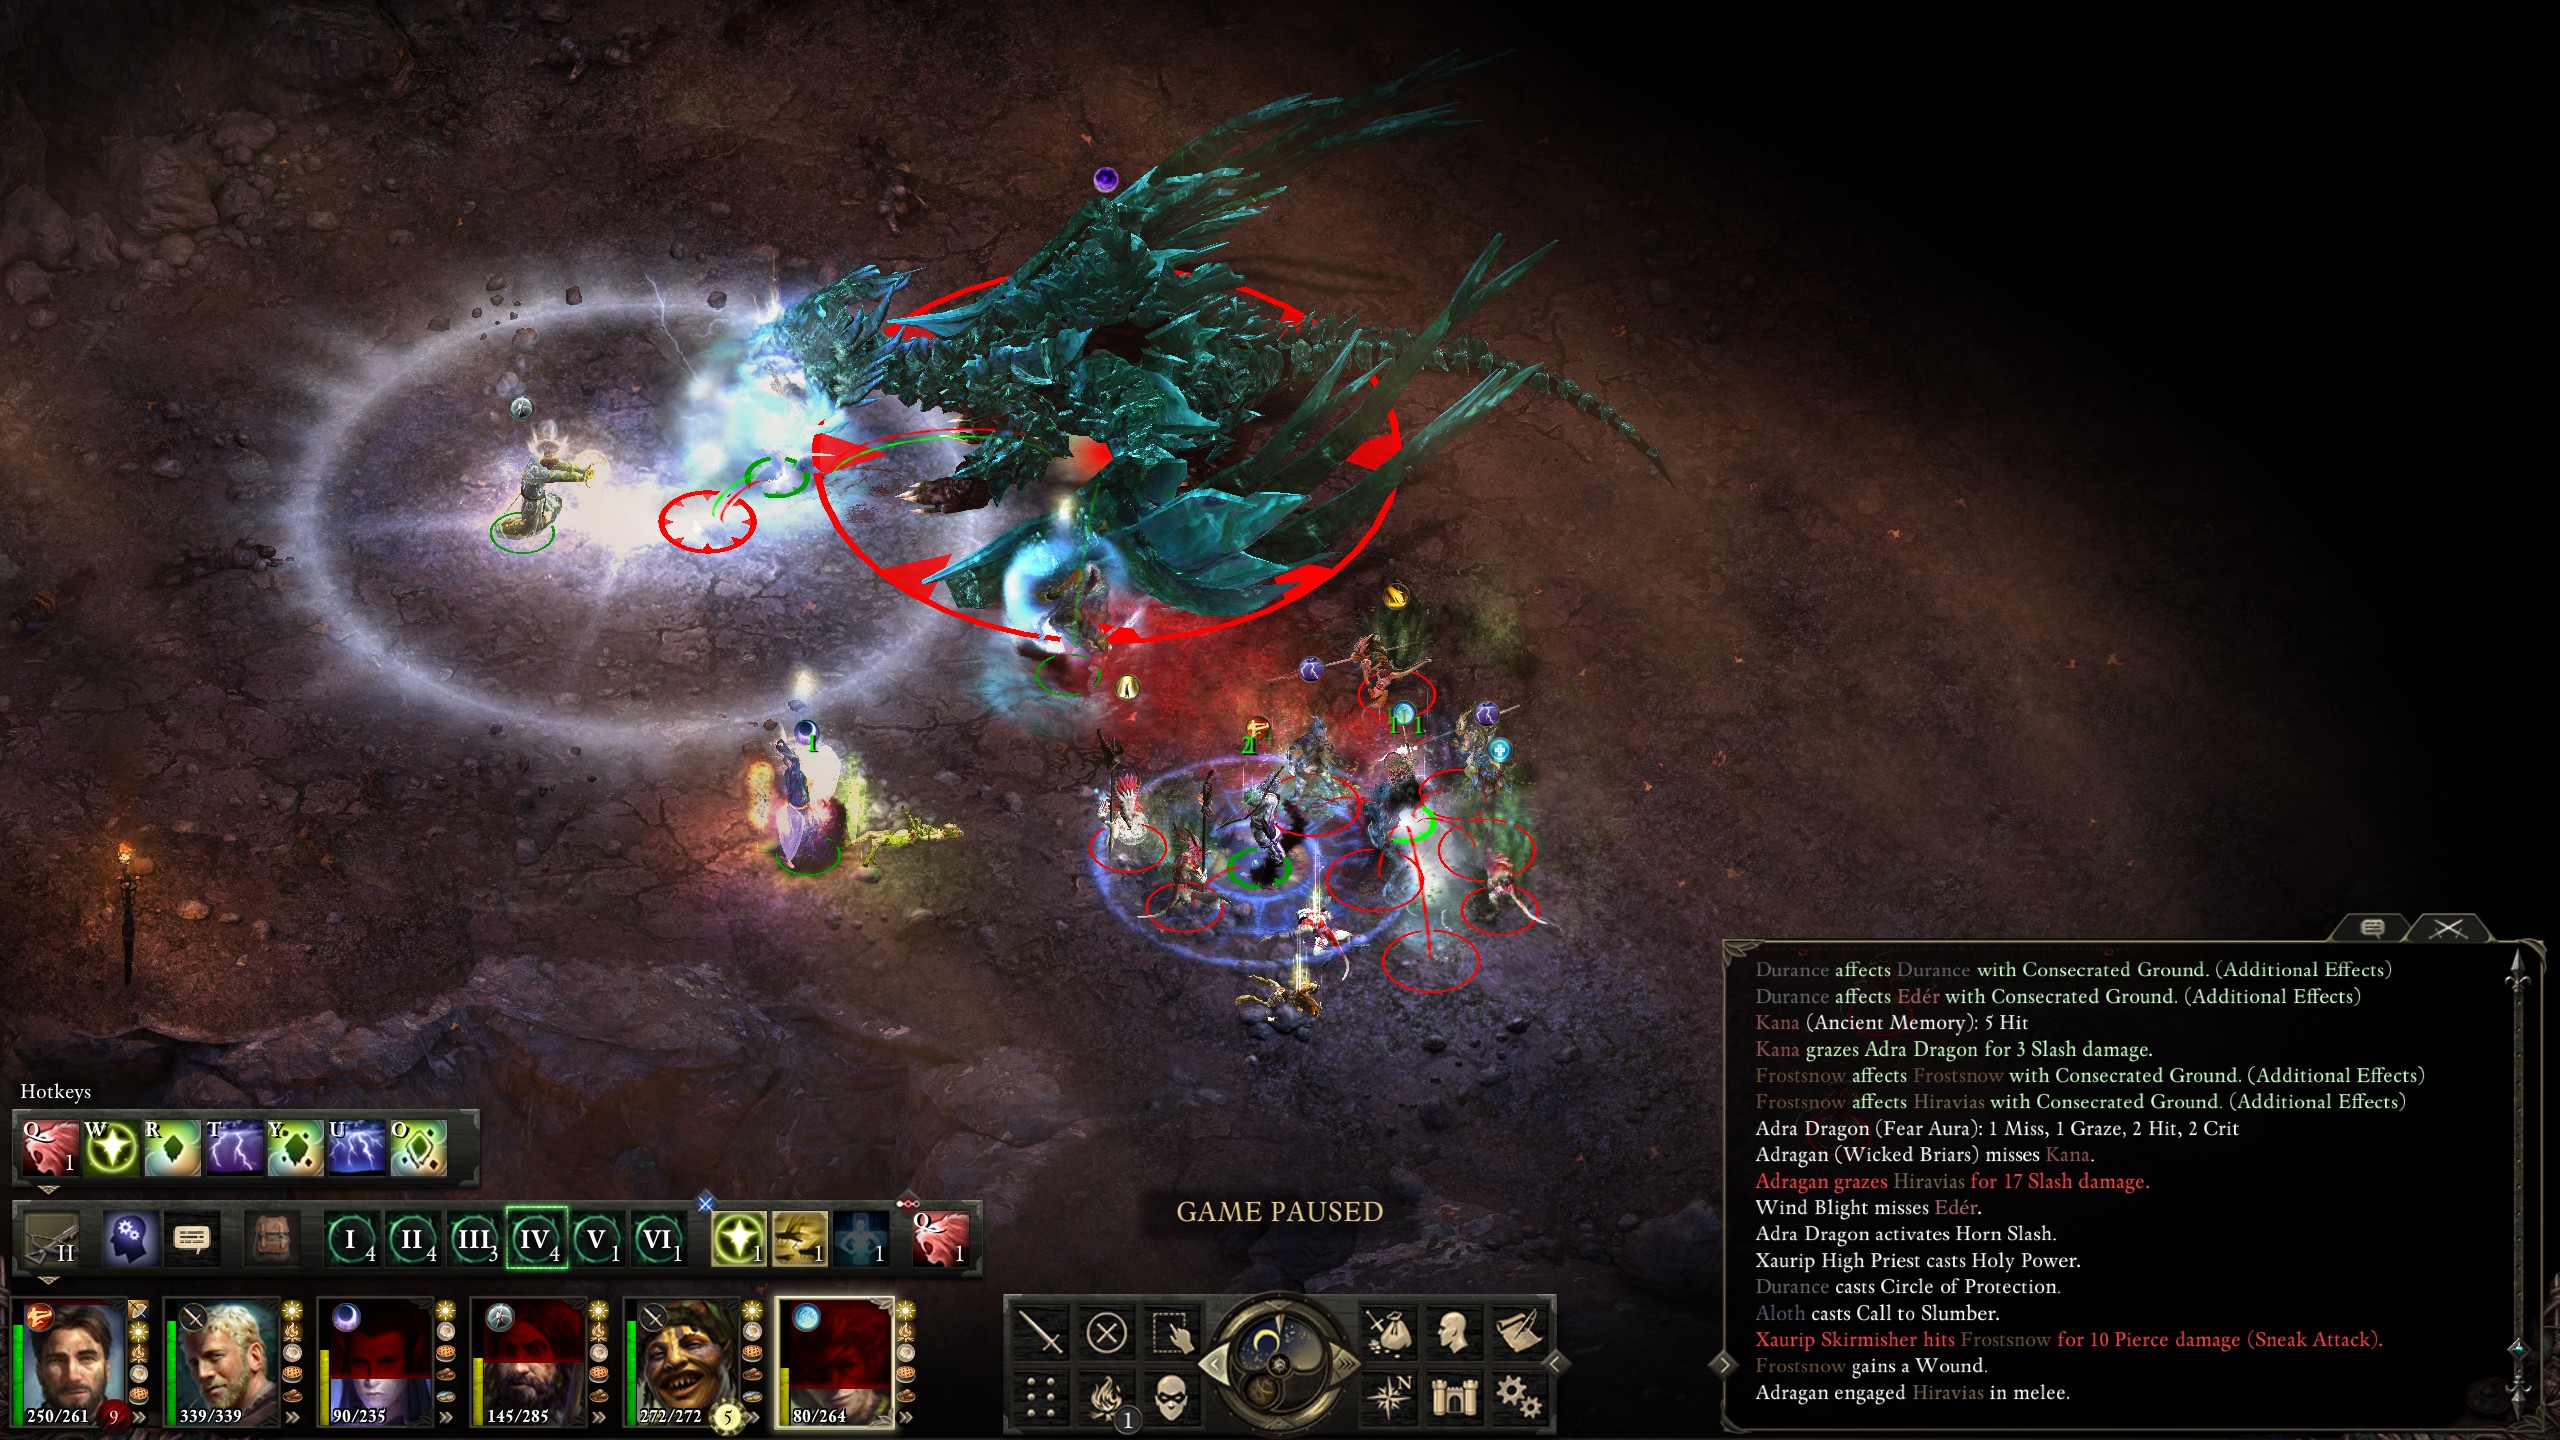
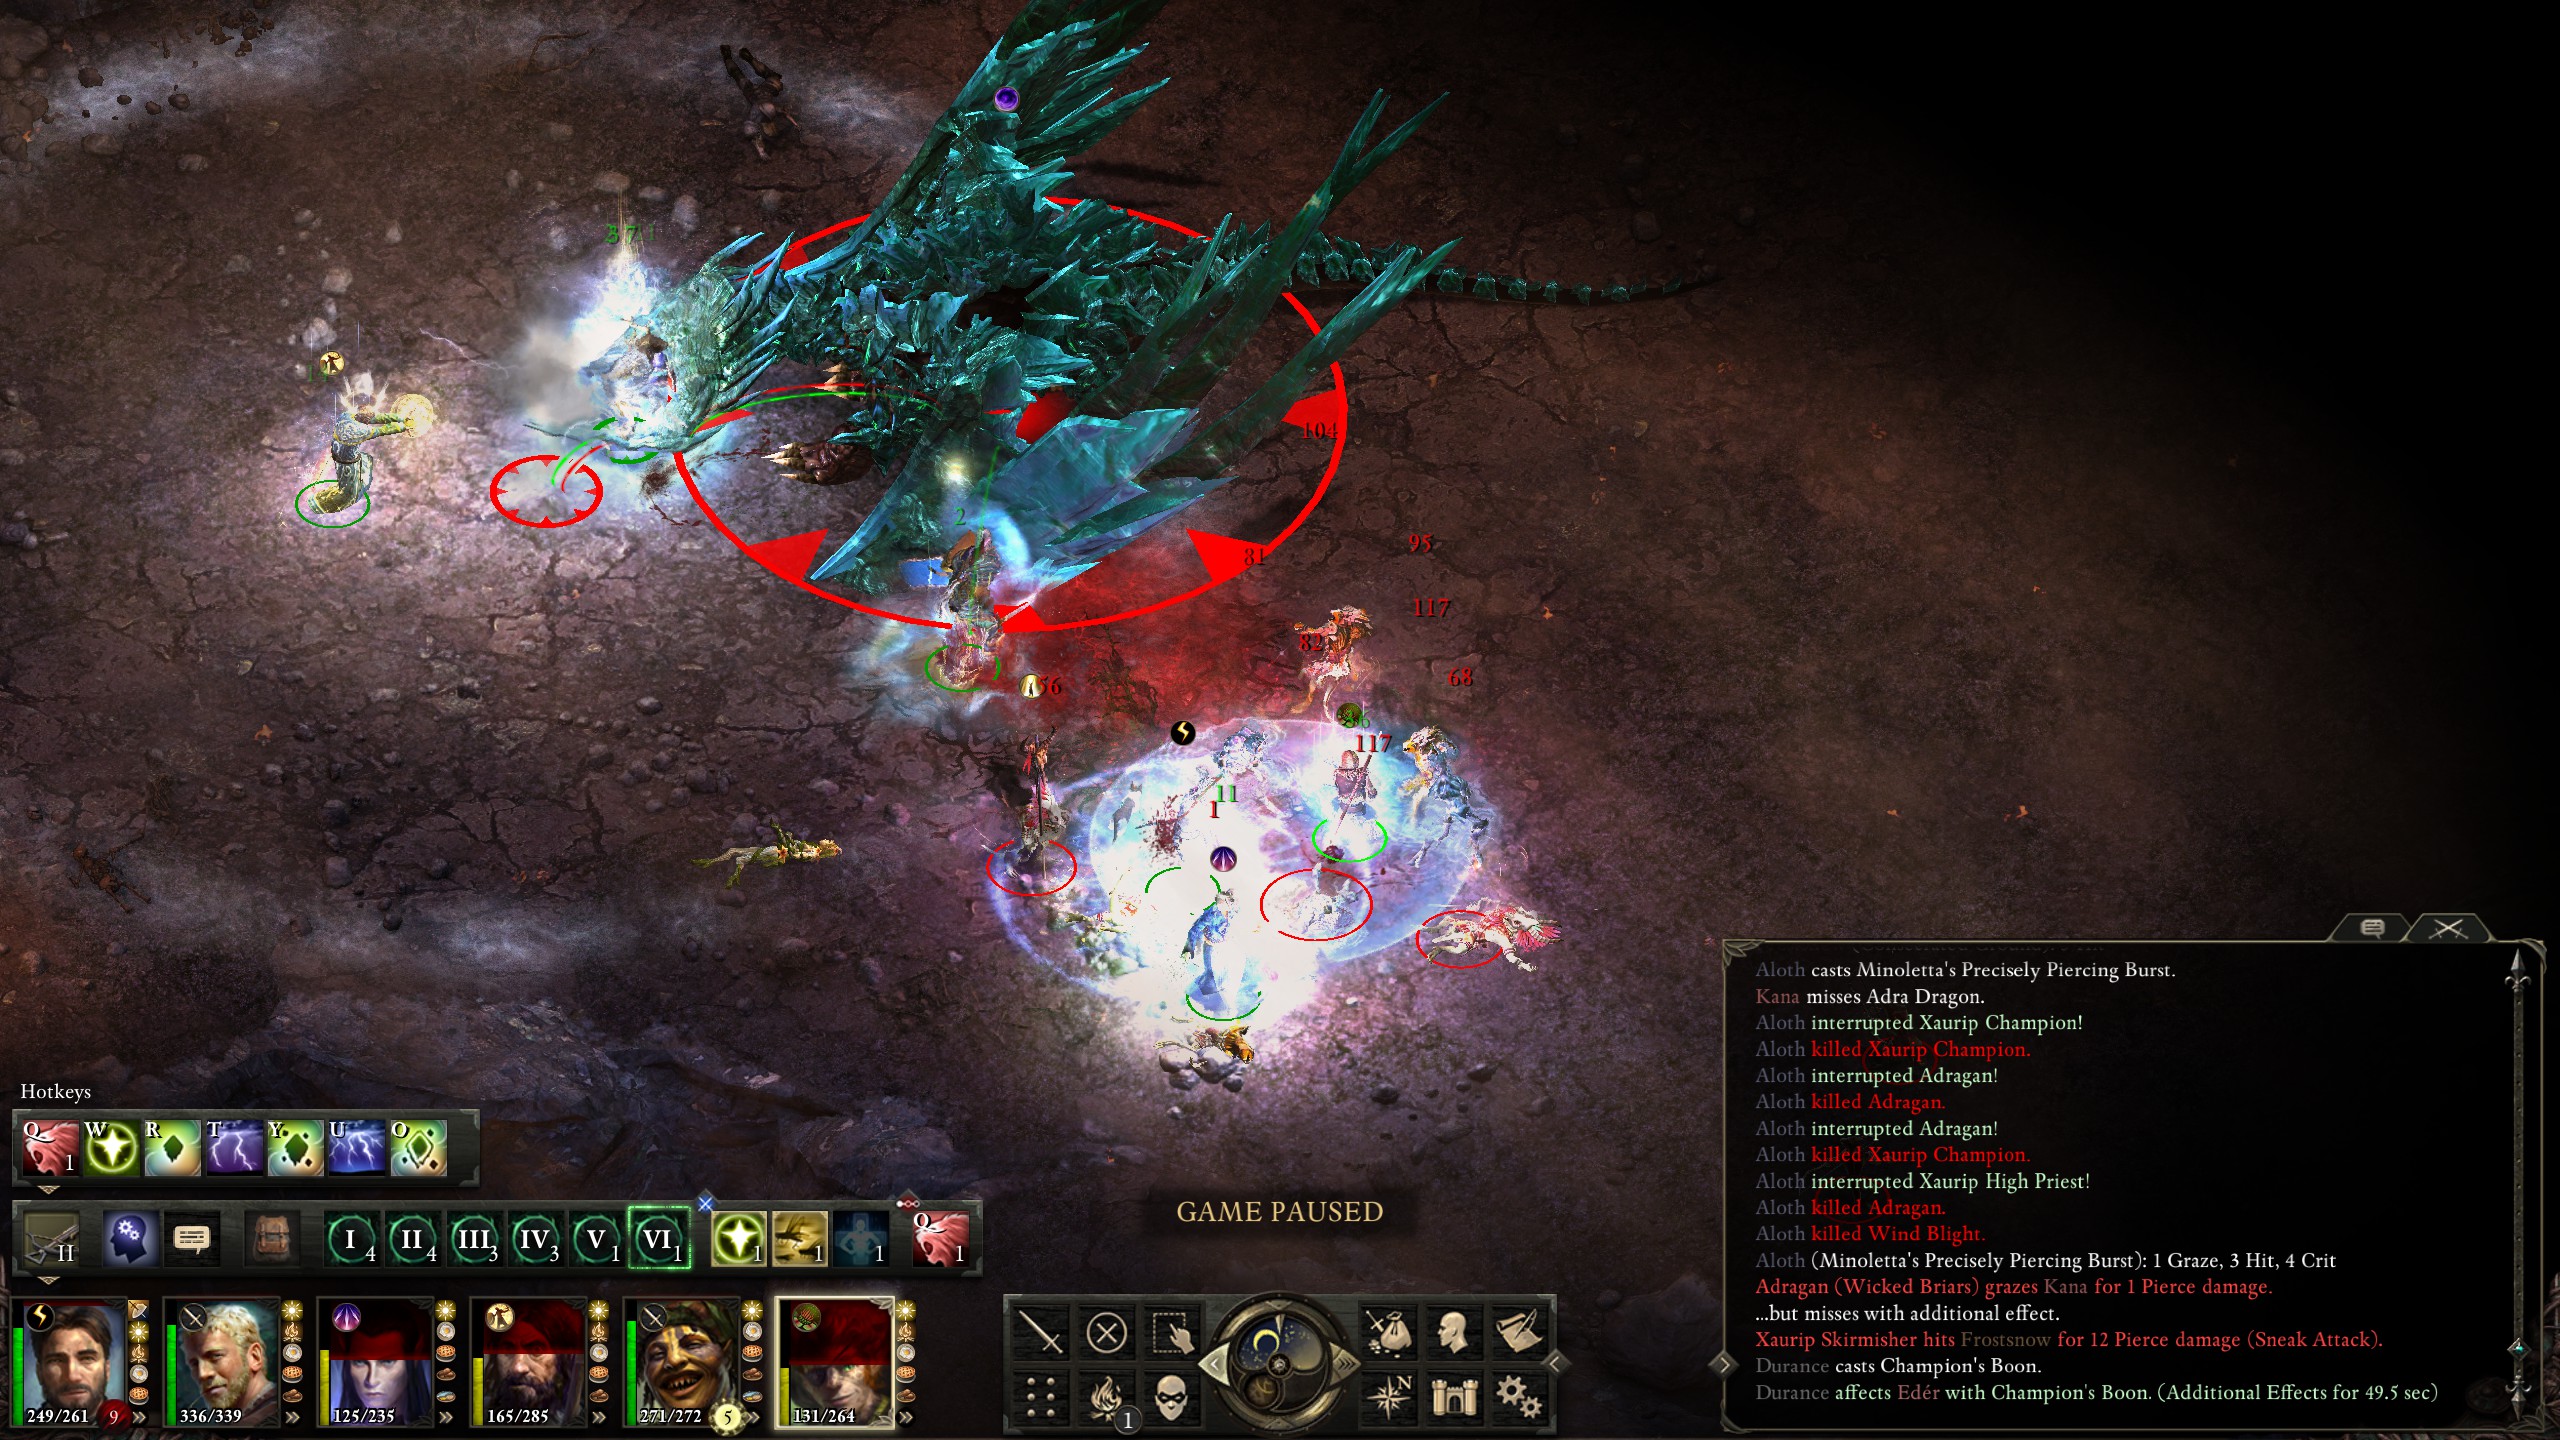
With Aloth up I then combo'd "Call to Slumber" with a "Minoletta's Precisely Piercing Burst", and thus annihilated the adds far quicker than expected. I also had Durance begin casting "Barring Death's Door" on those close to death.
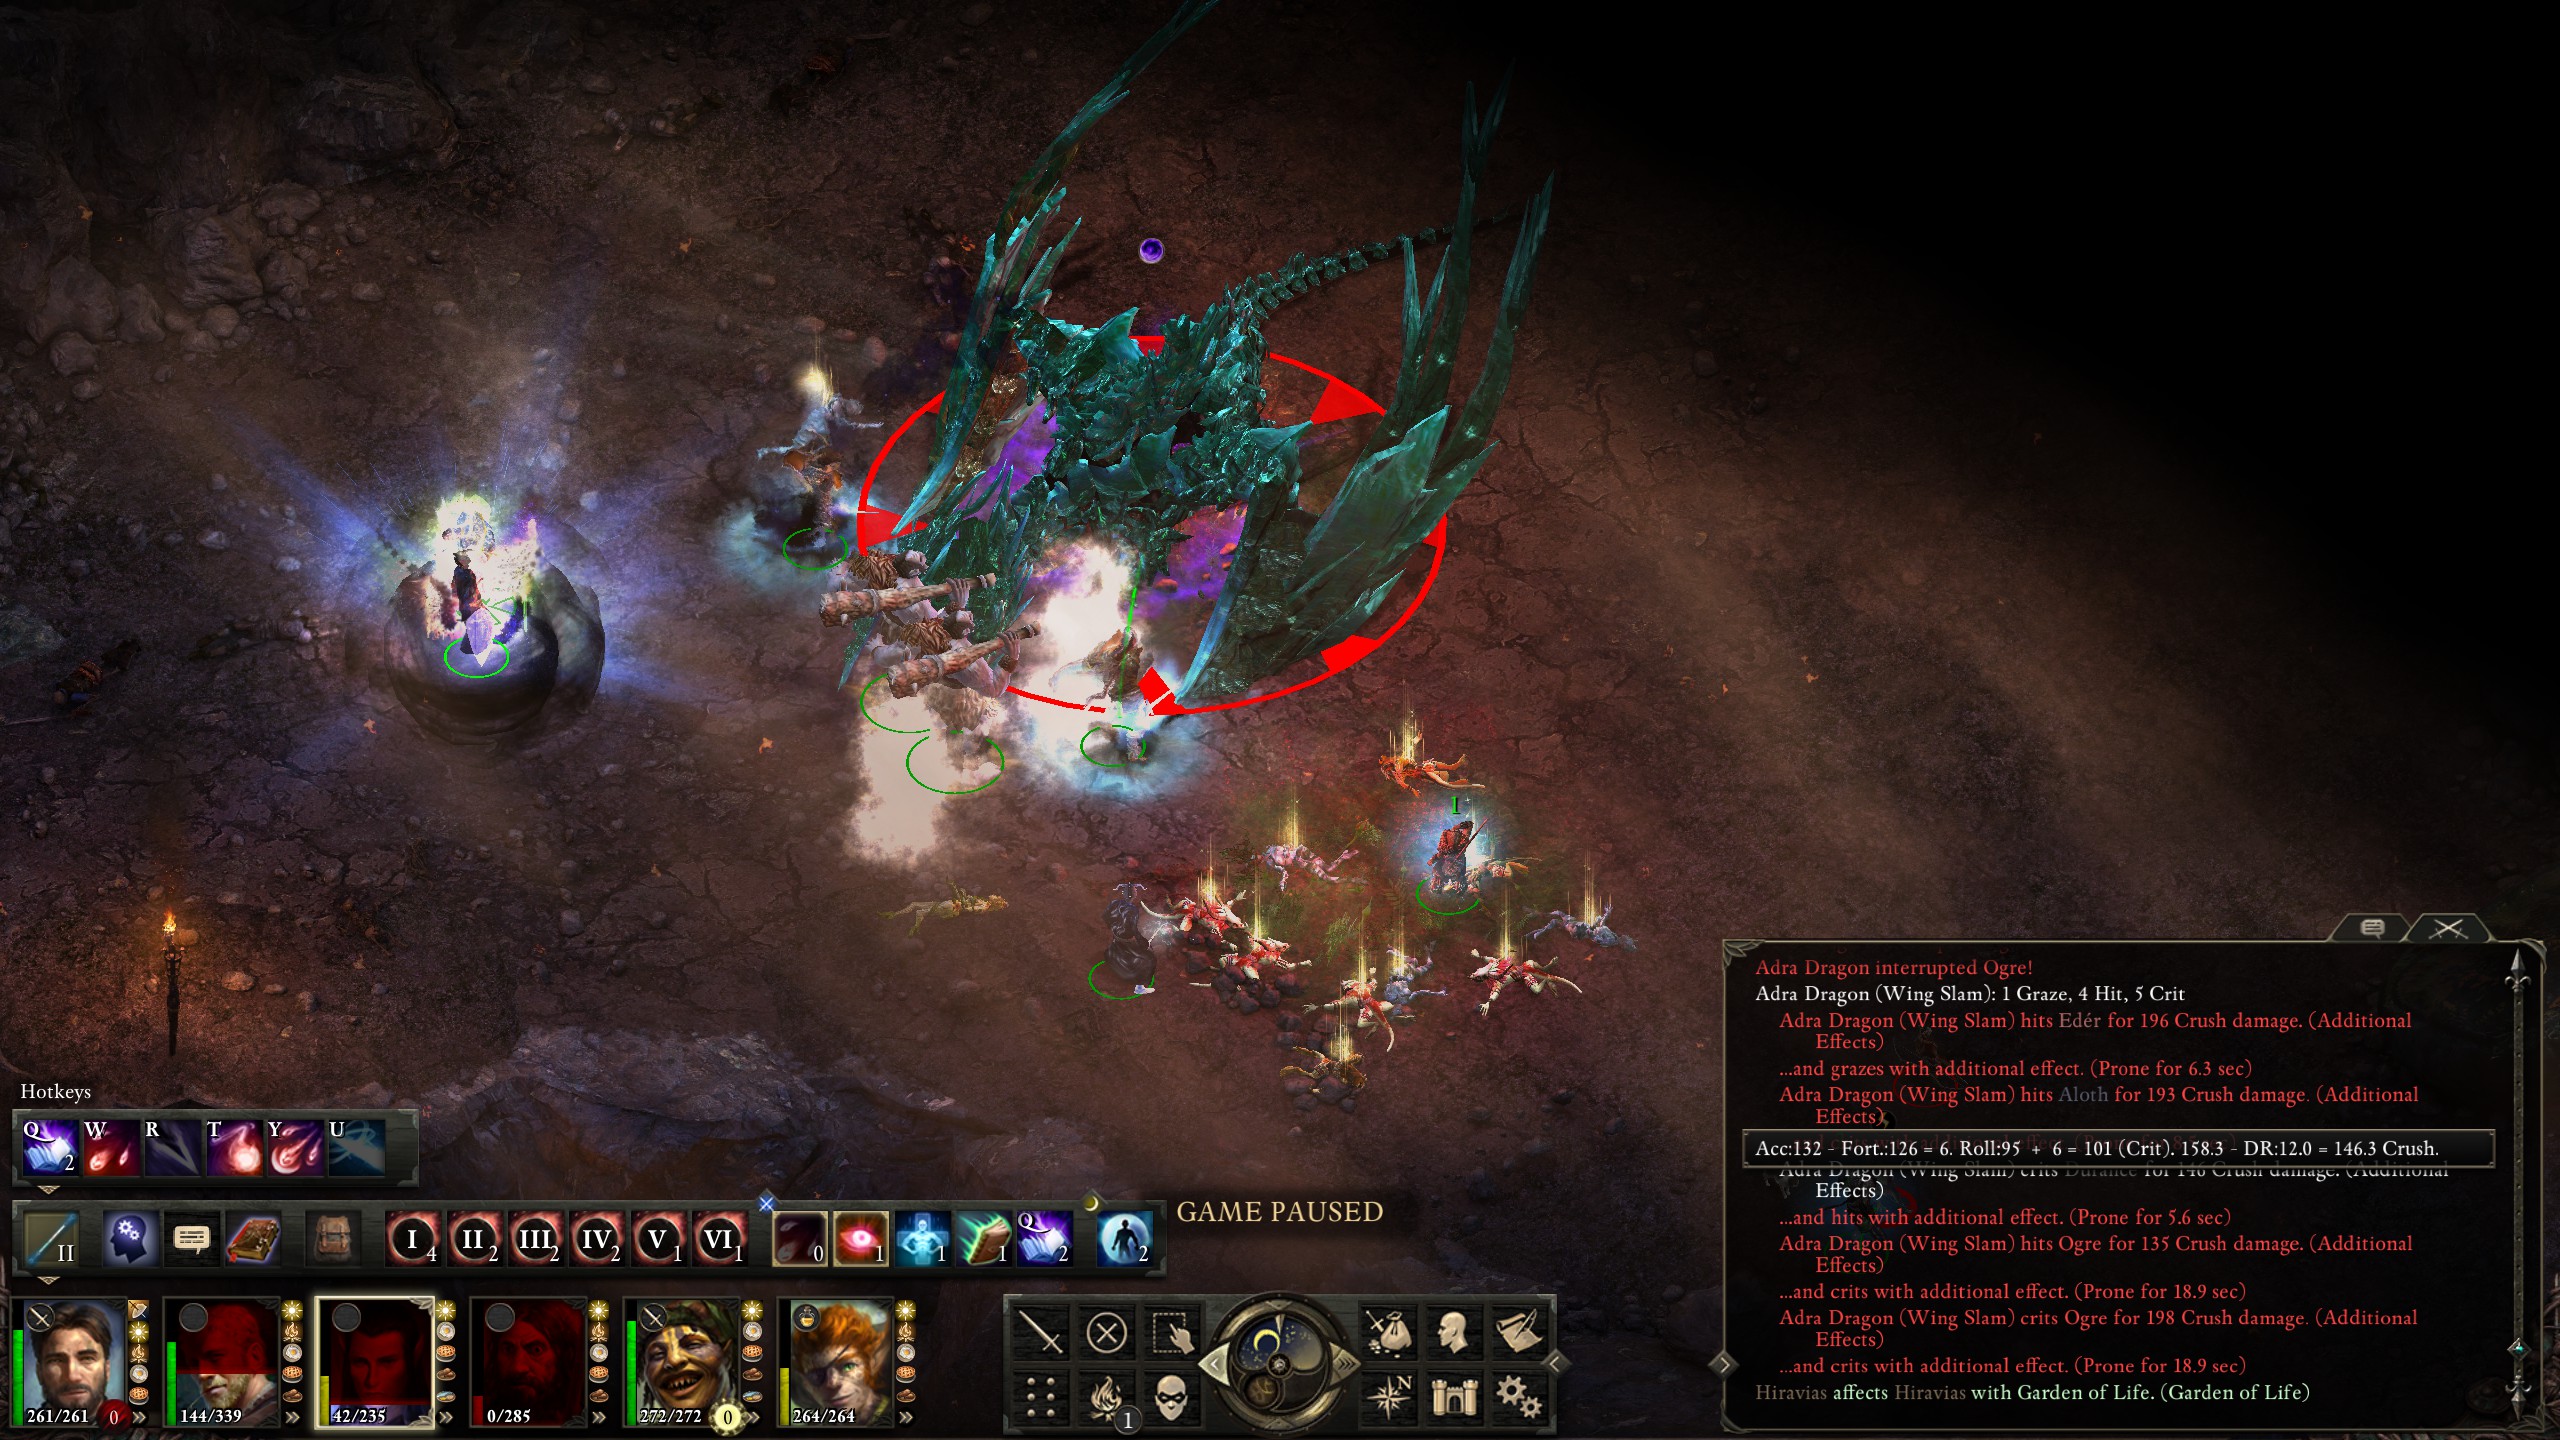
Perhaps, I thought, I would make it though. The dragon, of course, decided to cut straight into my hopes.
Good thing I'd cast "Barring Death's Door" on those two. After a while I managed to revive Aloth with Kana and have Aloth use "Infuse With Vital Essence" in order gain enough health to survive another knockout, then moved him and my monk into the southeast position as Kana was currently engaged by the dragon.
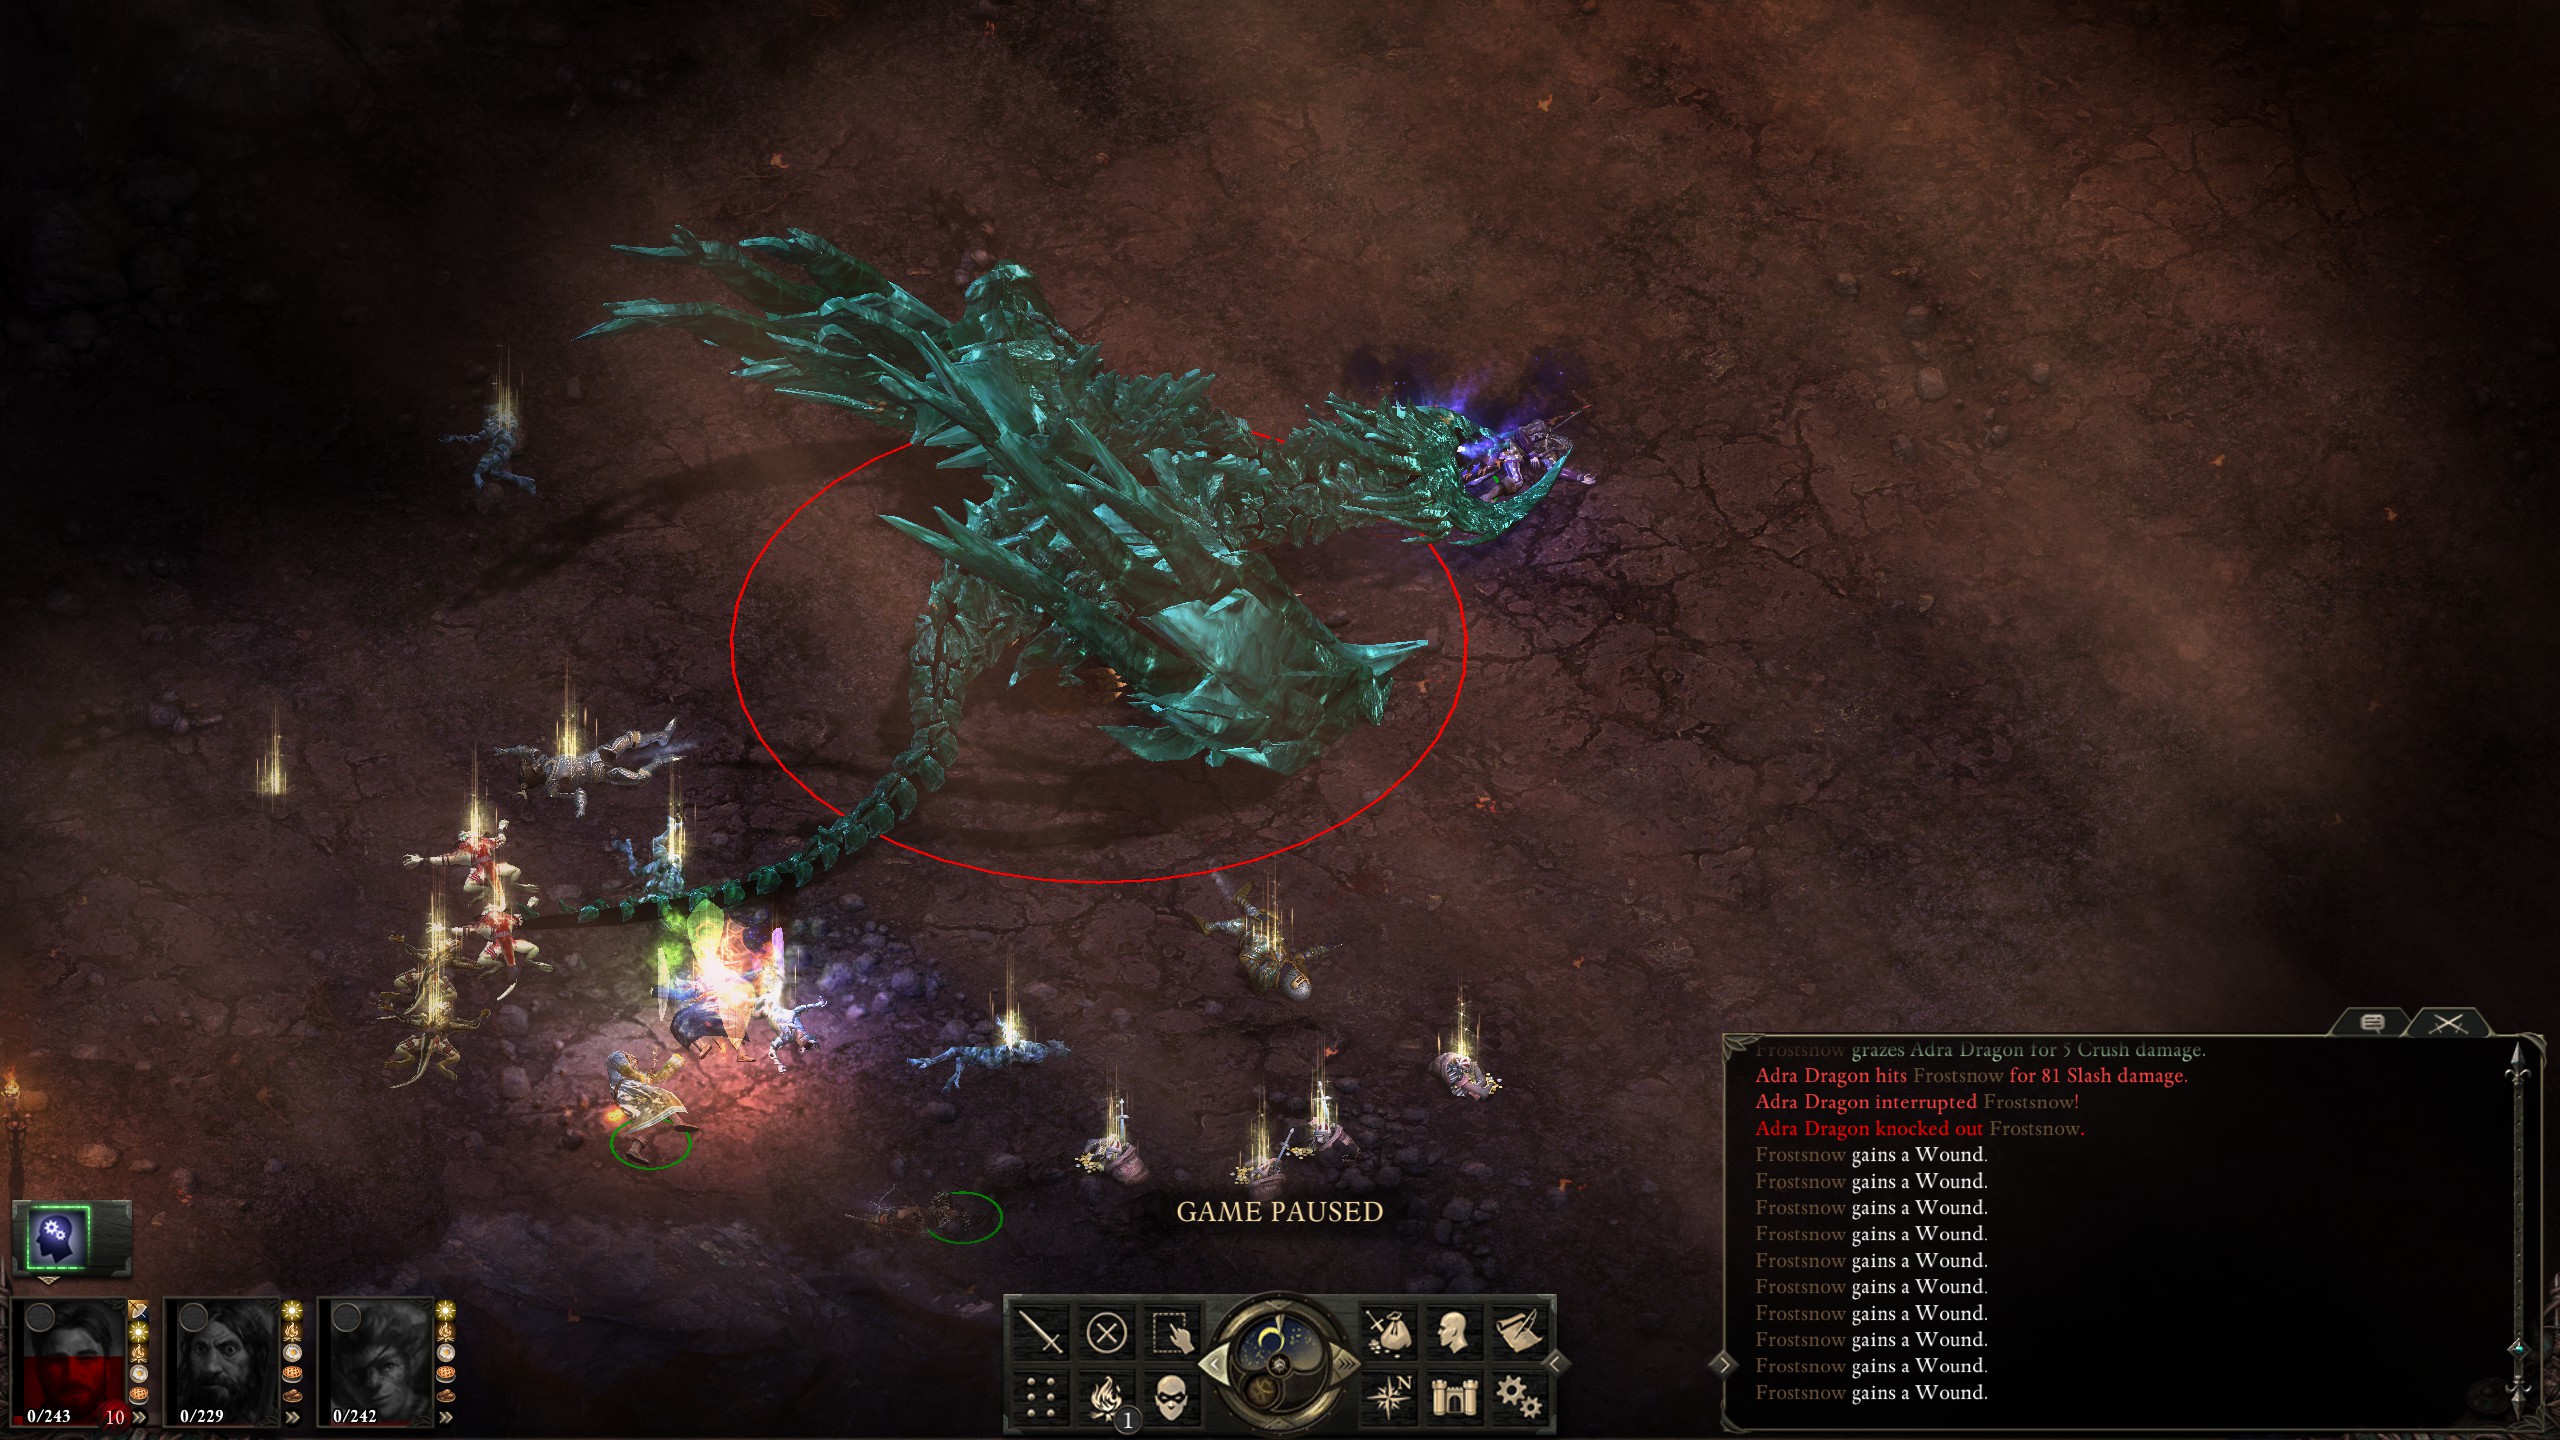
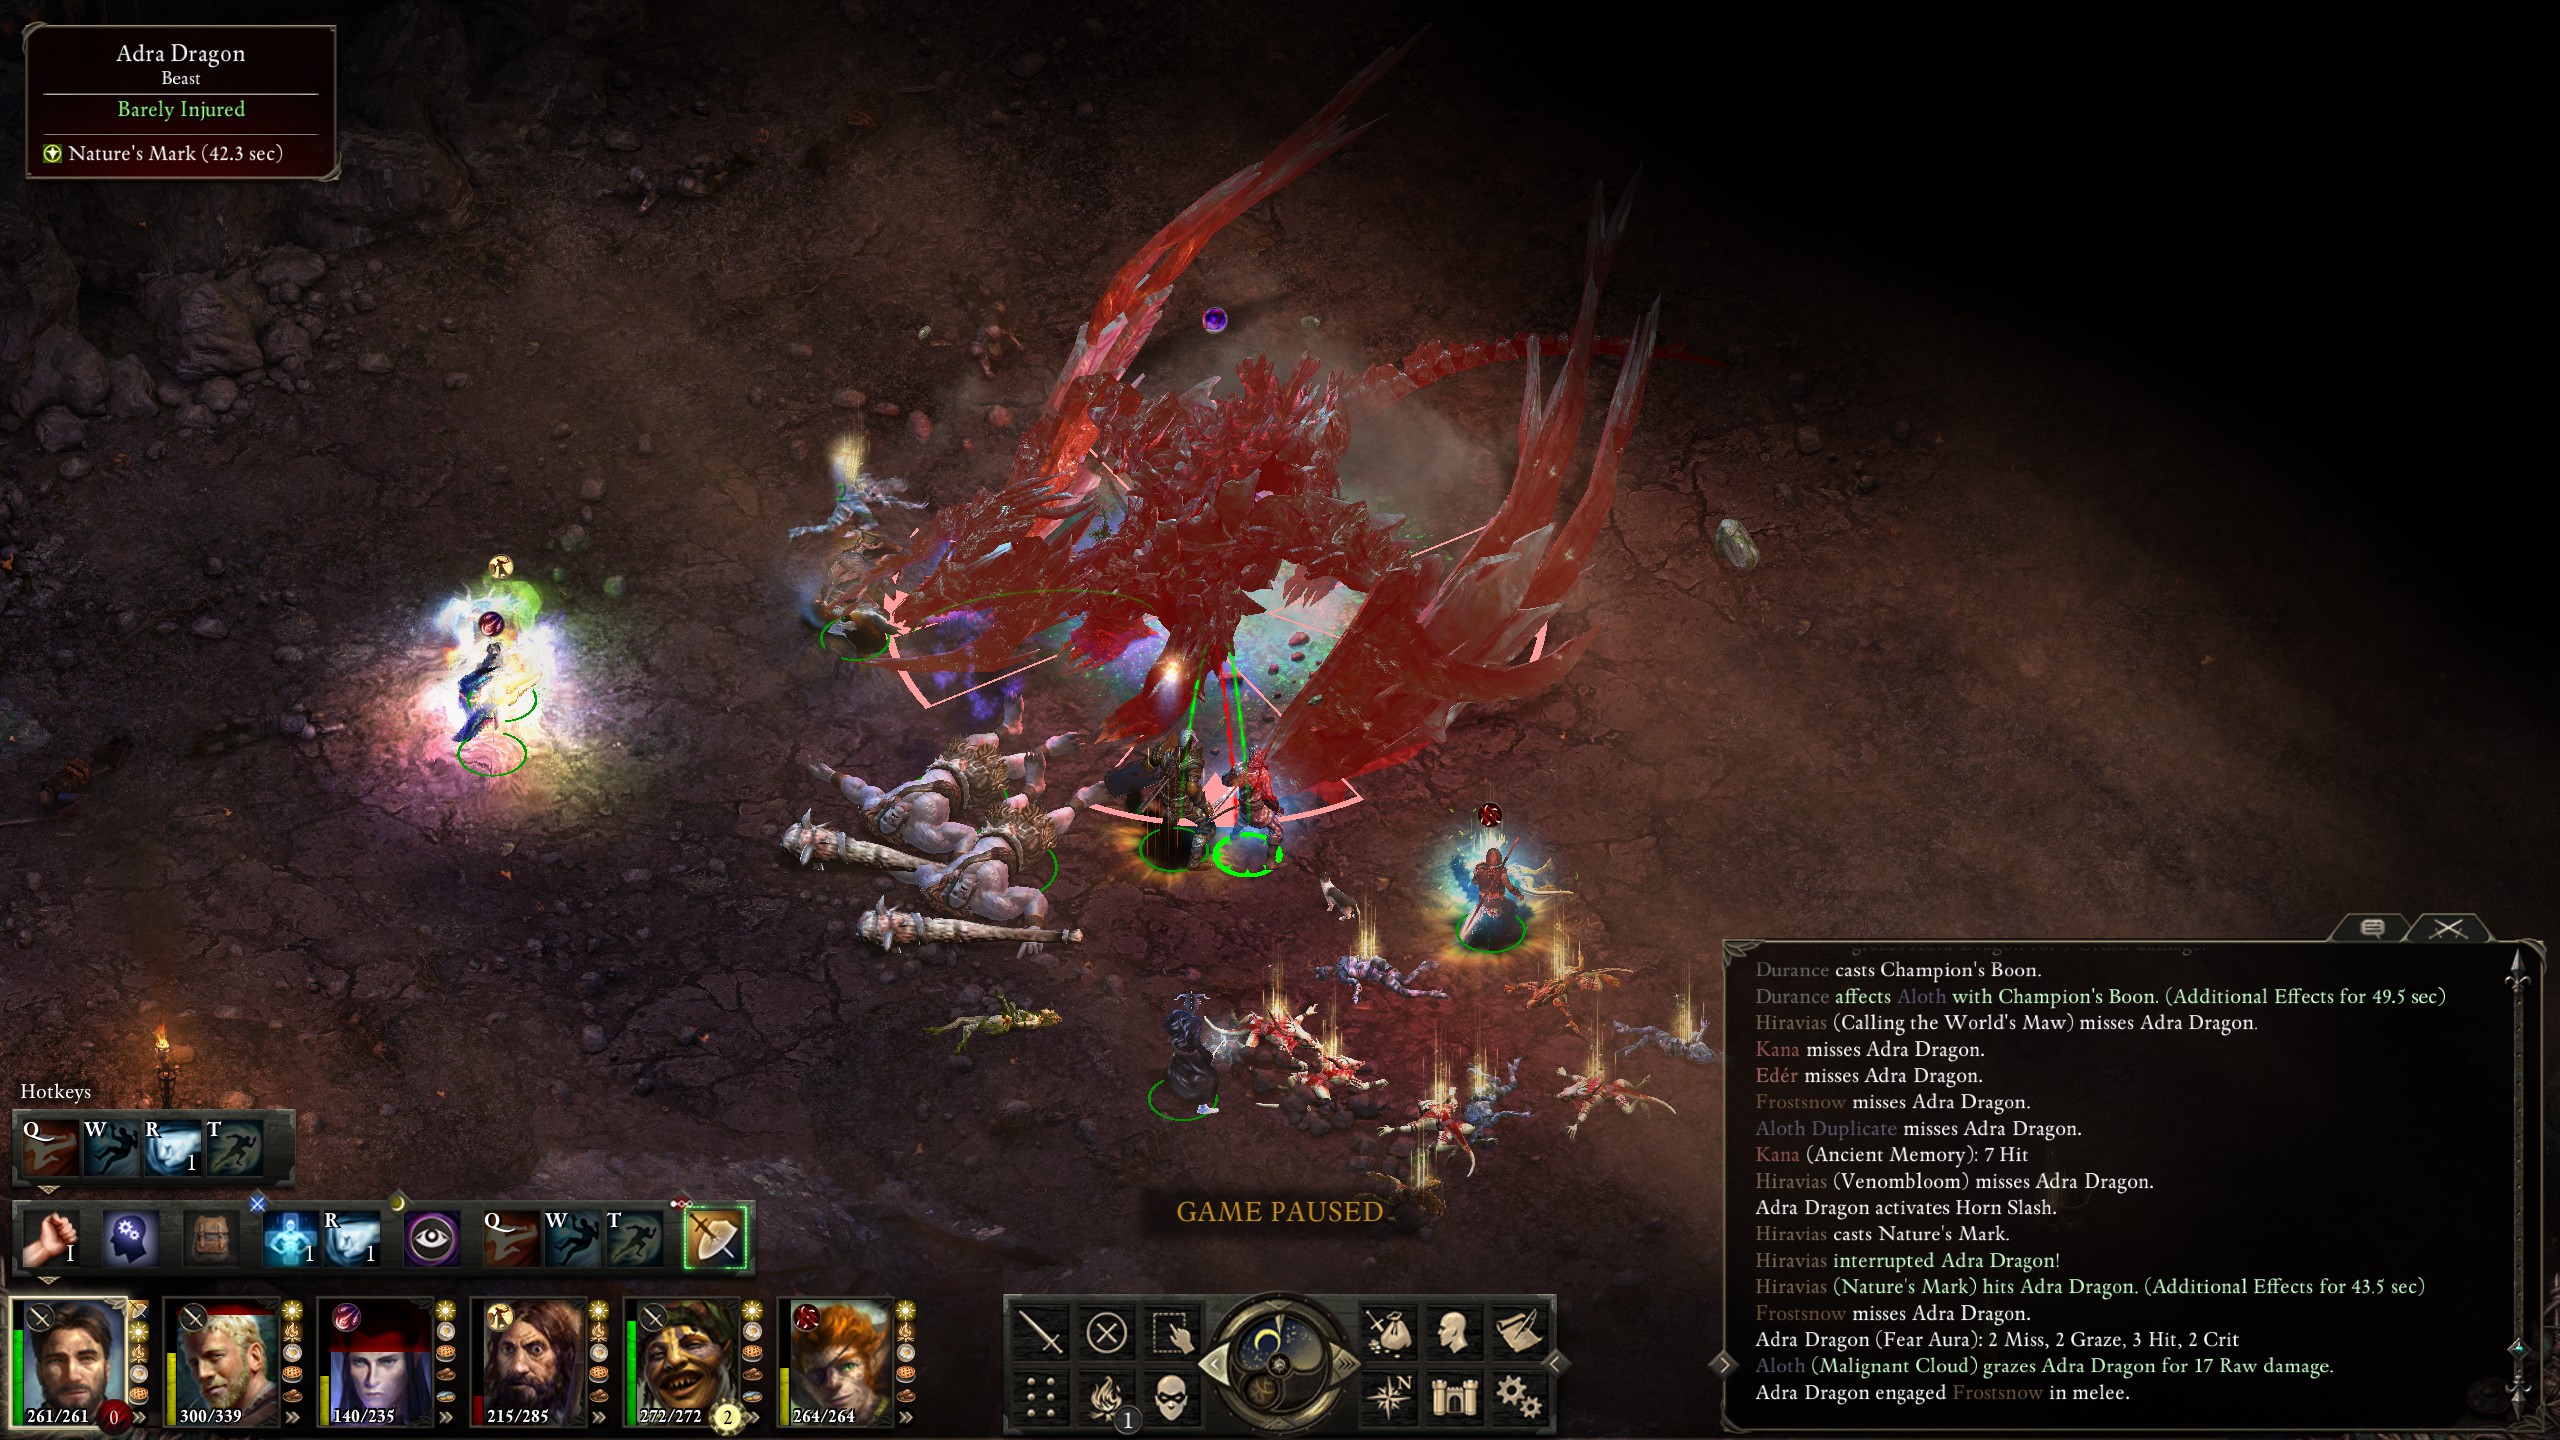
The dragon did not appreciate this.

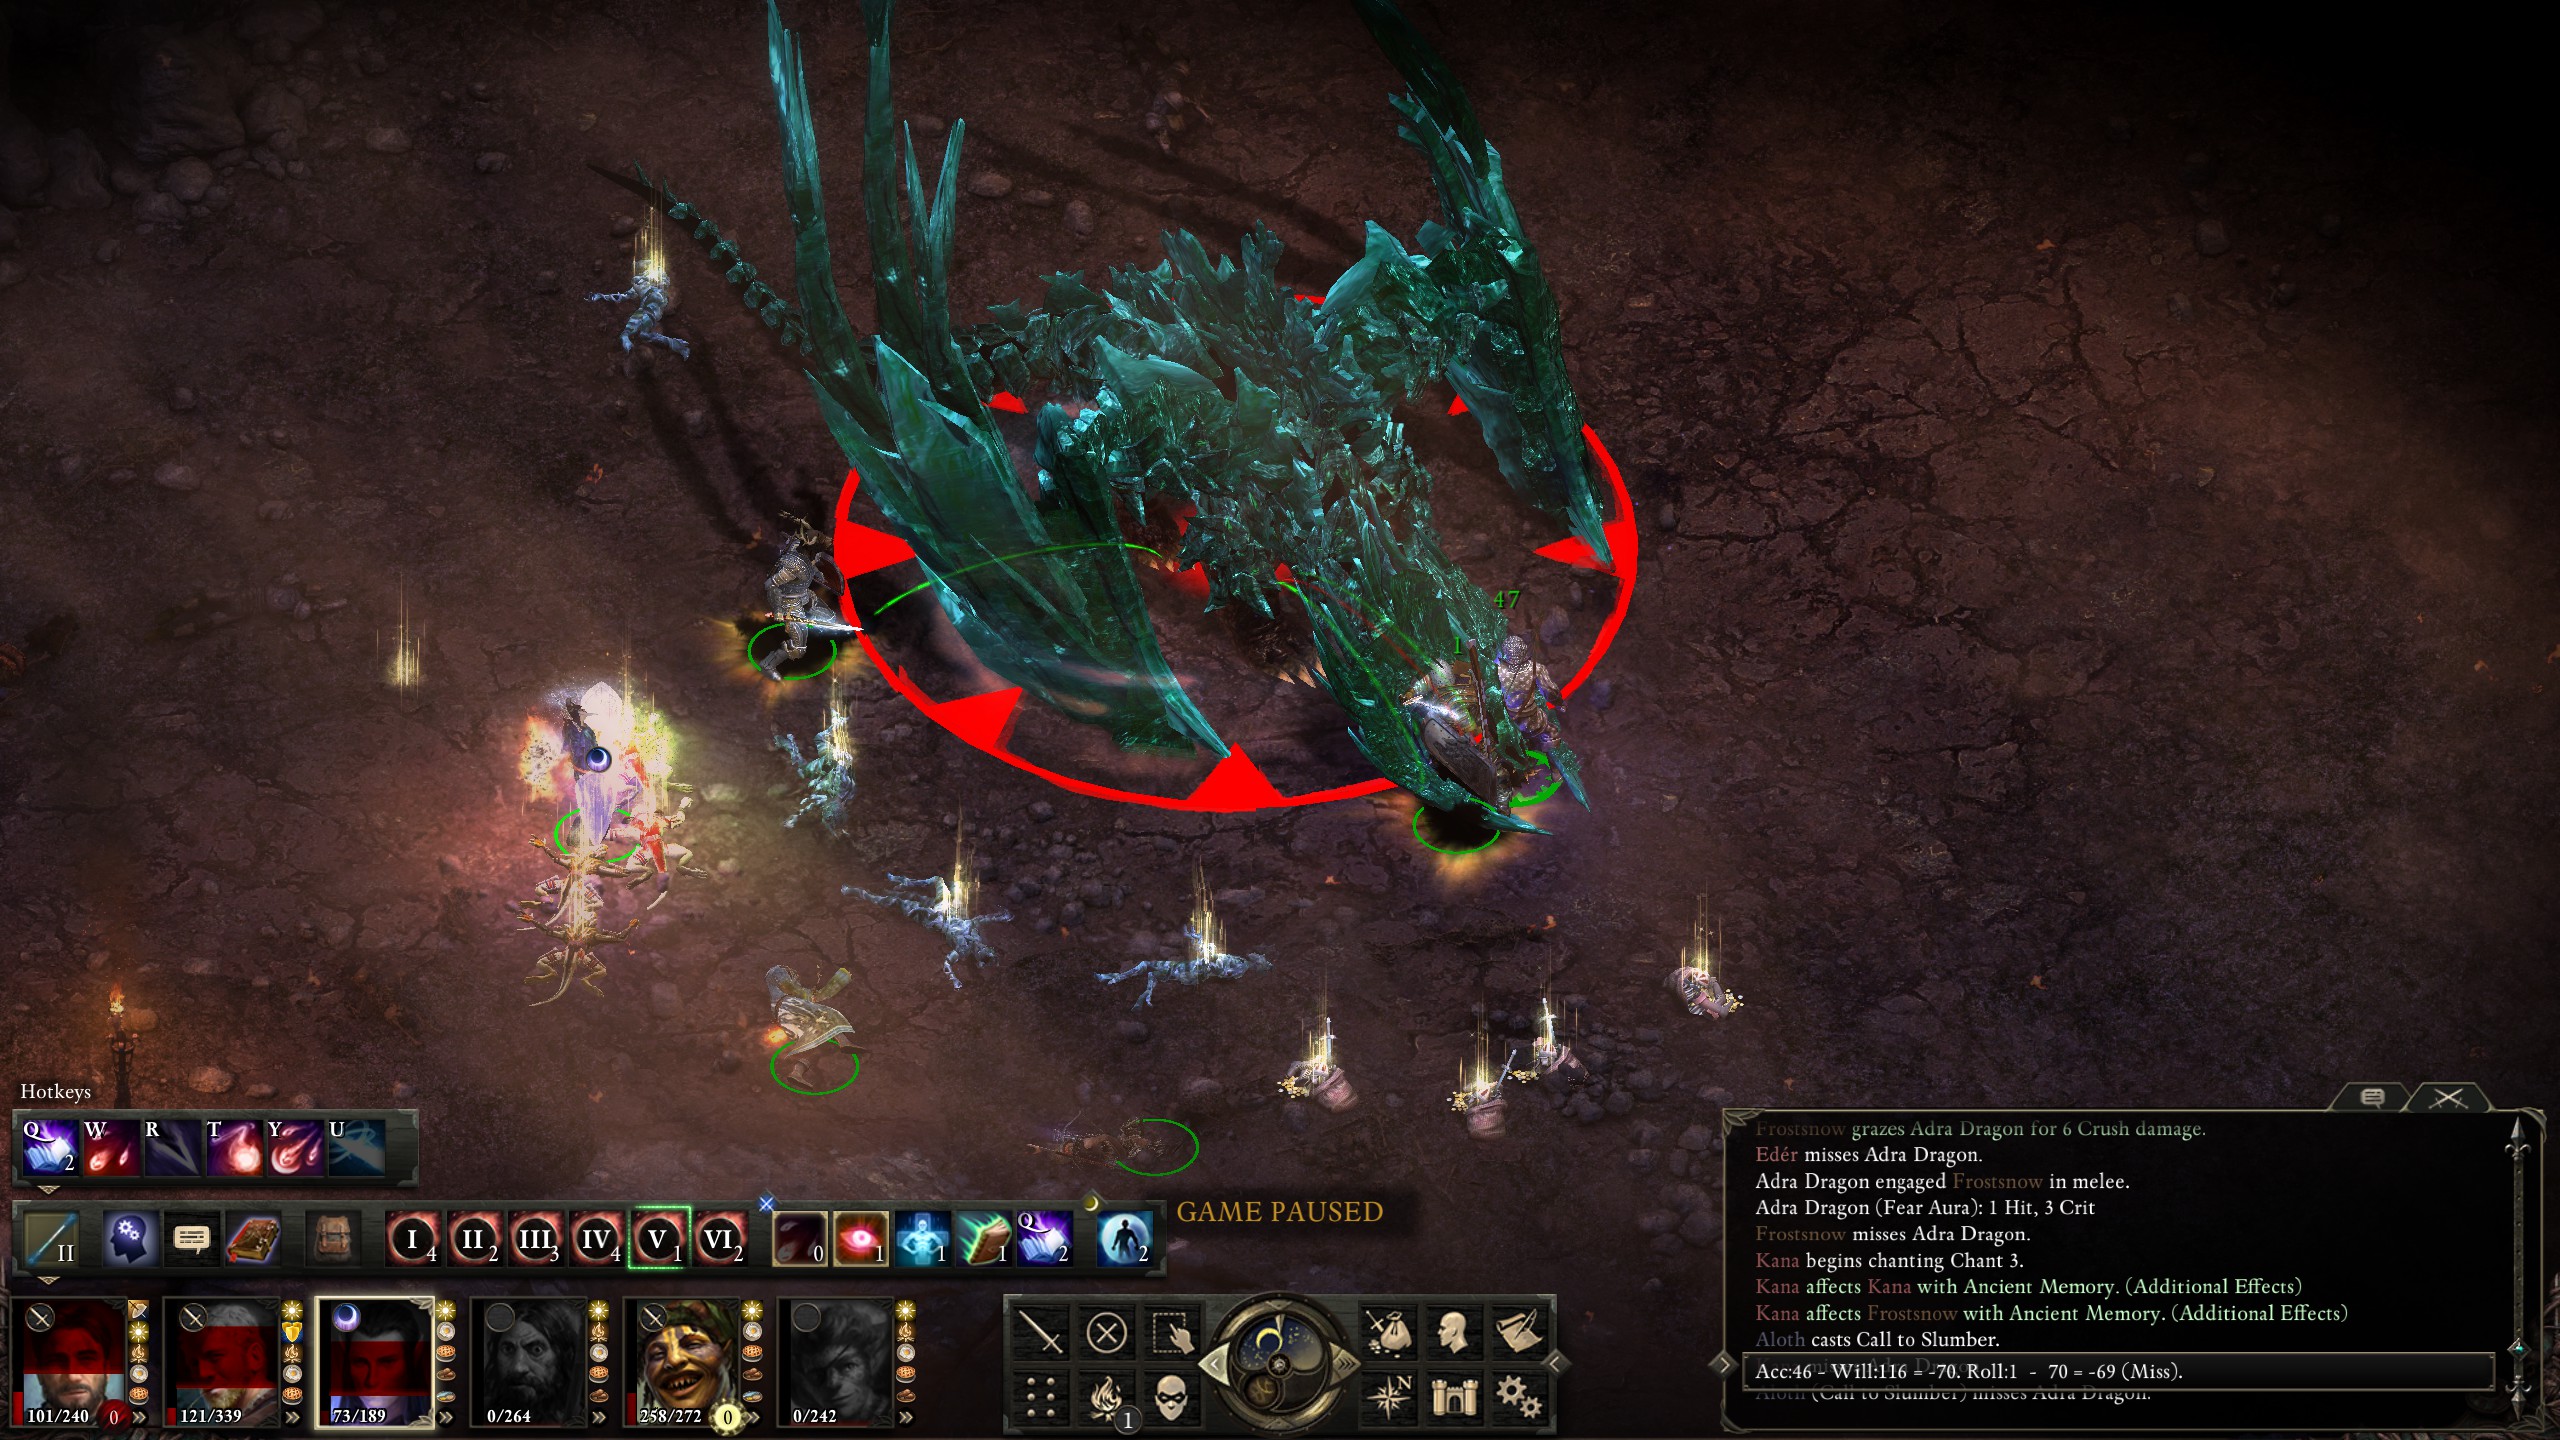
Again, I was able to move Kana into a position to revive Aloth and also my monk while moving into the southeast corner. I then moved Aloth to the southwest corner and proceeded to cast spells with a series of rock-bottom rolls while the dragon decided to engage my monk rather than Kana.
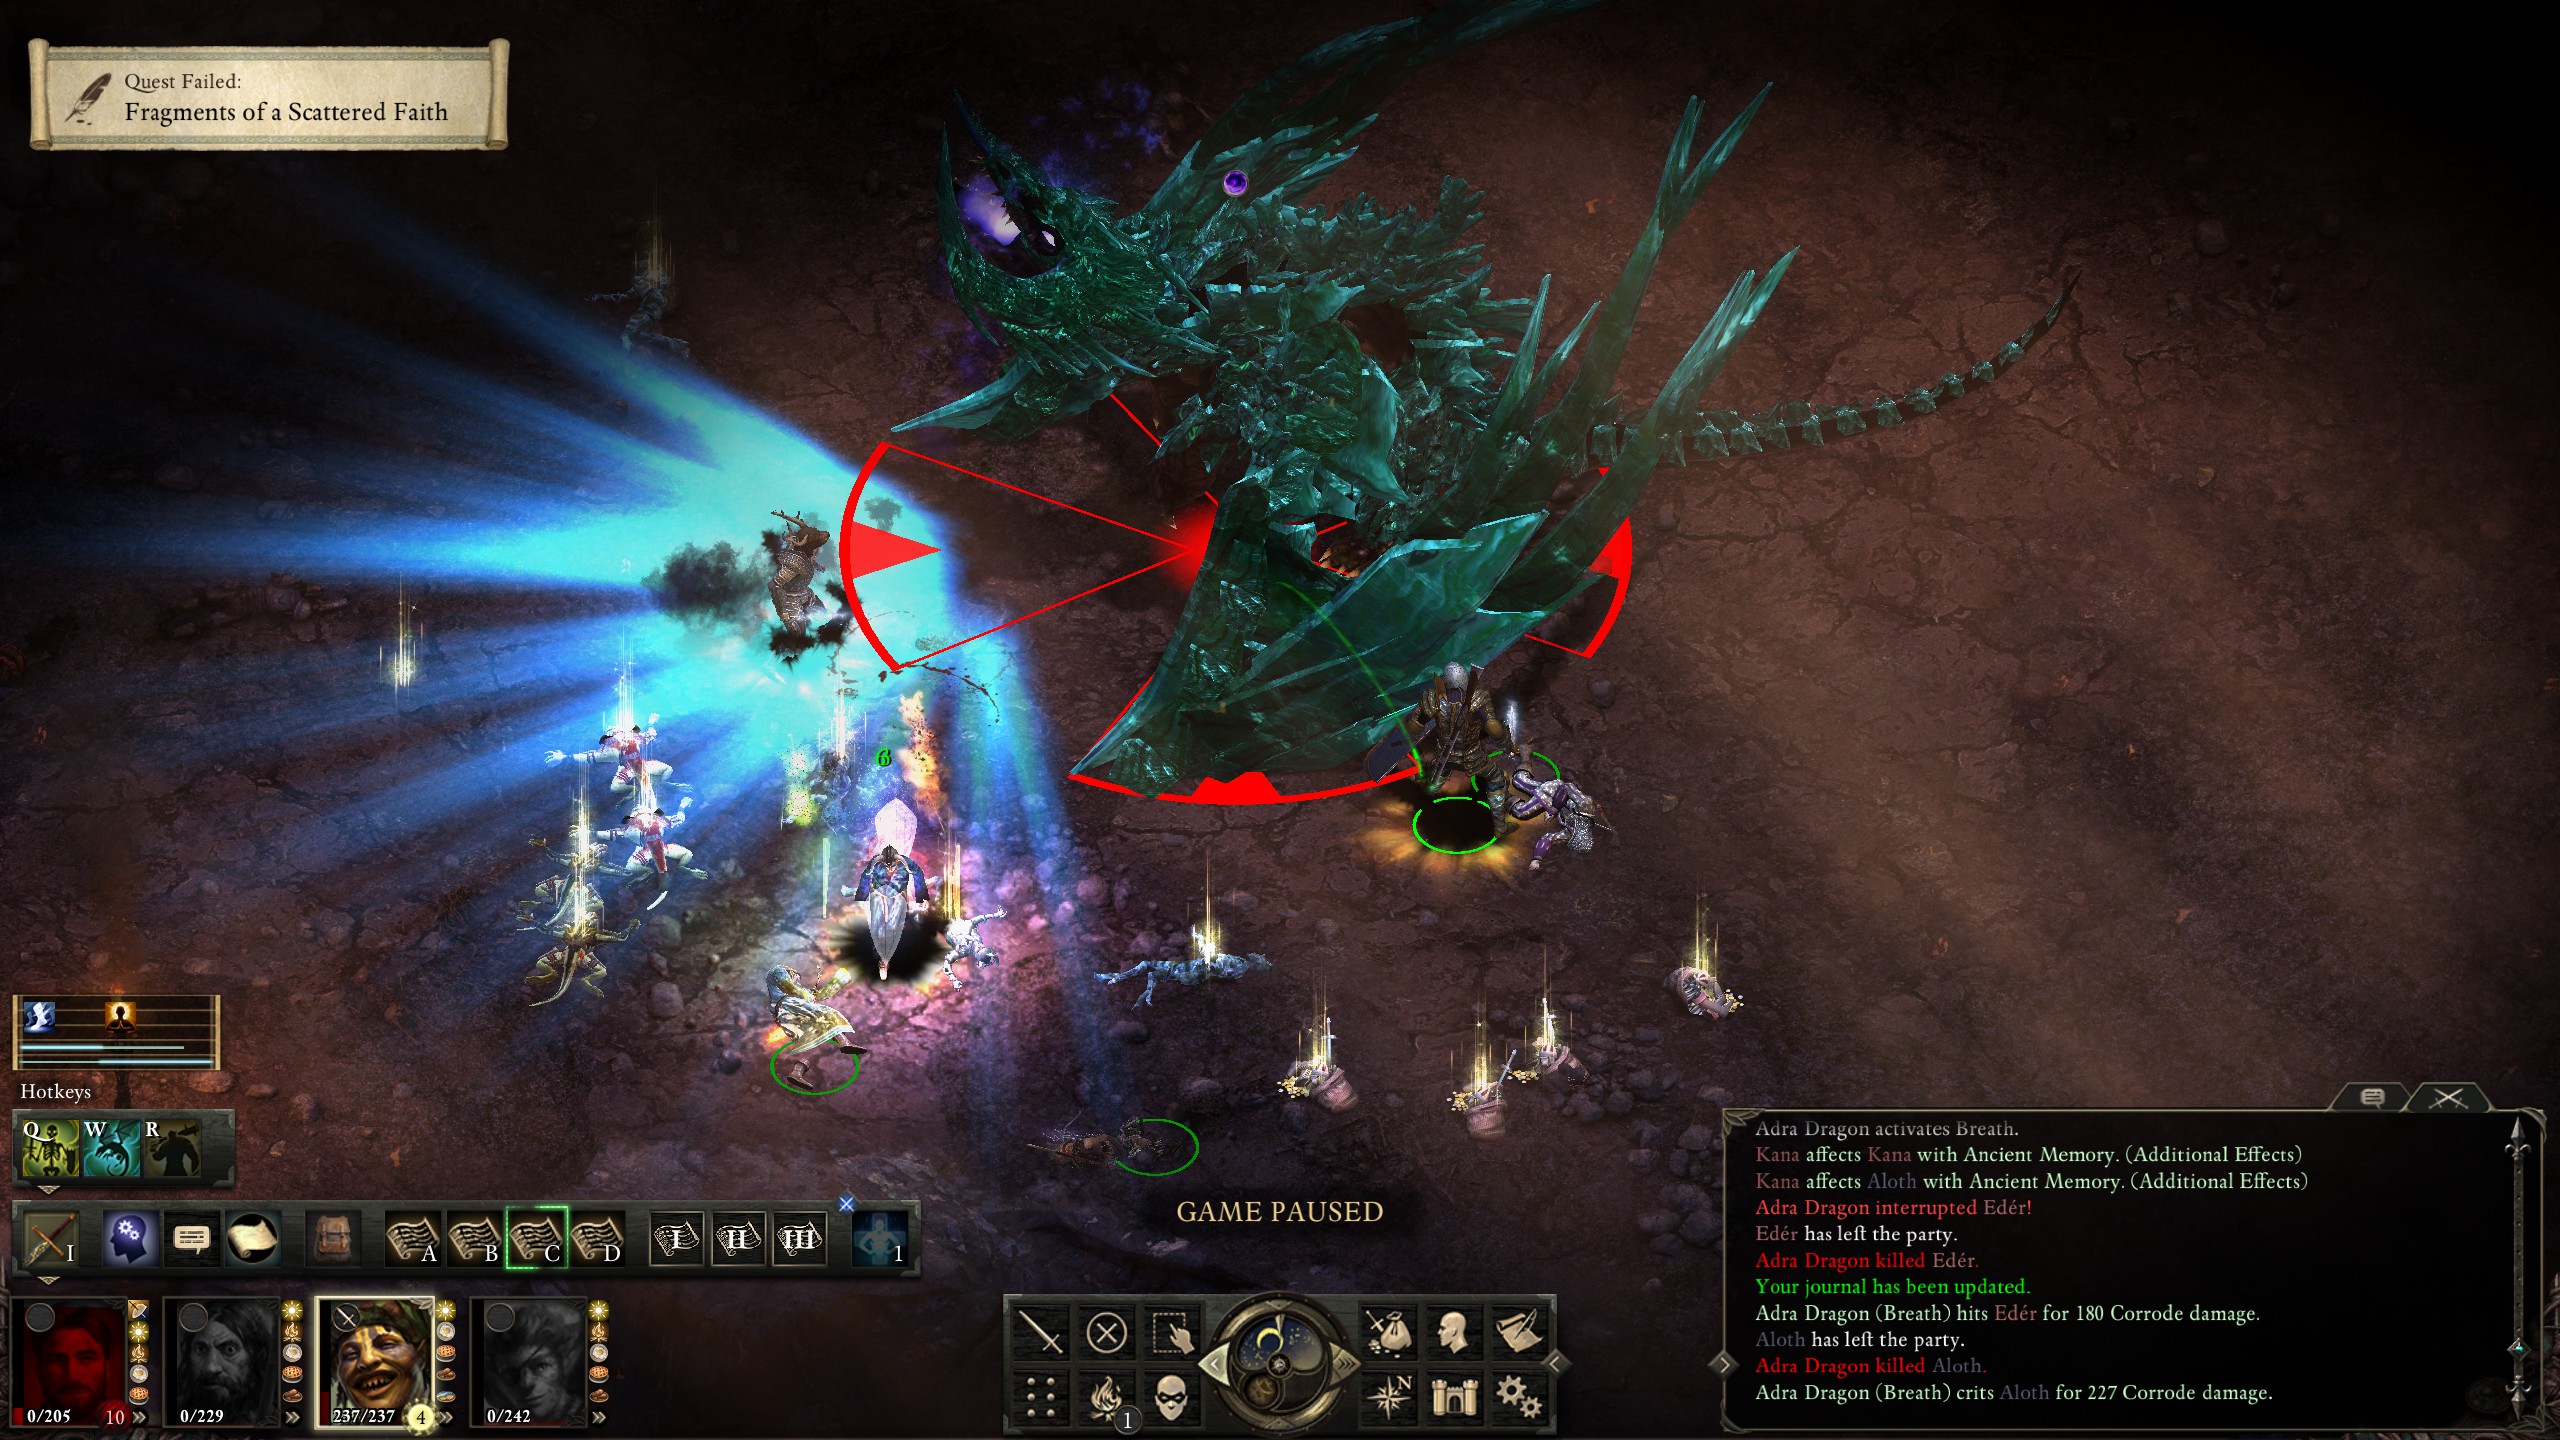
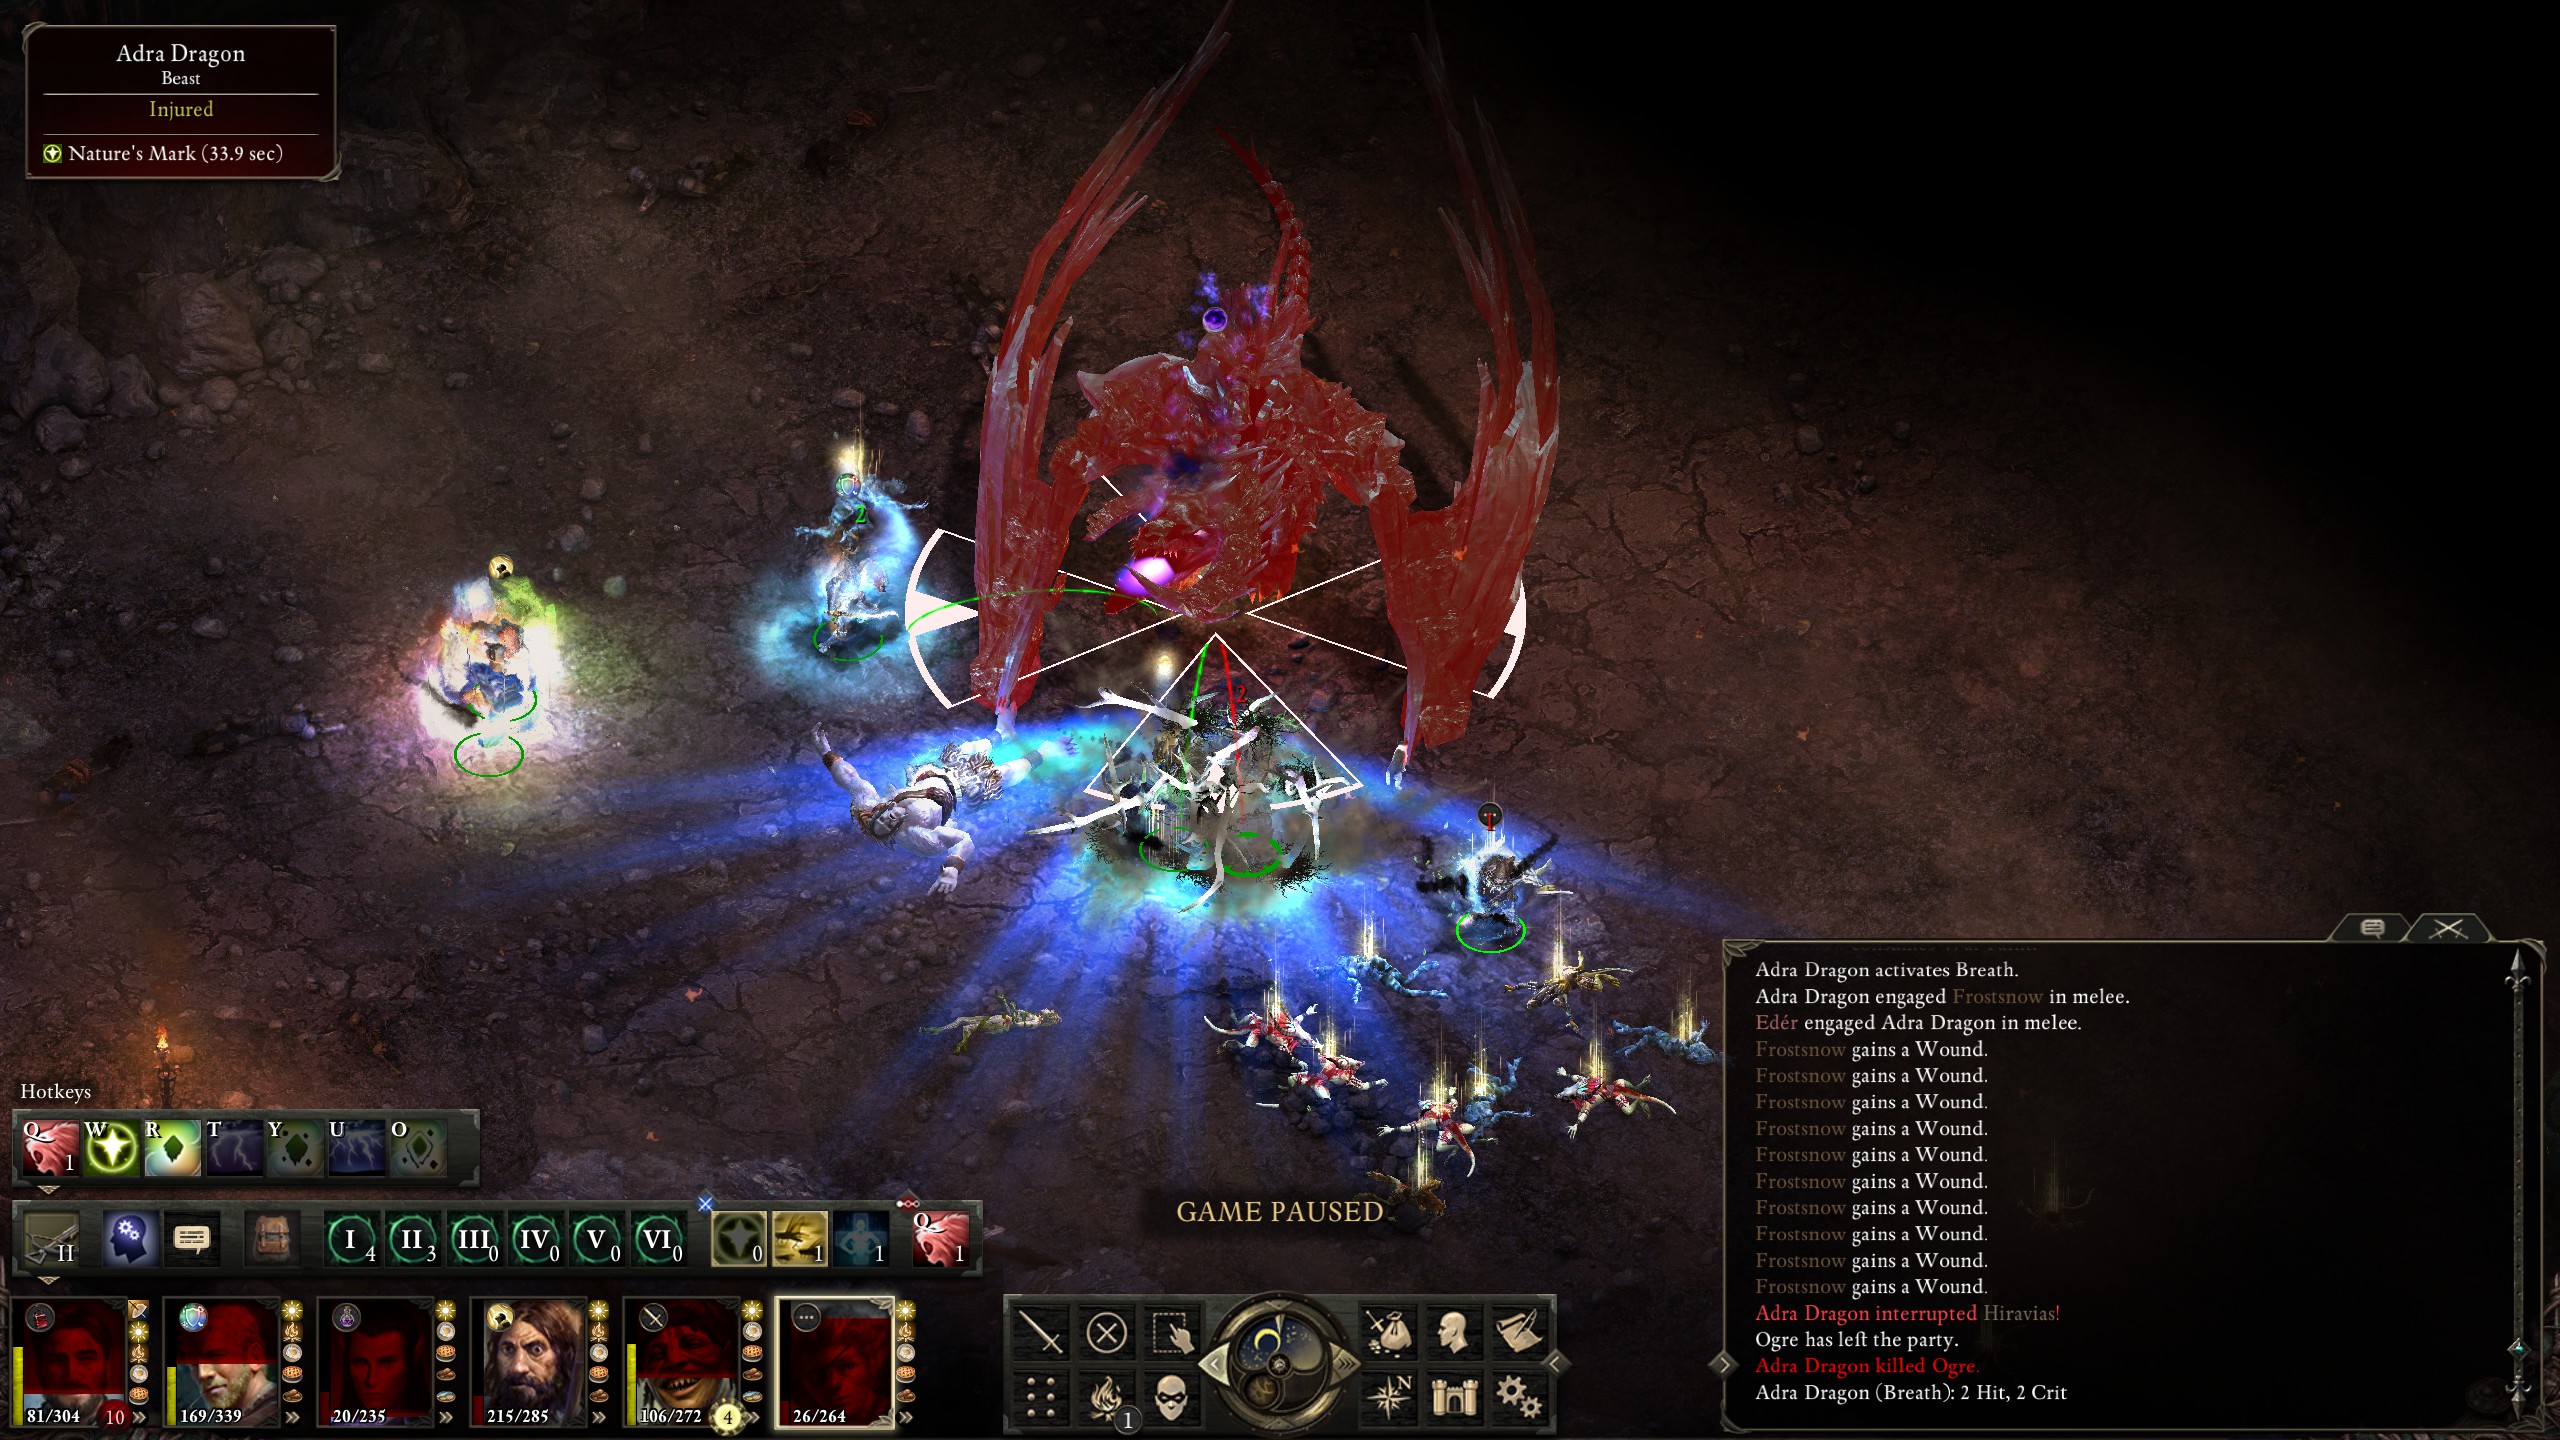
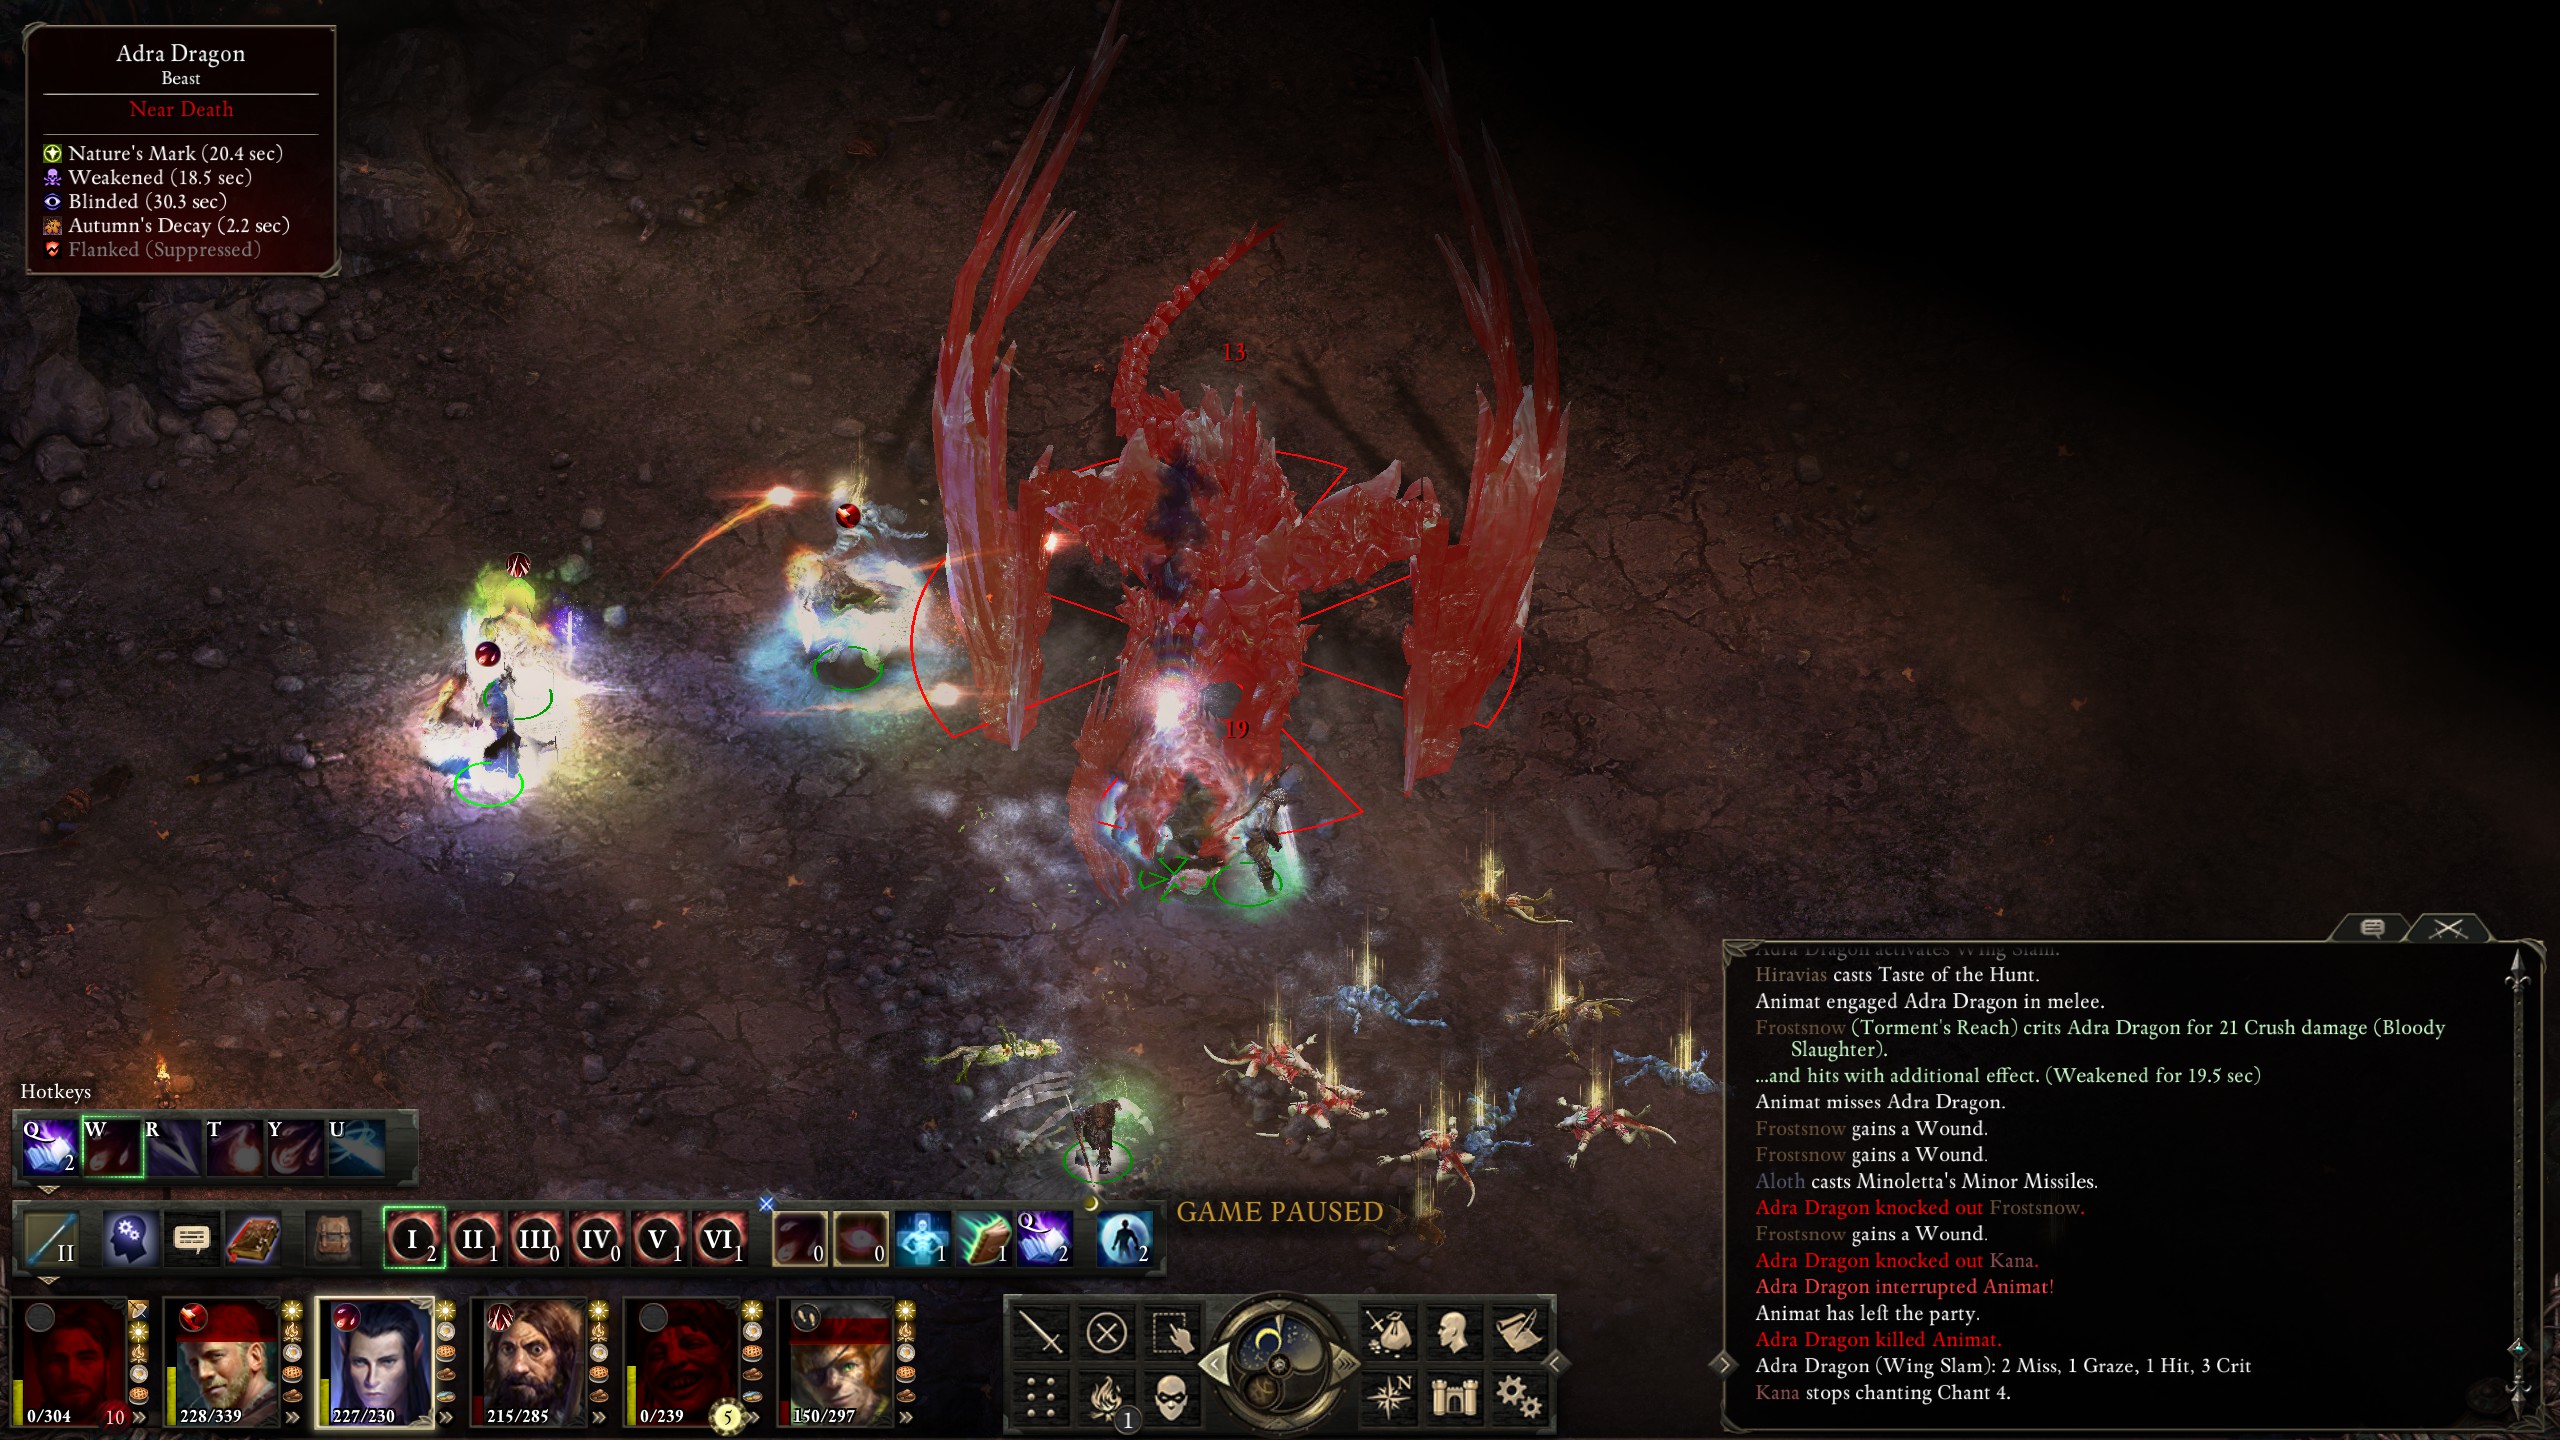
After knocking my Monk out it then proceeded to kill Eder and Aloth with another Breath attack.
Kana then lived long enough to revive my monk before also dying.
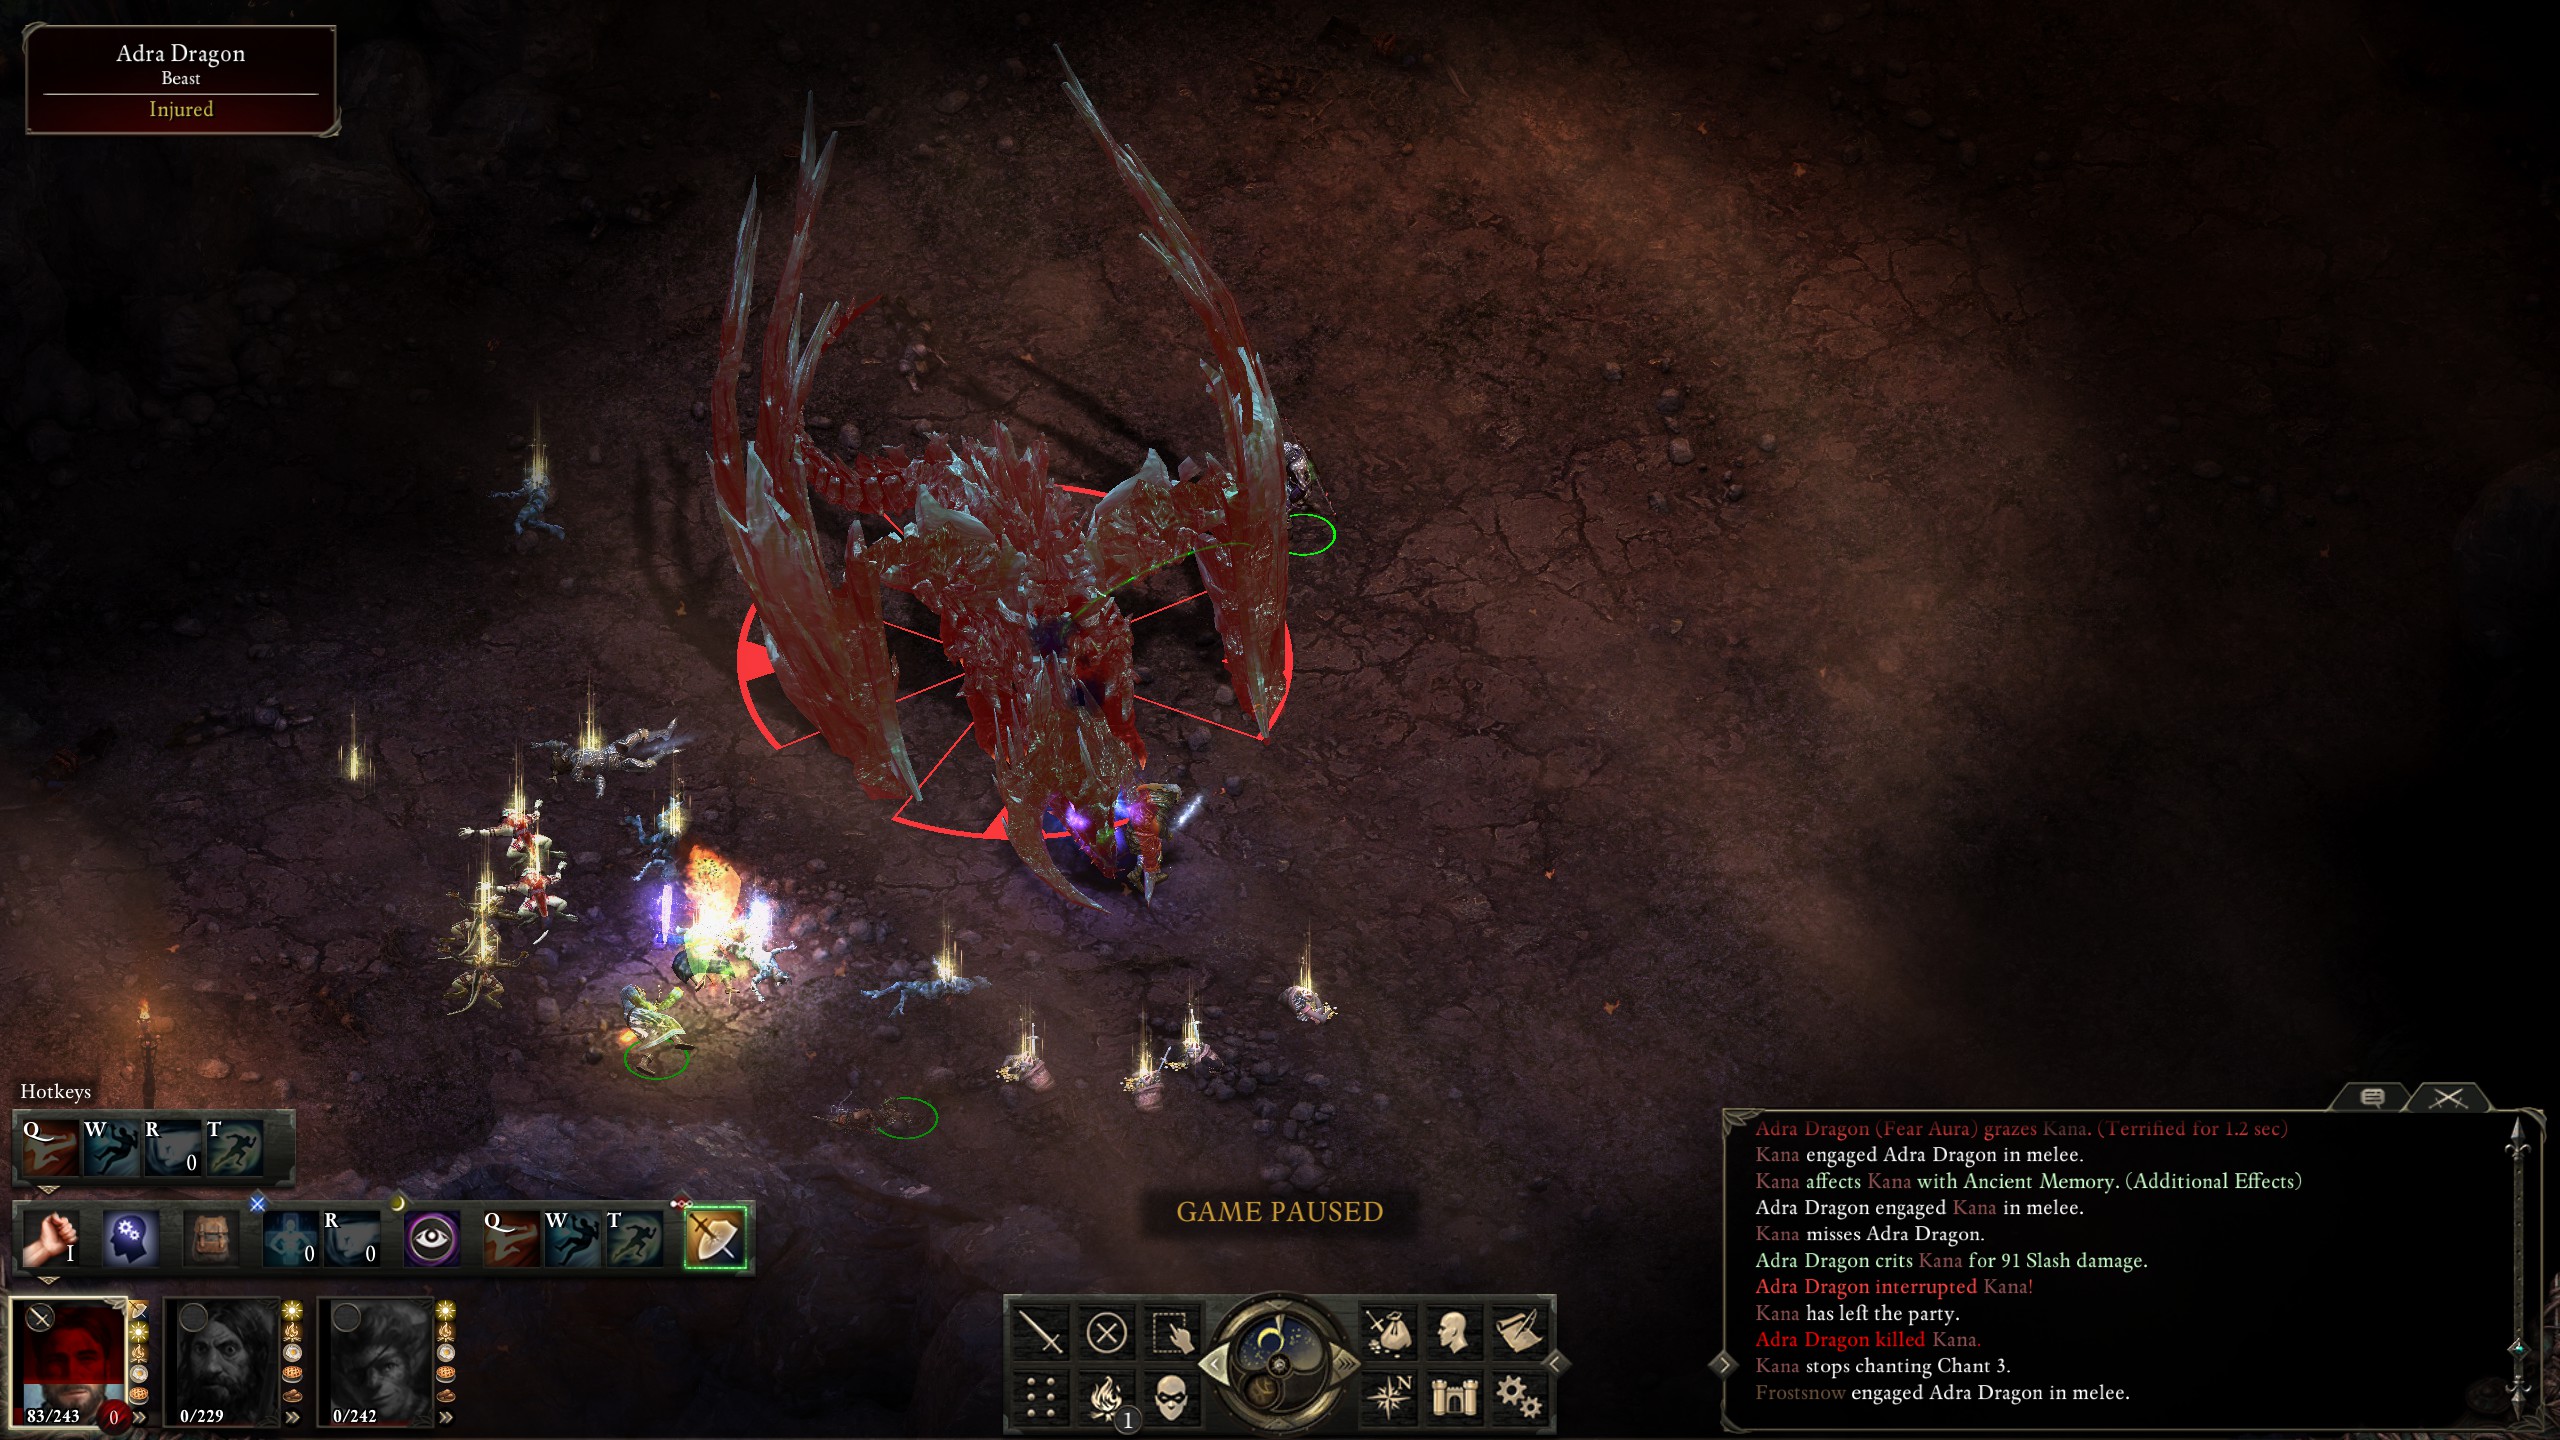
My monk was then summarily crushed by the dragon's regular attacks.
Thus the first round went to the dragon. Nearly my entire party had been killed in what was probably the most brutal fight I'd ever experienced in the game. I did make some decent strides against it, killing all of the adds and bringing it down to "Injured", but that was still pretty far from a victory. I thought about what went wrong and decided that the initial positioning had been wrong, though I couldn't think of a way to protect my entire party from dominates. A few dominates would probably do less damage than a Wing Slam plus Breath attack combo, though.
For my second attempt I decided to send Eder in alone while I had Durance protect the rest of the team. This ran the risk of Eder getting dominated and messing up my positioning, but I couldn't think of any better option.
It started out well enough. The dragon missed its Wing Slam while I summoned a few extra minions and decided to apply a few more buffs.
That turned out to be a bad idea. While the Wing Slam missed, the breath attack certainly didn't.
I quickly got into a proper position after that.
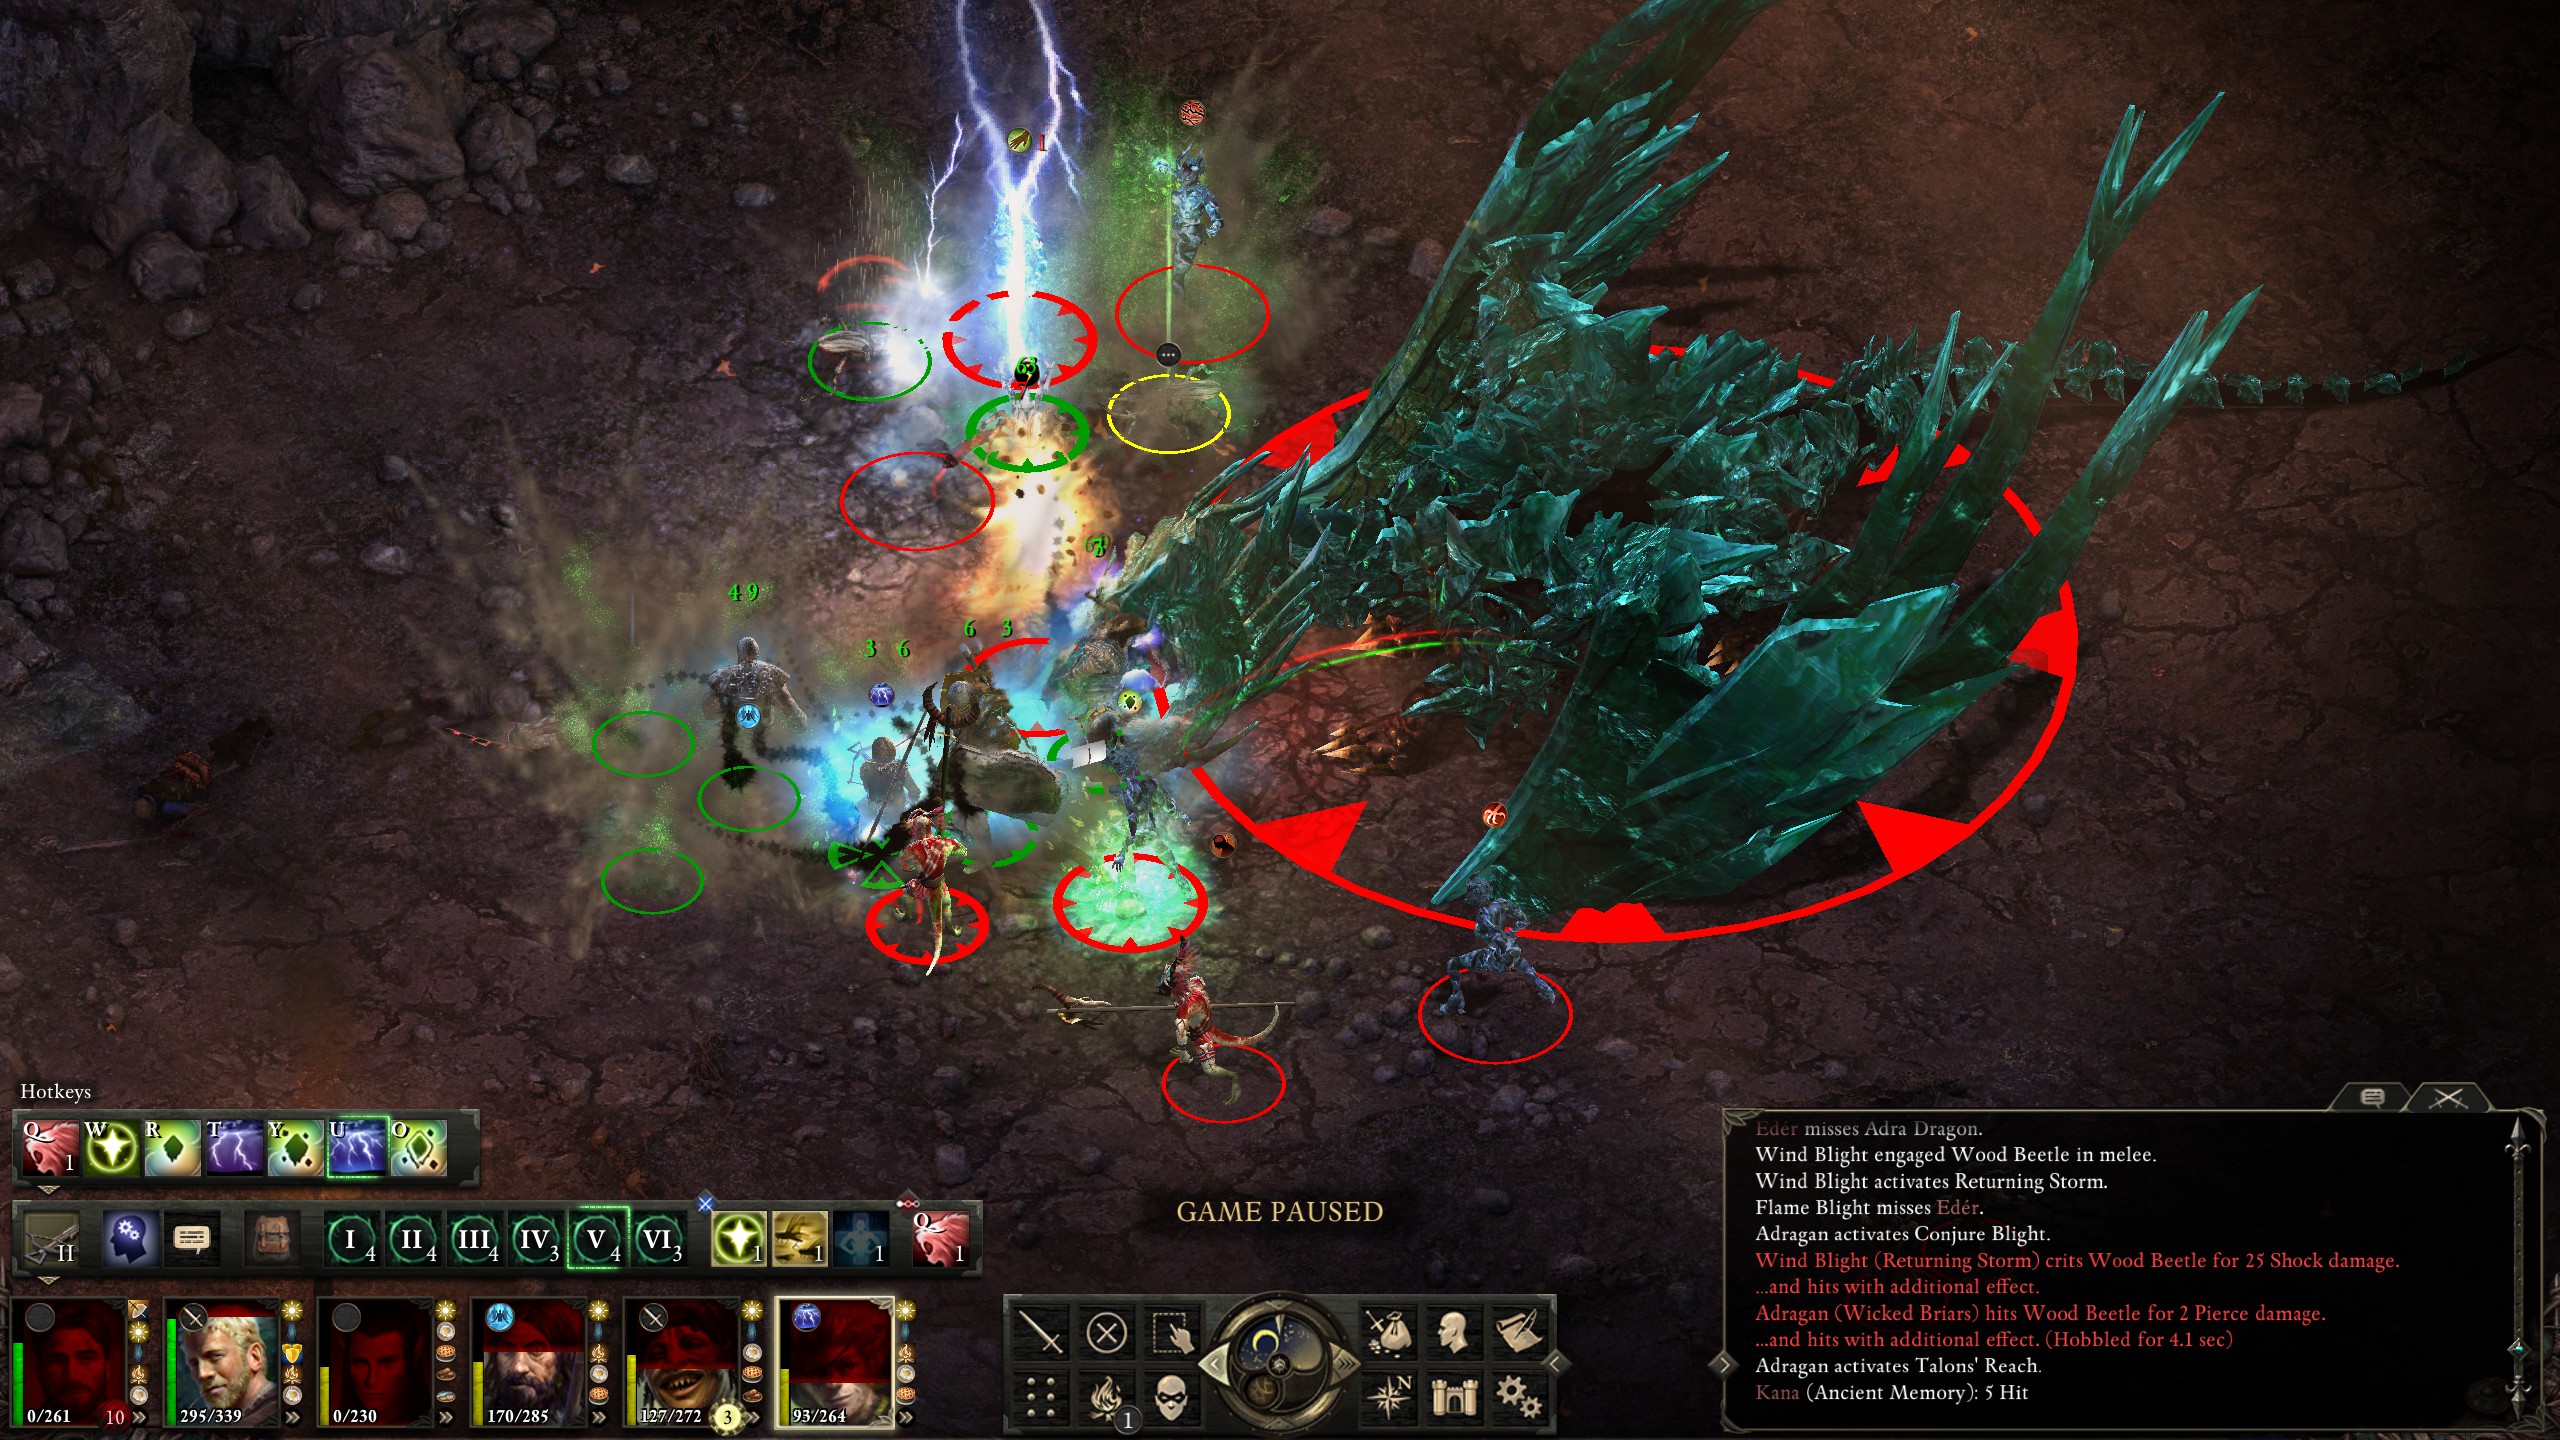
It was taking longer than I'd have liked for Hiravas and my Monk to kills the adds, so I decided to send Aloth in to help.
I used the "Call to Slumber" followed my "Minoletta's Precisely Piercing Burst" combo I'd learned from the first fight in order to make quick work of the xaurips.
My two-subgroup strategy appeared to be working, as the dragon then threw a breath attack that was only able to hit one group.
Unfortunately for Durance, he wasn't able to heal up in time to make it through the coming Wing Slam critical that would then land on him.
That was okay, though, as he had the "Second Chance" enchantment on his robe and Aloth and Hiravas were both capable of reviving him if the enchantment was down. A short while later he was up, healed, and casting more buffs.
For its next moves the dragon decided to throw a Wing Slam to the west followed by a Breath attack to the south. As I had anticipated, each group was able to to survive the attack, although they had some serious healing to do before the next attacks.
In fact, Hiravas was low enough that it was time to have Durance cast "Barring Death's Door" on him, so I had him move away from the dragon until the spell had cast.
This turned out to be a great idea, because the dragon soon after decided to use its Wing Slam, and I was able to maneuver Hiravas out of its range.
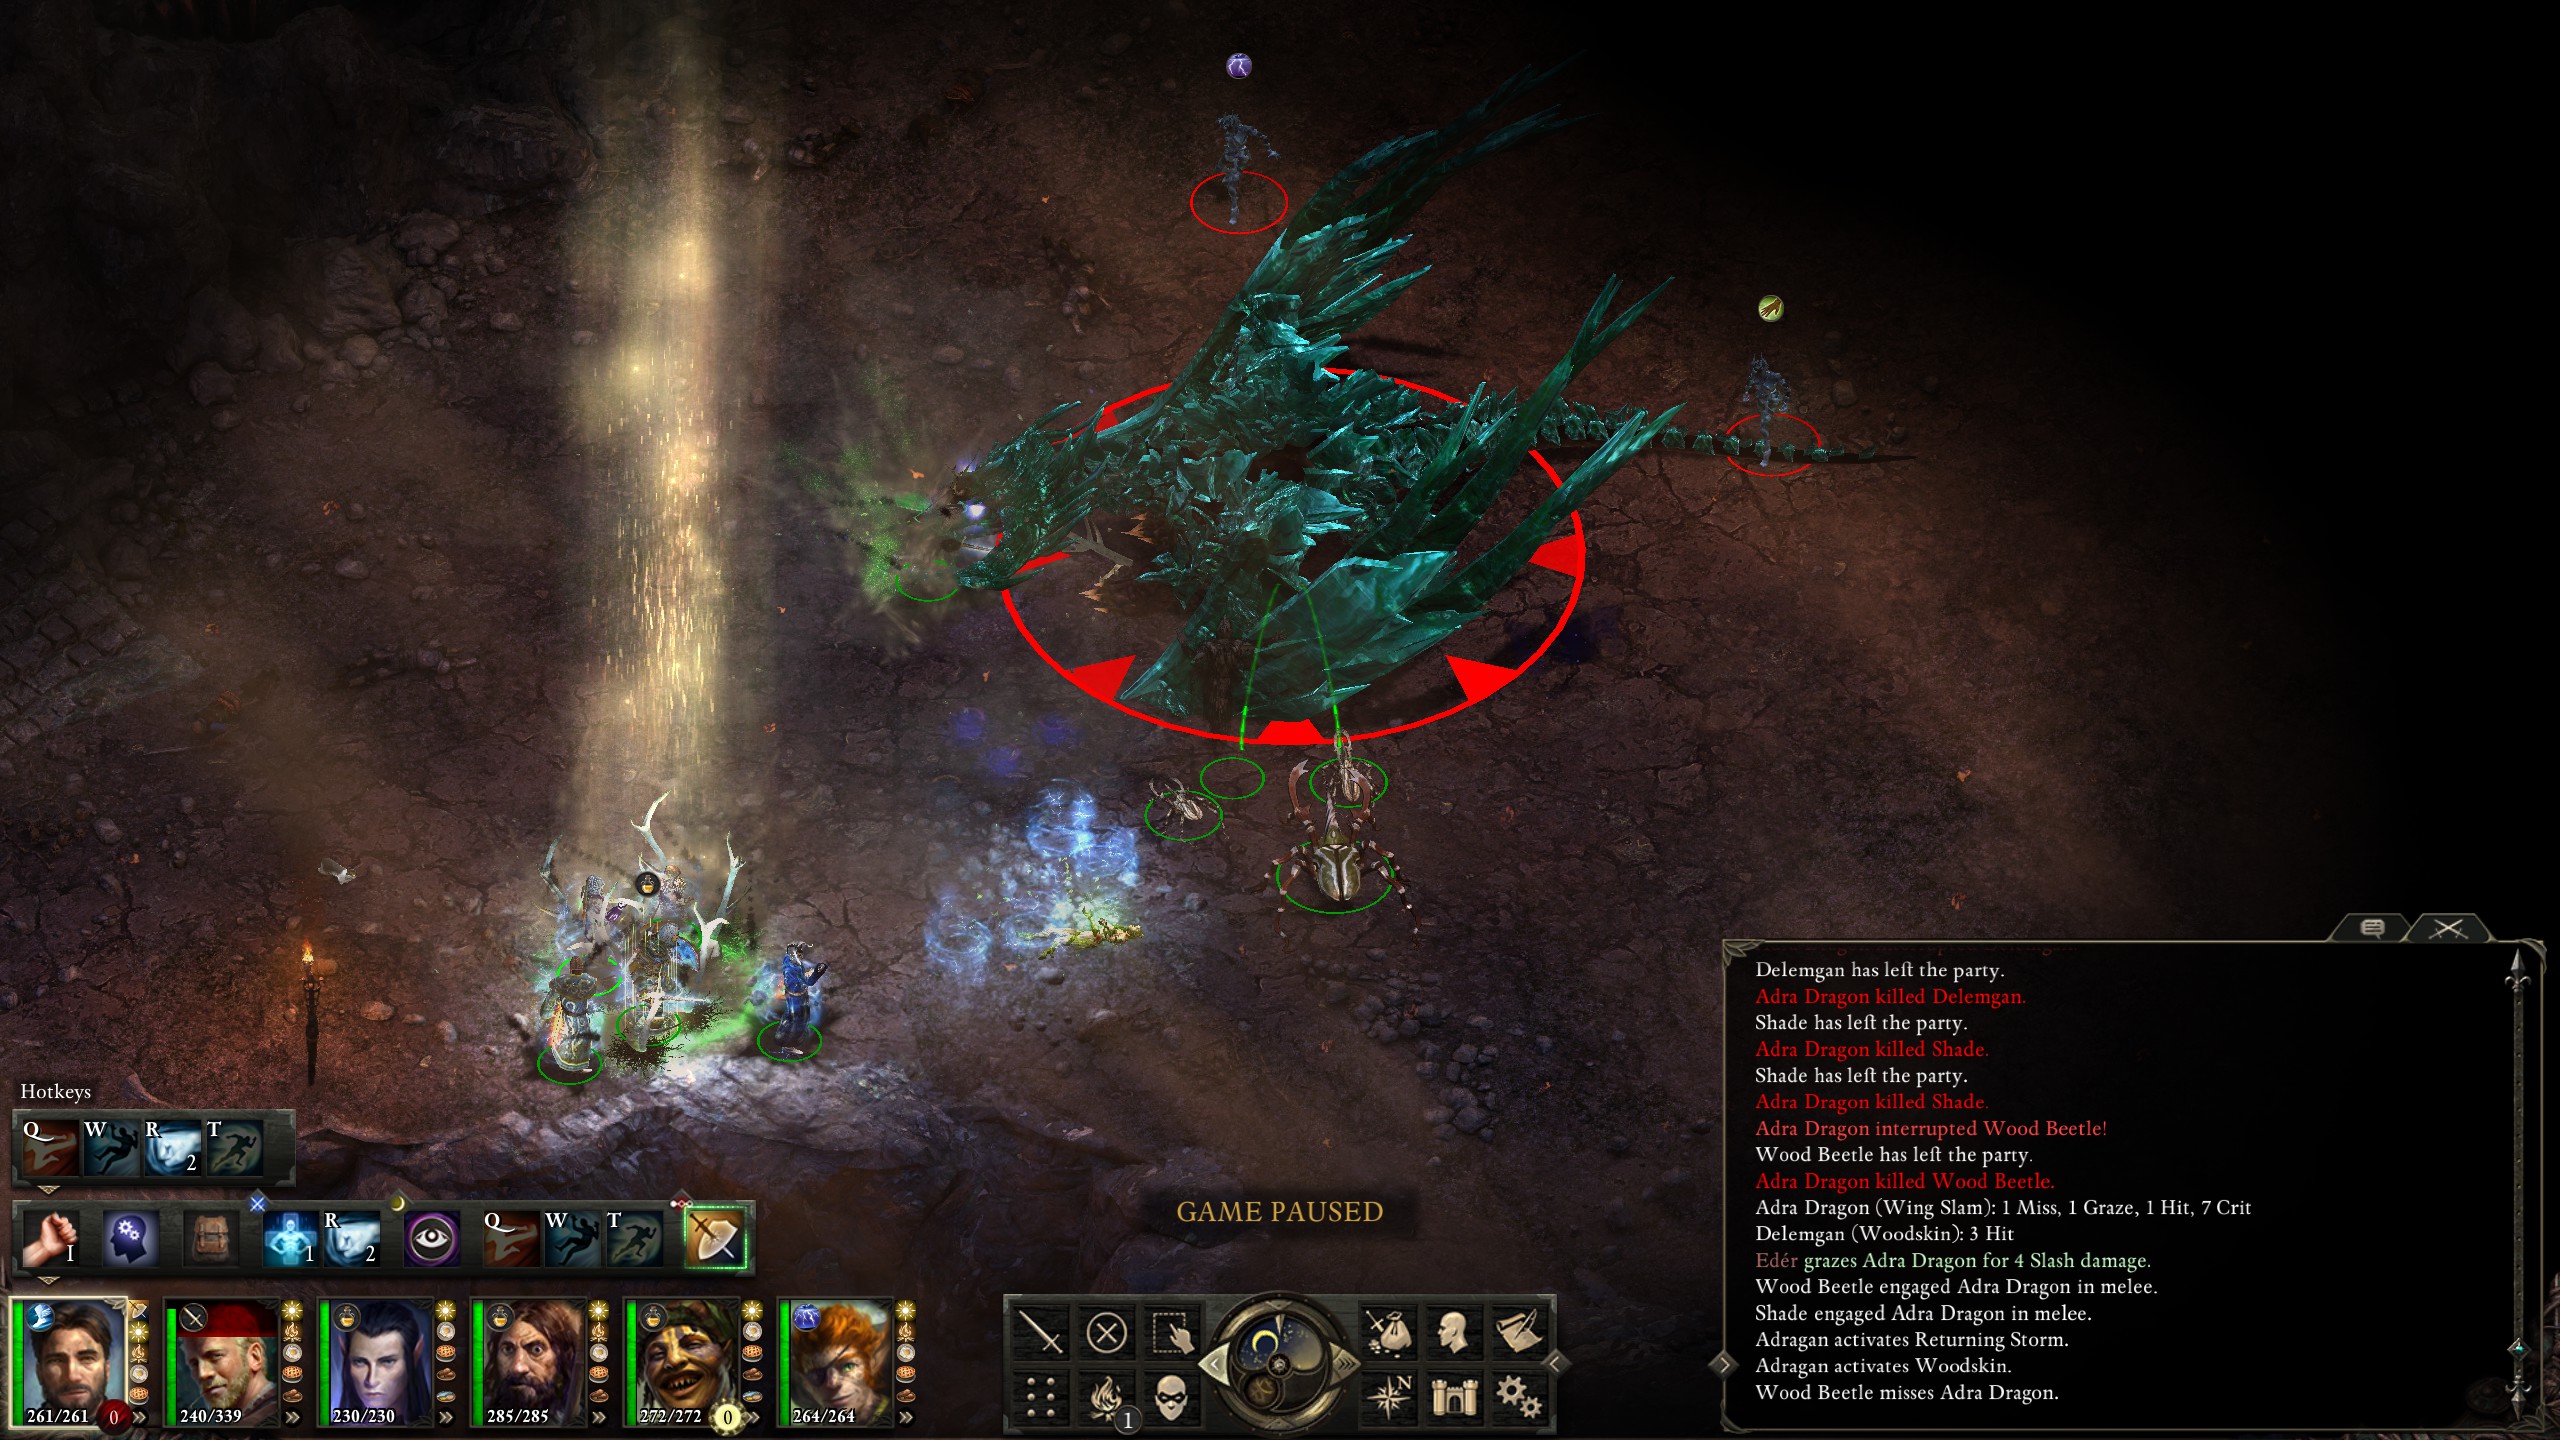
Since I'd giving Hiravas the "Remembrance Ashes" I then had him revive Kana, who then proceeded to use "Rise Again, Rise Again, Scions of Adon!" to revive my monk.
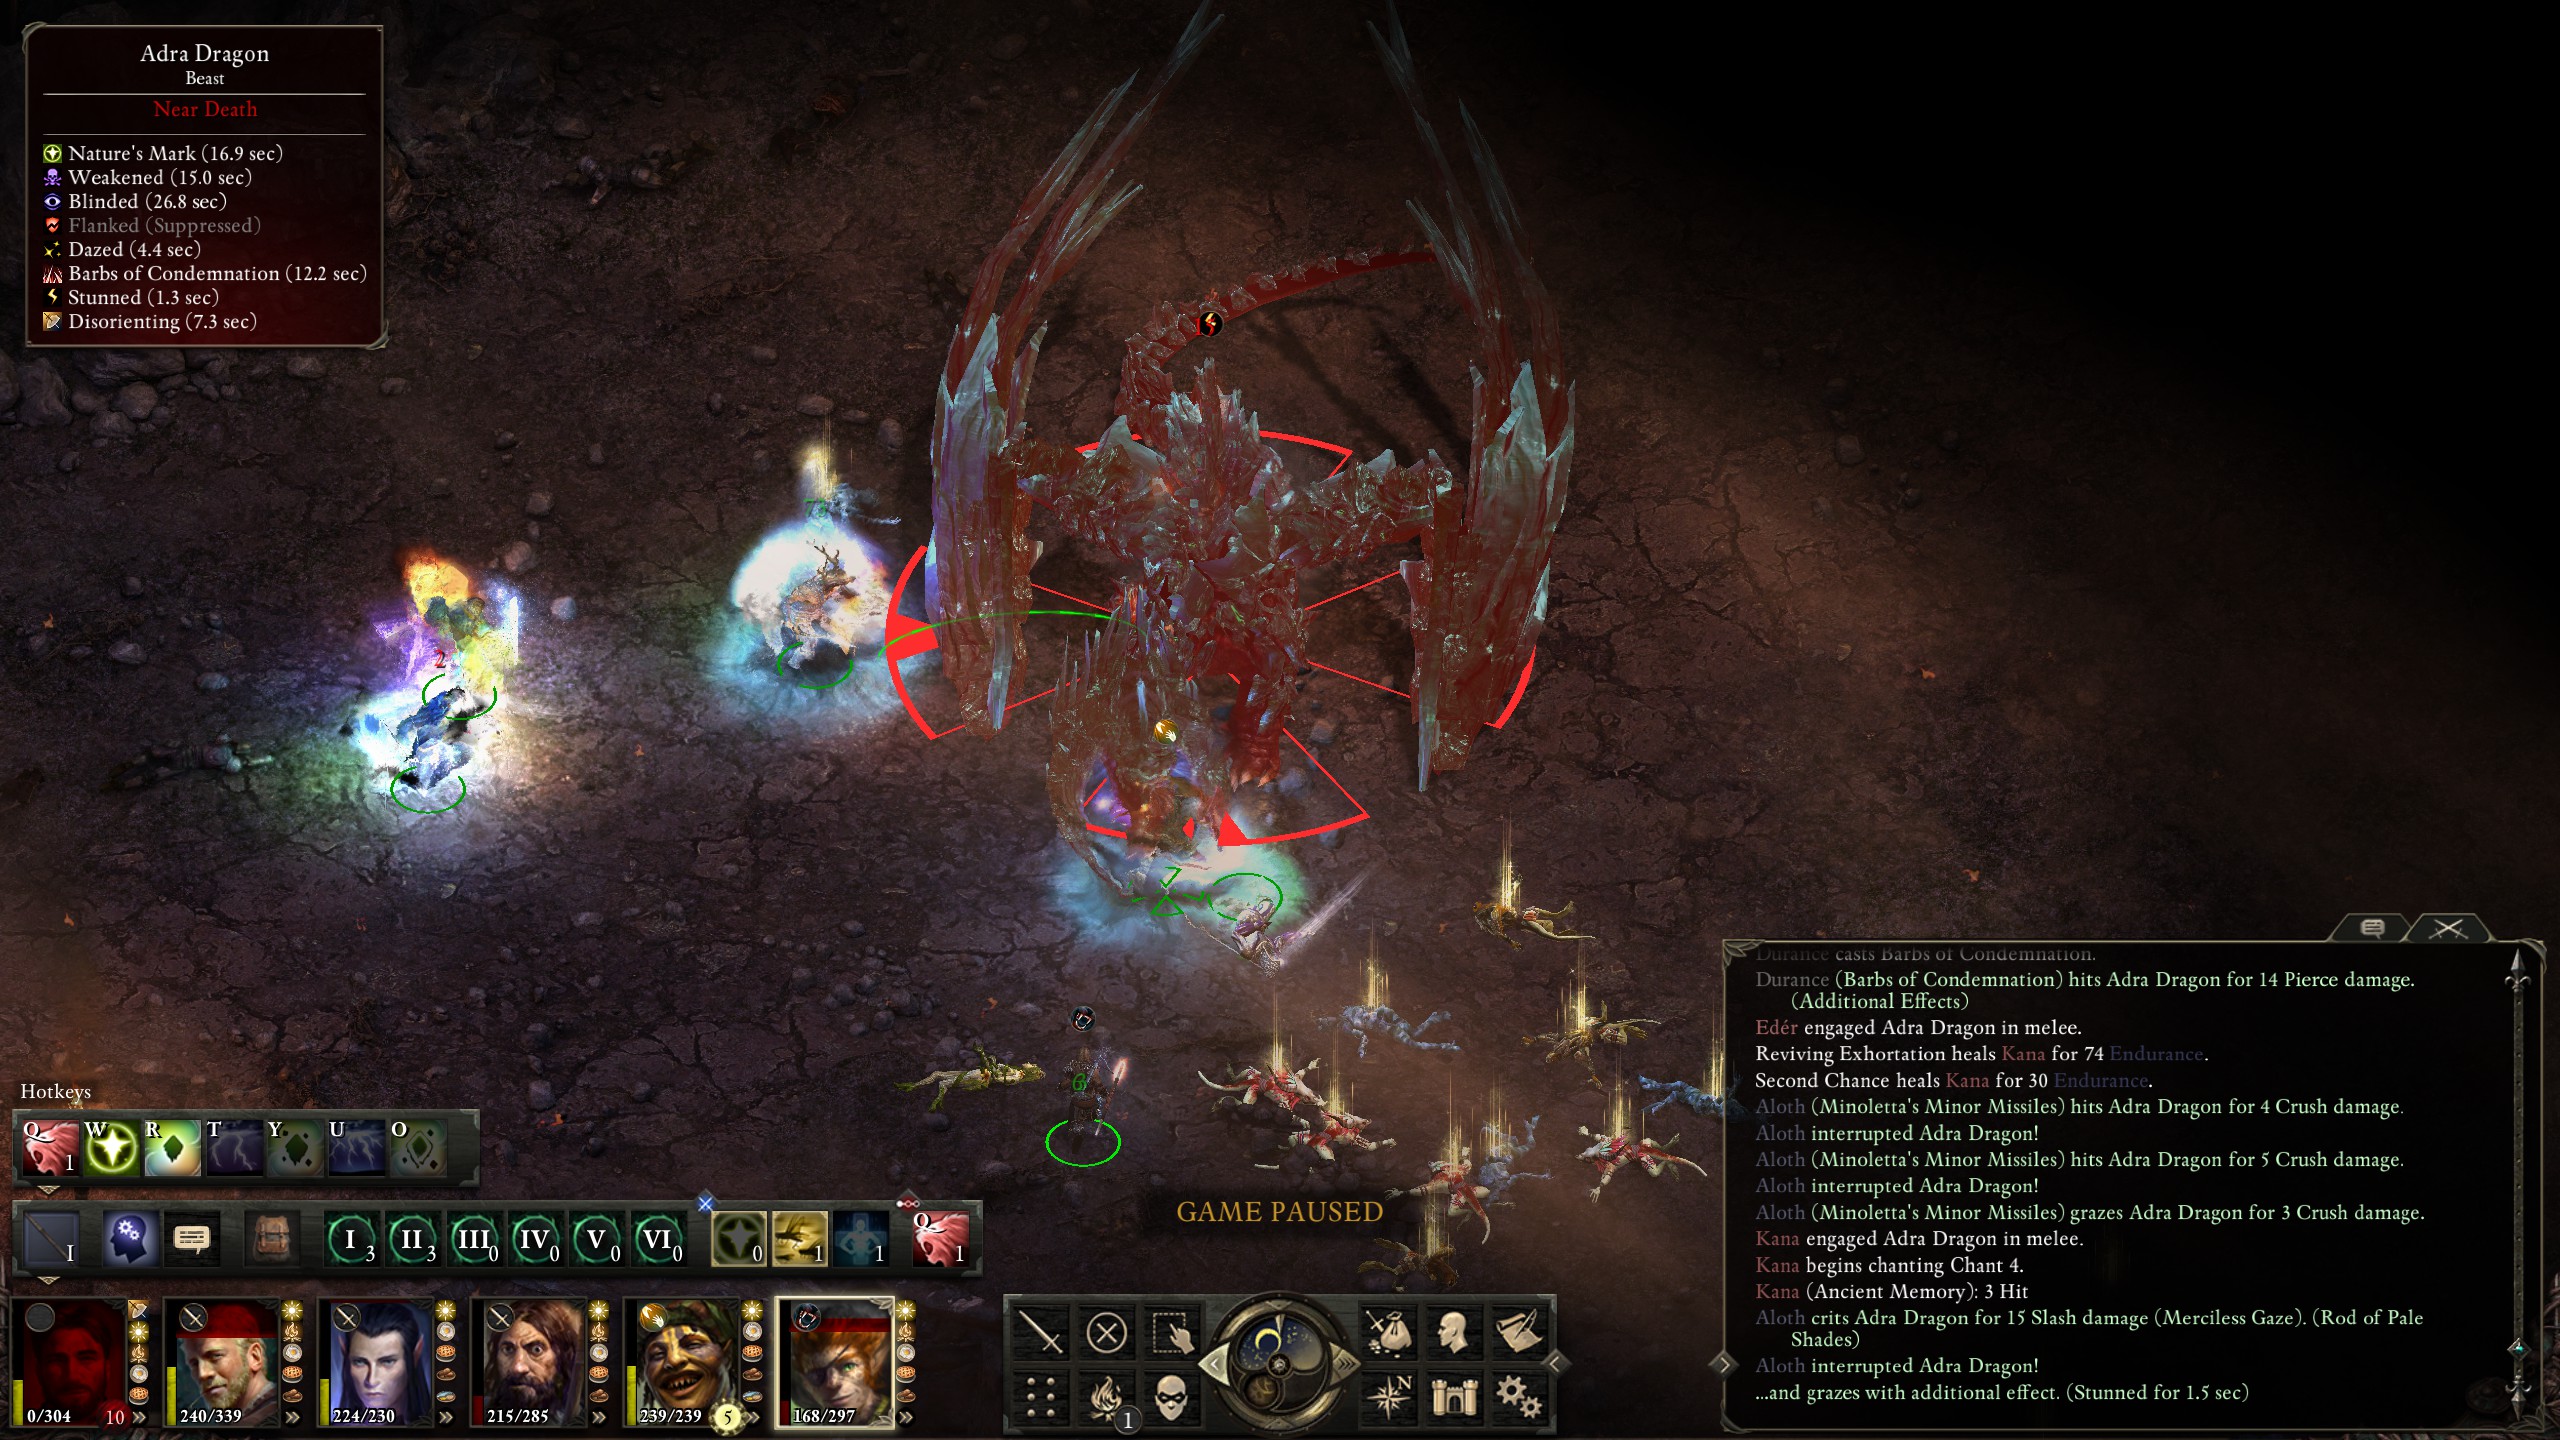
Before he could do that, though, the brave tank Eder landed the killing blow with a whopping 5 damage (thanks in part to the stun Aloth landed from his wand)!

Thus the Master Below was defeated, marking an end to one of the most challenging bosses I've ever faced.
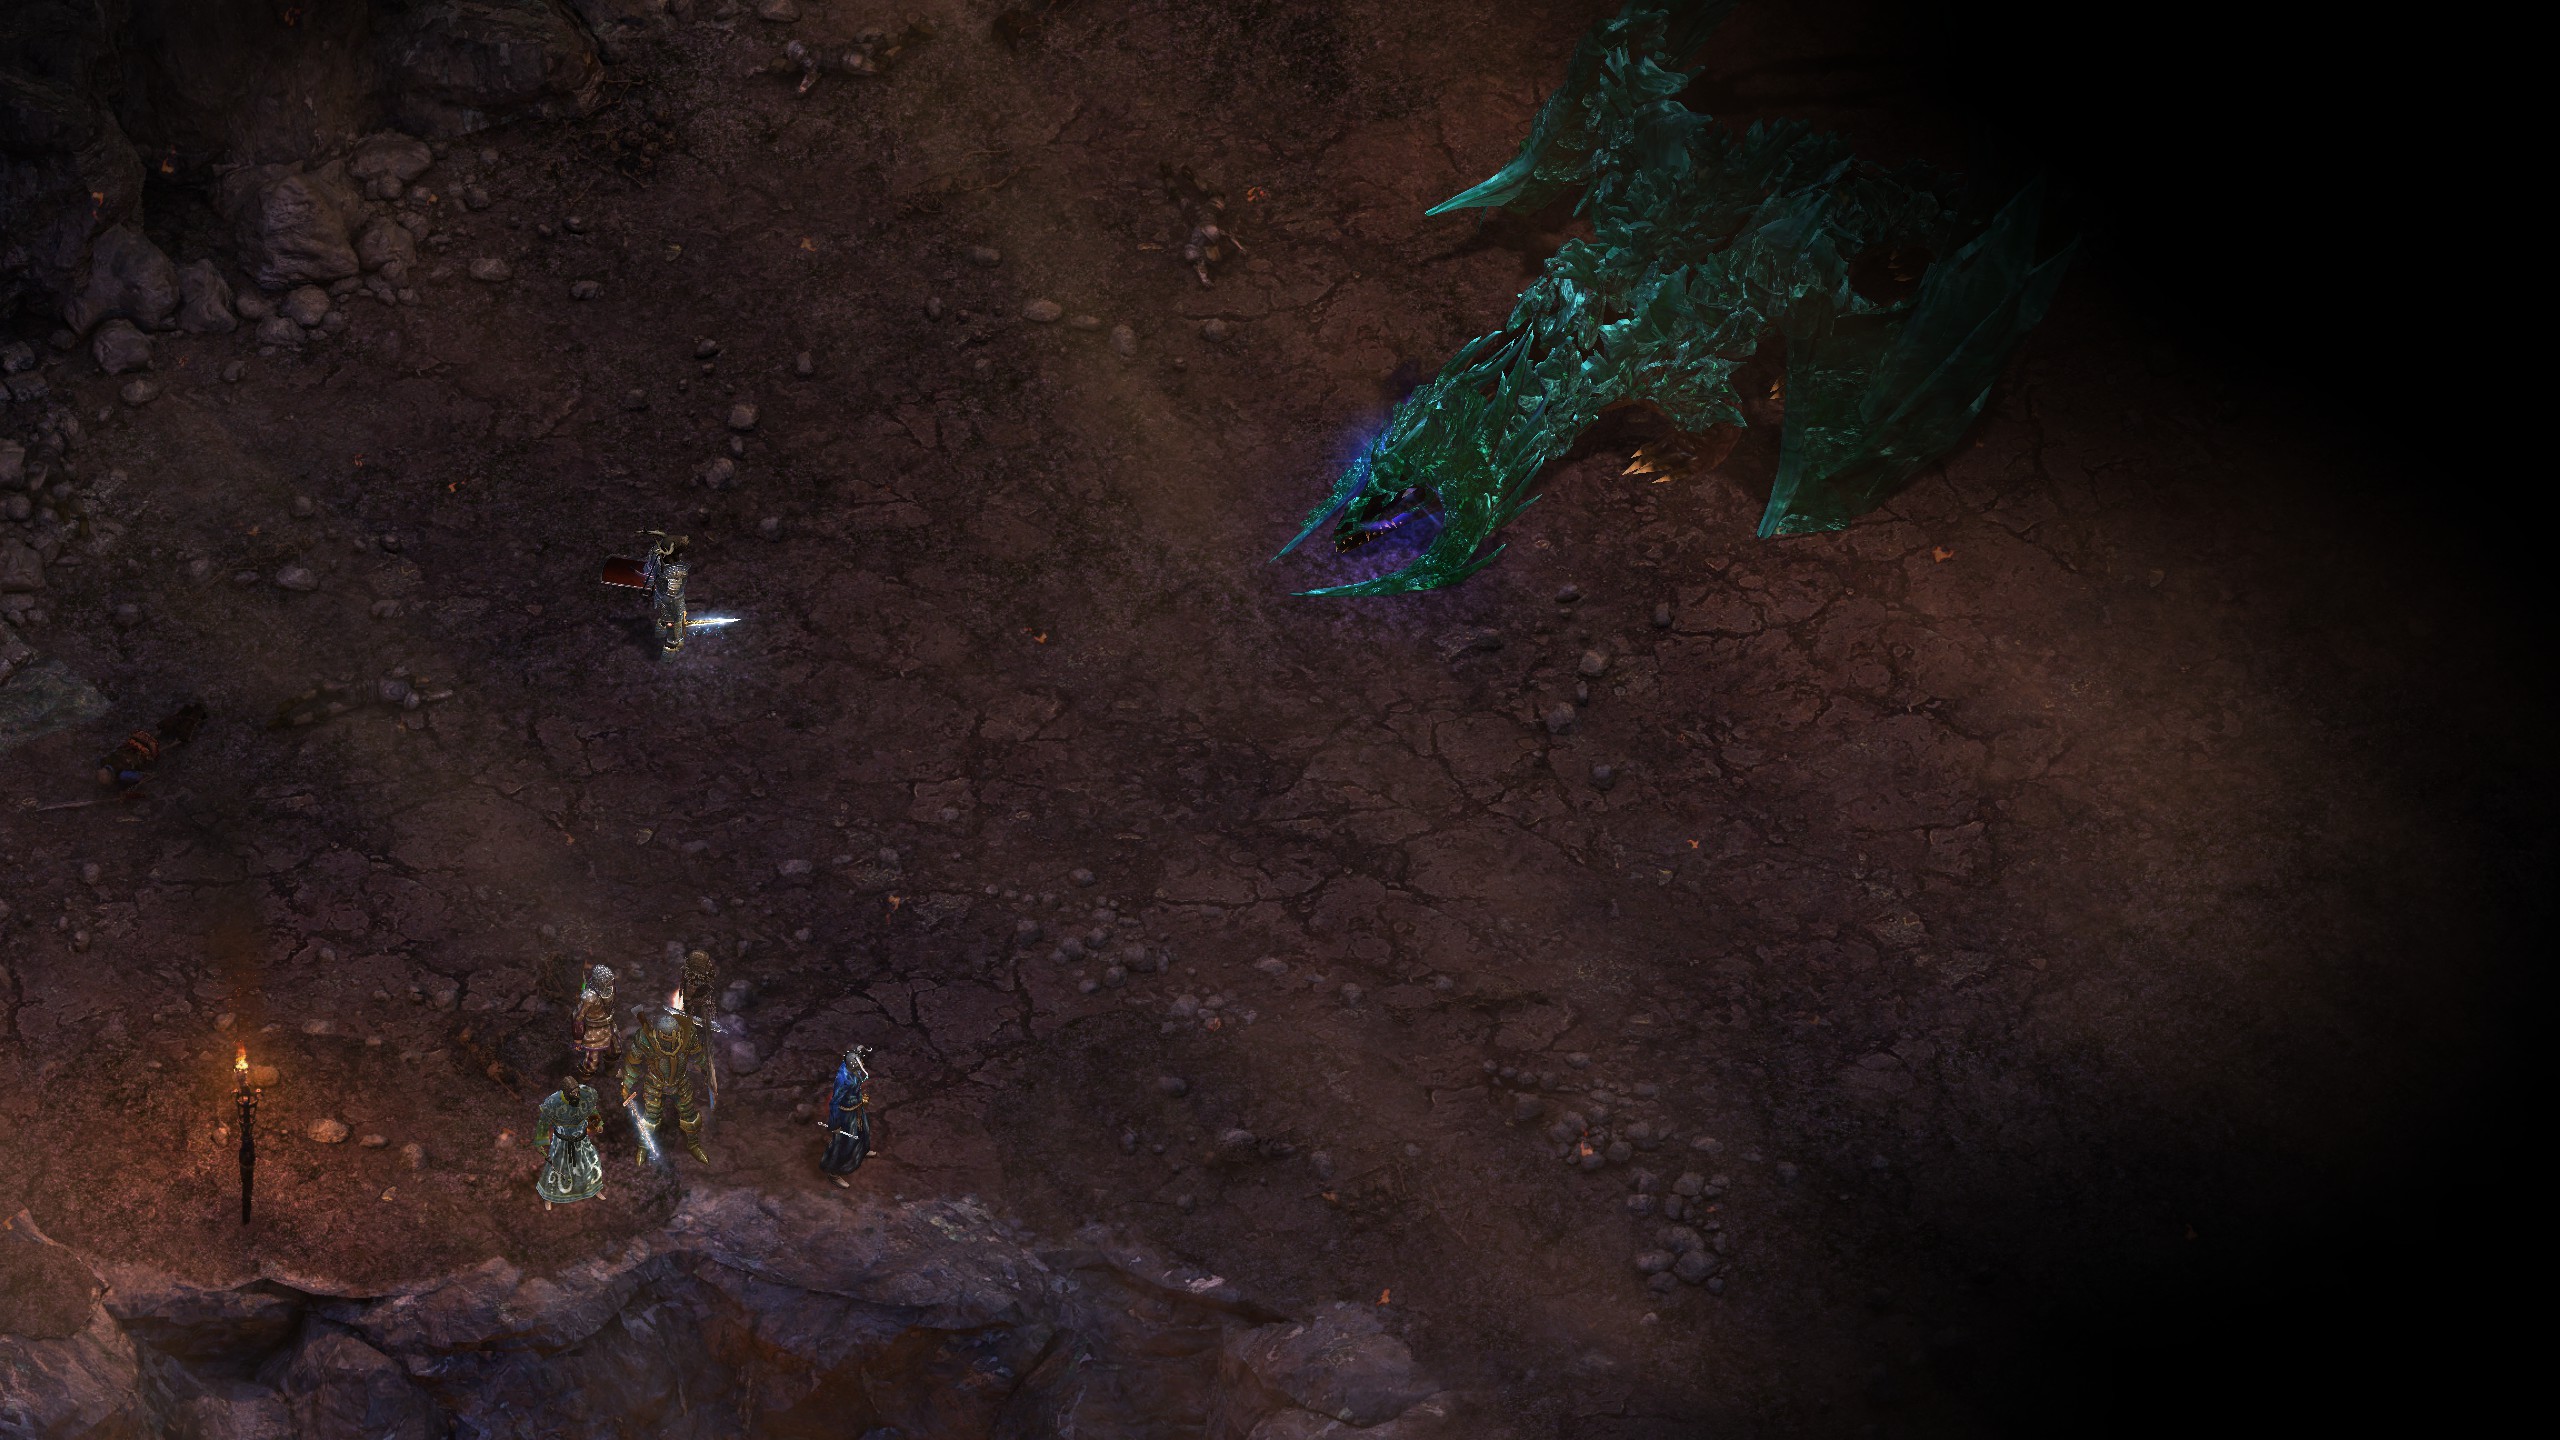
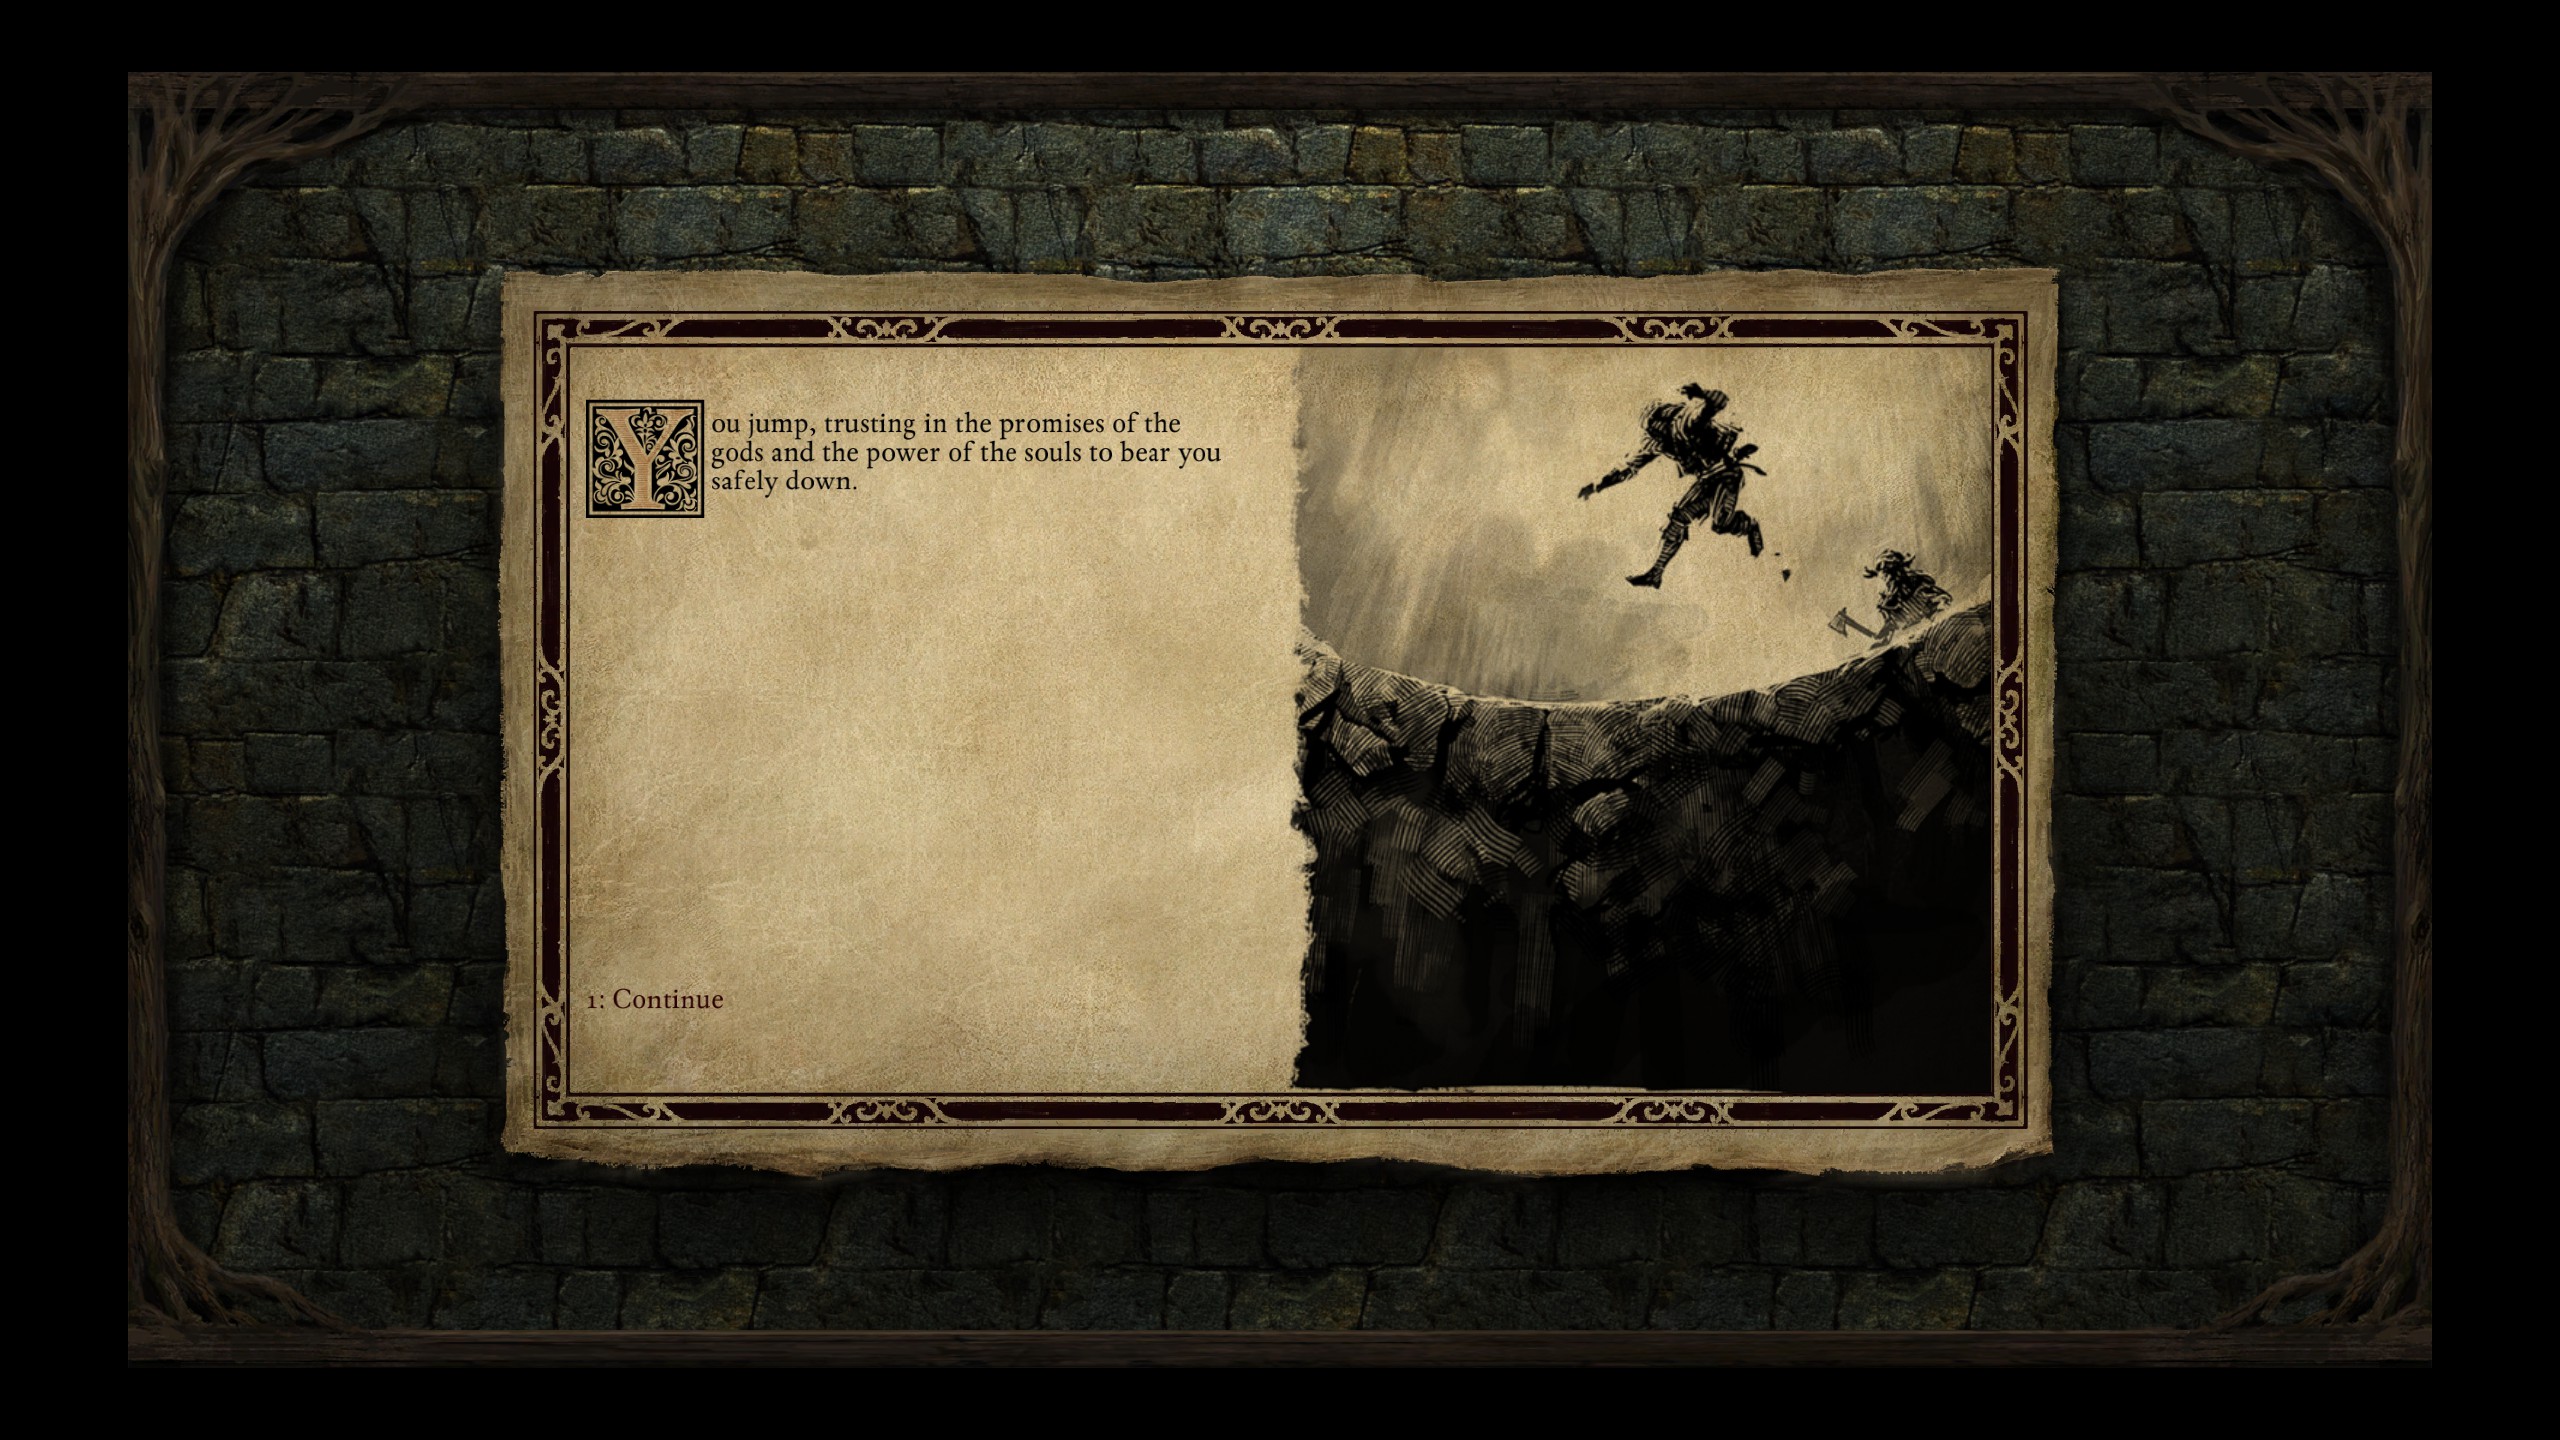
With all of the side-quests done and optional bosses dead it was finally time to hunt down Thaos by jumping into the pit.
Now that I was back to fighting trash rather than dragons, the way once again became easy; I quickly found Iovara and then proceeded to the next area.
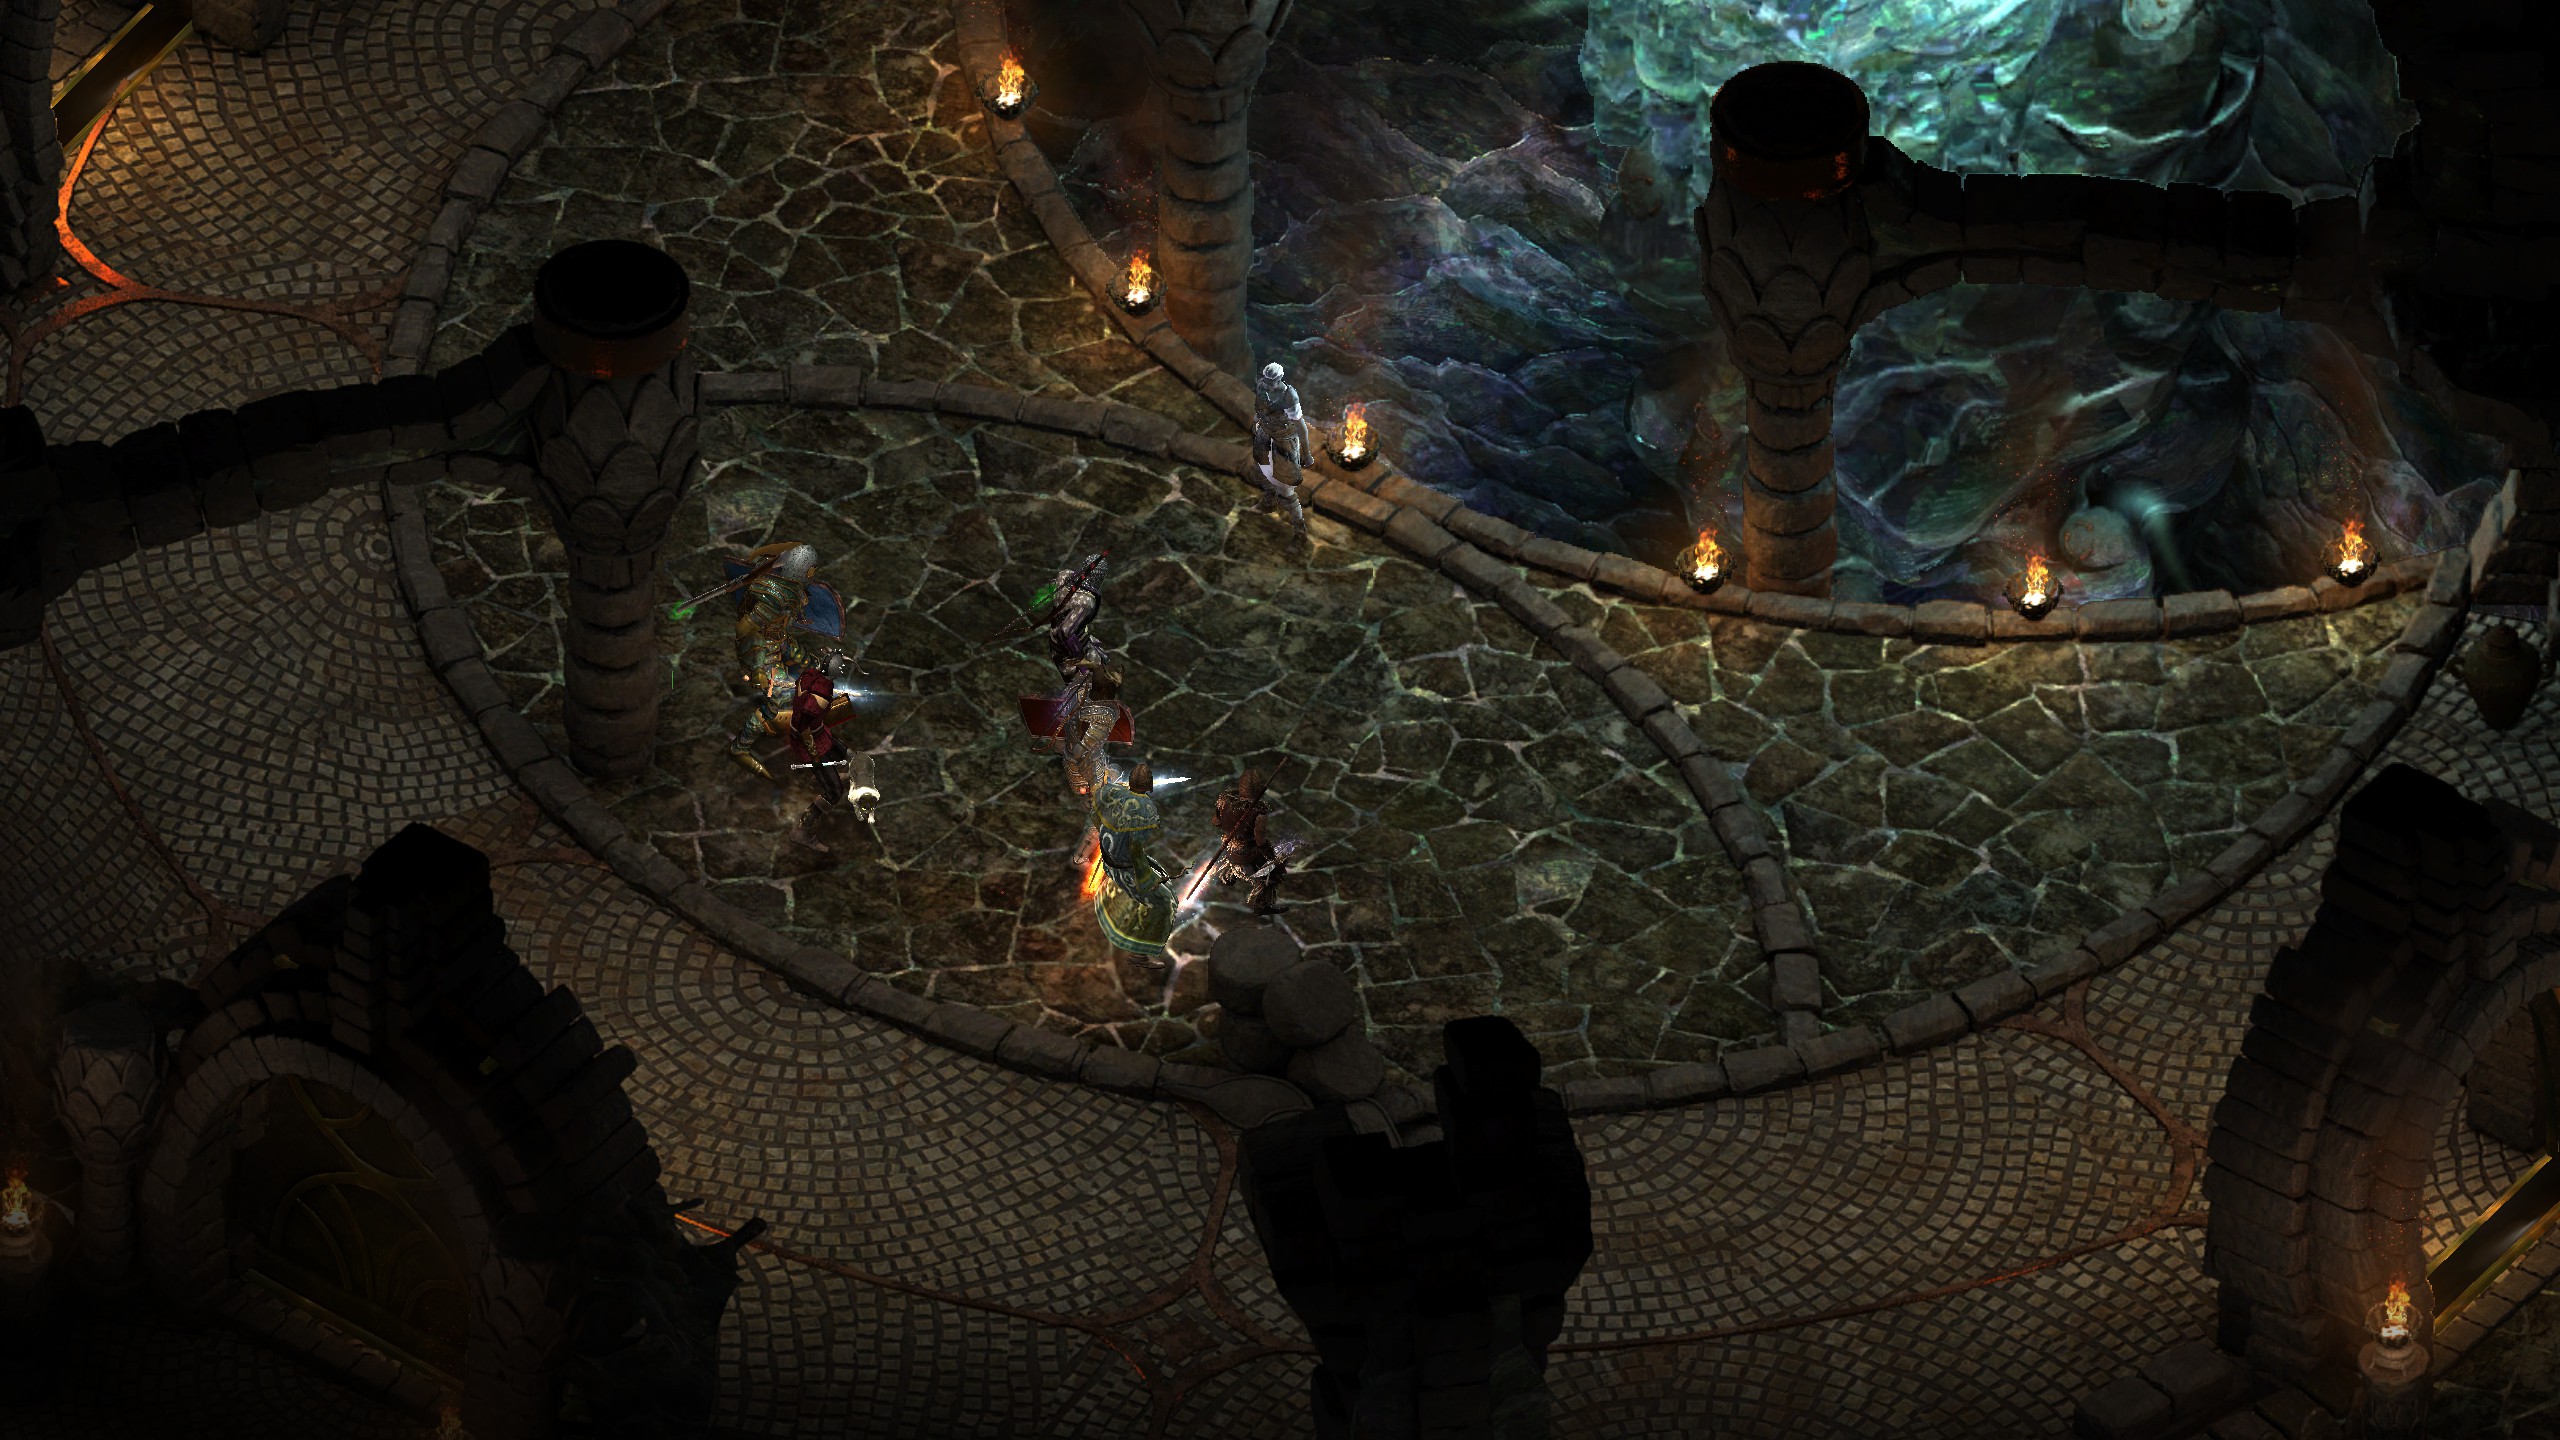
The last area before Thaos was covered by an unnatural darkness, but the souls helped light the way forward.
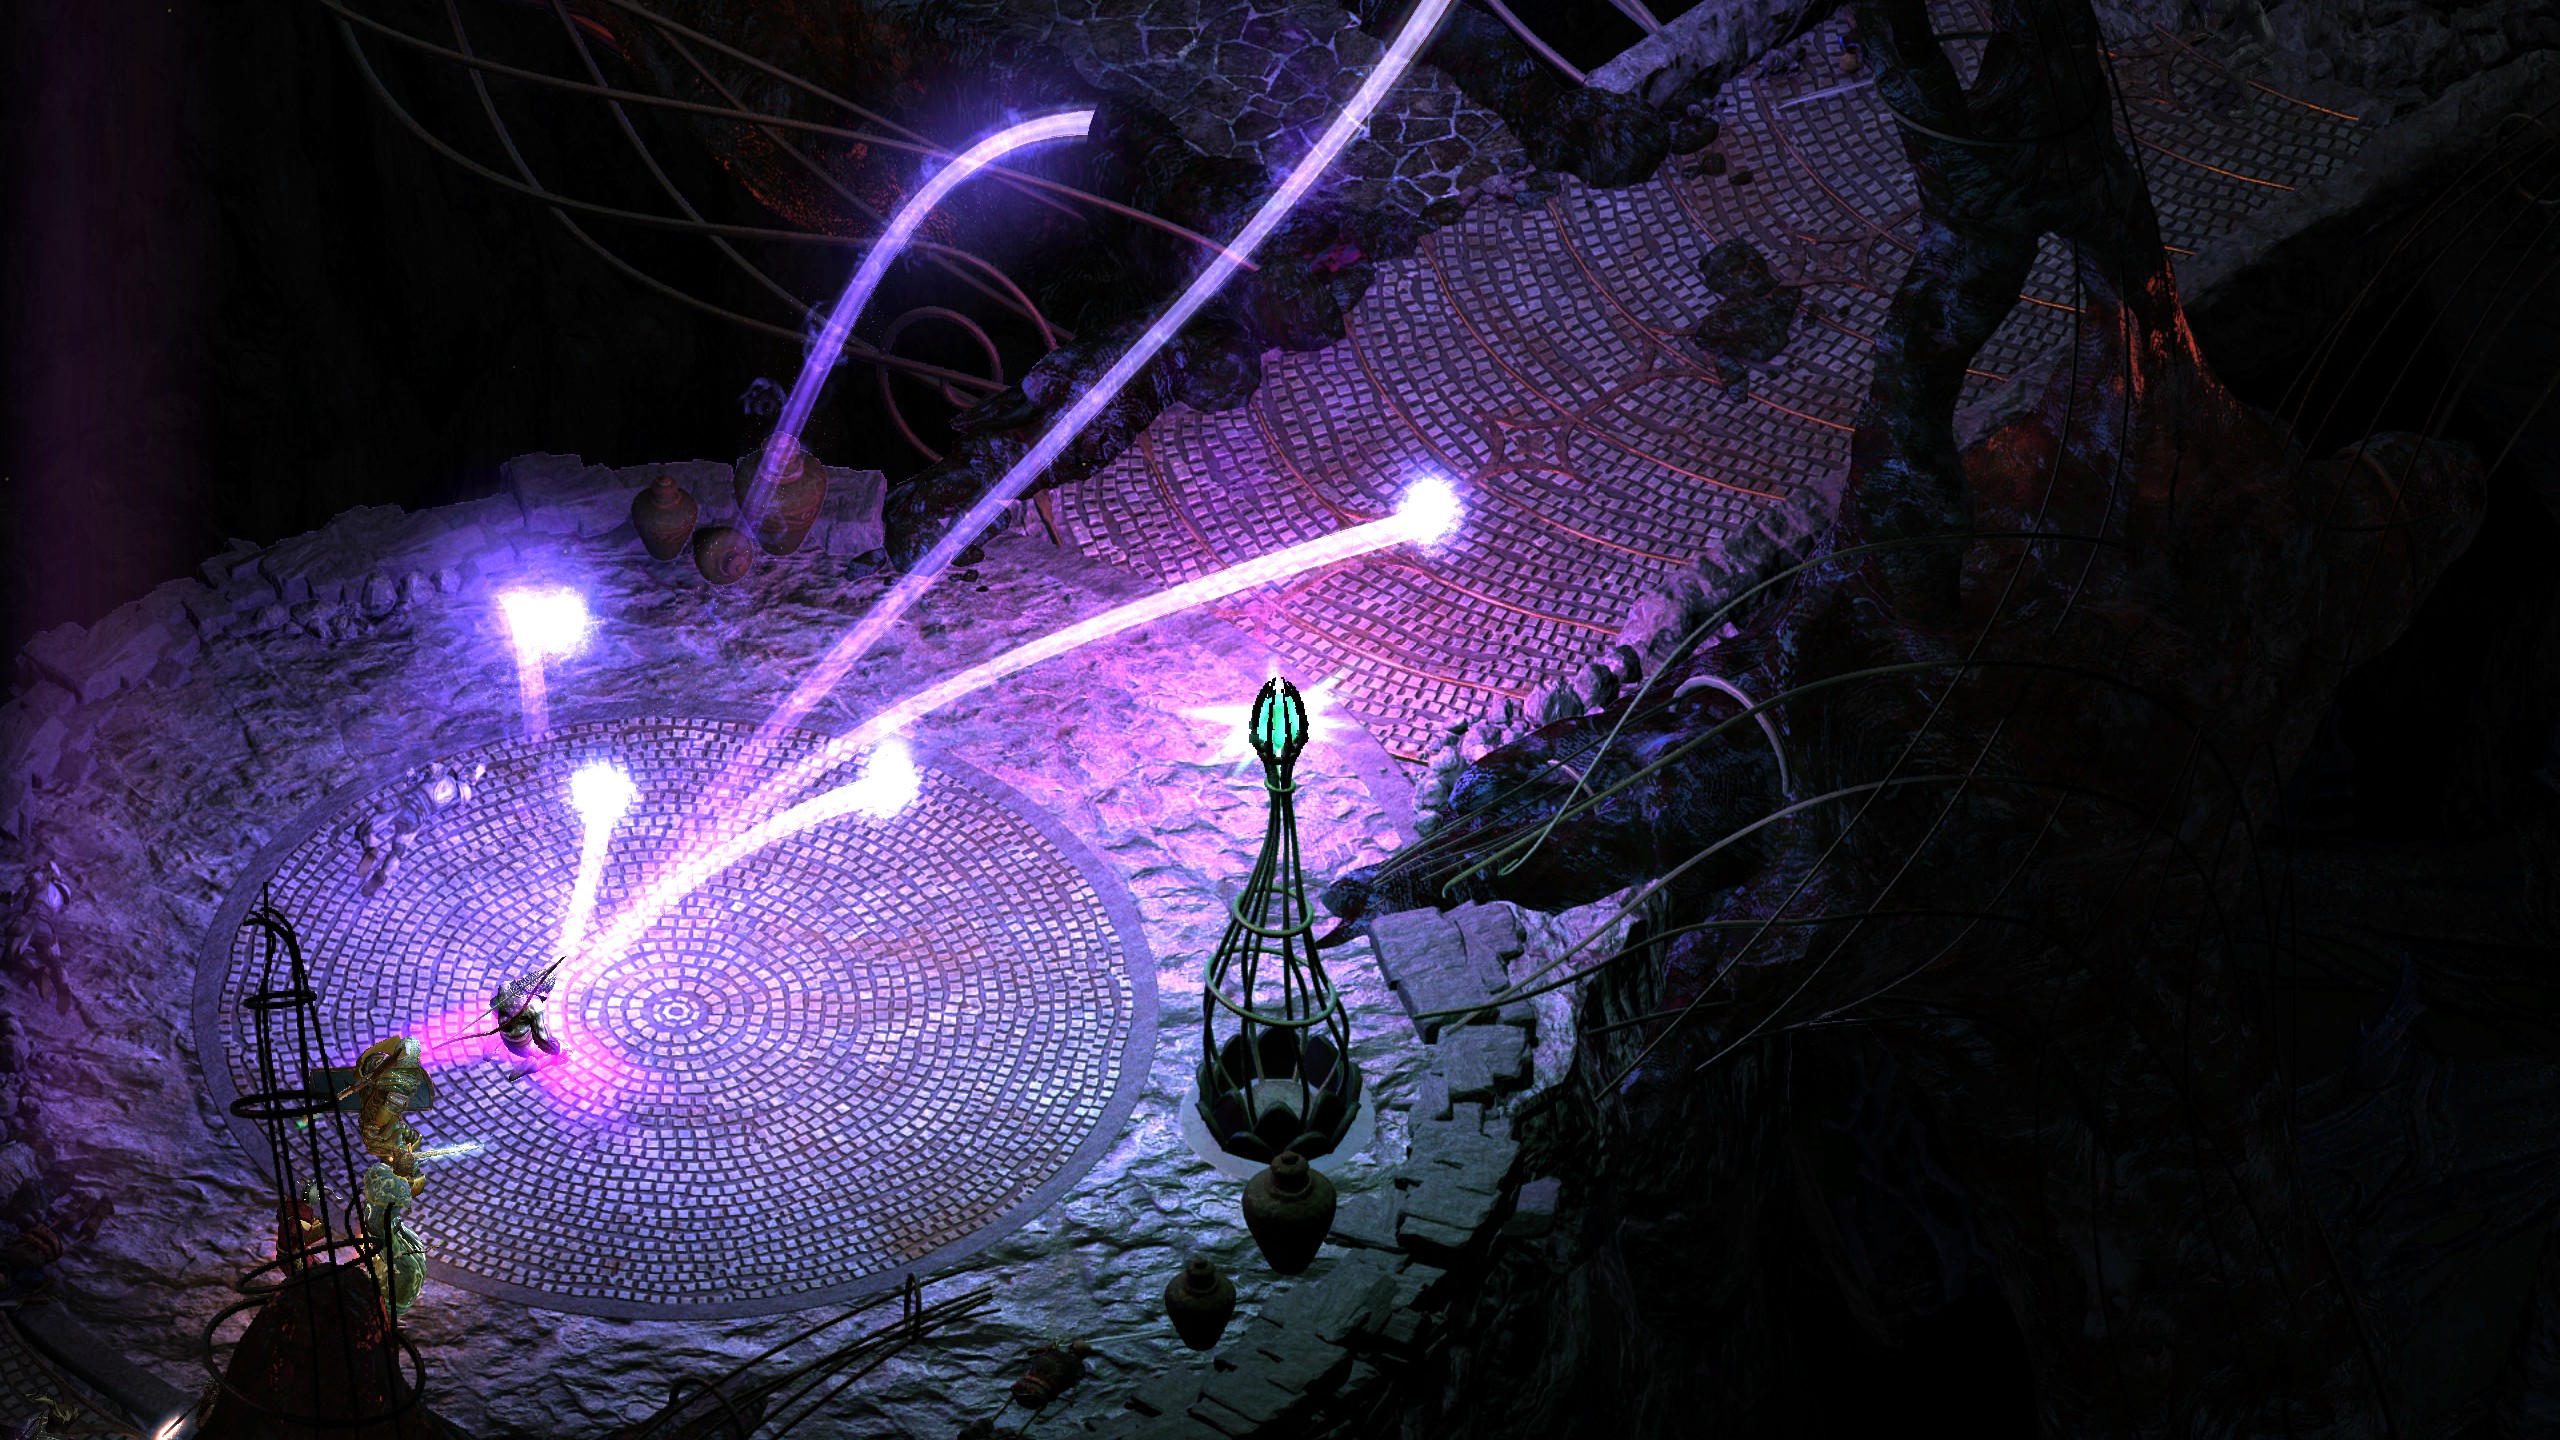
The area's shades were, of course, no problem to clear.
The shades thus gone, only Thaos was left.
I wasn't really worried about Thaos. Not after killing the Master Below. Thaos may be though, but he's not that tough.
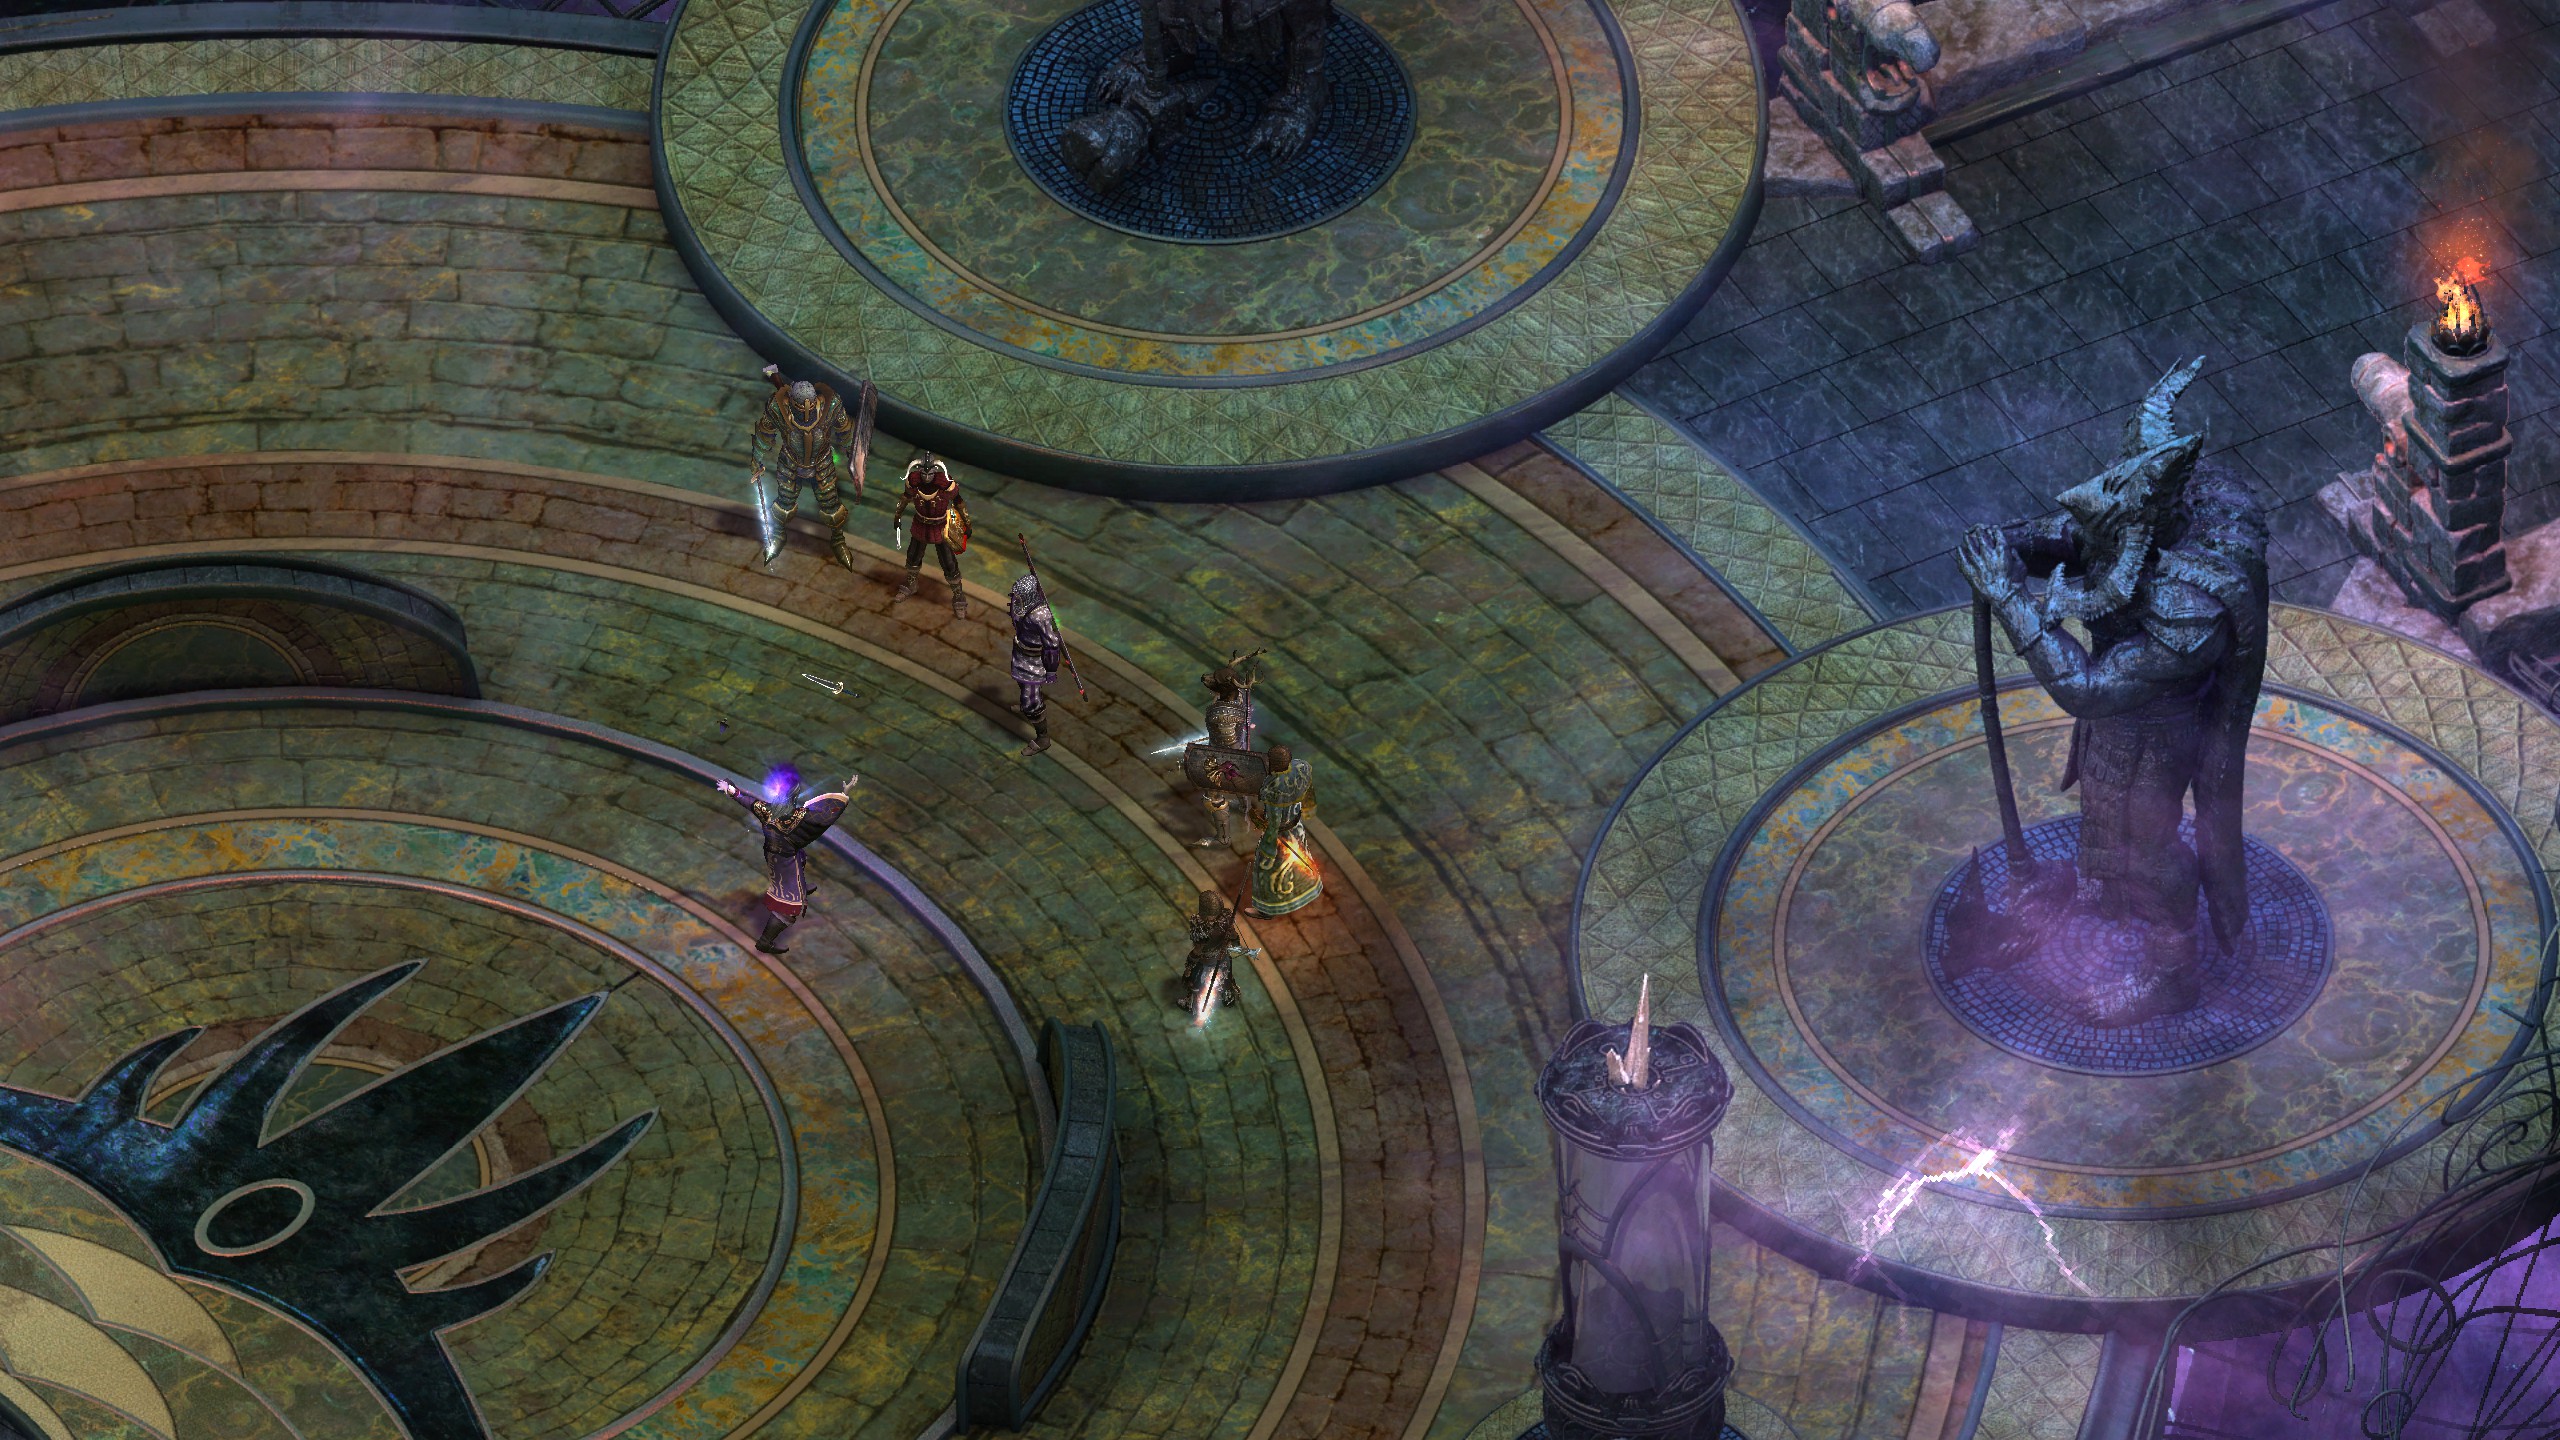
That being said, Thaos wasn't going to simply hand me a victory; instead he decided to concentrate on Aloth, taking him down faster than I was prepared to heal him. What a jerk!
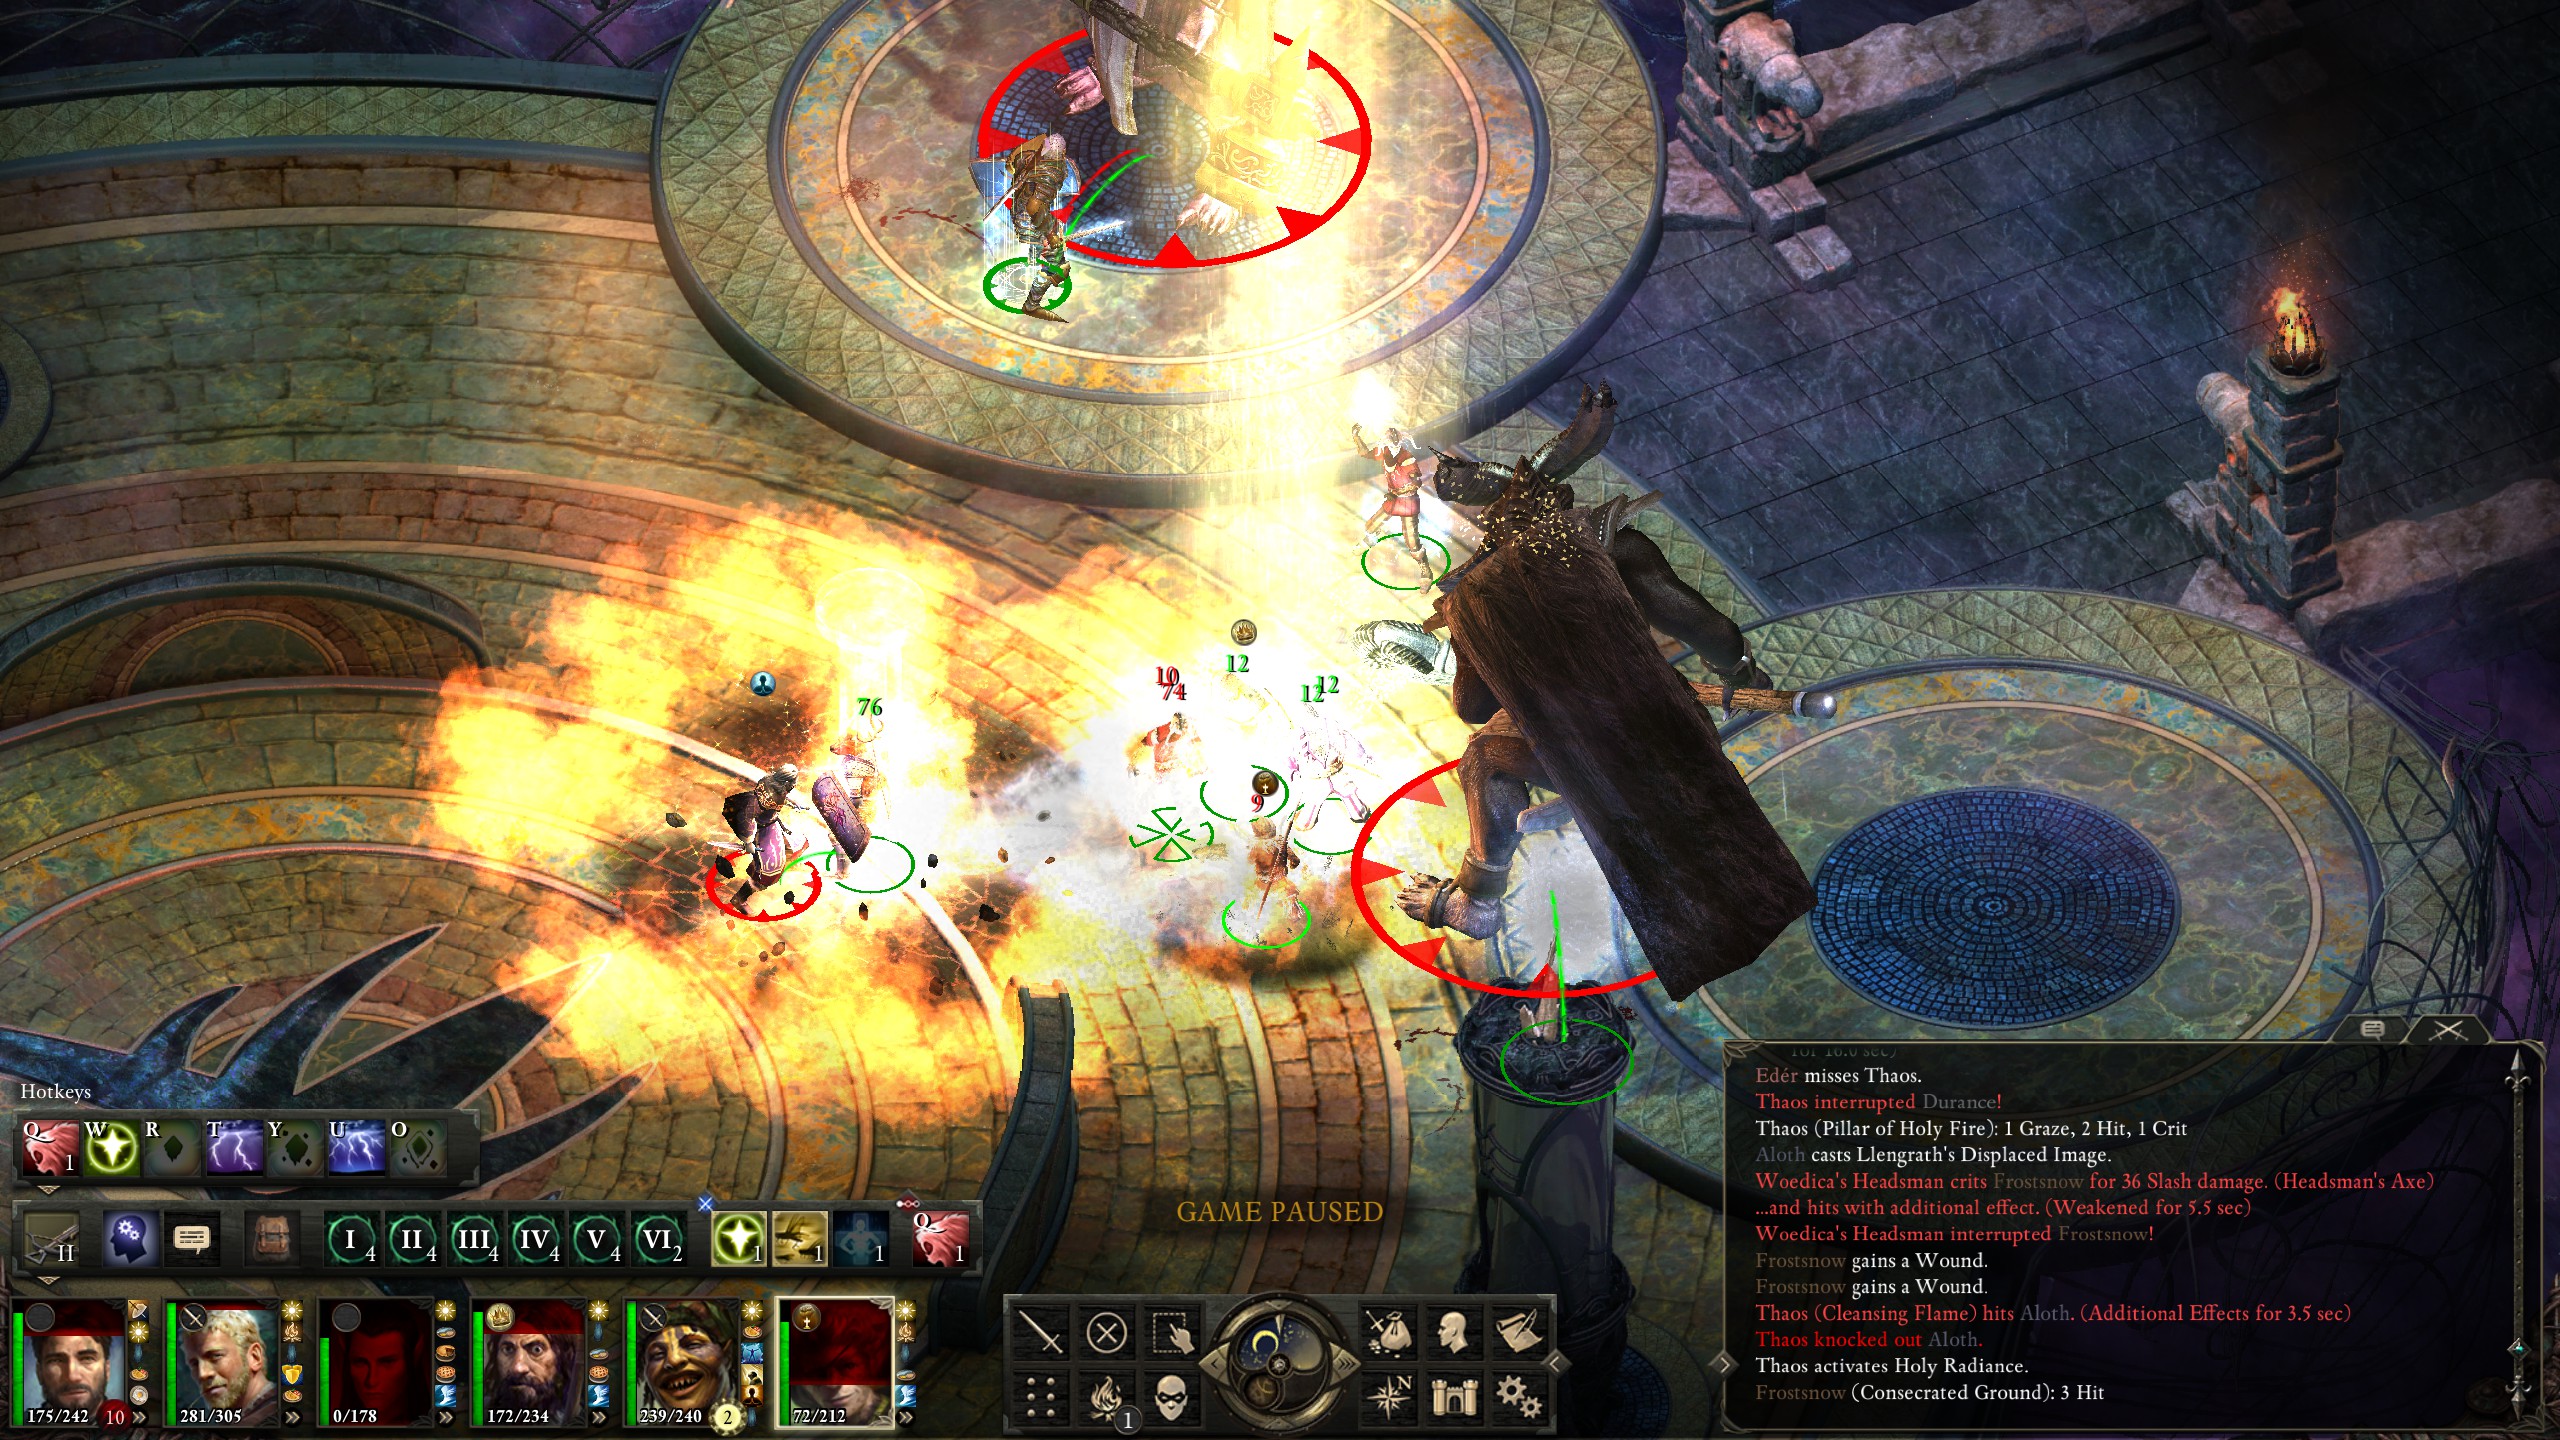
Nonetheless, I quickly revived him (and had him cast a few defensive buffs on himself) and then proceeded to kill Woedica's Headsman.
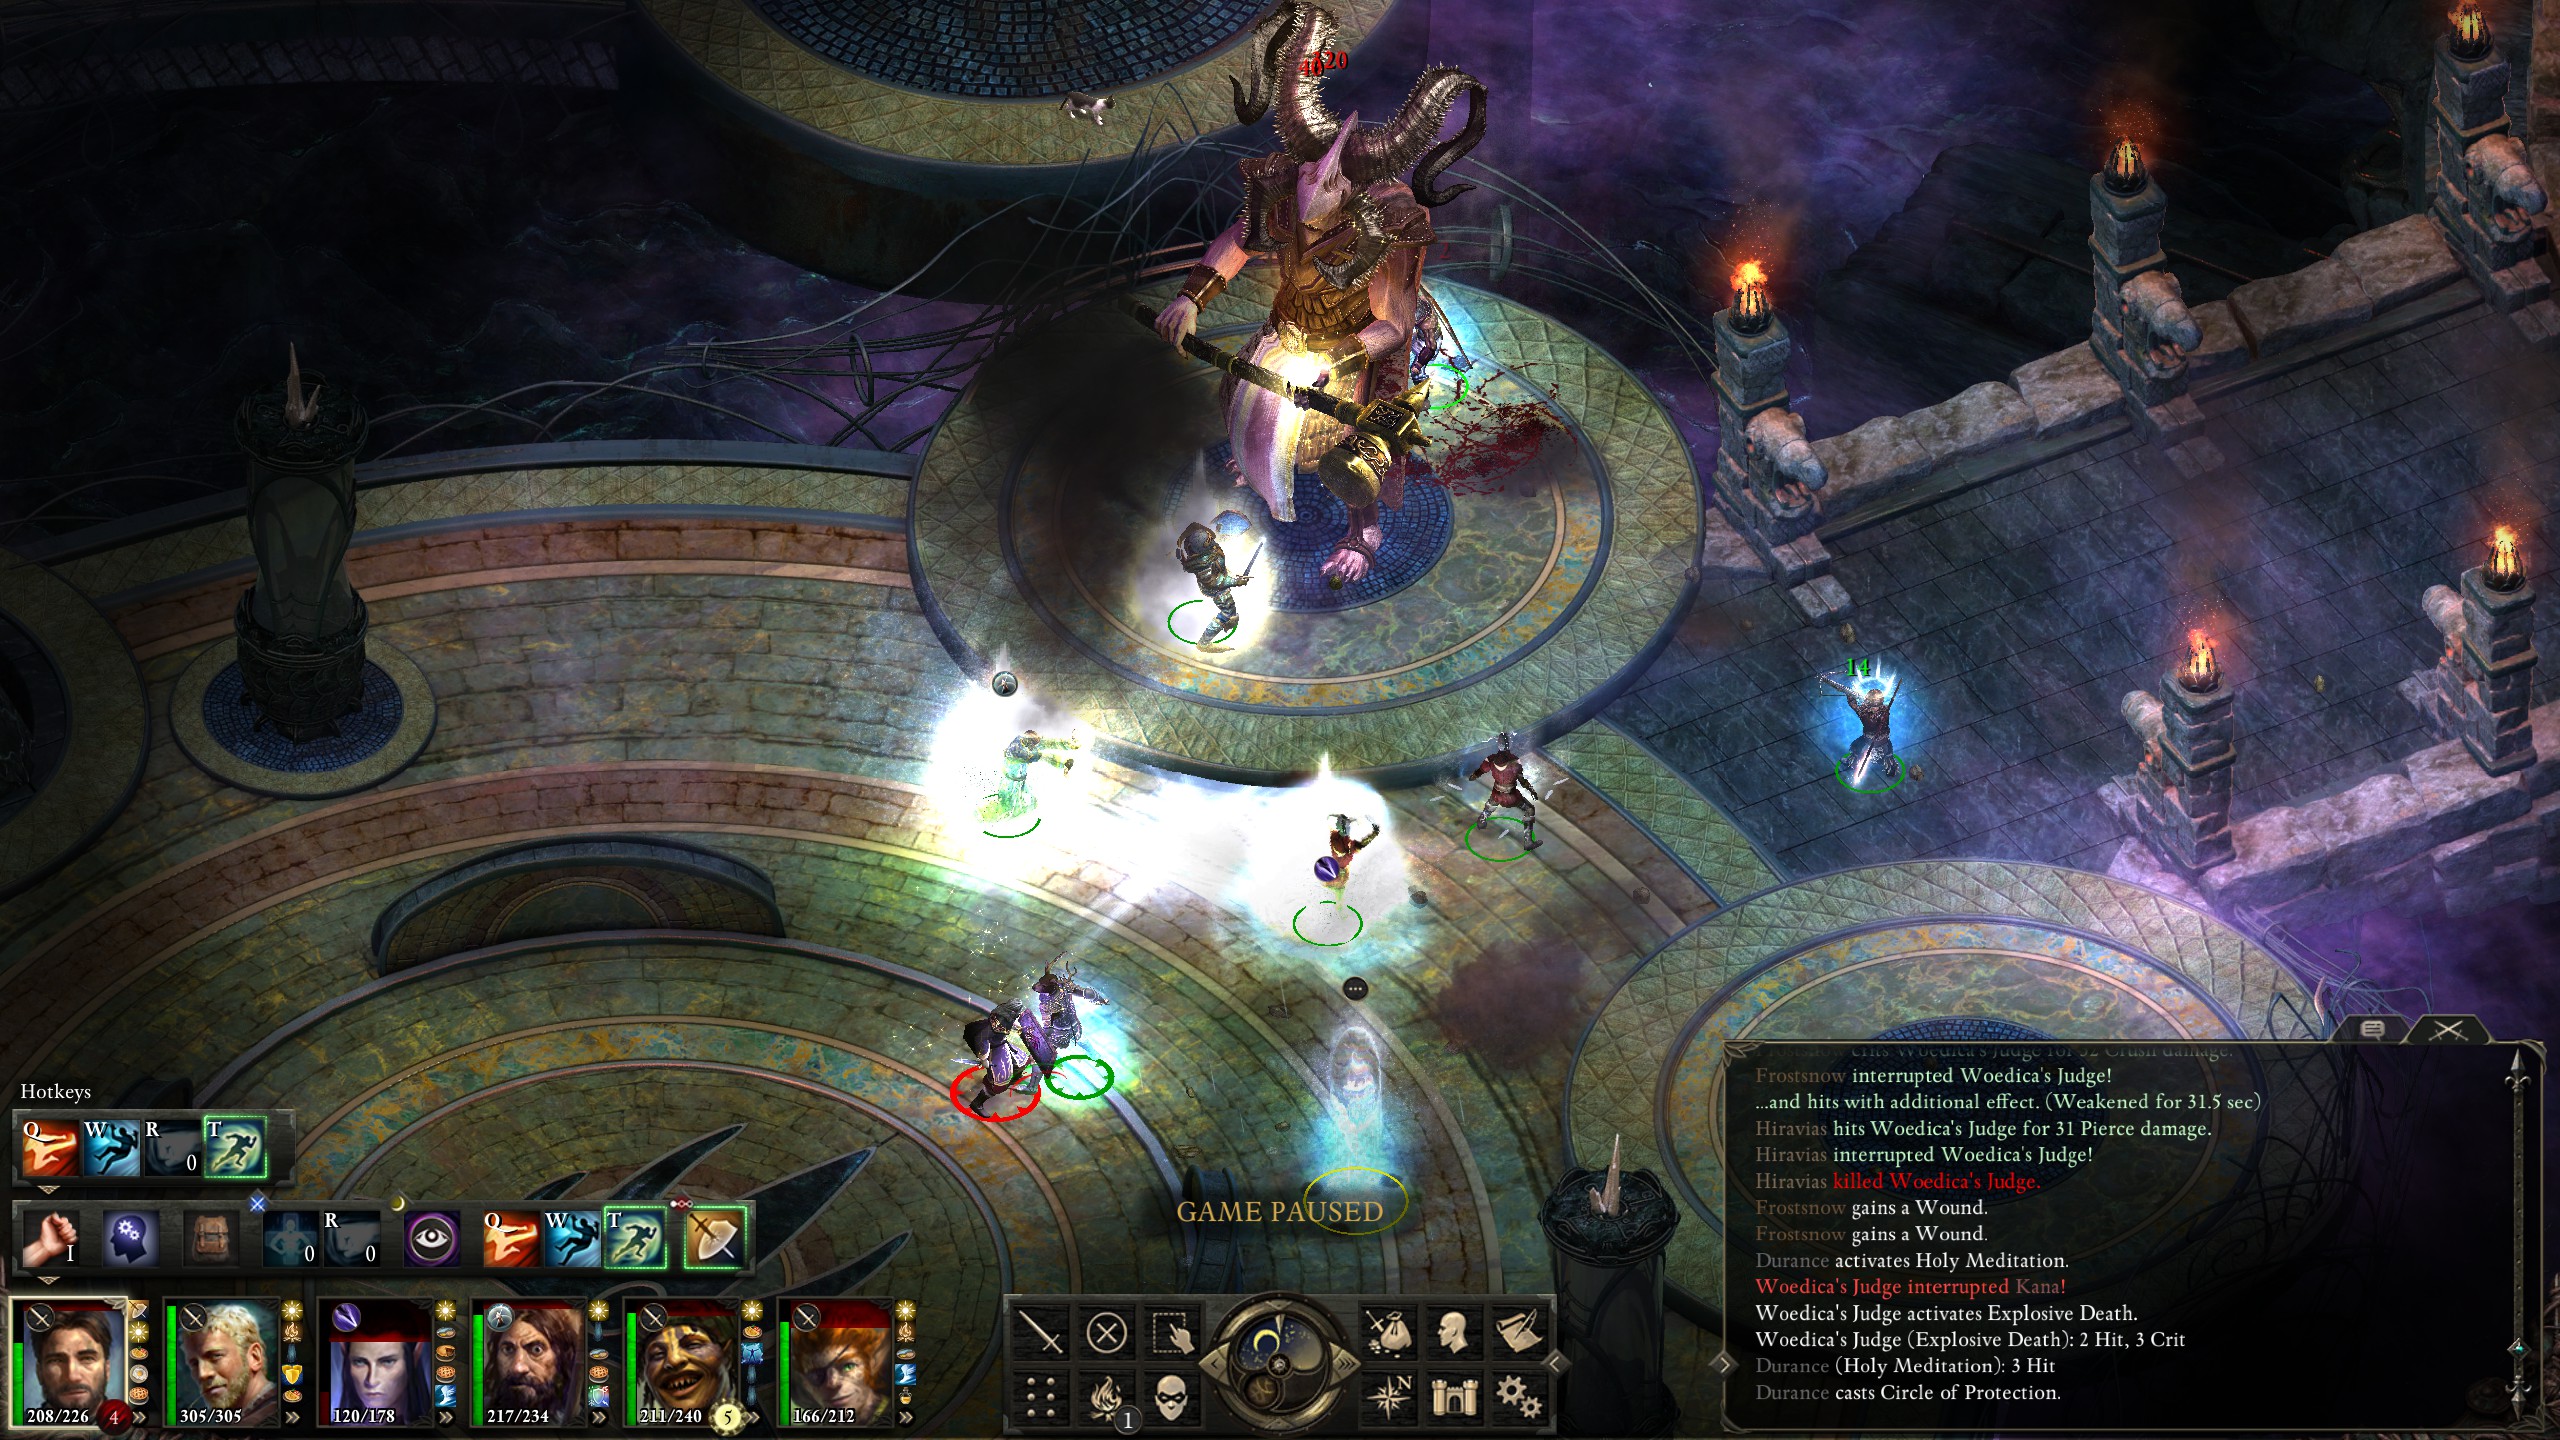
Woedica's Judge then shared his friend's fate shortly thereafter.
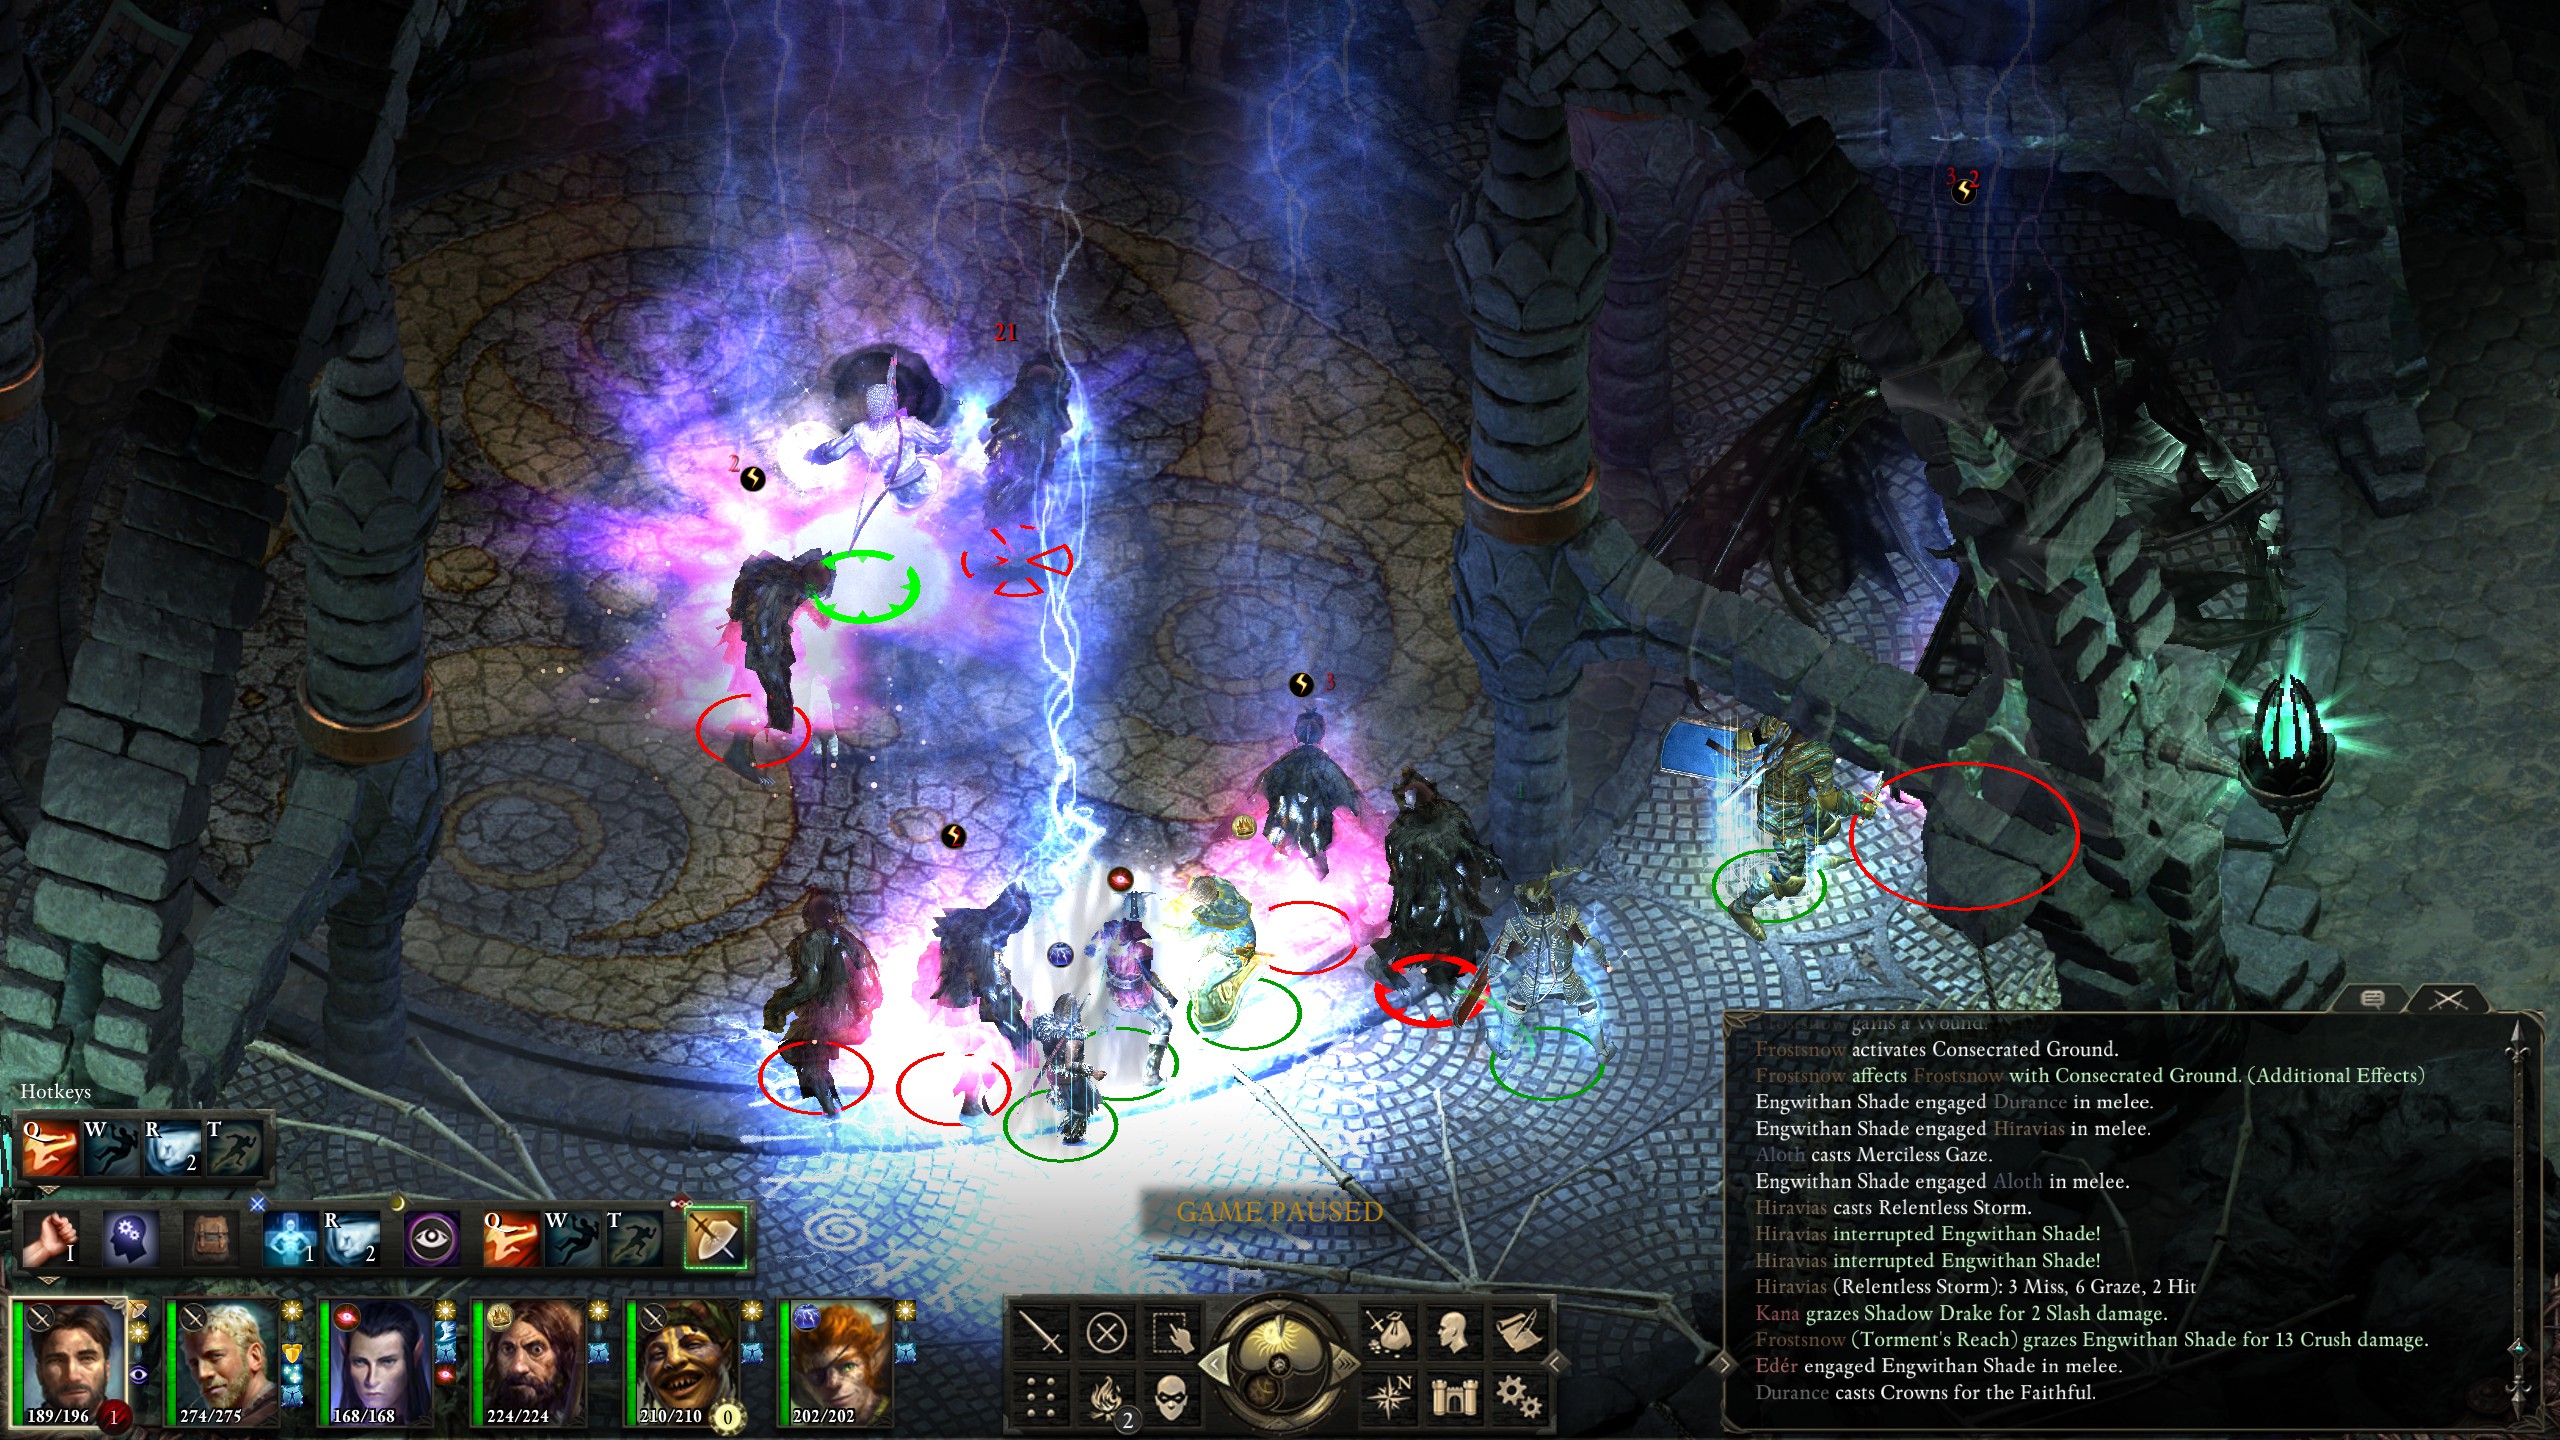
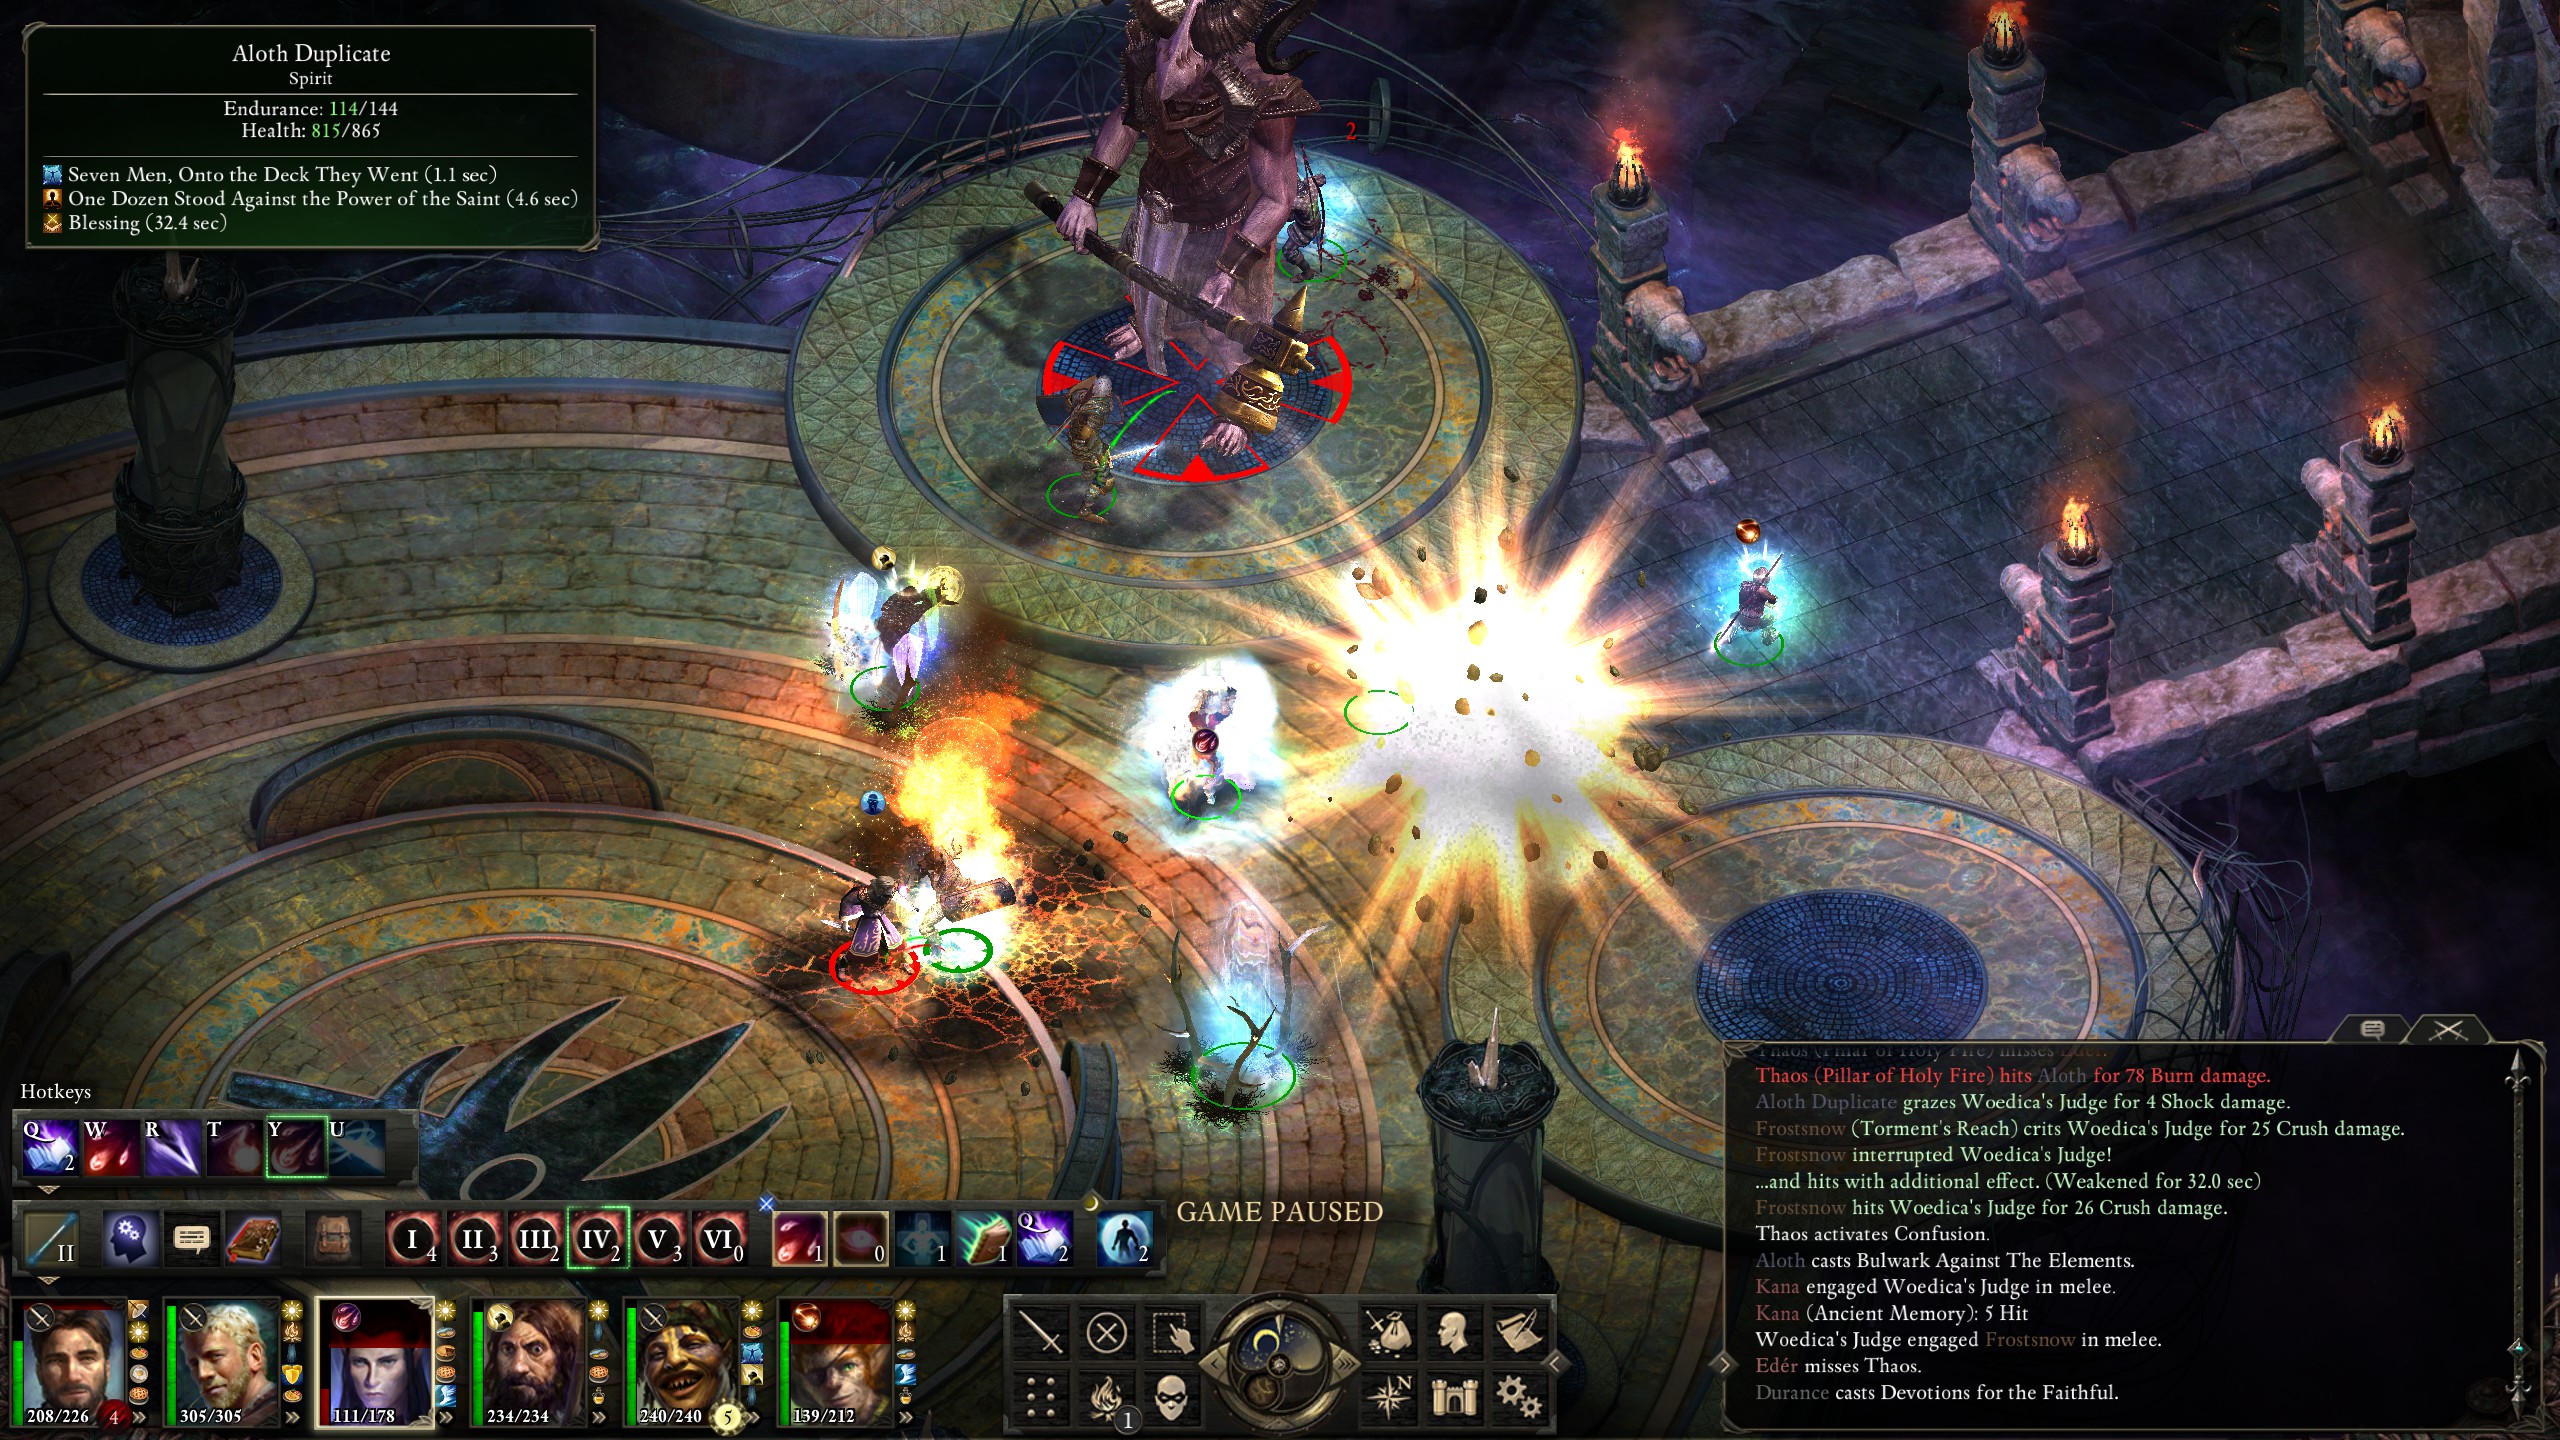
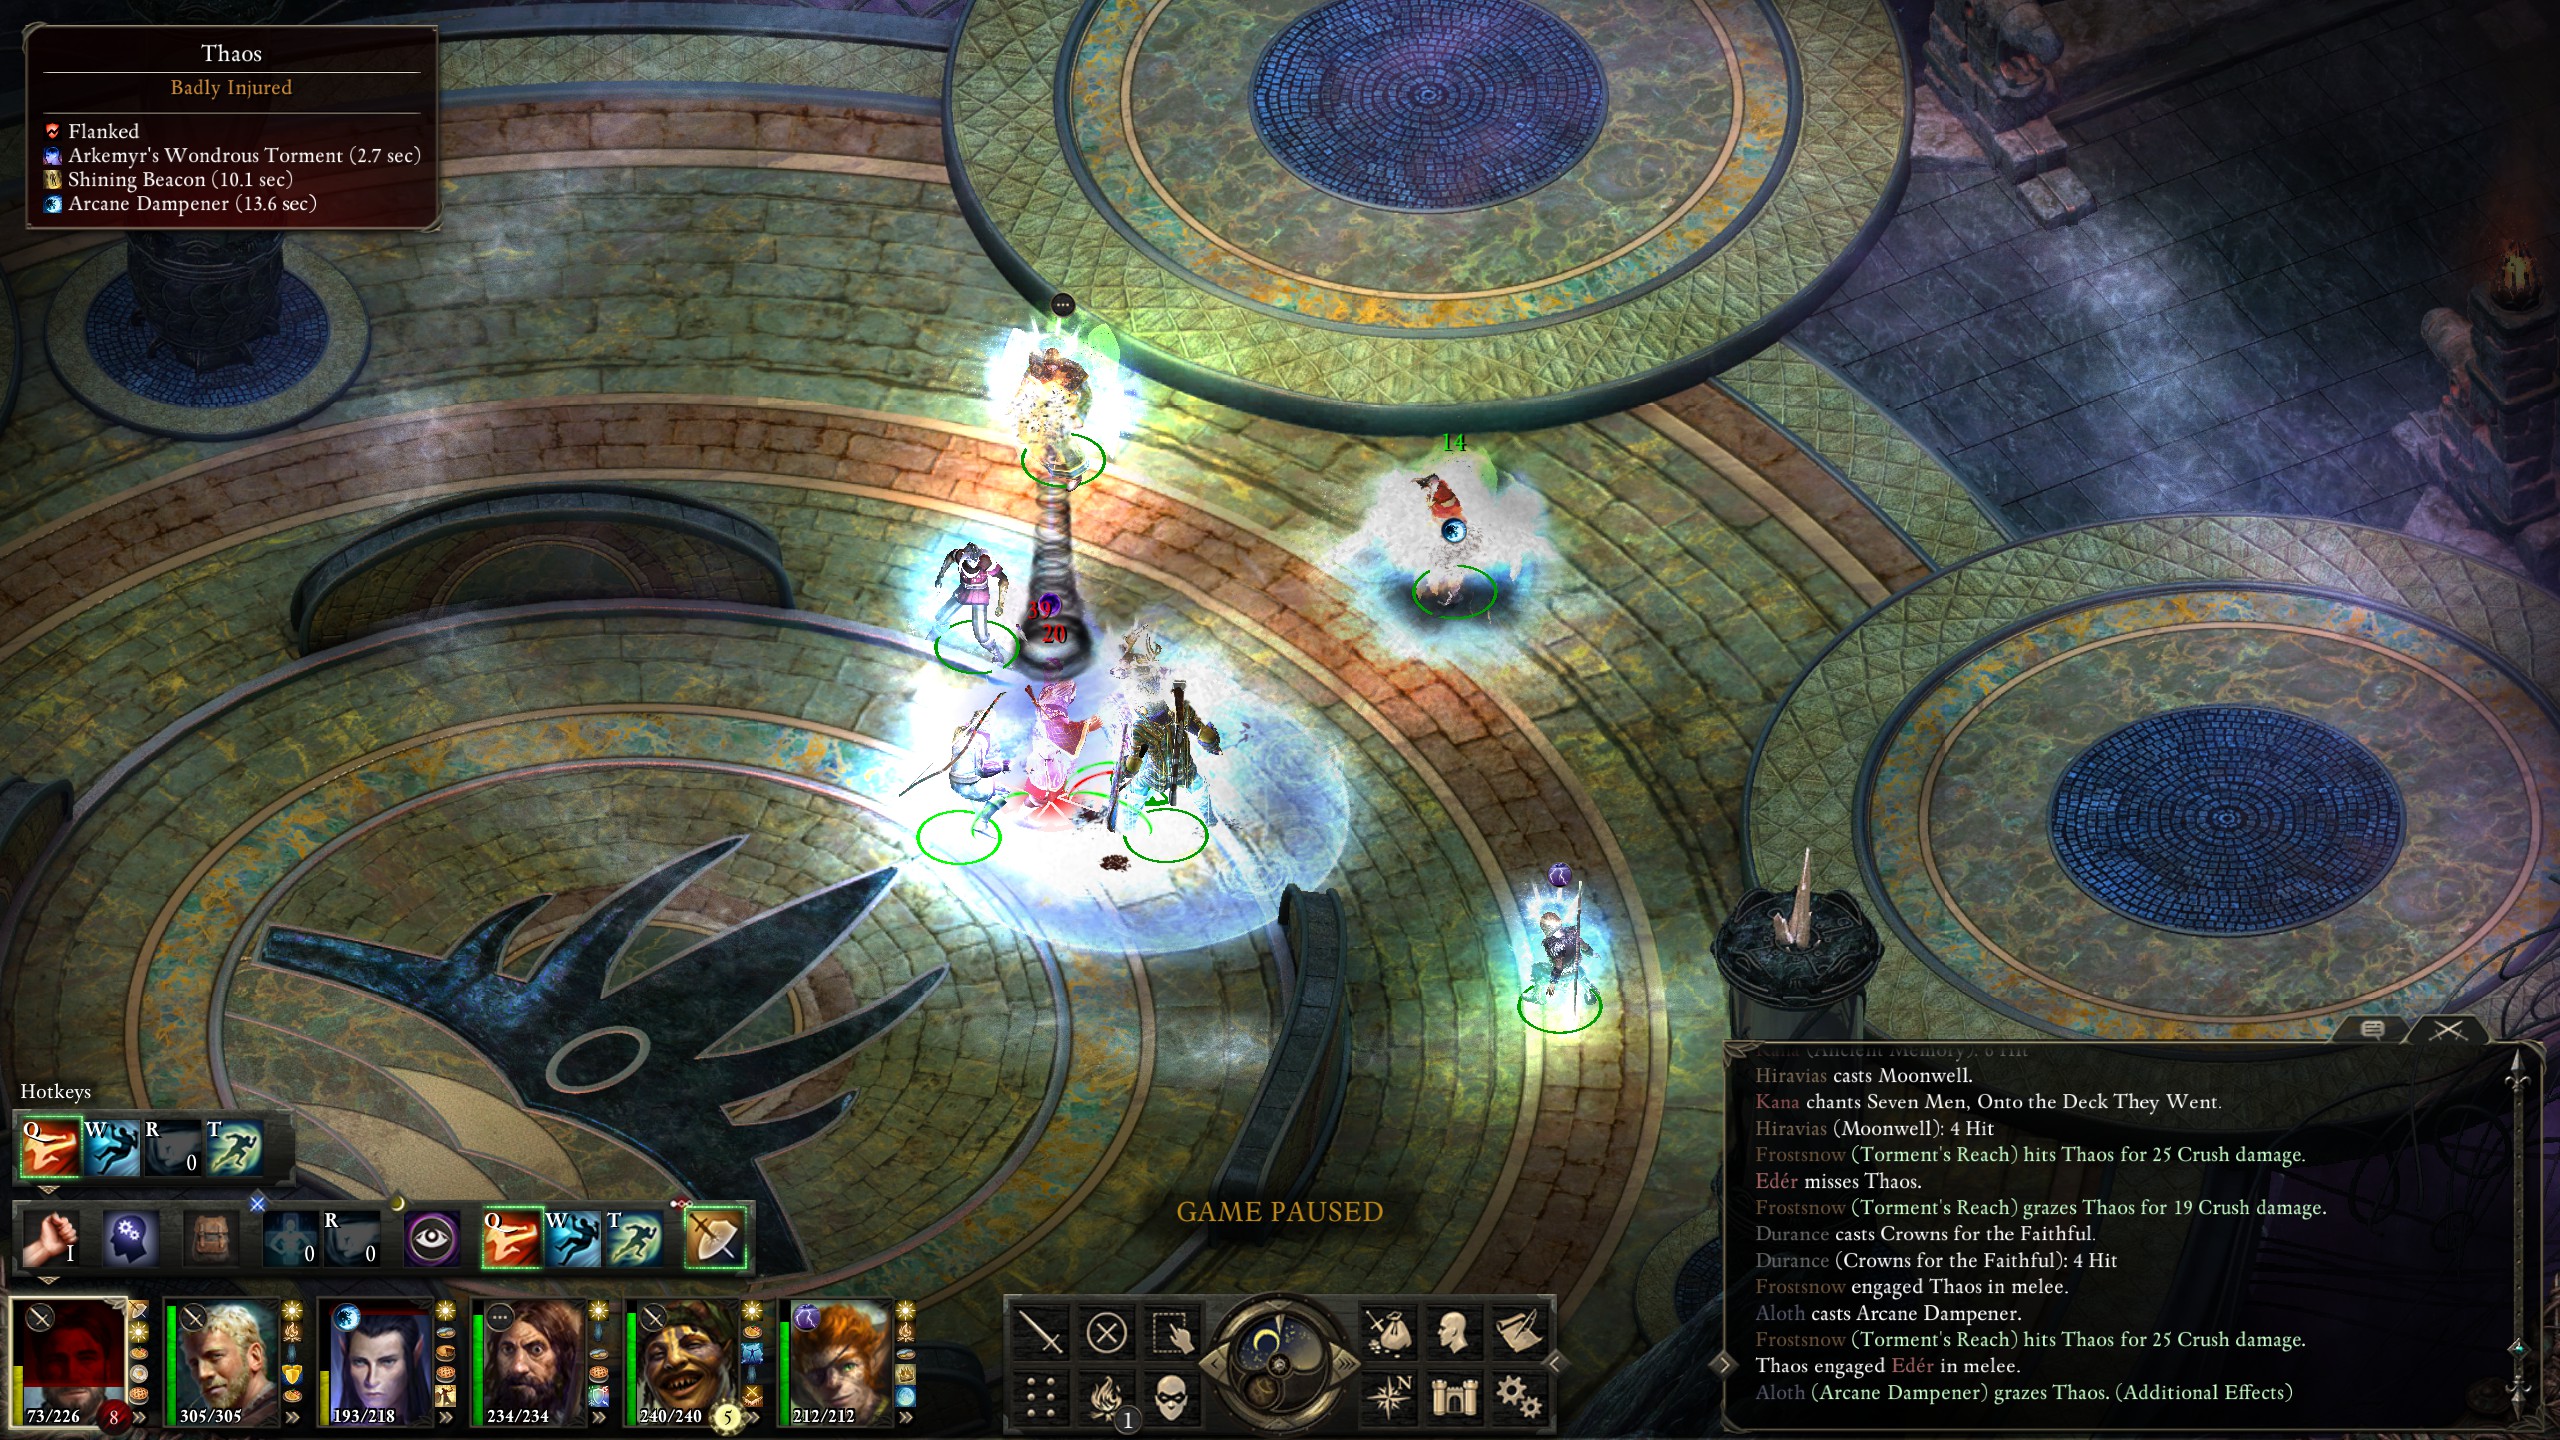
I then quickly surrounded Thaos. Thaos himself is tricky to kill in part because he's highly buffed, but he will also use an AoE dominate/charm spell when he gets low in order to take the damage off of him while he then heals back up; the damage, dominate, heal cycle can repeat while he wears the party down, so I had to put a stop to it. The first thing was to cast Aloth's "Arkemyr's Wondrous Torment" to weaken Thaos' casting ability followed by "Arcane Dampener" to suppress his buffs; meanwhile, Durance cast "Crowns for the Faithful" on those surrounding Thaos for the extra +62 to Will saves.
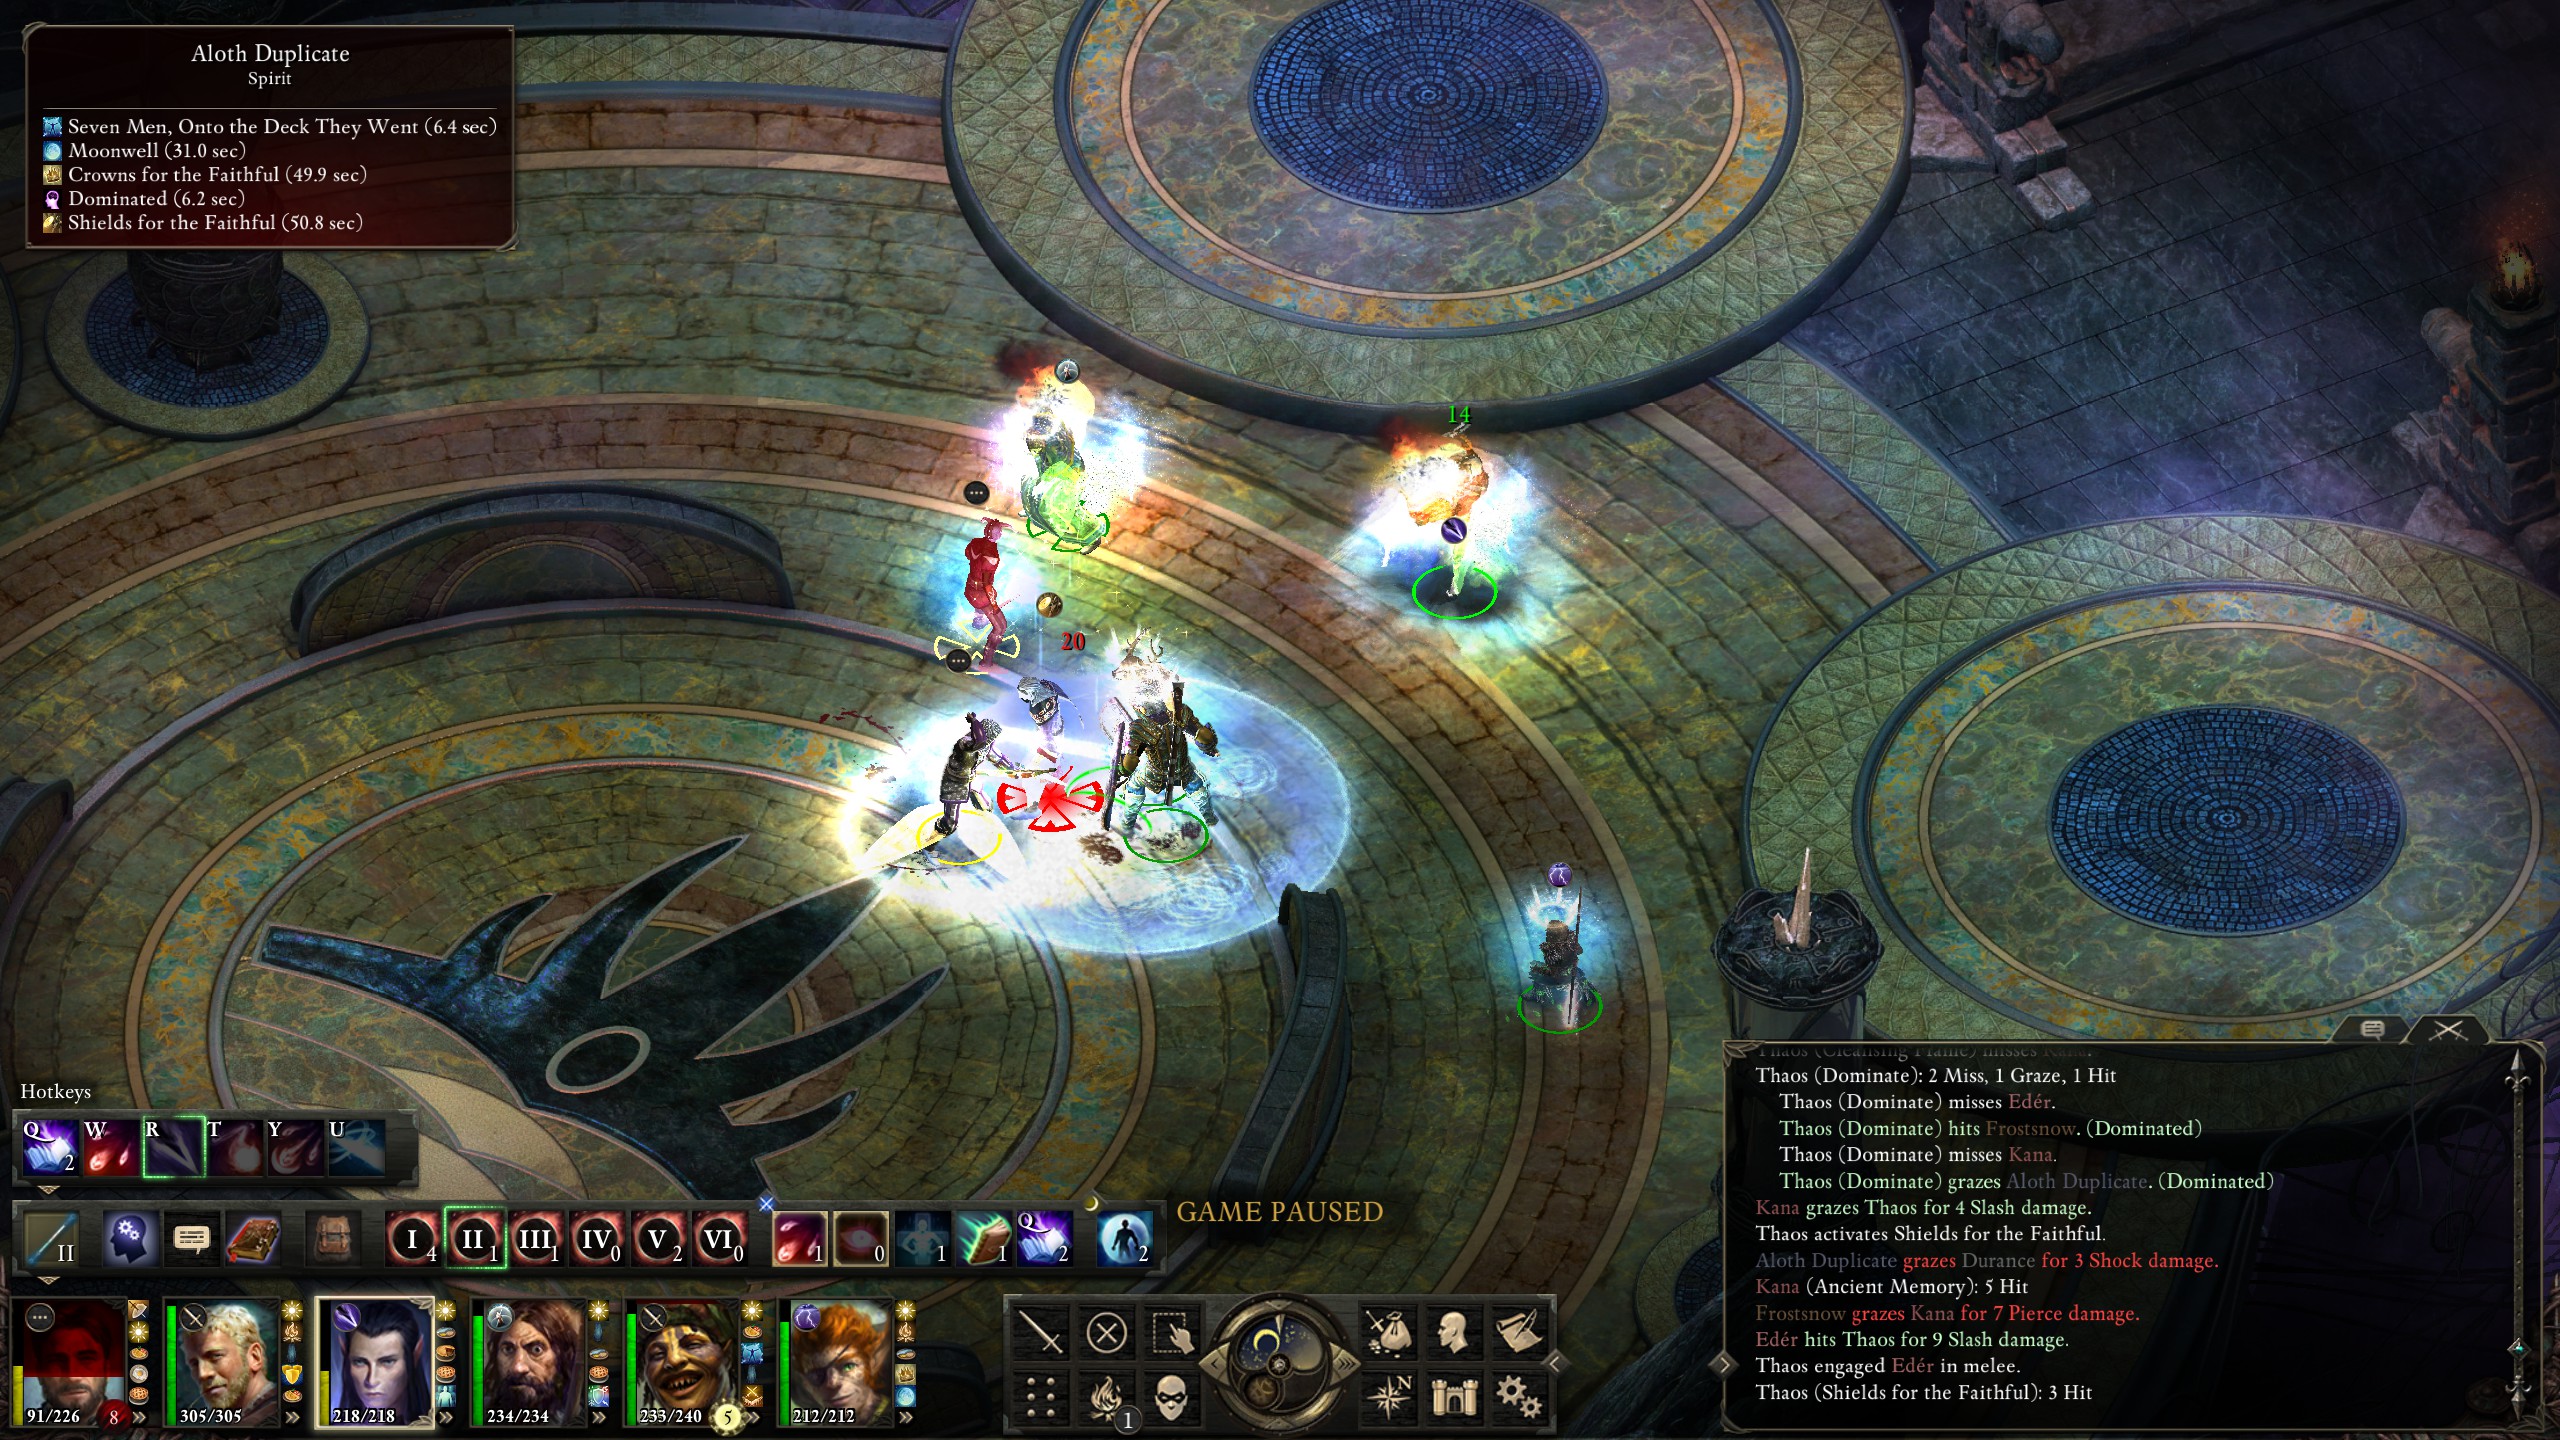
Thus when Thaos finally cast his dominate spell, the only ones affected were my monk and an Aloth duplicate.
Hiravas then got a fortunate "Returning Storm" proc on Thaos, stunning him, and he quickly died.
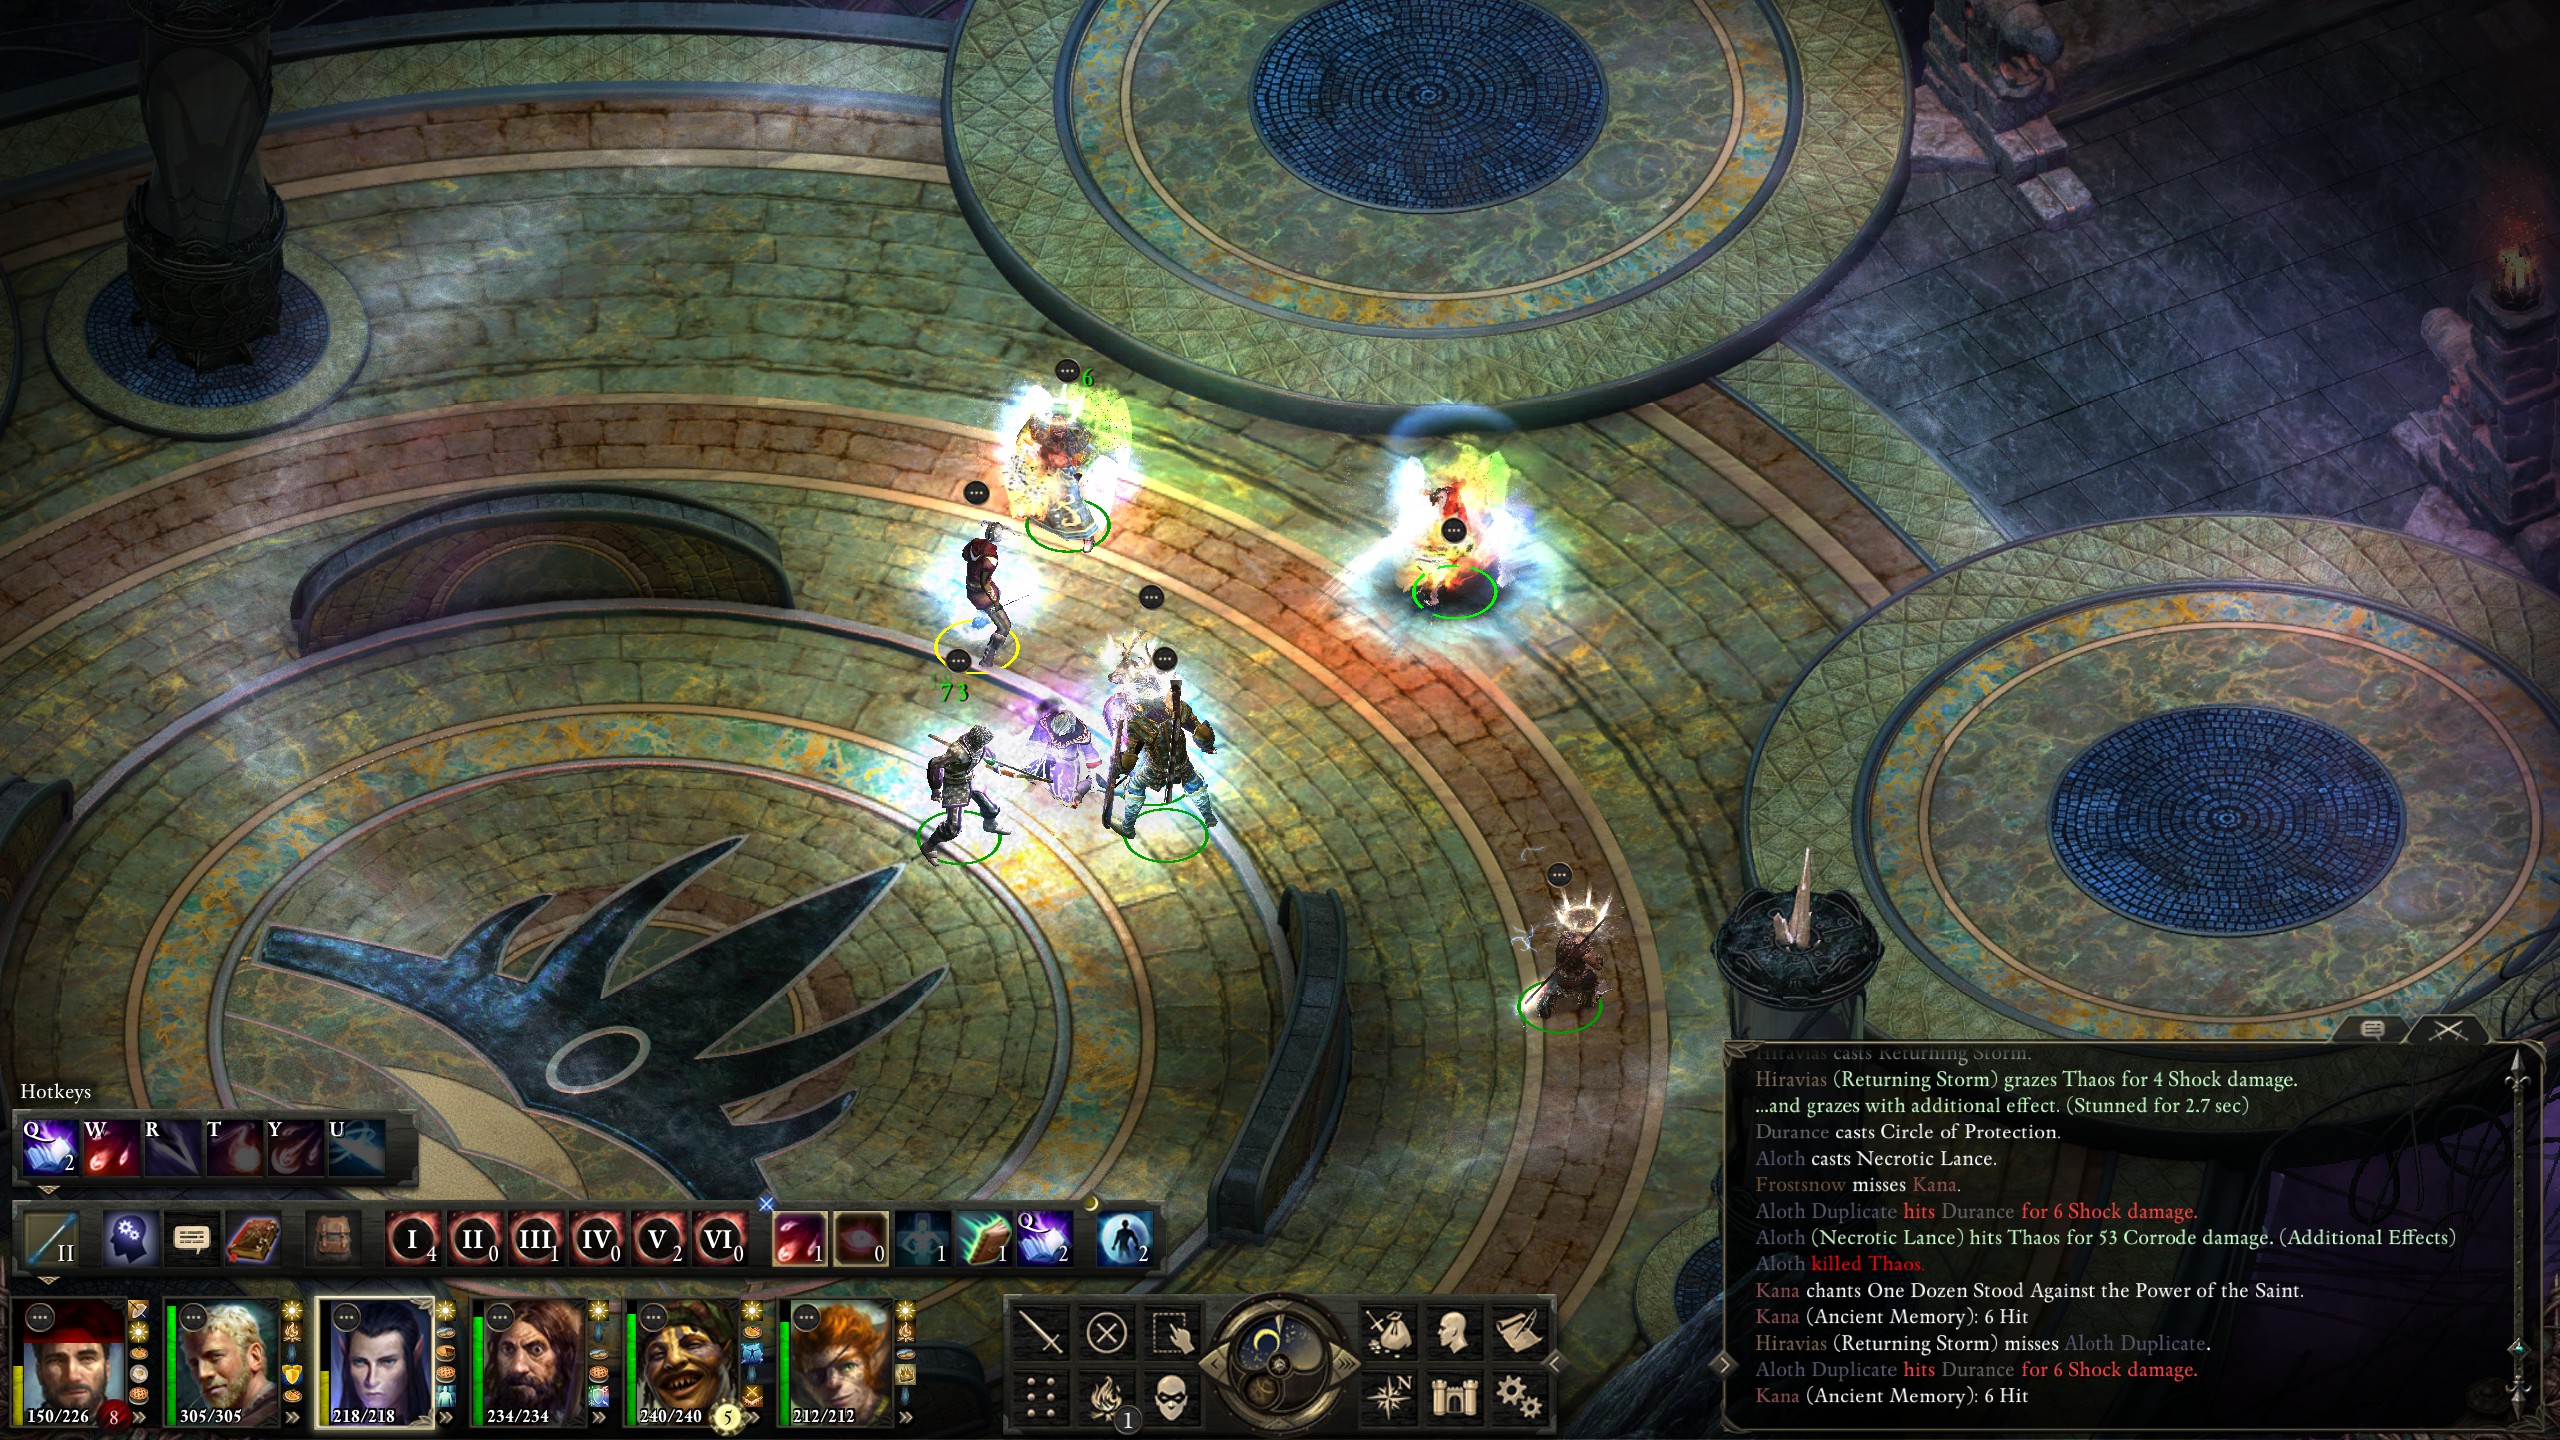
And that was it! I had beaten the game on the highest difficulty!
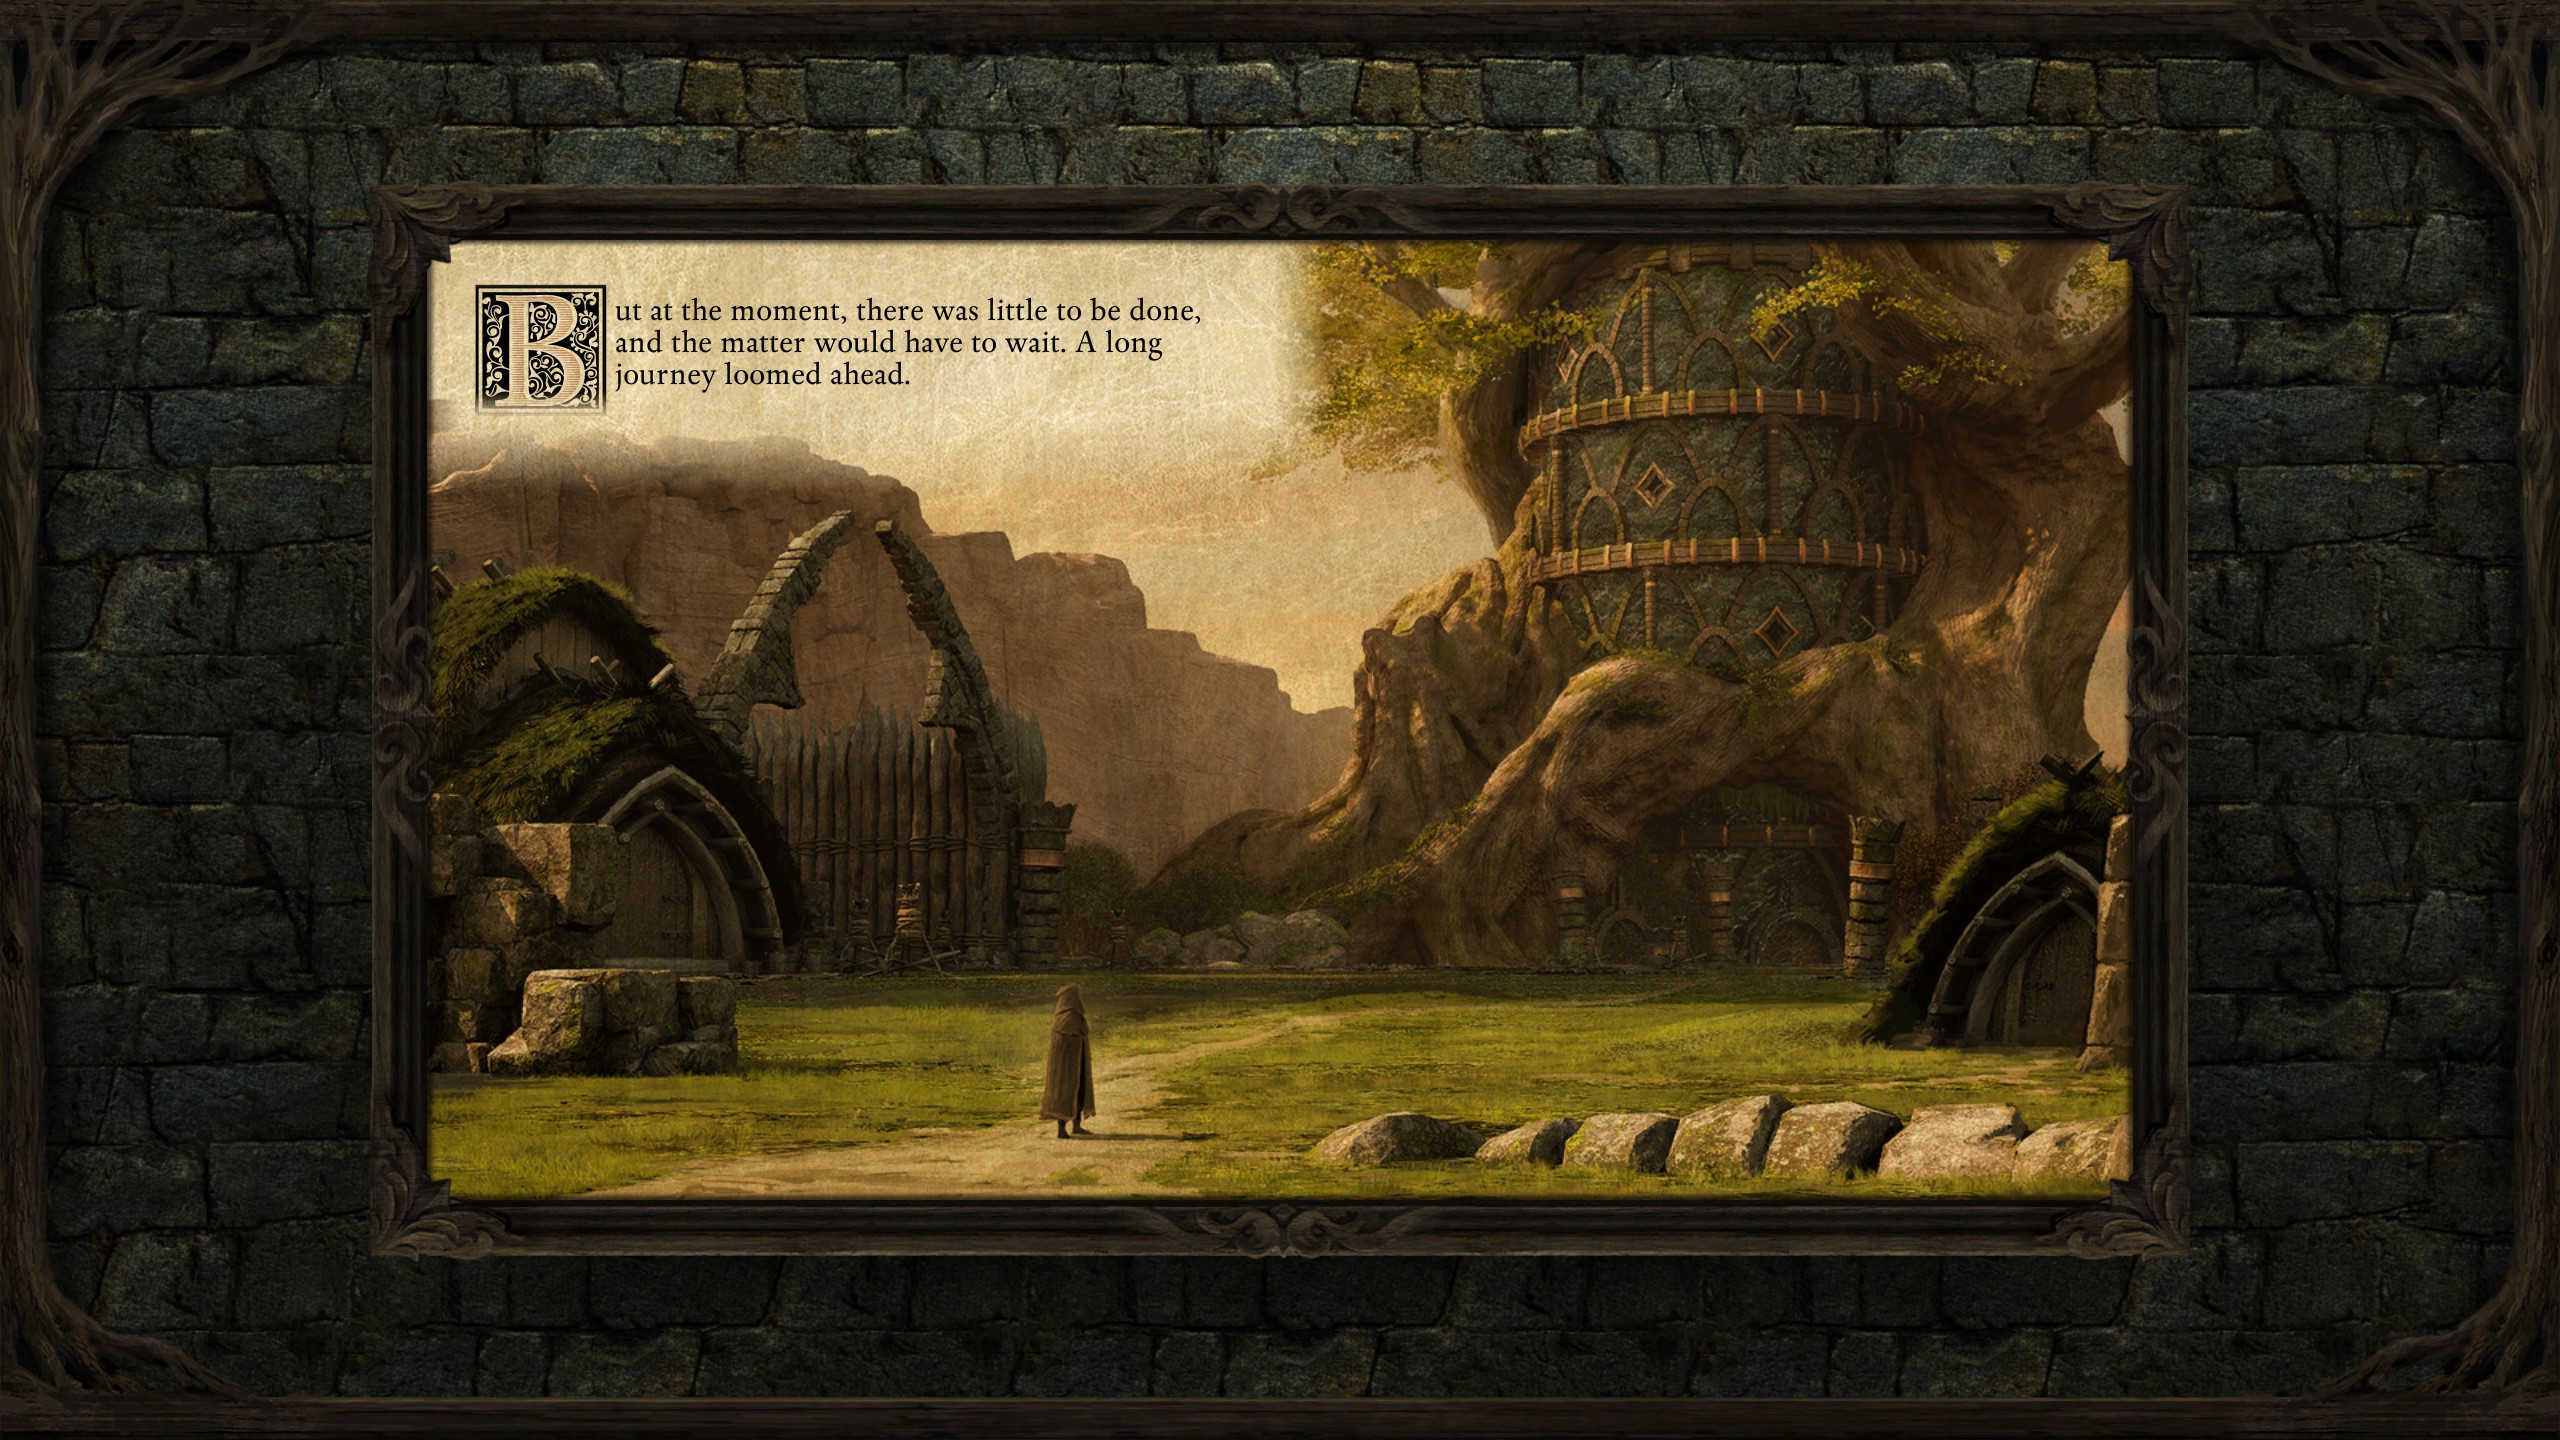
Thinking back on how the run had gone, knowing where to go and how to out-level most areas made the run much easier than it otherwise would have been. Out-levelling aside, the bosses, especially the Master Below, were still quite difficult, so the run had a good amount of challenge regardless.
The sequel has an option to enable upward-only level-scaling, so that may alleviate the out-levelling advantage I had, but level-scaling doesn't always properly increase the difficulty of lower-level areas (for example, level-scaled mobs often only have their corresponding lower-level status afflictions) or it may mis-compensate and make some creatures ultra-hard at certain levels but not others. I'll find out eventually, but, for now, there are still the White March expansions that need to be done before I will proceed to the sequel.