
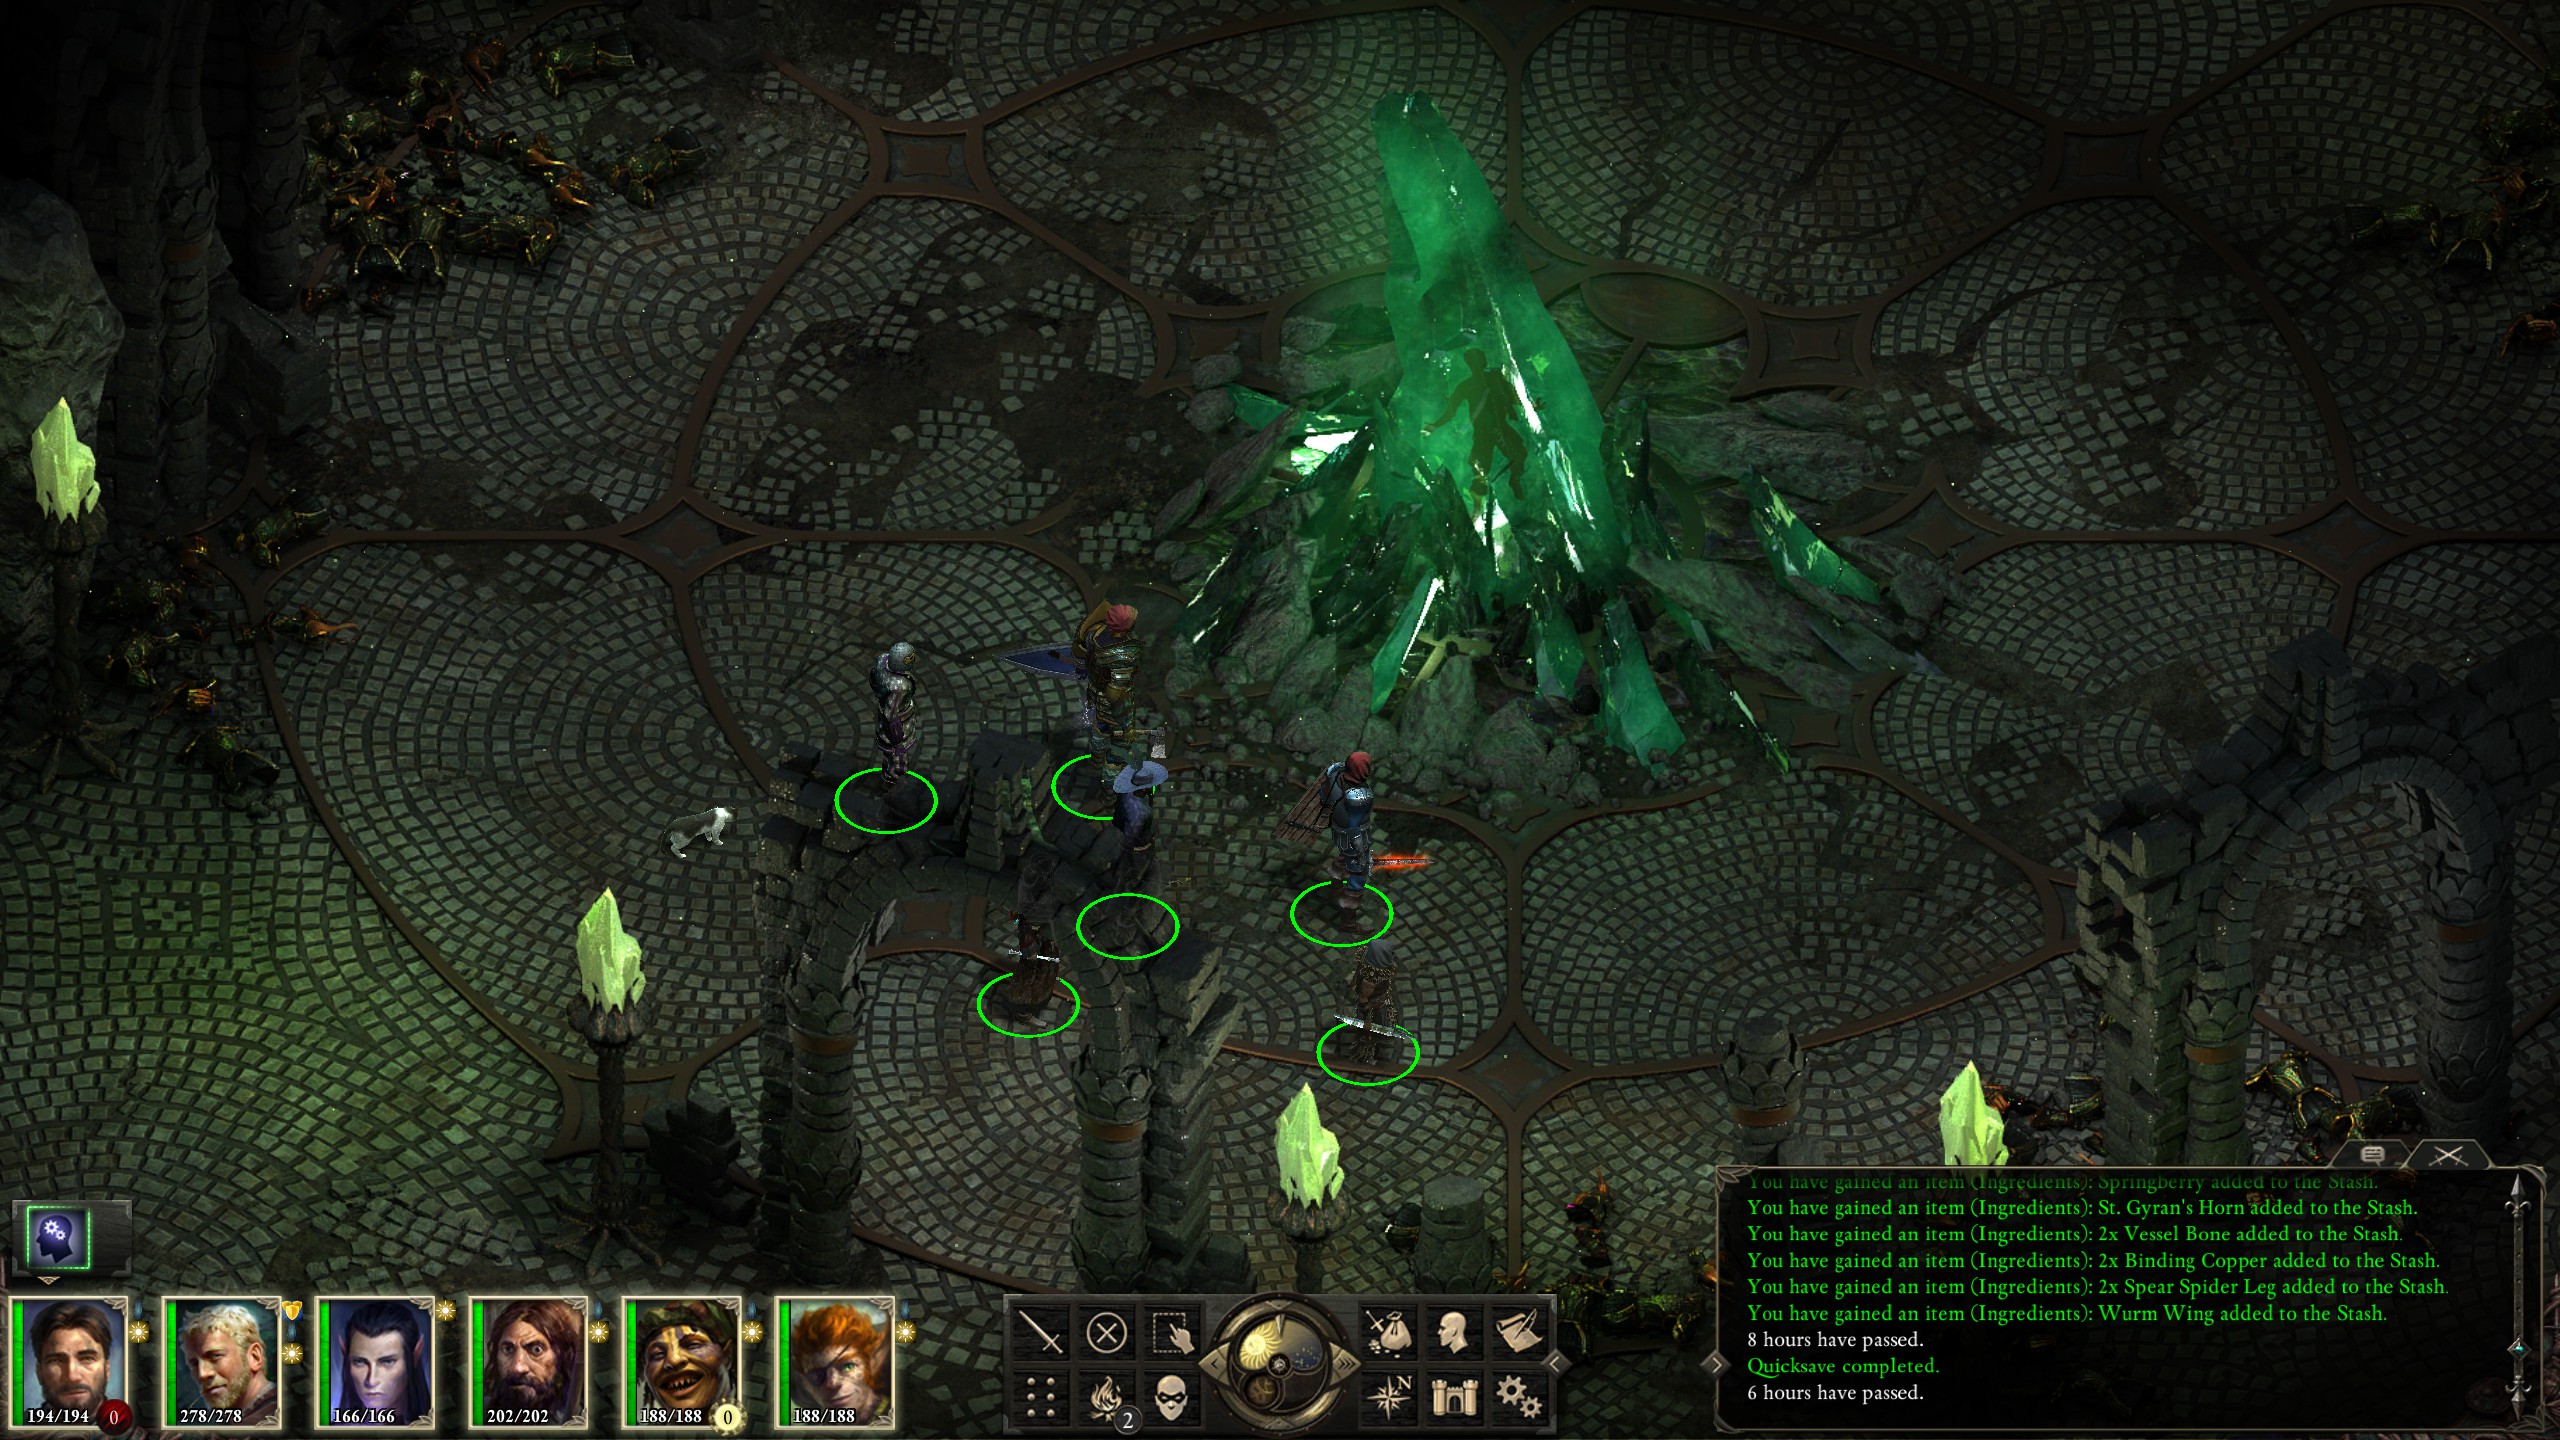
Act II is probably the lengthiest act in the game, consisting of the entire city of Defiance Bay, a journey through the wilderness, Dyrford Village, Engwithian Ruins, and, optionally, most of the Endless Paths; hence in part why it took so long to complete. That, and work, as I am, alas, not yet retired.
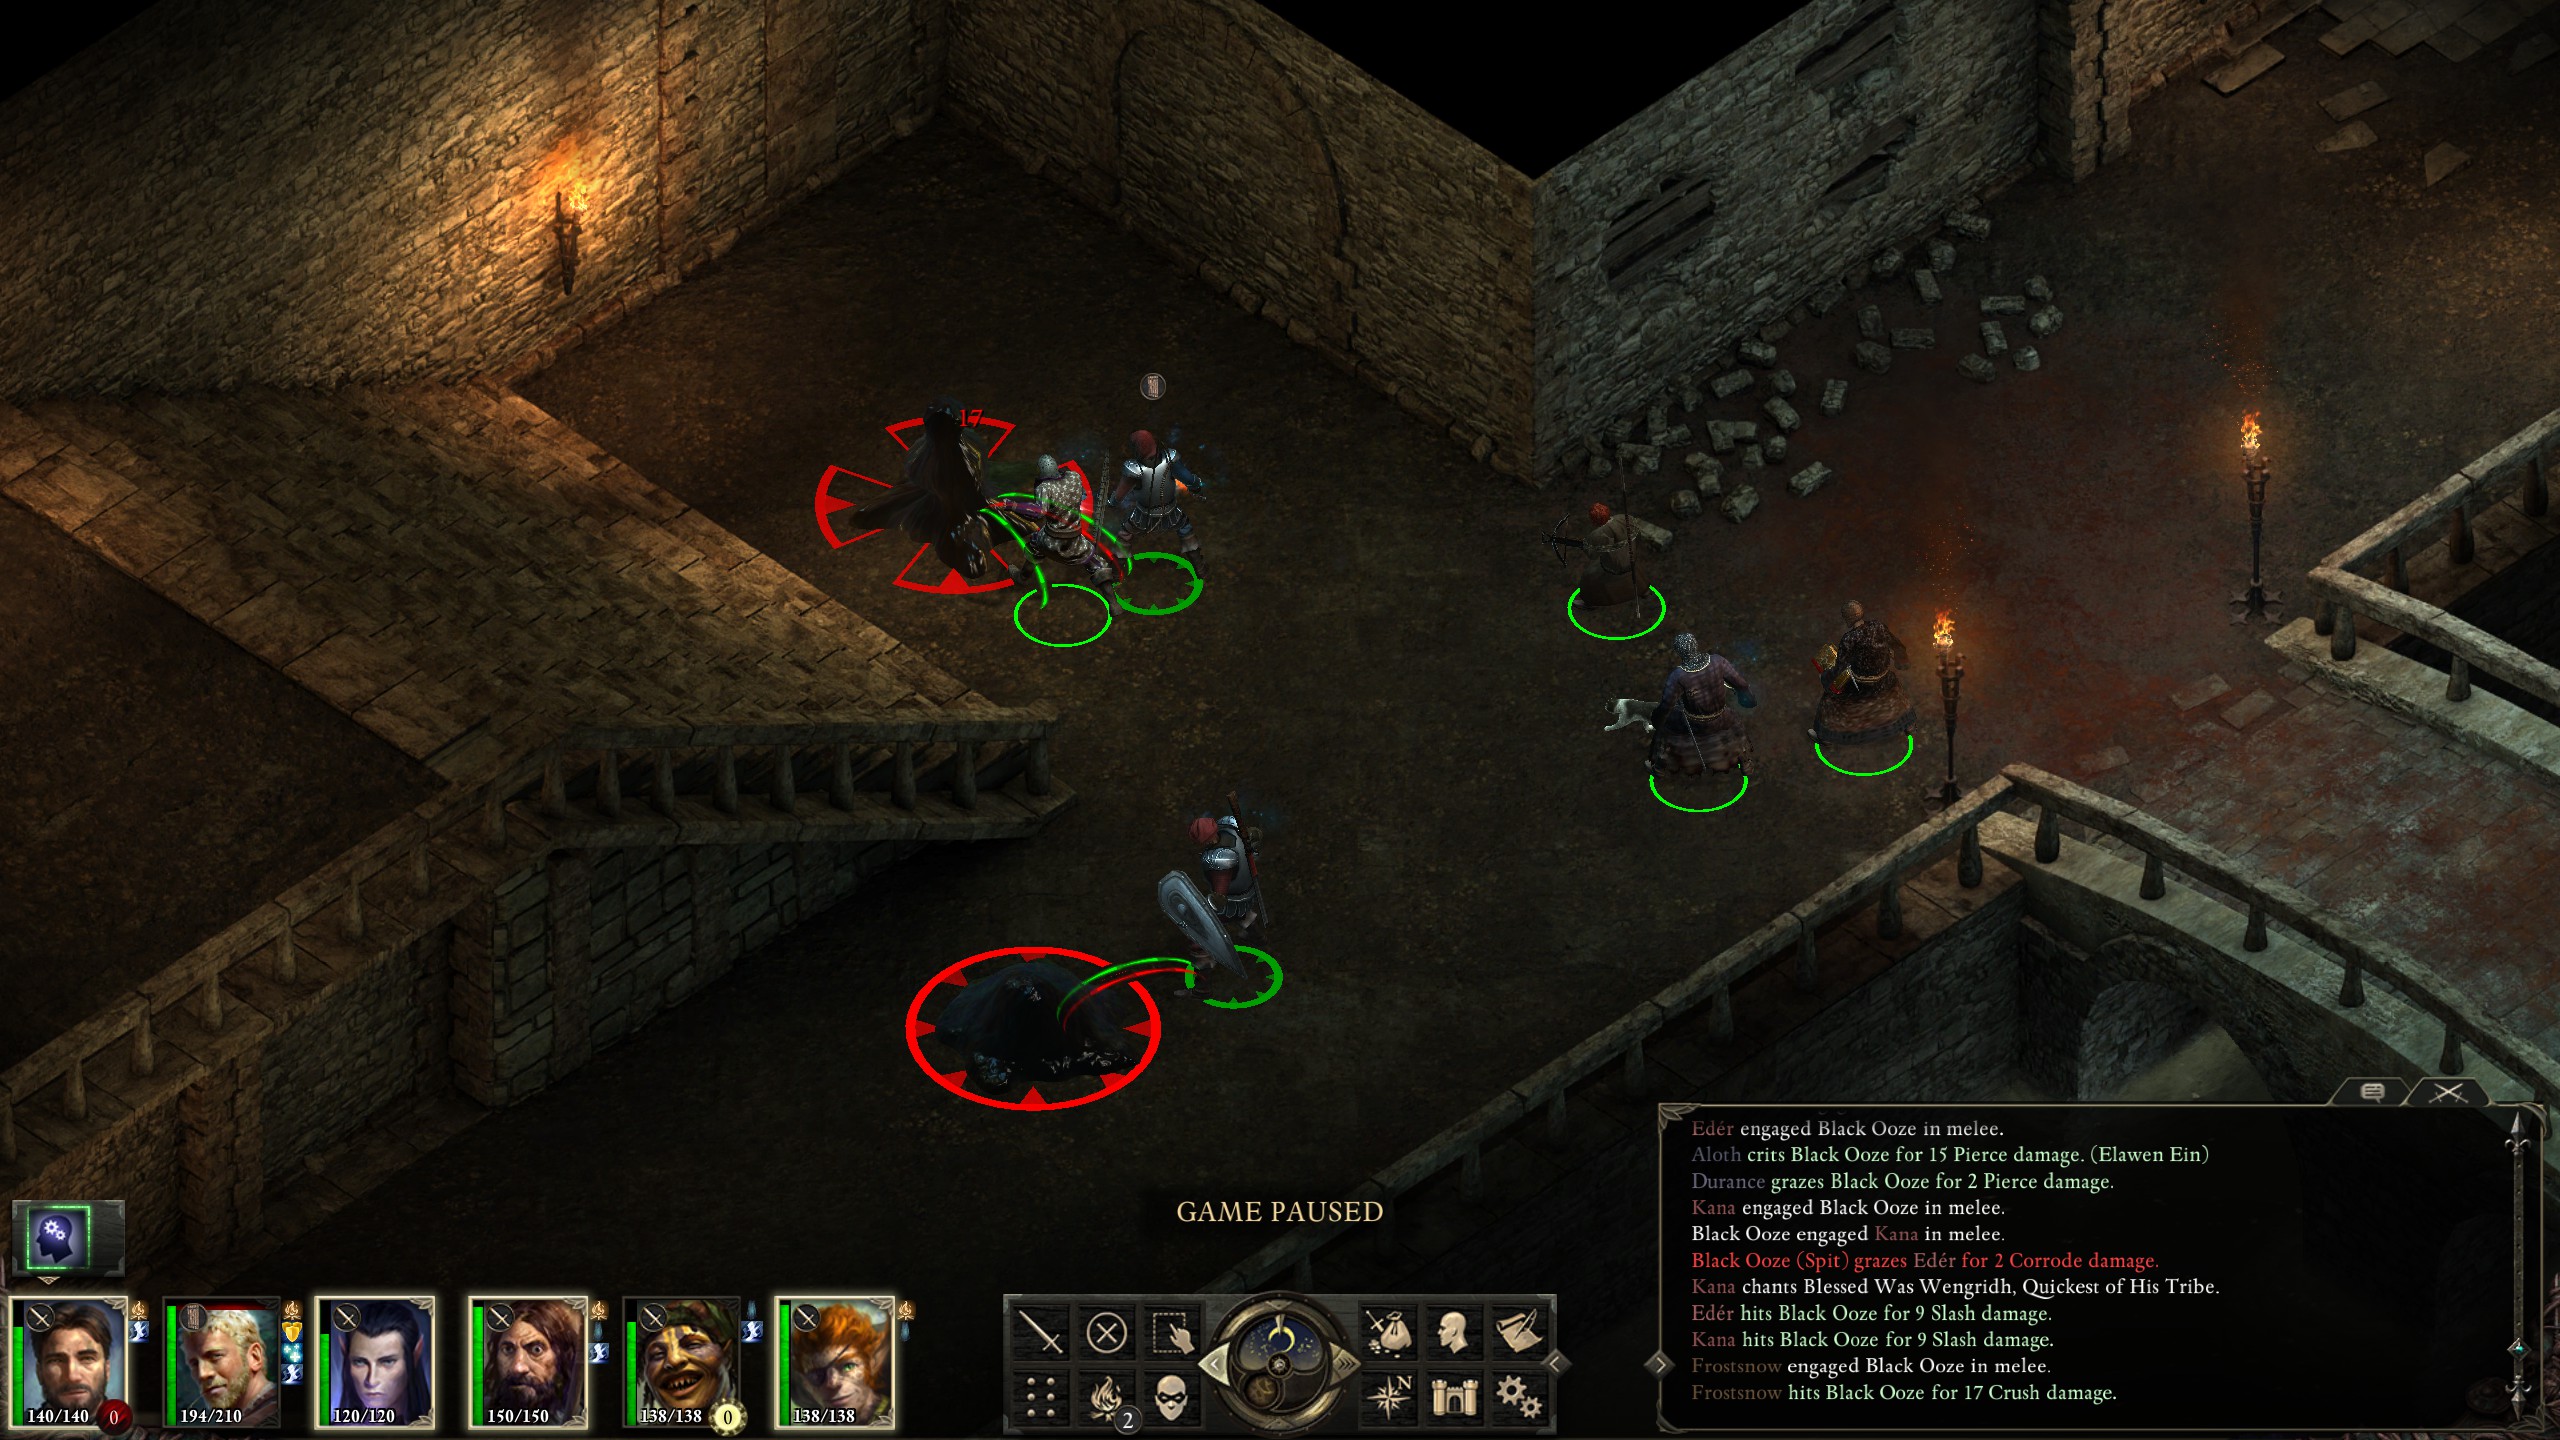
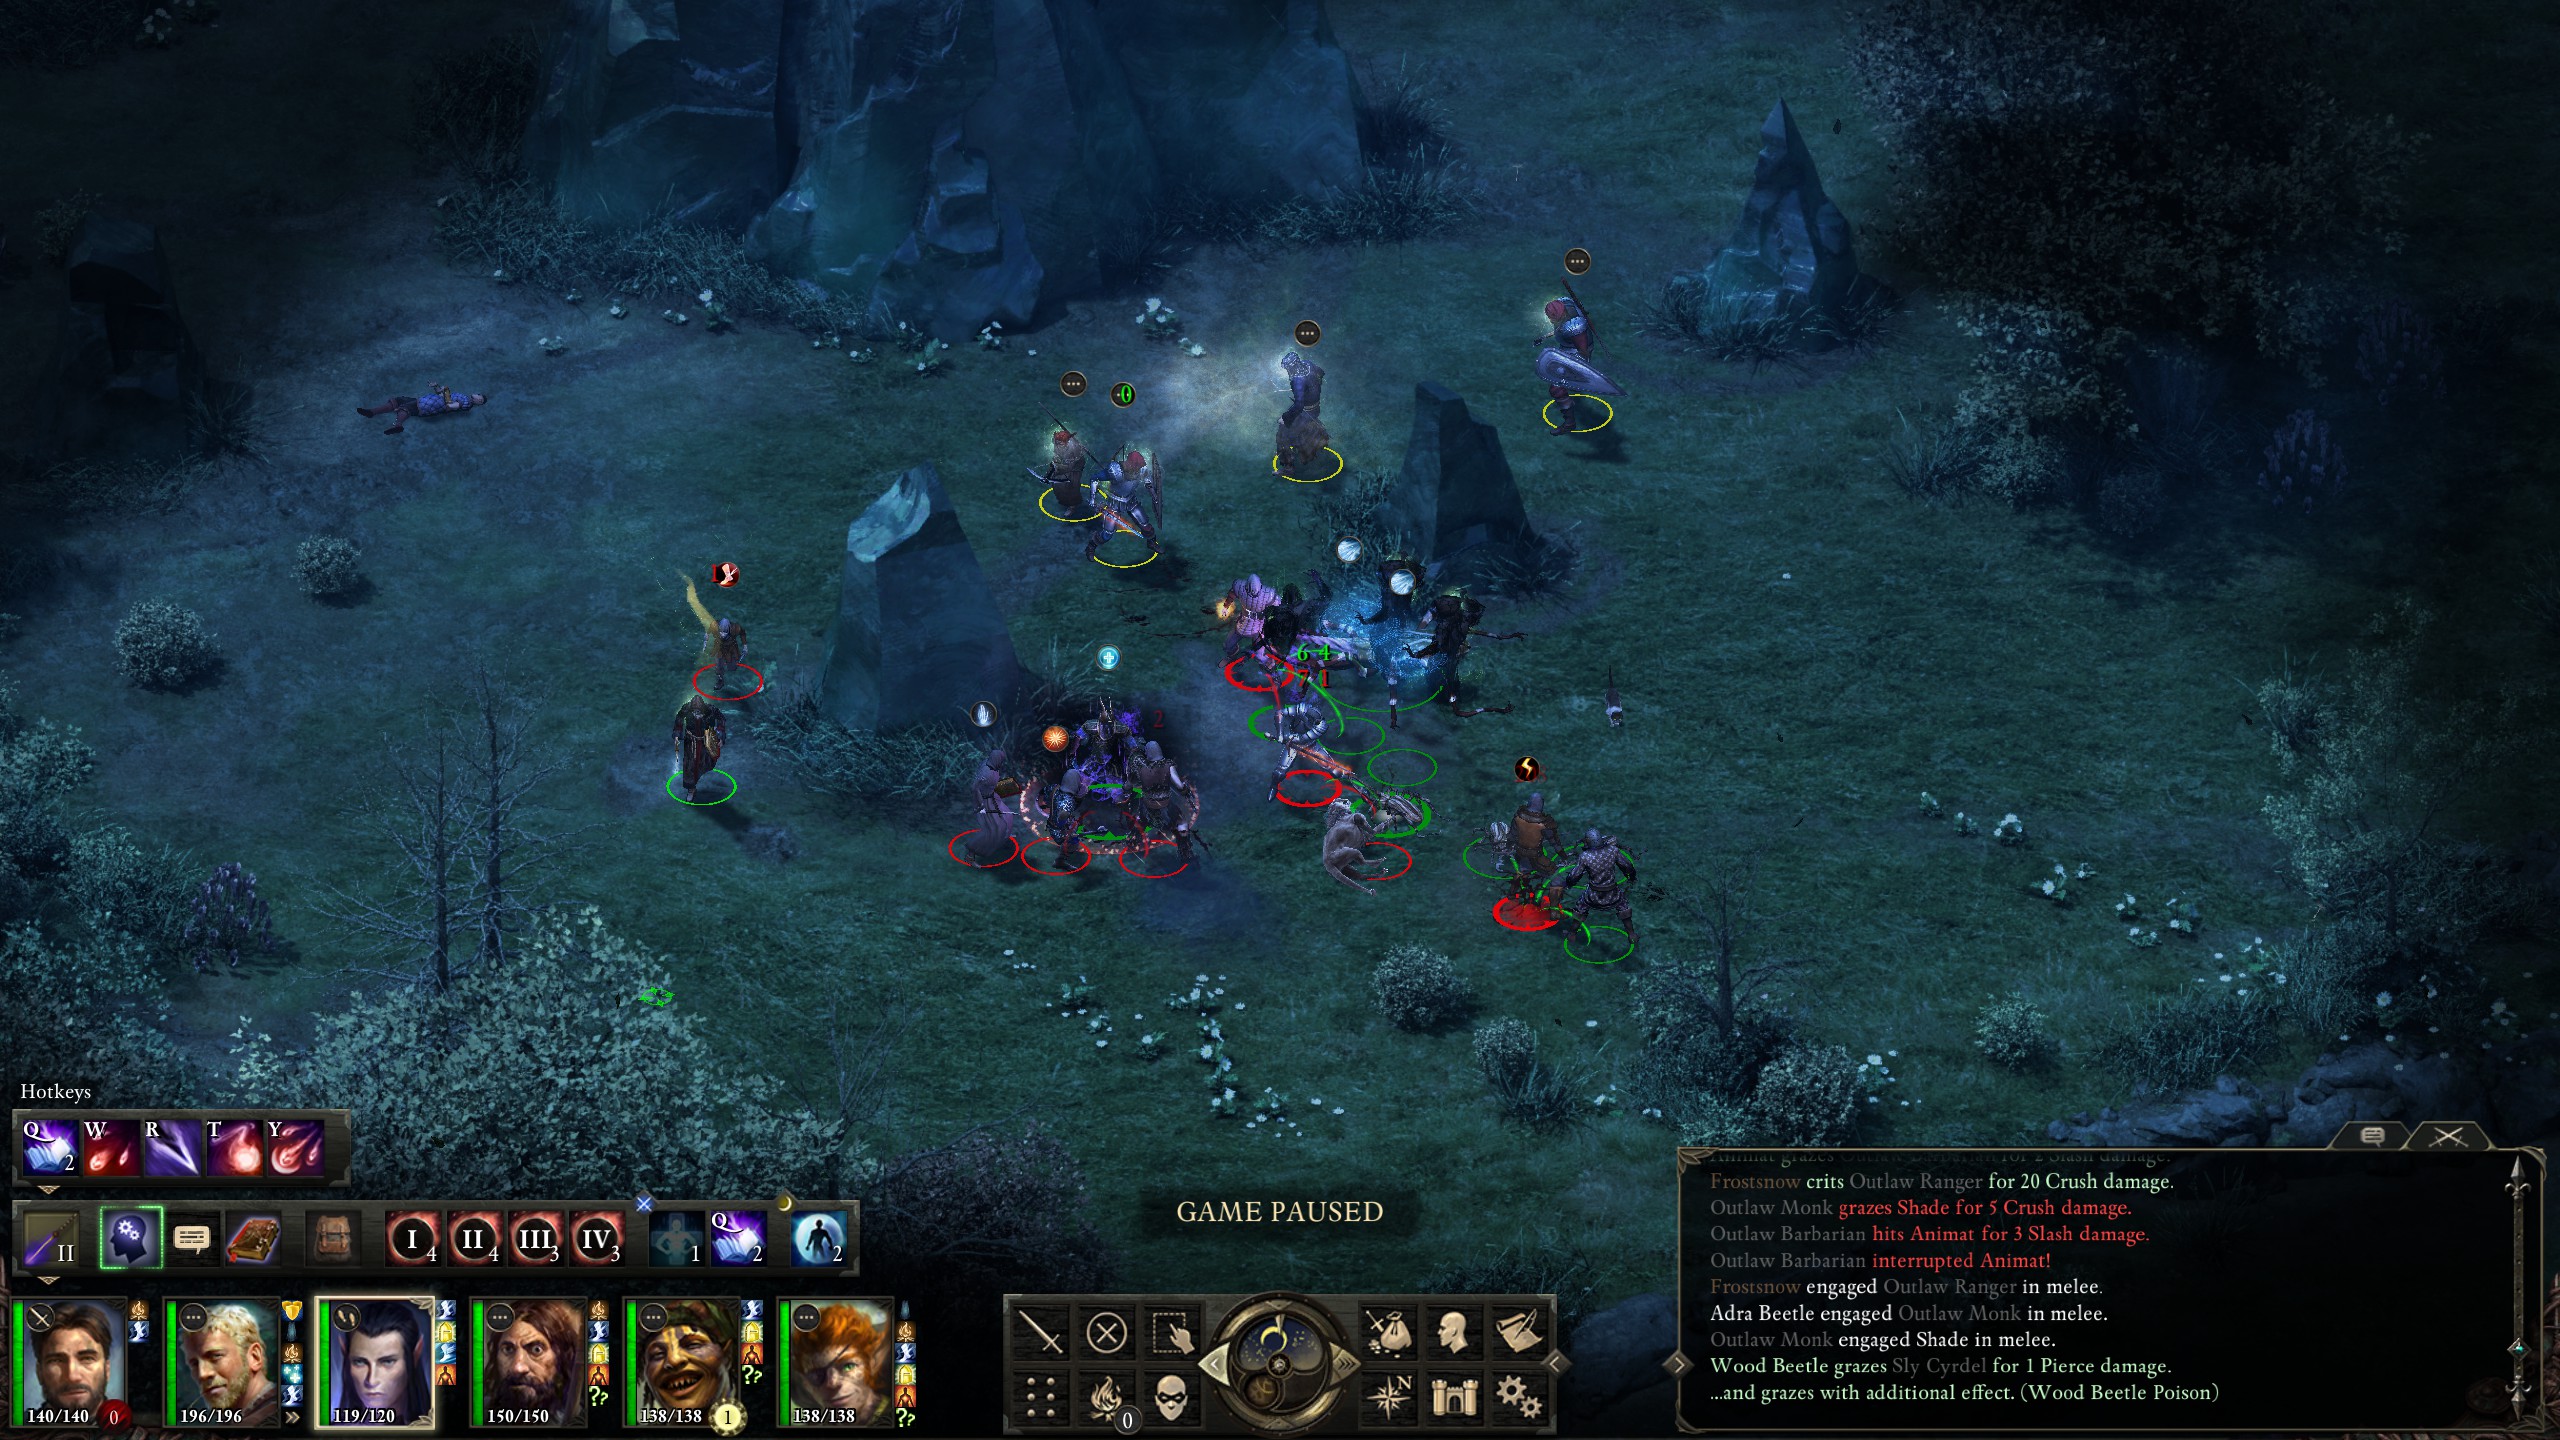
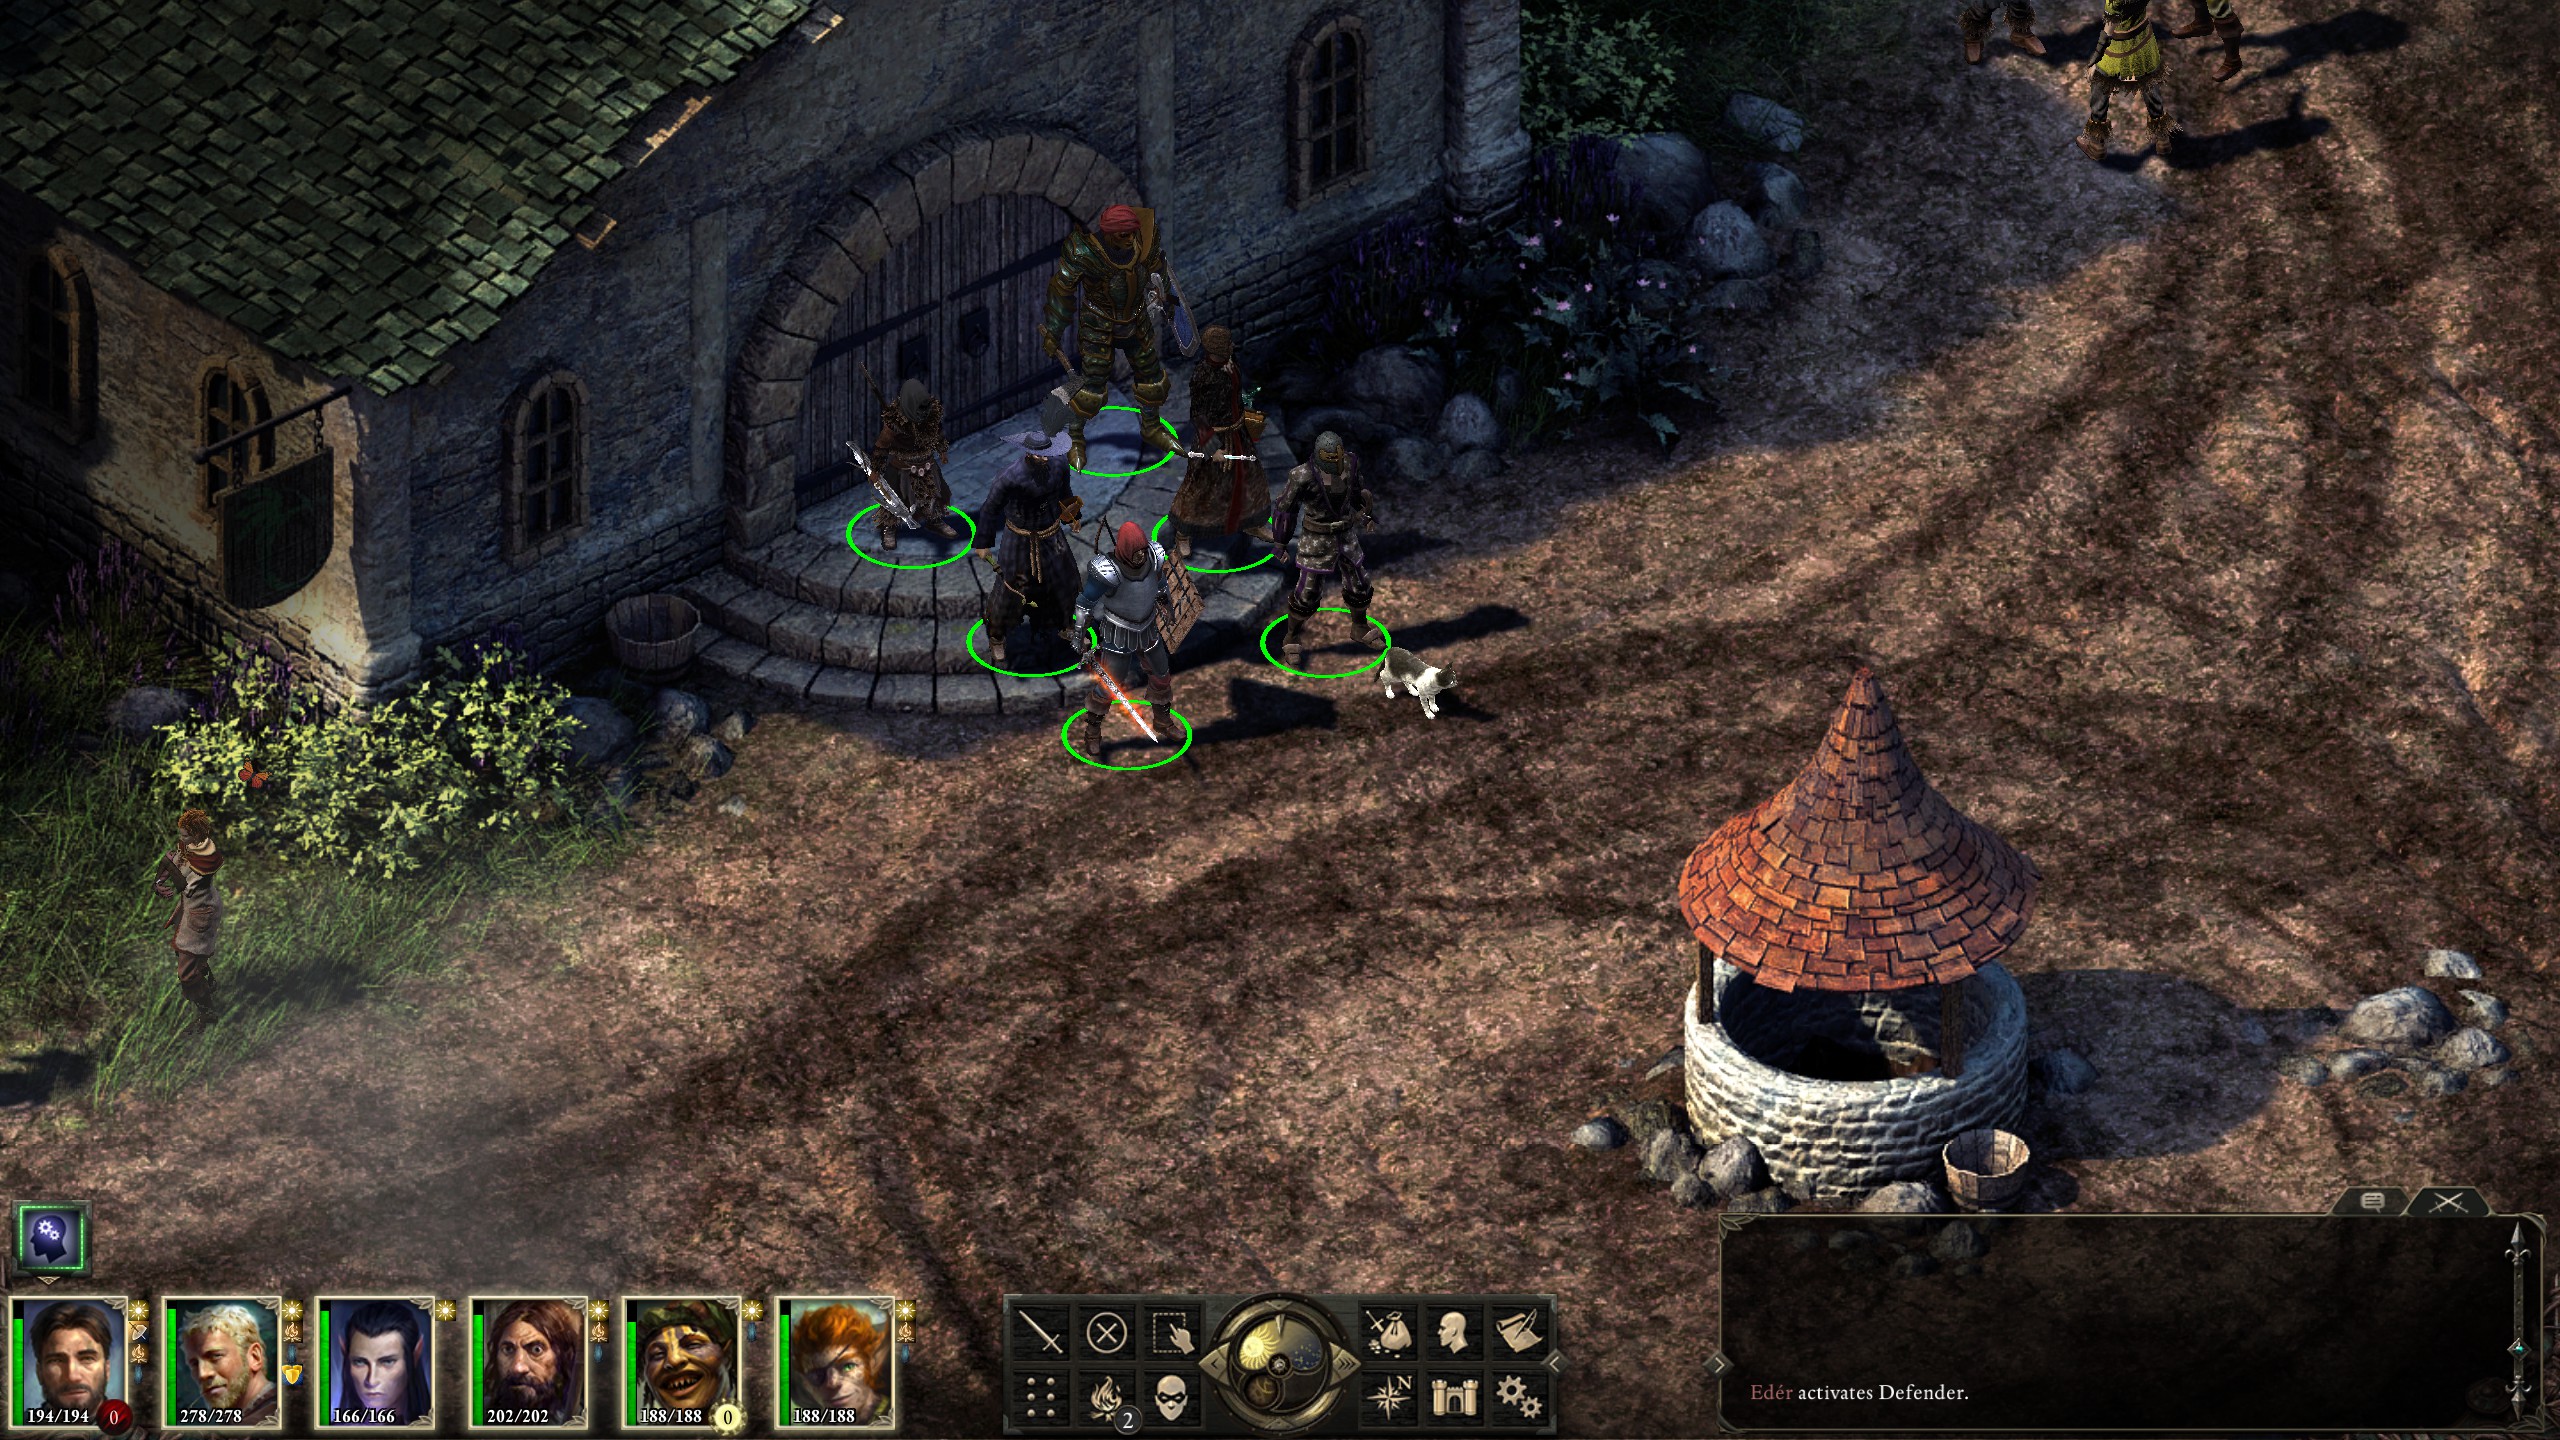
Figurines in hand, it was time to begin questing. I went through Copperlane, First Fires, Brackenbury, Ondra's Gift, then finally Heritage Hill. Since I had gone so deep into the Endless Paths and gained powerful loot and experience, I began to move ahead of the level difficulty, making the journey much easier. More loot was to come, though; upon completing the first quest for the Crucible Knights (the one that doesn't exclude you from the other factions), I noticed that the smith, Dunstan, sold a pair of boots called "Shod-in-Faith" that would proc "Consecrated Ground" when the wearer was hit by a critical hit. Since my Monk was having difficulties staying alive, I placed these on my Monk and, when combined with "Fulvano's Amulet", which increases healing received by 25%, they are insanely powerful, allowing my Monk to profit from damage while not getting beaten down by it. Further questing in Heritage Hill also gave me the "Iridescent Scarab Figurine", which summons an Adra Beetle, from the family tomb where Saeda was hiding. The biggest challenge was the lighthouse in Ondra's Gift, but it was nothing an army of figurines couldn't handle:
Amusingly enough, accidentally killing my summoned animat with the adra beetle's "Shocking Blast" gave a little bit of experience. Having cleared out most of Defiance Bay it was time to progress the main questline a little.
Having cleared most of Defiance Bay and gained a few levels I next went to dispatch a few ruffians on the road.
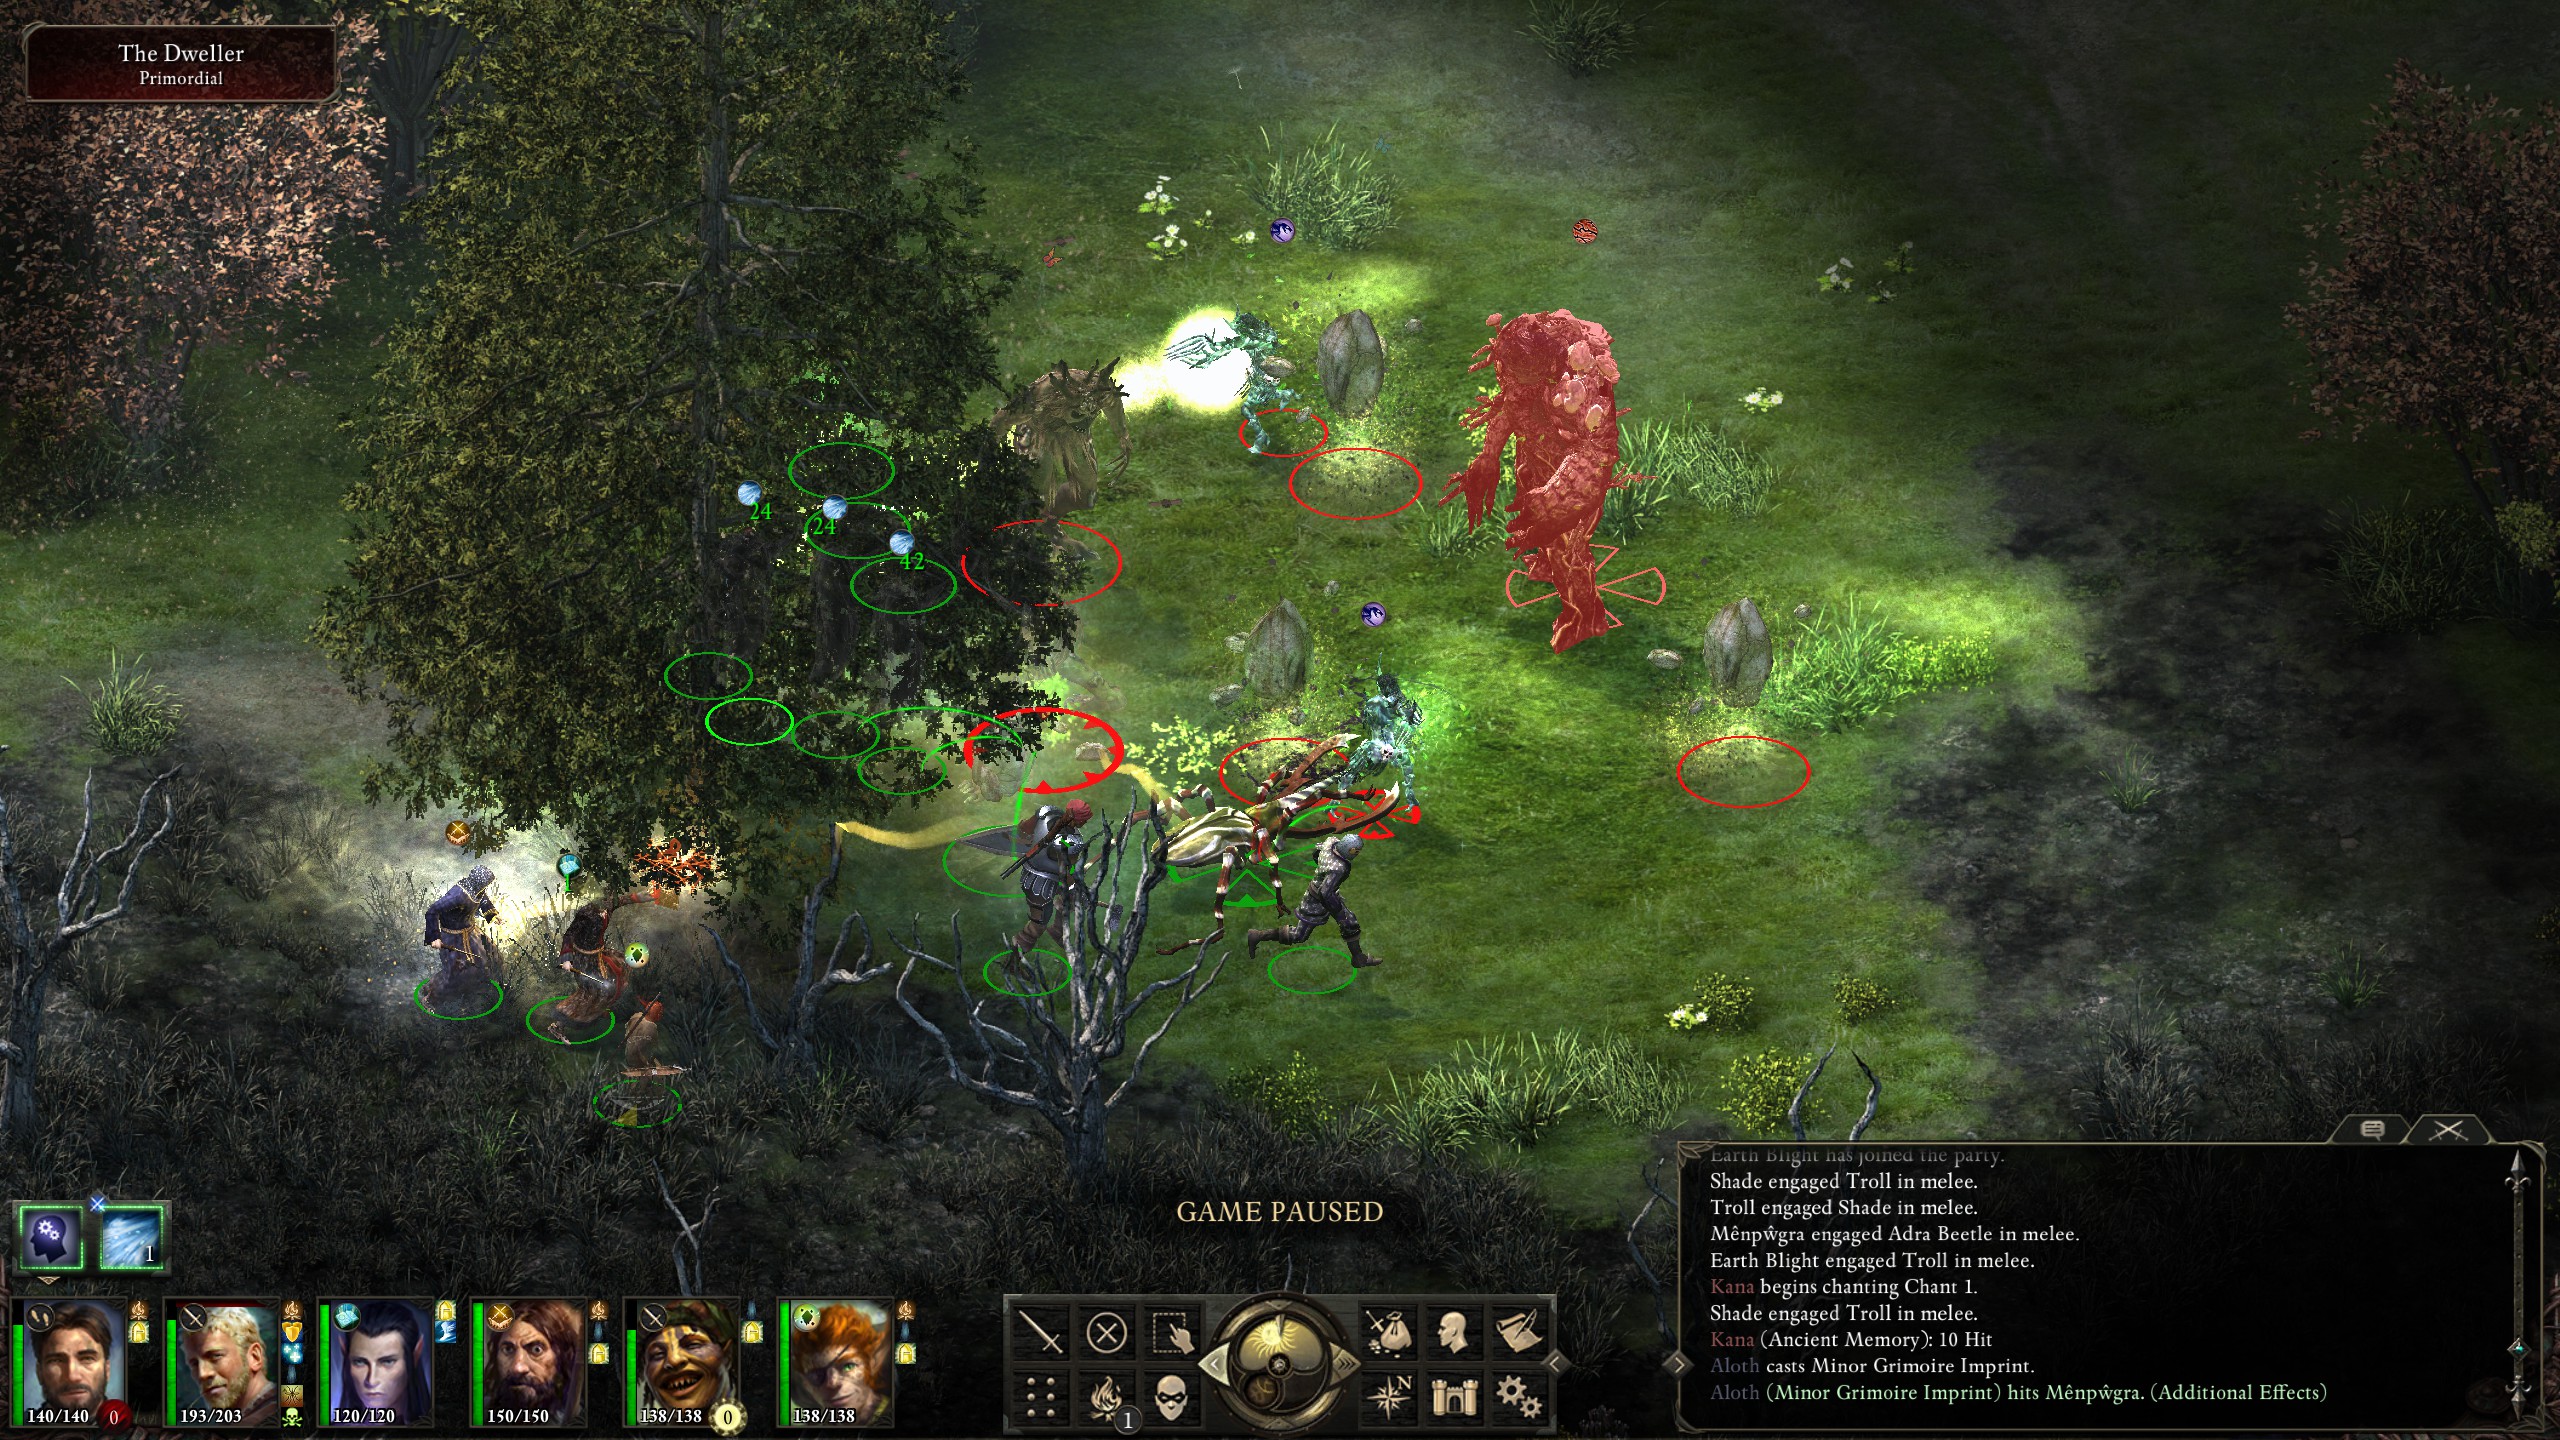
I began playing around with Aloth's "Minor Grimoire Imprint", but have generally found it too buggy in that it often doesn't actually steal spells when it should. Regardless, the Dweller went down without much hassle:
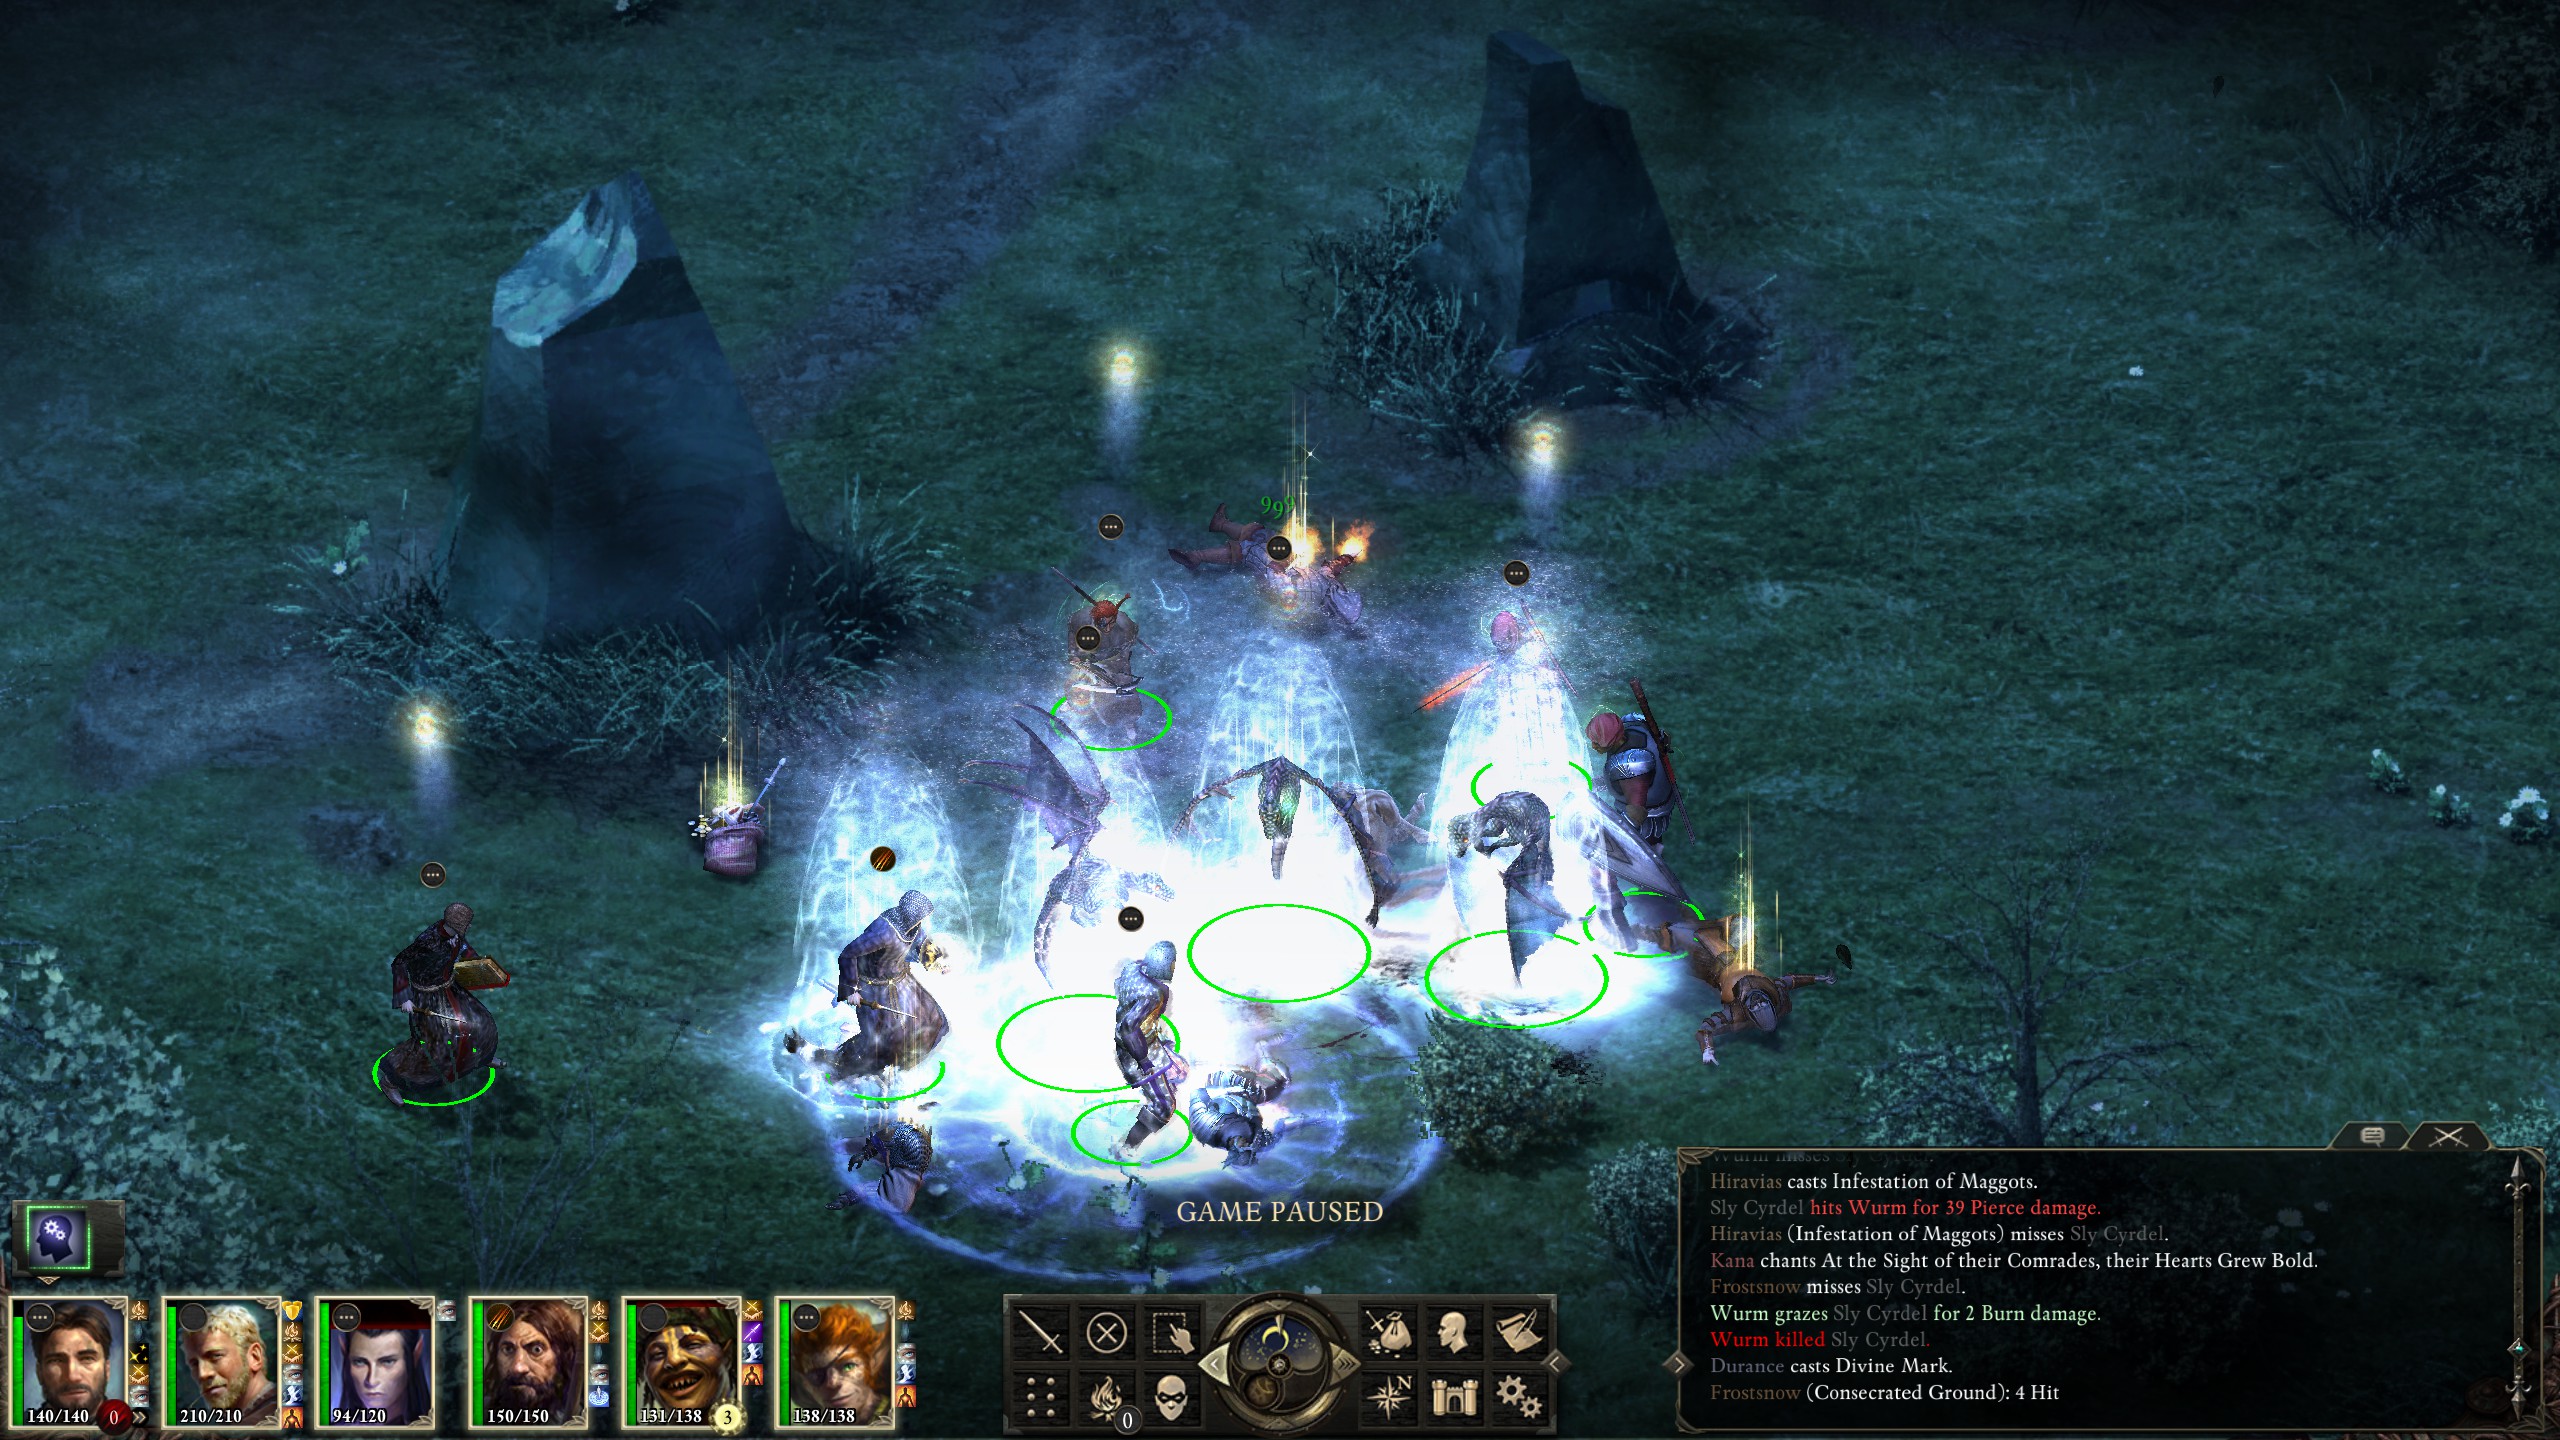
Next up was Sly Cidrel. The battle started out easy enough.
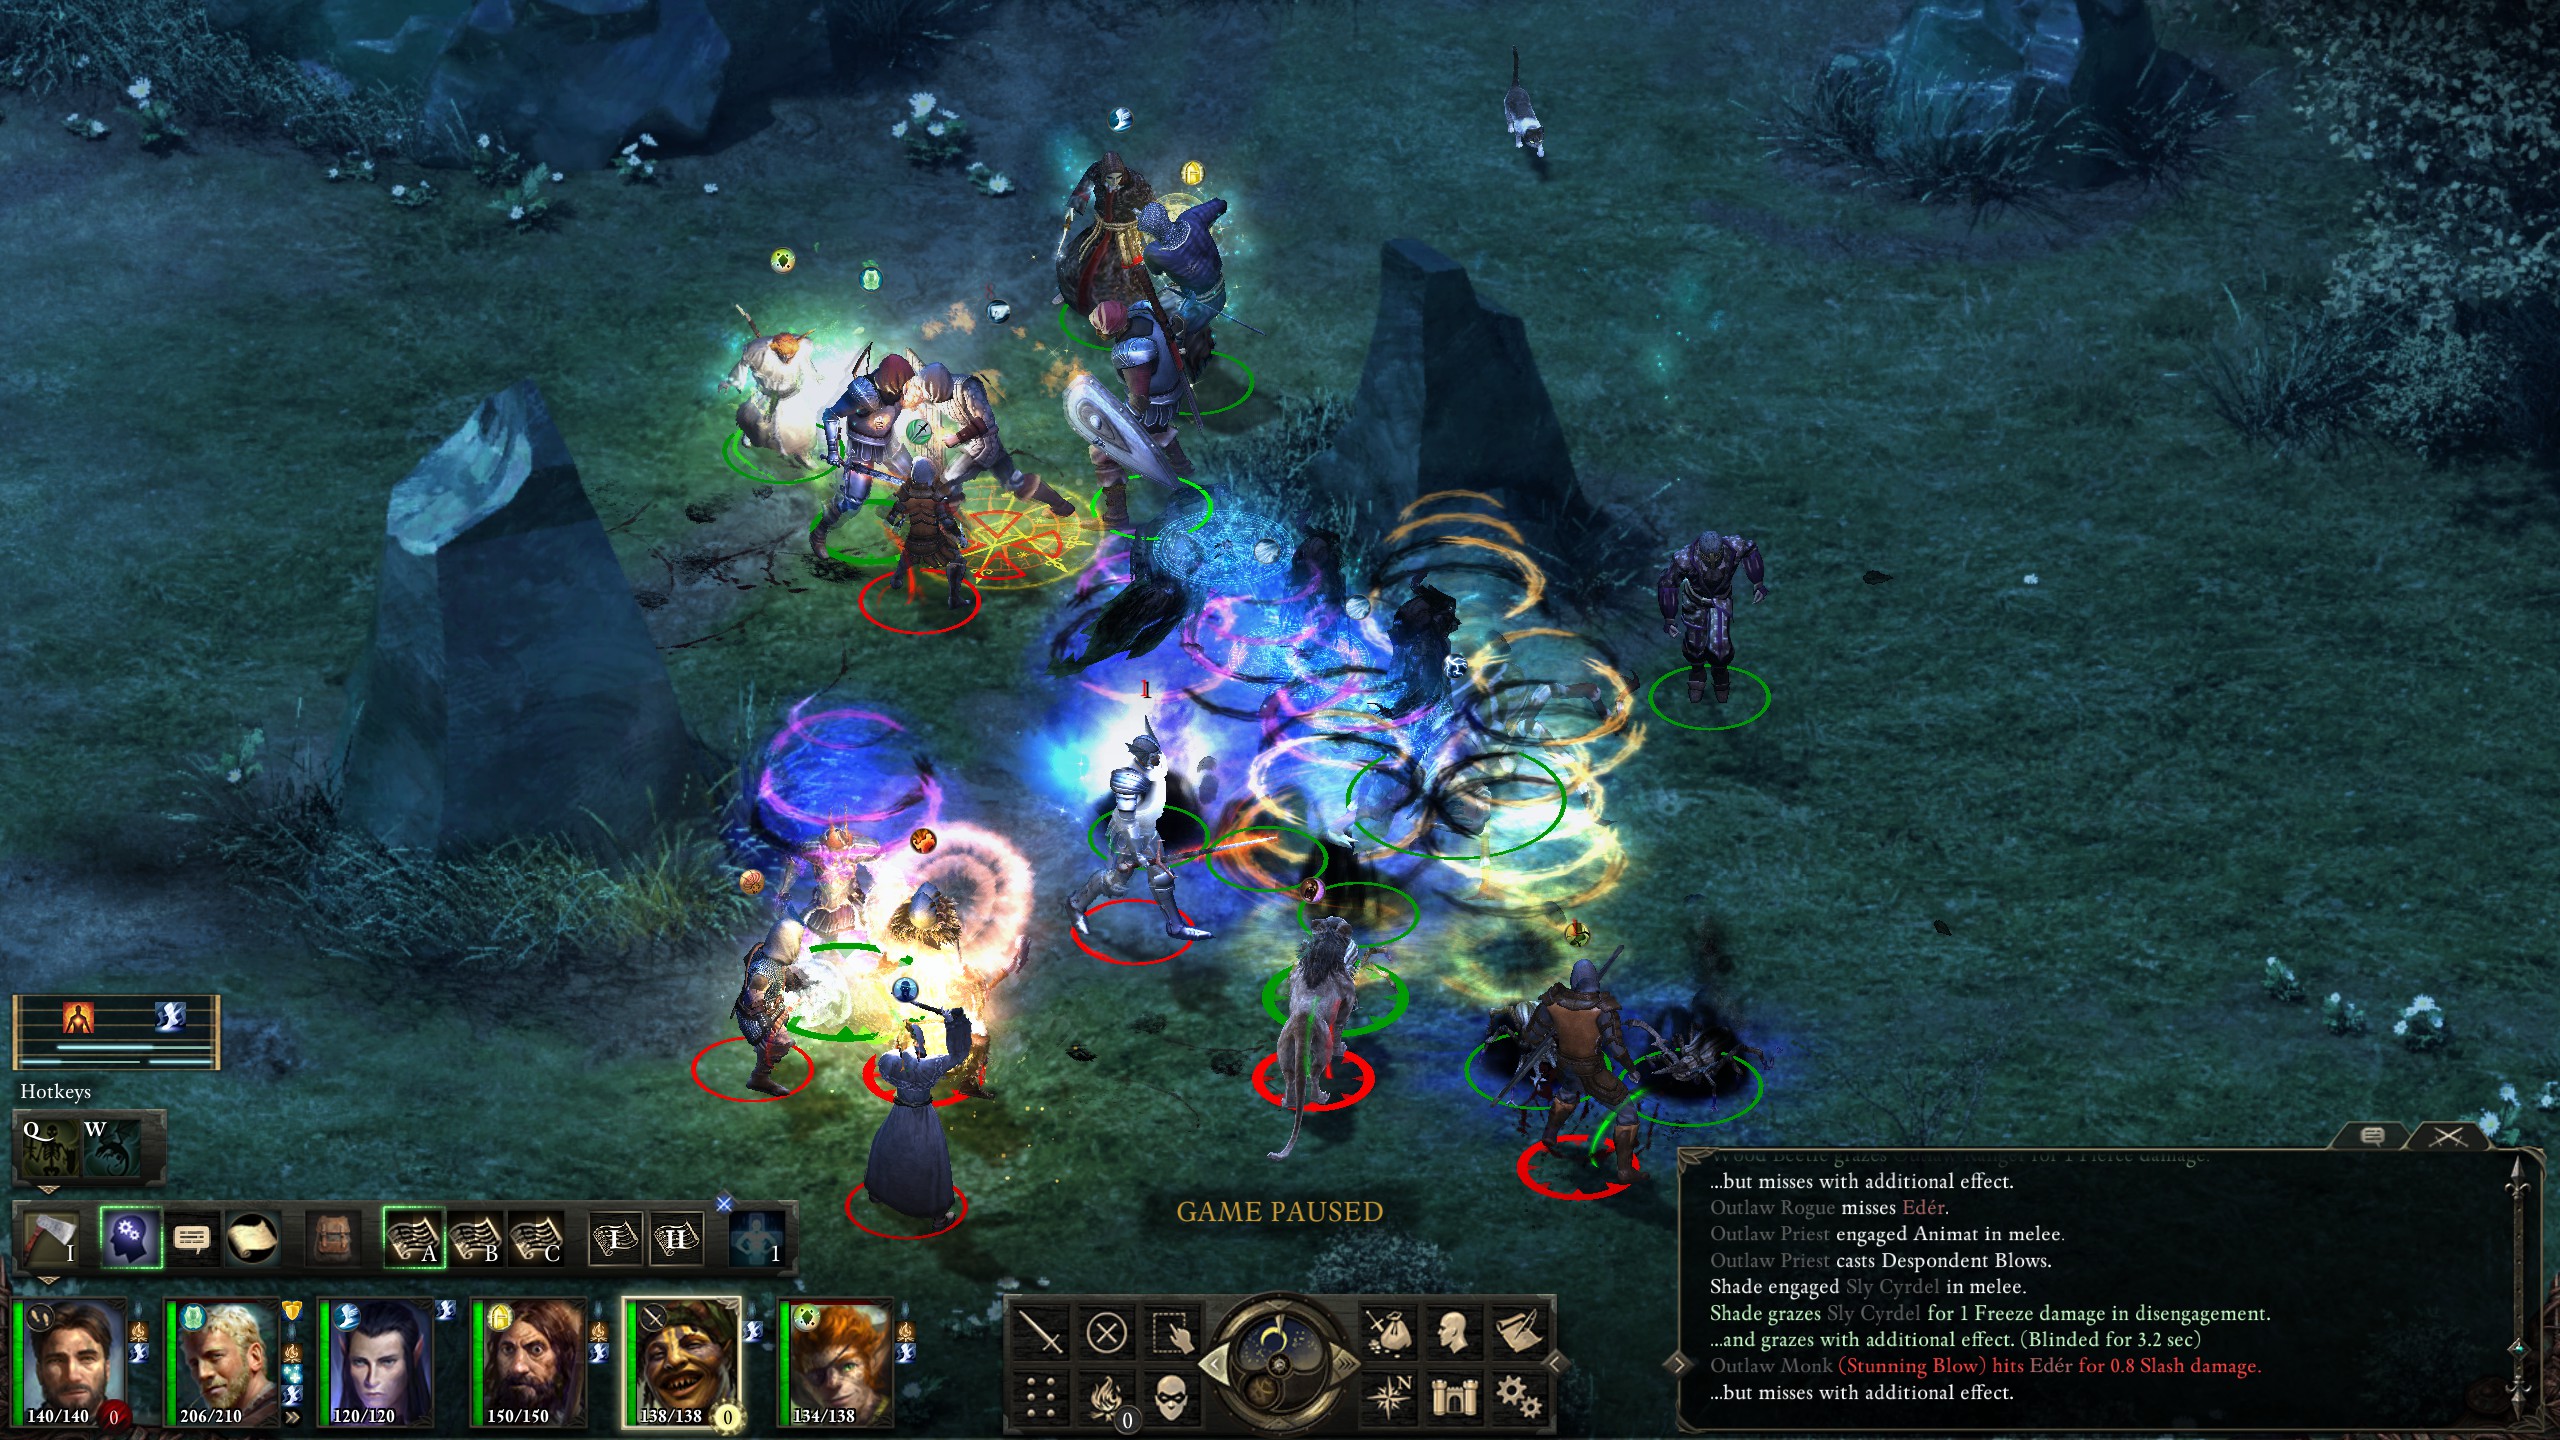
...but it almost became a disaster when my backline was struct by mass confusion.
Flee, Aloth, flee! "Deleterious Alacrity of Motion" turns out to be useful not just for casting spells but for getting out of harm's way. A bit of kiting later the confusion wore off and I made short work of the bandits.
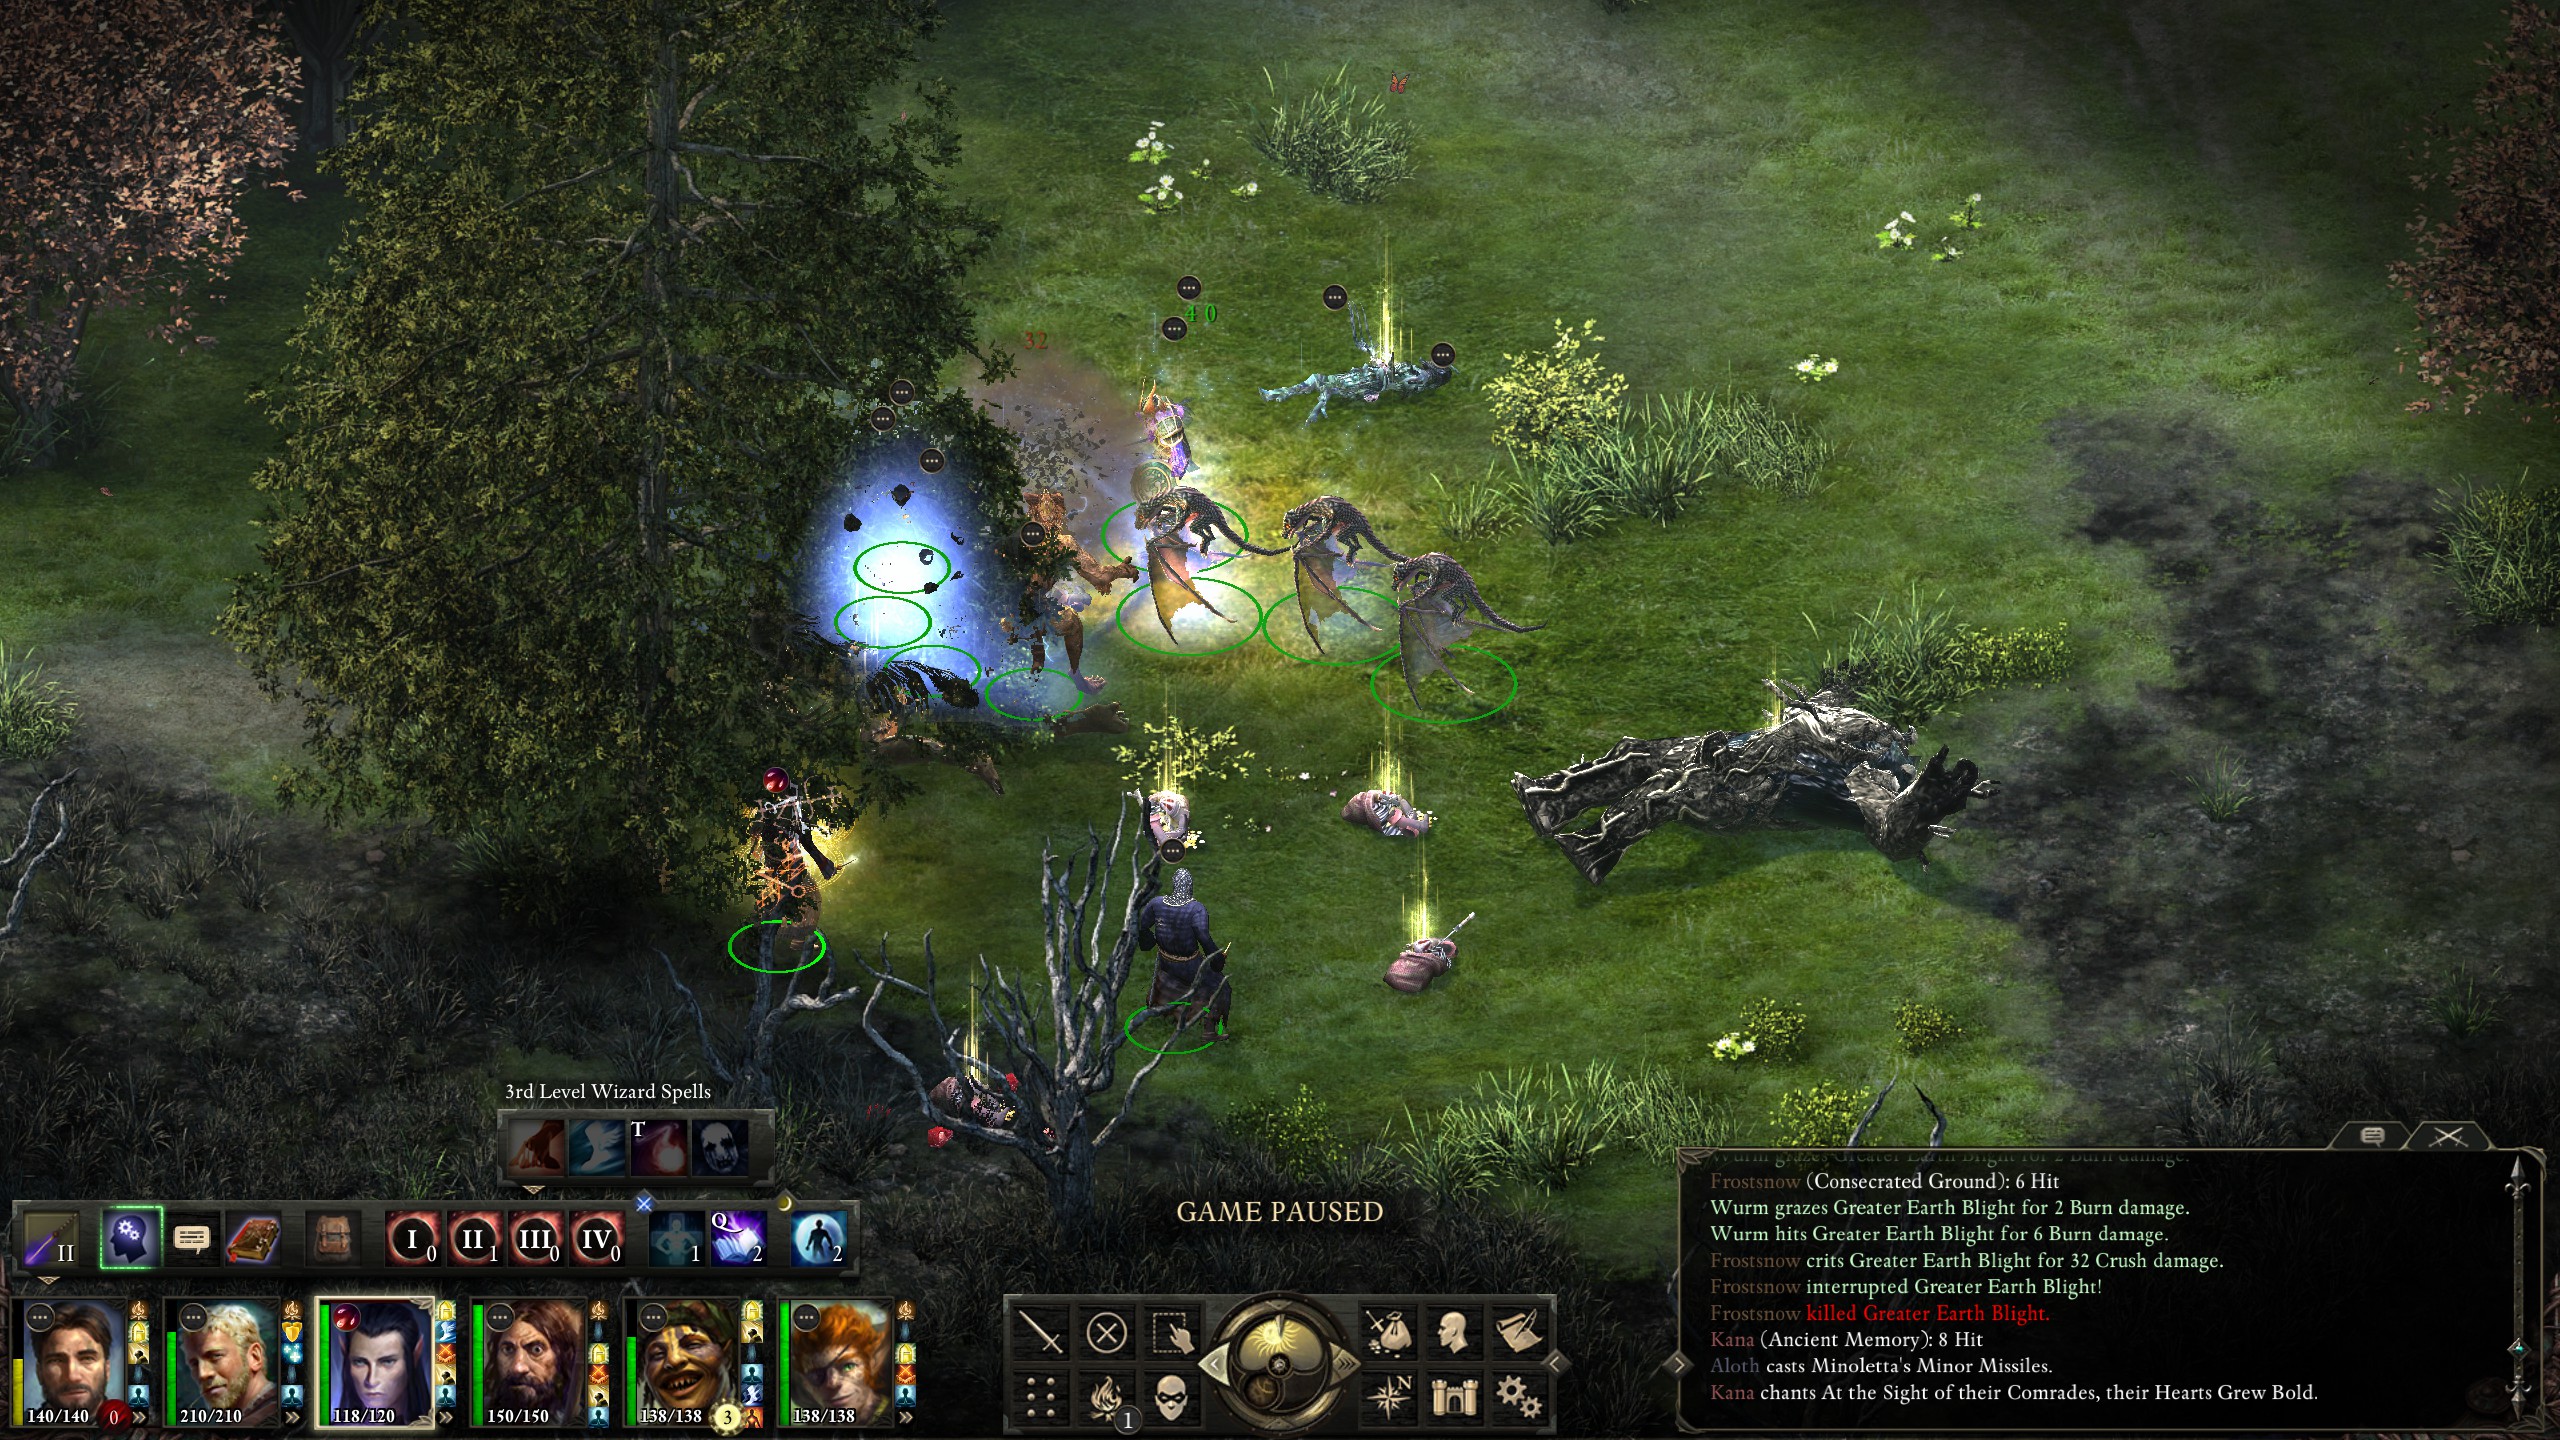
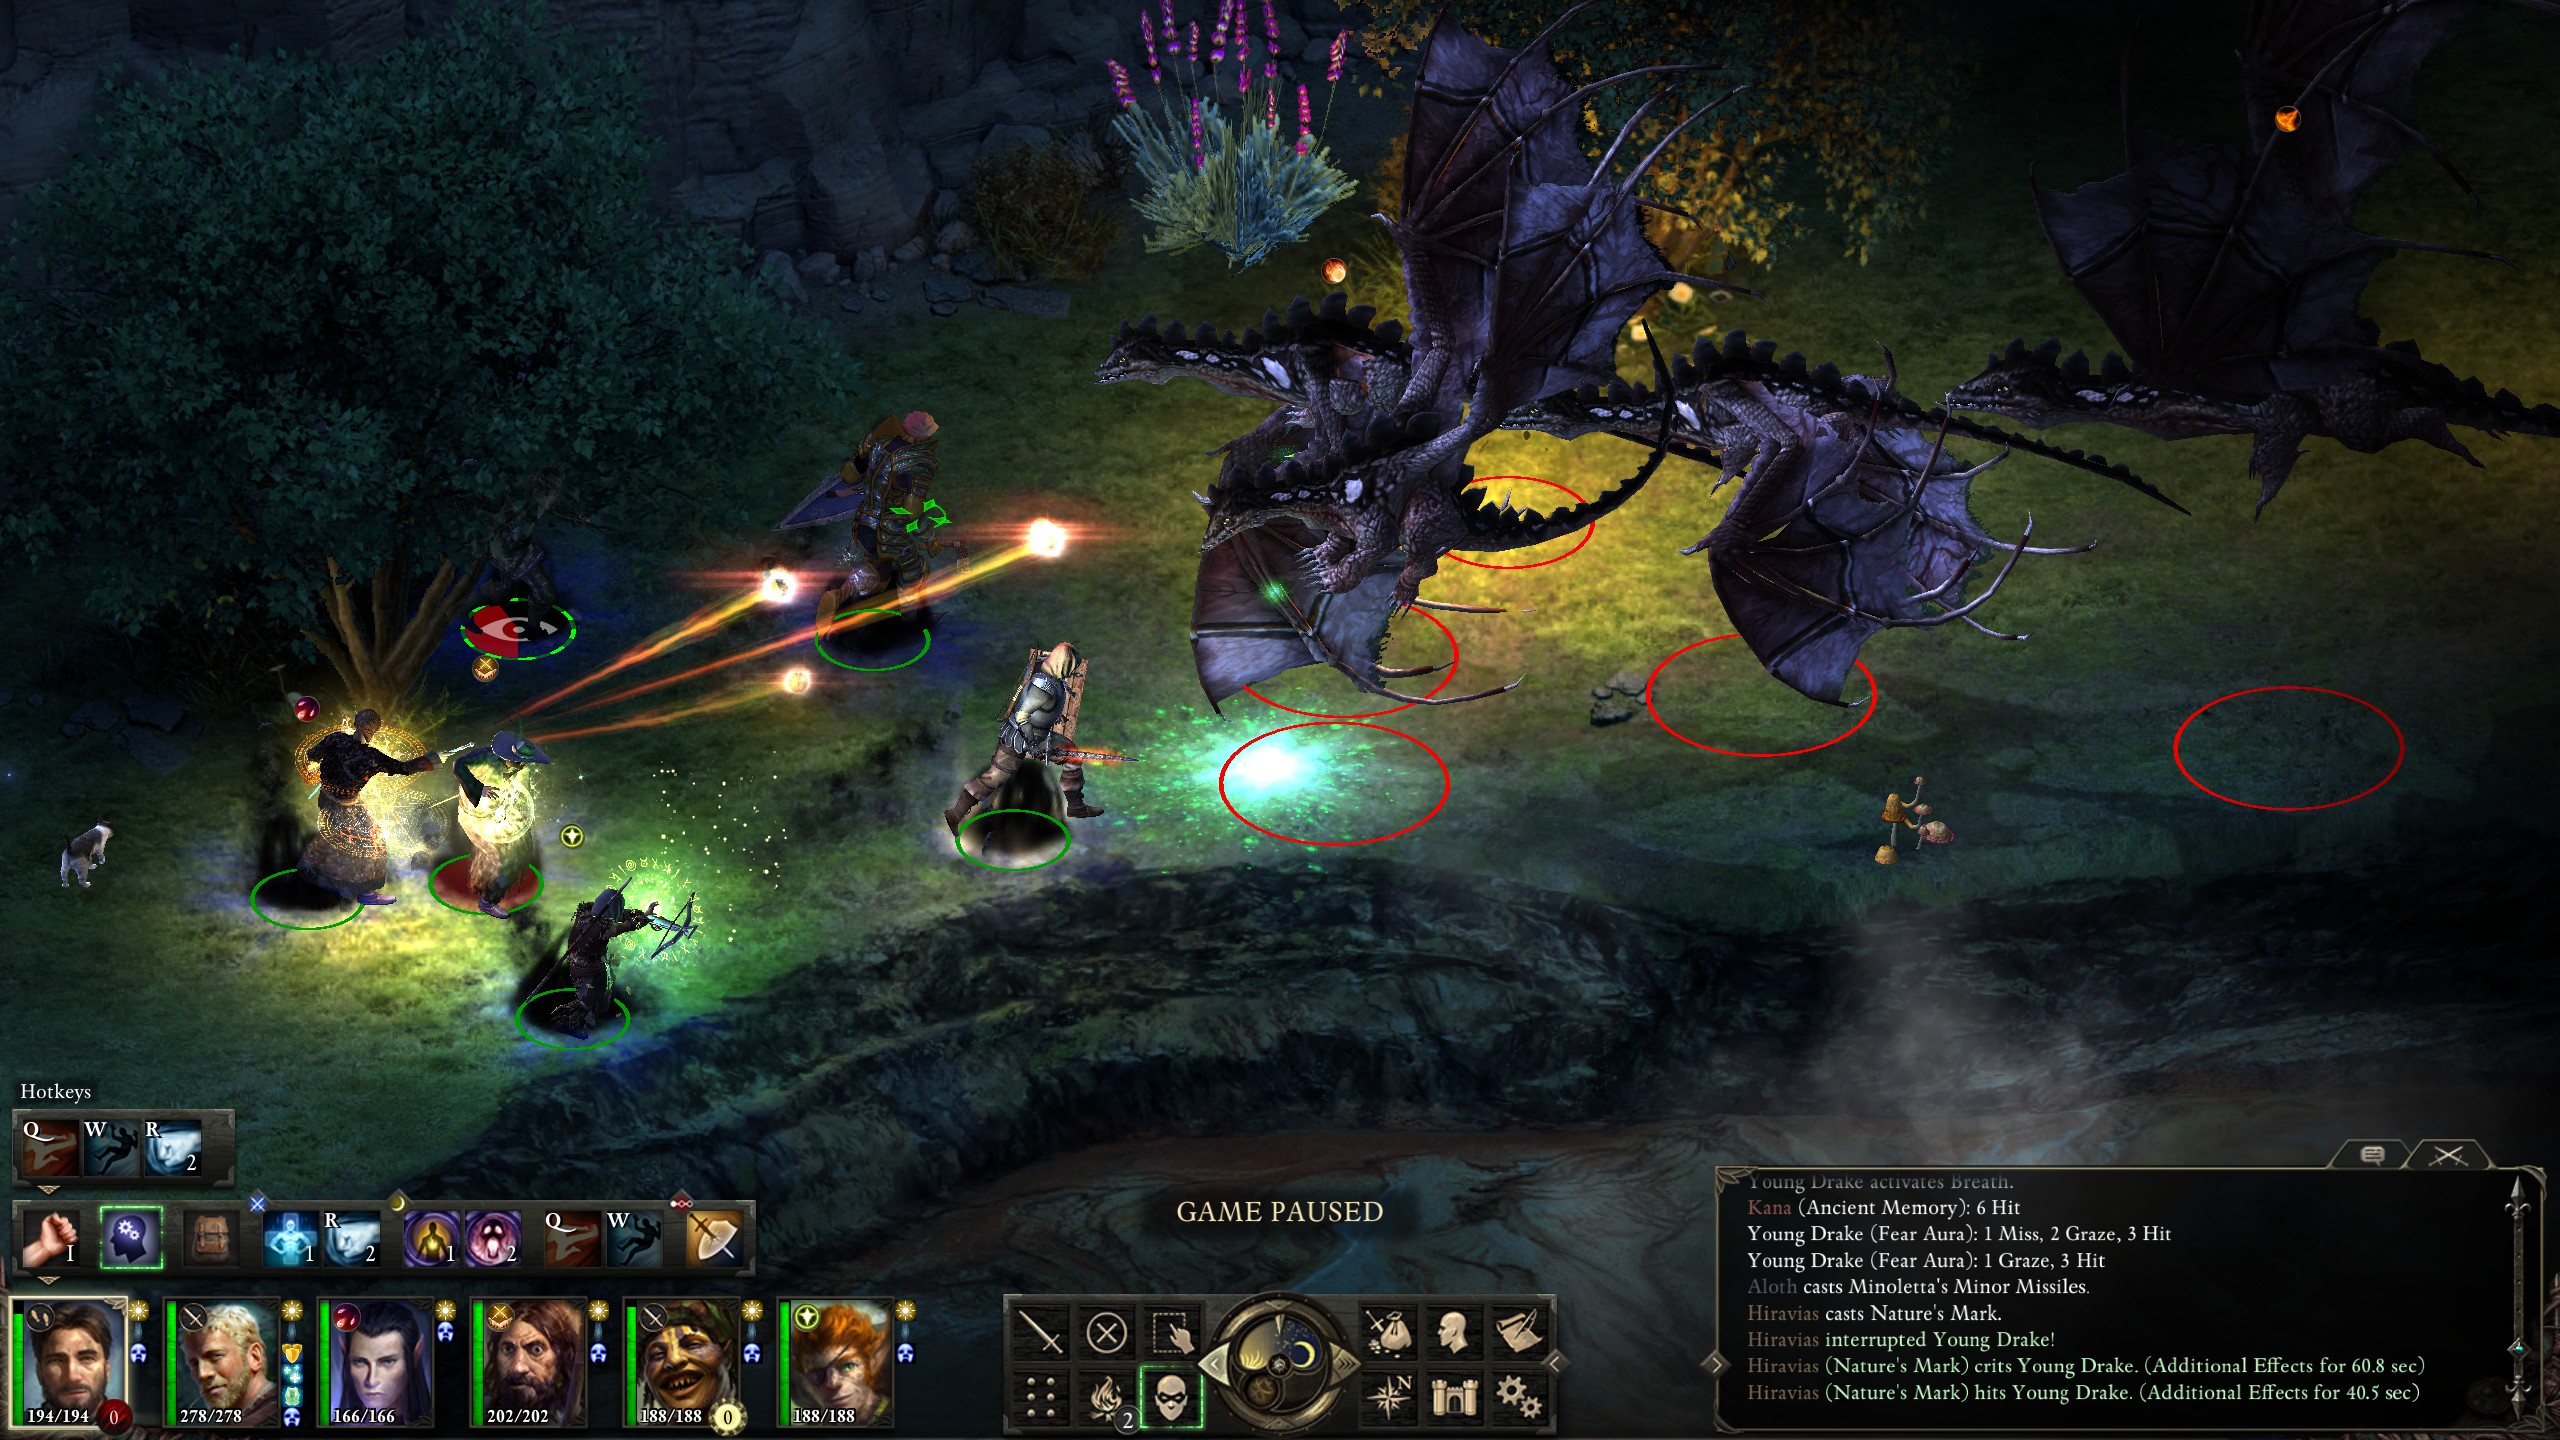
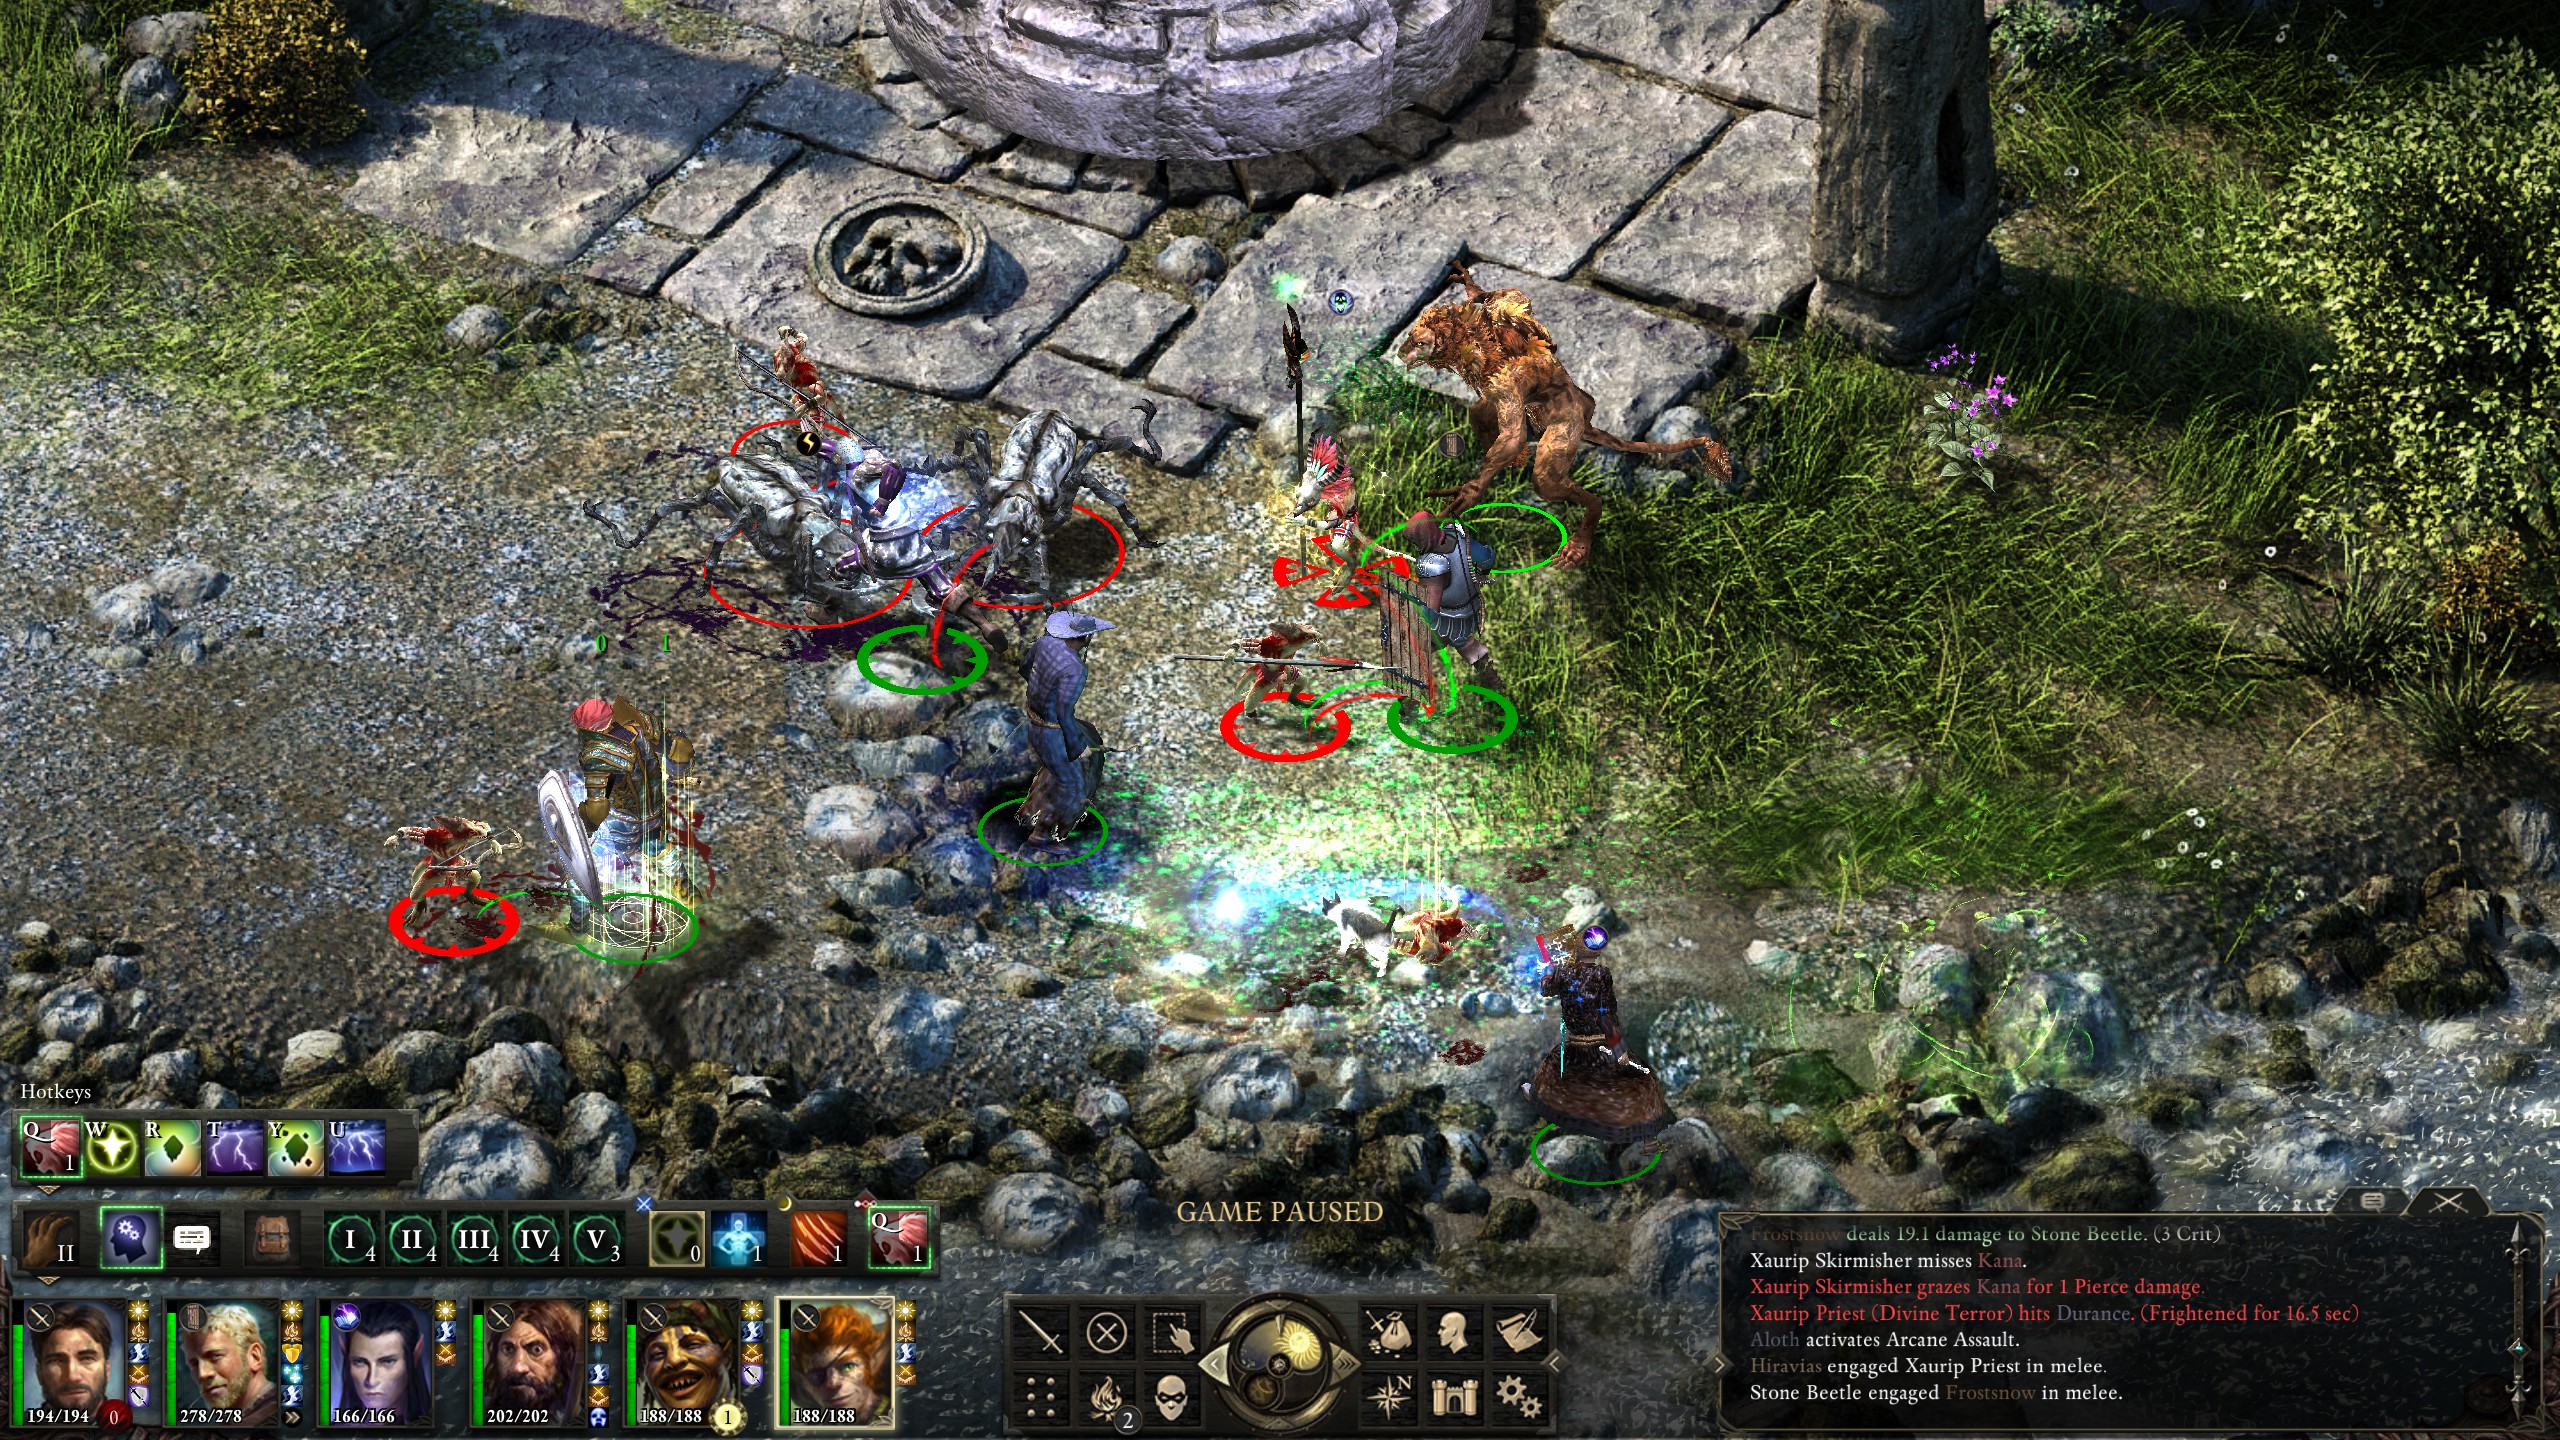
A bit further north, next to the bear cave from the beginning of the game, was Warchief Iklak and his drakes.
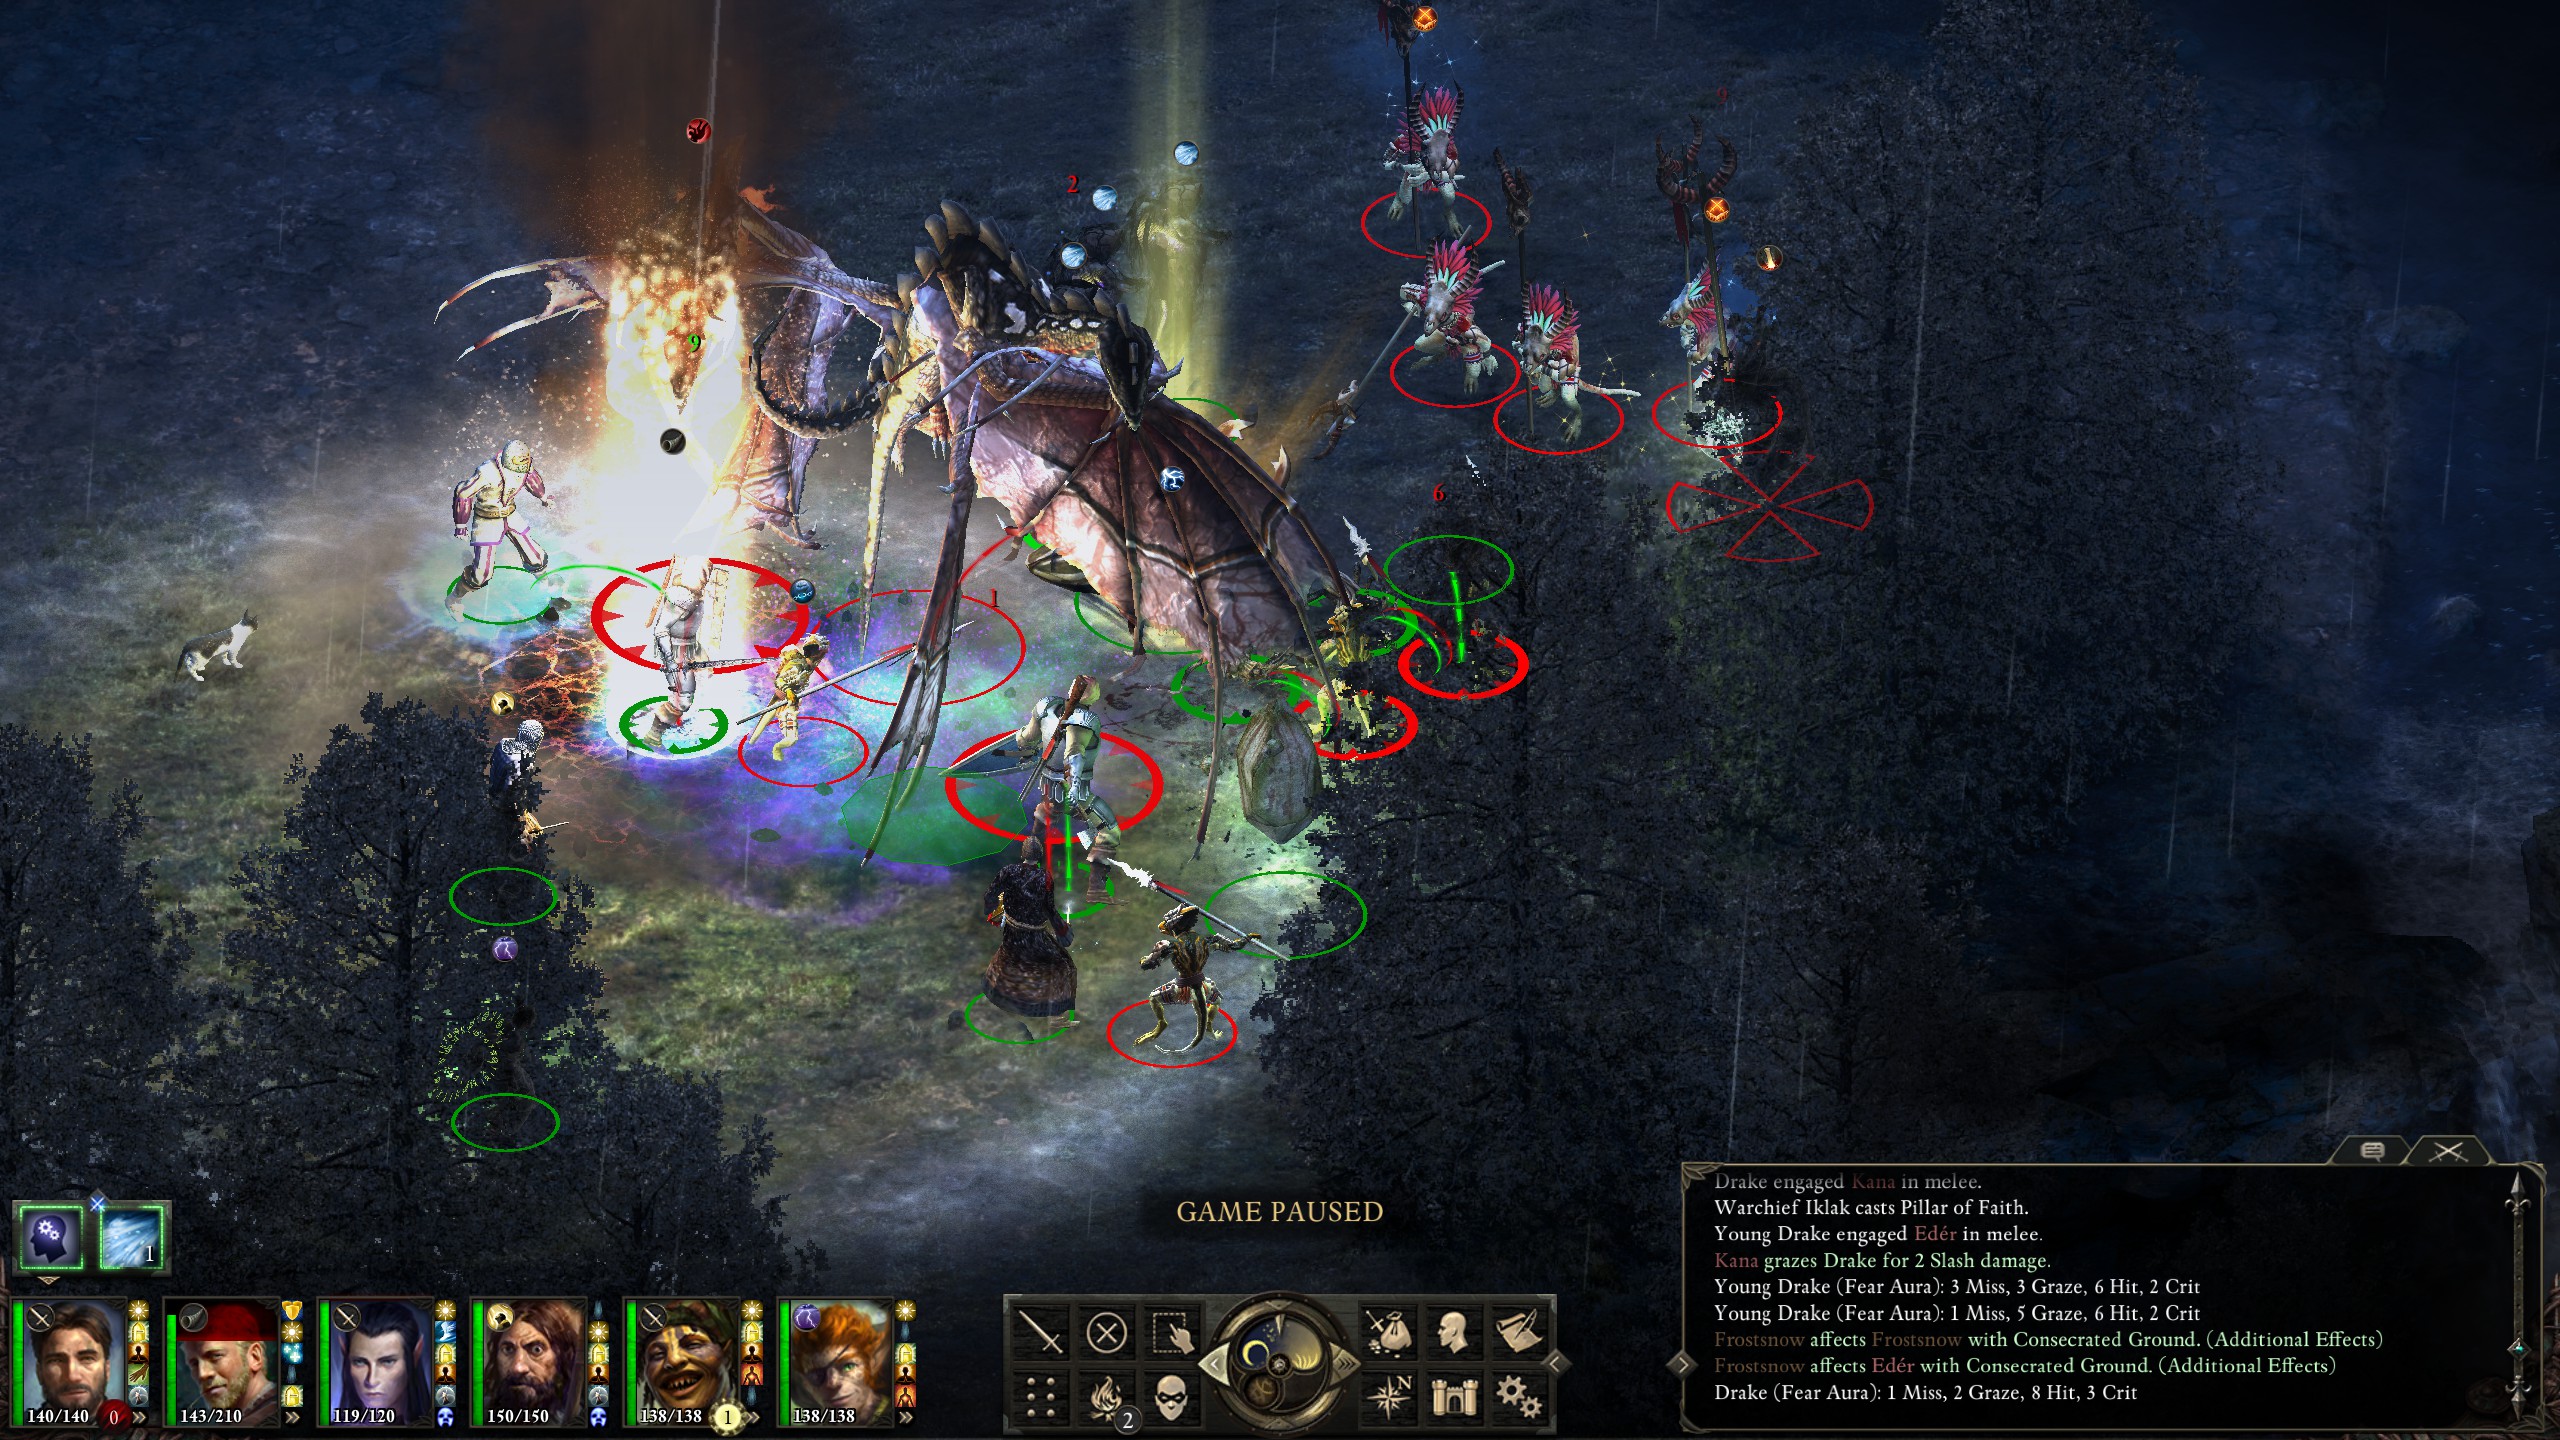
I'd begun using Kana's "One Dozen Stood Against the Power of the Saint" chant to help negate the drakes' fear auras; it turns out to be quite powerful.
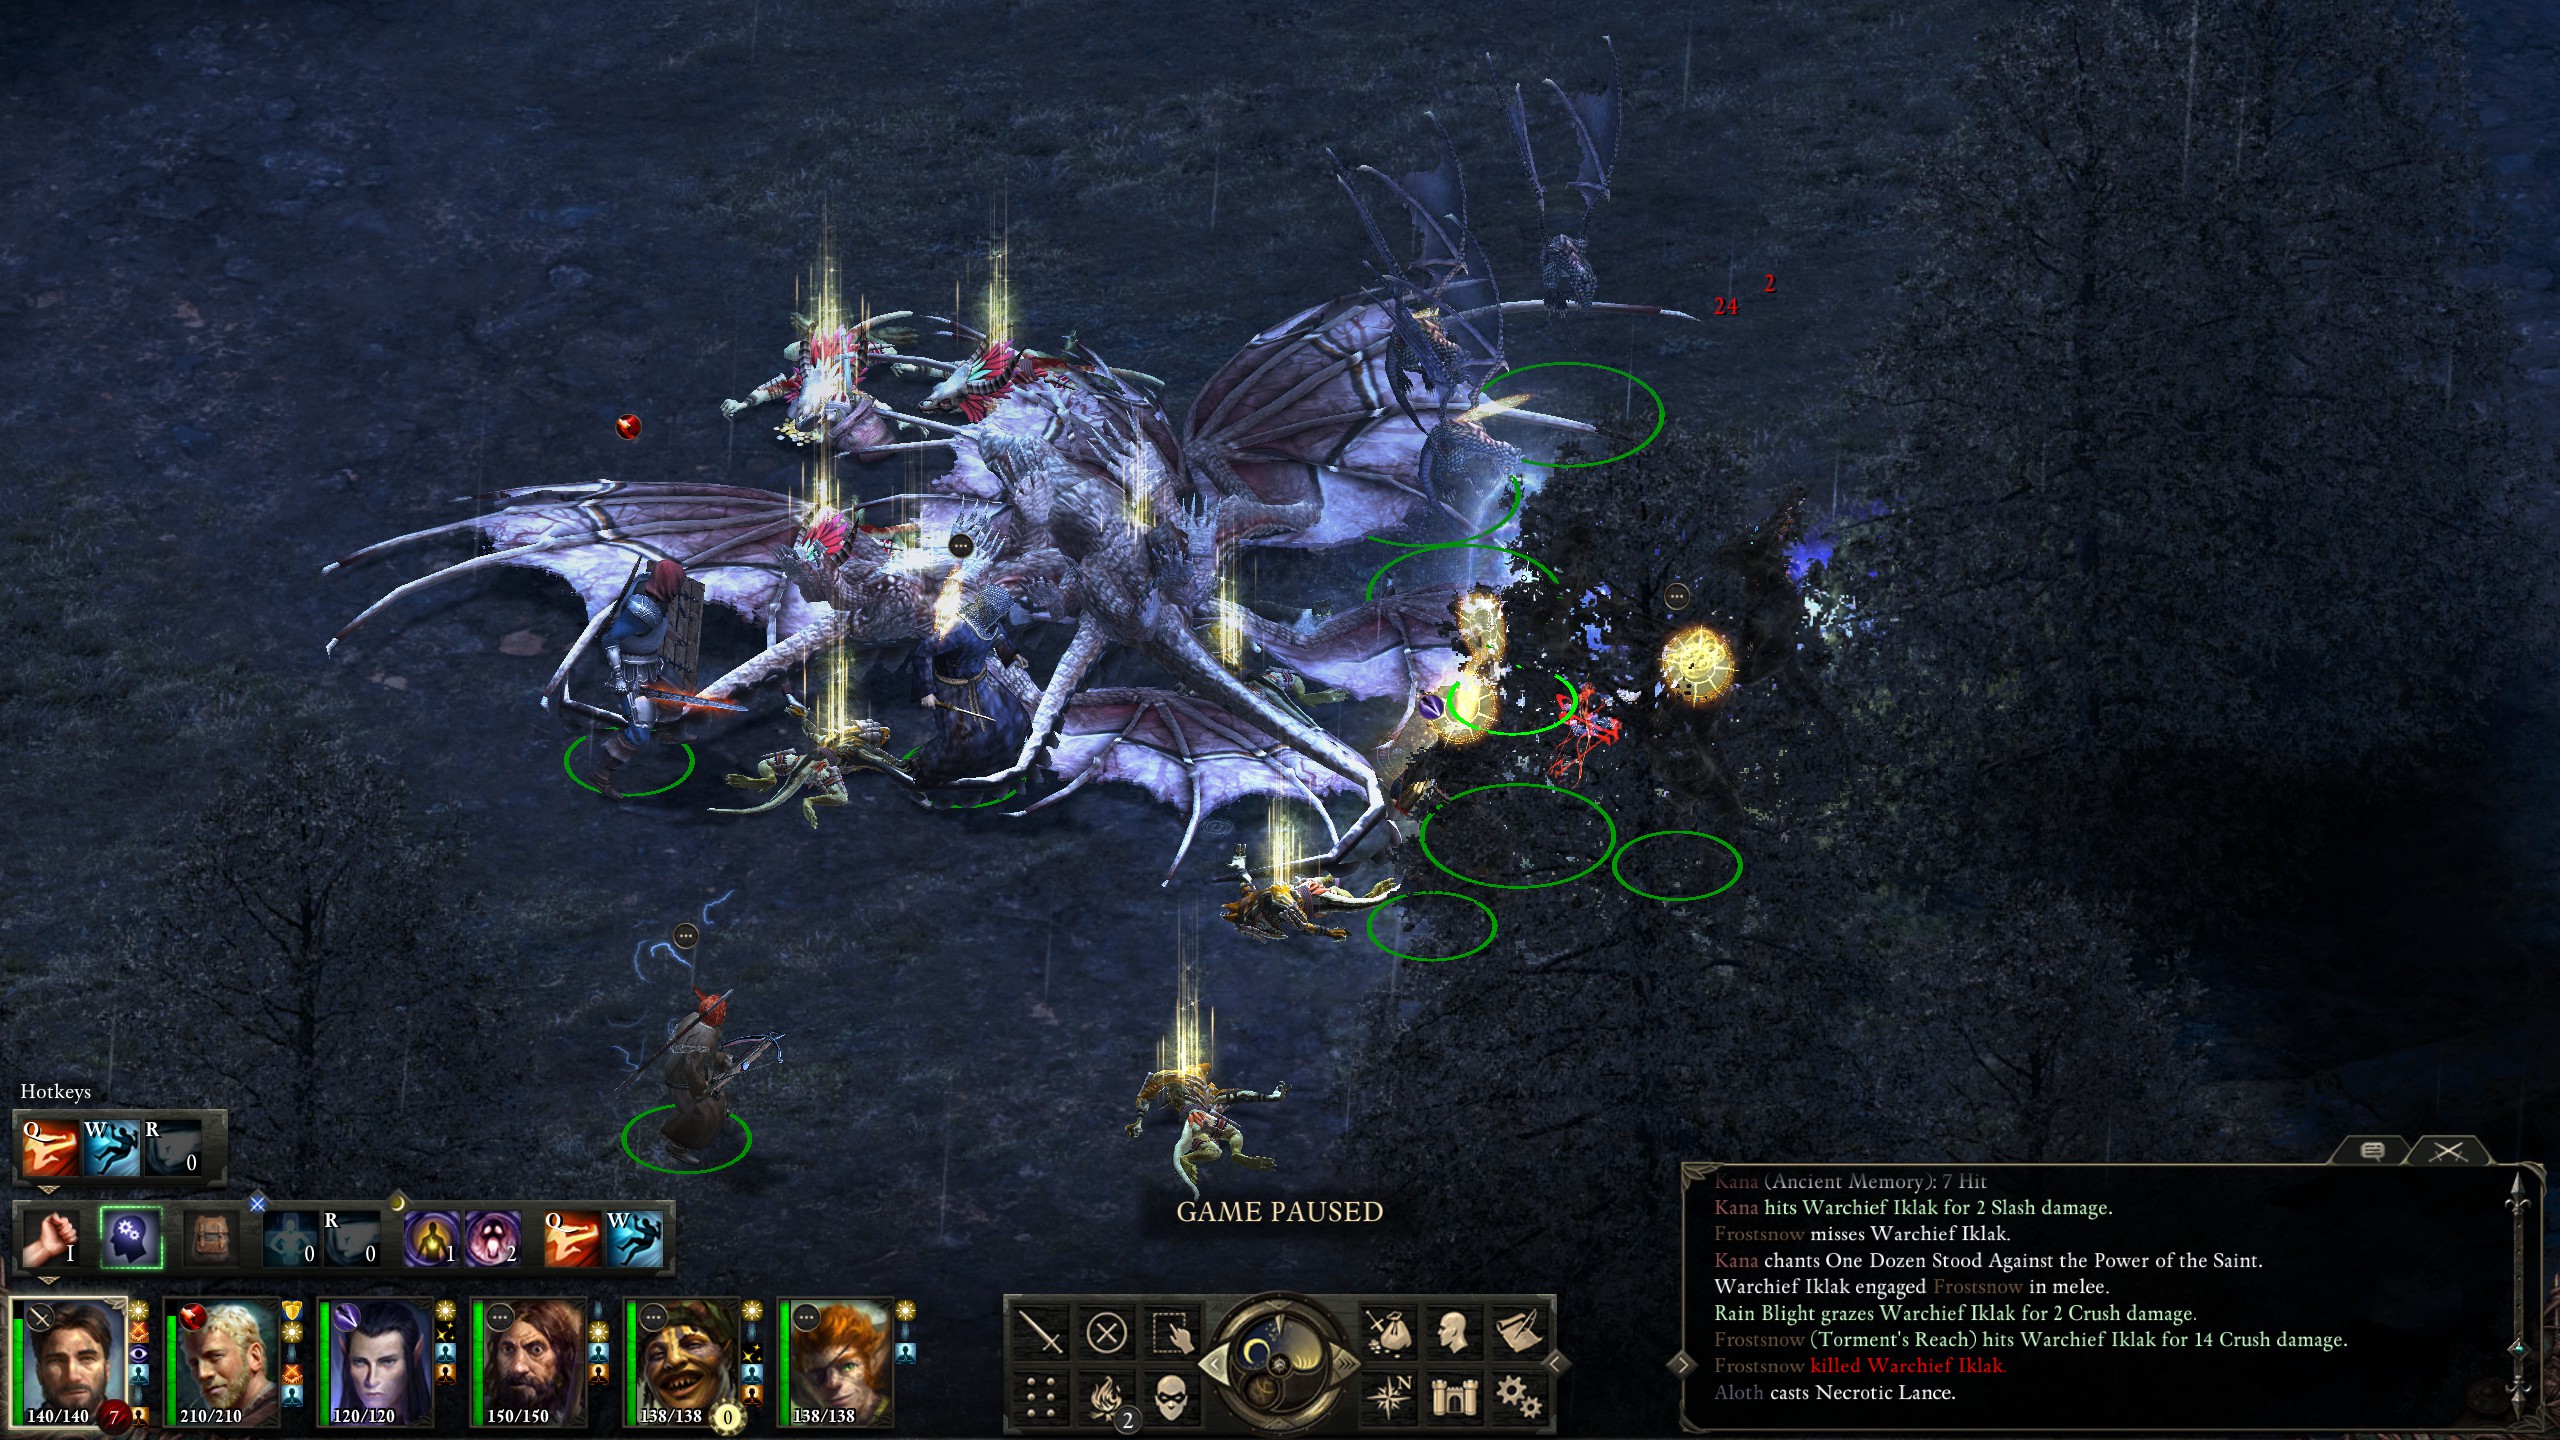
Alas, the final bounty was out of reach until Act III, so I decided to continue cleaning my keep's basement instead.
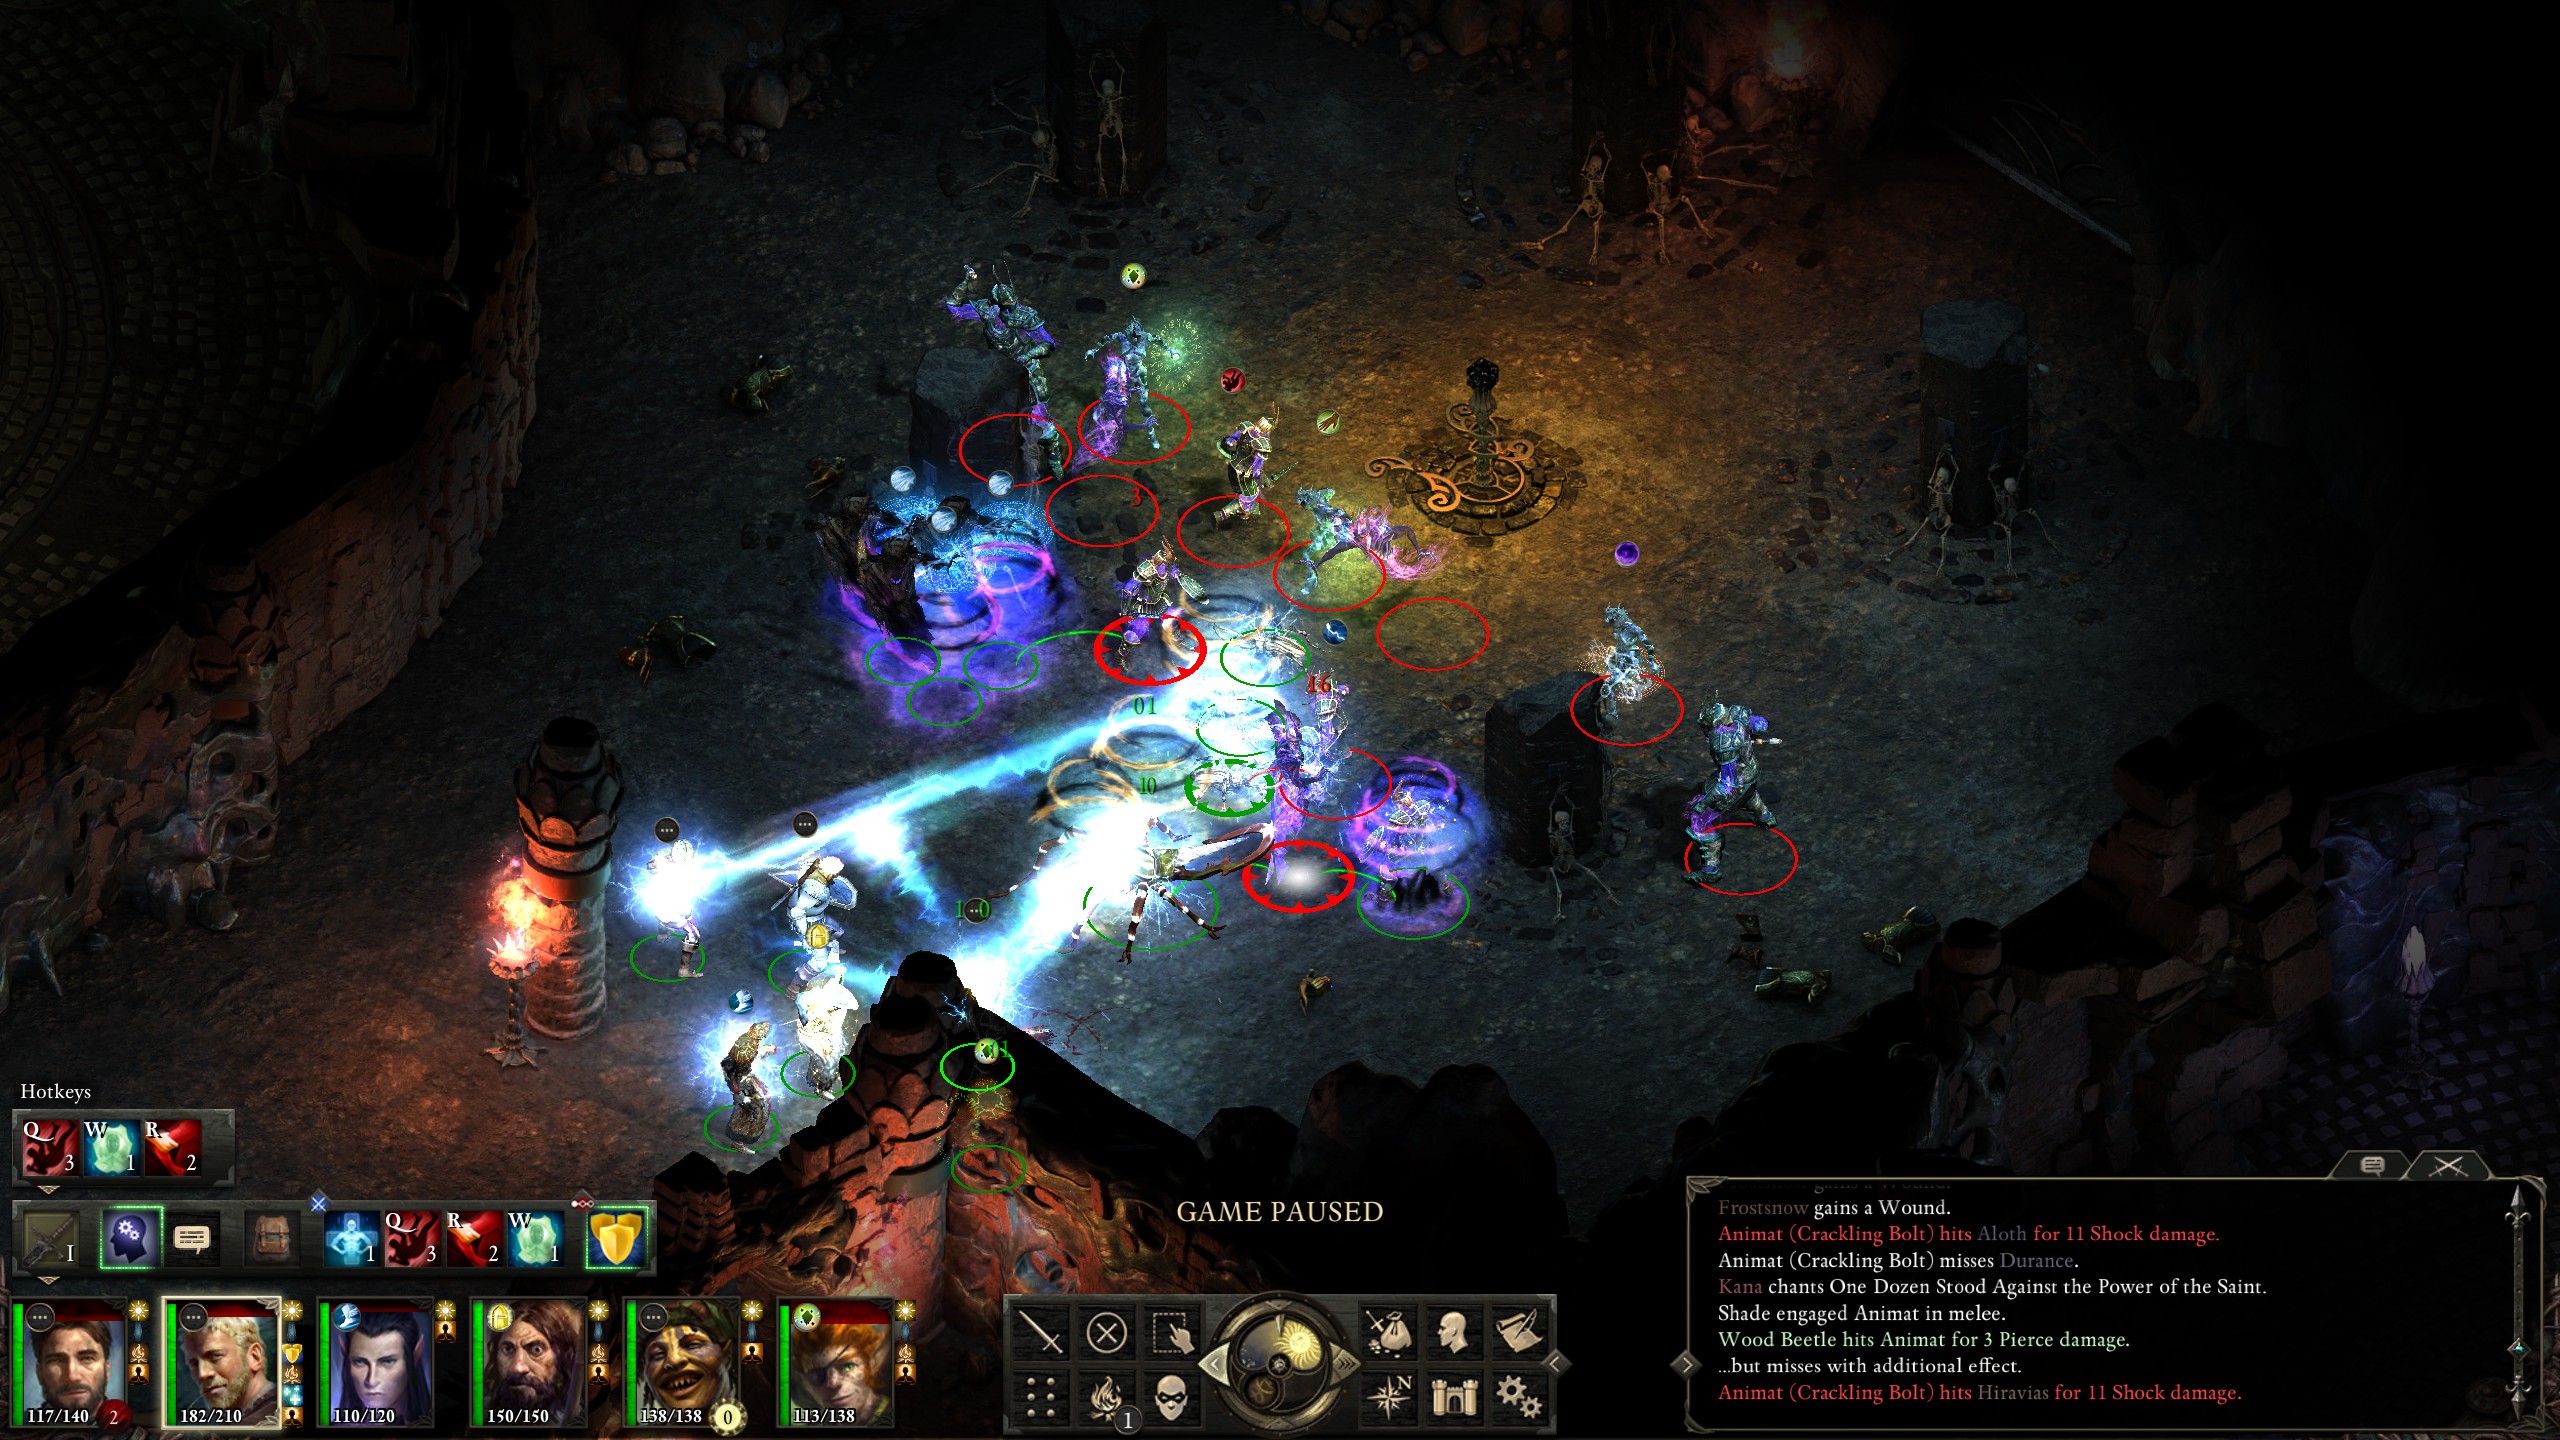
I go for the adragans before the shades and animats due to their blight summons and dominating abilities.
Alas, I was not fast enough taking out the adragans and lost Durance along the way.
The result was a wipe. Undeterred, I tried once again.
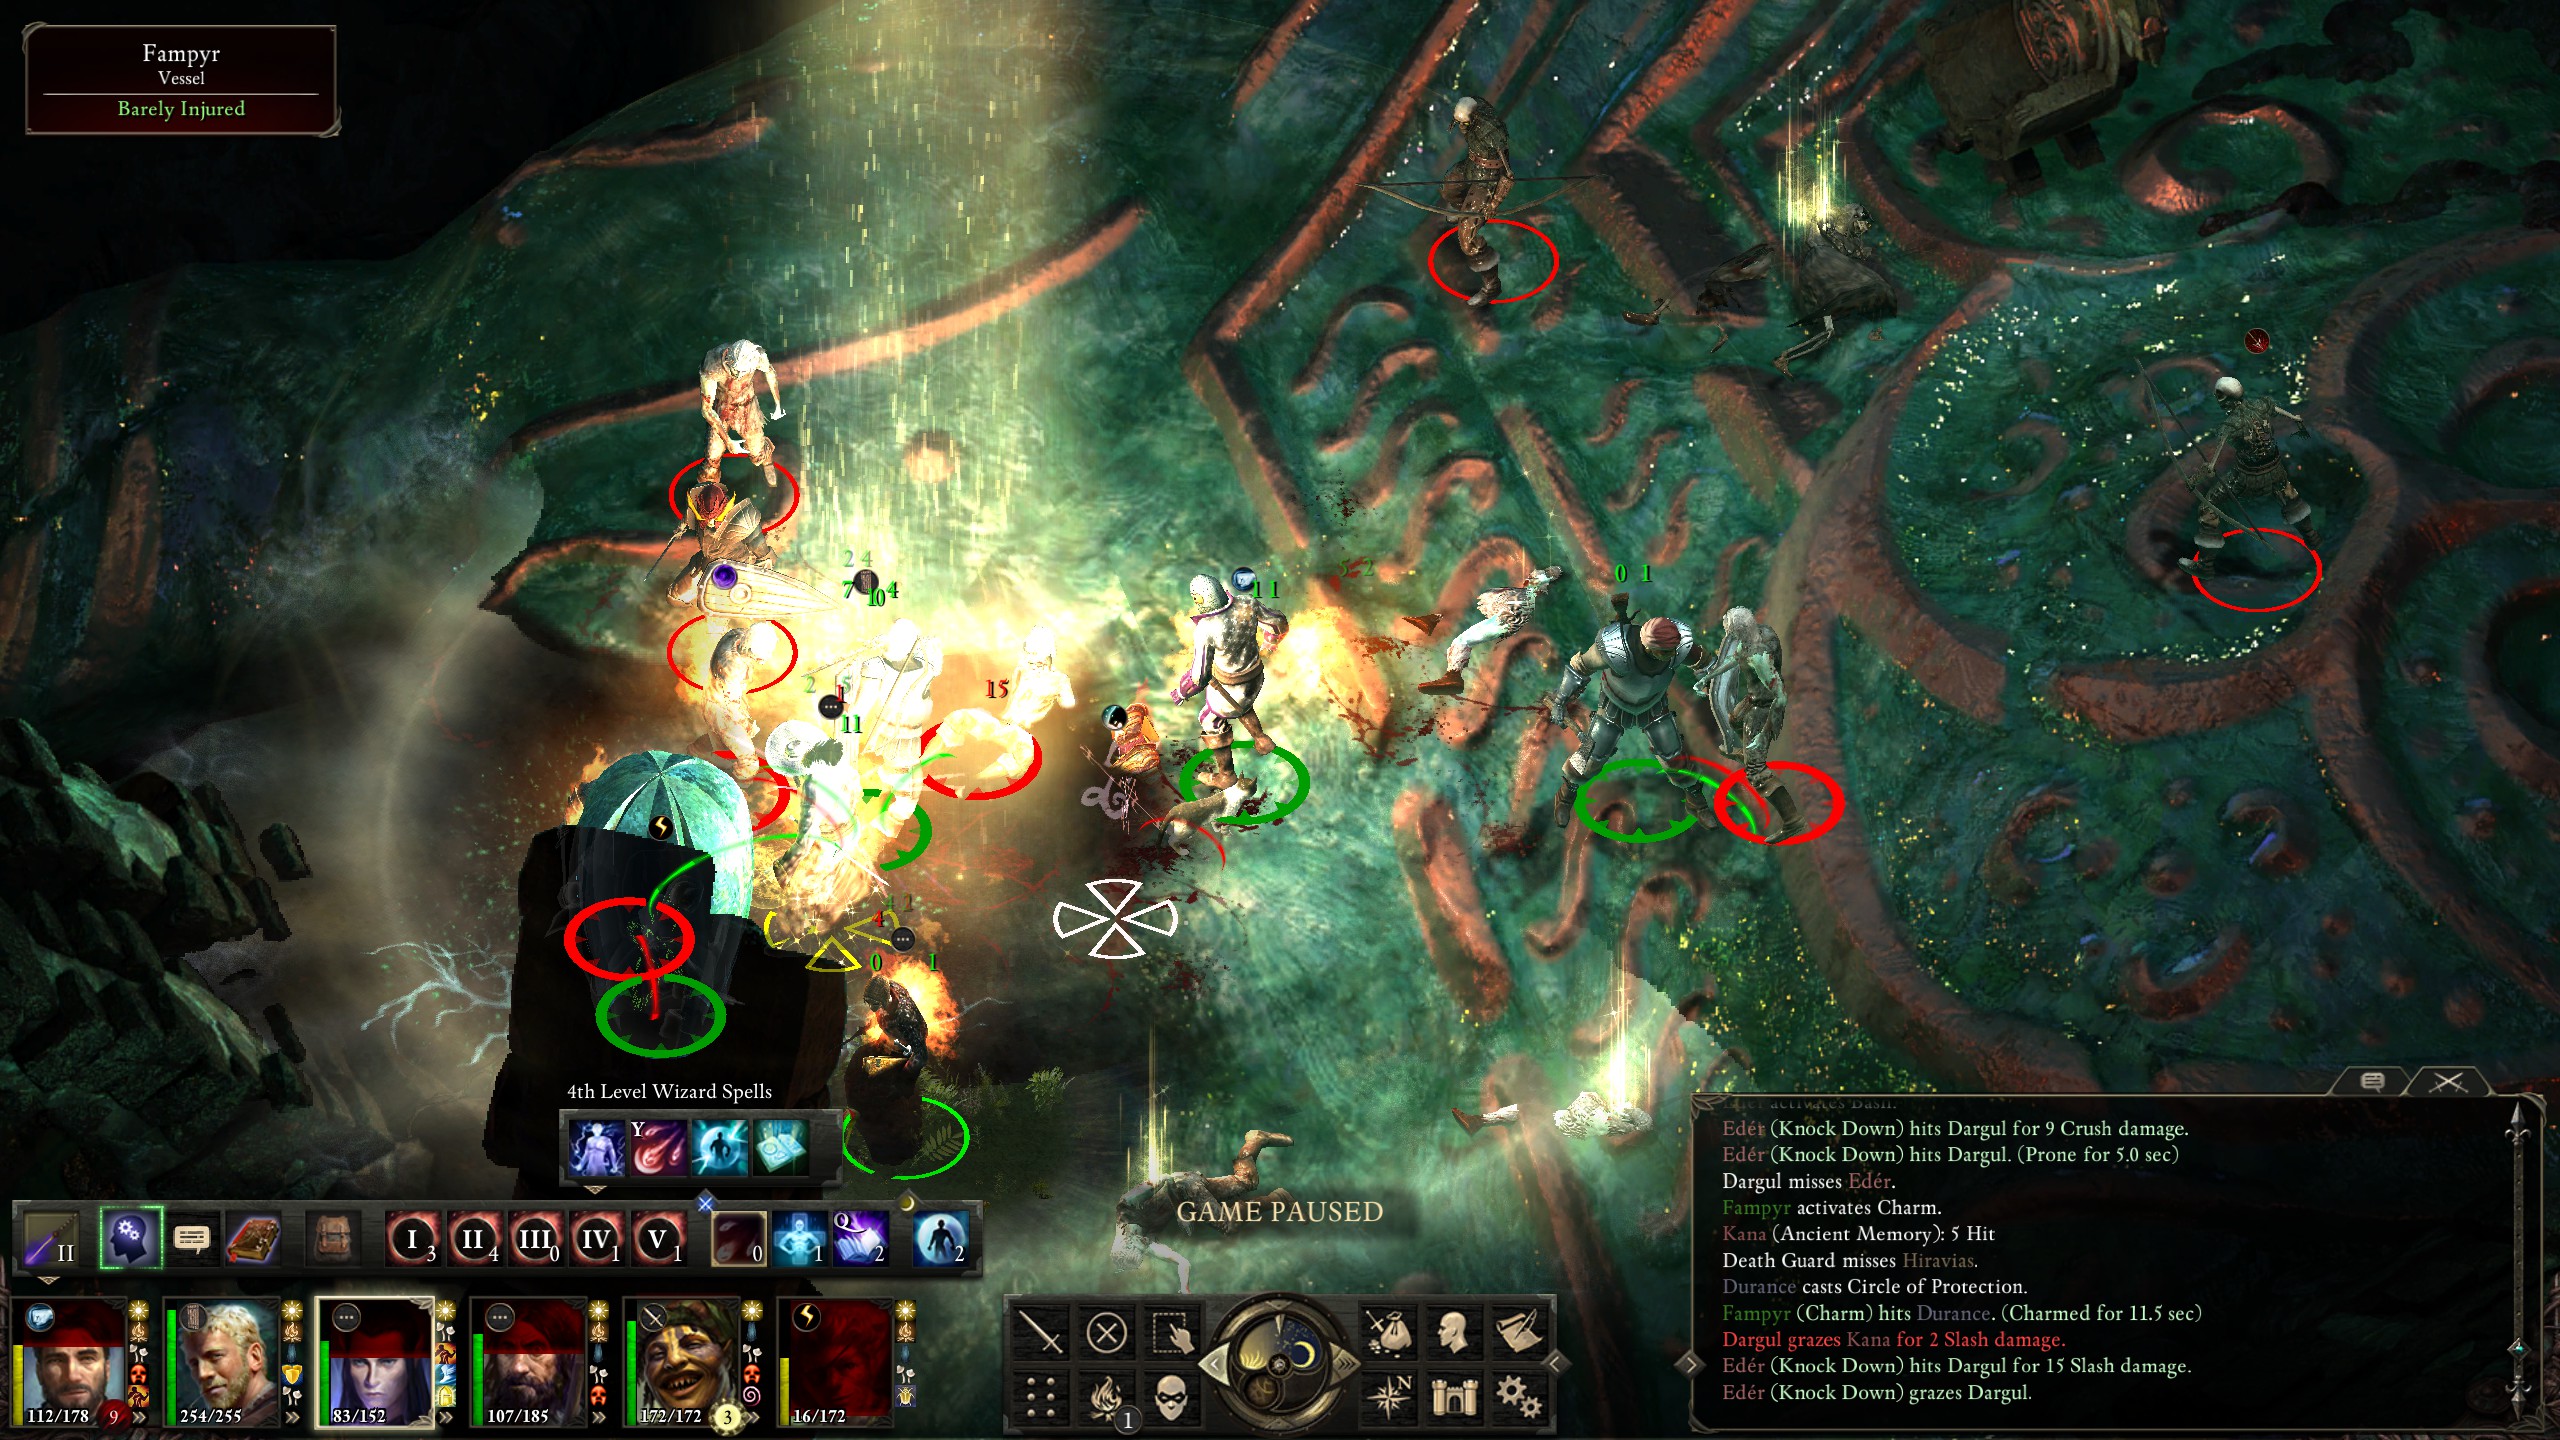
...and managed to succeed! Alas I forgot to take a screenshot. Below the blights room is the fampyr room, with the semi-optional boss. The boss is semi-optional because he's mandatory unless you've learned to speak Engwithian, otherwise you can kill the other fampyrs and skip him; the thing is, though, he wears a plate mail enchanted with "Second Chance", which is quite useful on a tank and is also one of the few enchanted plate mails available in the base game. Definitely worth killing, but a very tough fight. I postponed the questline which grants me knowledge of Engwithian specifically so I had good reason to kill him.
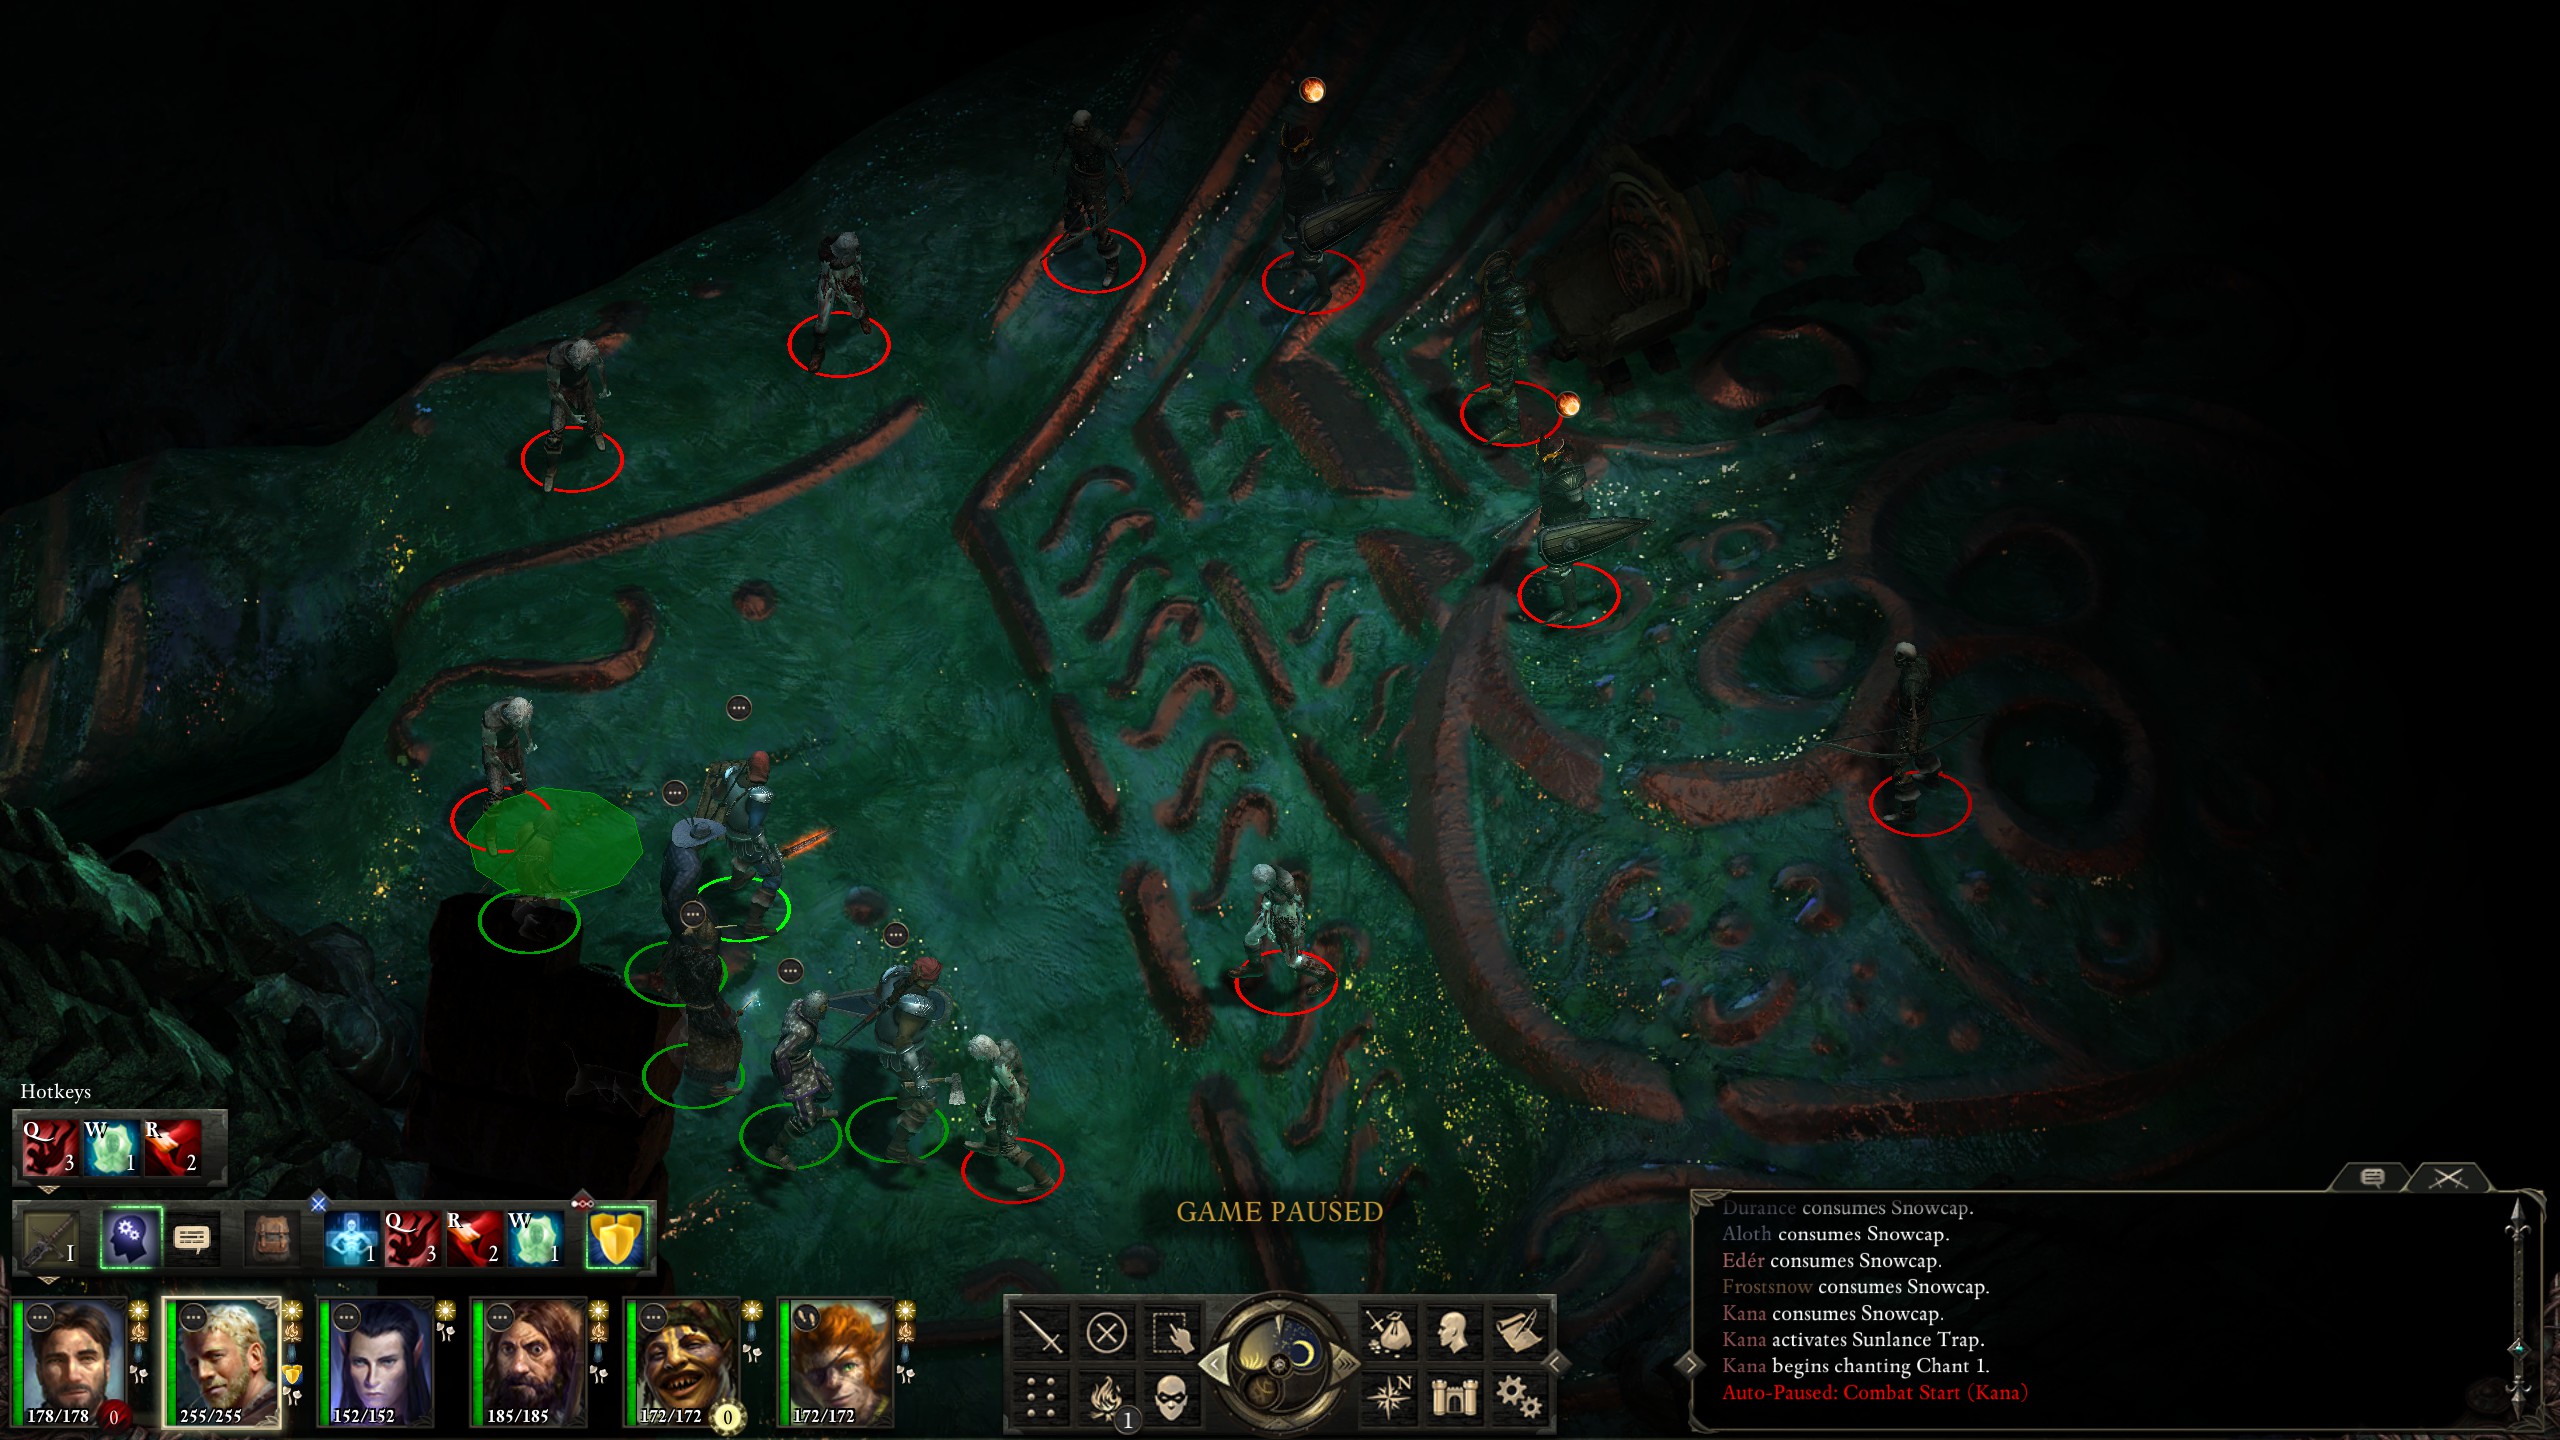
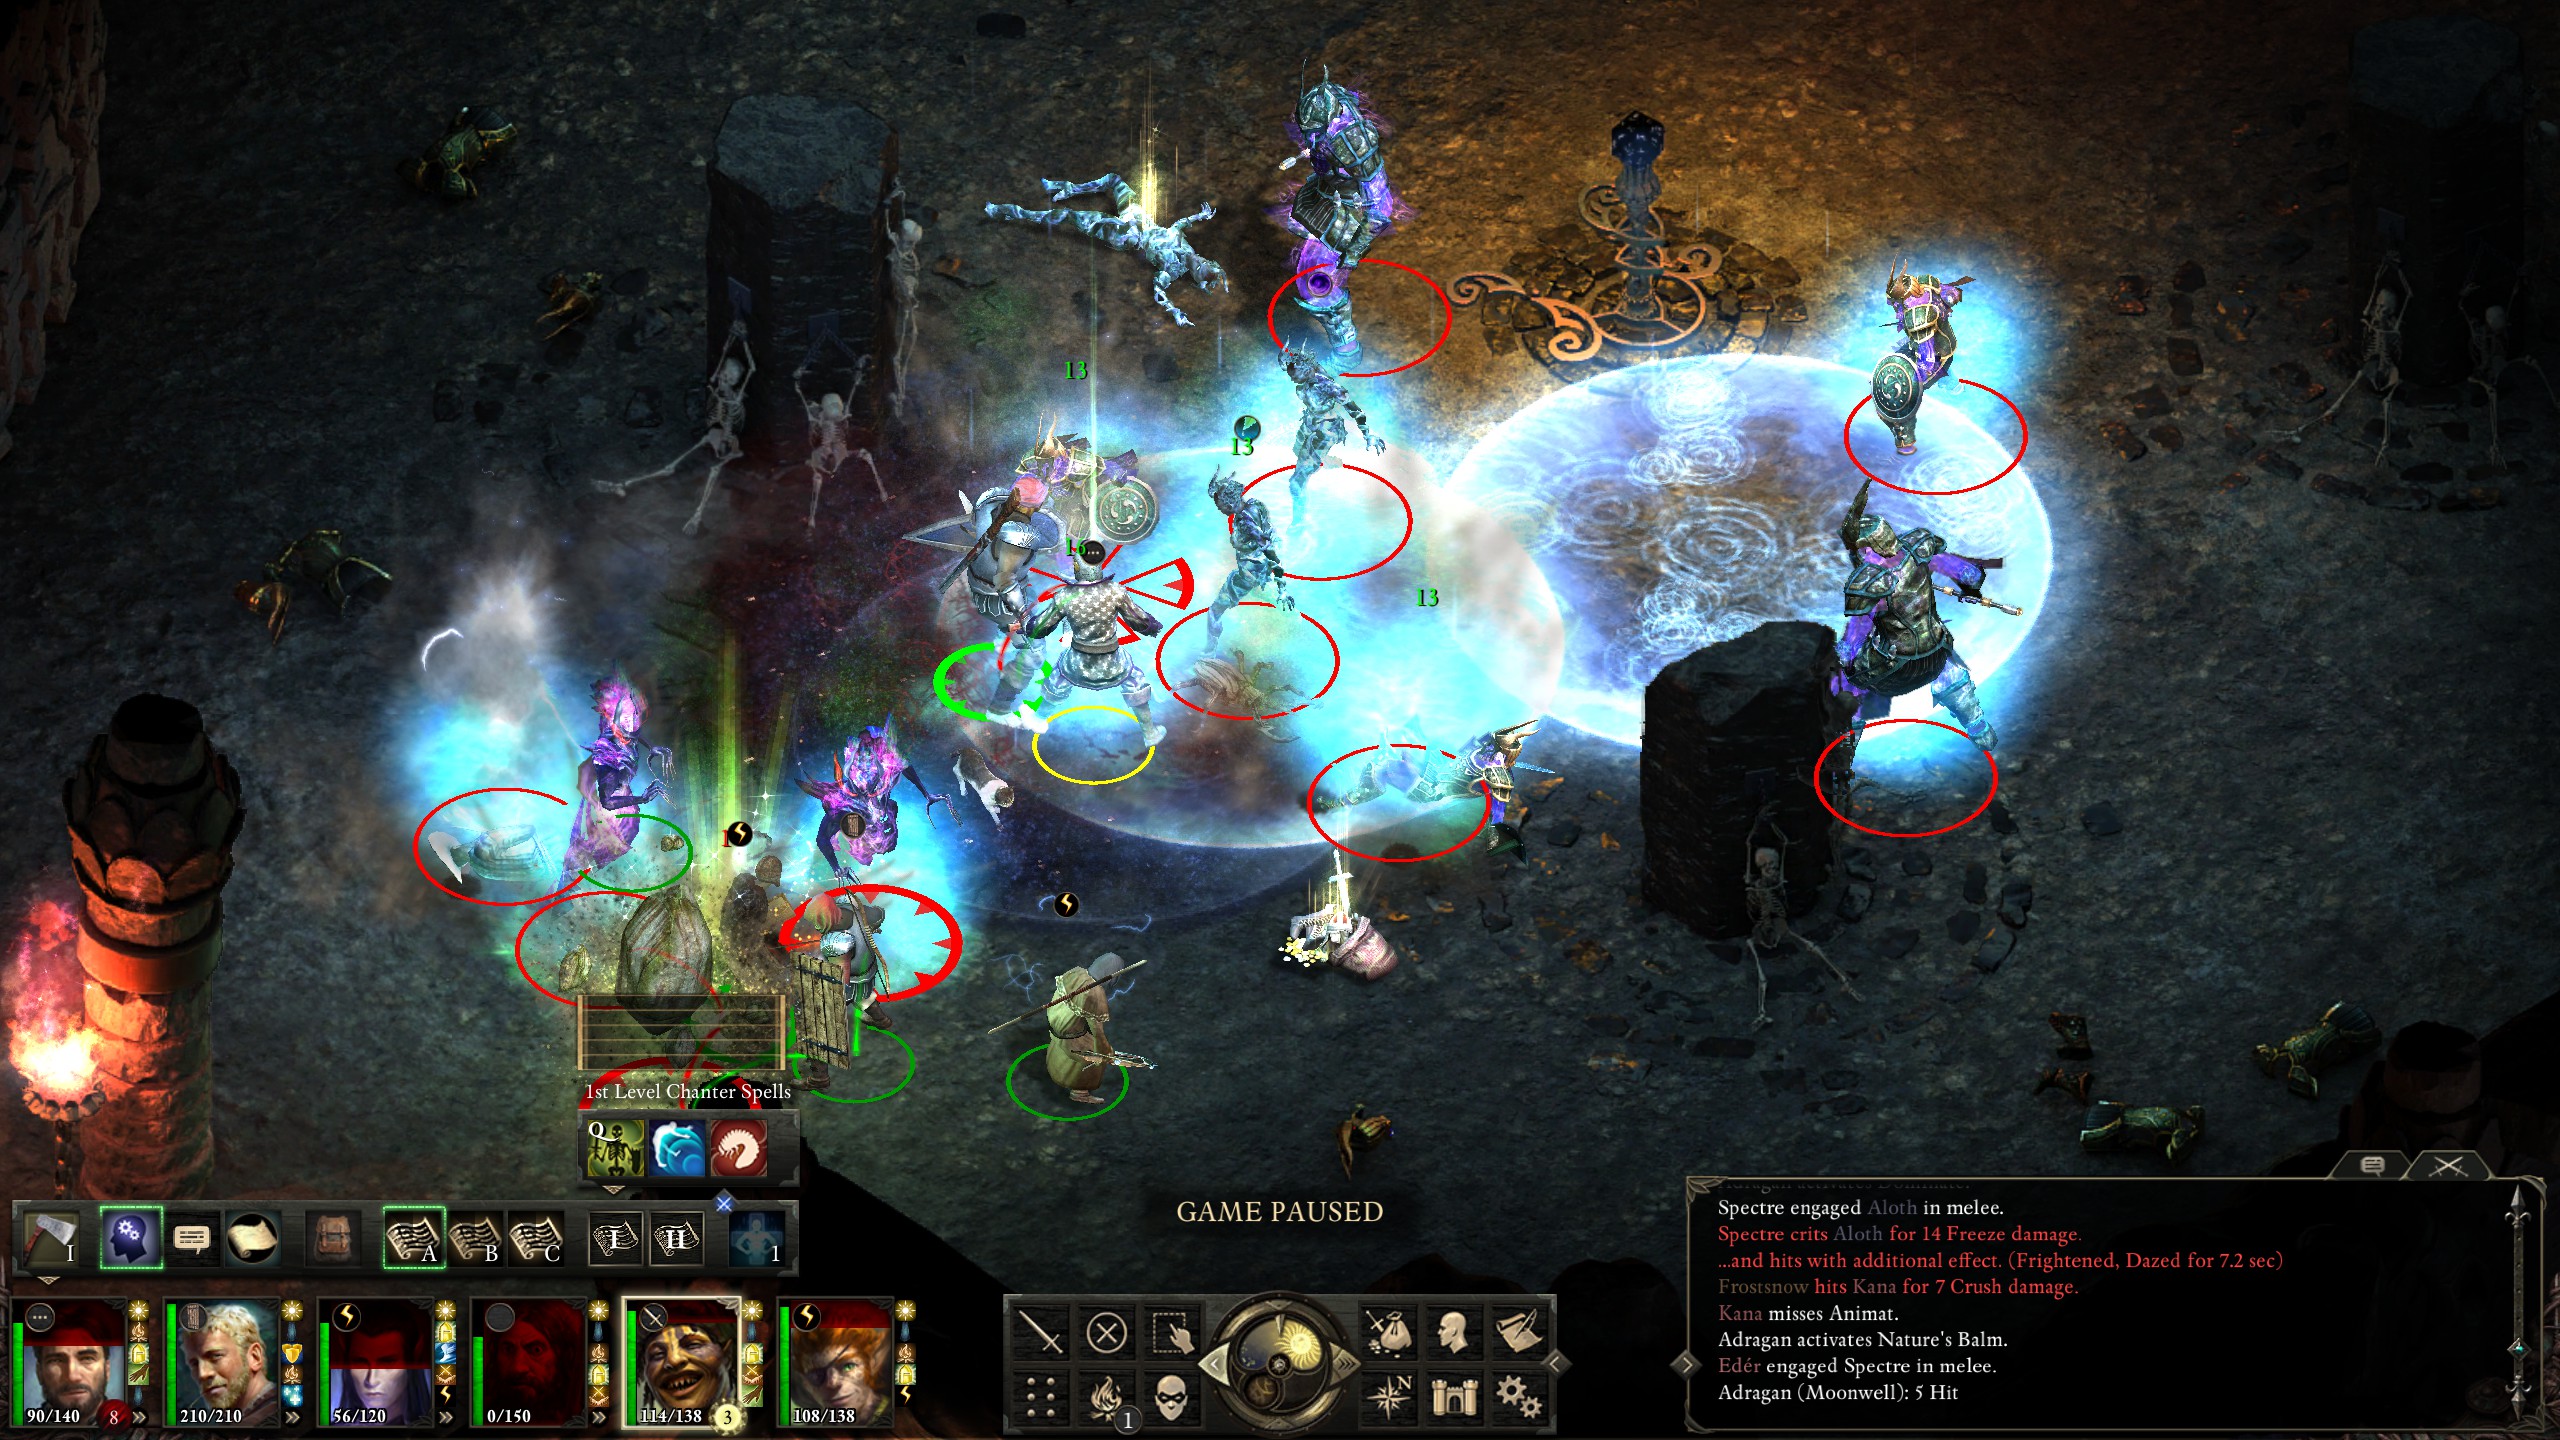
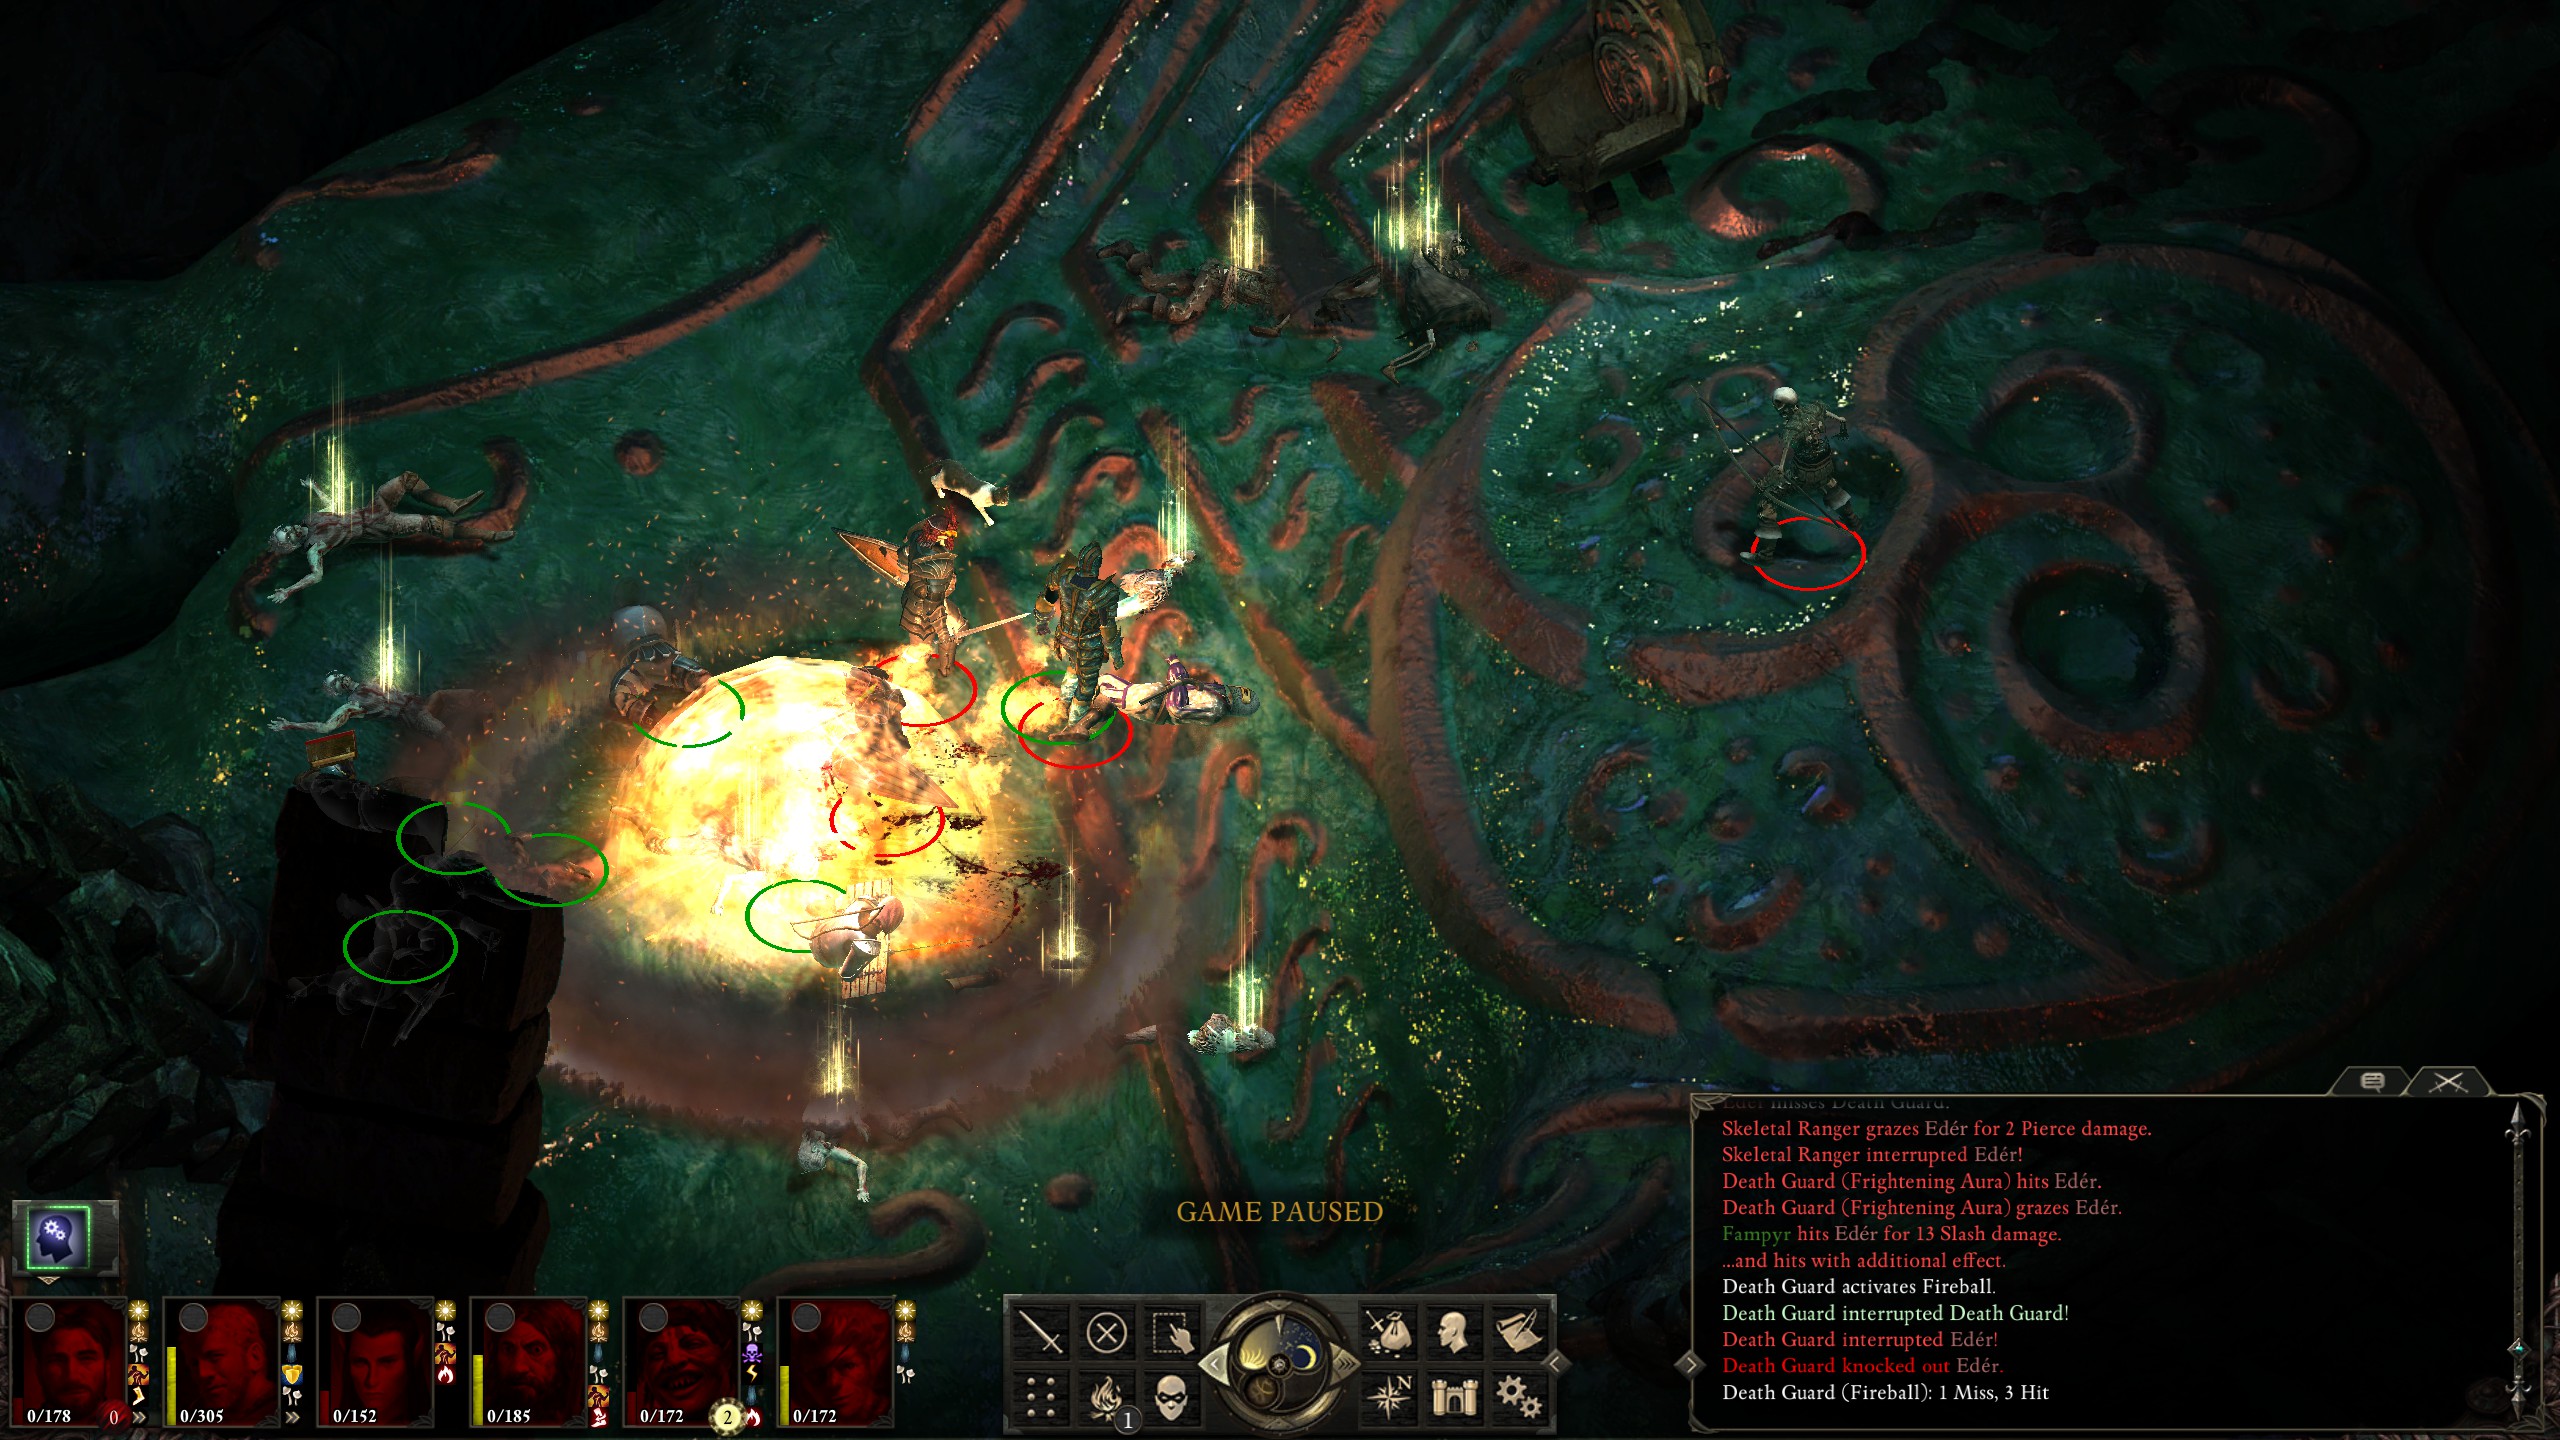
Note that I gave my whole party snowcap mushrooms for the extra resistance against the charm and dominated afflictions, as Durance had not yet learned "Prayer Against Treachery". Also note the two death guards preparing to cast fireball, nevermind the small army of darguls.
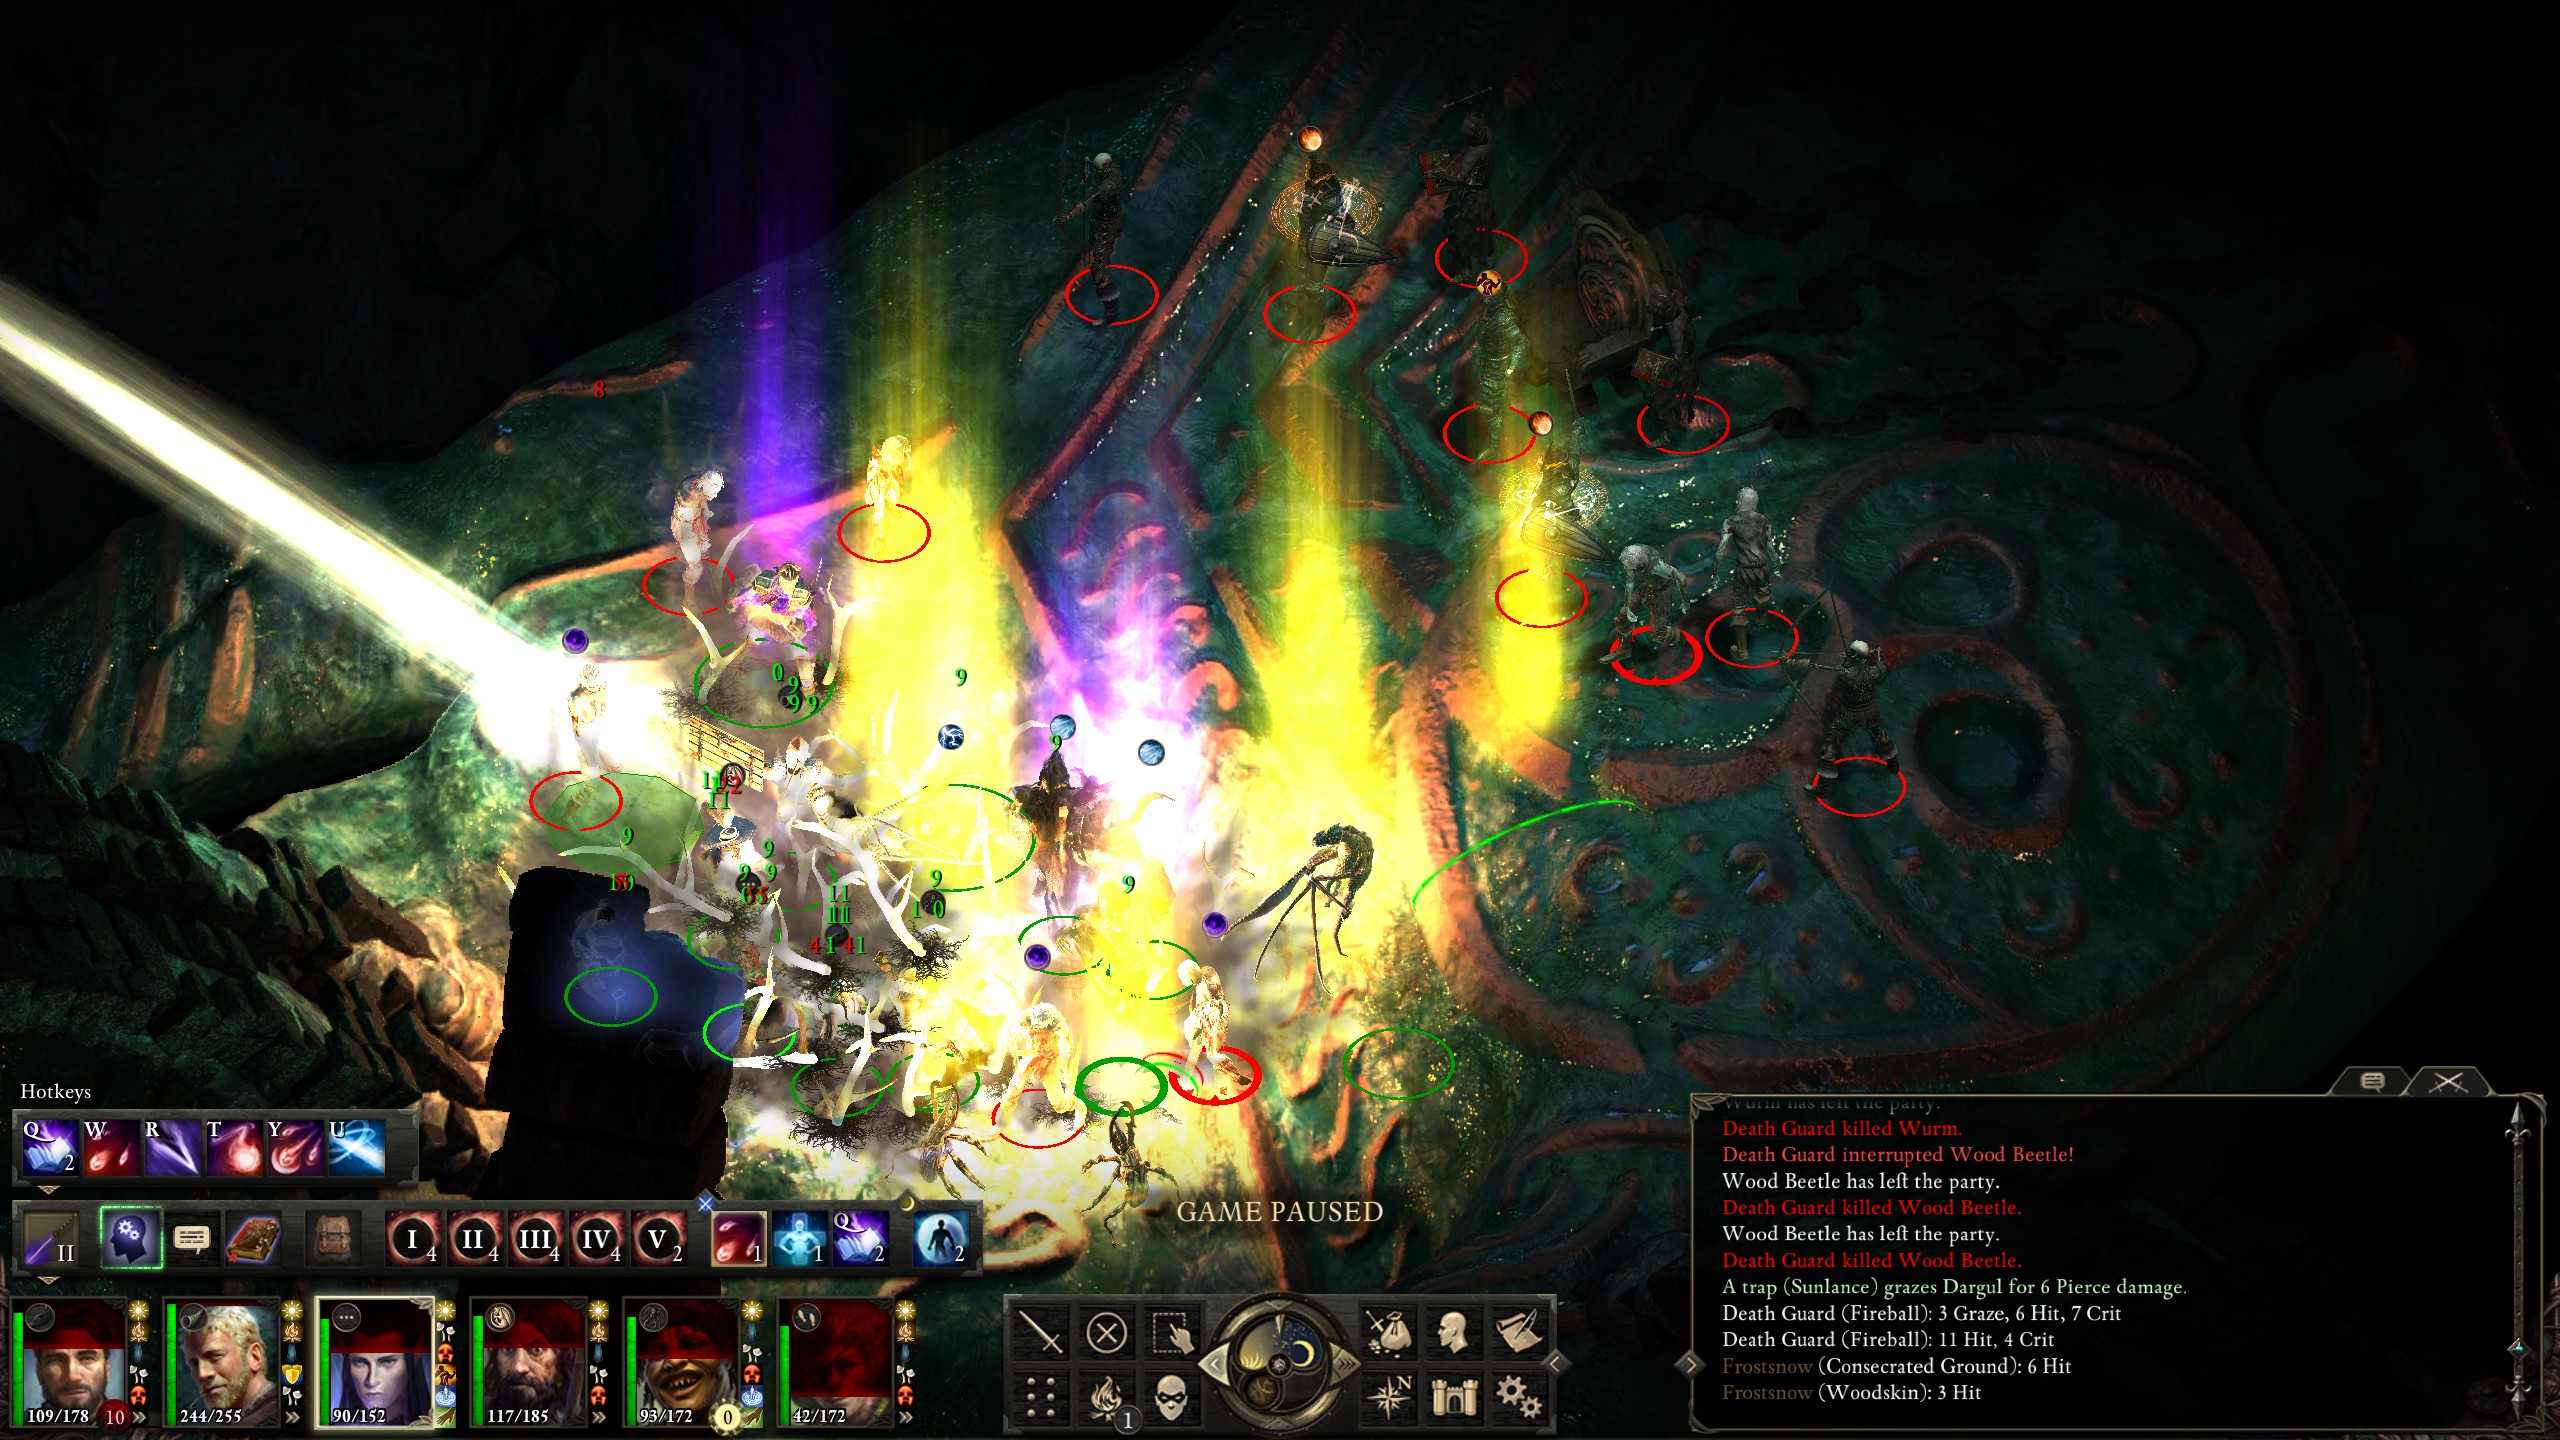
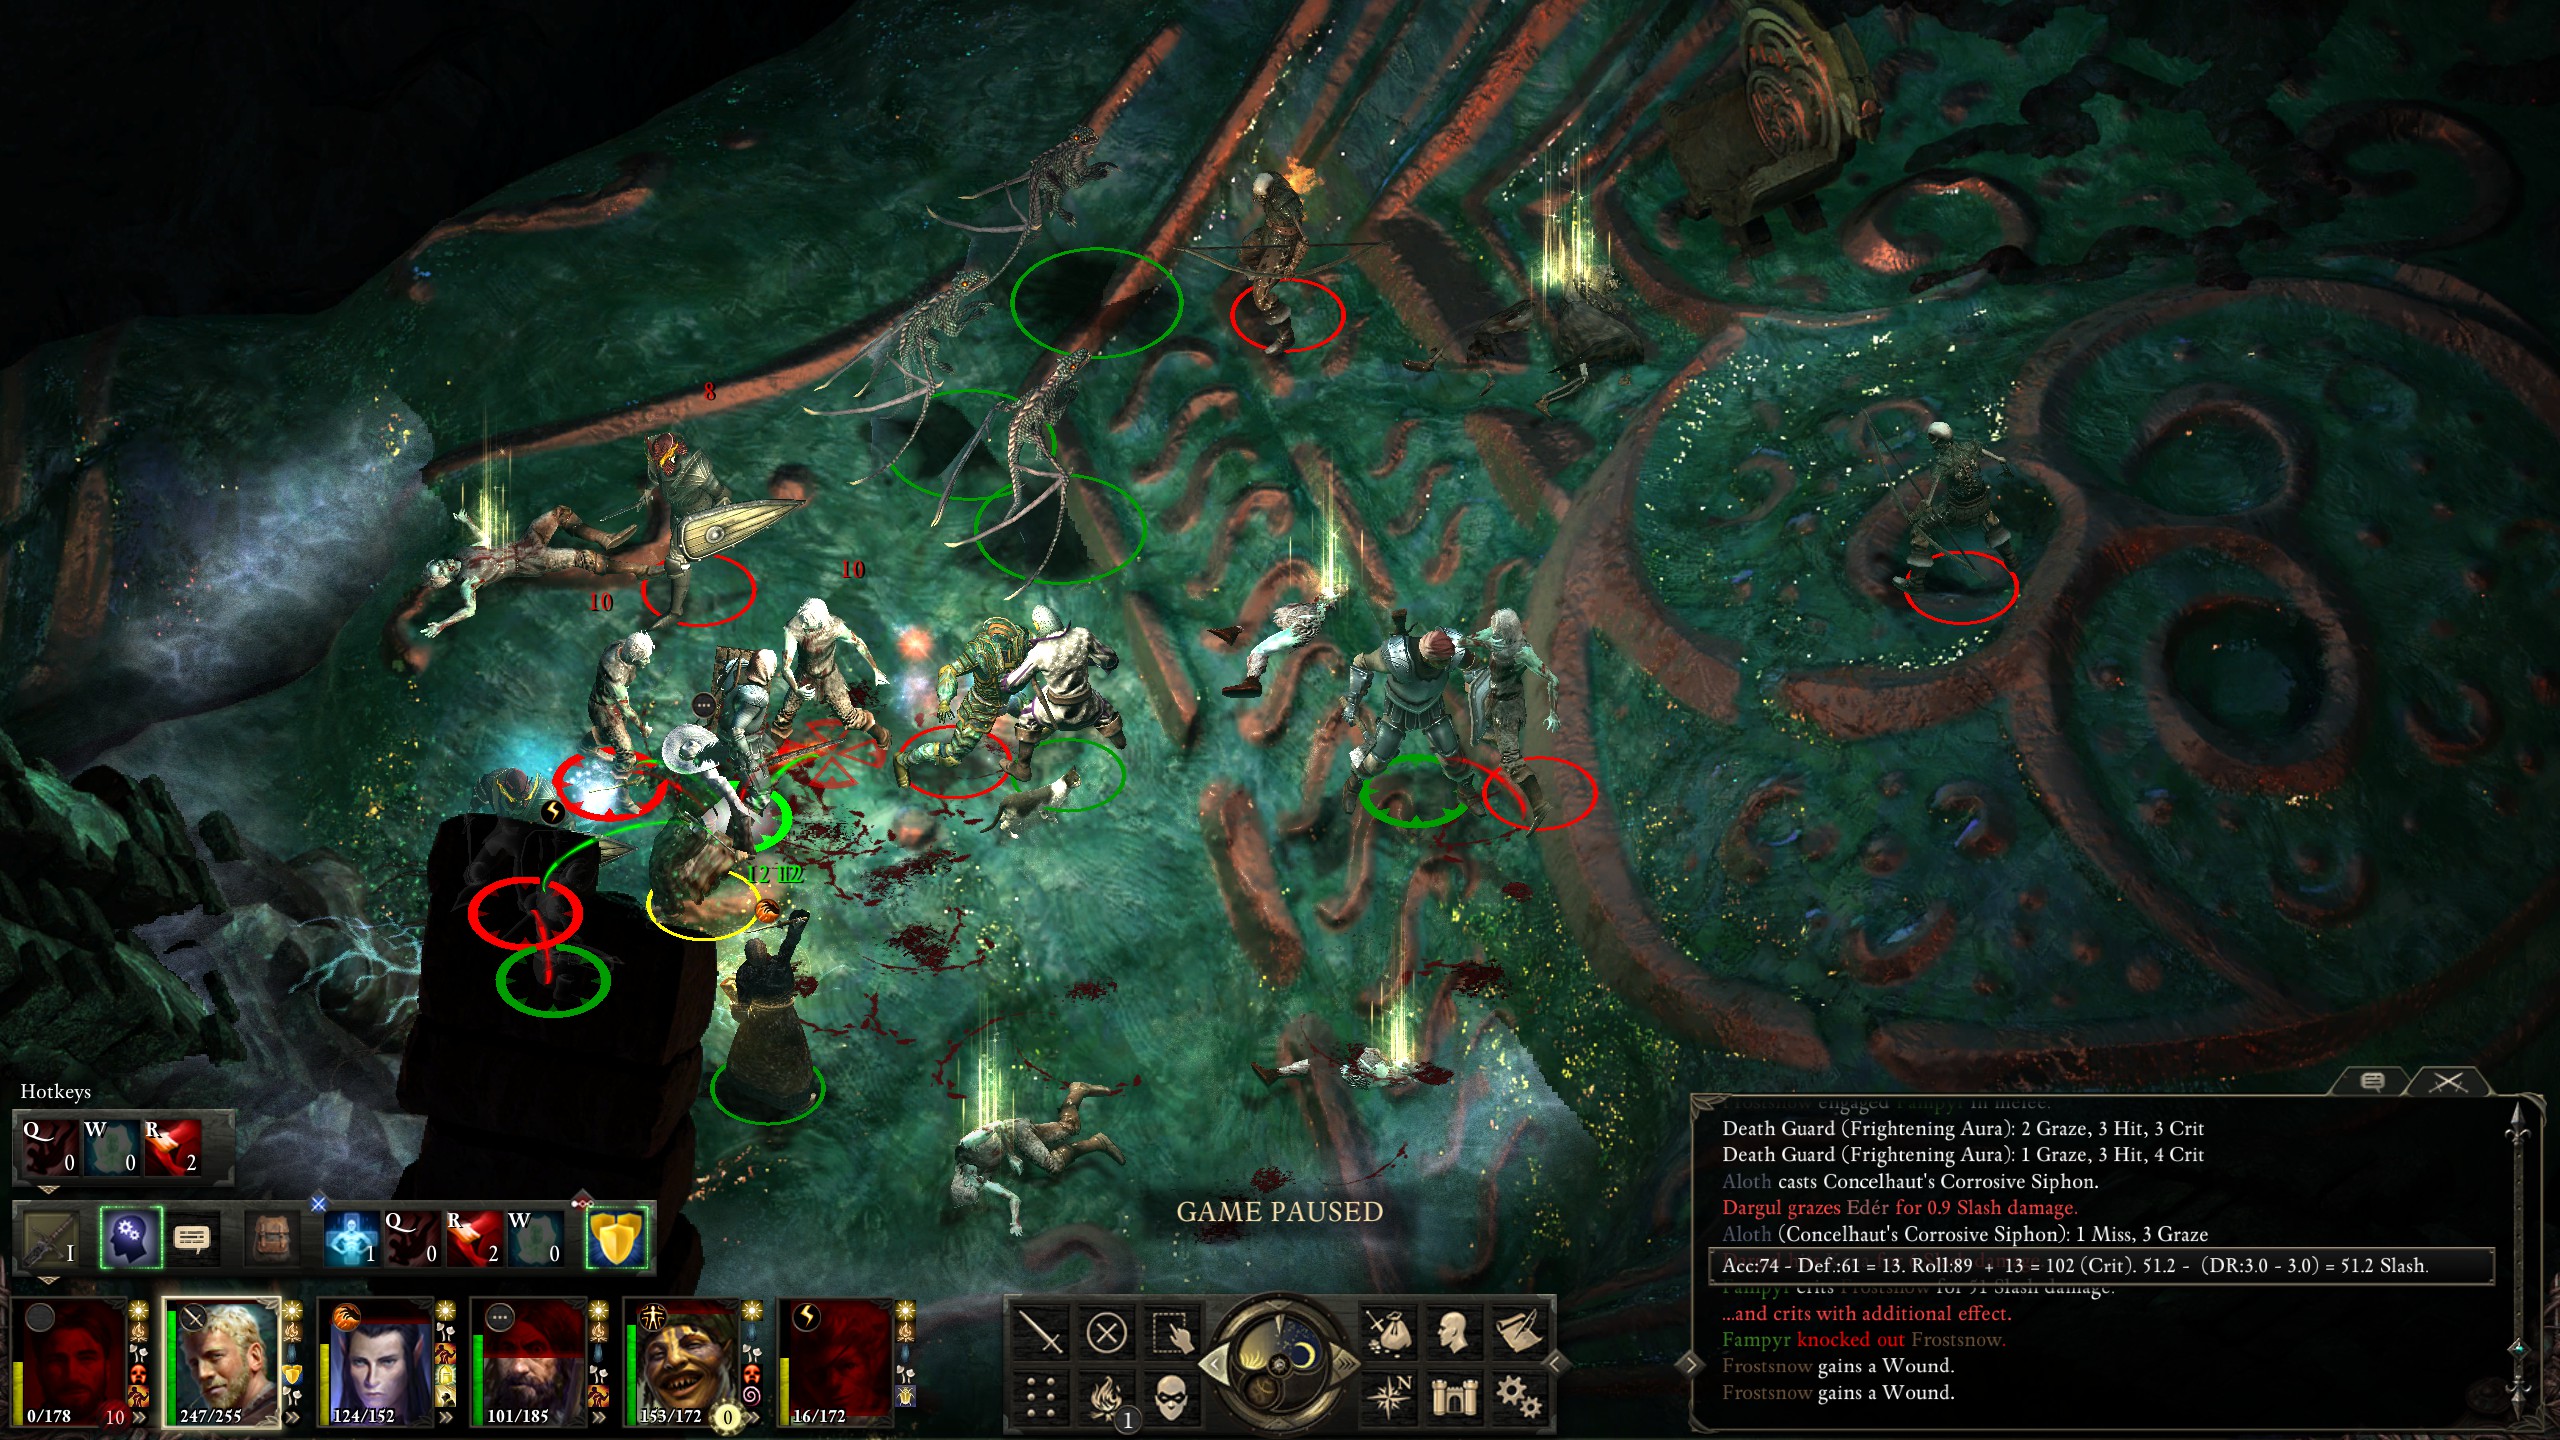
The fireballs hurt. Lots. They killed most of summons and left my party in rough shape.
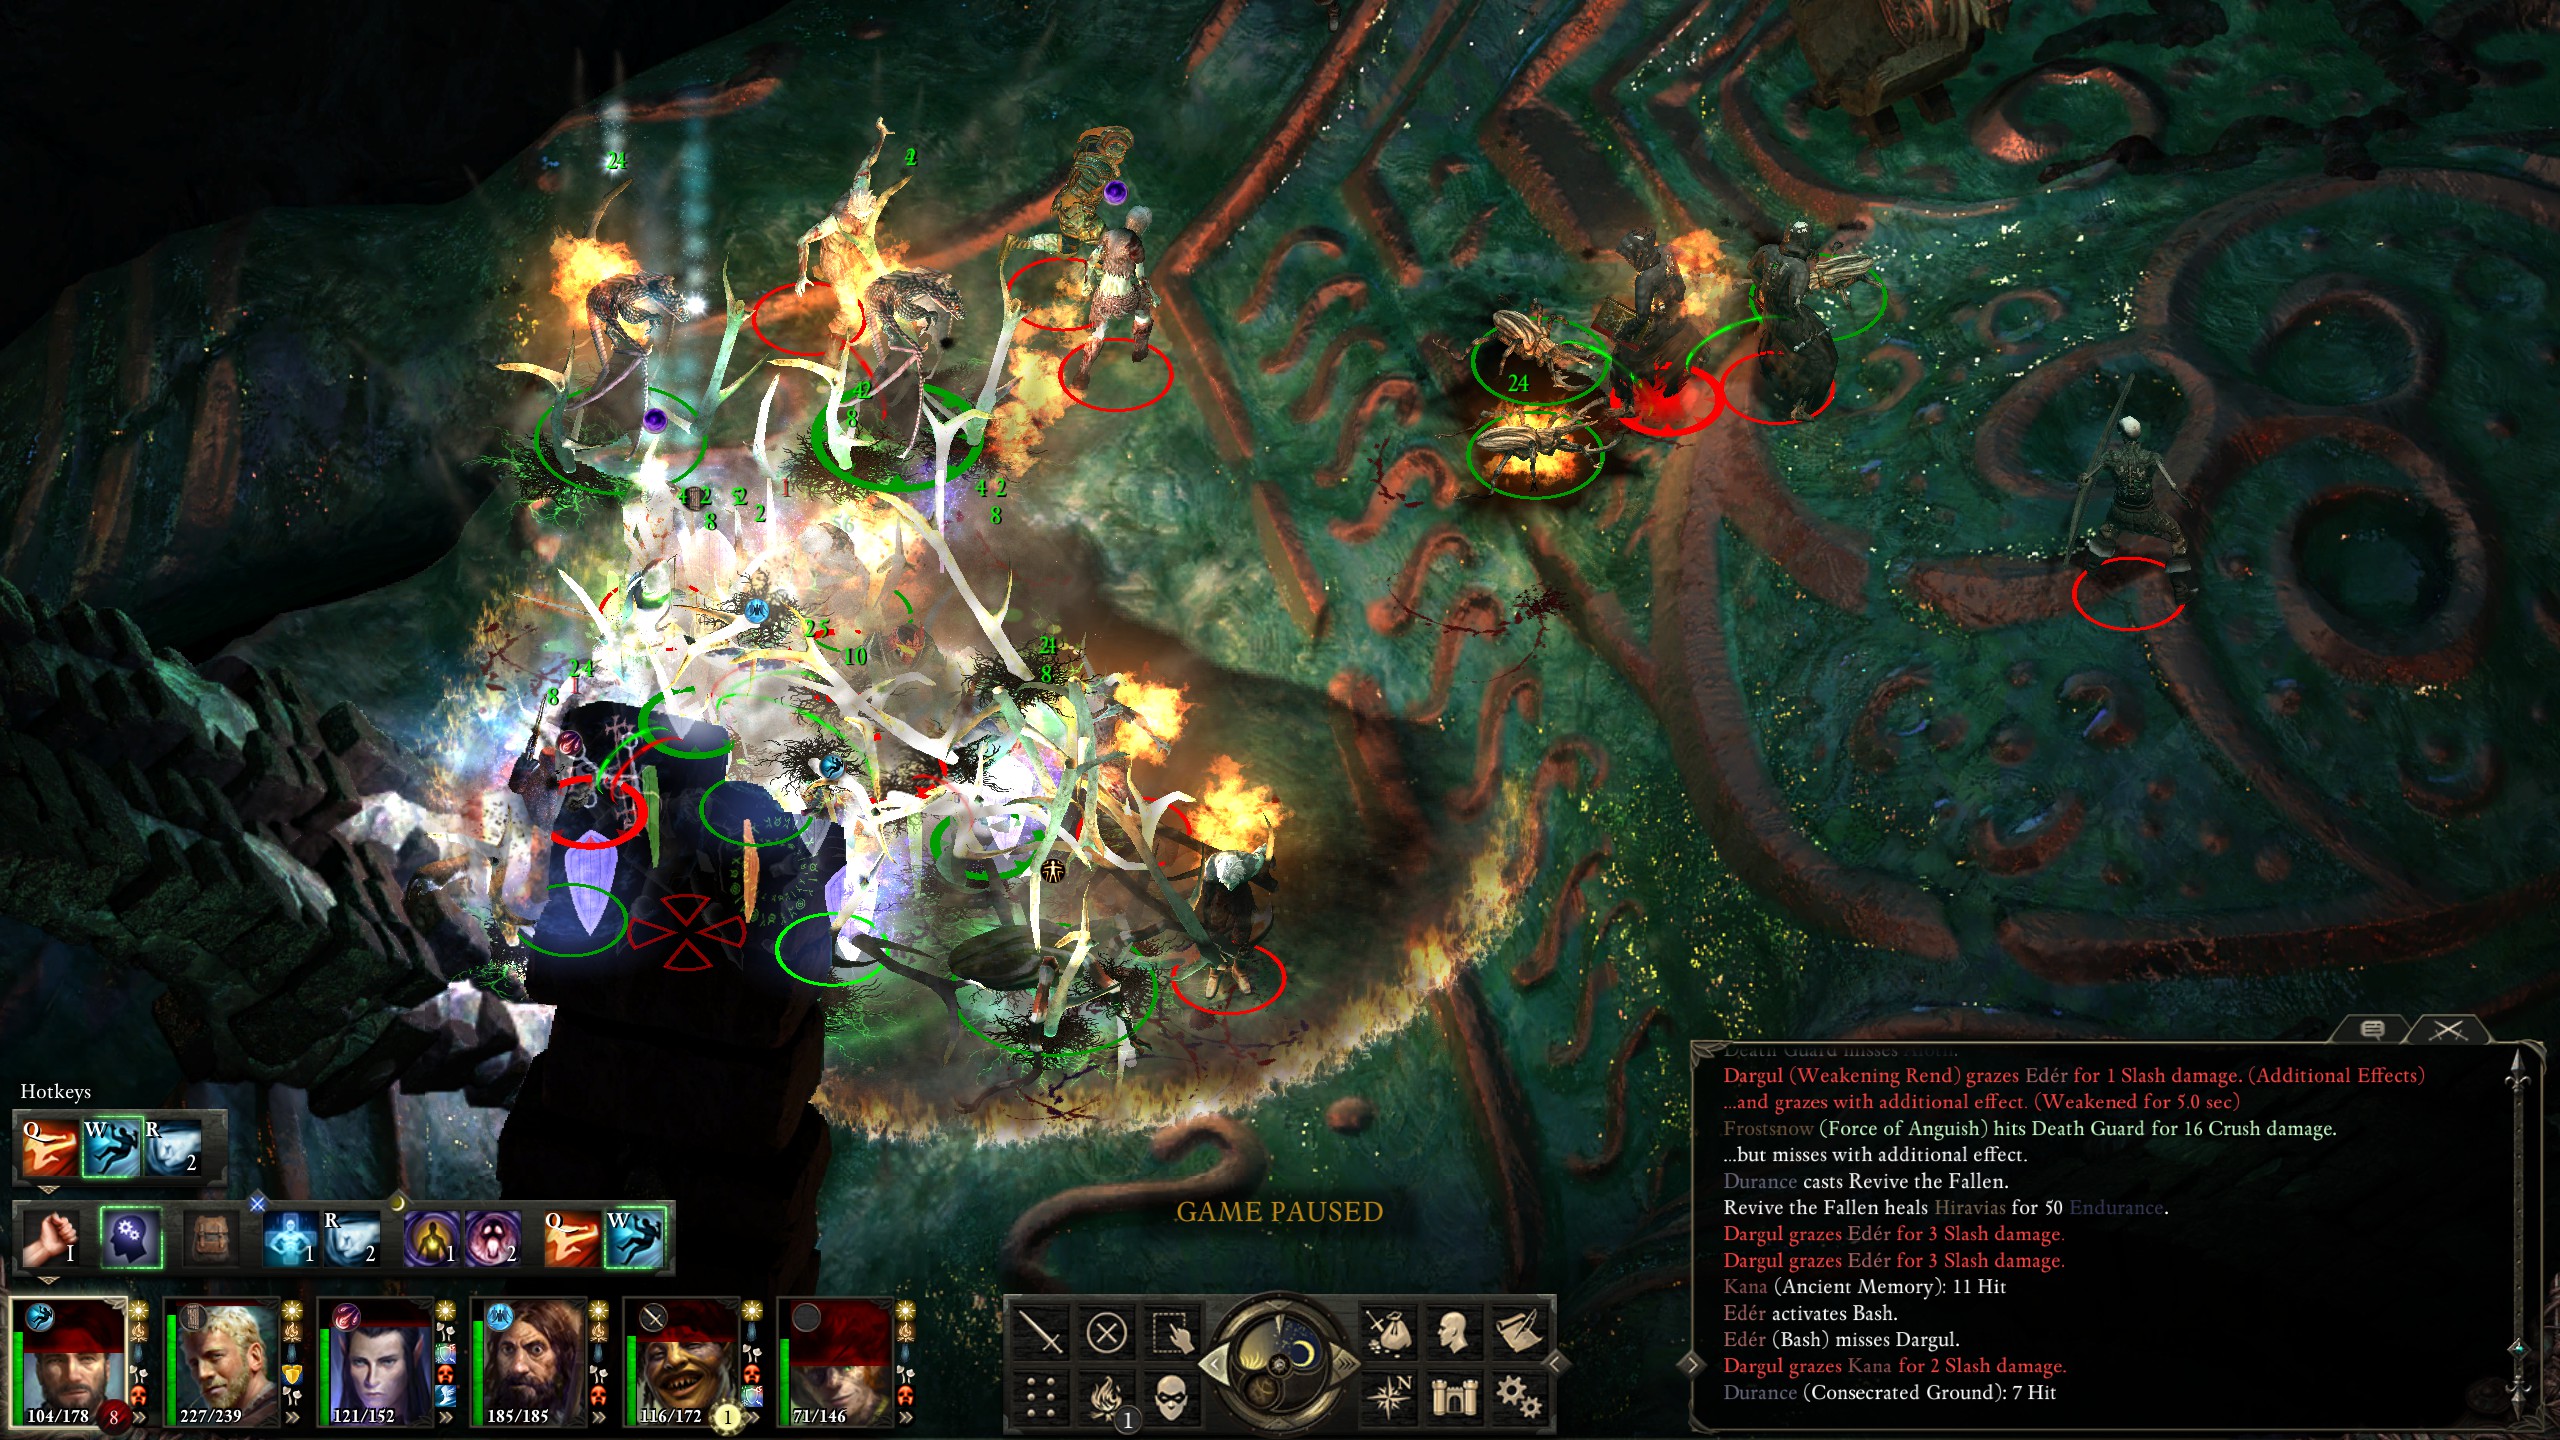
The enemies also kept going after Hiravas, making it impossible for him to cast the awesome "Relentless Storm" spell; I kept having to cast "Beetle Shell" in order to prevent a knockout.
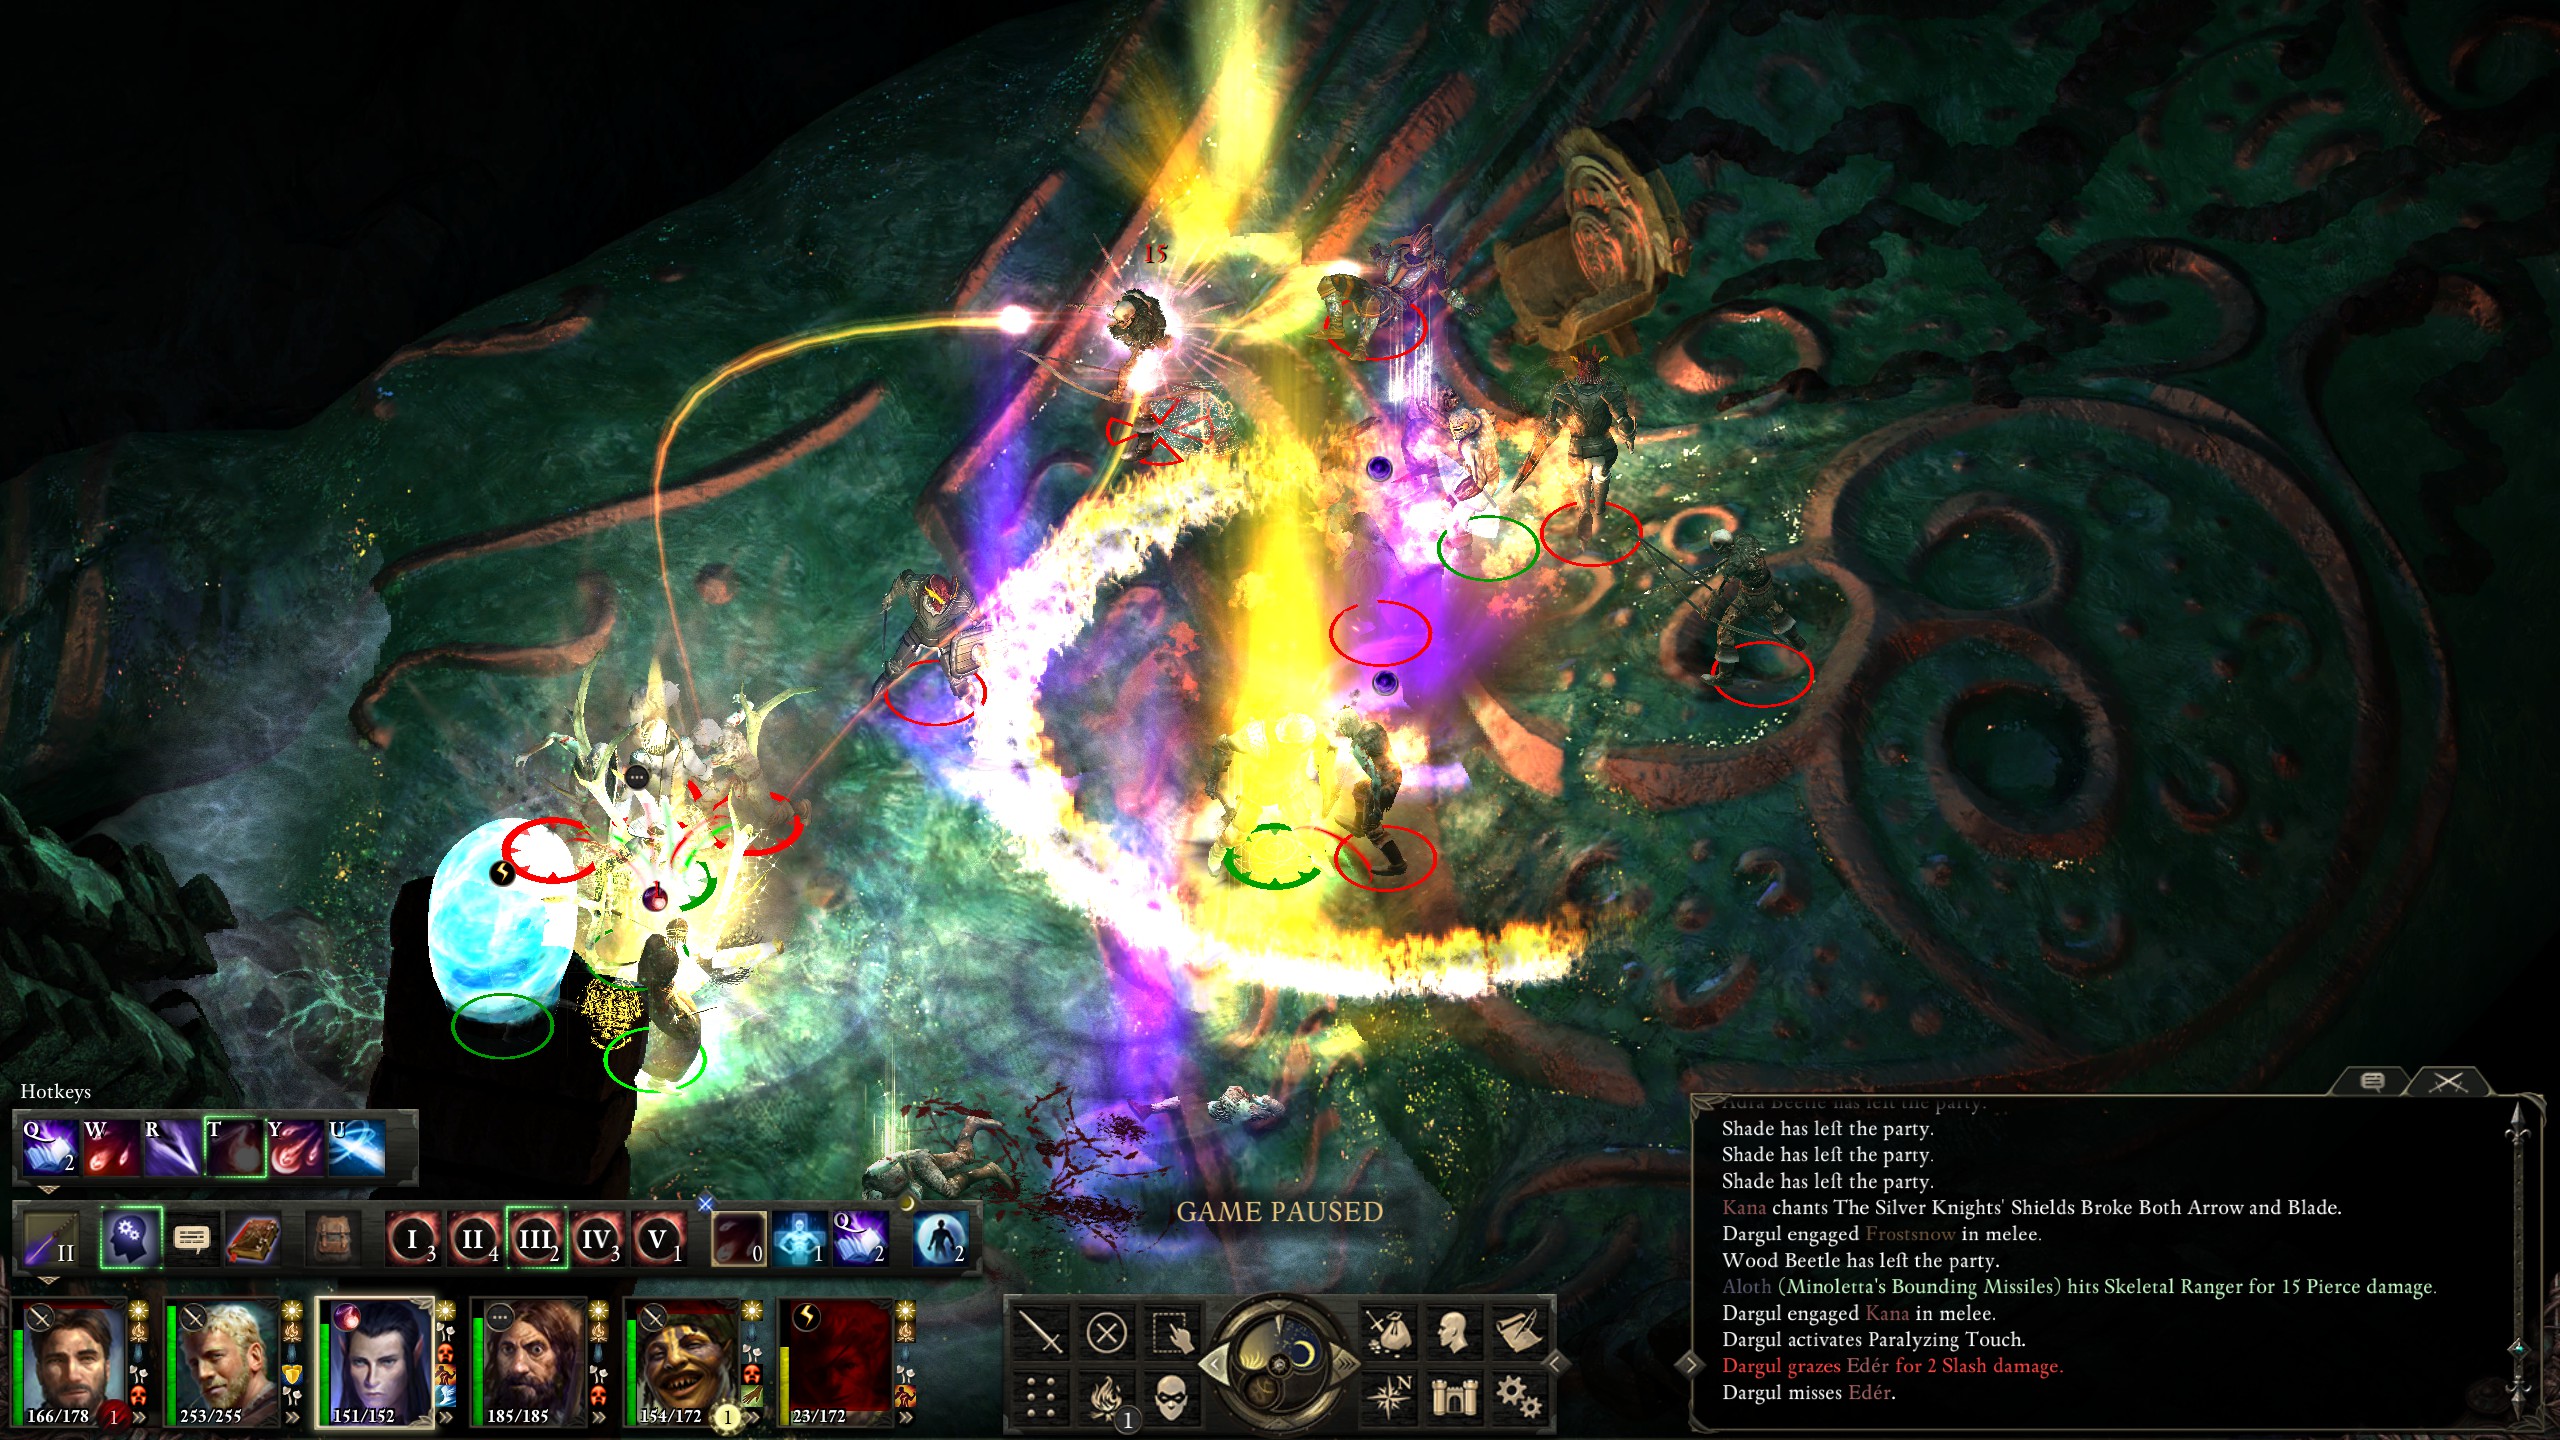
At this point my summons were all gone and I was left with quite a few enemies, but that's no reason to give up!
Unfortunately Durance got charmed while Hiravas continued to get pummeled, making healing the latter impossible.
Then the boss got a few quick crits on my Monk, taking him down.
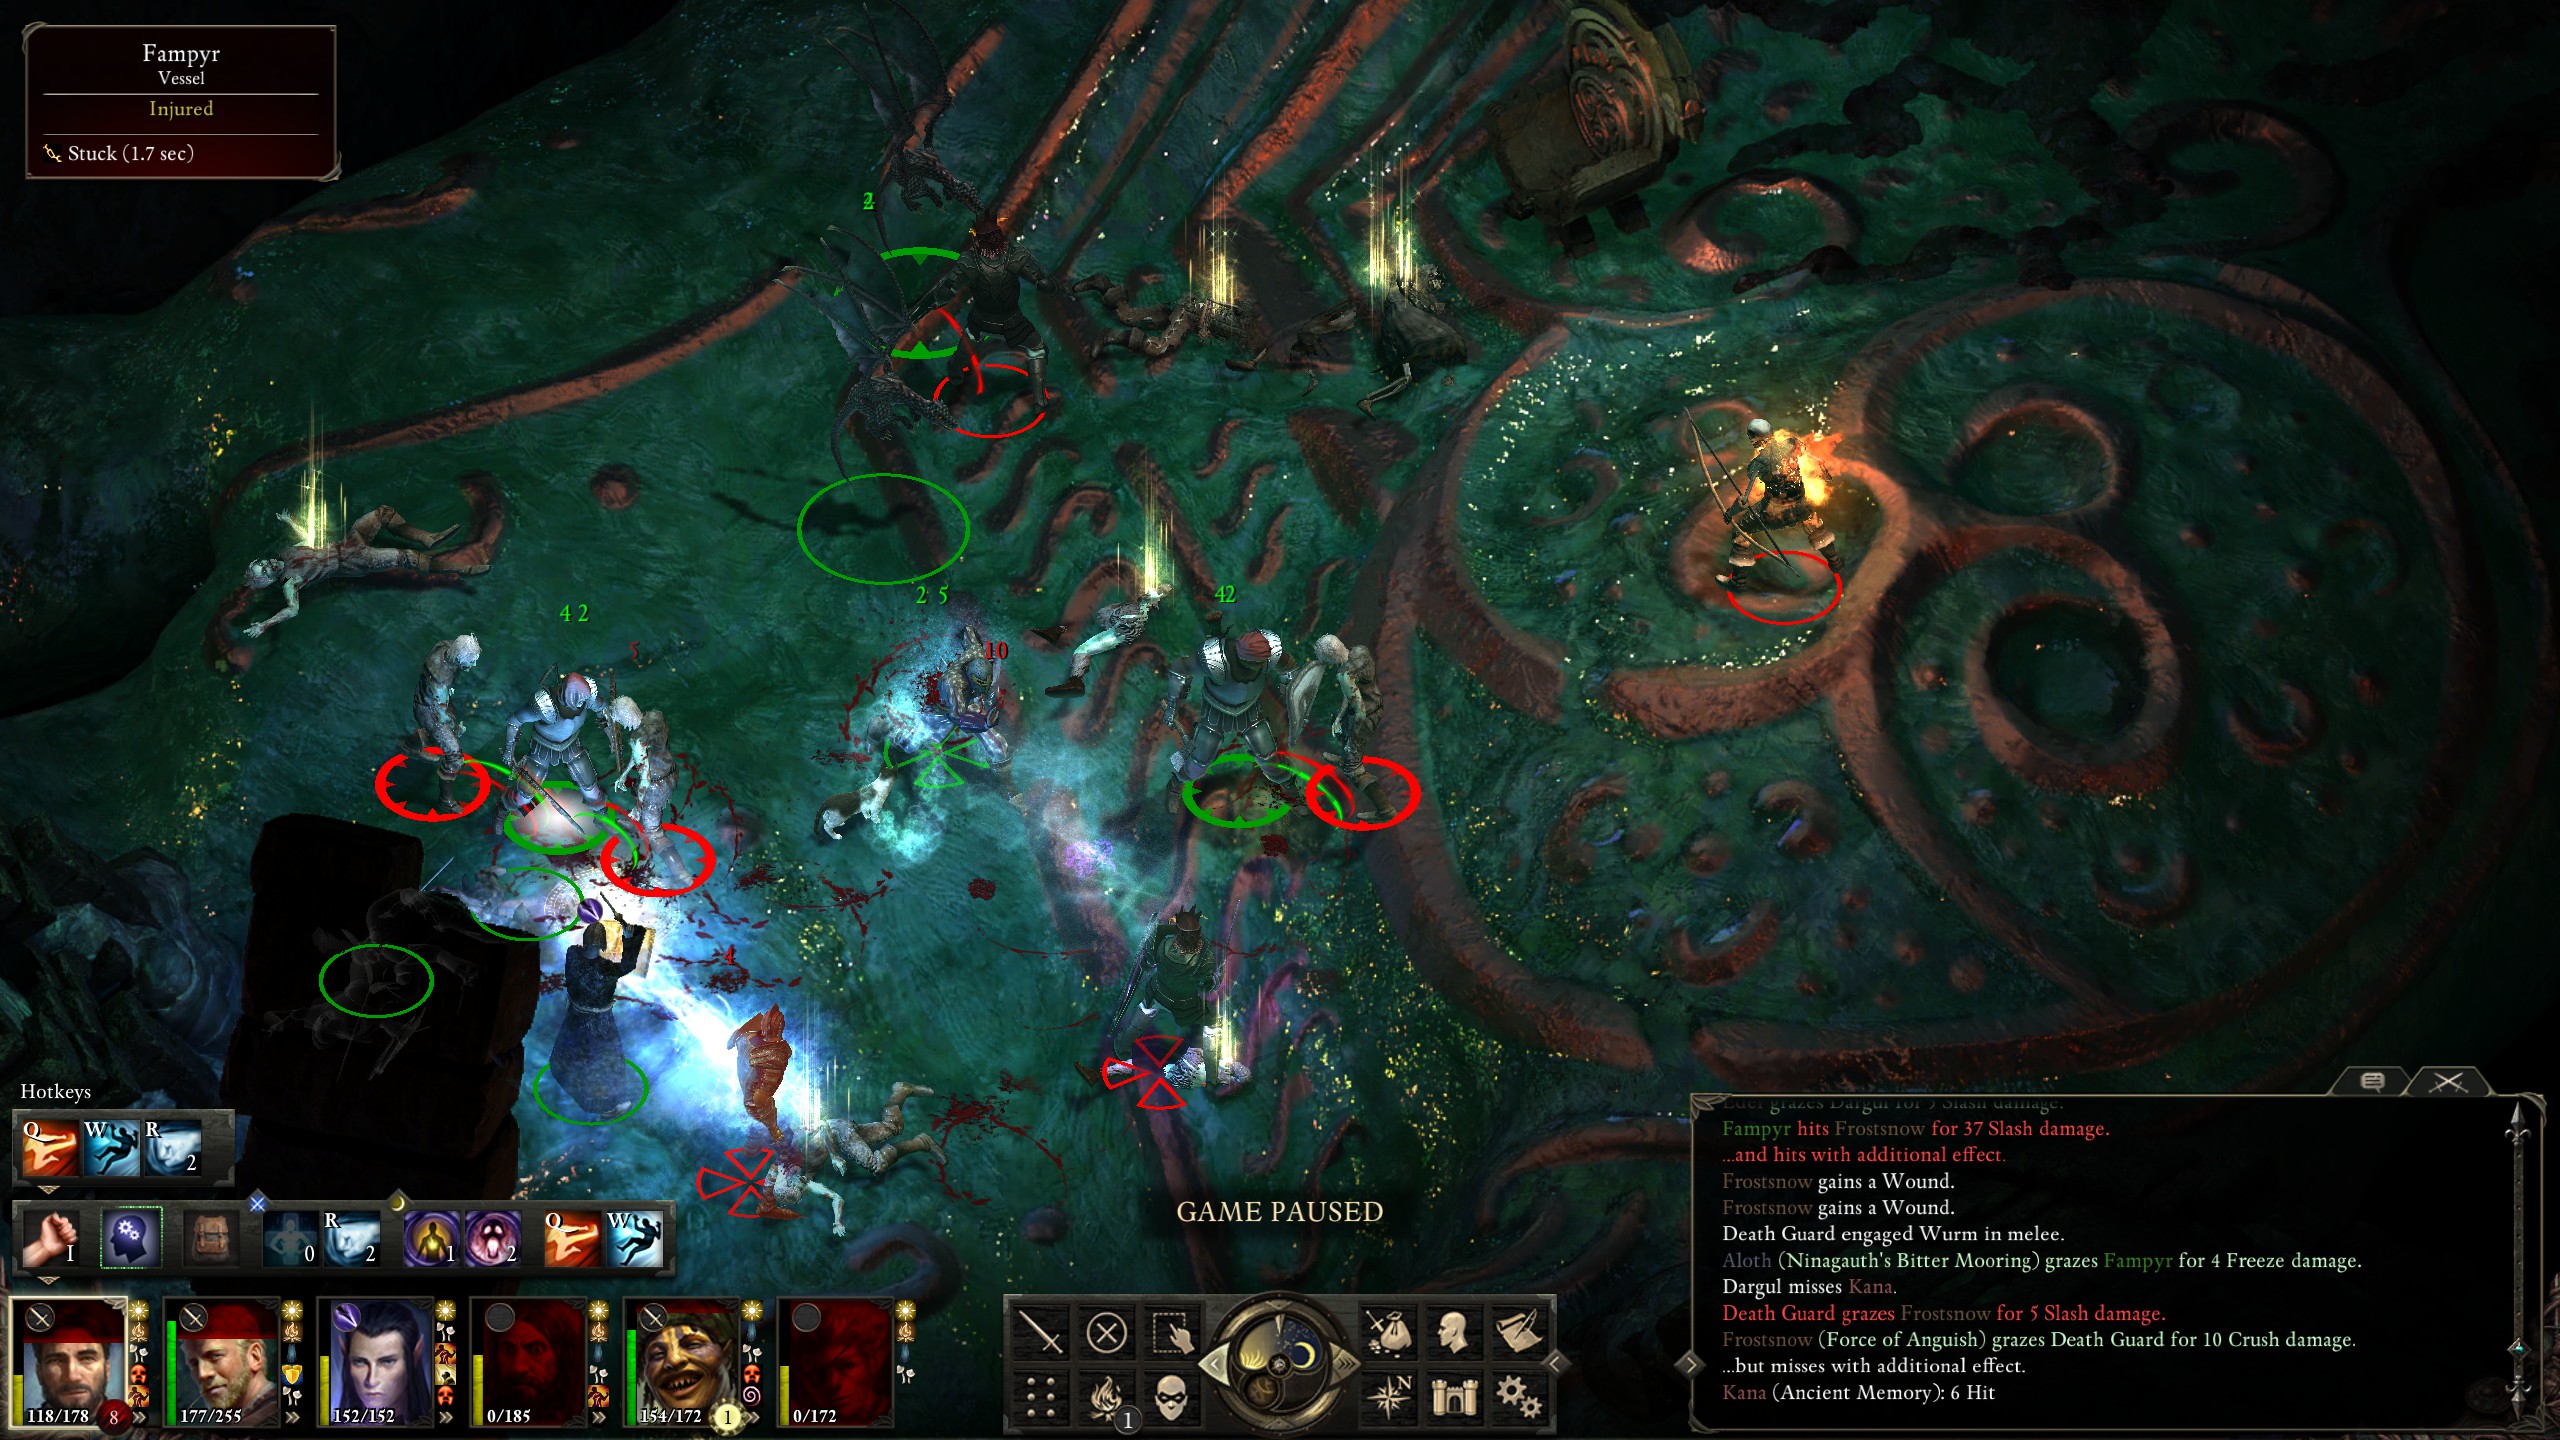
I managed to revive the Monk, but lost Durance in the process. I also learned to use Aloth's "Ninagauth's Bitter Mooring" to (sort of) control the death guards by inflicting them with a stuck affliction.
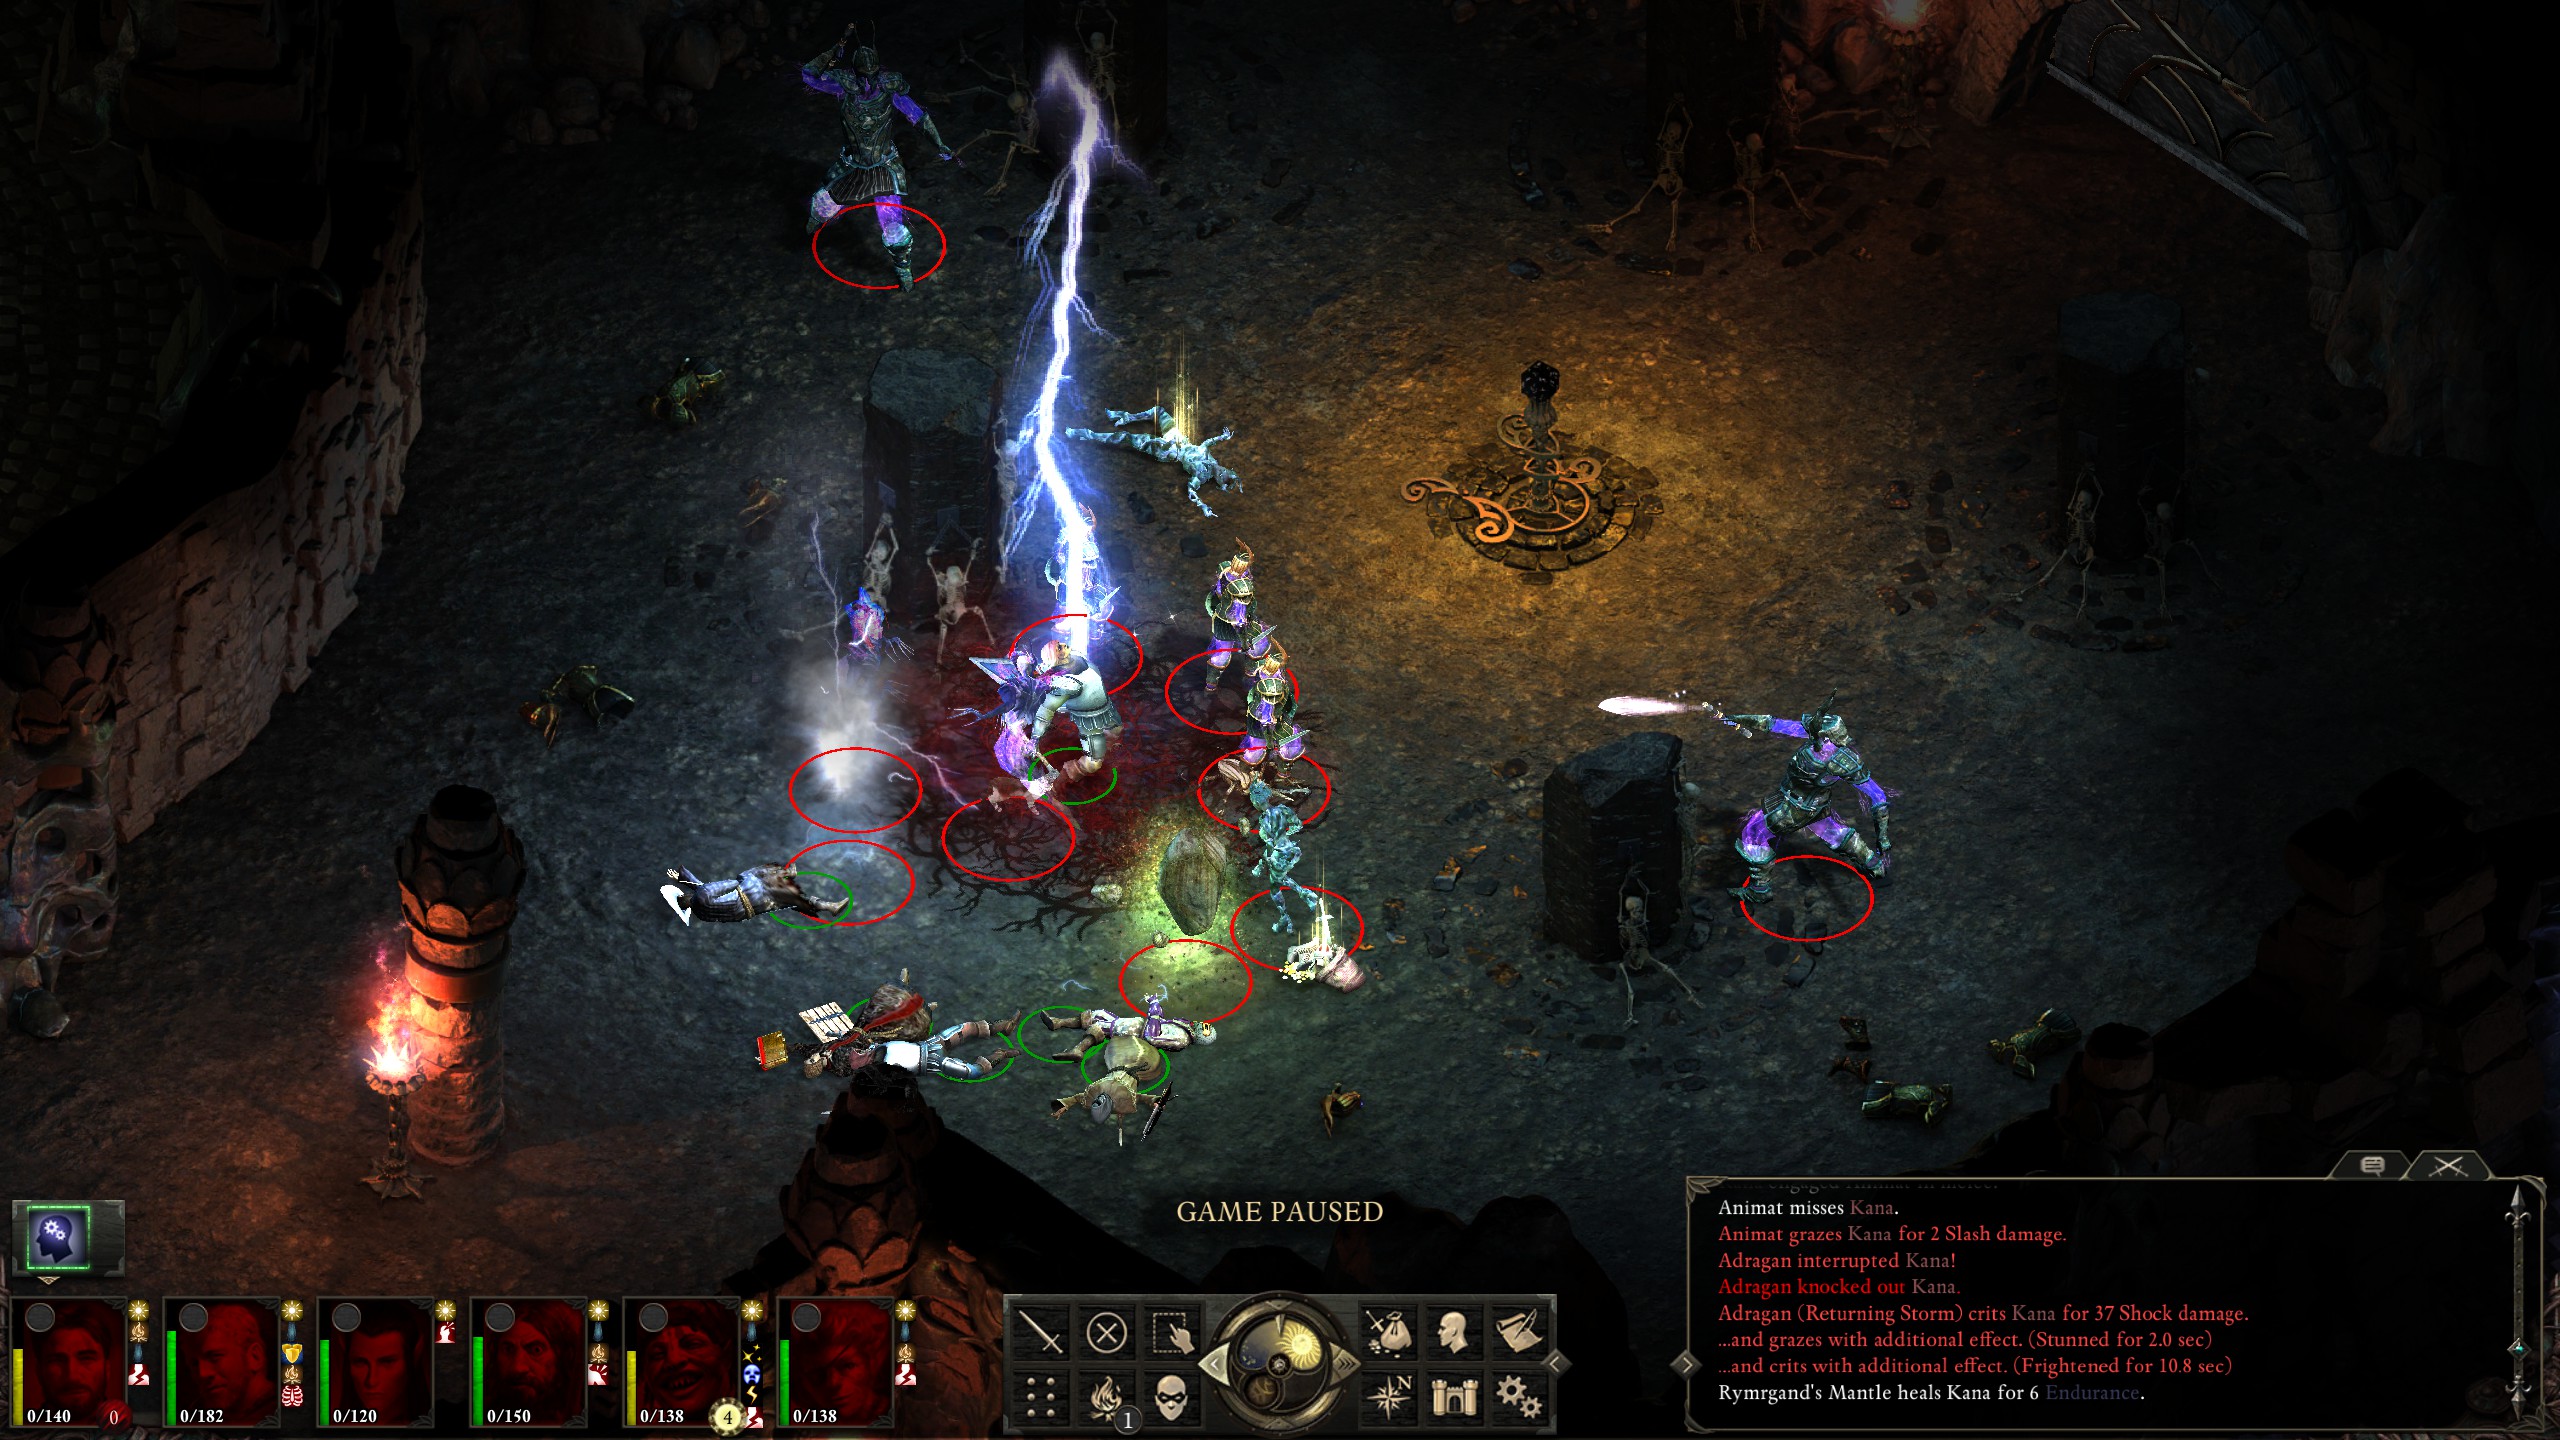
Their Fireballs still hurt, though, and I lost the Monk for a final time to one.
My main healers and Monk down, and Aloth nearly out of spells, it wasn't long until the subsequent wipe. Ouch. Even some of the party's health is in red. I considered re-working my strategy a little. Since the Fireballs did tons of damage, I decided to craft a "Potion of Bulwark Against The Elements" potion for each character; this potion couldn't be taken before the battle, so I decided to take it as soon as the battle started. I also had the figurines summon as close to the enemies as possible (hopefully out of fireball range).
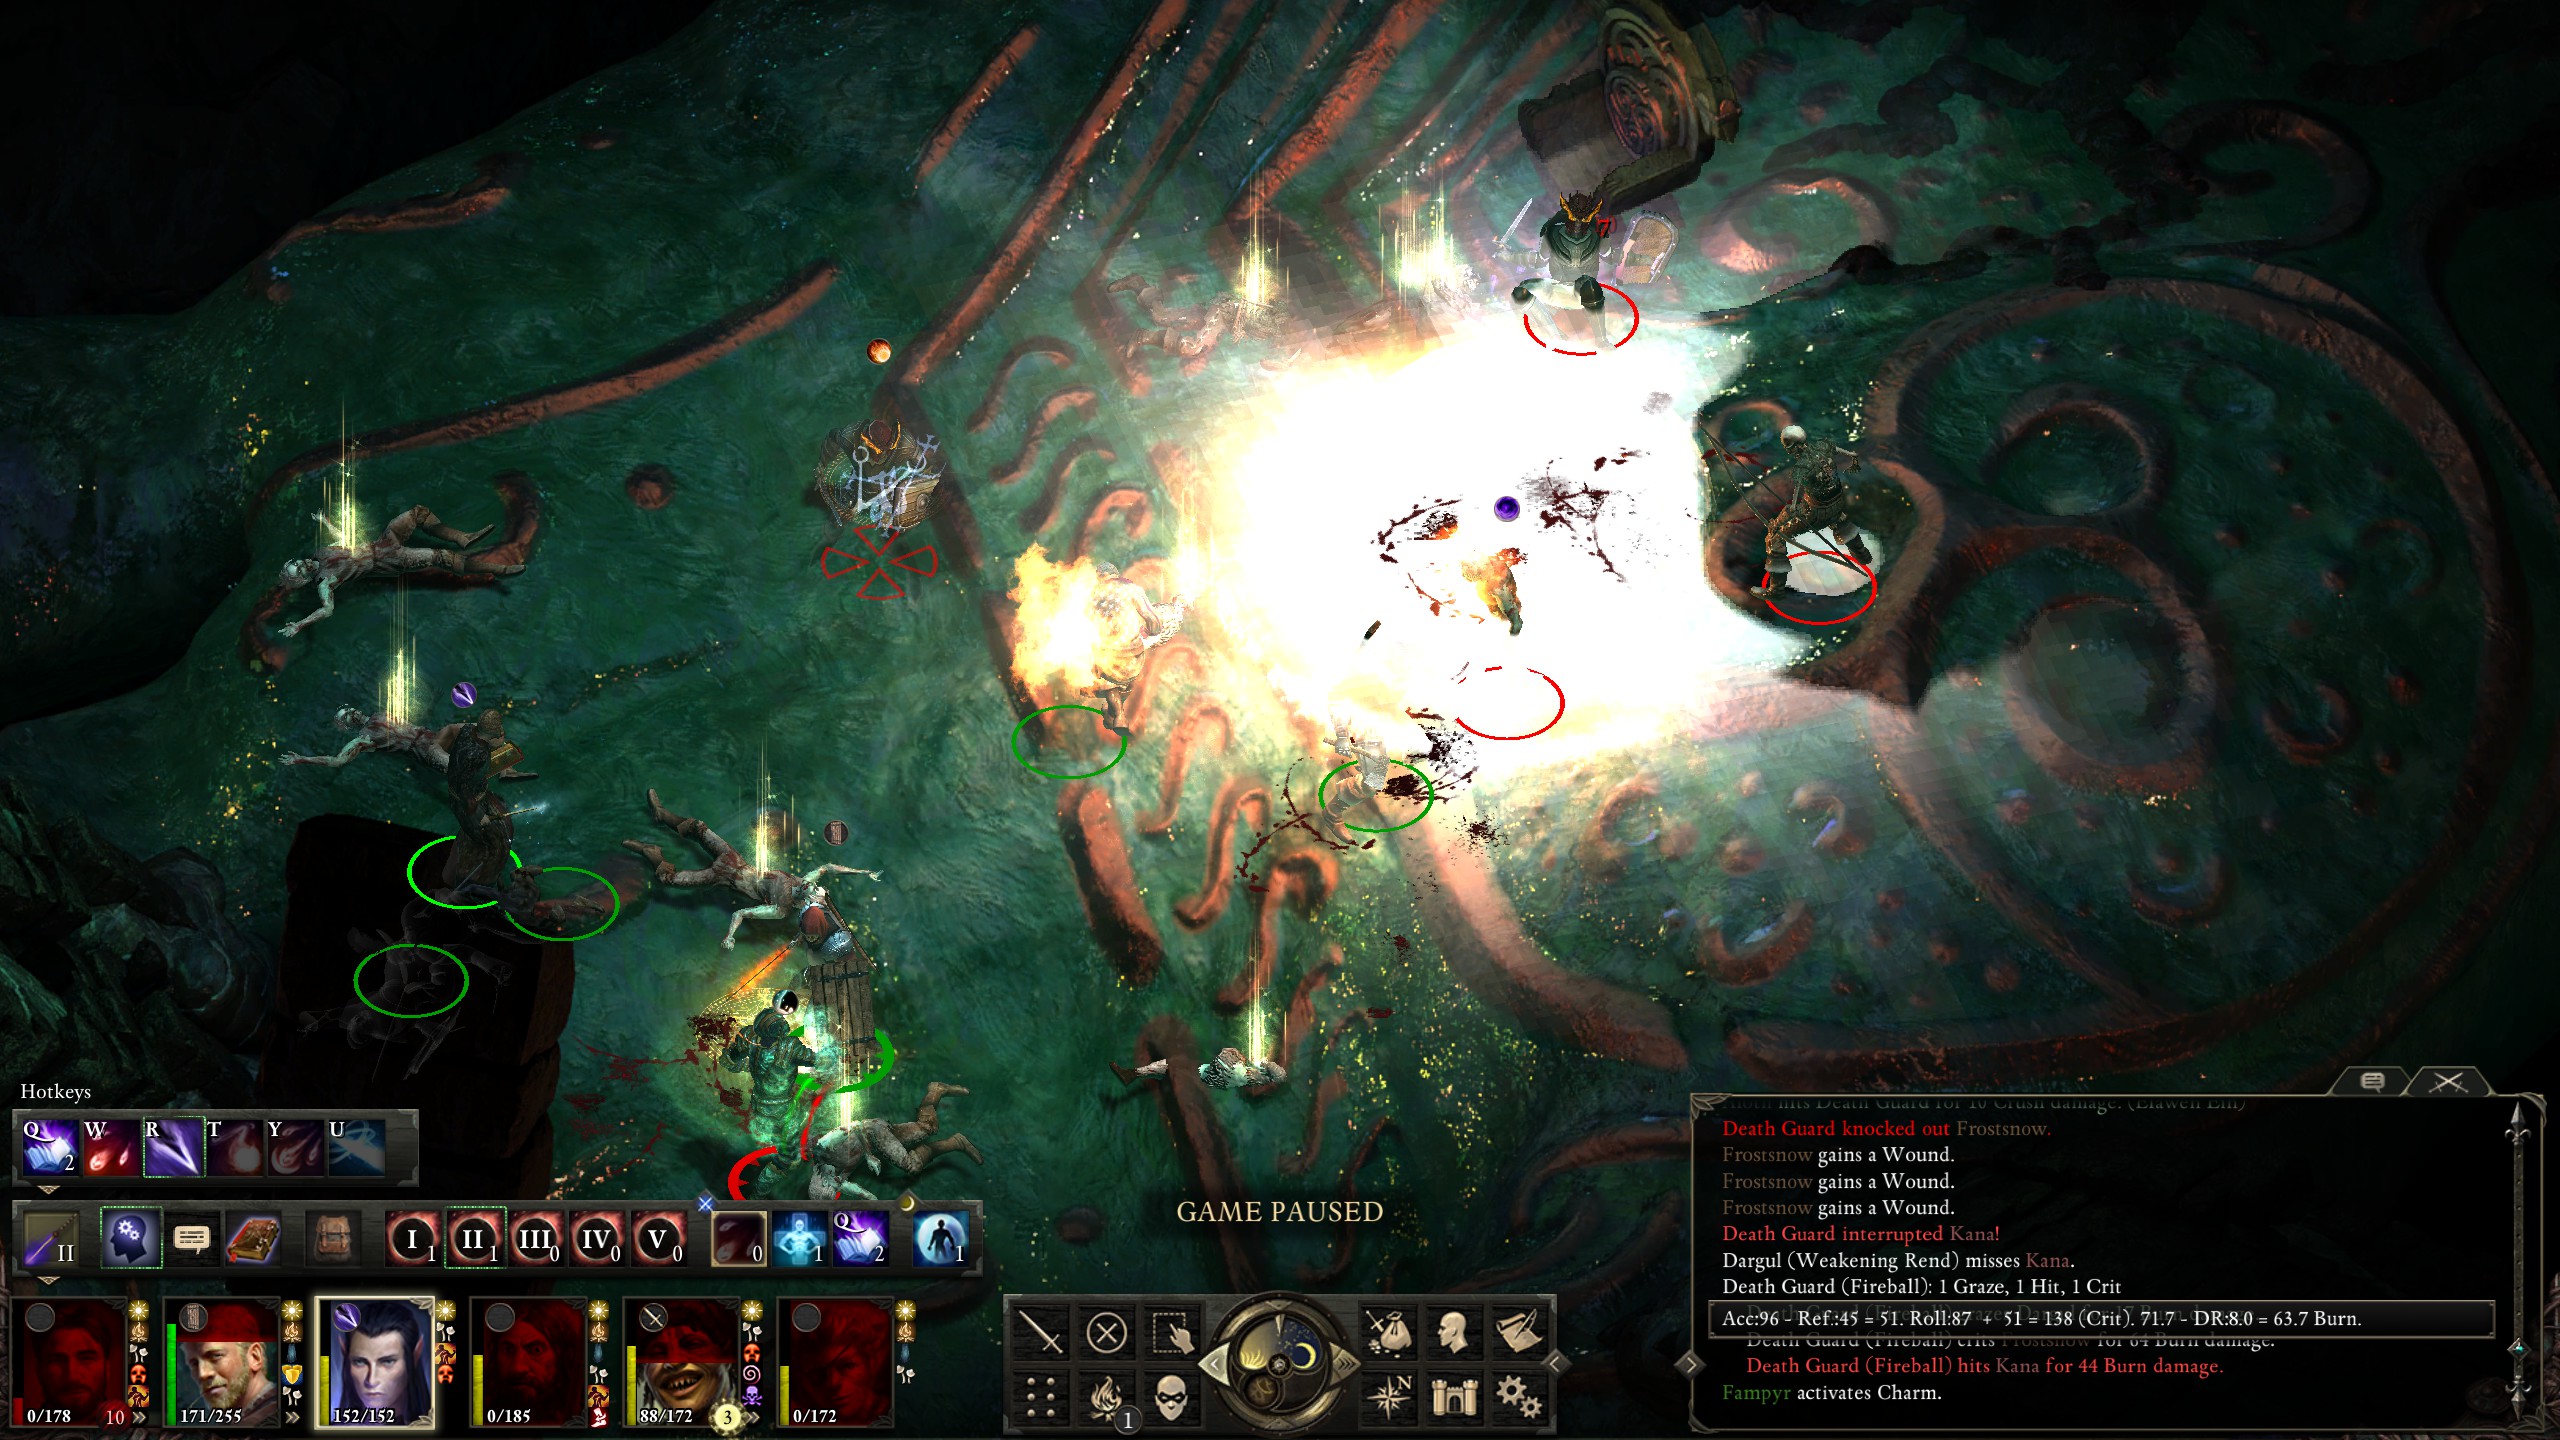
To my great consternation my team was not able to chug the potions before getting blasted by fireballs, the blast interrupted their chugging, and they knocked out Hiravas! I almost rage-restarted the battle at this point, but instead decided to re-try taking the potions and revive Hiravas.

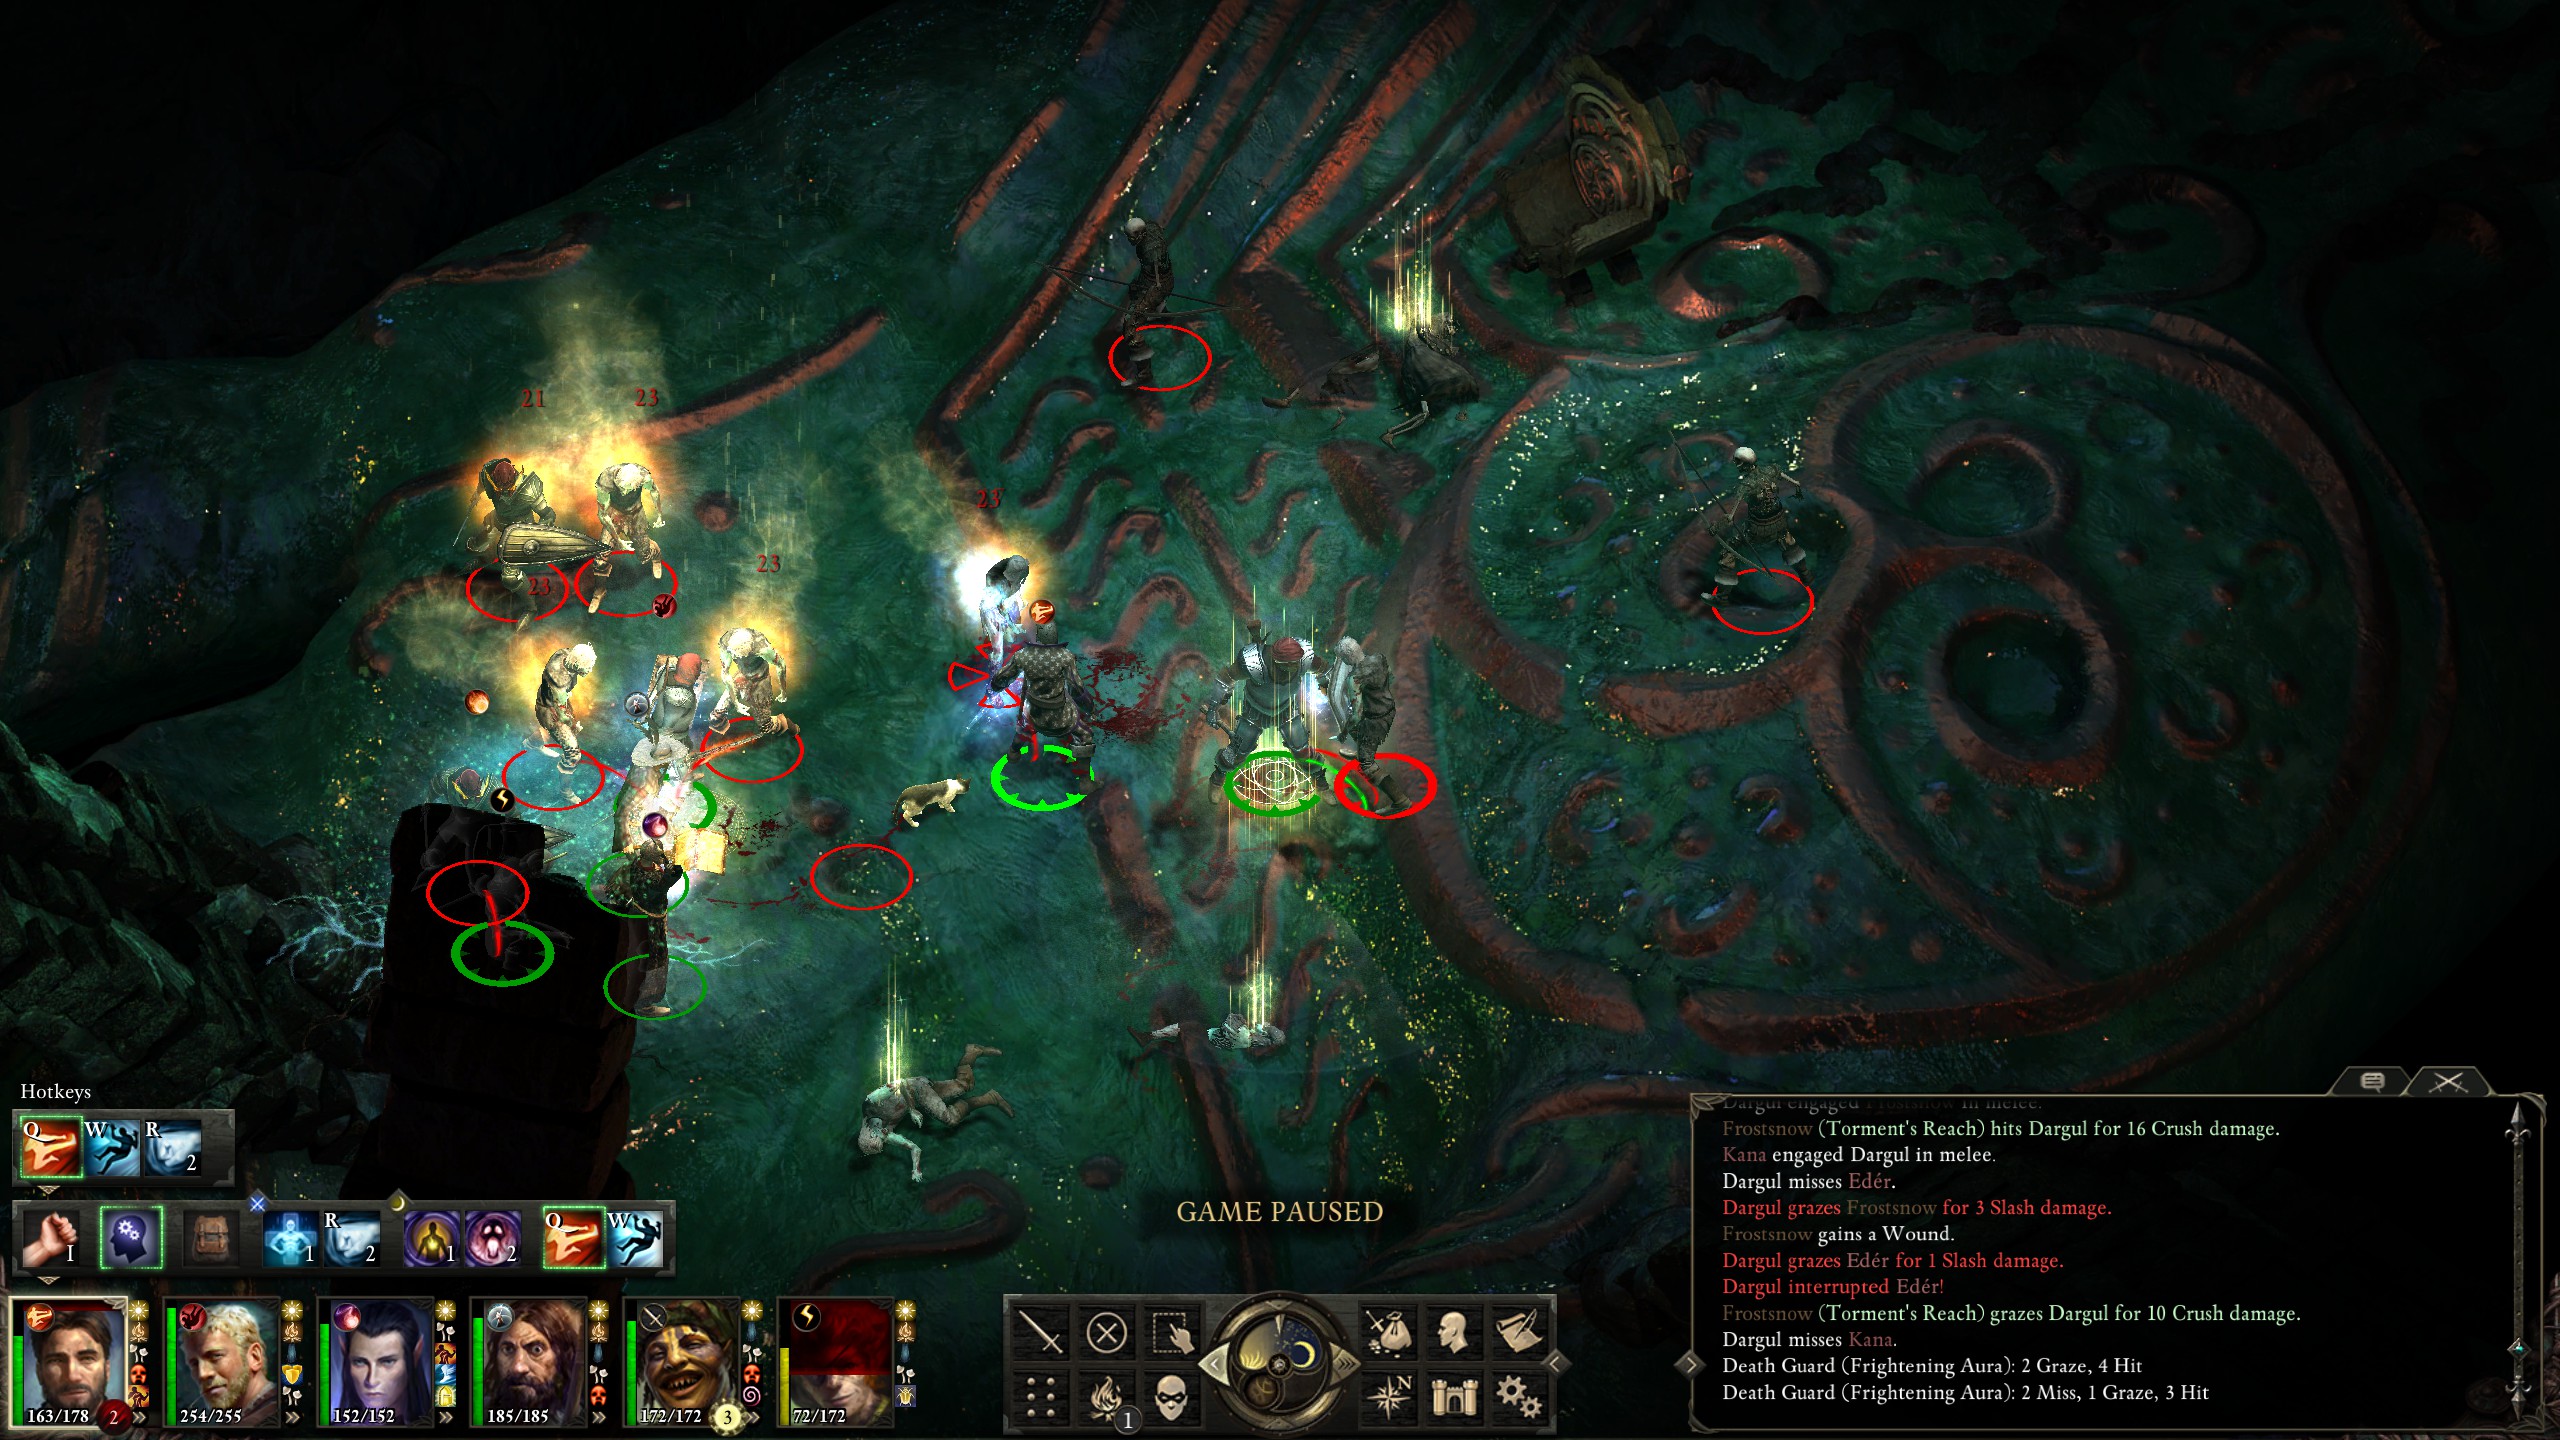
Finally, I managed to get Relentless Storm cast, then managed to anchor a death guard with Ninagauth's Bitter Mooring.
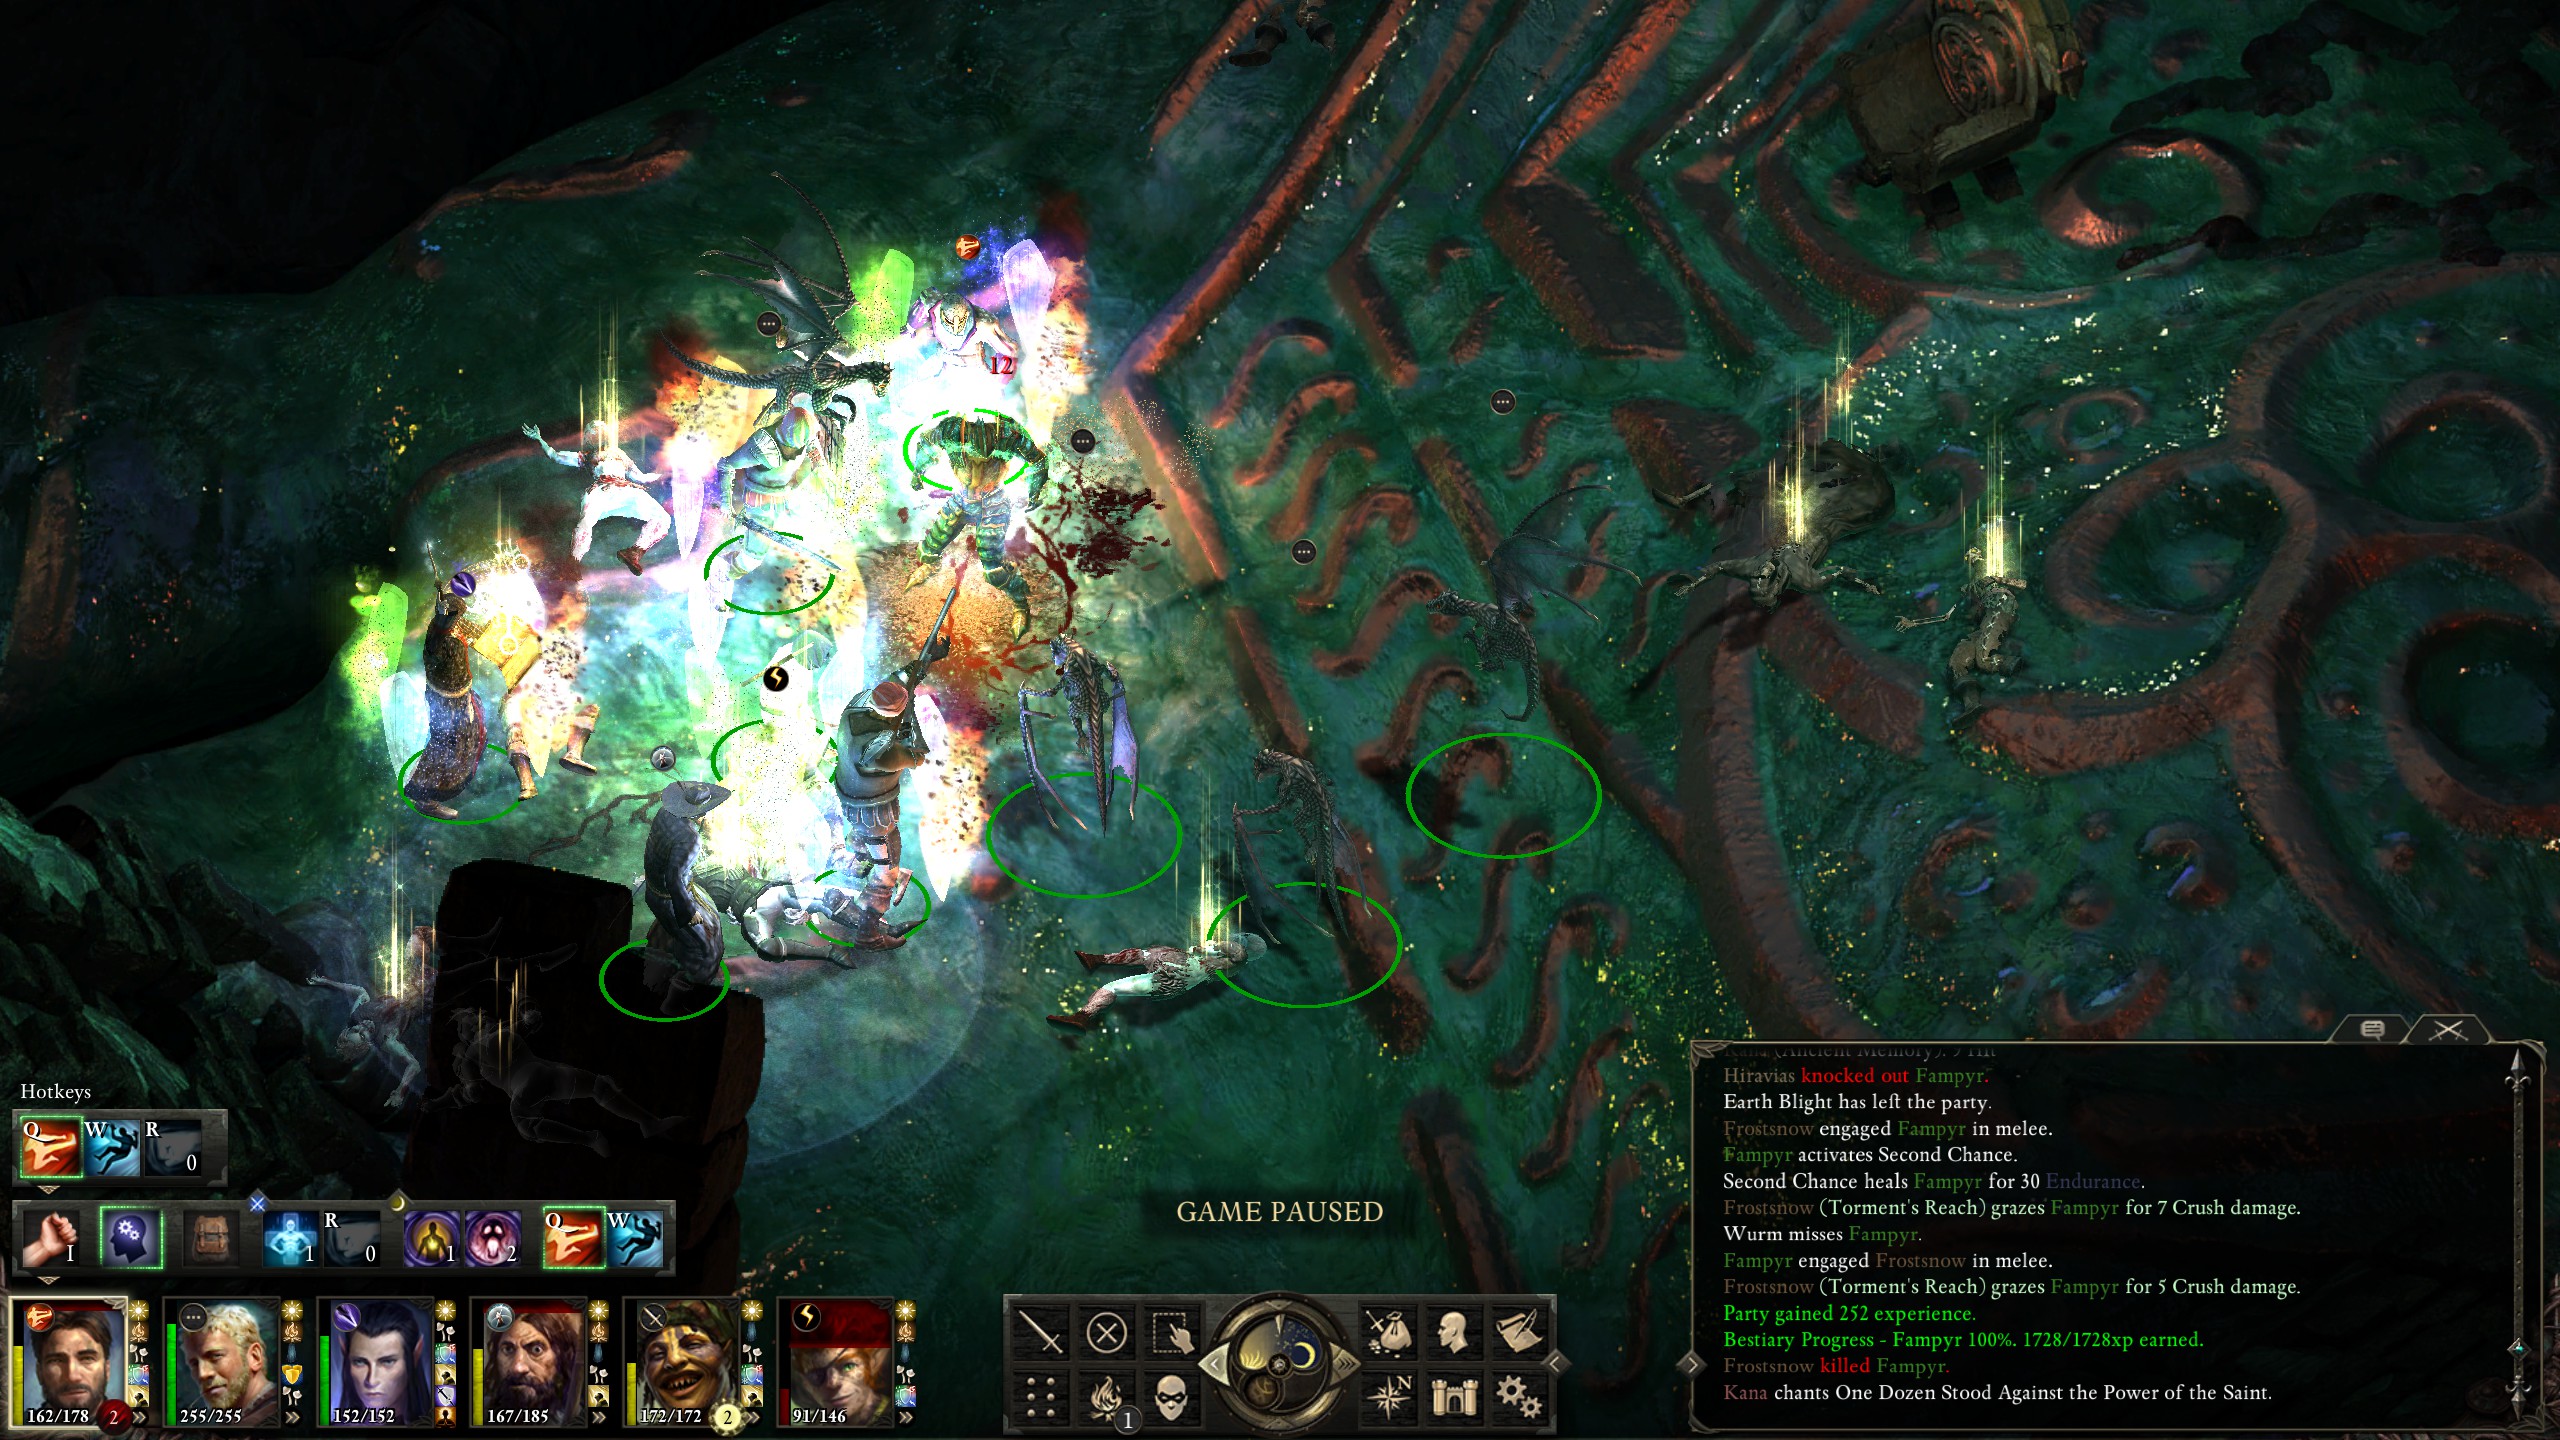
Despite the brutal start, the stuns from Hiravas made a huge difference and I managed to secure a victory over the boss, netting his sweet plate mail in the process.
Though the following floors would not be easy, my past experience was that no fight ahead would be as tough as the last one. Since that would lead to a sad dearth of screenshots, I decided to take one for the most intense fight that the floor offered.
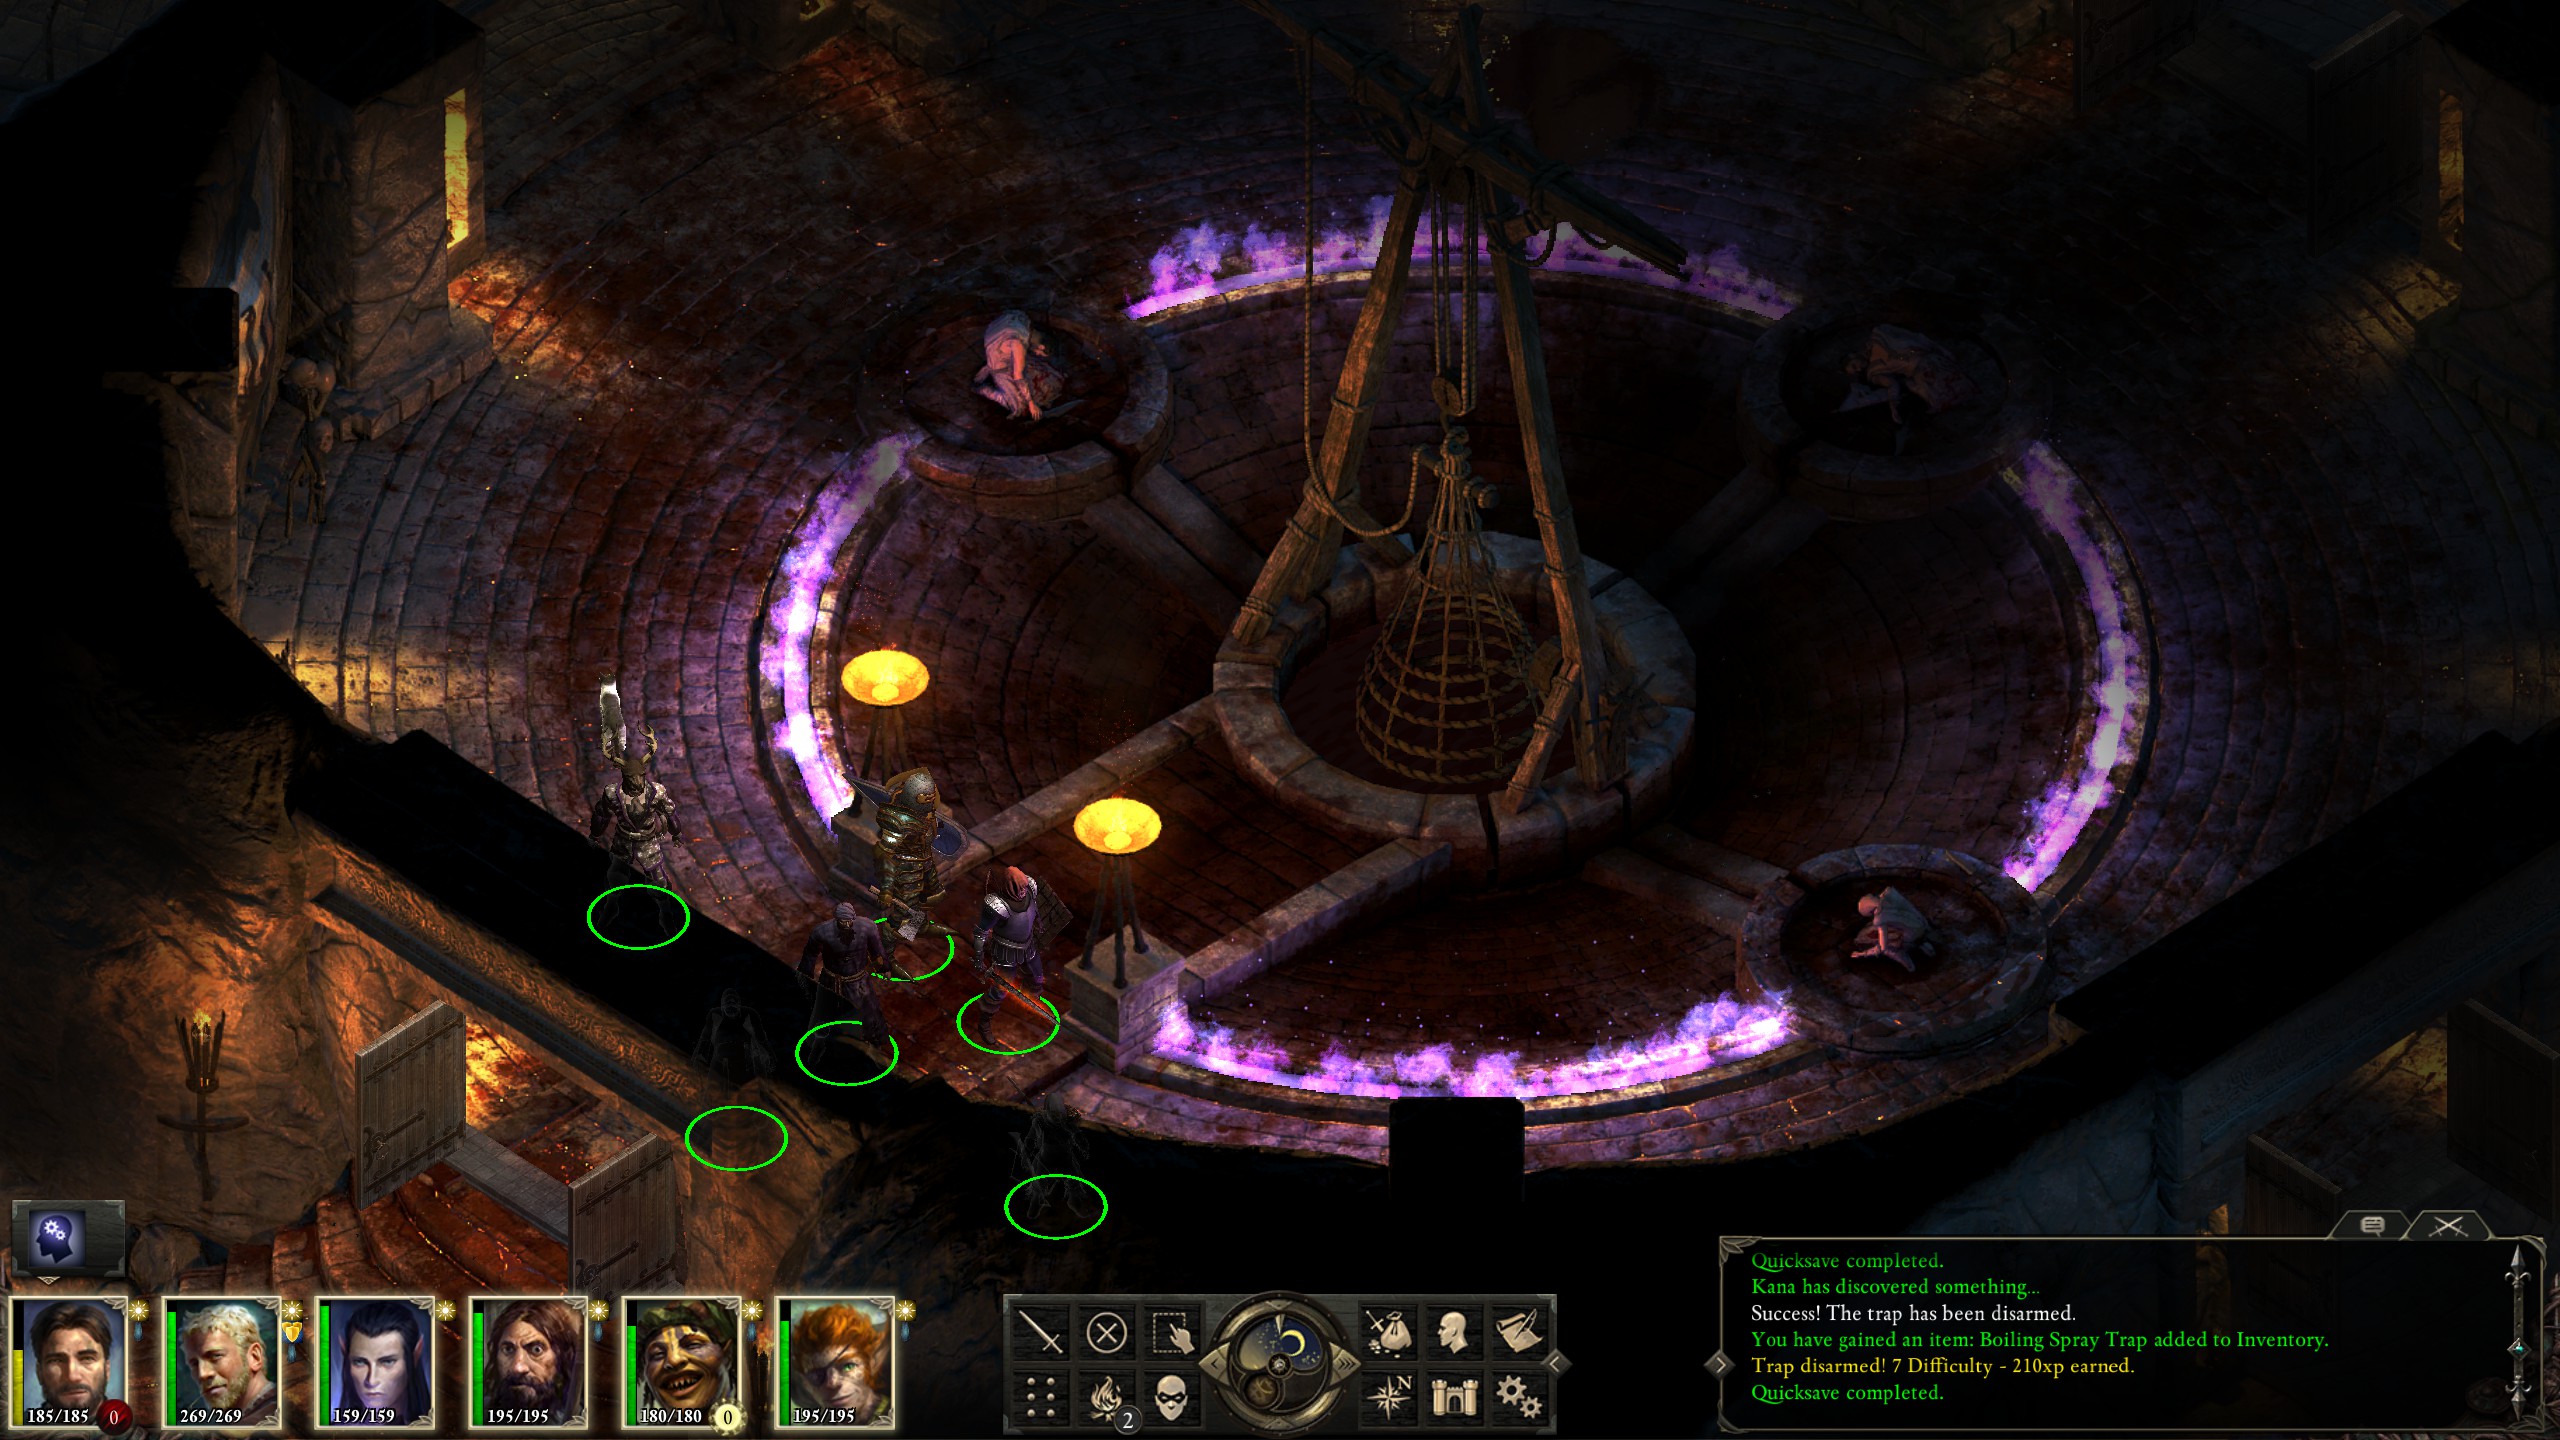
Level 9 is probably best described as the torture floor given its medieval-style torture implements and spiked floor.
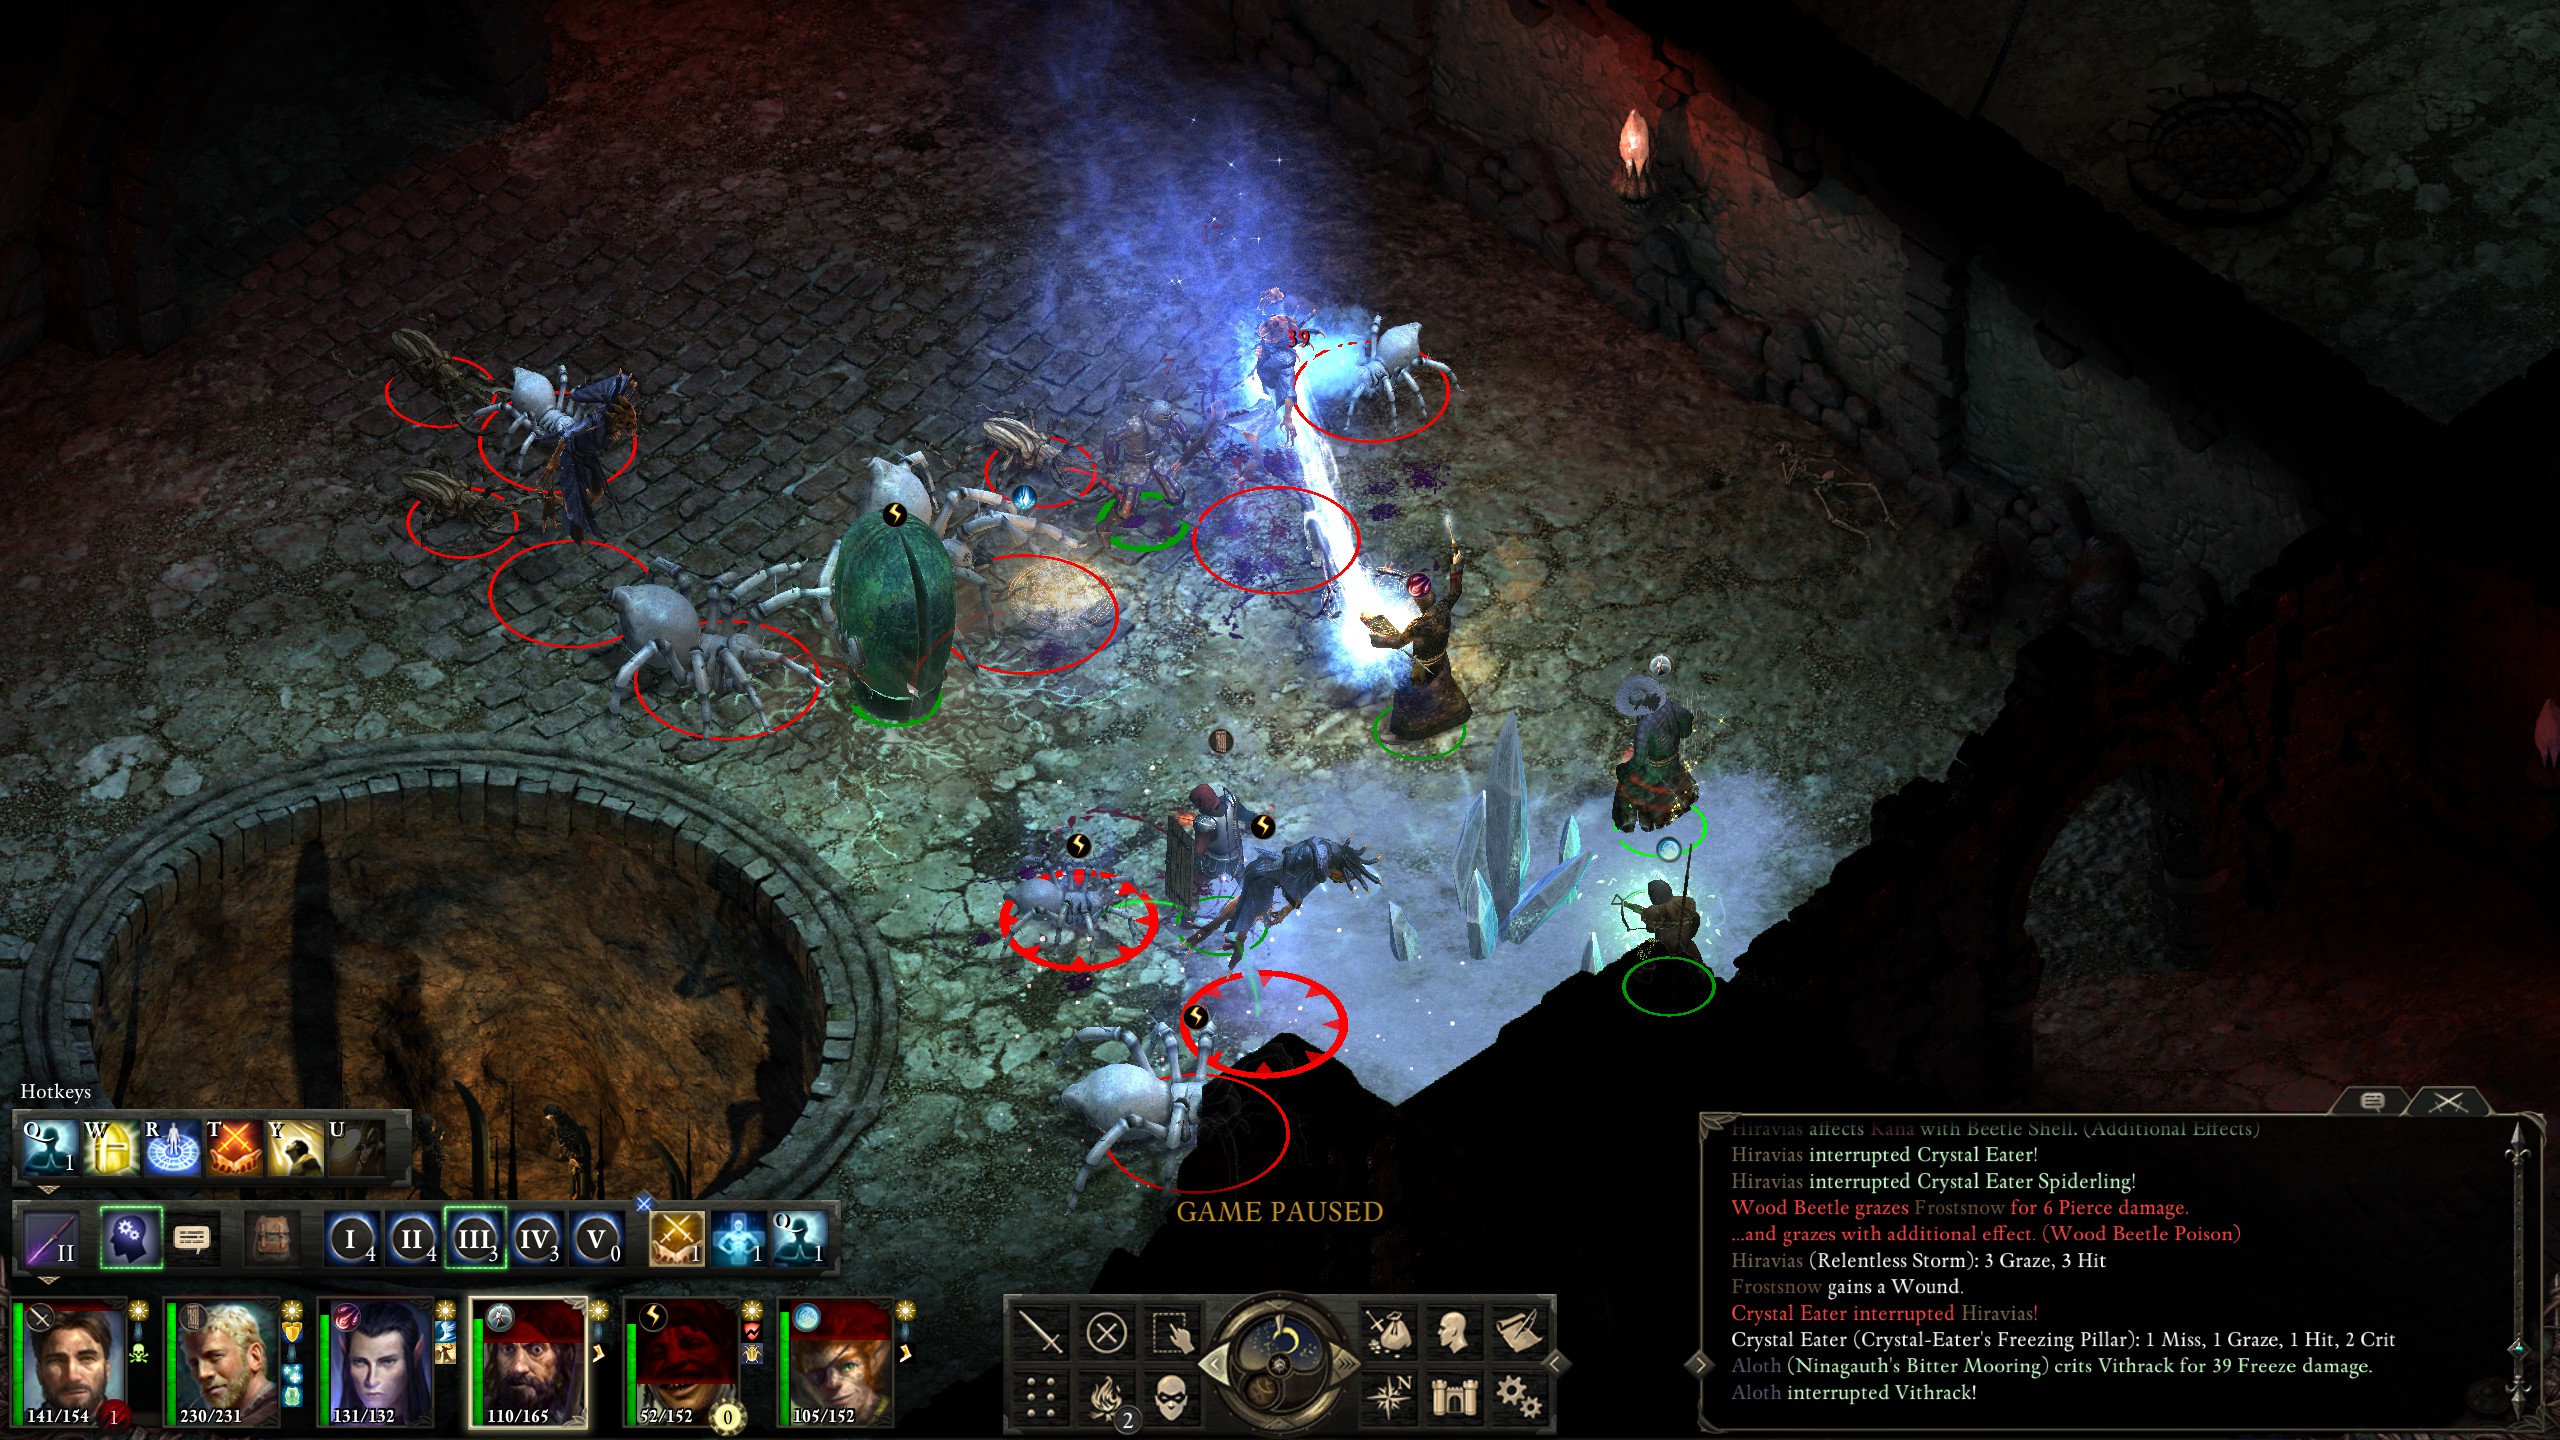
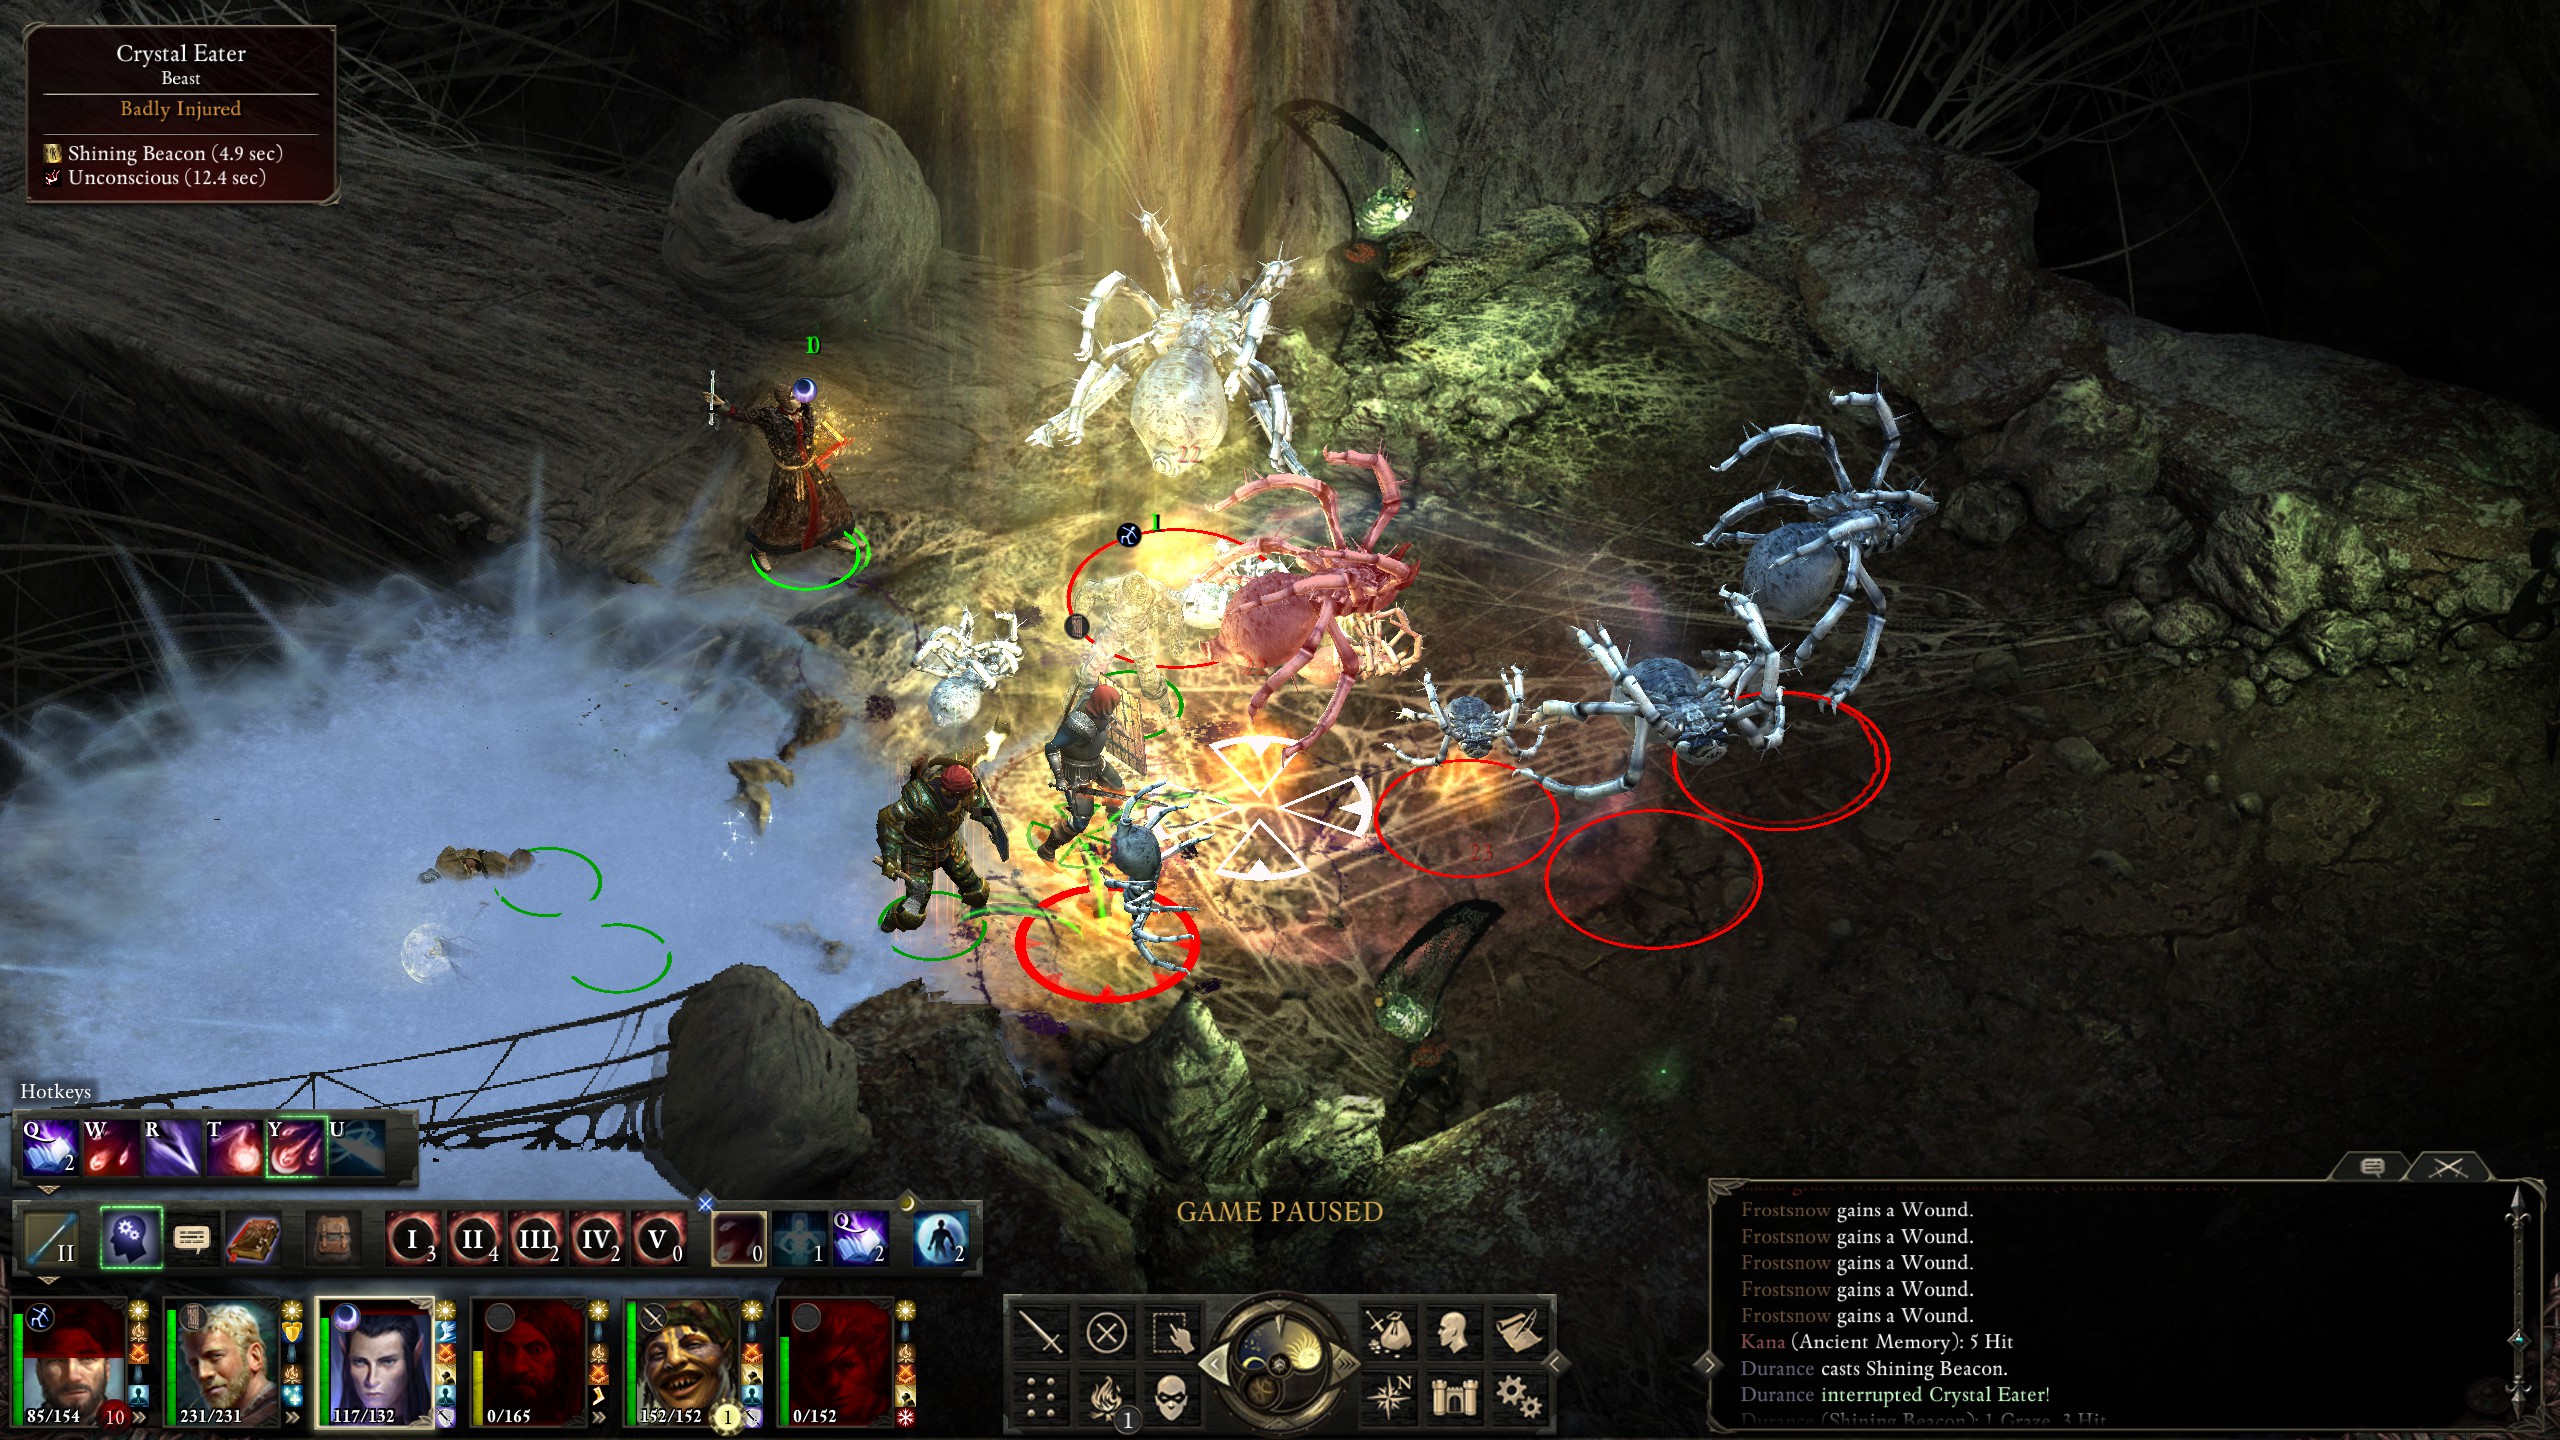
Crystal eaters are squishy but deadly with their petrify affliction and ability to cast "Ninagauth's Freezing Pillar", but nothing I couldn't handle.
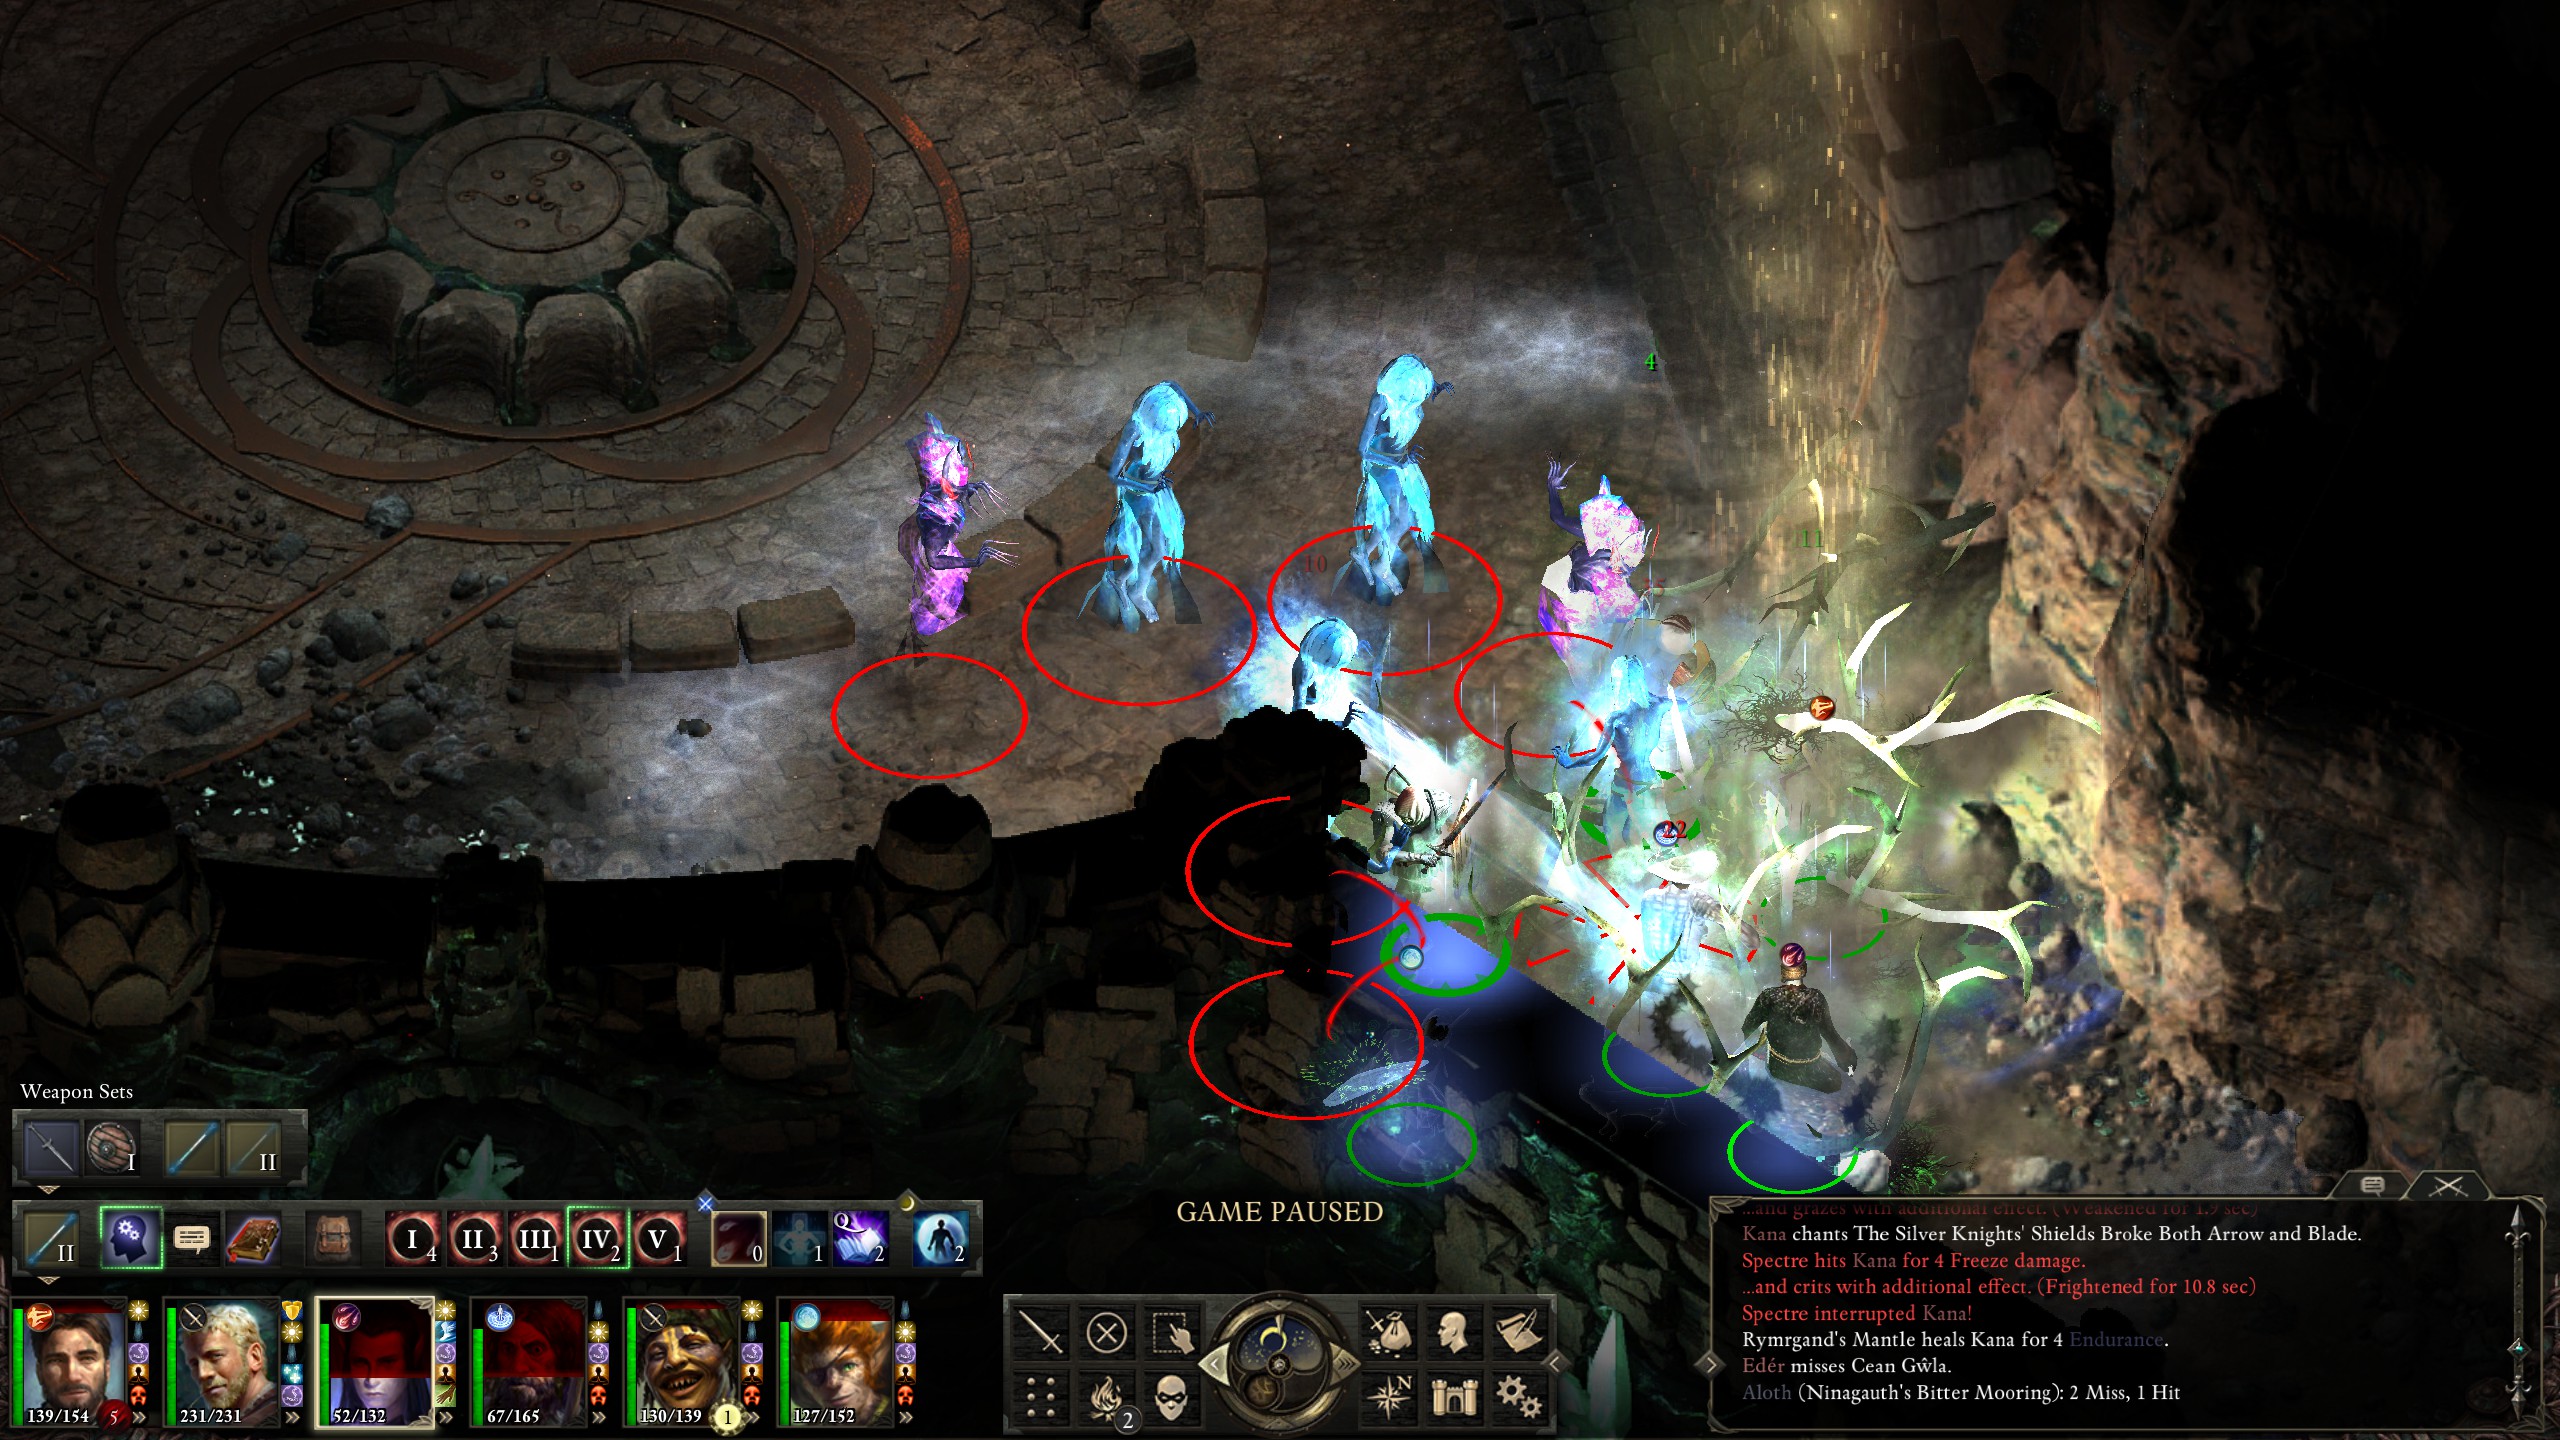
Level 10 is rather short and indescript. Durance's "Prayer Against Imprisonment" (sp?) was extremely handy against Cean Gwlas, as it prevented my party from being paralyzed and beaten.
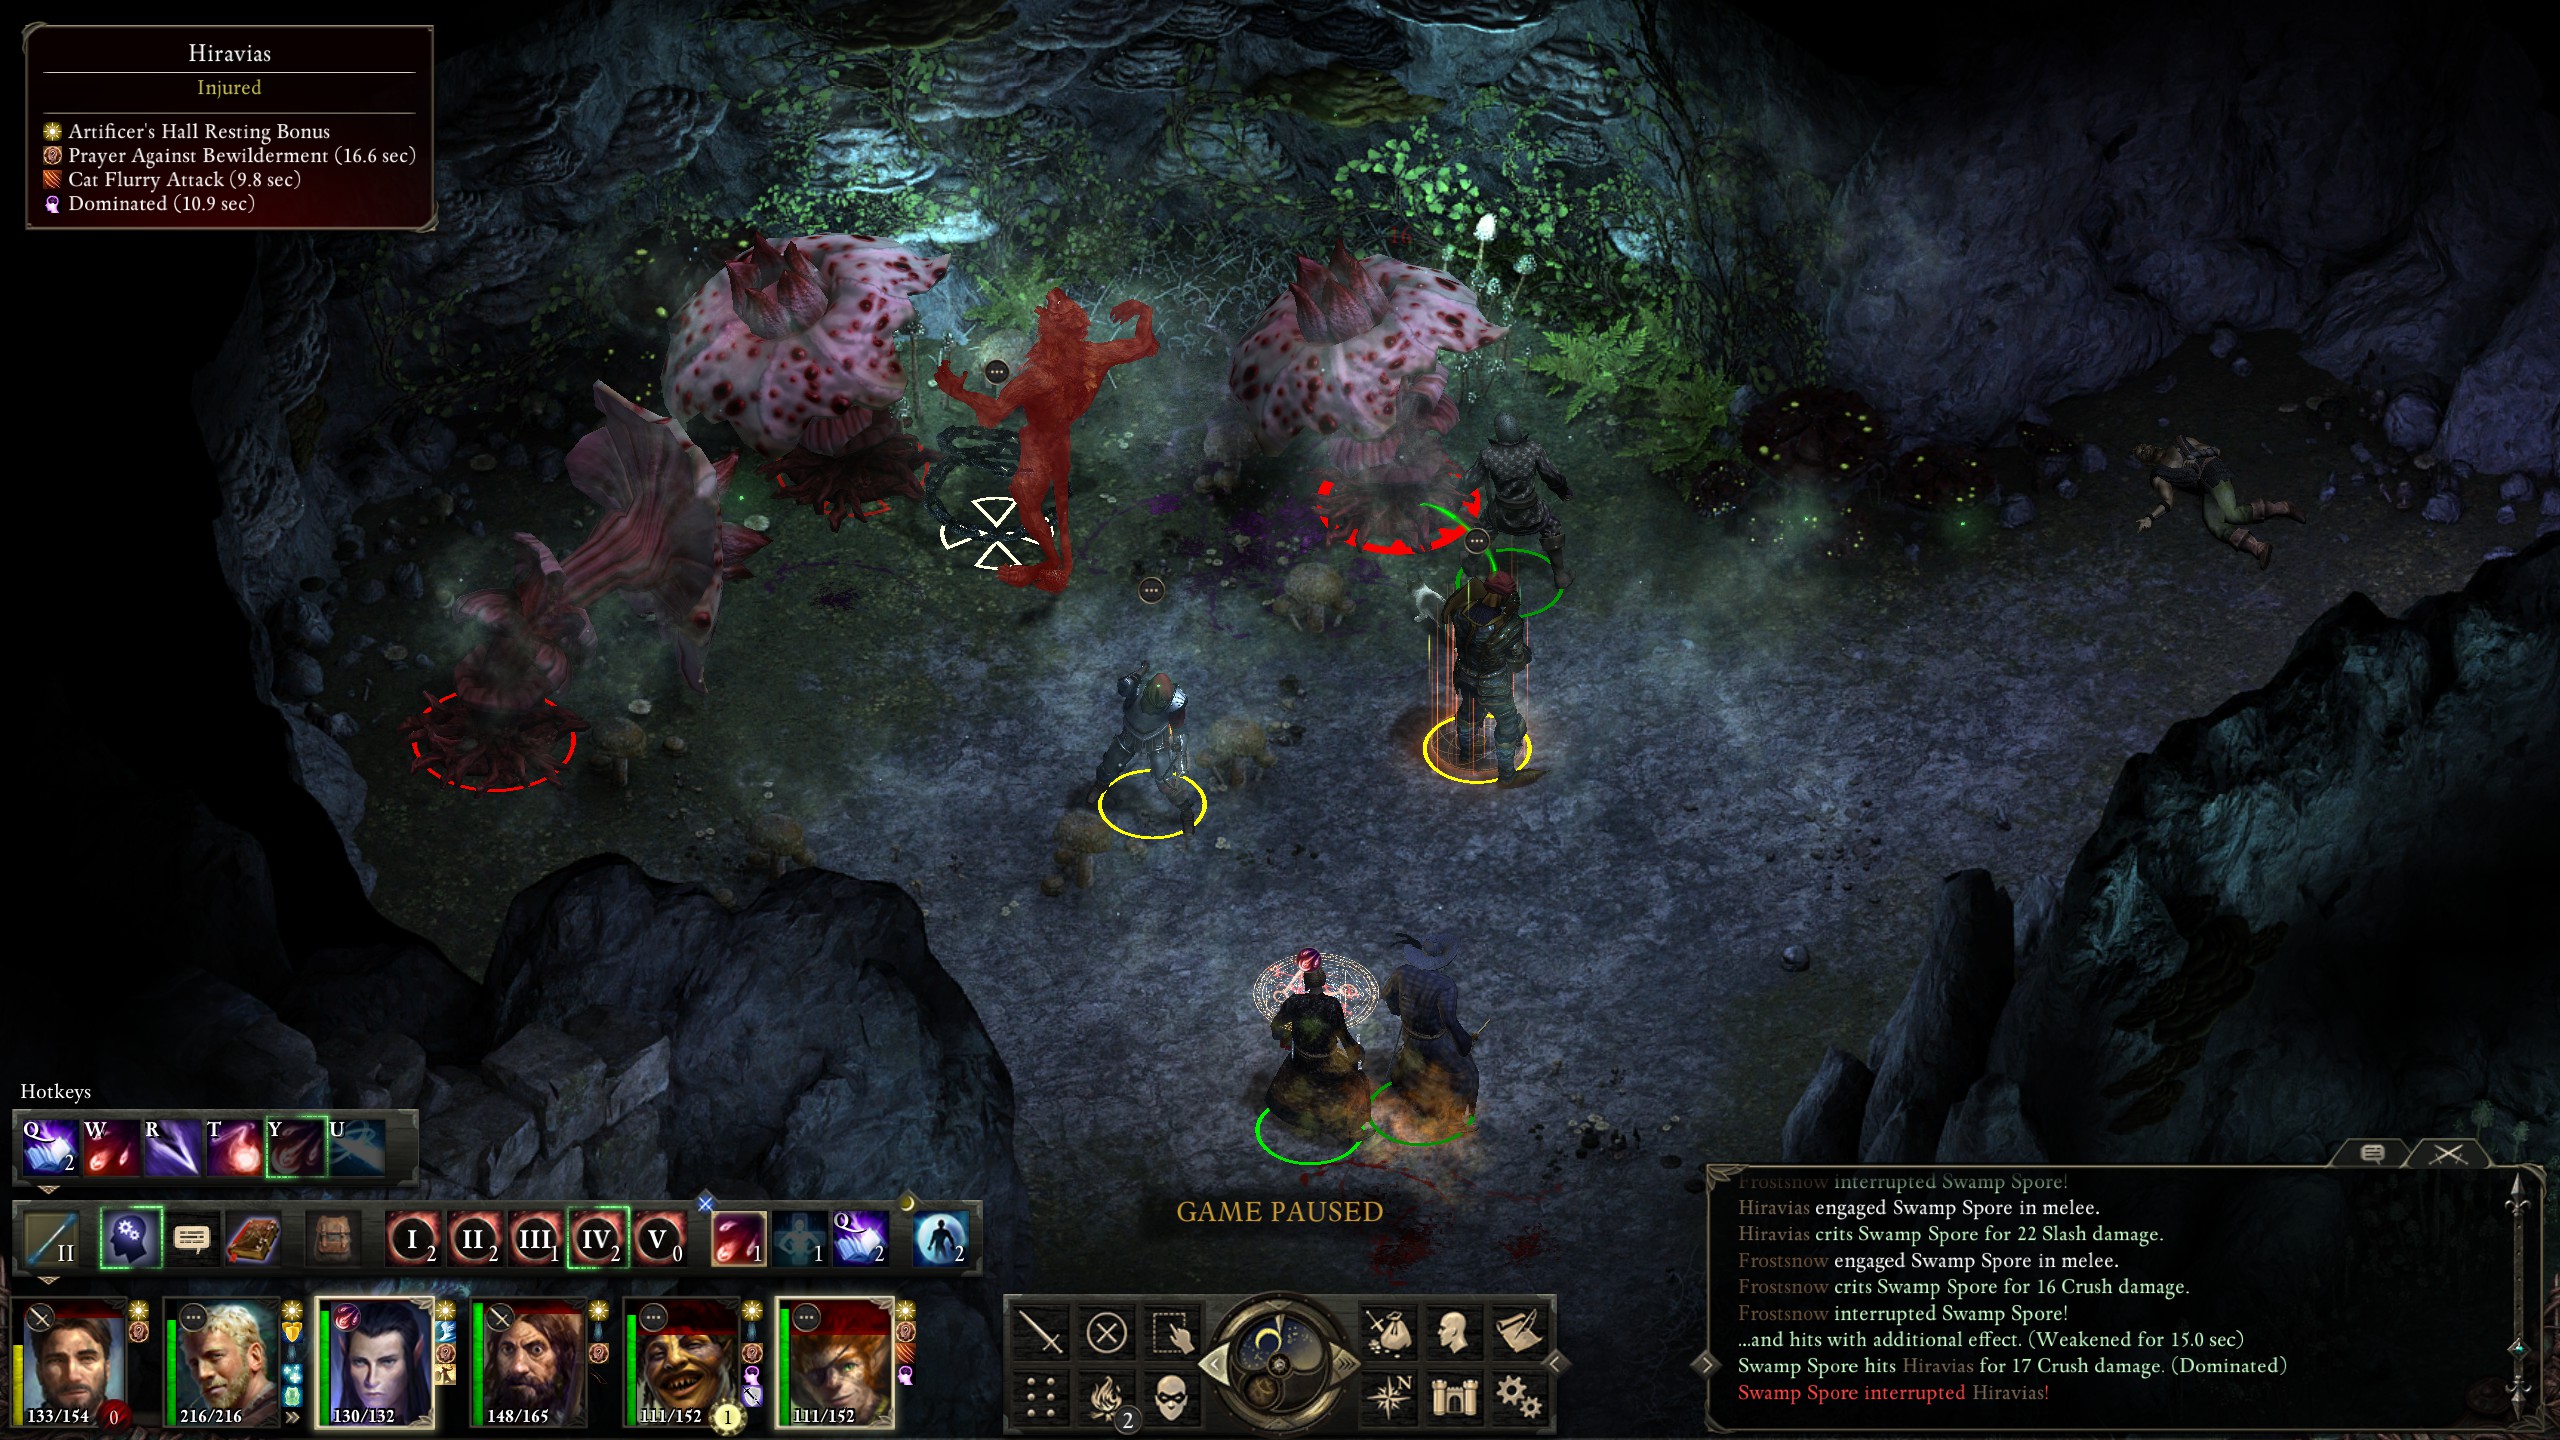
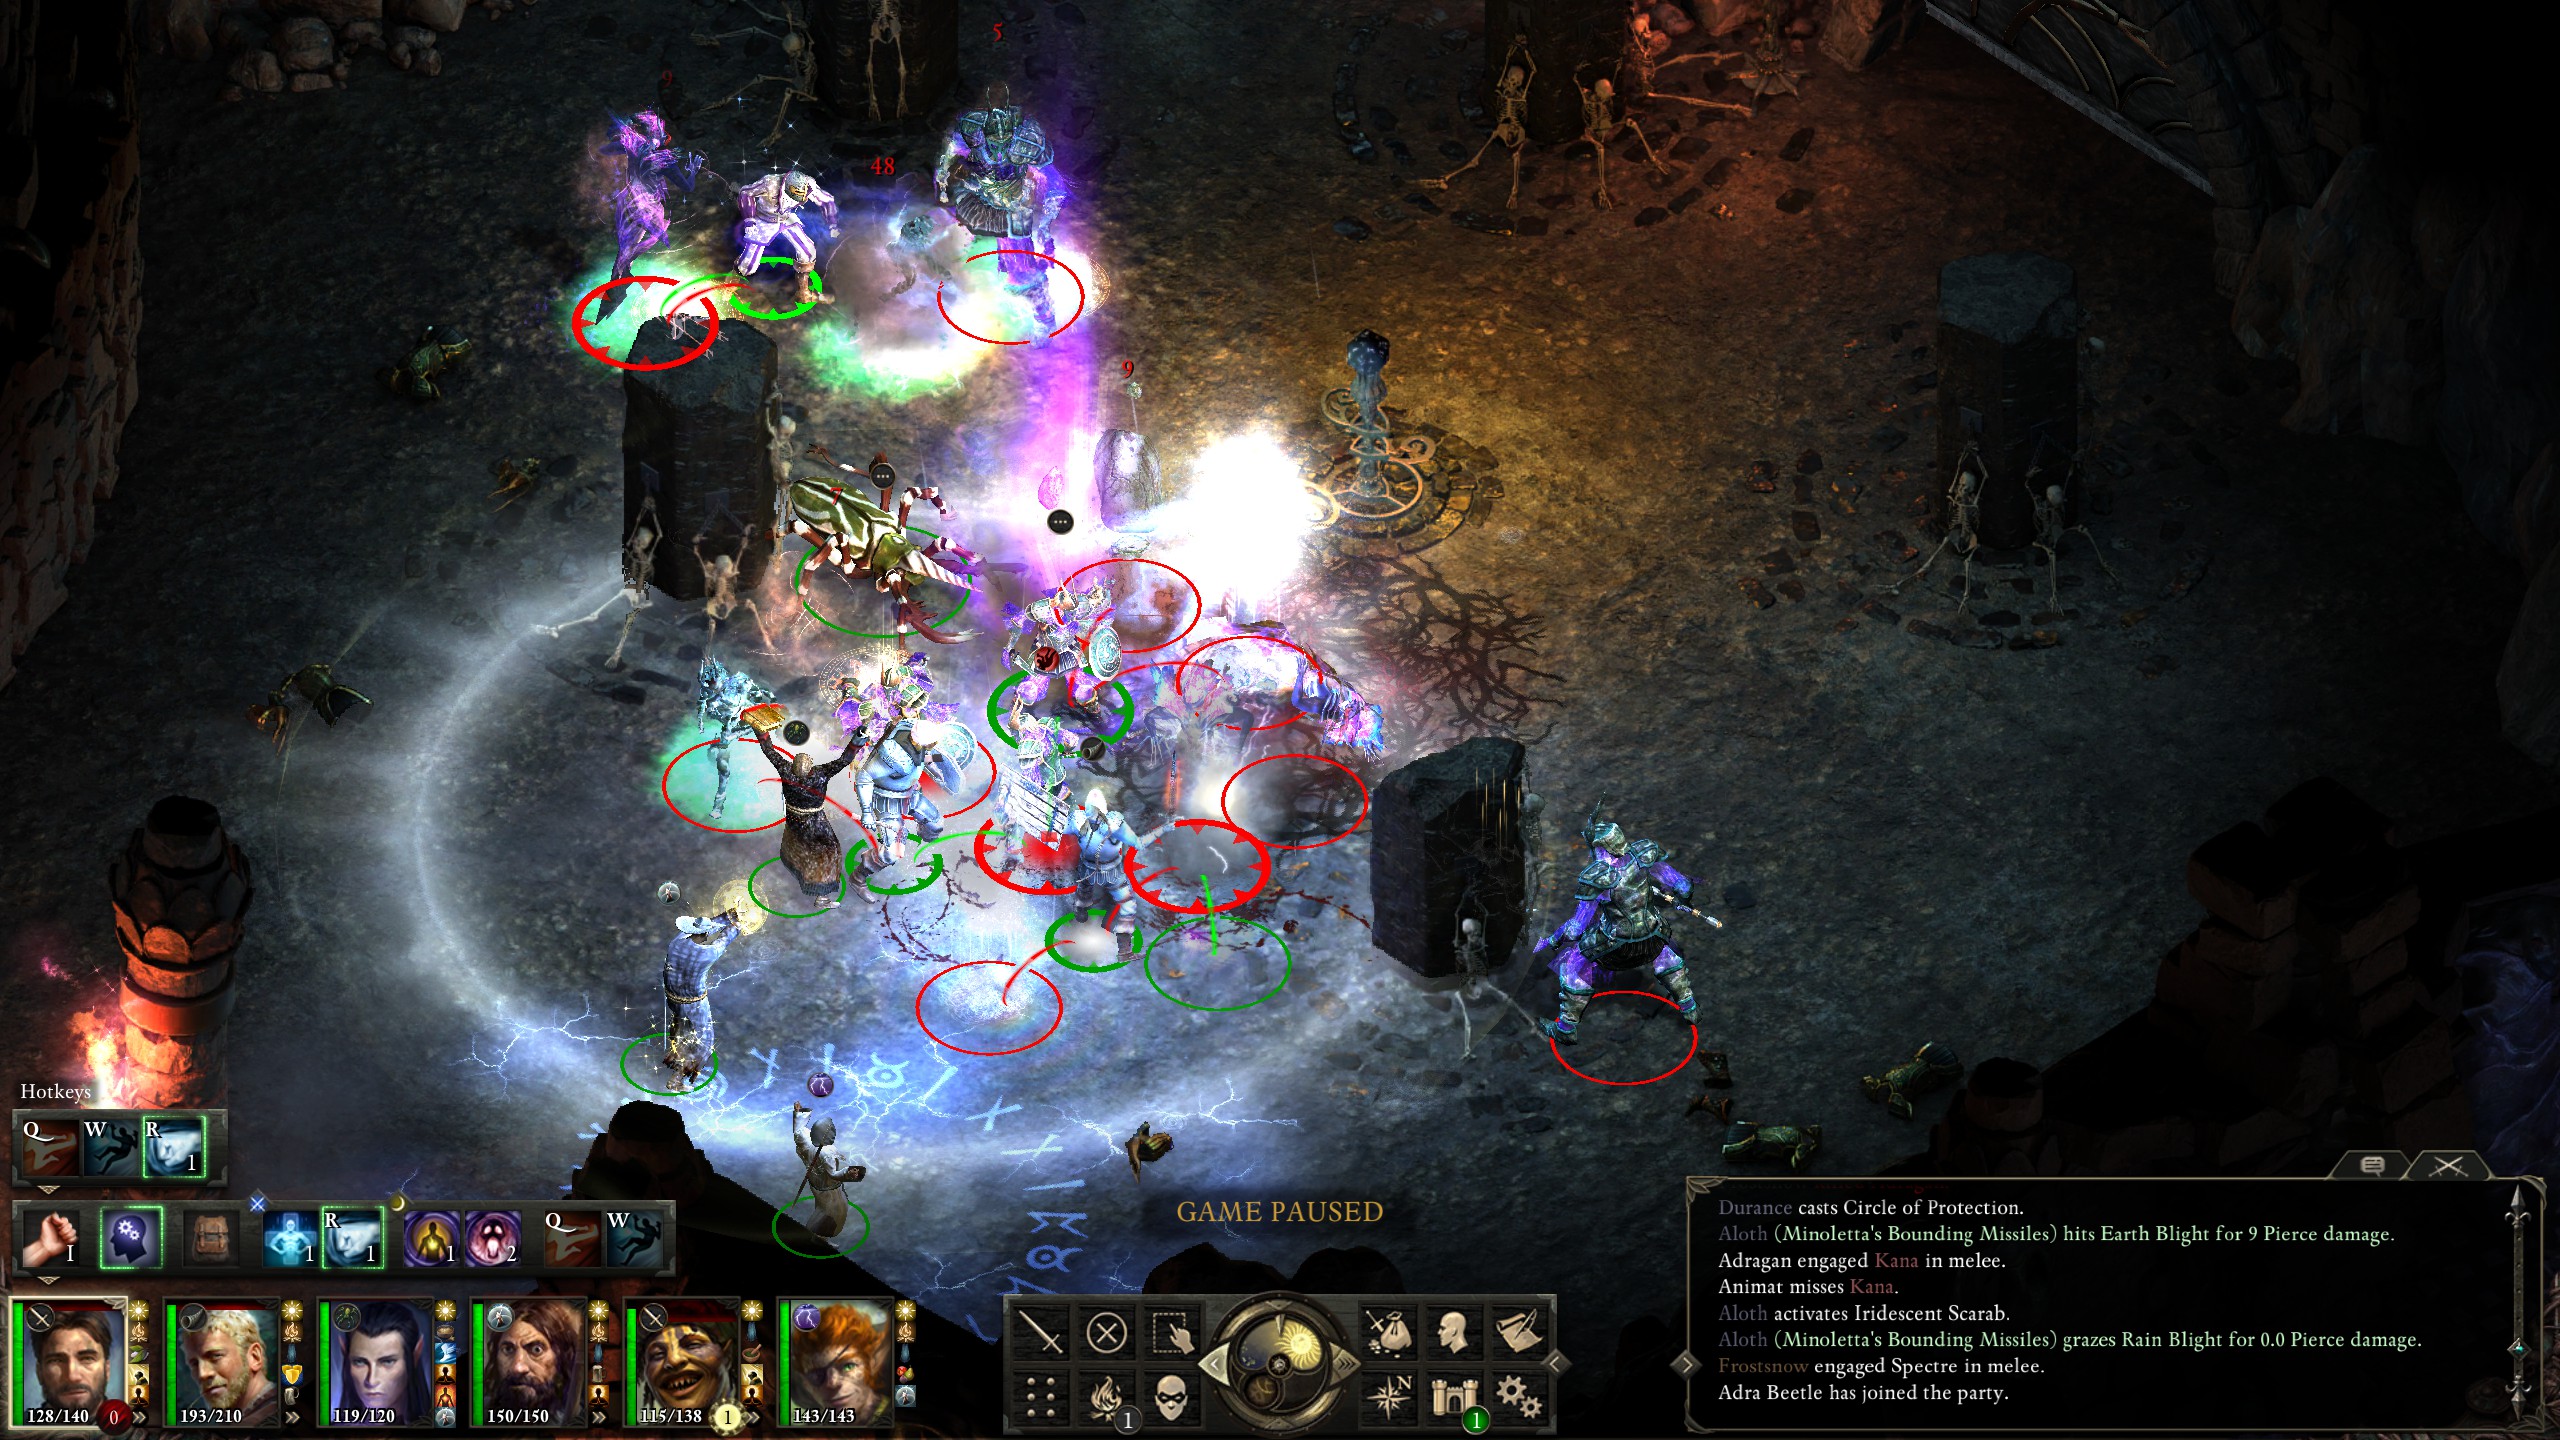
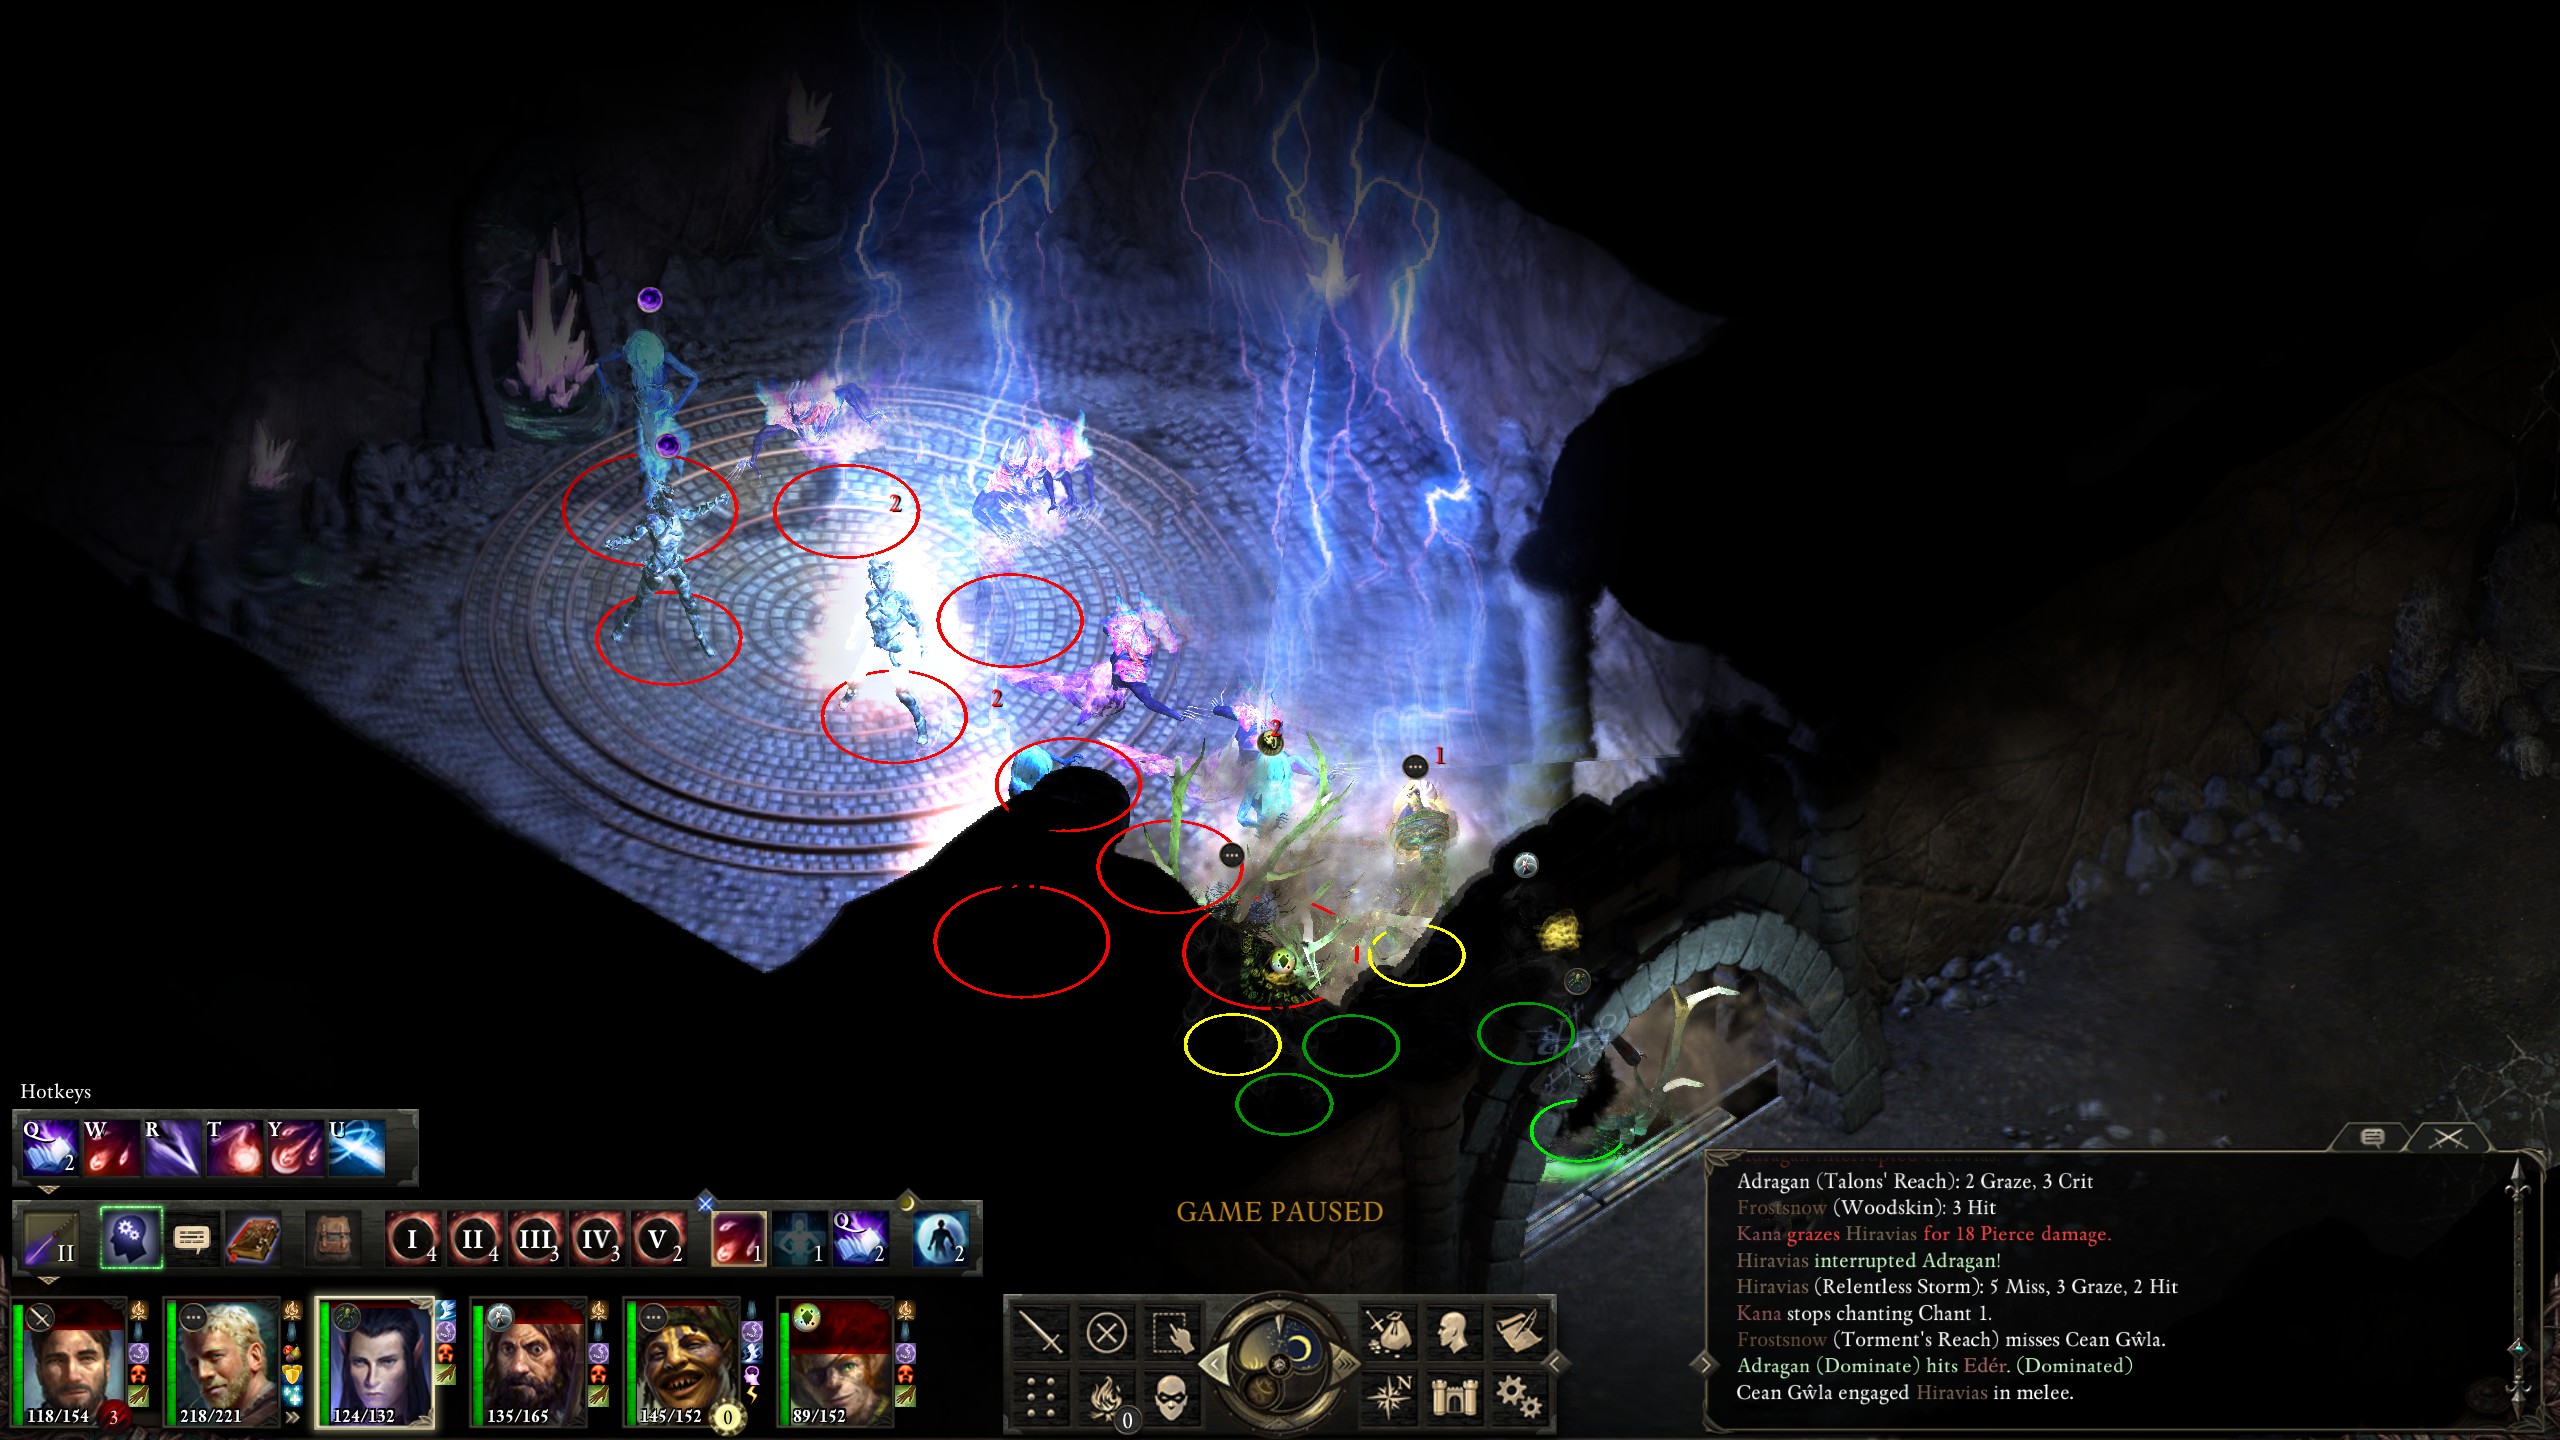
Level 11 is the dank cave level with the aggravating spores that like to control half of the party (literally).
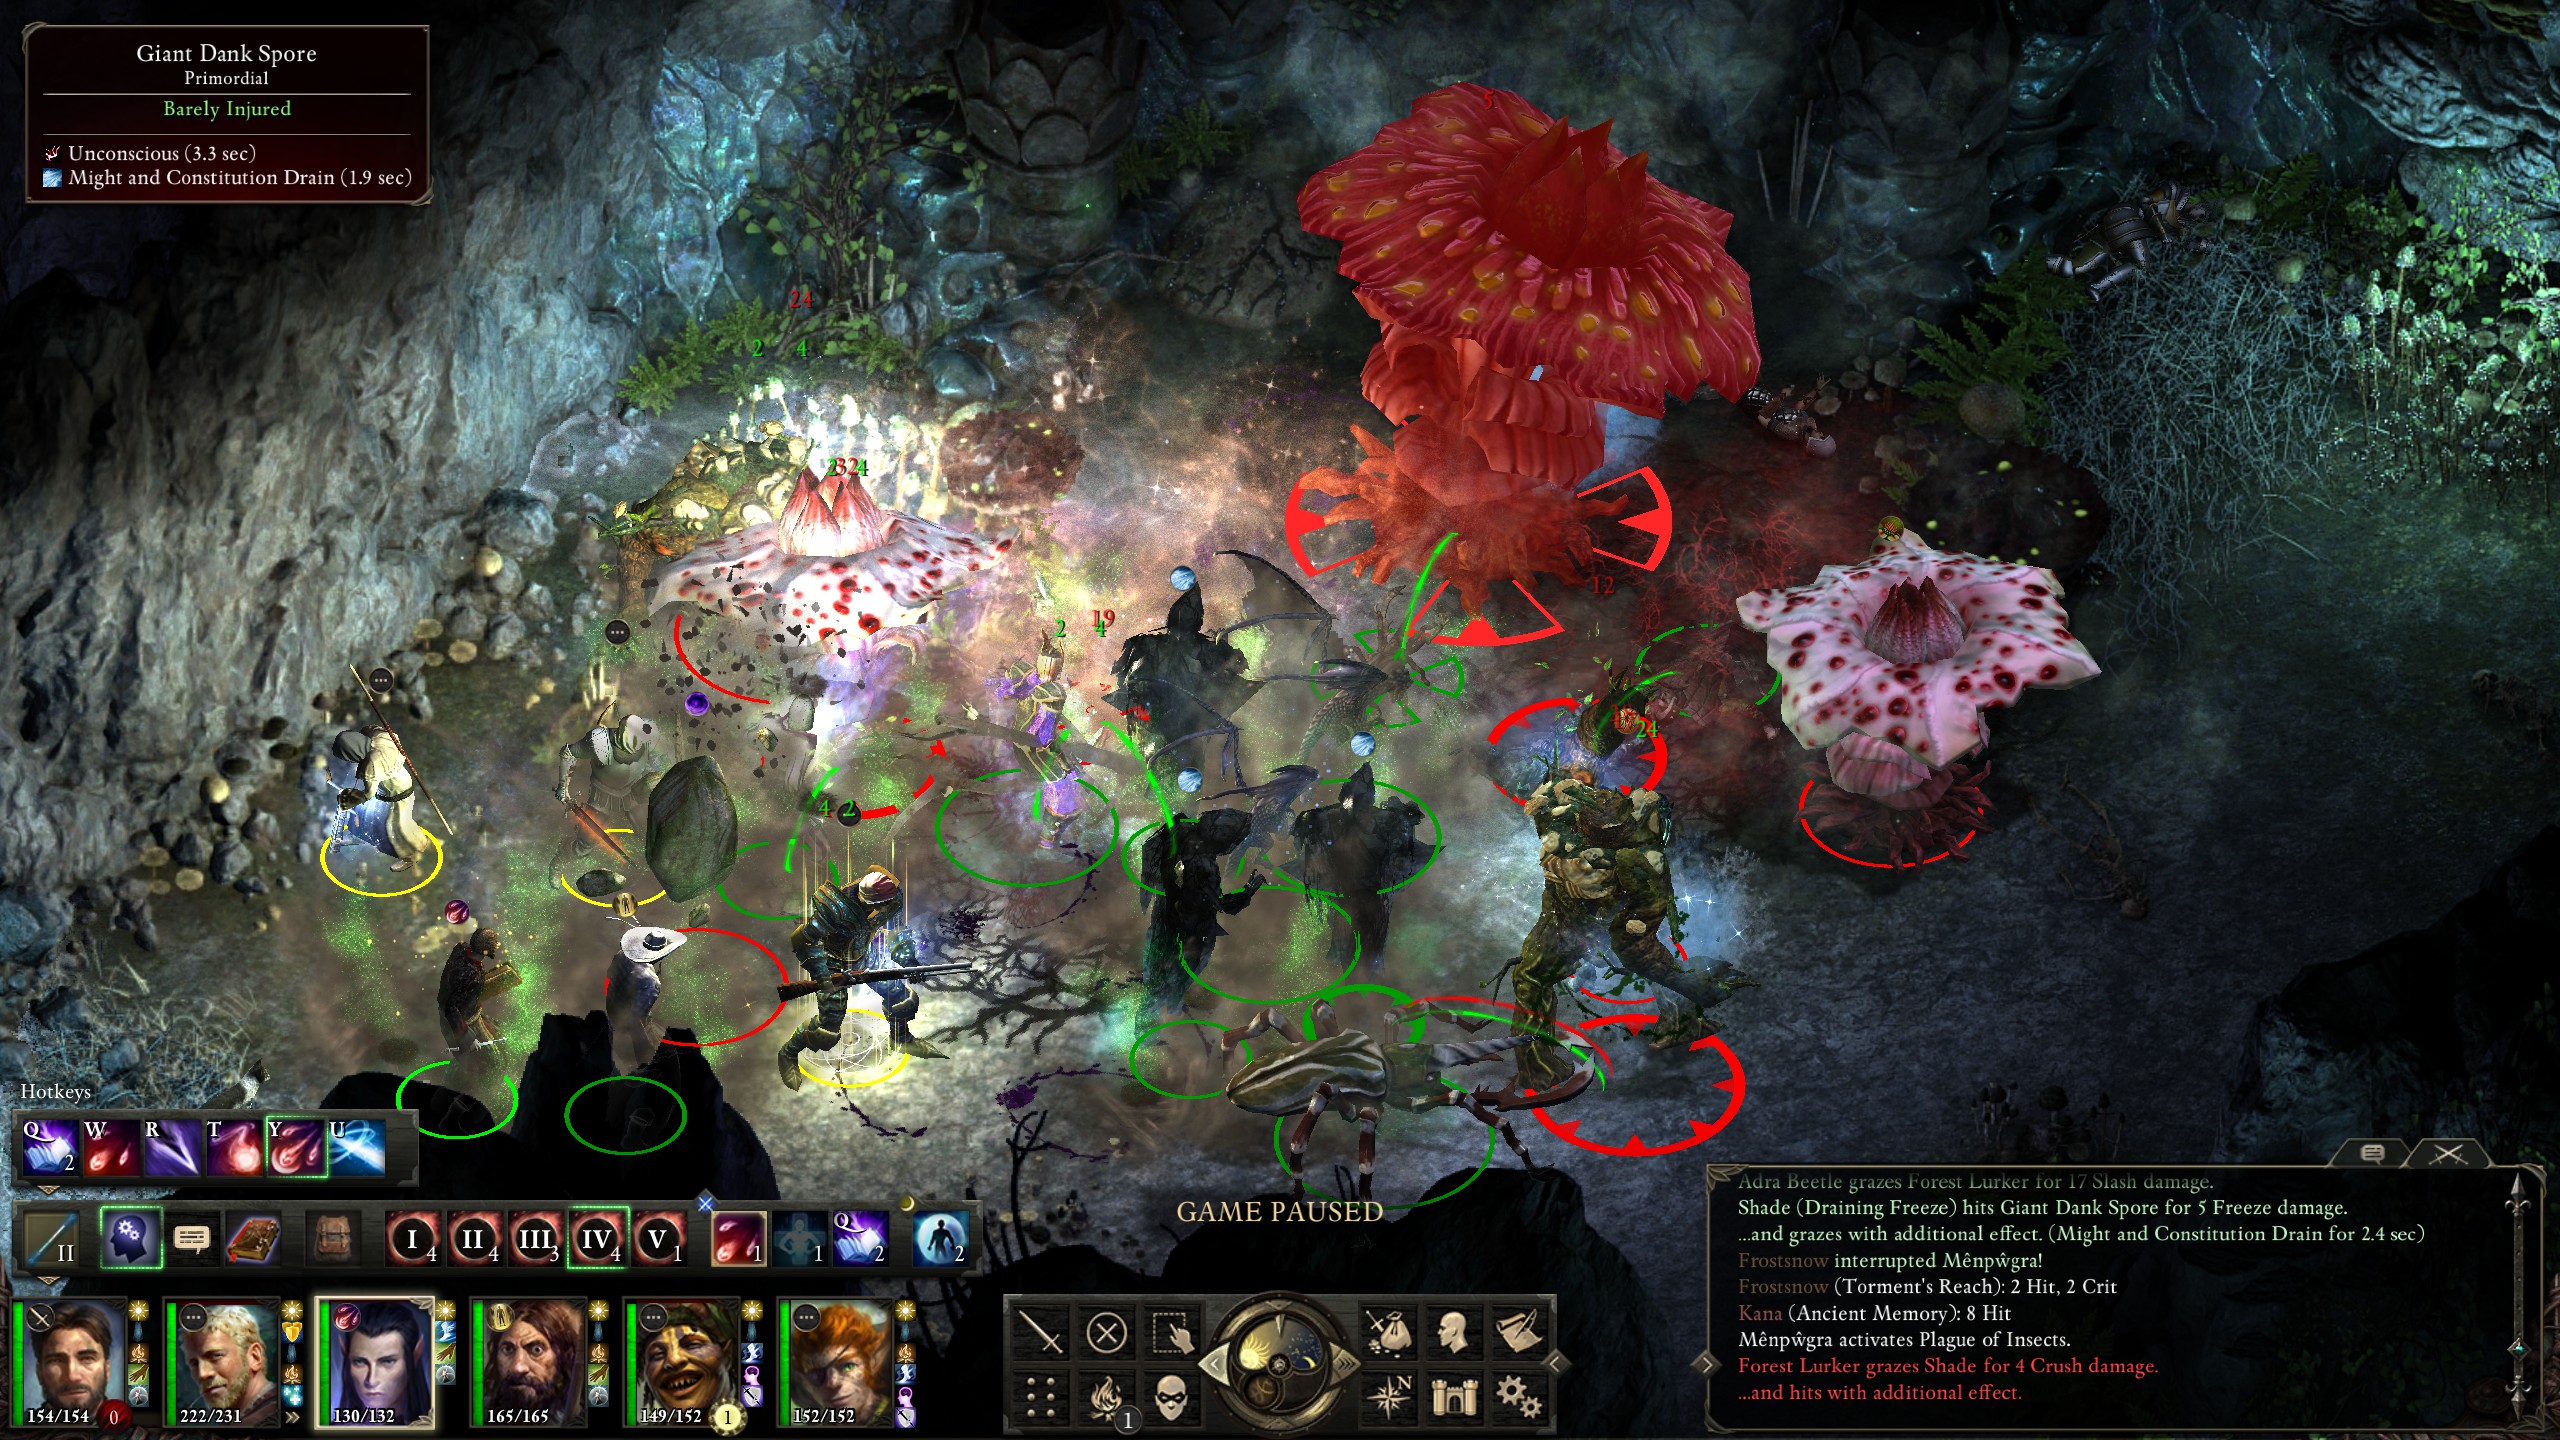
The solution, of course, is to just summon more minions, as the bastards can't control them all!
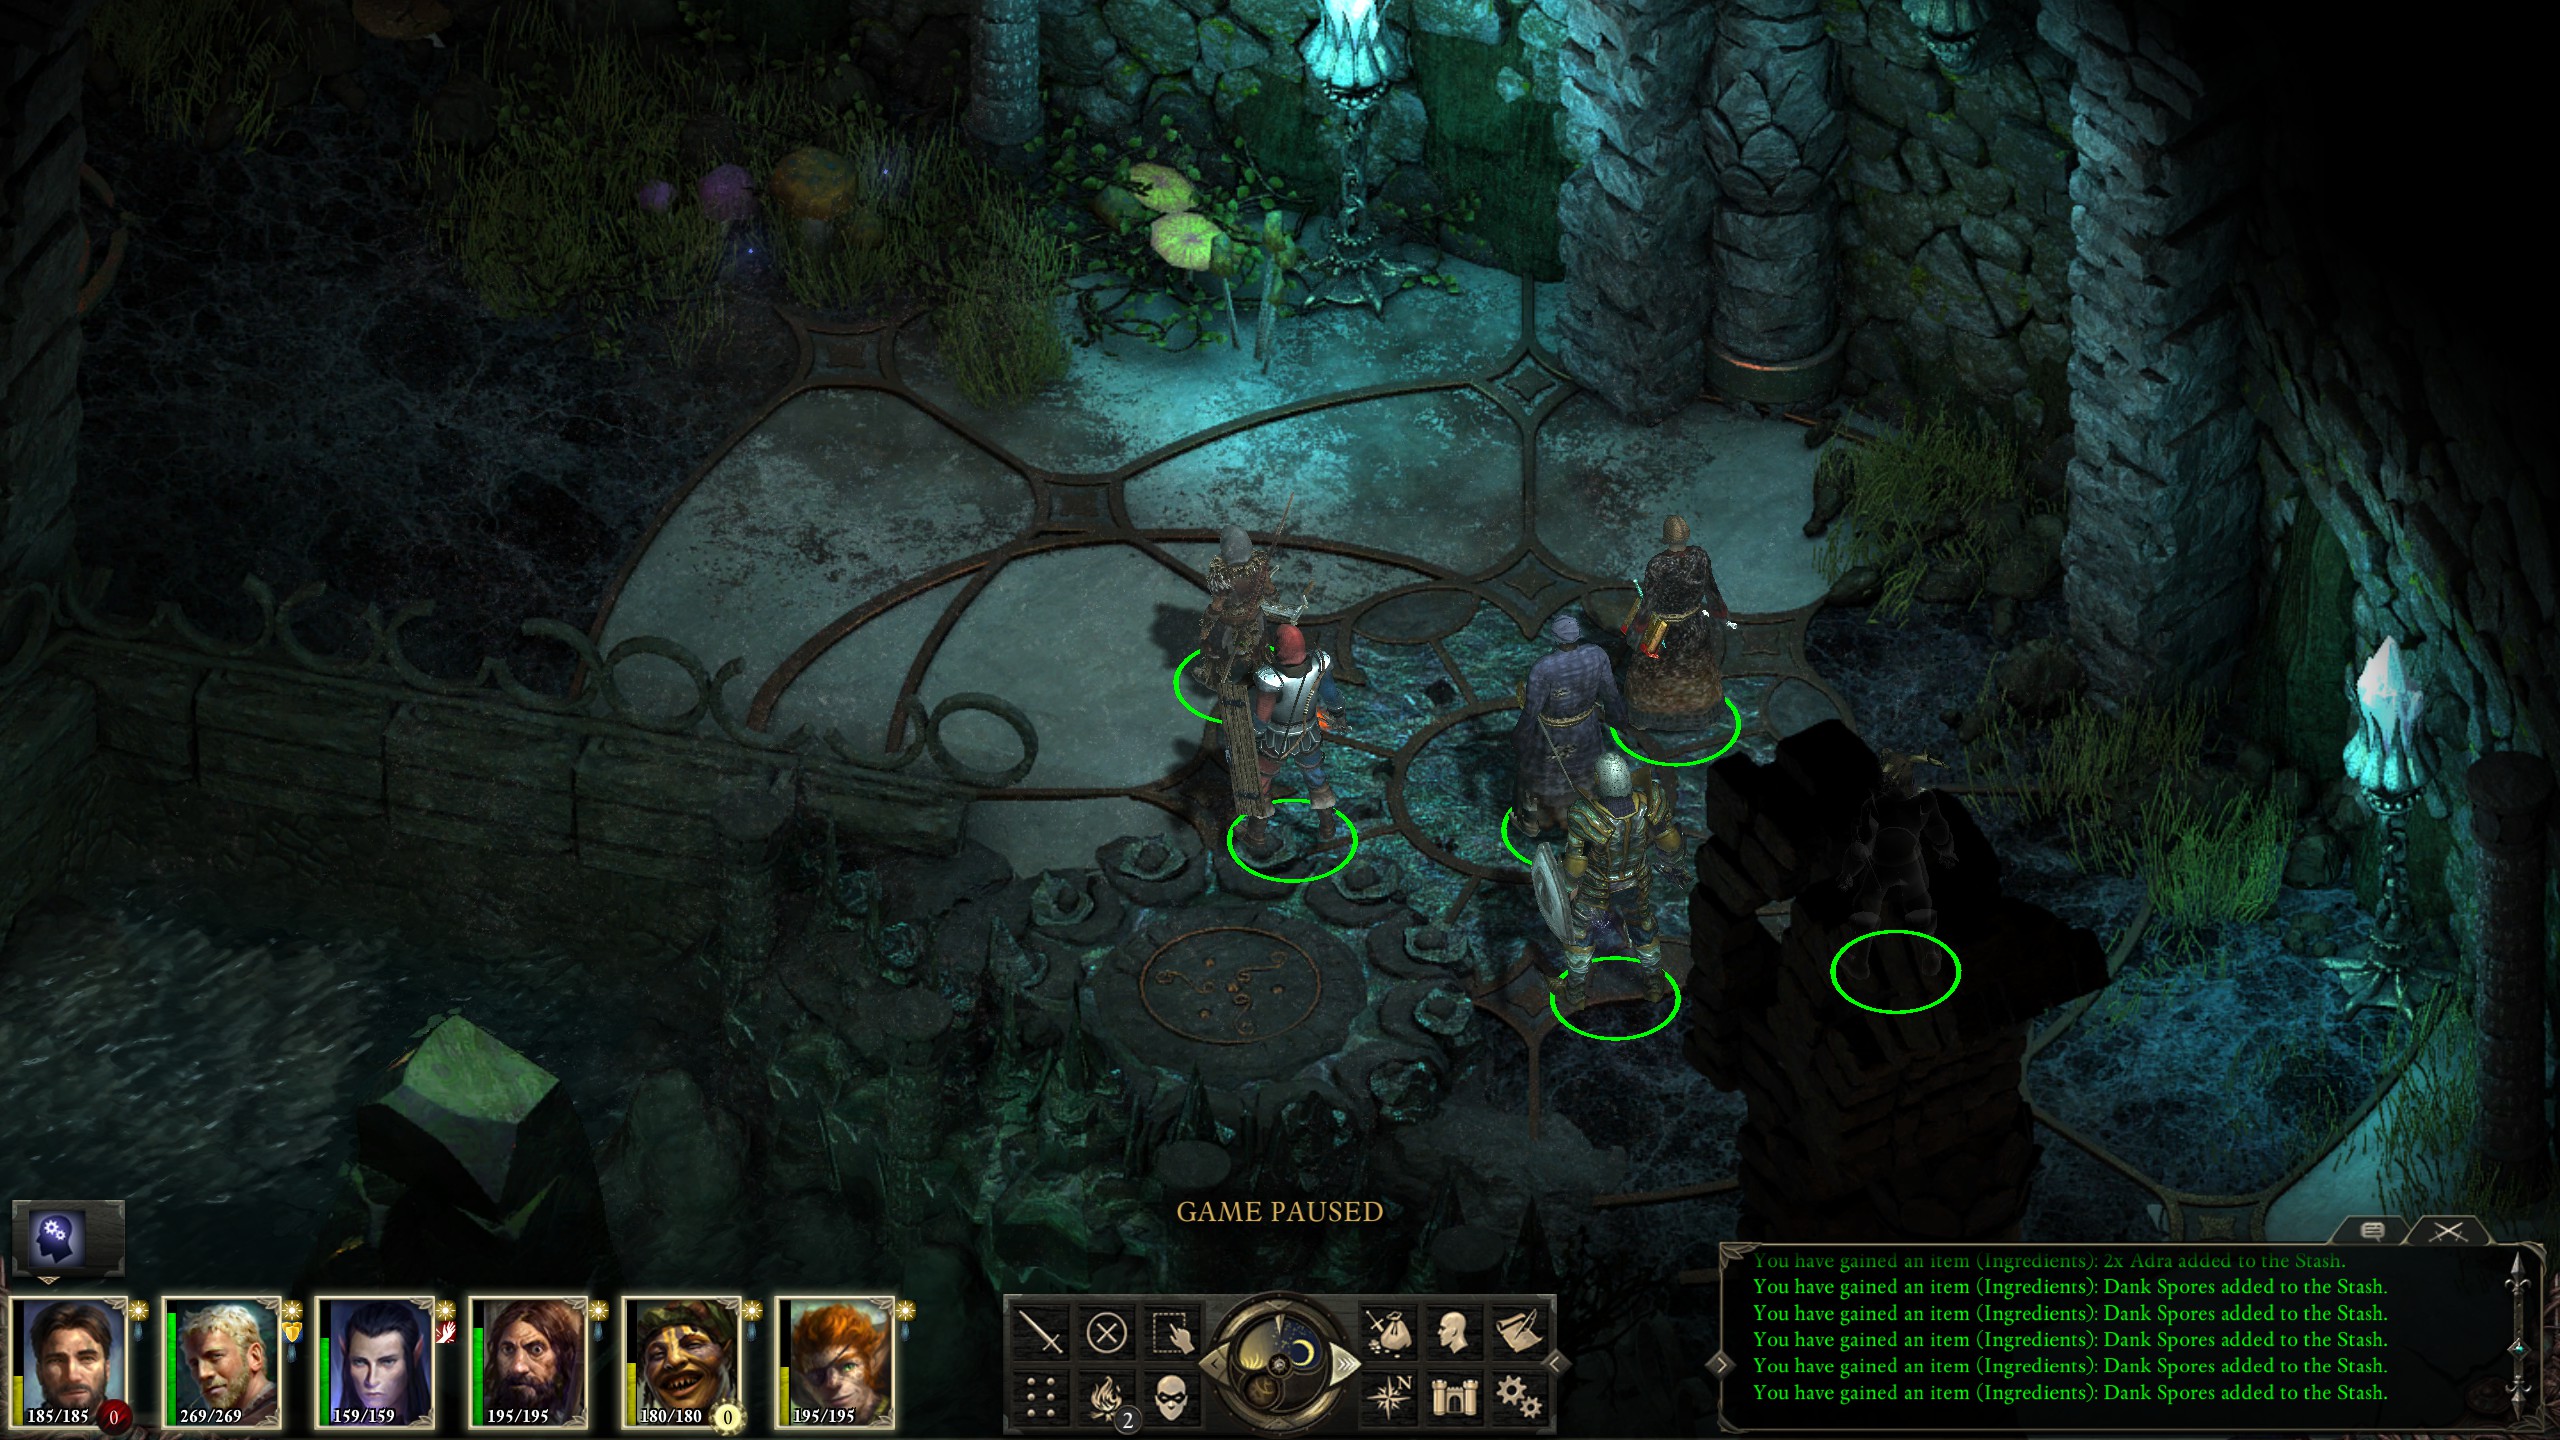
The strange greenish cave on level 12 (with the neutral vithrack) presented me with a problem when I didn't position my party properly and almost got killed by the frost and petrification. Thankfully I paused to study Aloth's grimoire and then tried out "Call to Slumber" to great success; it is a save versus will, which is often weak, and afflicts the enemy with unconsciousness, giving -40 deflection, which is incredibly powerful, allowing my monk to tear through enemies afflicted by it.
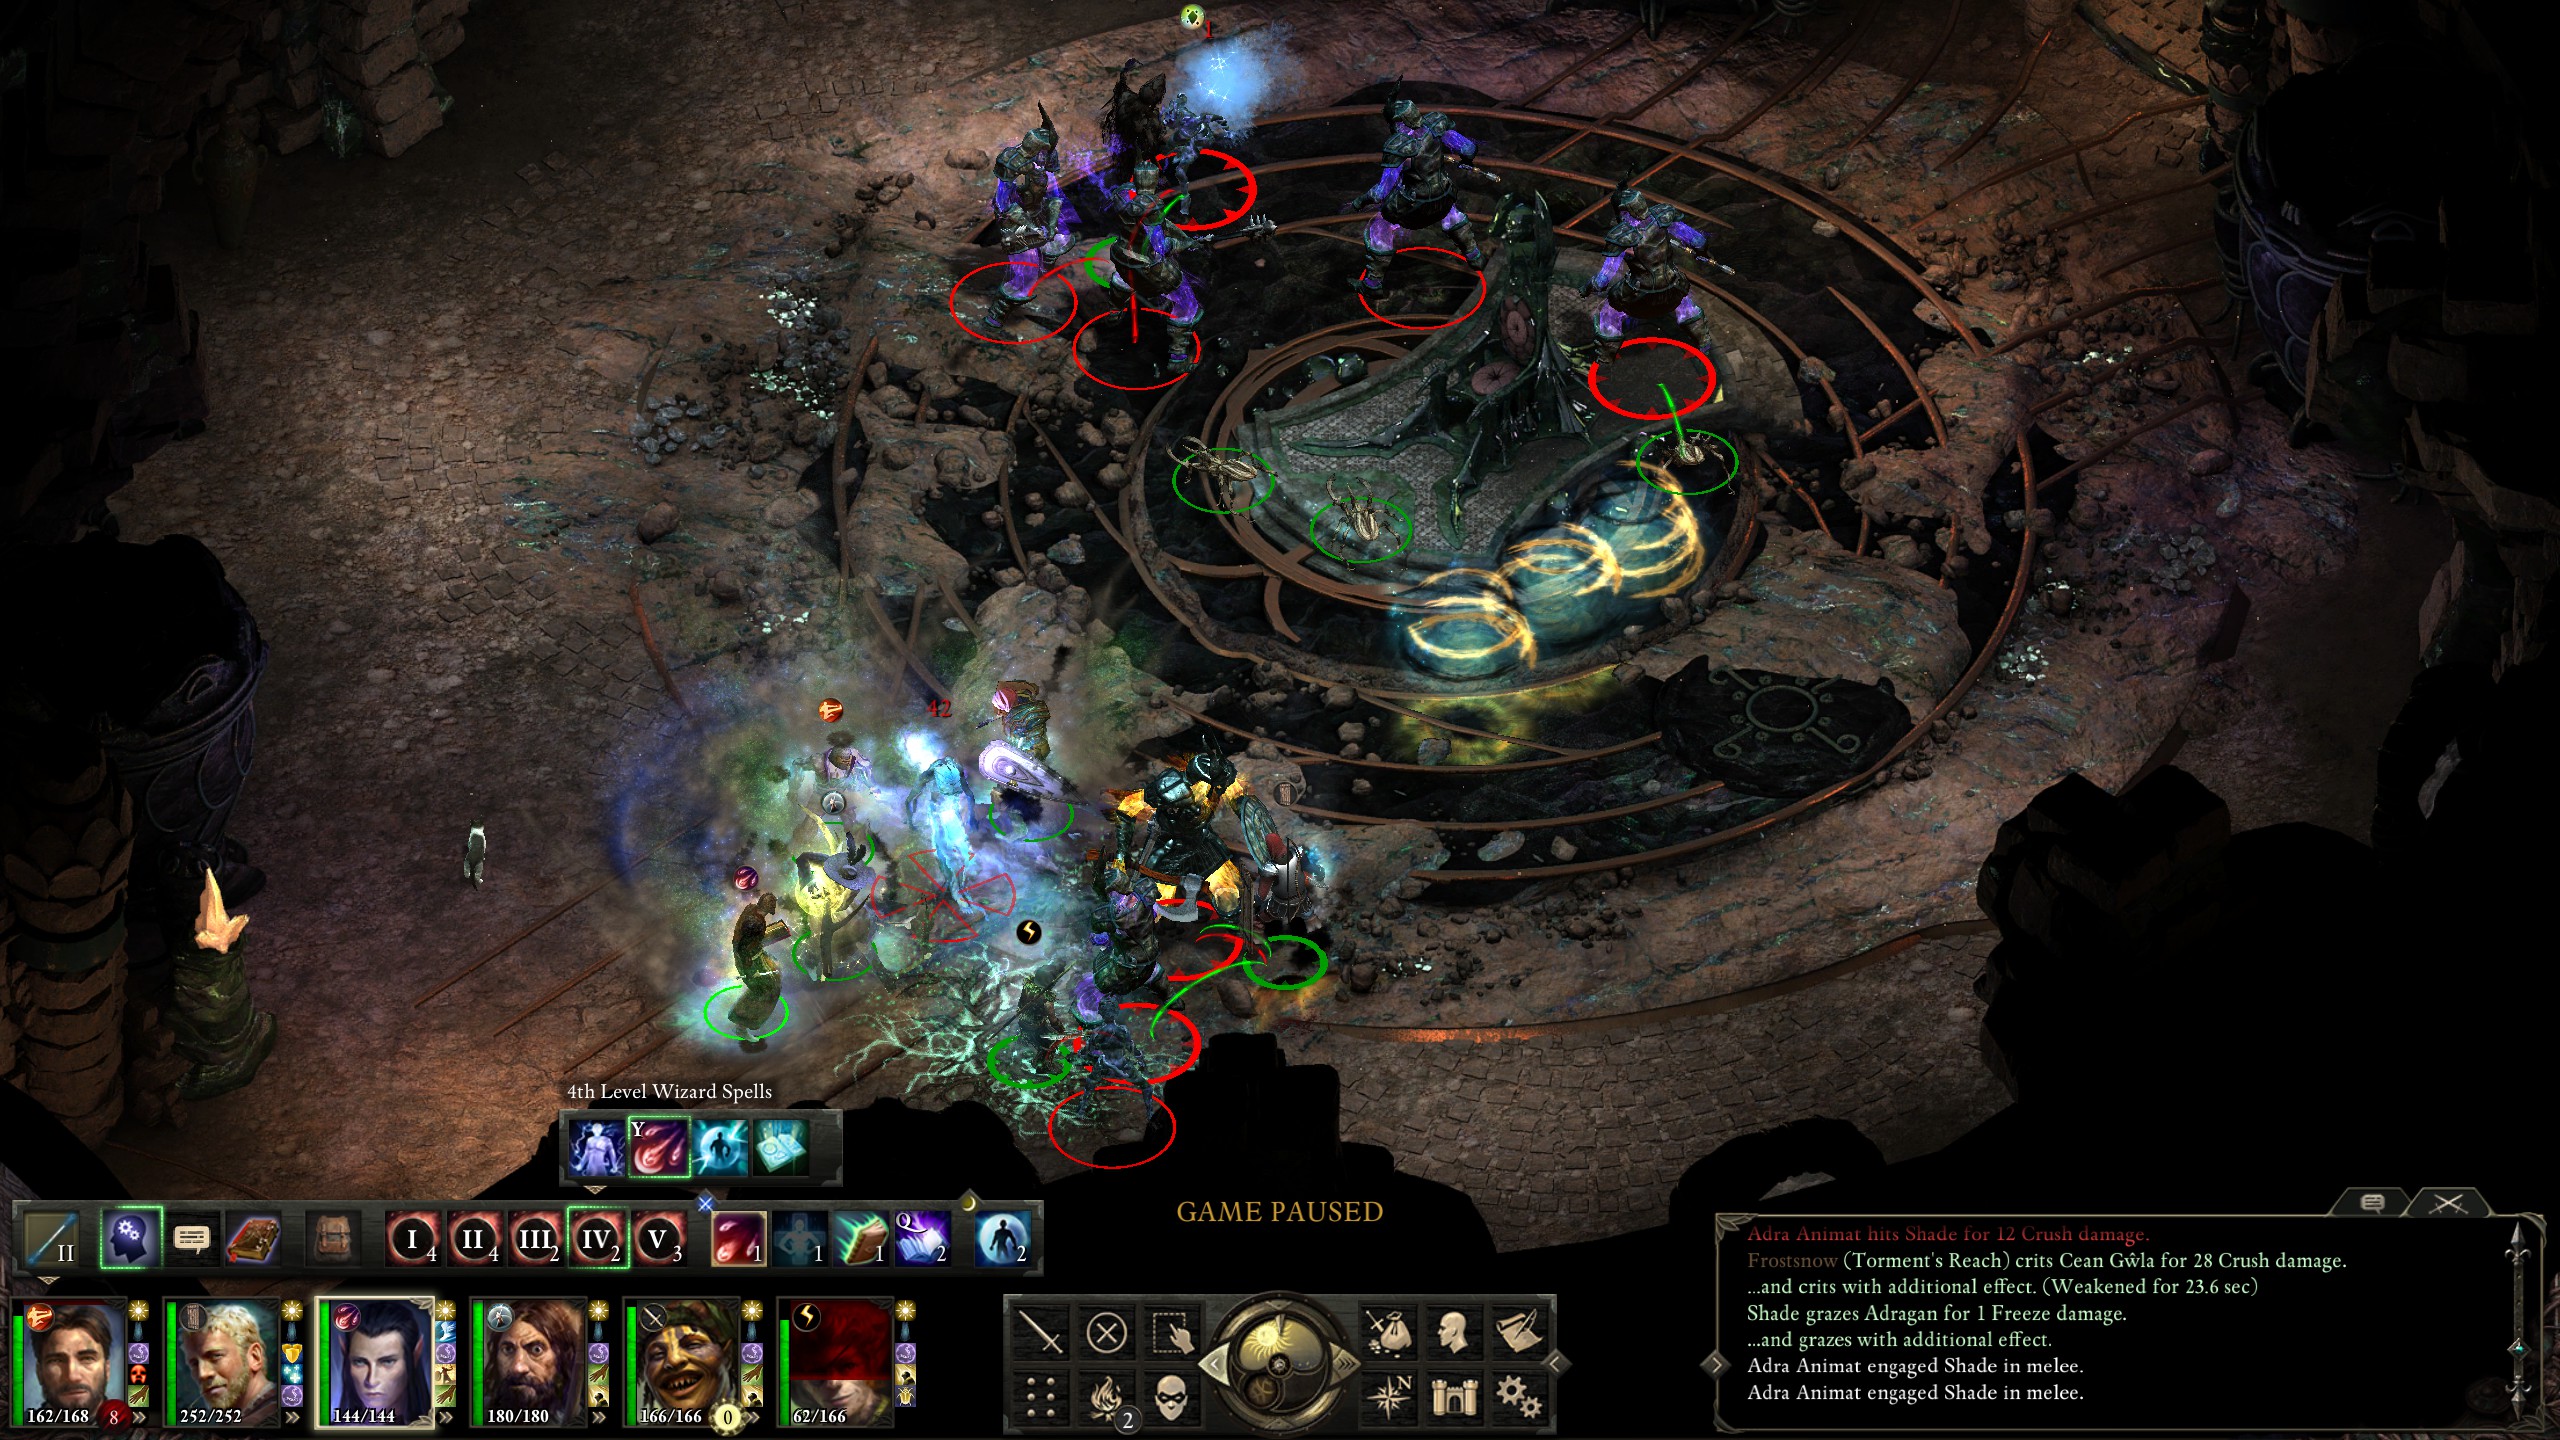
The final level one can get to without learning Engwithian, level 13, is mostly straightforward. The adra animats aren't that tough, but the fight against five Cean Gwla proved difficult, even with "Prayer Against Imprisonment", as the damage from their wail and regular attacks is quite powerful. Nonetheless I managed to take them out before finally being blocked from going deeper. It was time to go back and finish the main quests in Defiance Bay.
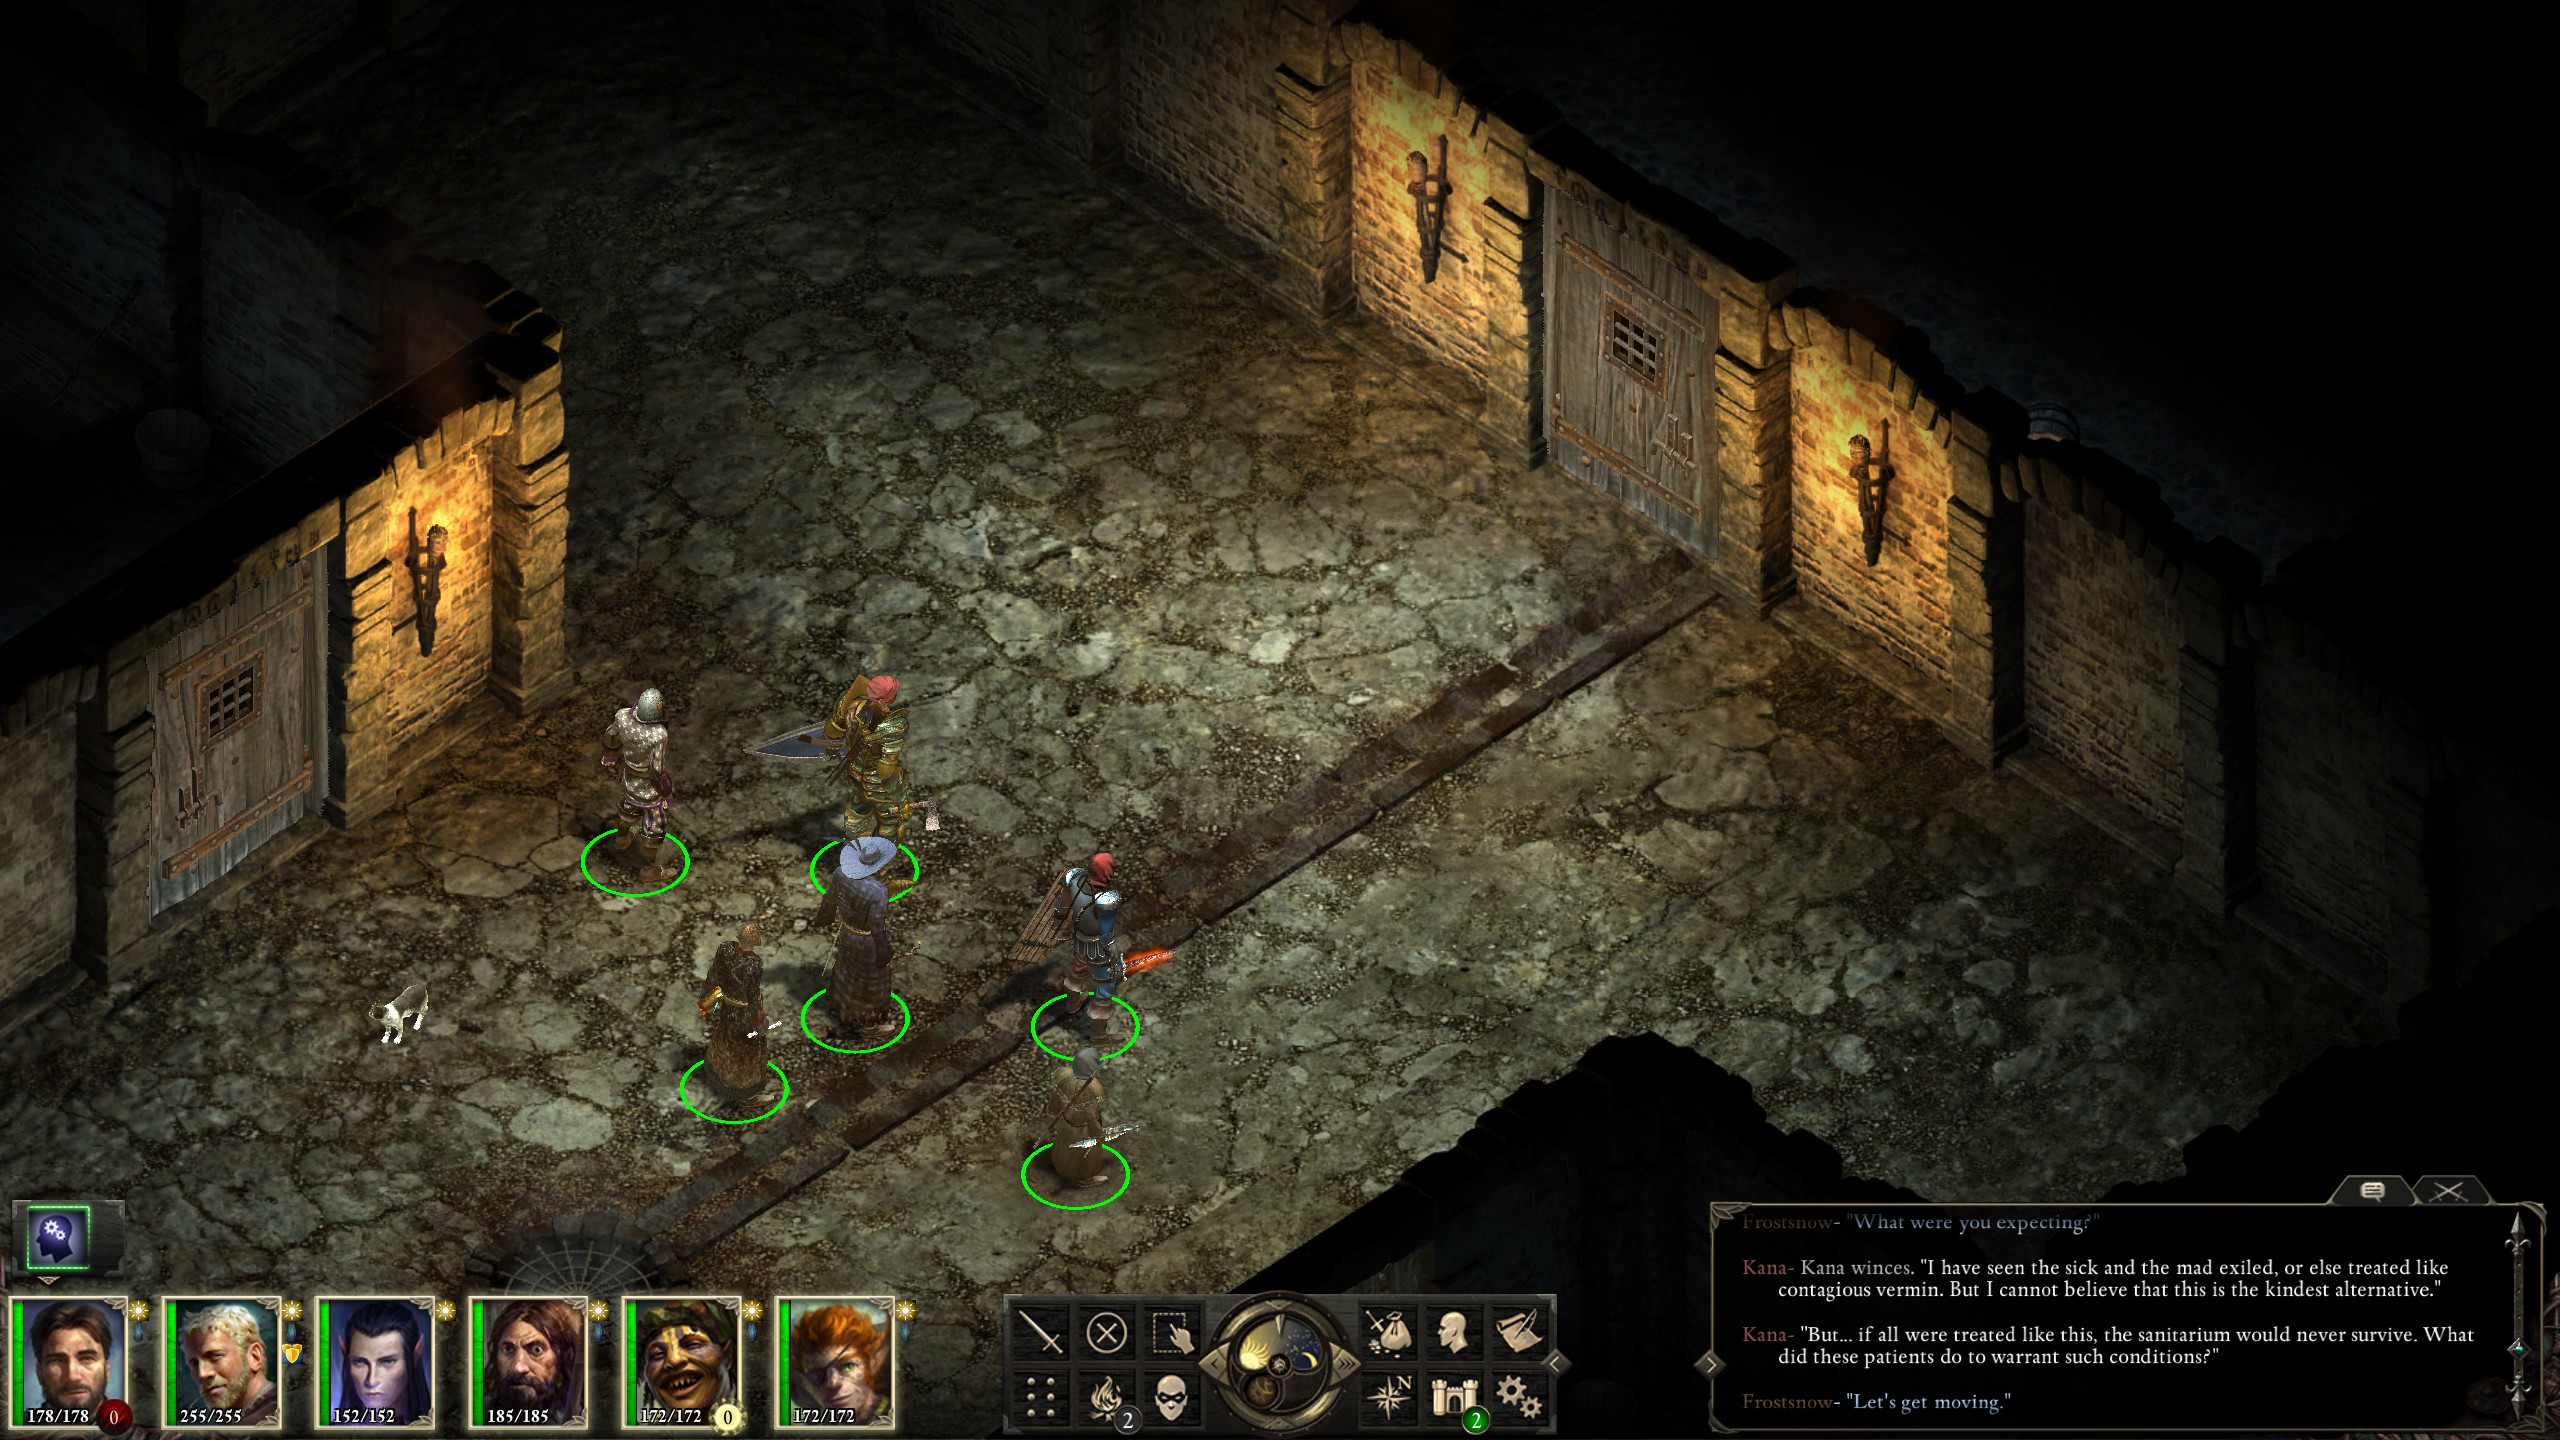
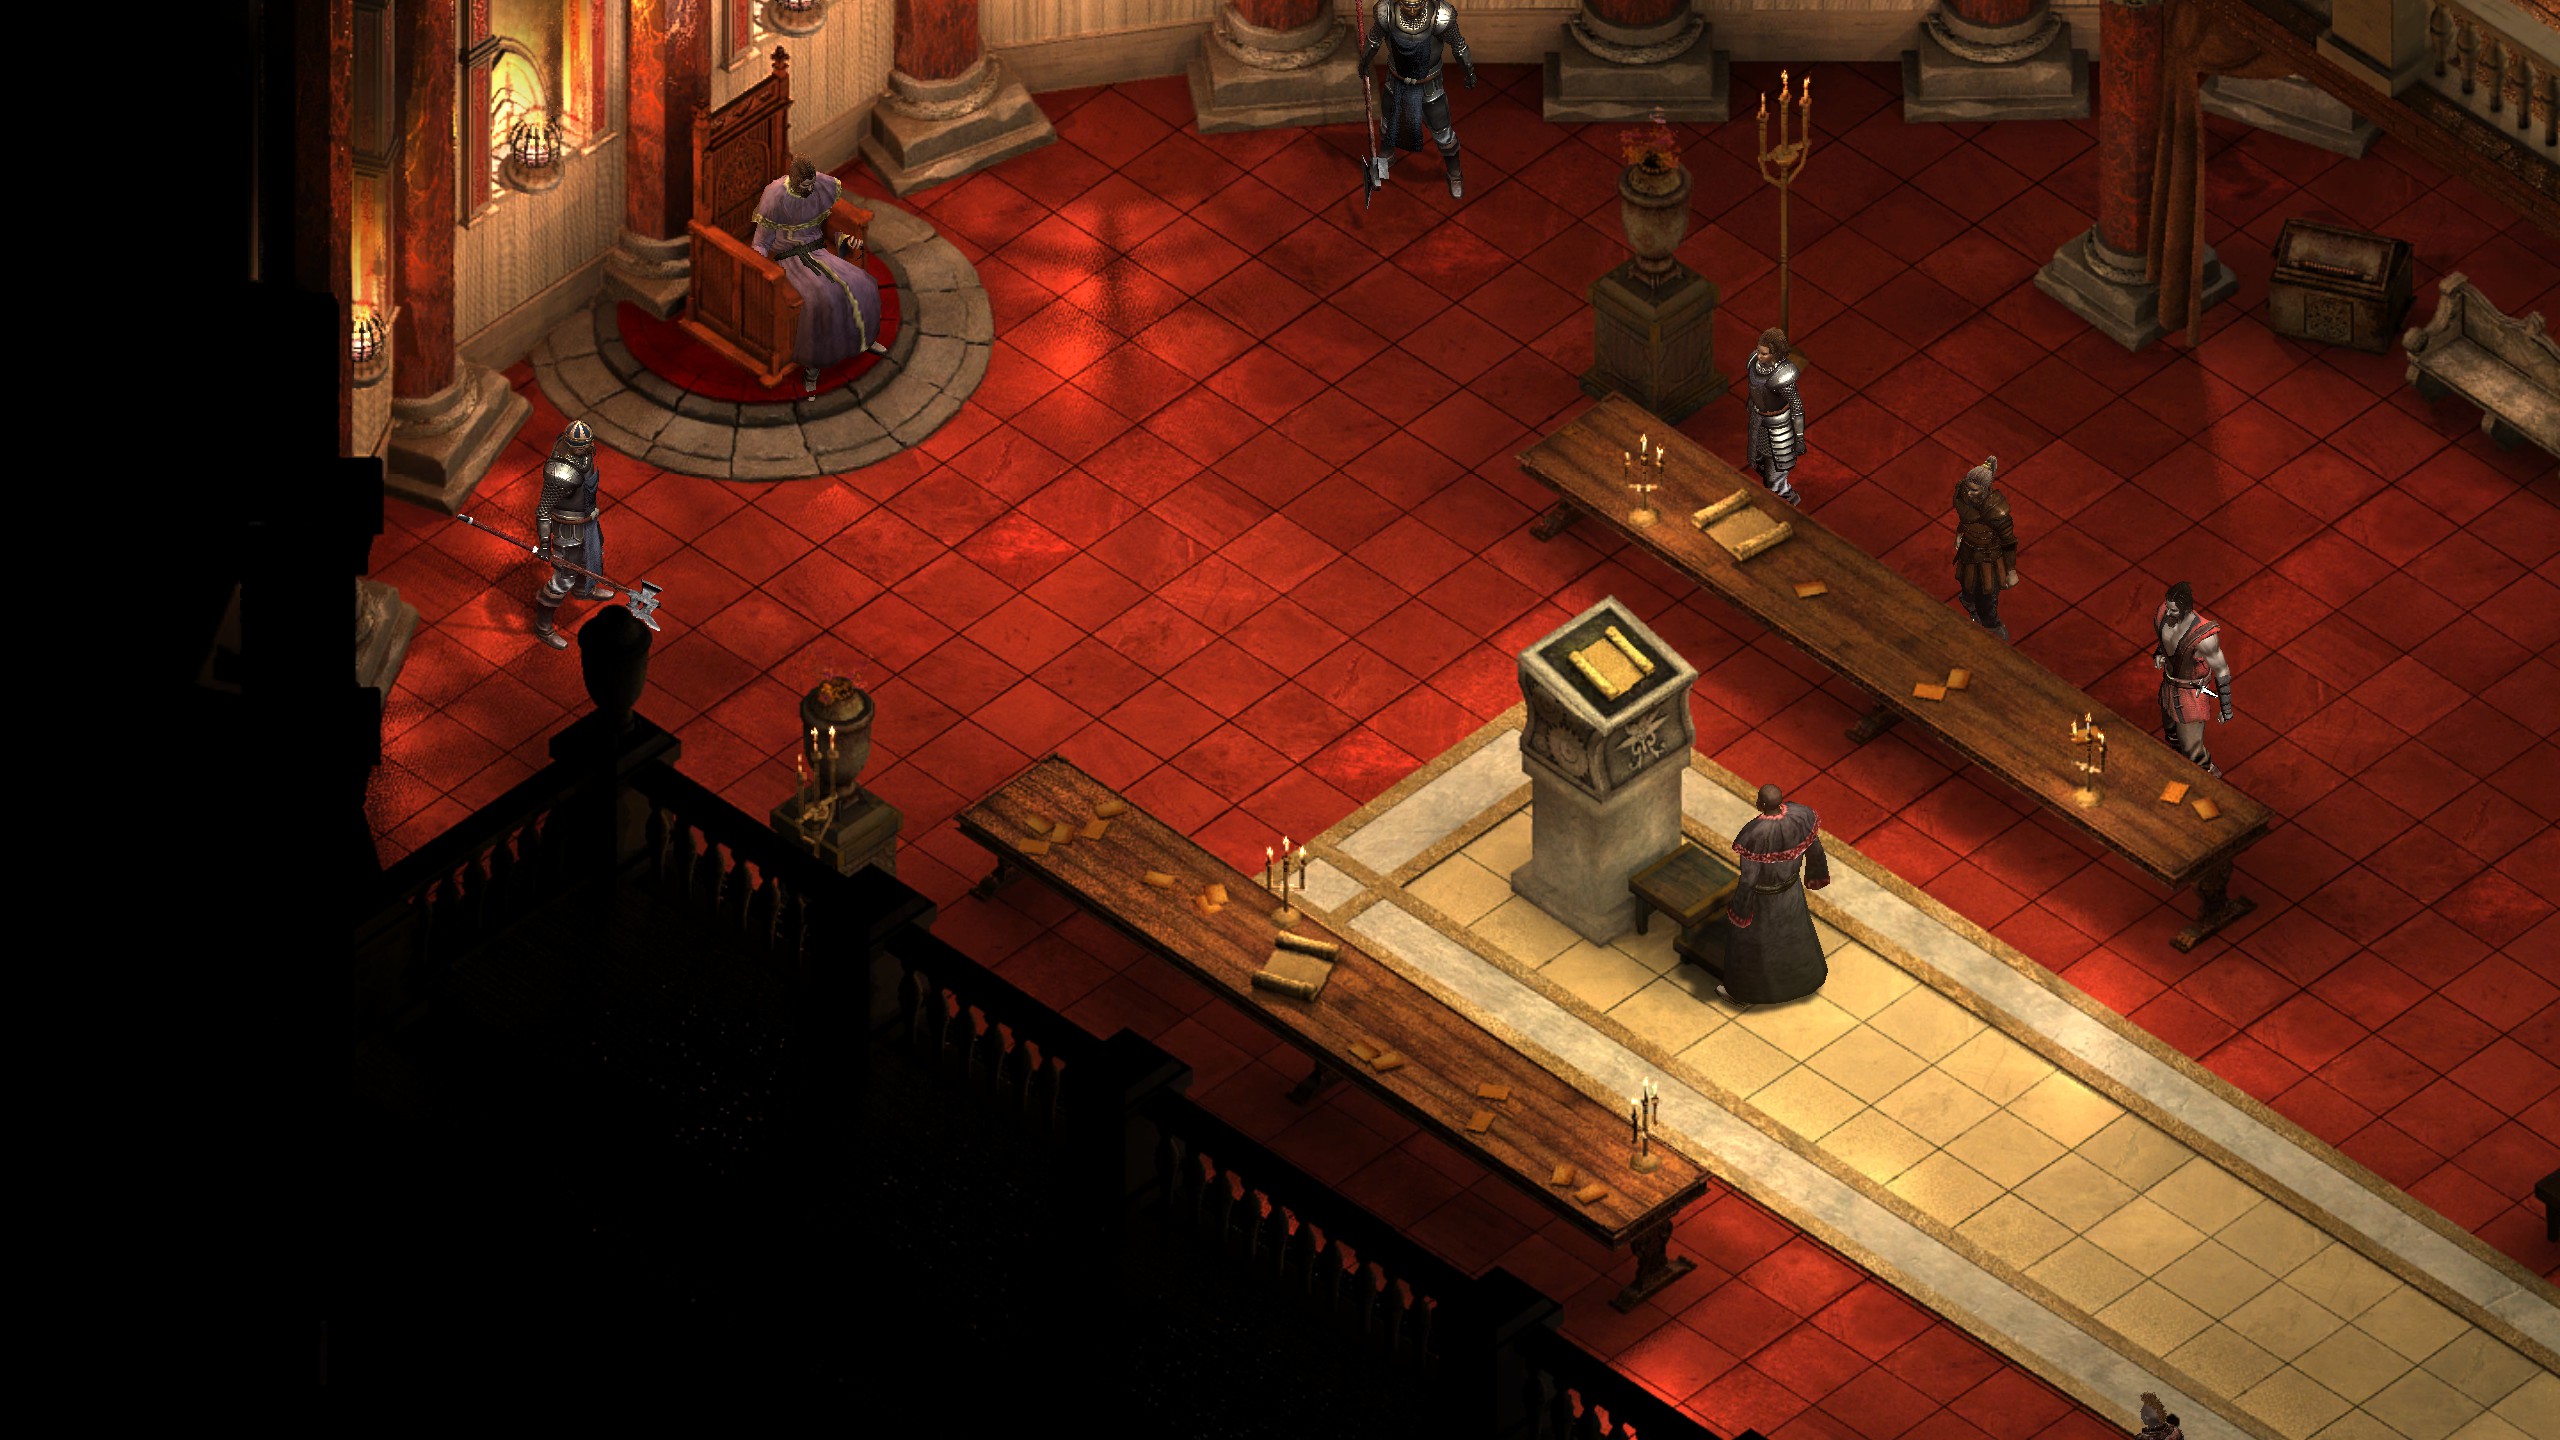
I cleared the sanitarium without a problem.
Same with the tower in Heritage Hill, and the unnerving conversation with Icantha, which meant I could push a little deeper into the Endless Paths! Actually, I forgot to take a screenshot of these so I did it after the fact using an old save. Don't tell!
The battle is pretty intense, but nothing particularly challenging awaits in this room.
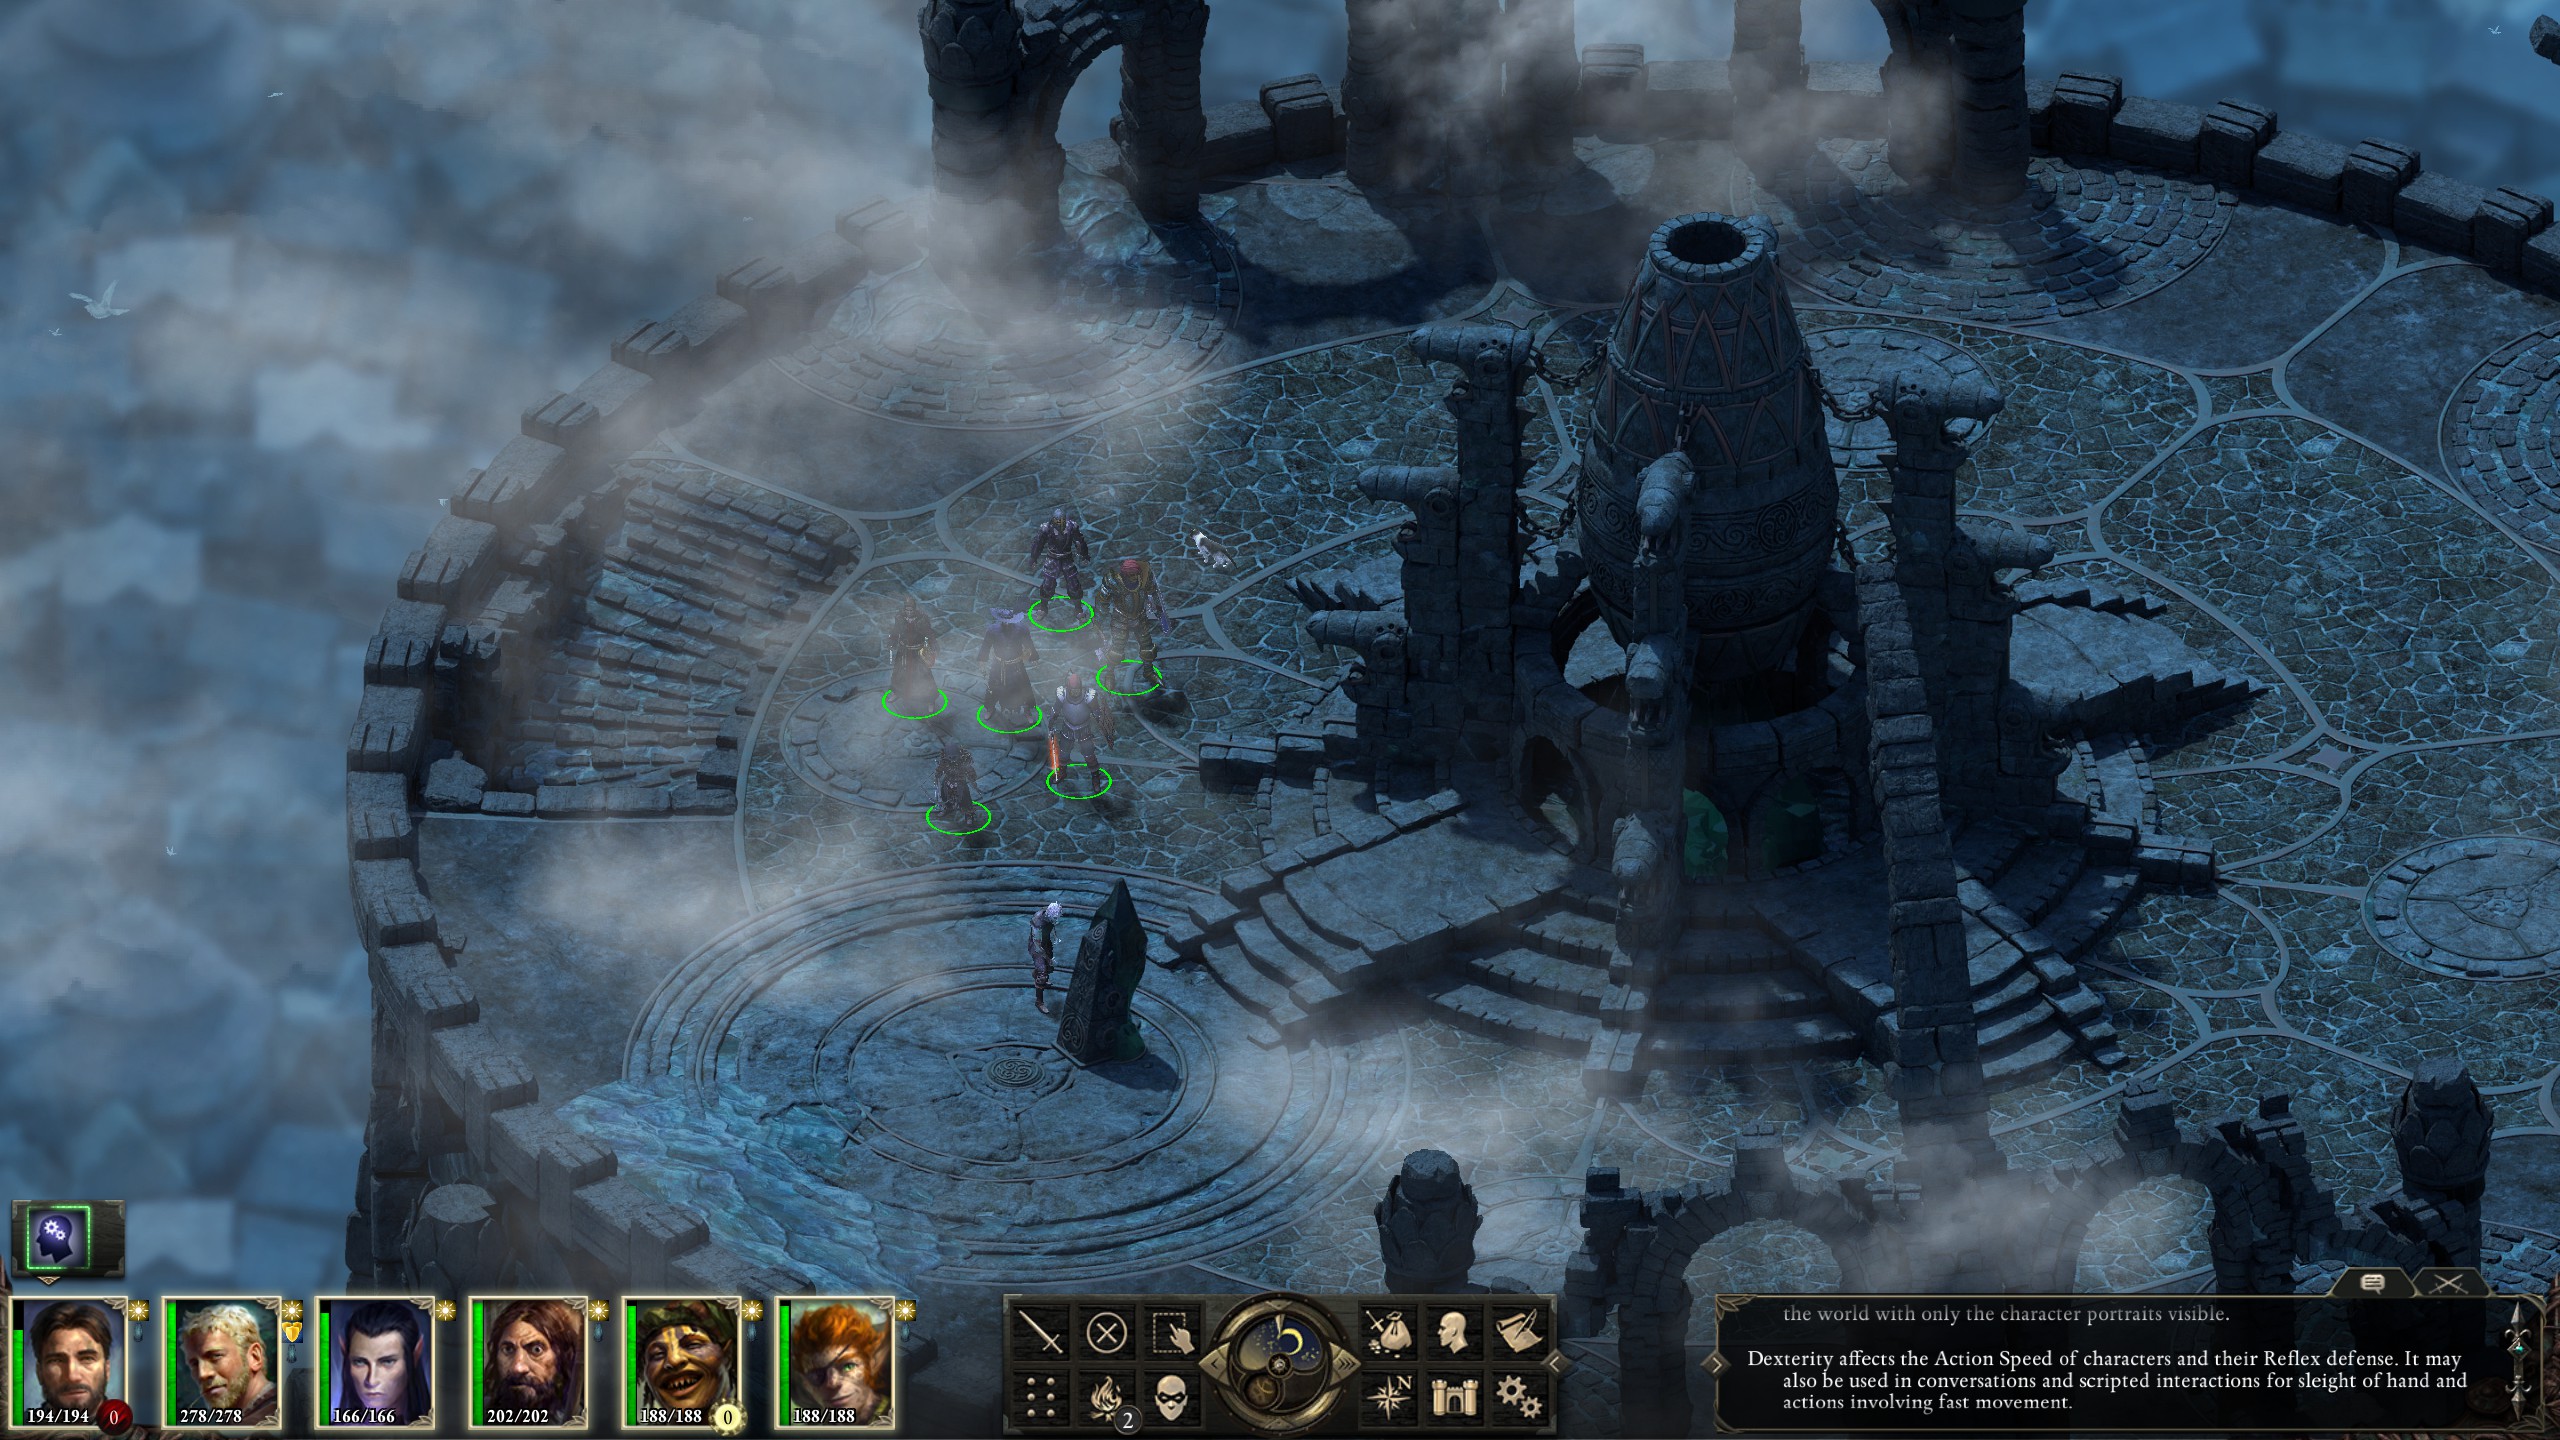
Finally comes the encounter with Od Nua himself on level 14, leaving one final level. I cleared the trash on level 15, but dared not even try to fight the Master Below until max level. No, instead I would save him for last, as he's possibly more difficult than the proper final boss. So, back onto the main questline it was.
Searing Falls with its drakes (and distinct lack of anything I'd consider a "fall") is the first destination.
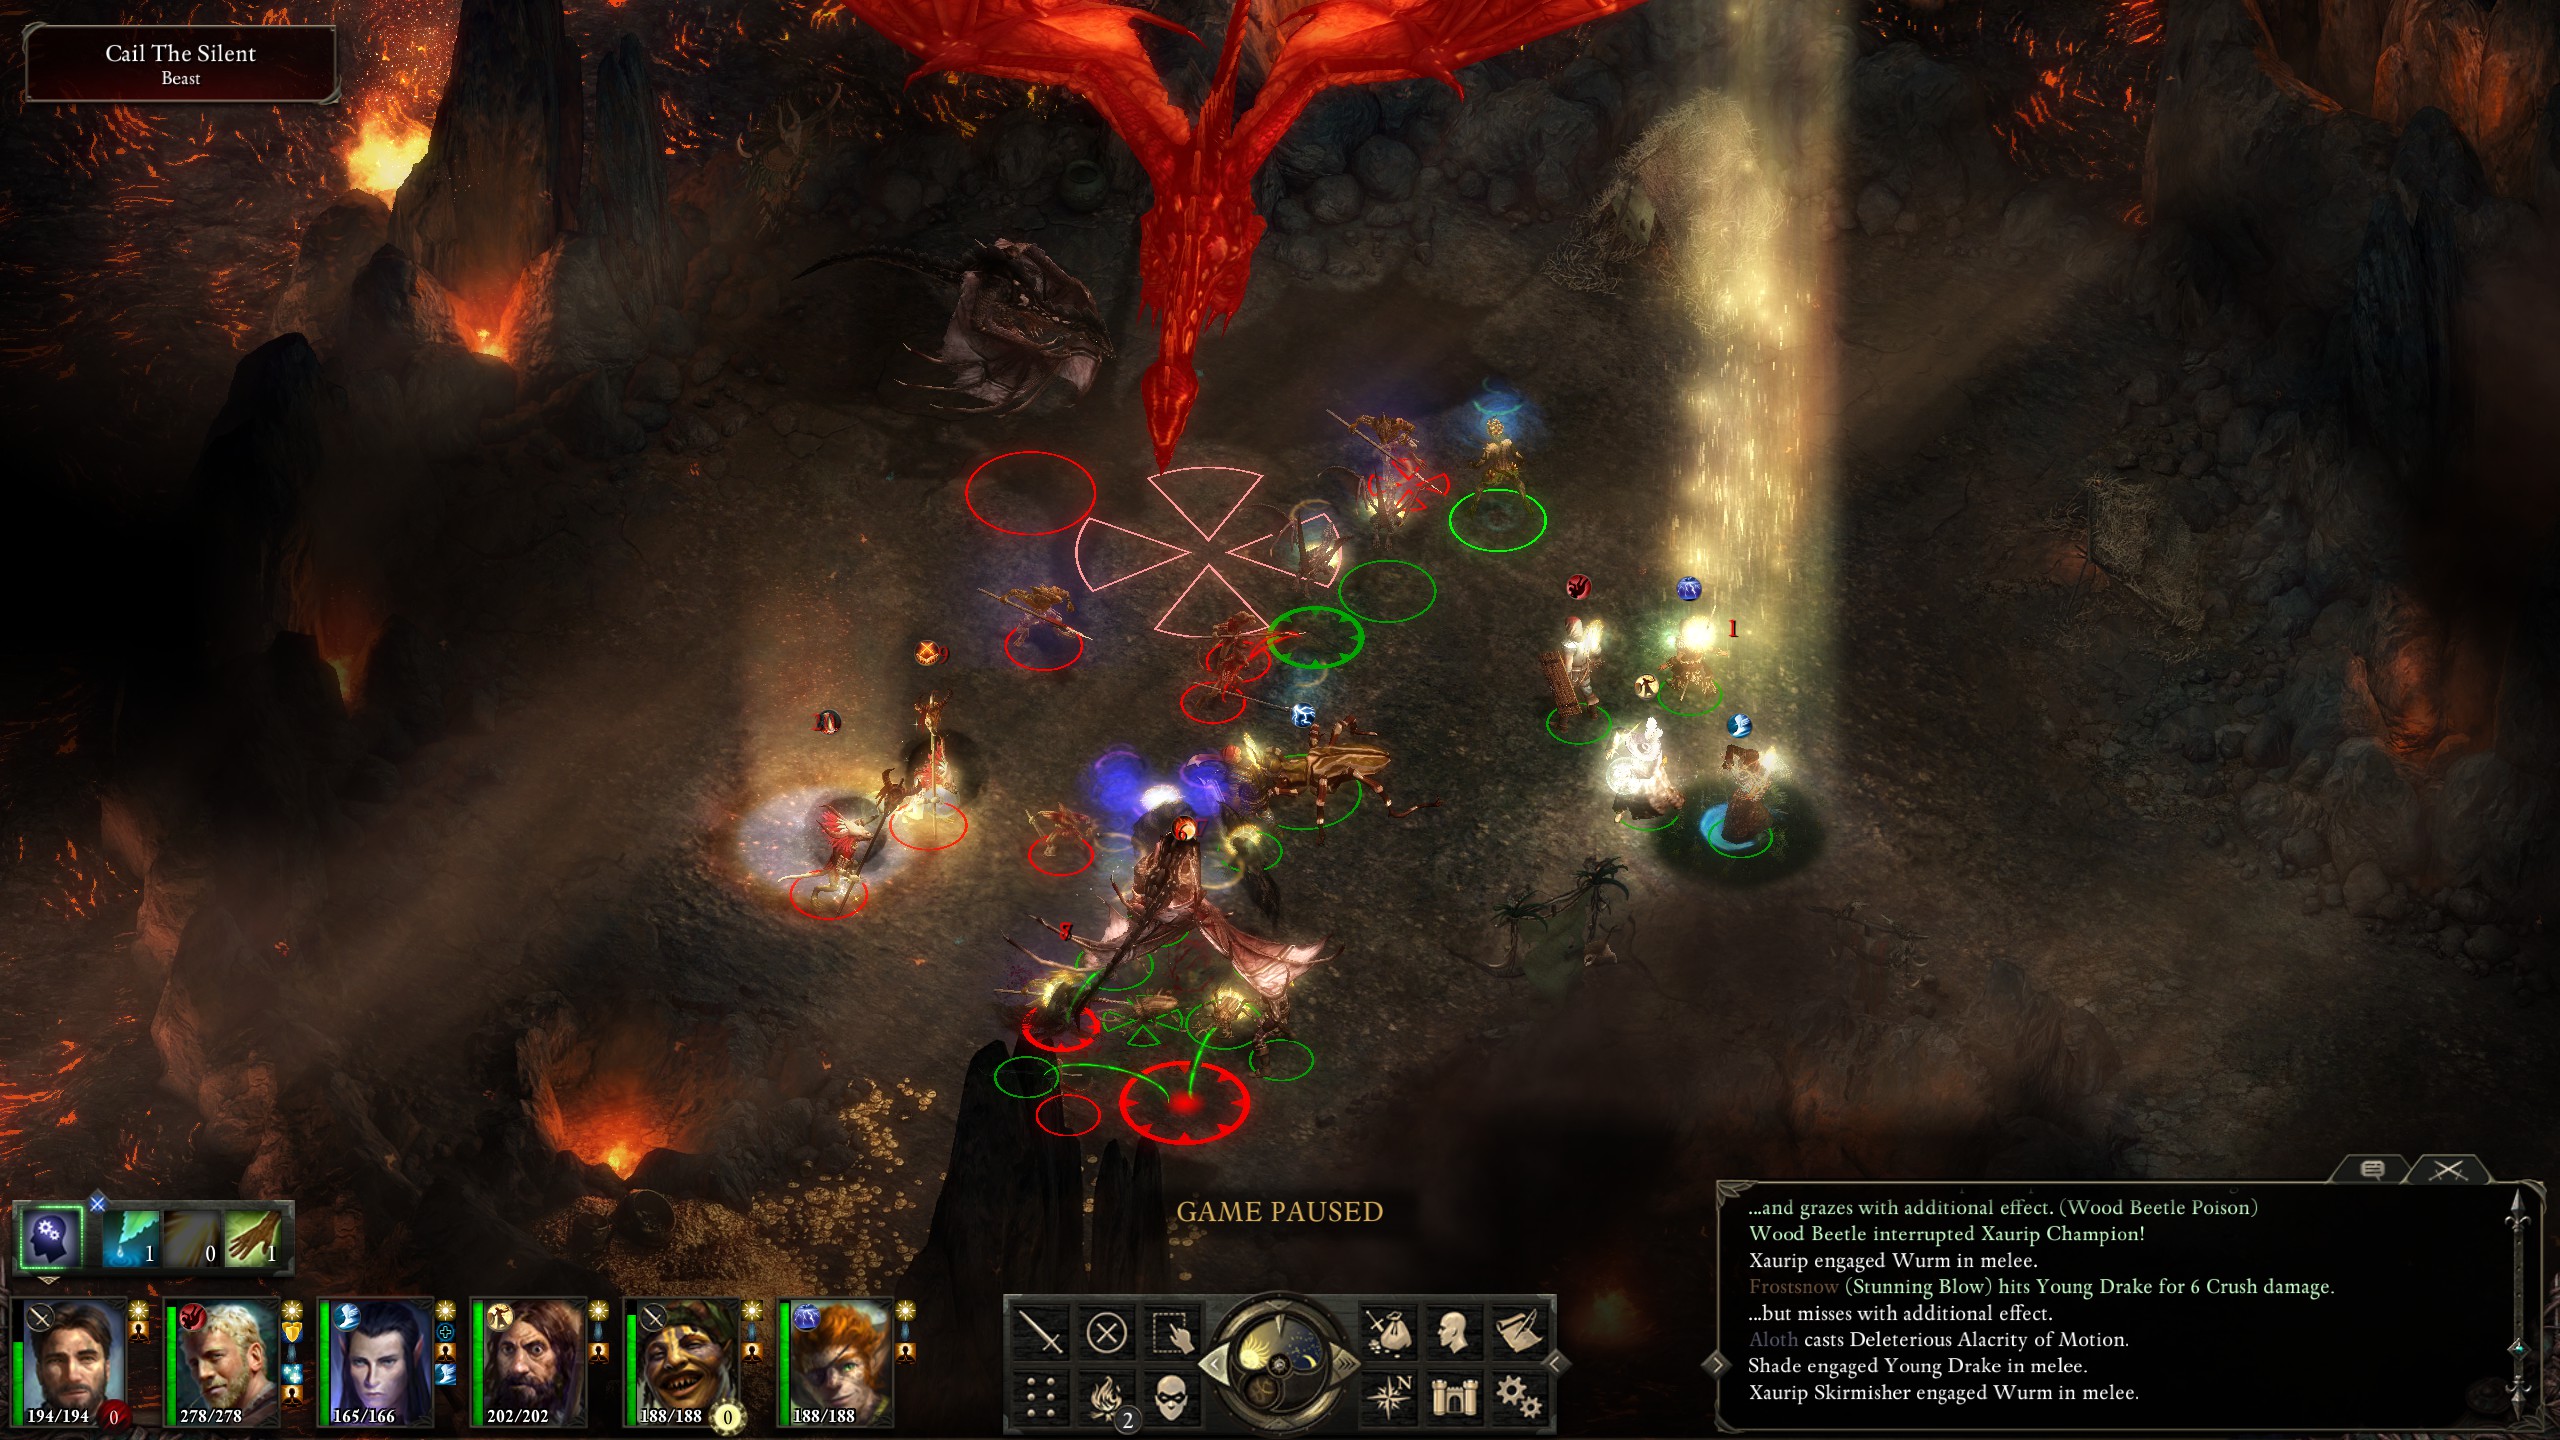
Then comes the lava cave with Cail the Silent, a drake of moderate strength, easily crushed by my superior levels.
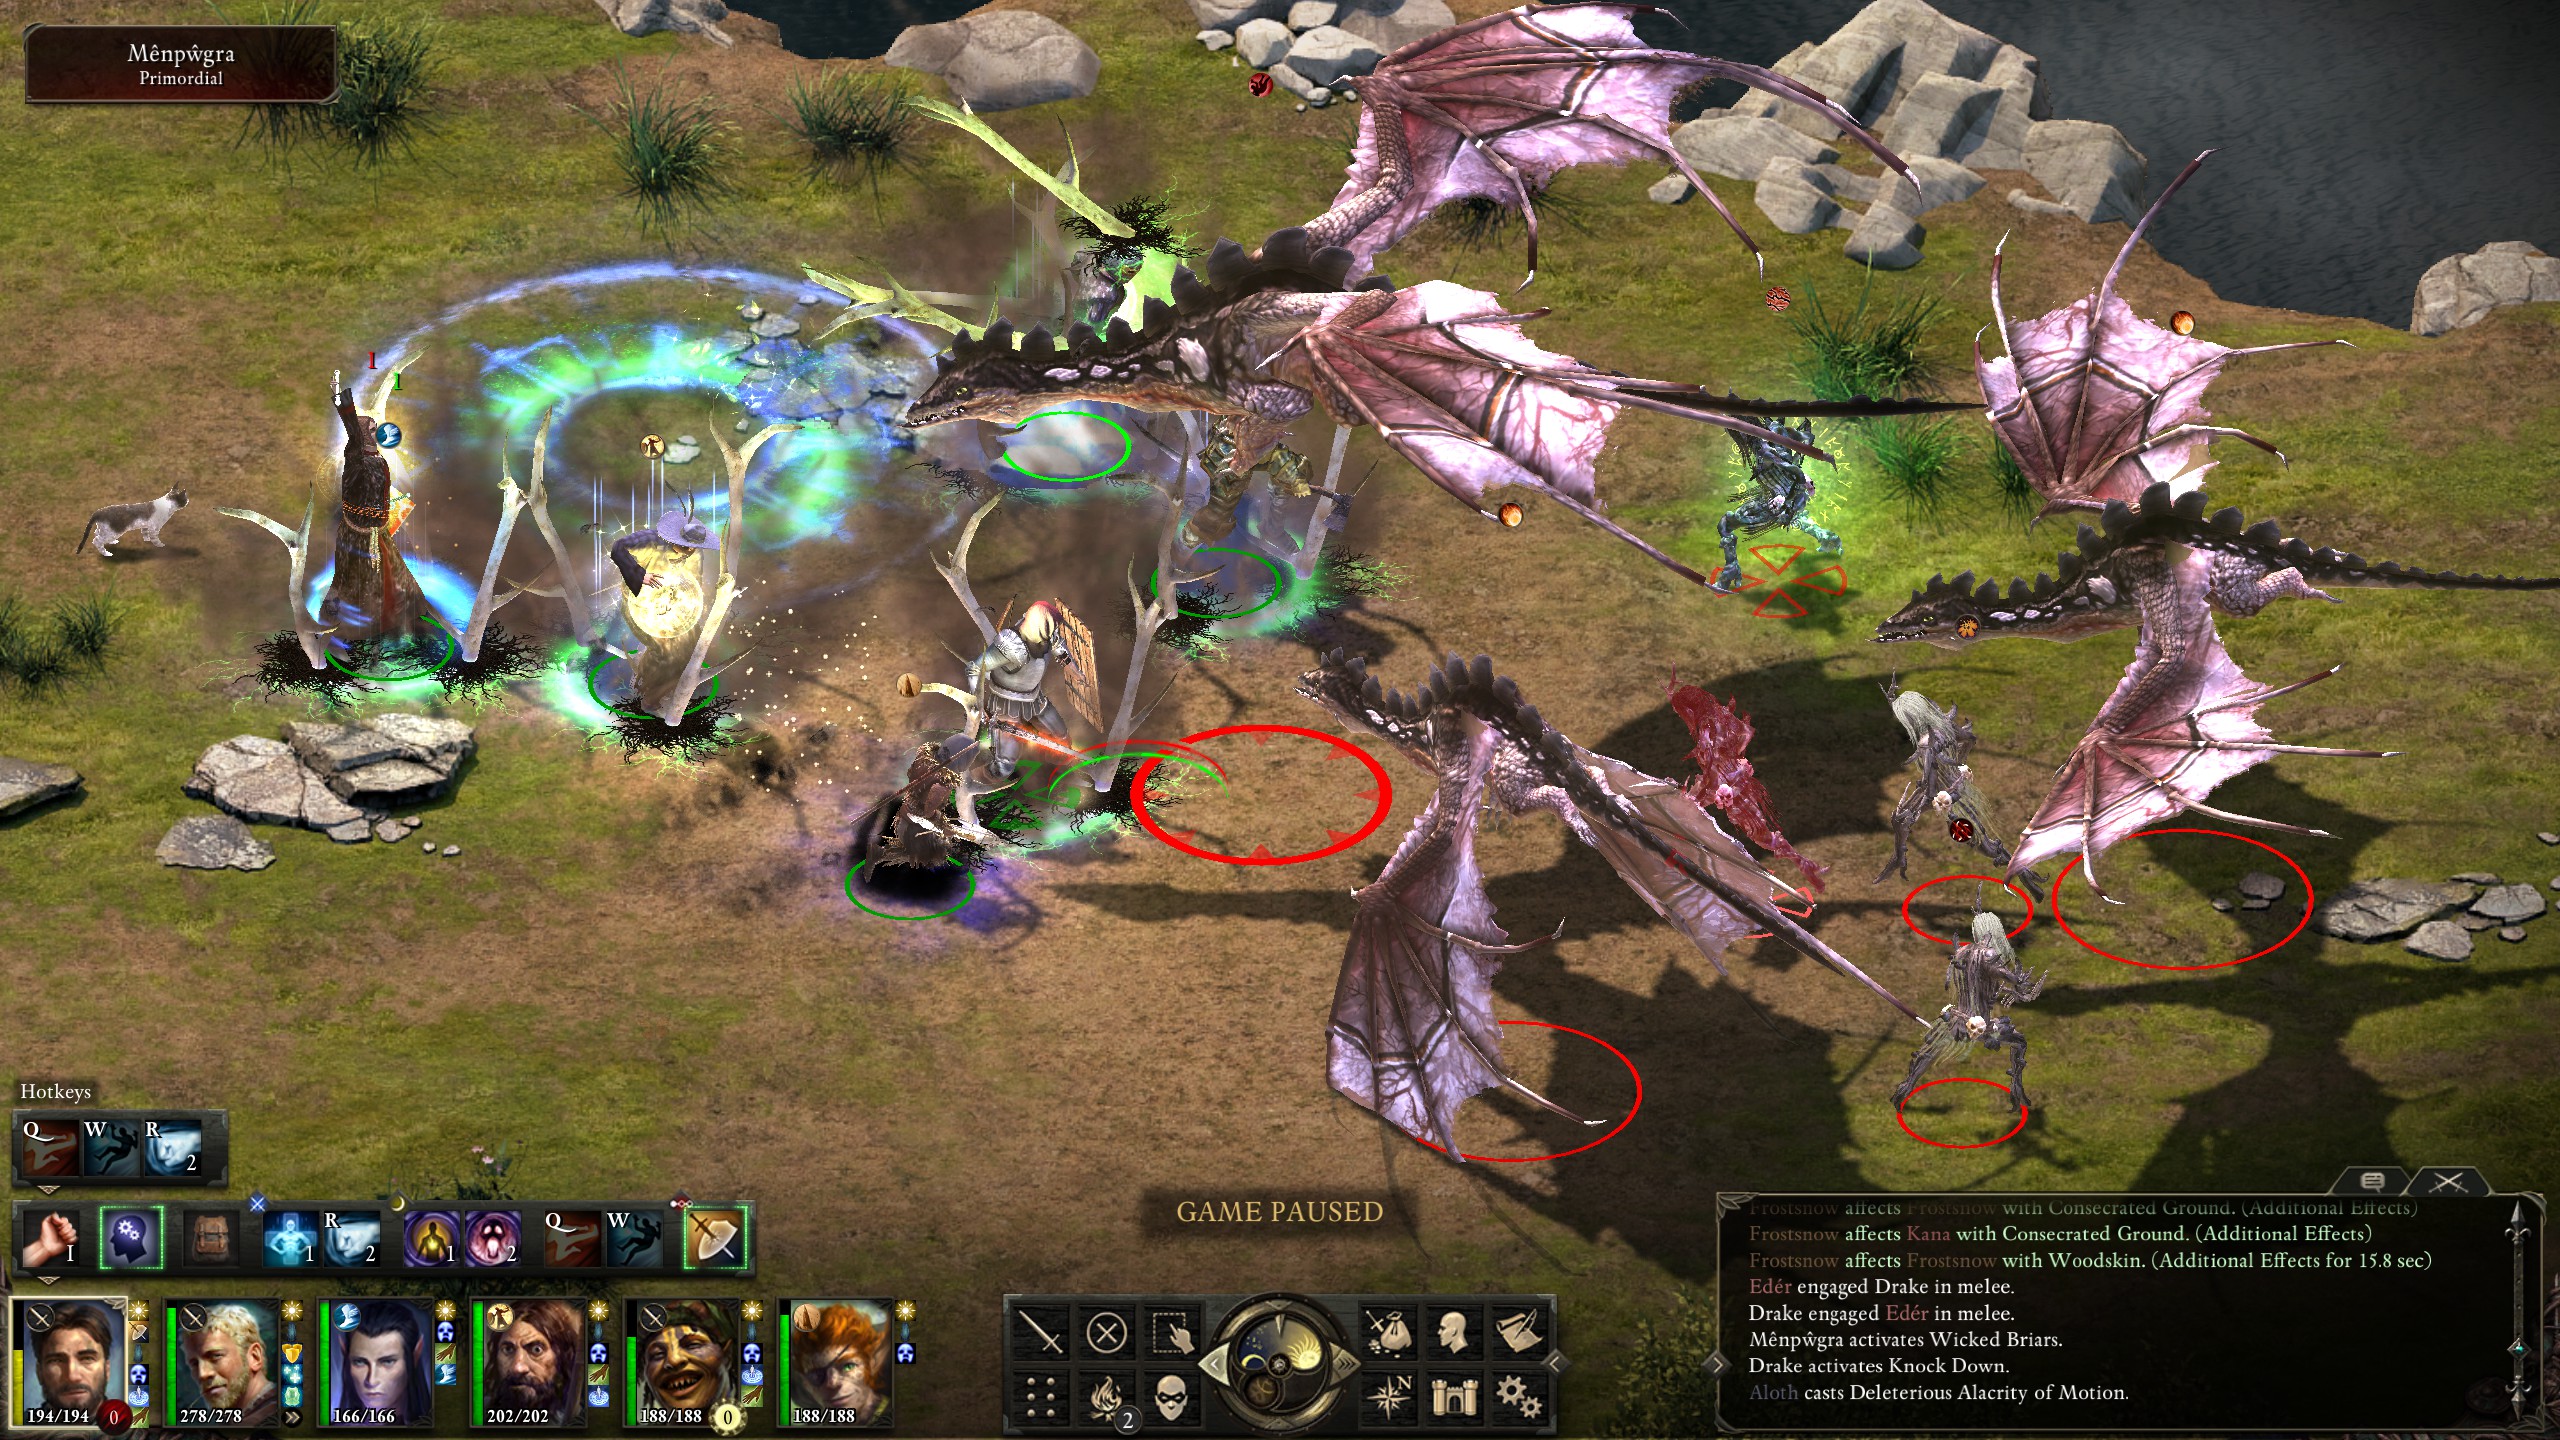
After that is the cliff of Pearlwood Bluff with a few drakes, menpwgra, and a hidden cave. Around this time I realized the glory of "Vulnerable Attack" on my Monk, which slows attacks down by 20% but gives 5 Damage Reduction (DR), extremely useful for heavily-armored foes.
Detour complete, it was on to Dyrford Village via Stormwall George (the latter of which I forgot to screenshot).
Quests in hand I proceeded to clear out Dyrford Crossing and its cave, taking Korgrak as a hireling to defend my keep.
The Dryford Ruins which had been made into a Skaenenite temple were long, but I managed to clear that rat's nest in a single rest.
With the cruel cultists dead it was time trespass on the Engwithian ruins of Cliaban Rilag for the Greater Good.
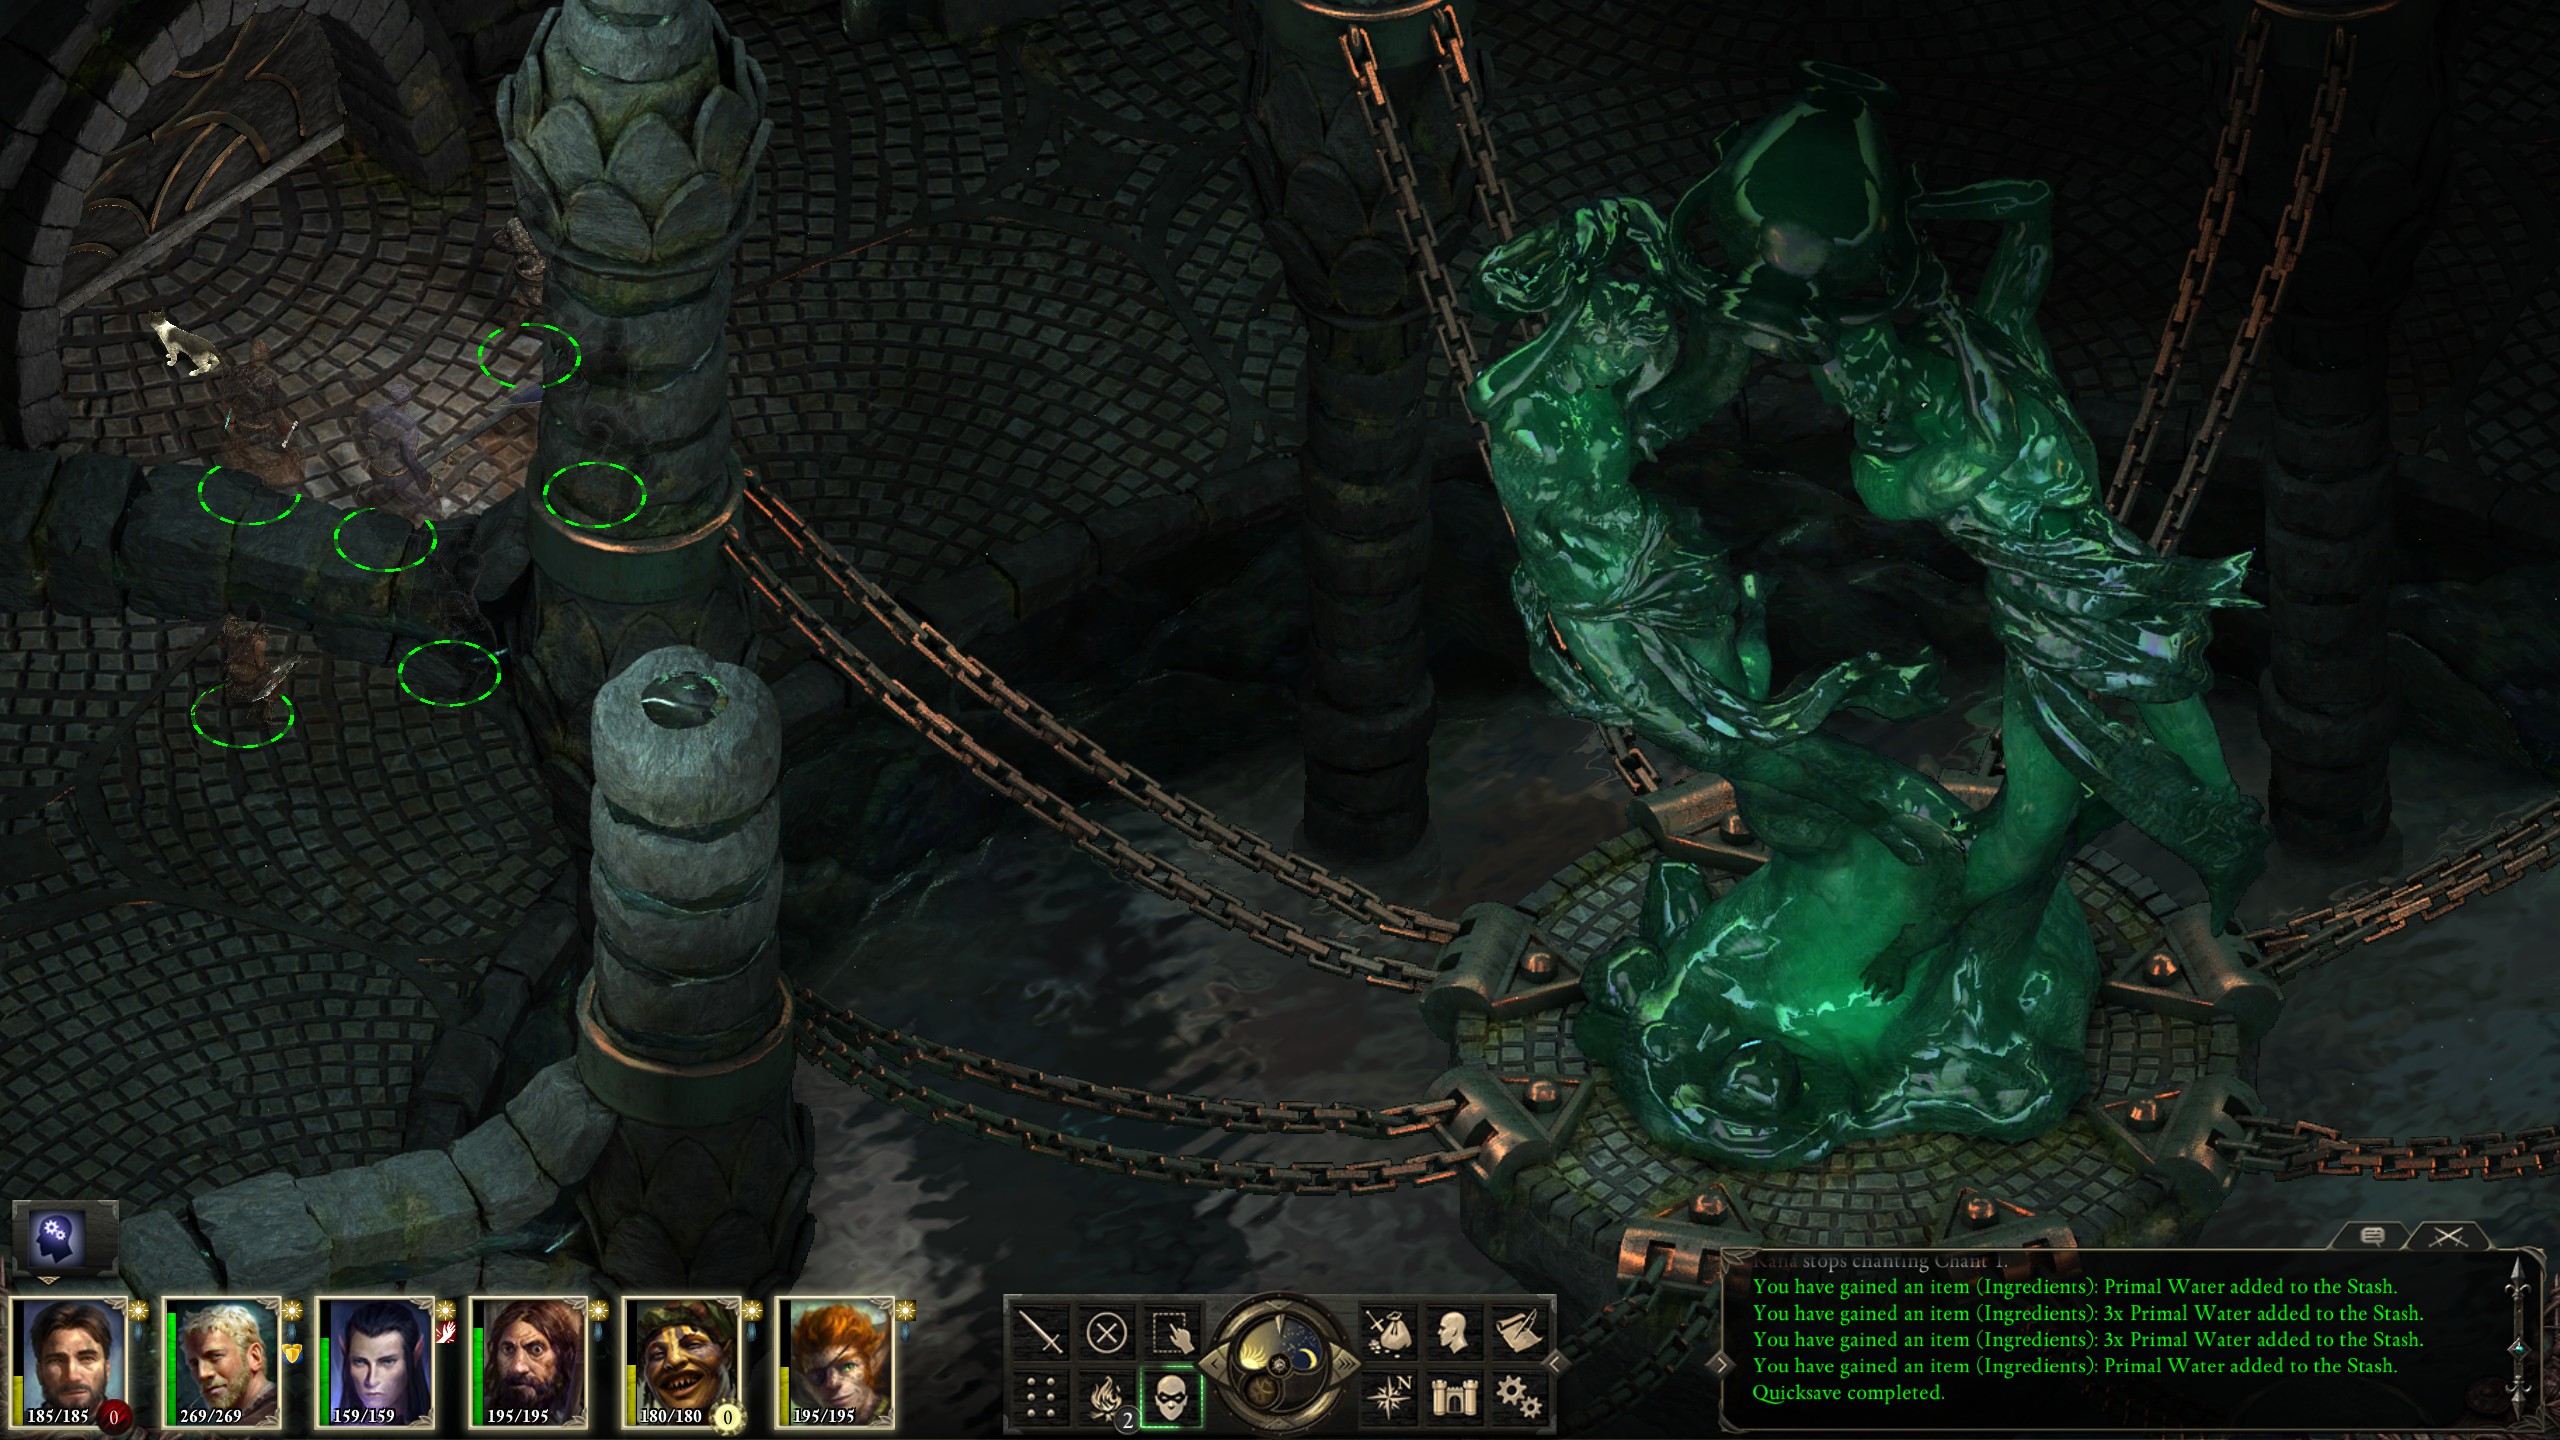
The fights were not difficult, but the scenery was gorgeous.
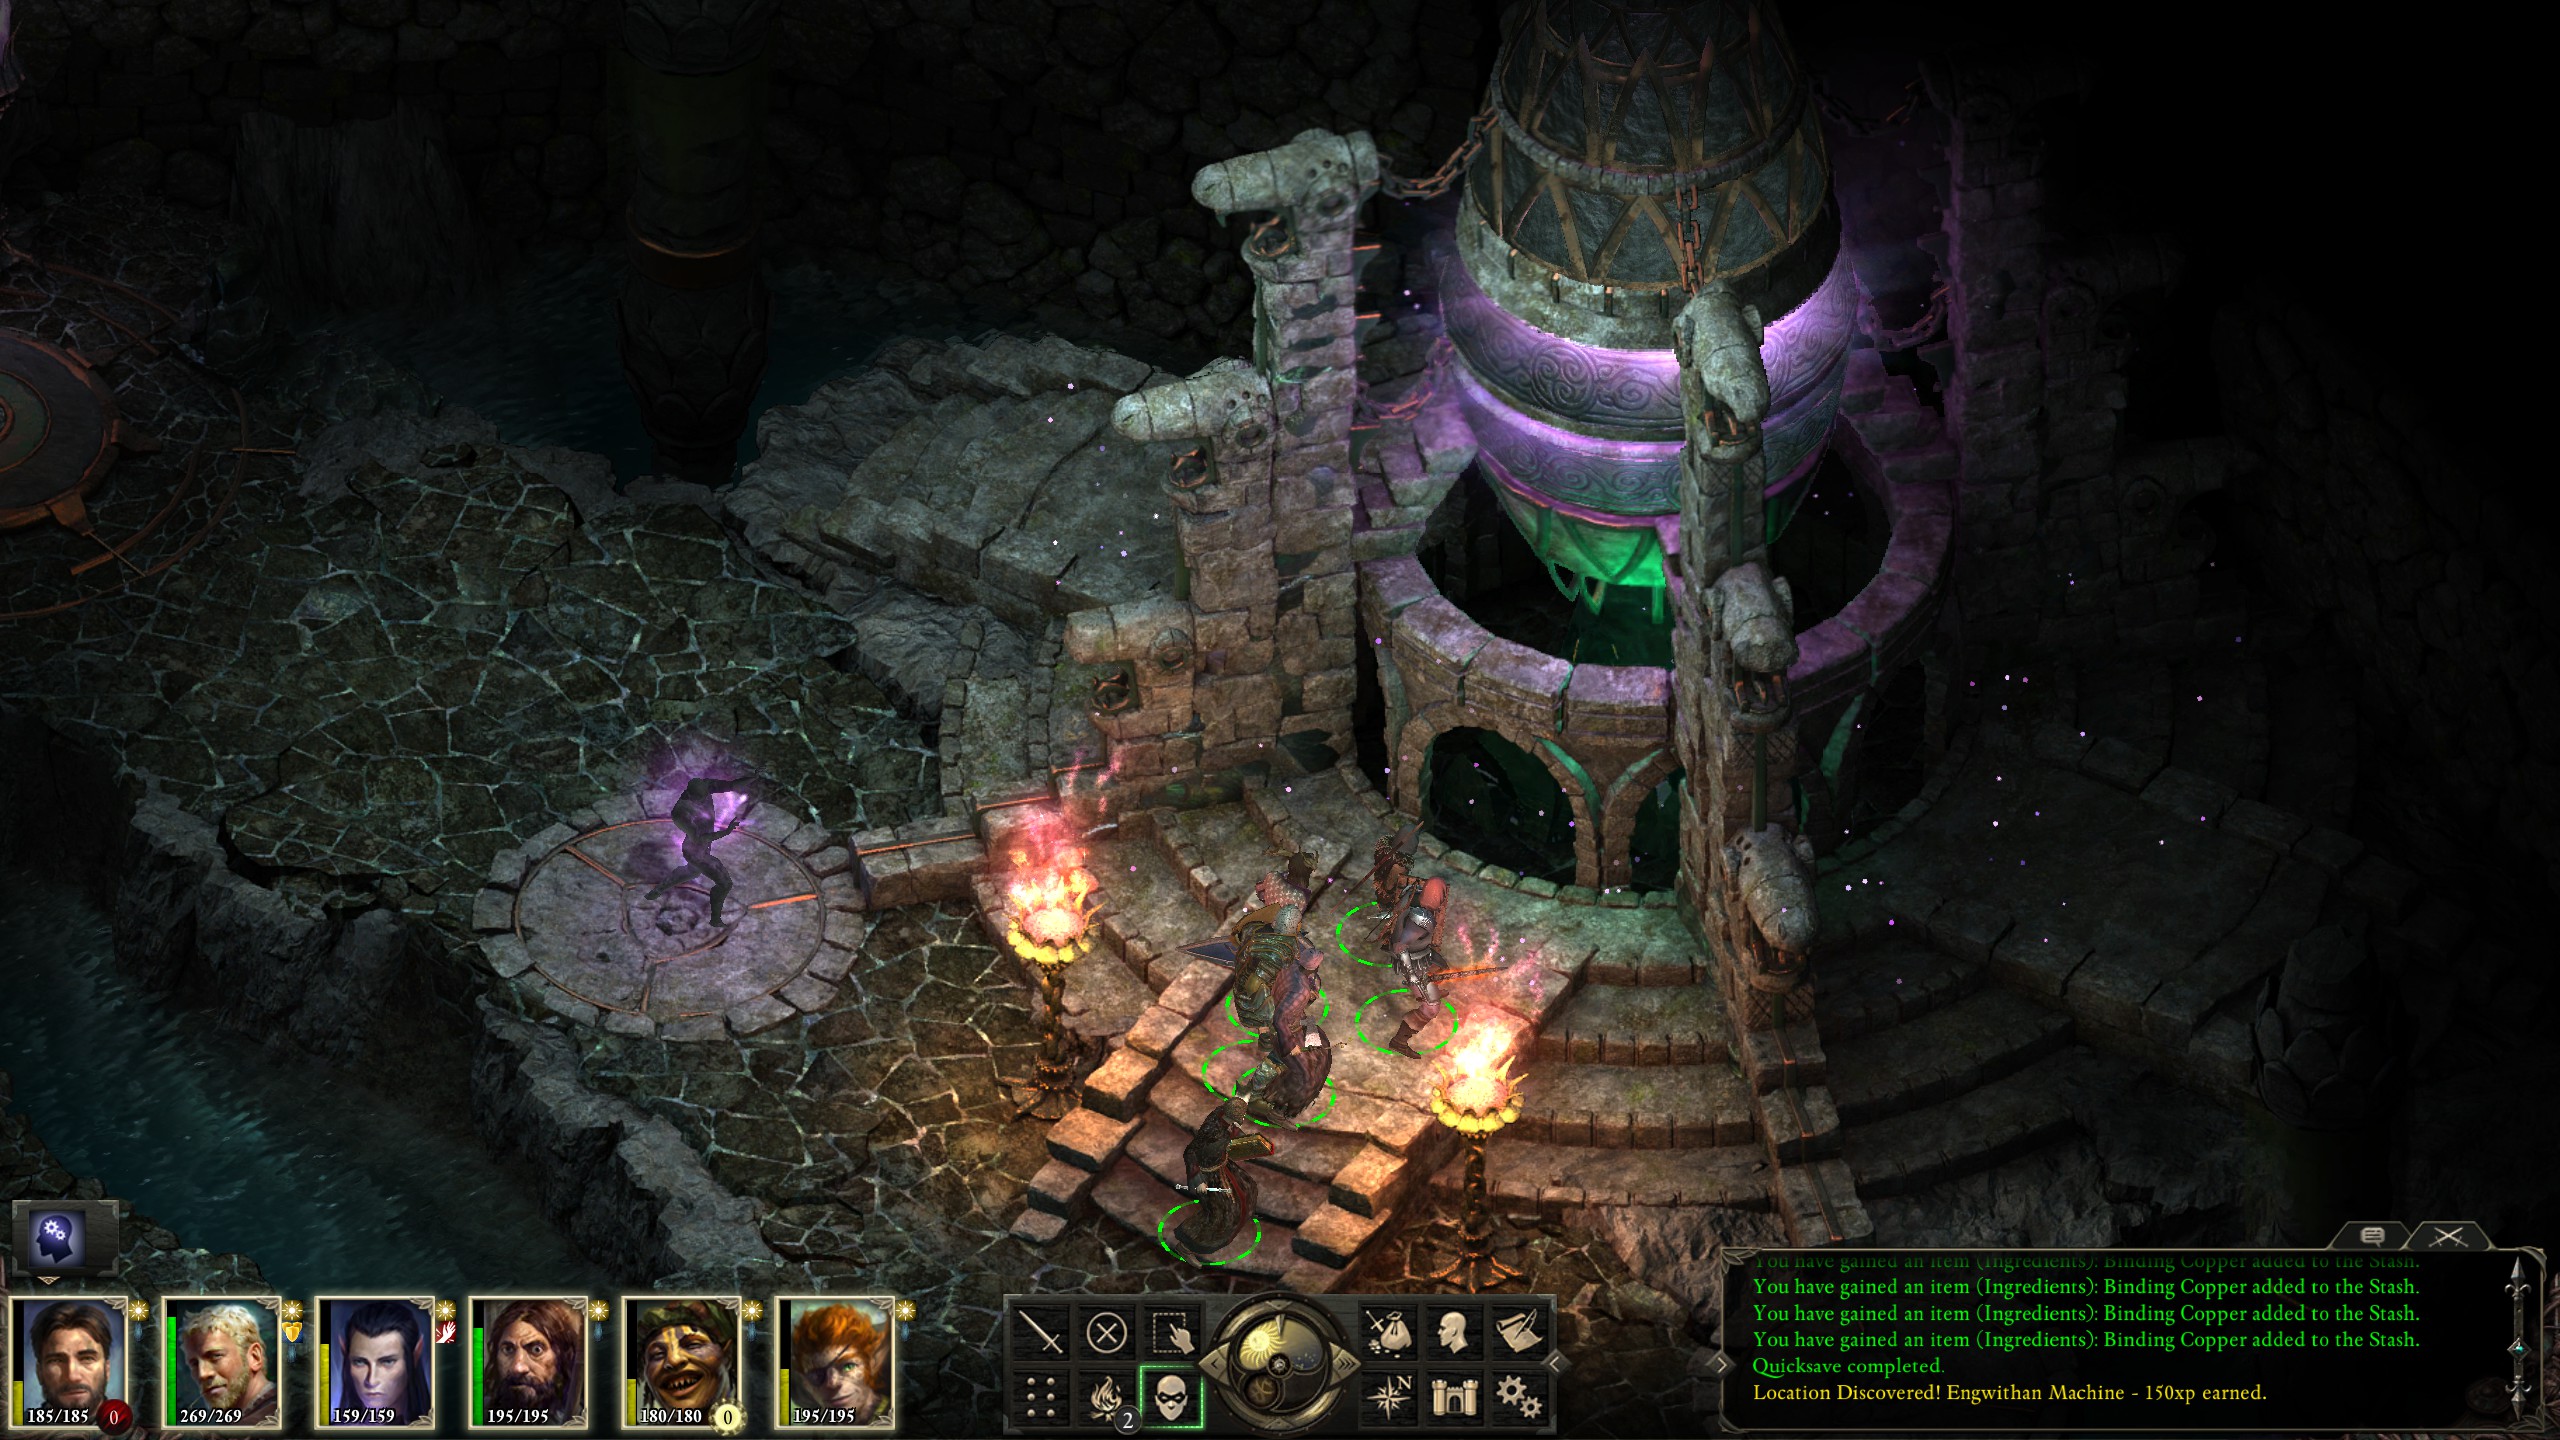
...and the destination was reached without much problem, though I did almost require a rest.
From there it was straightforward to the end of Act II!