Given my constraints I decided to make my main character be a "glass cannon" (18 Might, 18 Agility) Monk. Eder (Fighter) would then take the role of main tank, Aloth (Wizard) of nuker, and Durance (Priest) of healer. The last few spots were a bit more of a toss-up. Kana (Chanter) is particularly fun for his summons and late-game revive, and the chants and healing are both welcome. Hiravas (Druid) has awesome support spells, especially the level 6 "Relentless Storm" spell (periodic Area of Effect (AoE) stun), and he has elemental summons and healing. Grieving Mother (Cipher) has awesome crowd-control abilities like "Dominate" and deadly raw damage spells, though gaining focus can be difficult against heavily-armored foes. Pallagina (Paladin) can be made into a badass tank, but her pre-determined, first class ability selection "Flames of Devotion" tries to build her into some kind of Damage Per Second (DPS) option, which seems generally blasphemous to me. I ended up settling on Kana and Hiravas for the awesome summons and stuns they provided, though I strongly considered substituting Grieving Mother for Hiravas.
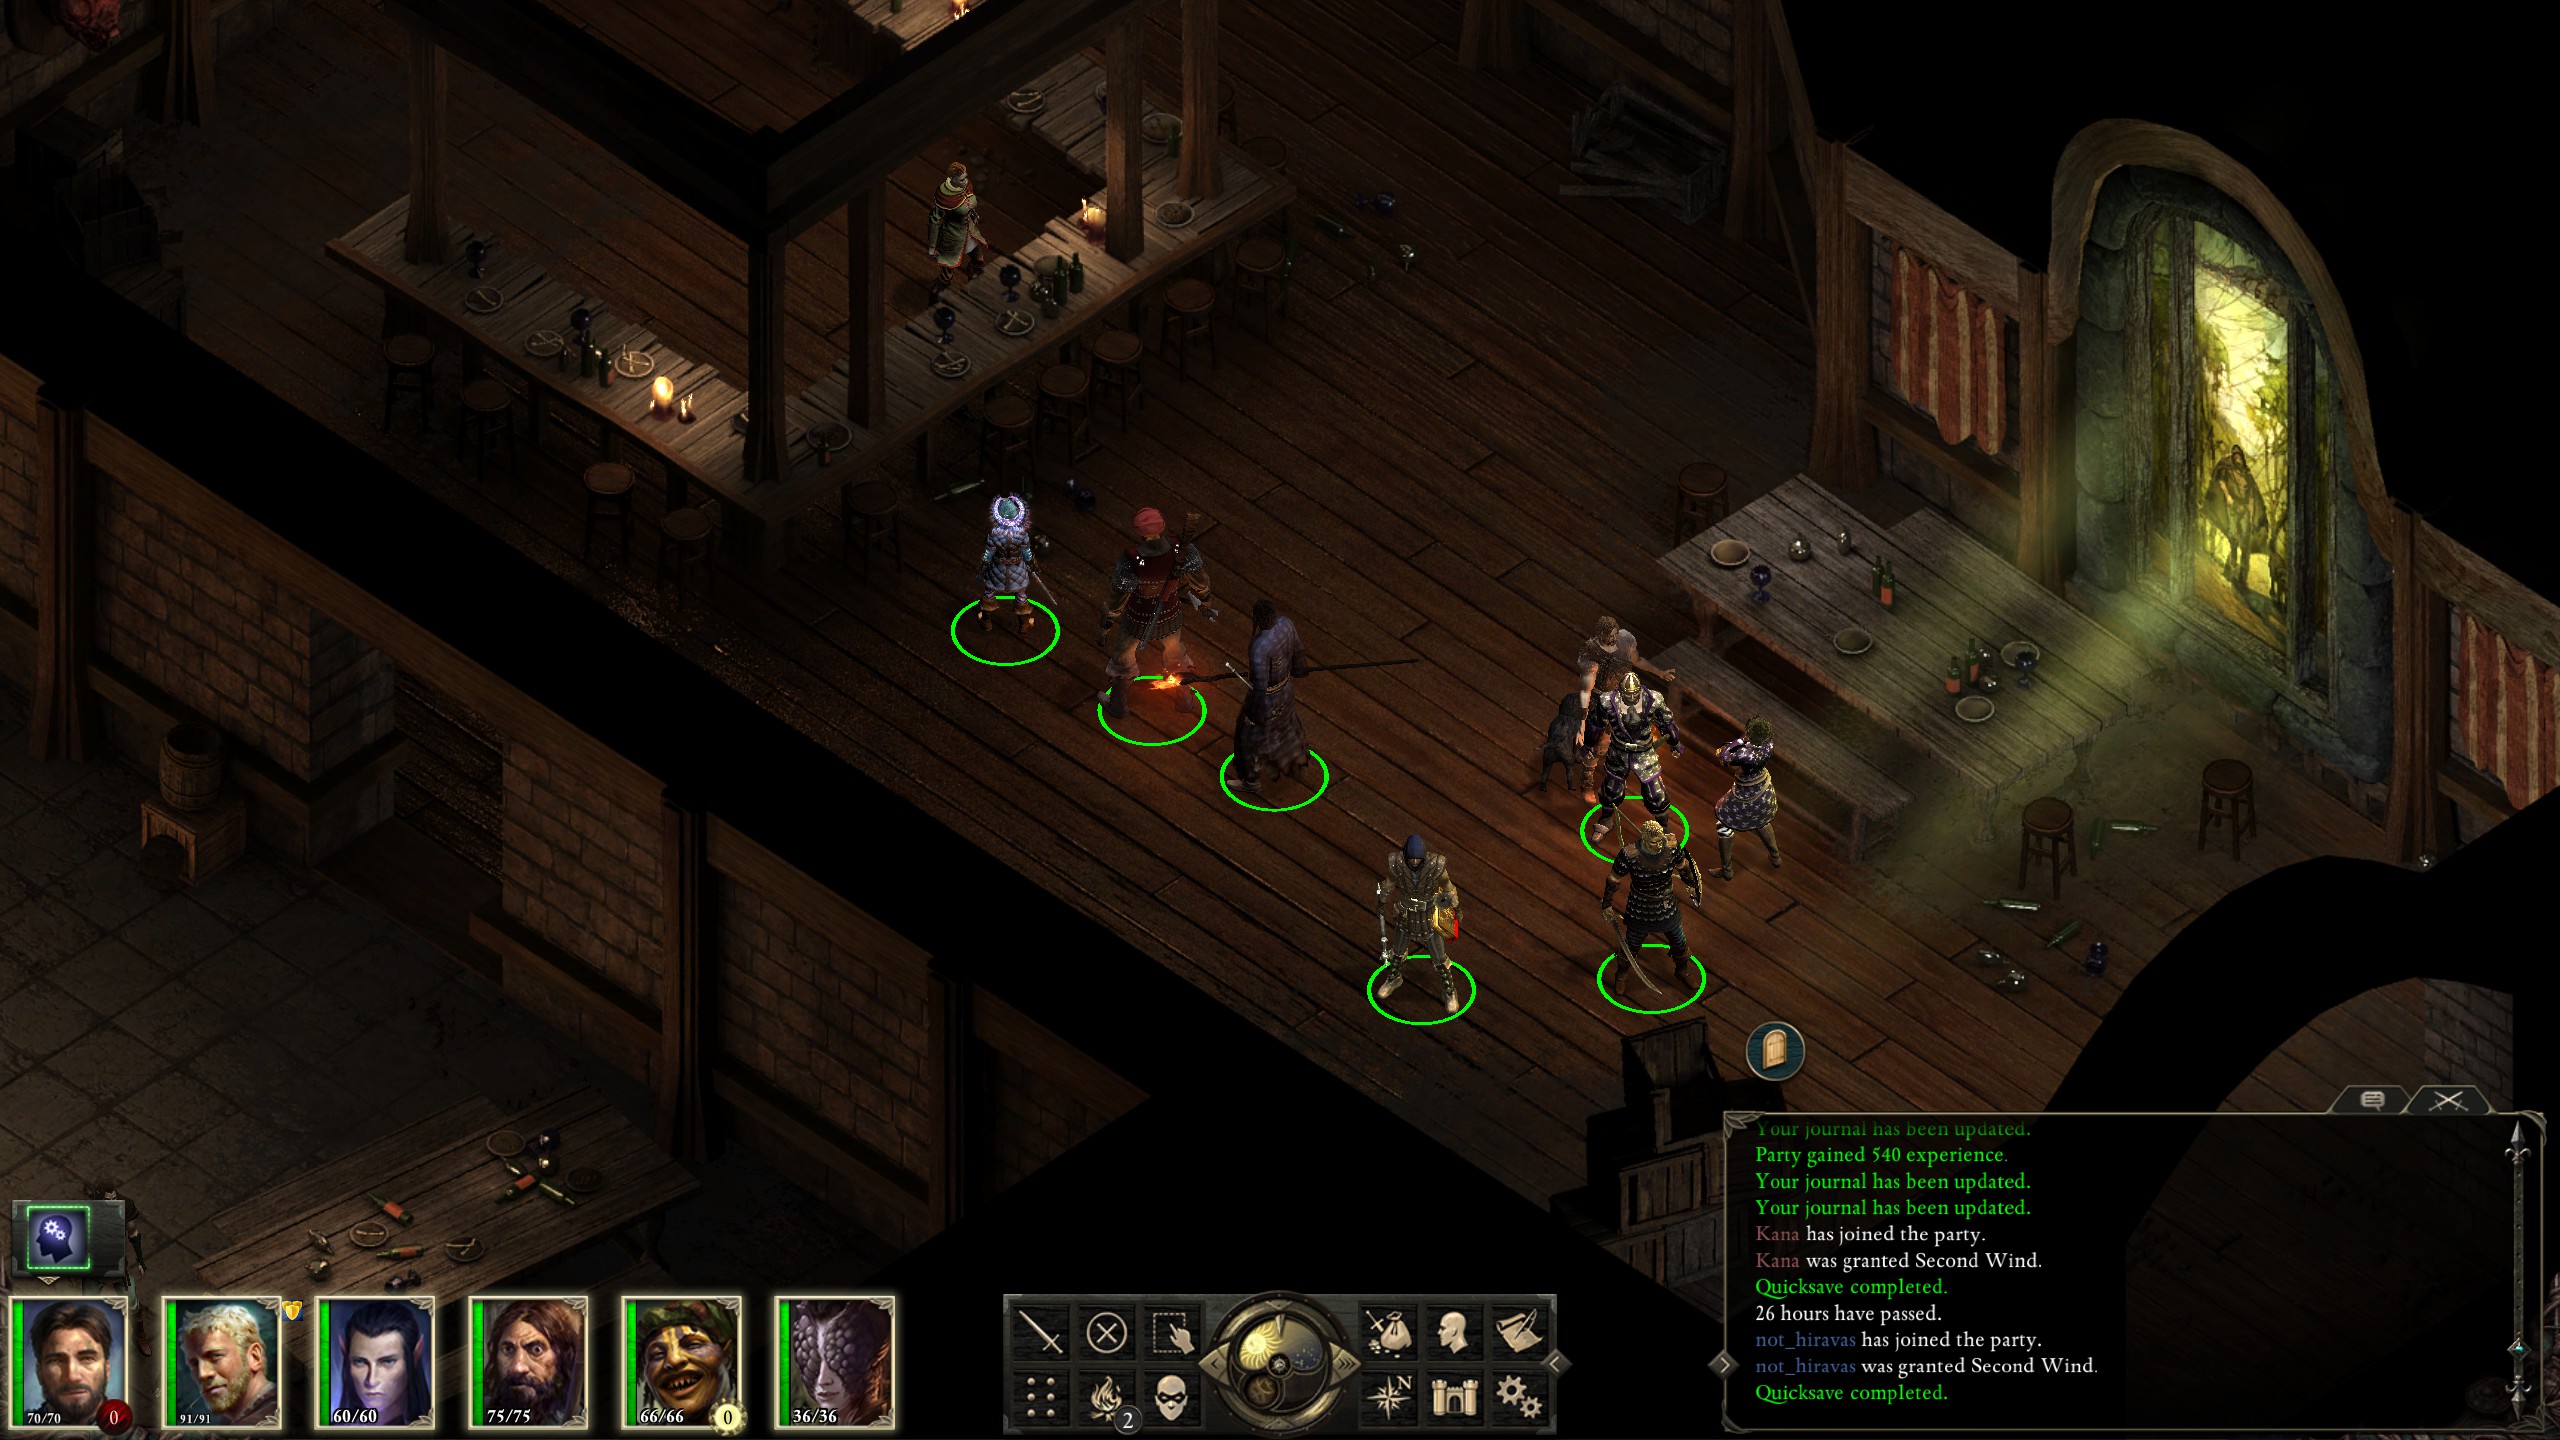
The plan was to then grab all Gilded Vale quests and then clear the surrounding areas in the following order: Valewood, Magran's Fork, Anslog's Compass, Black Meadow, and finally Madhmr Bridge. A few amusing events happened along the way, including my Hiravas wannabe, tactfully named "not_hiravas", getting one-shot by "Necrotic Lance":

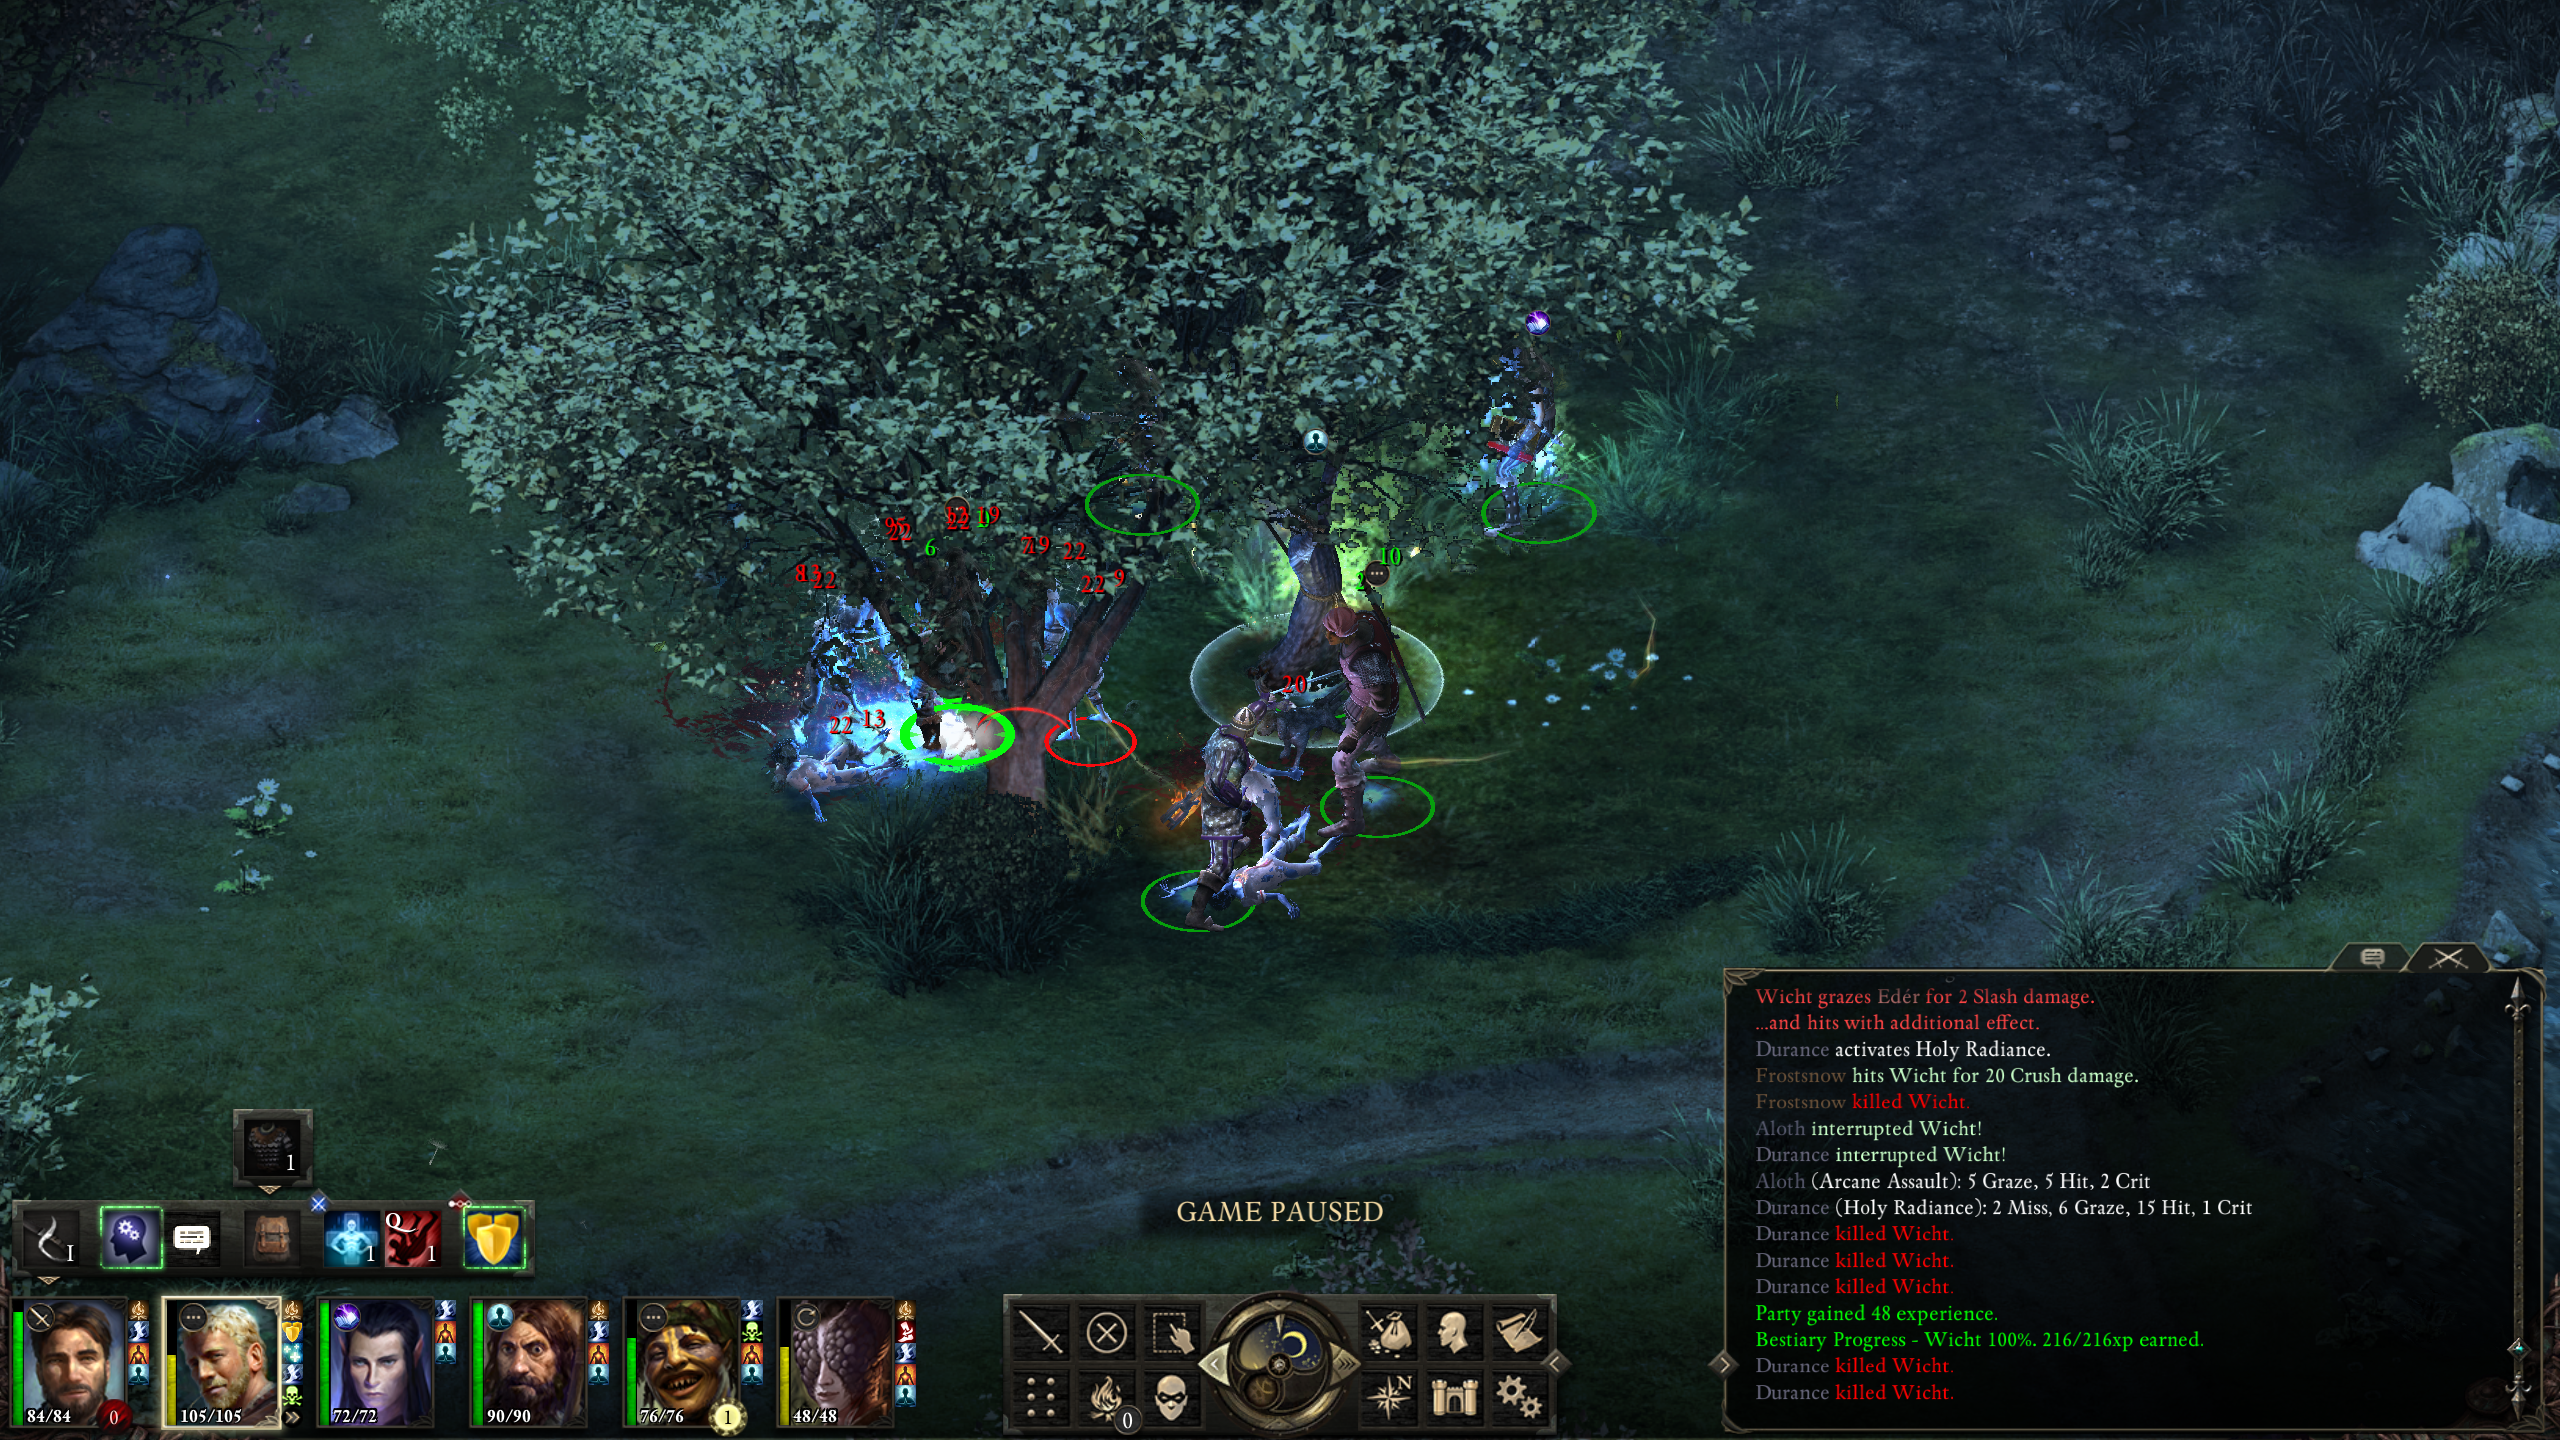
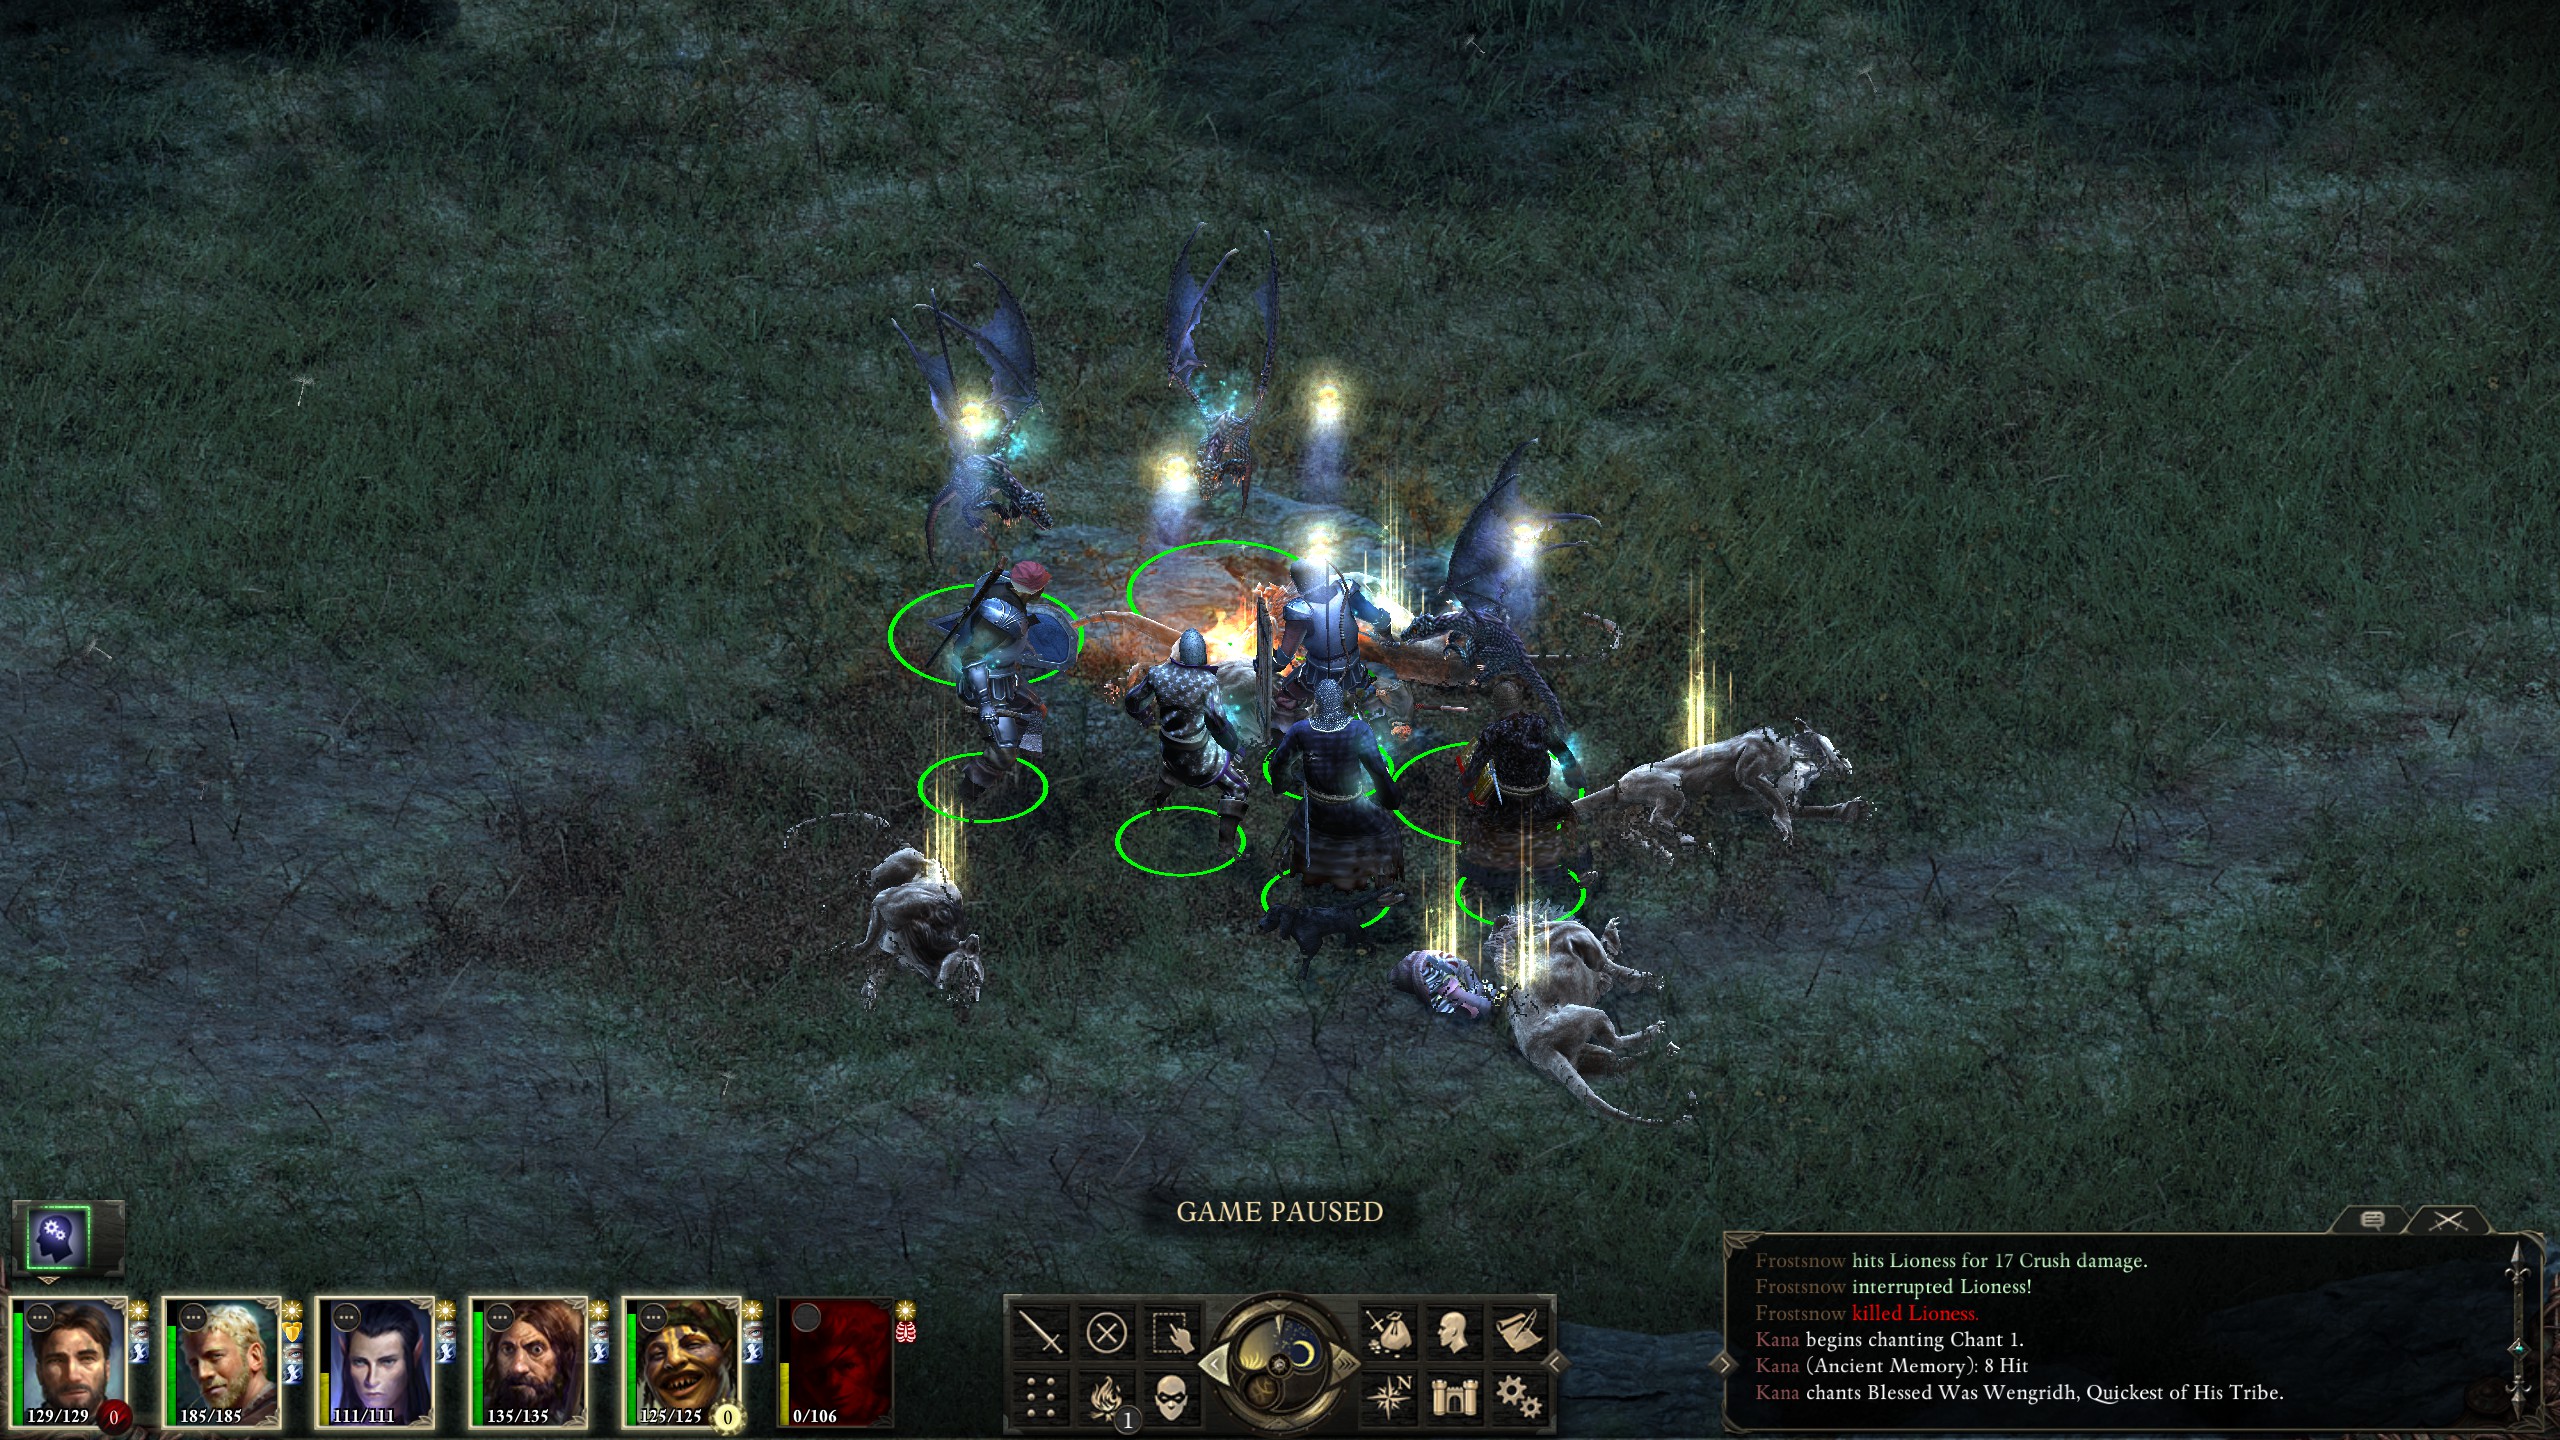
Durance going on a wicht "rampage":
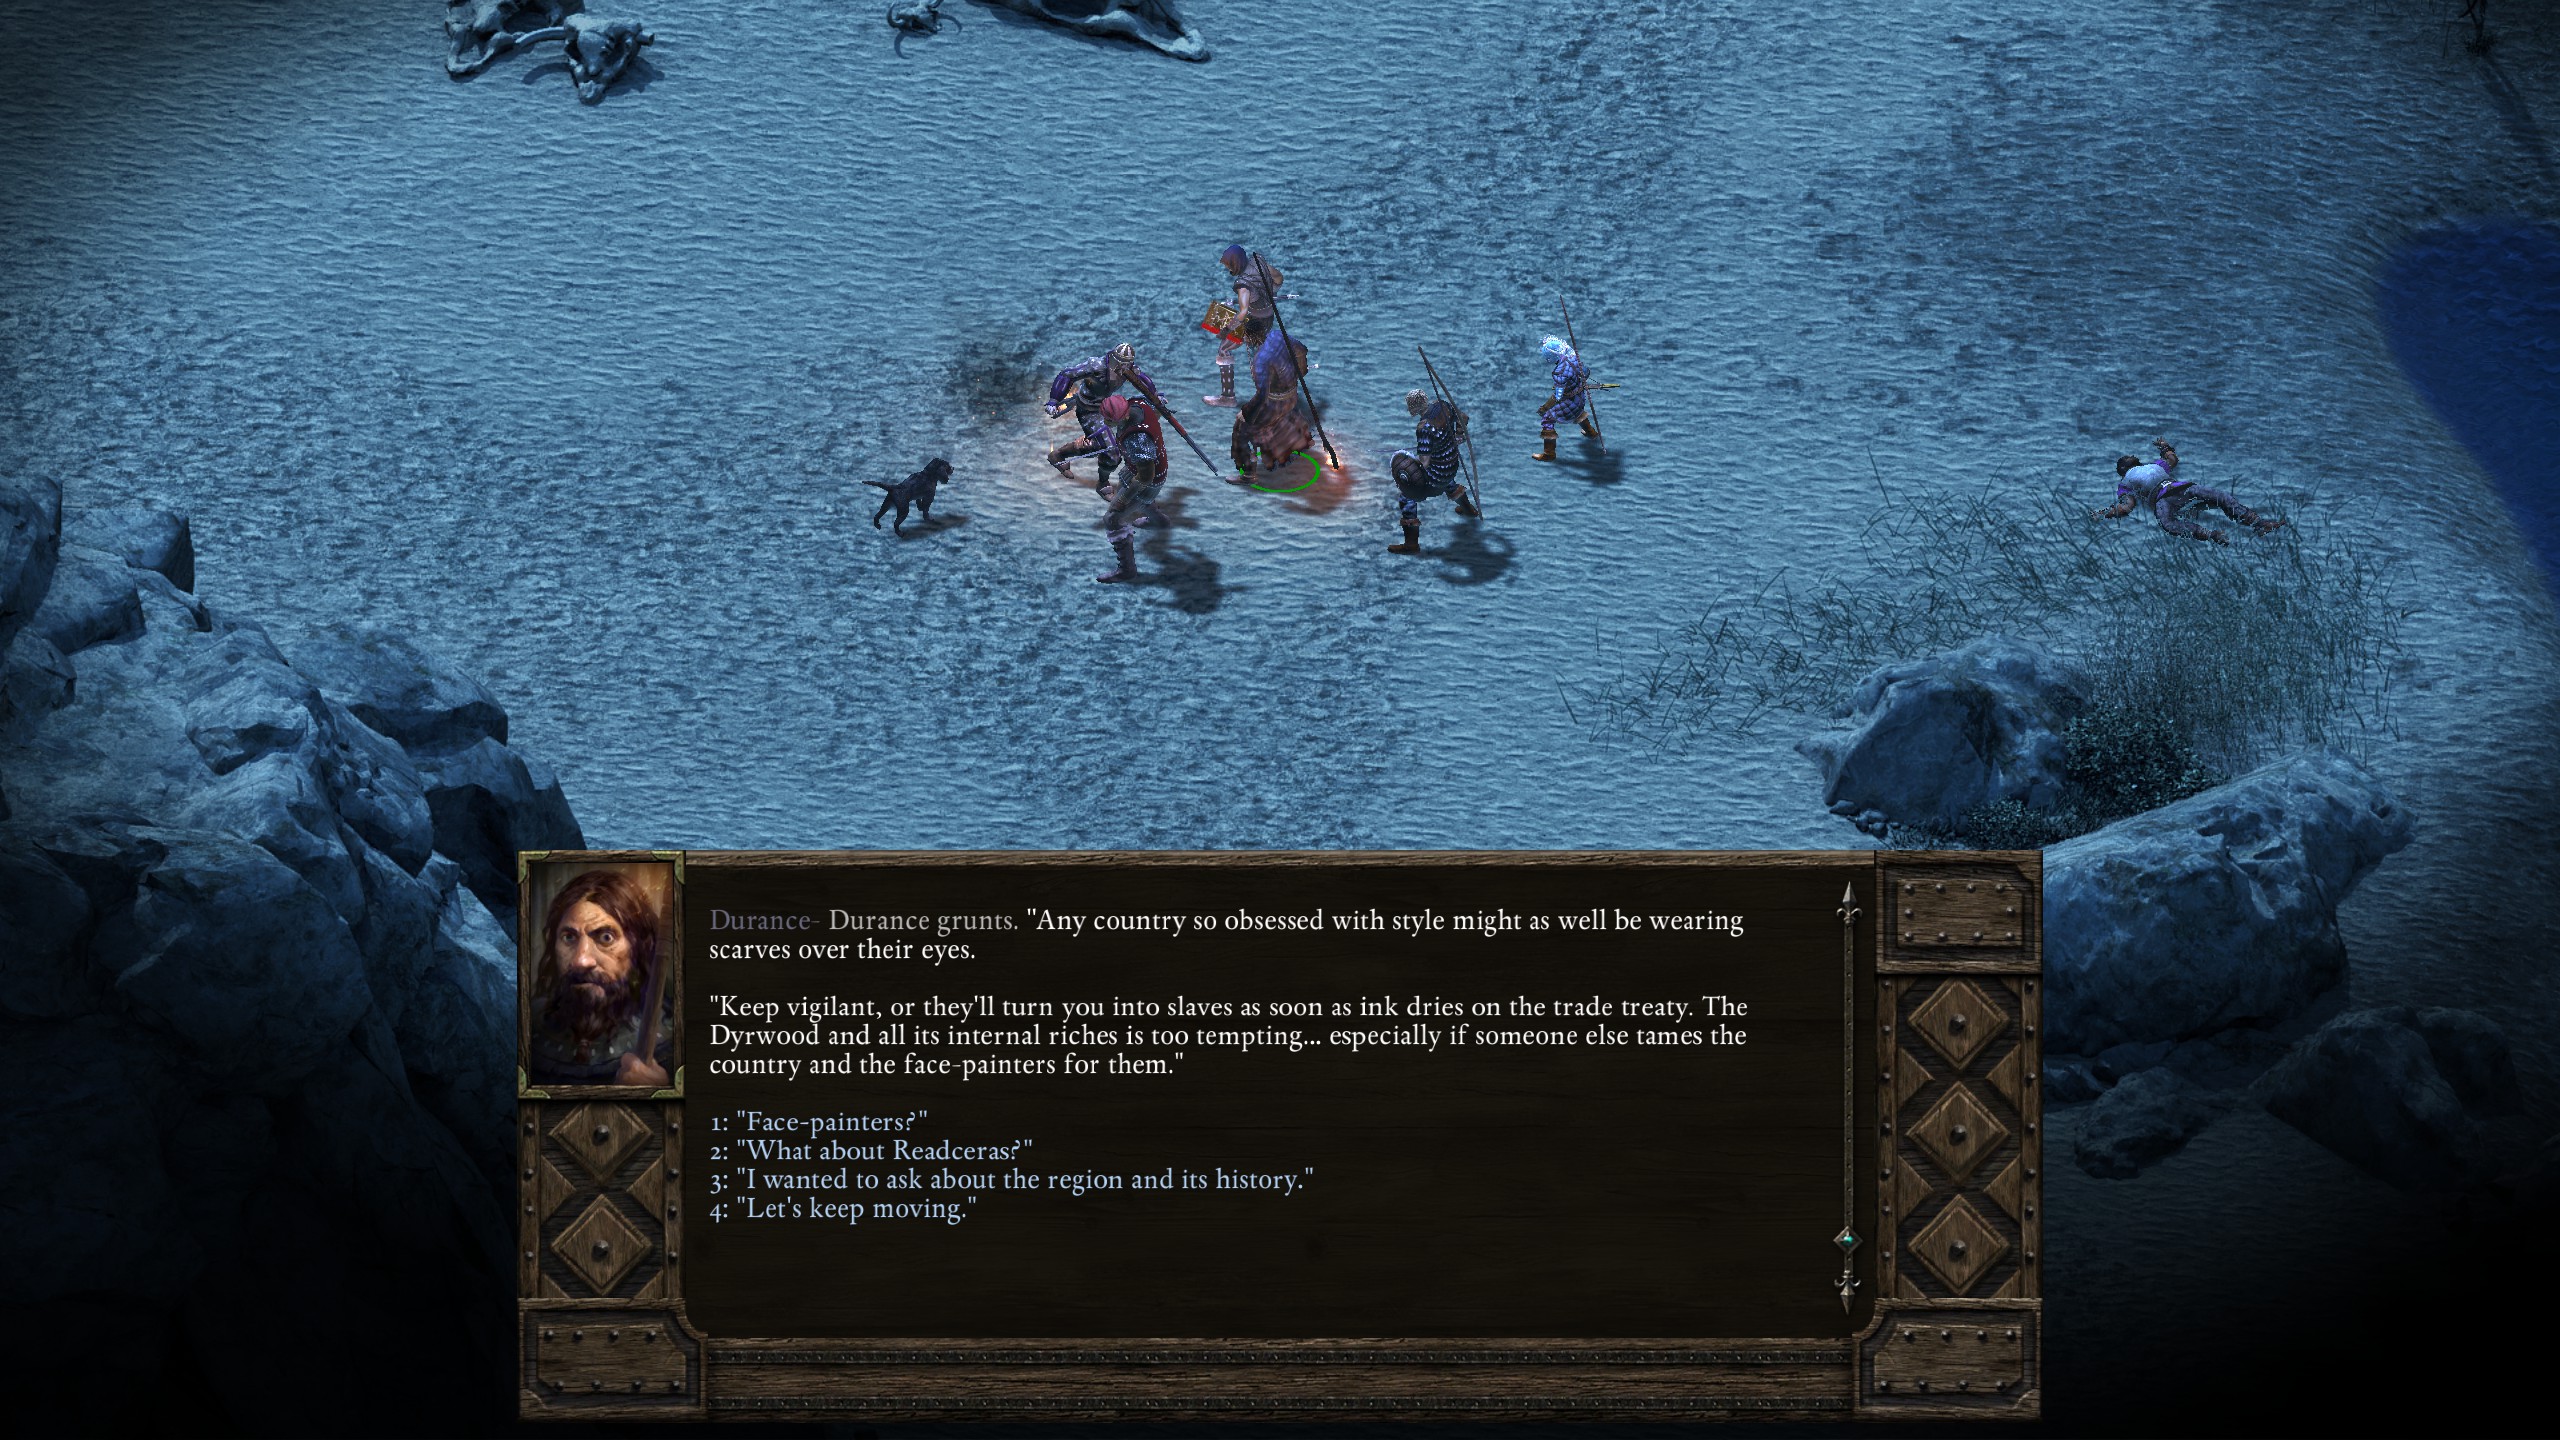
As well as dispensing words of wisdom about traders:
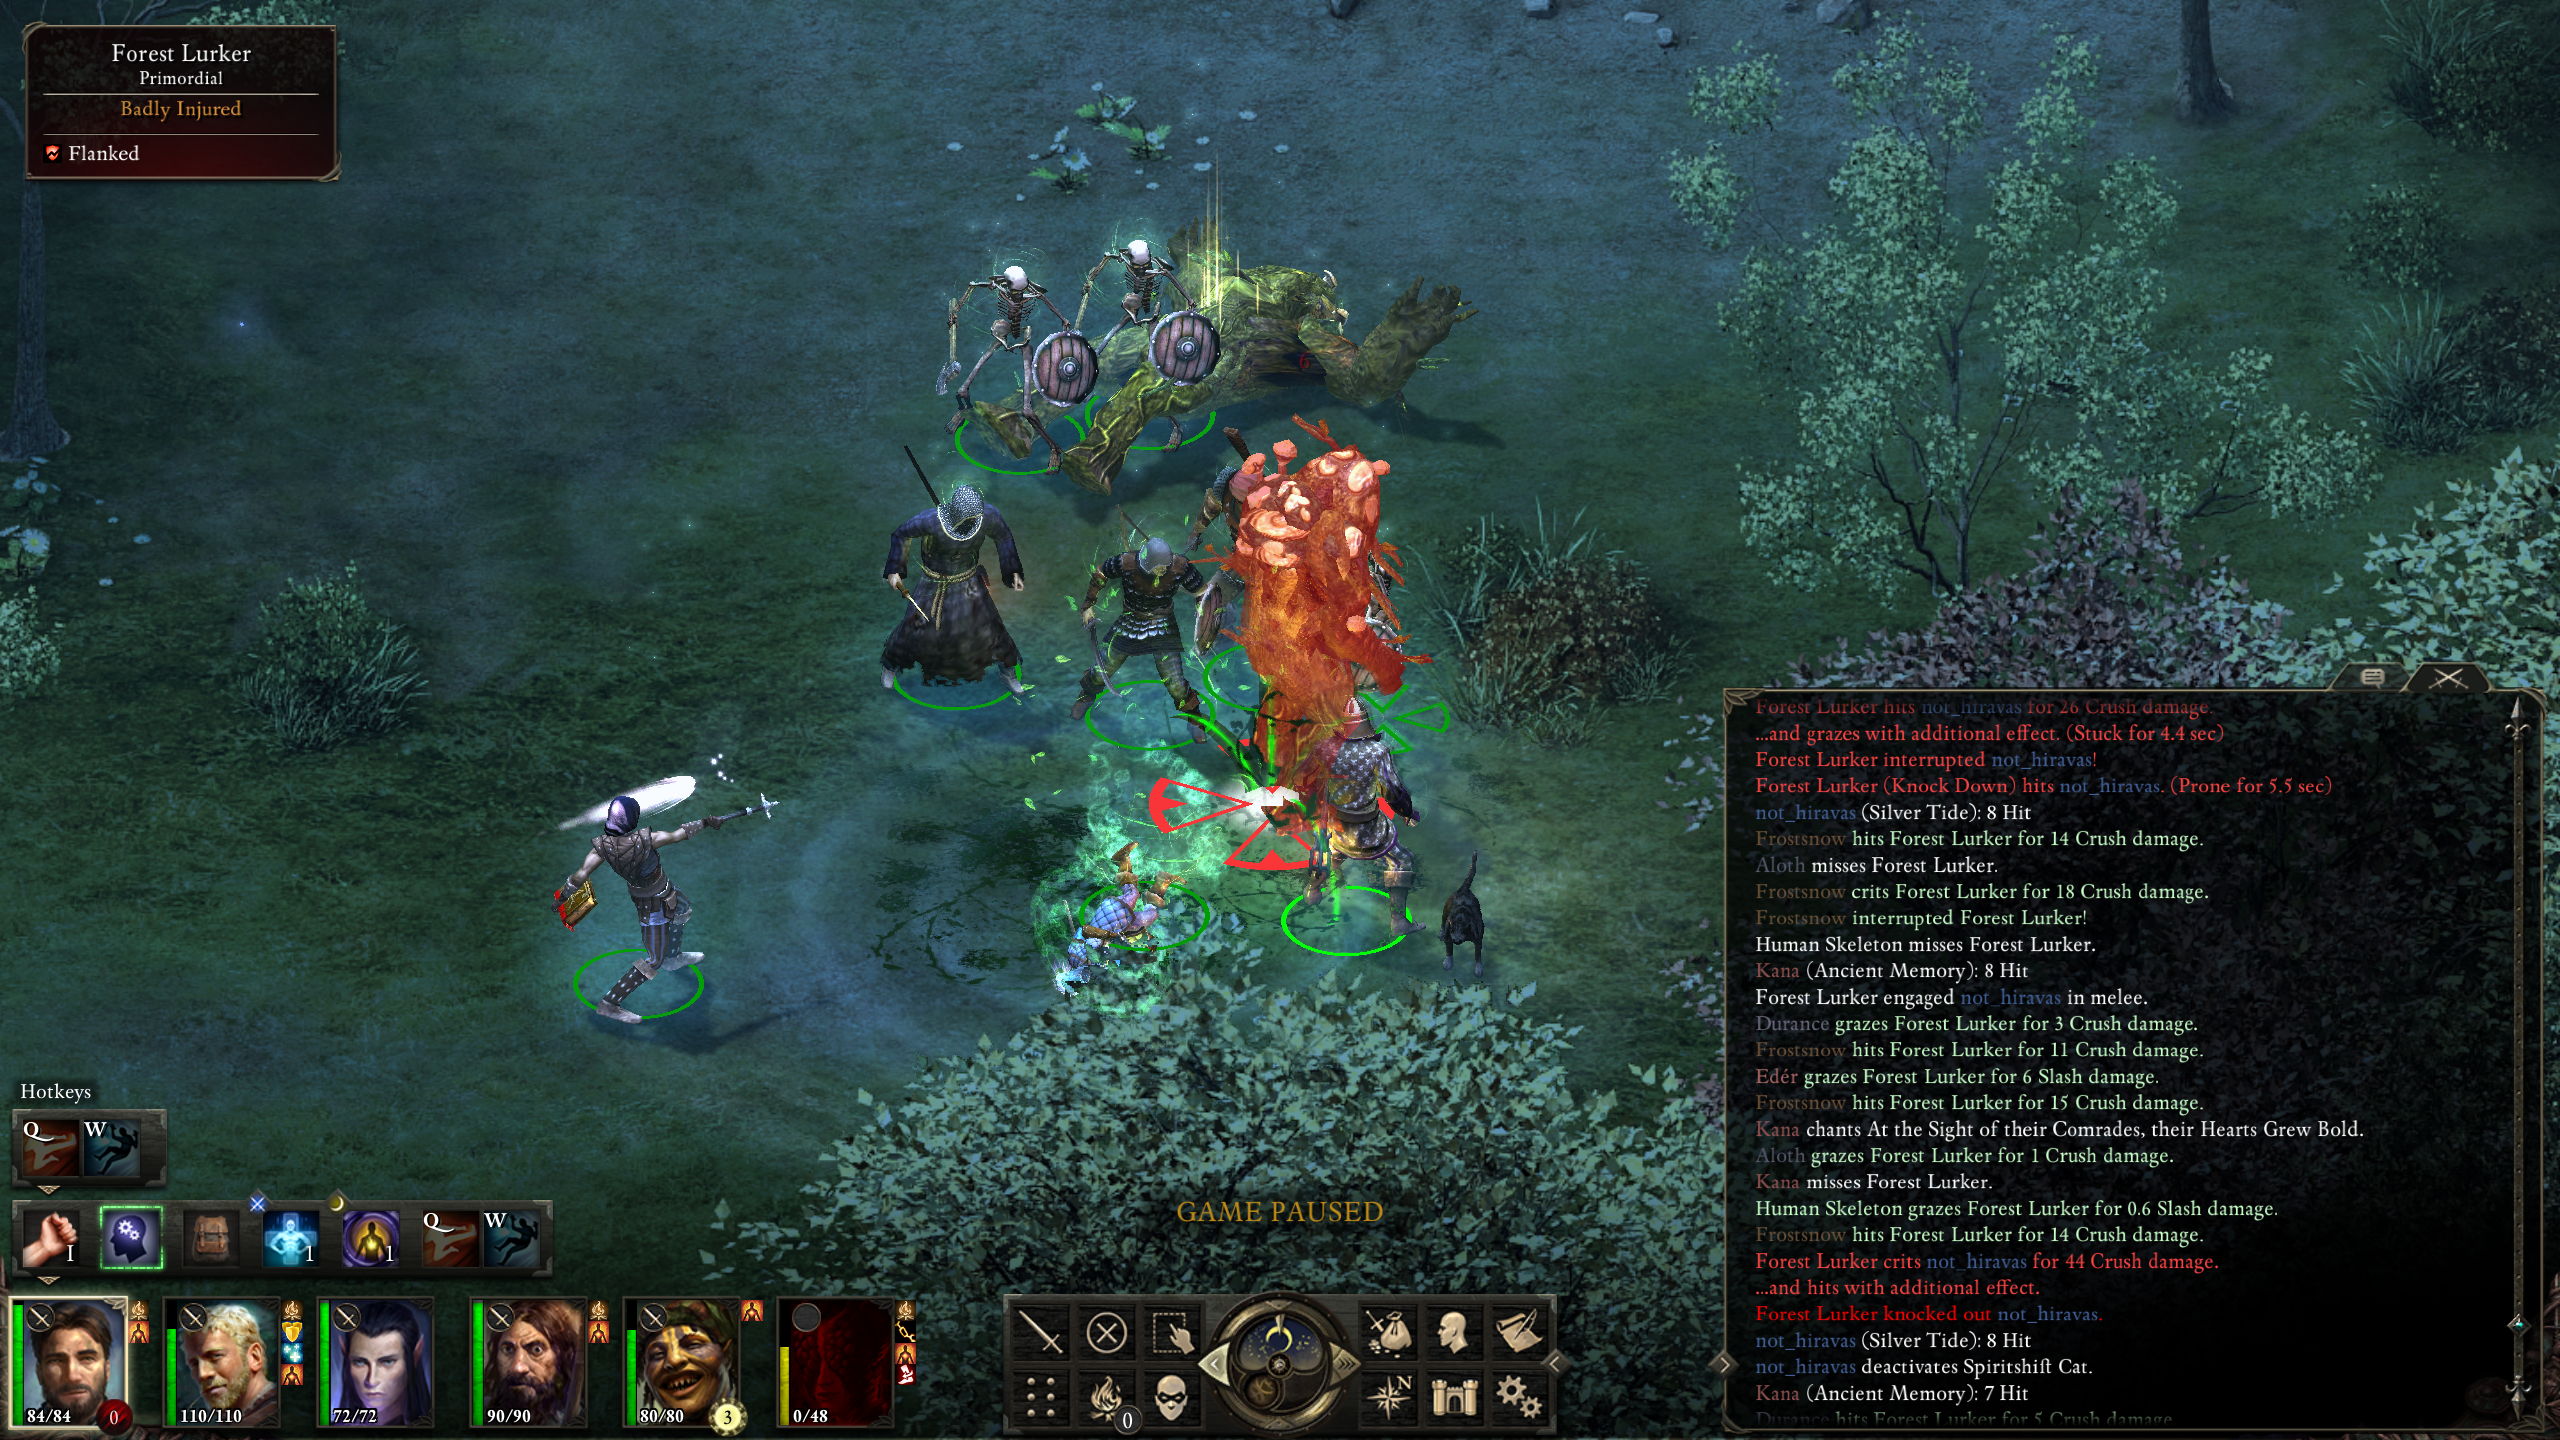
And fake Hiravas getting rooted and knocked out by a Forest Lurker:
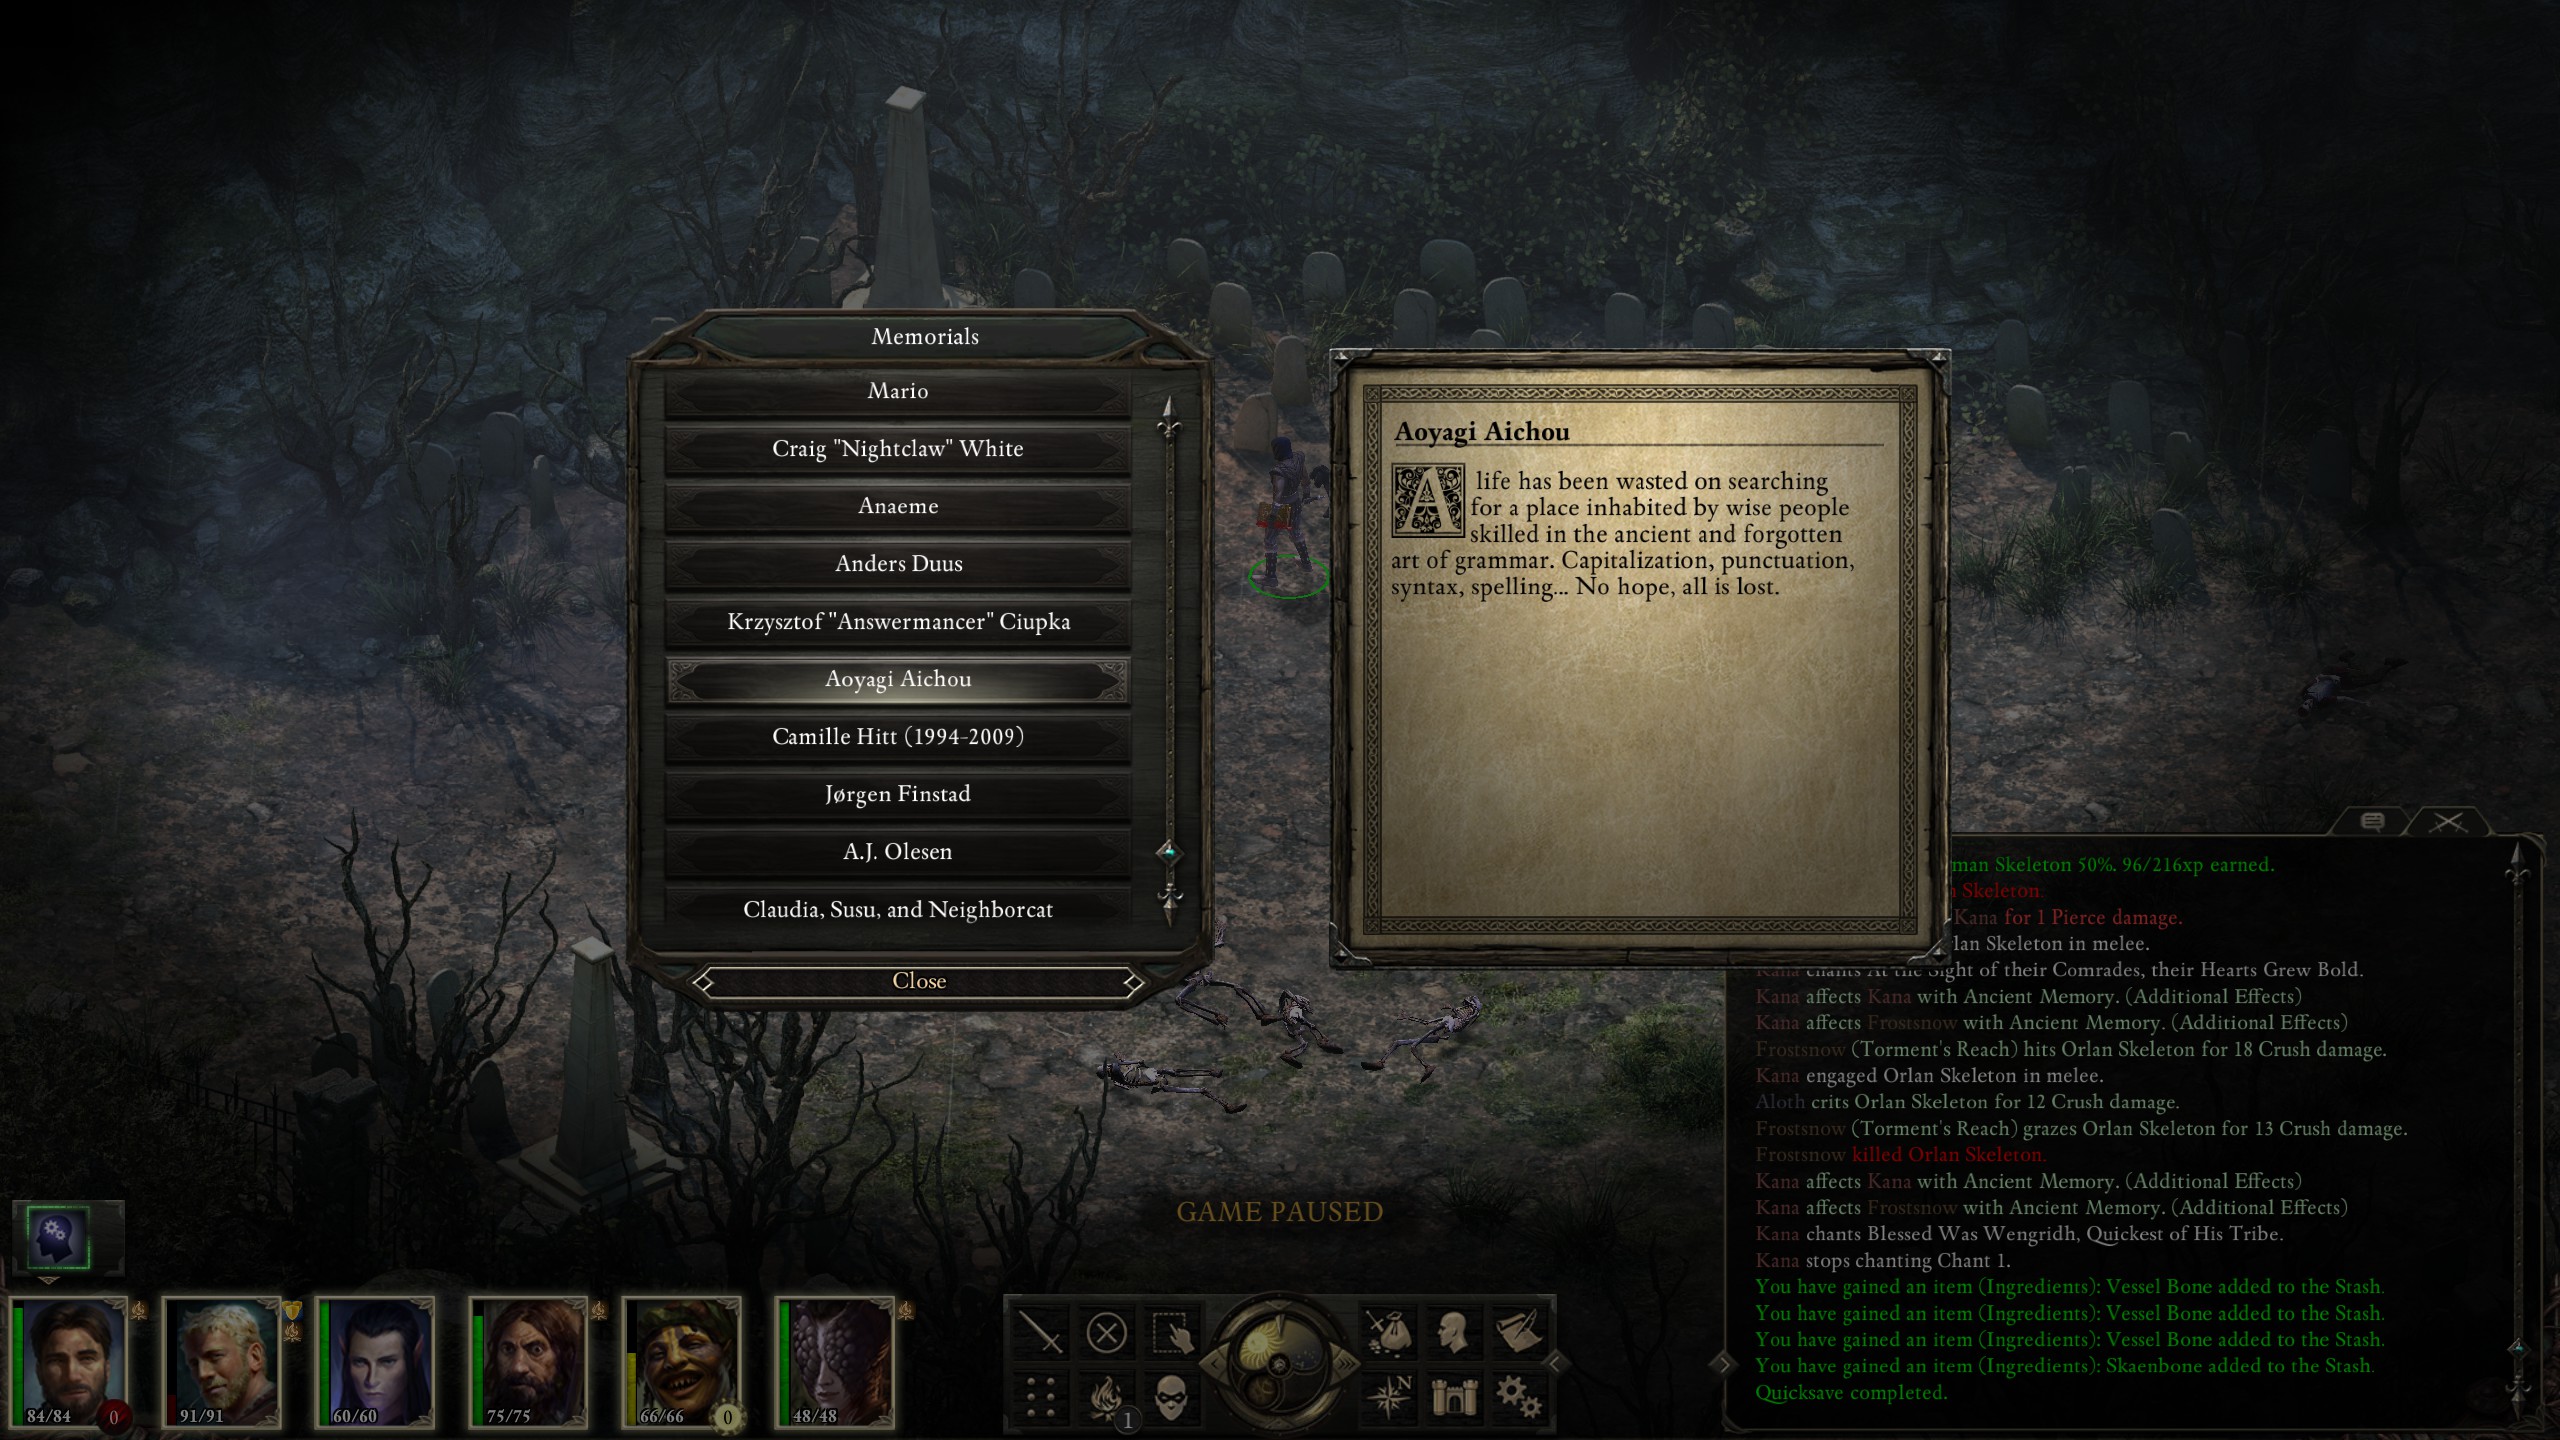
Once I'd cleared these areas it was time to proceed to the big, bad dude, Raedric, and his cronies. Oh, and Esternwood was a breeze by this point, although one of the backer memorials had an amusing quip:
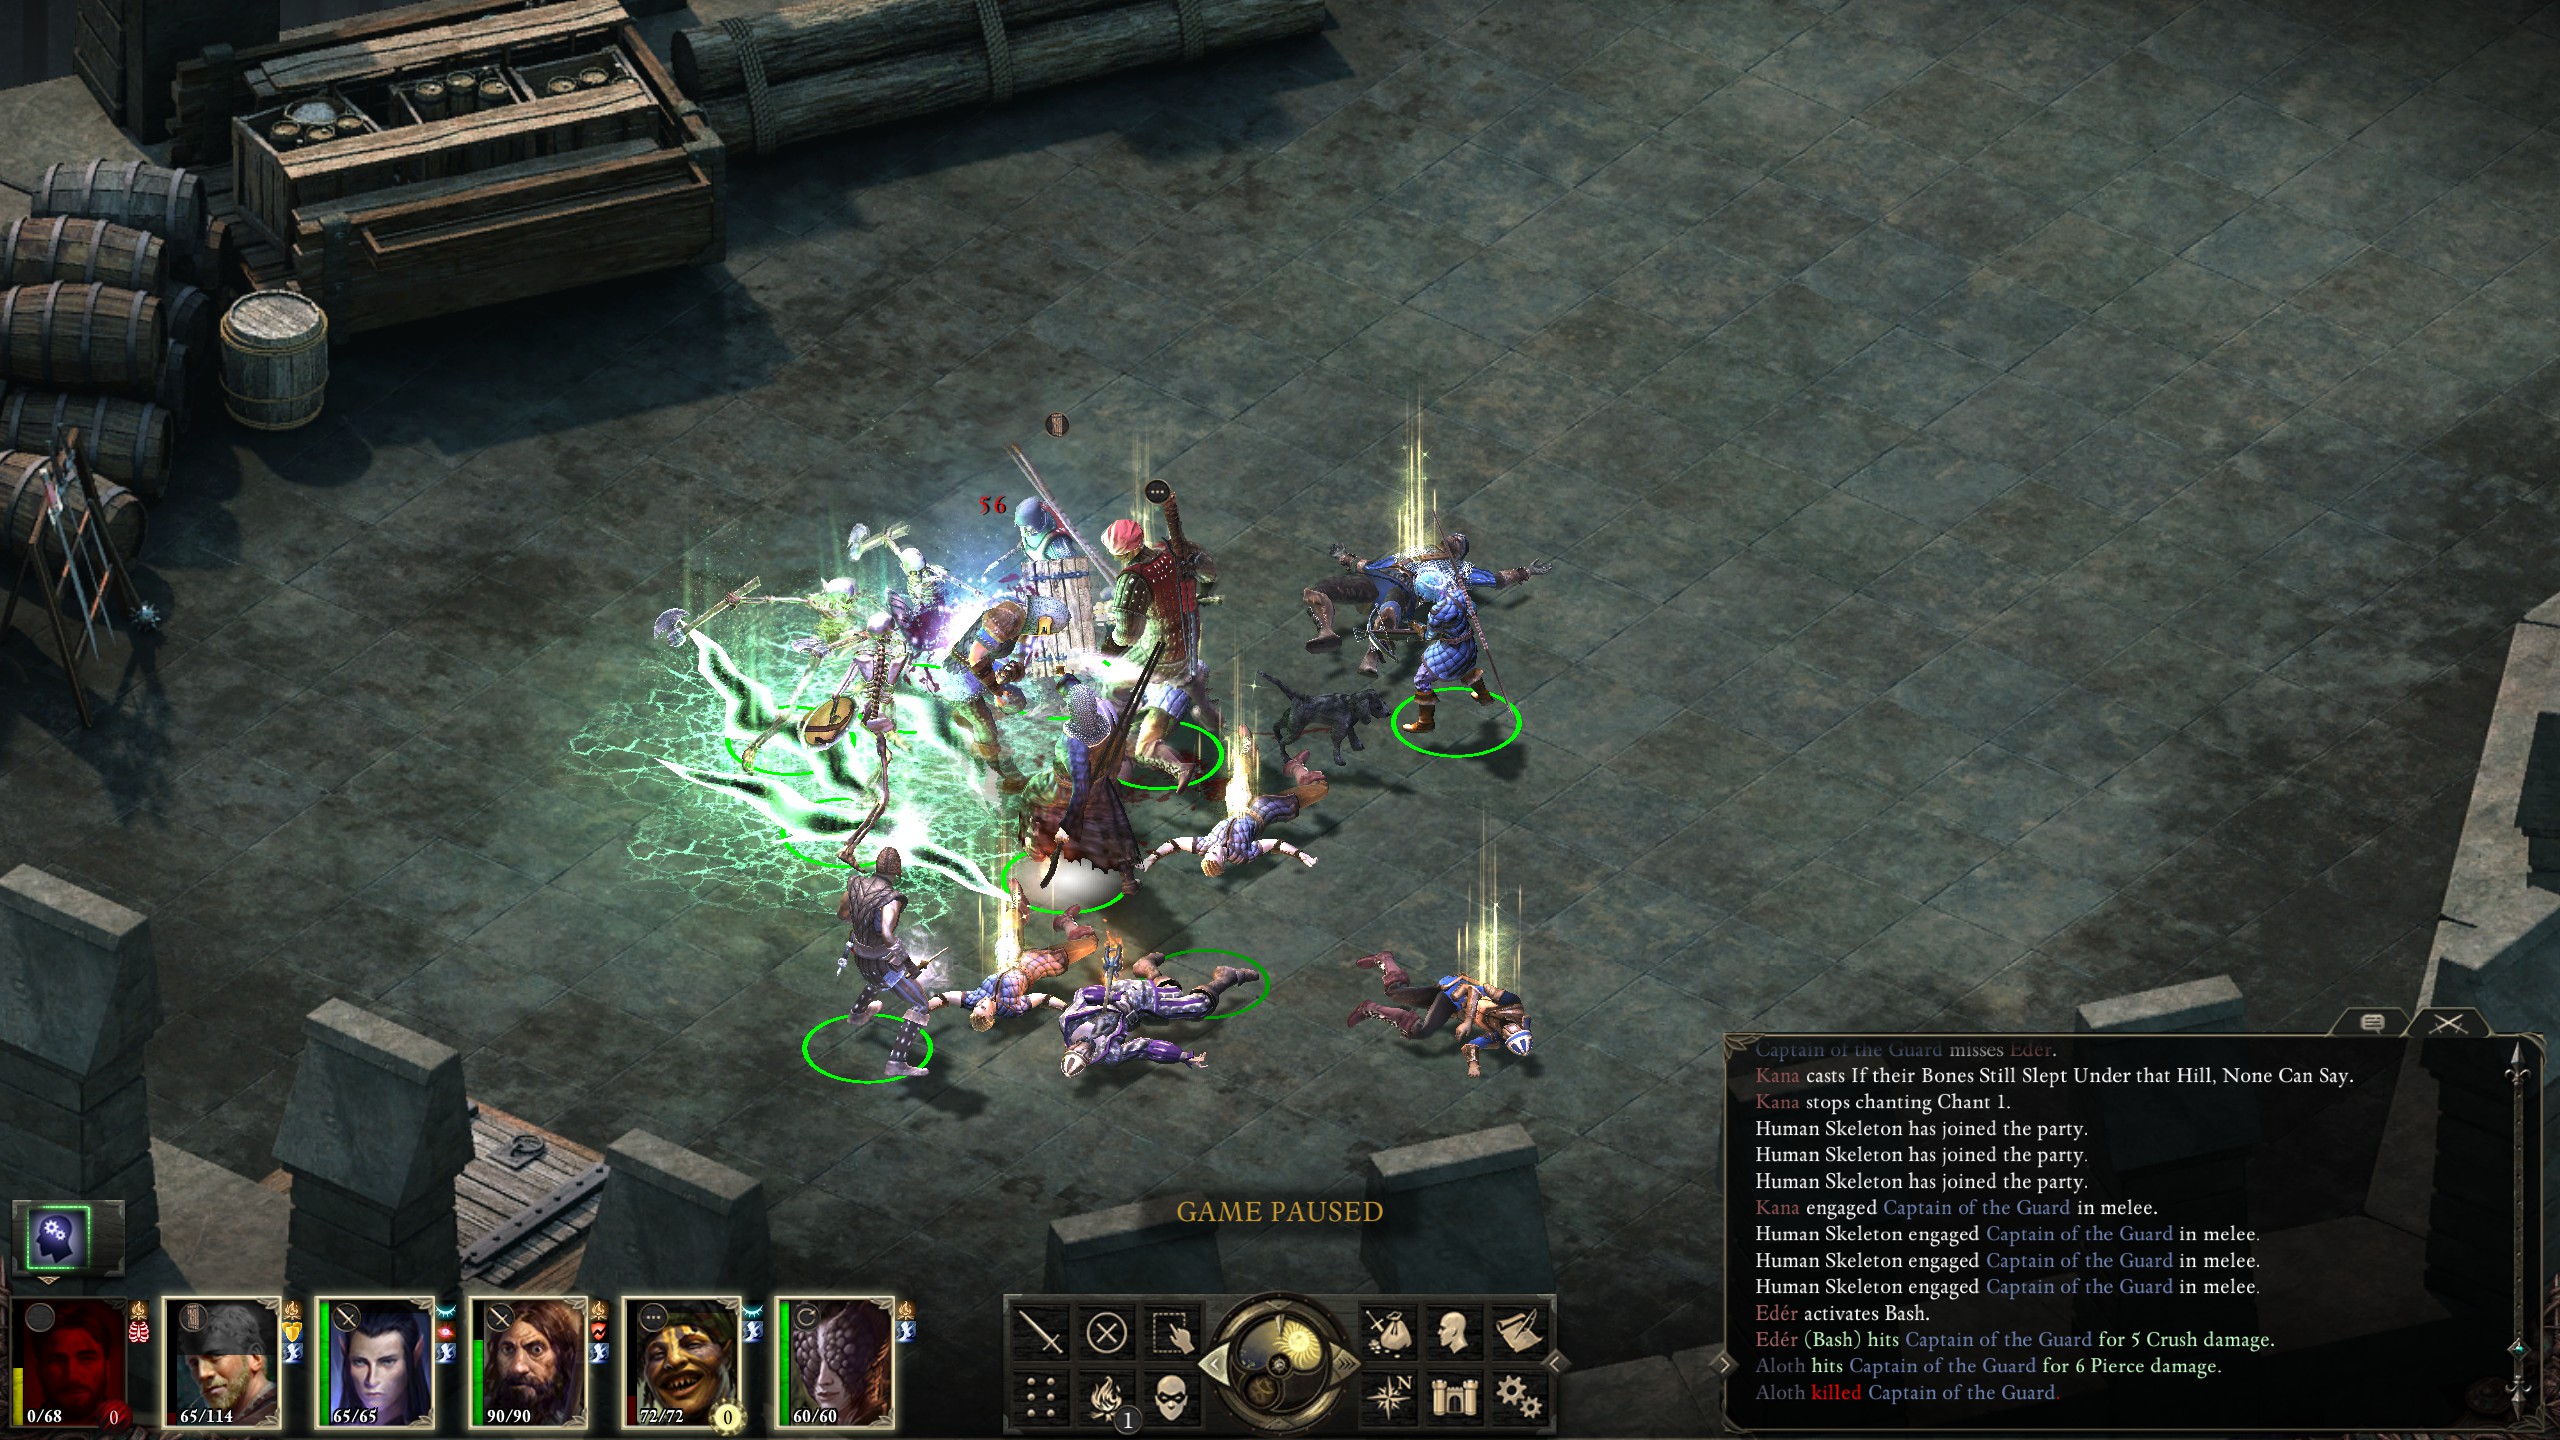
From the dungeons I reached the Captain of the Guard, whose archers proved deadly to my squishy Monk:
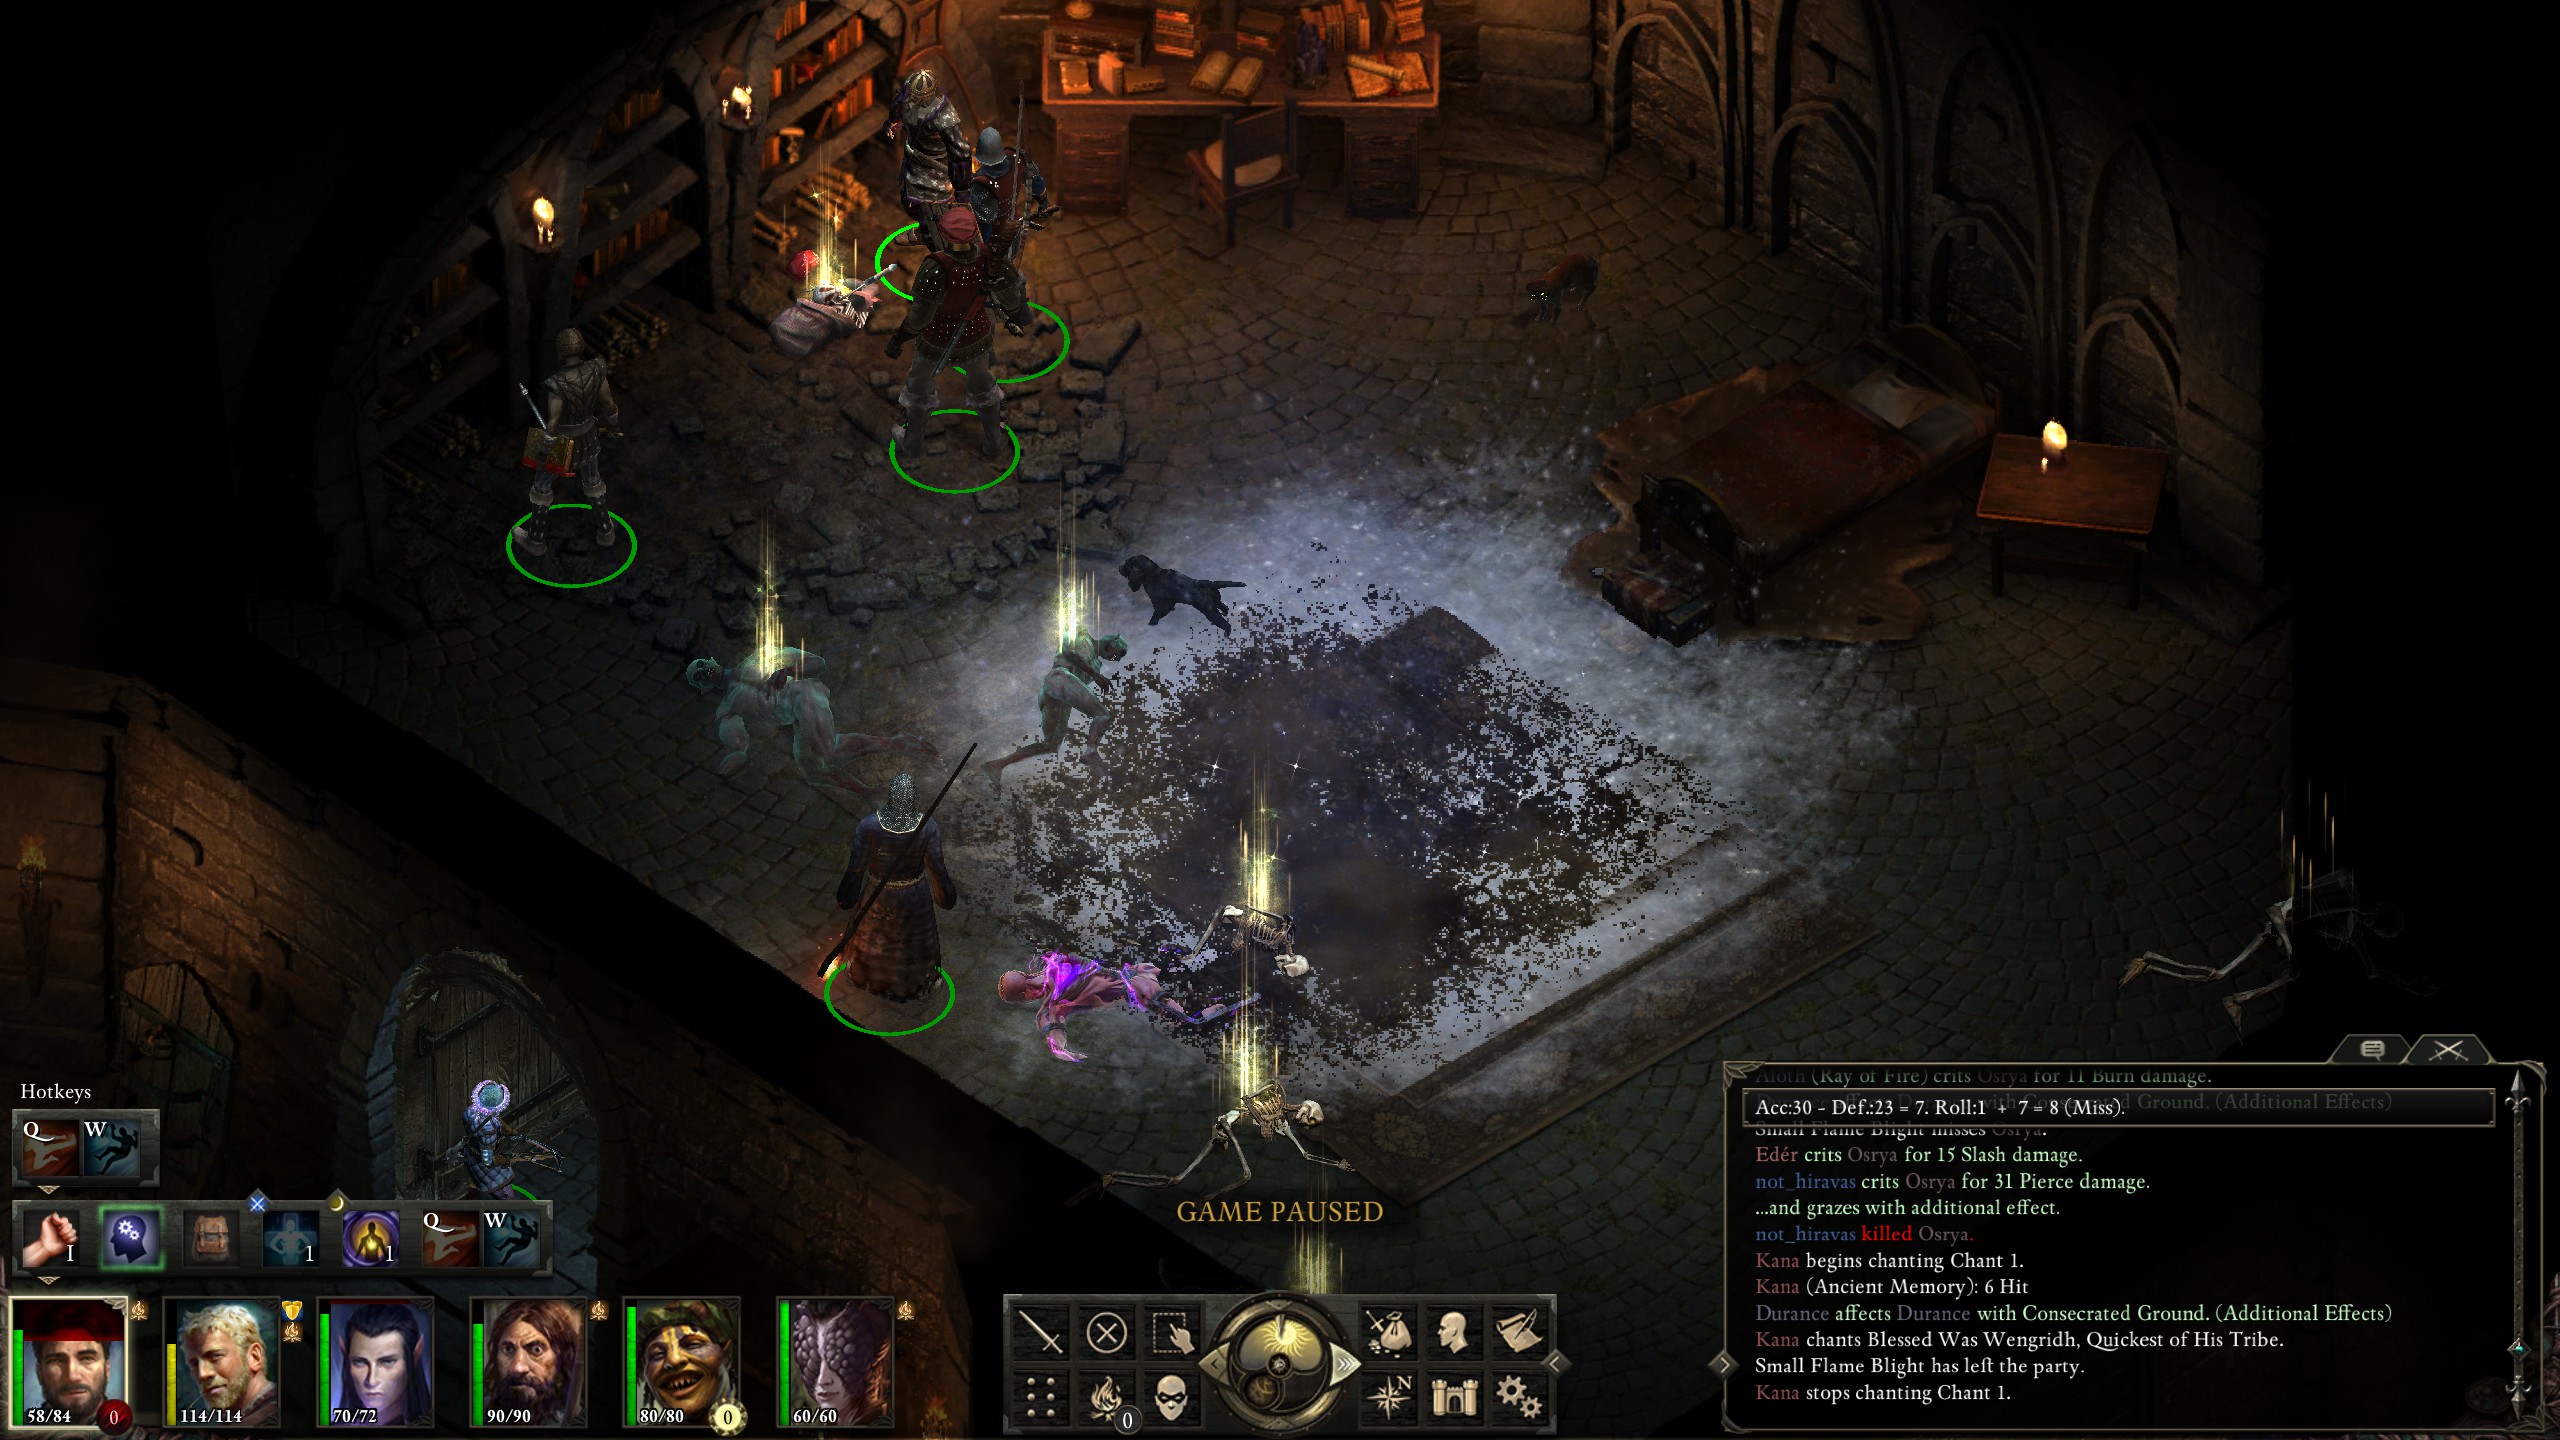
At the end of the dungeons is the evil animancer Osyra, who almost nailed me early in the fight except I somehow managed to recover and beat her:
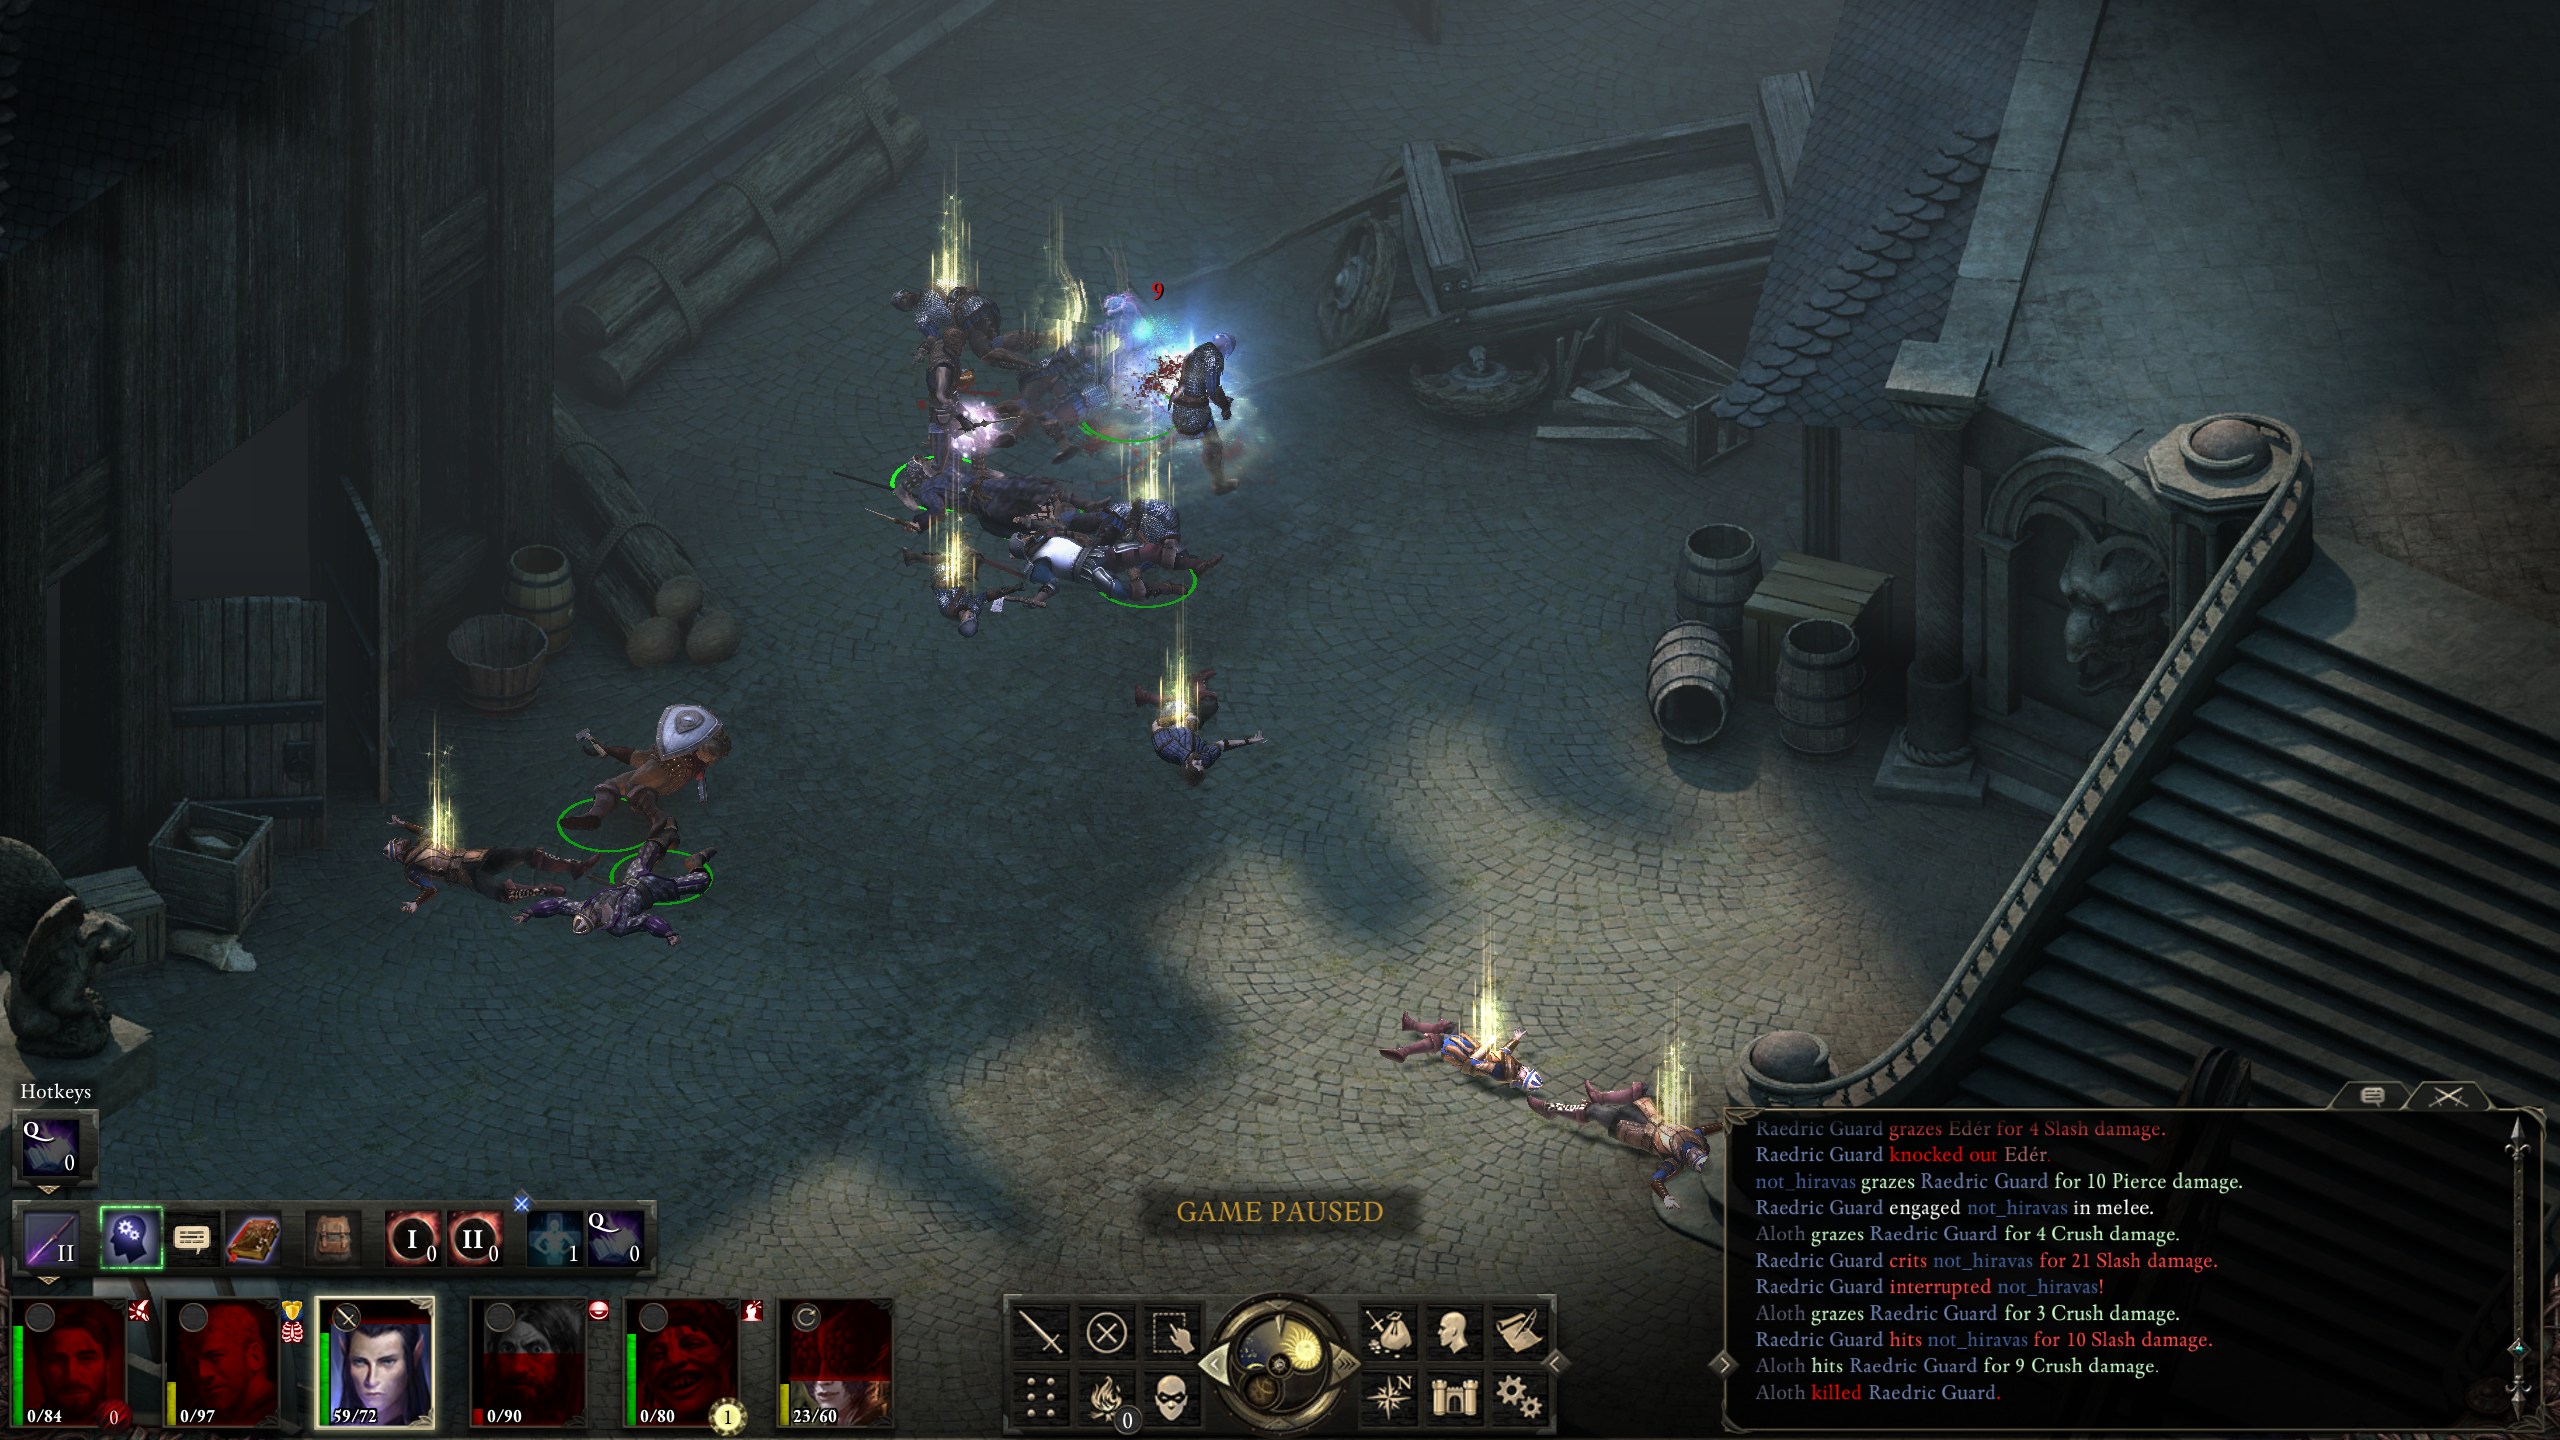
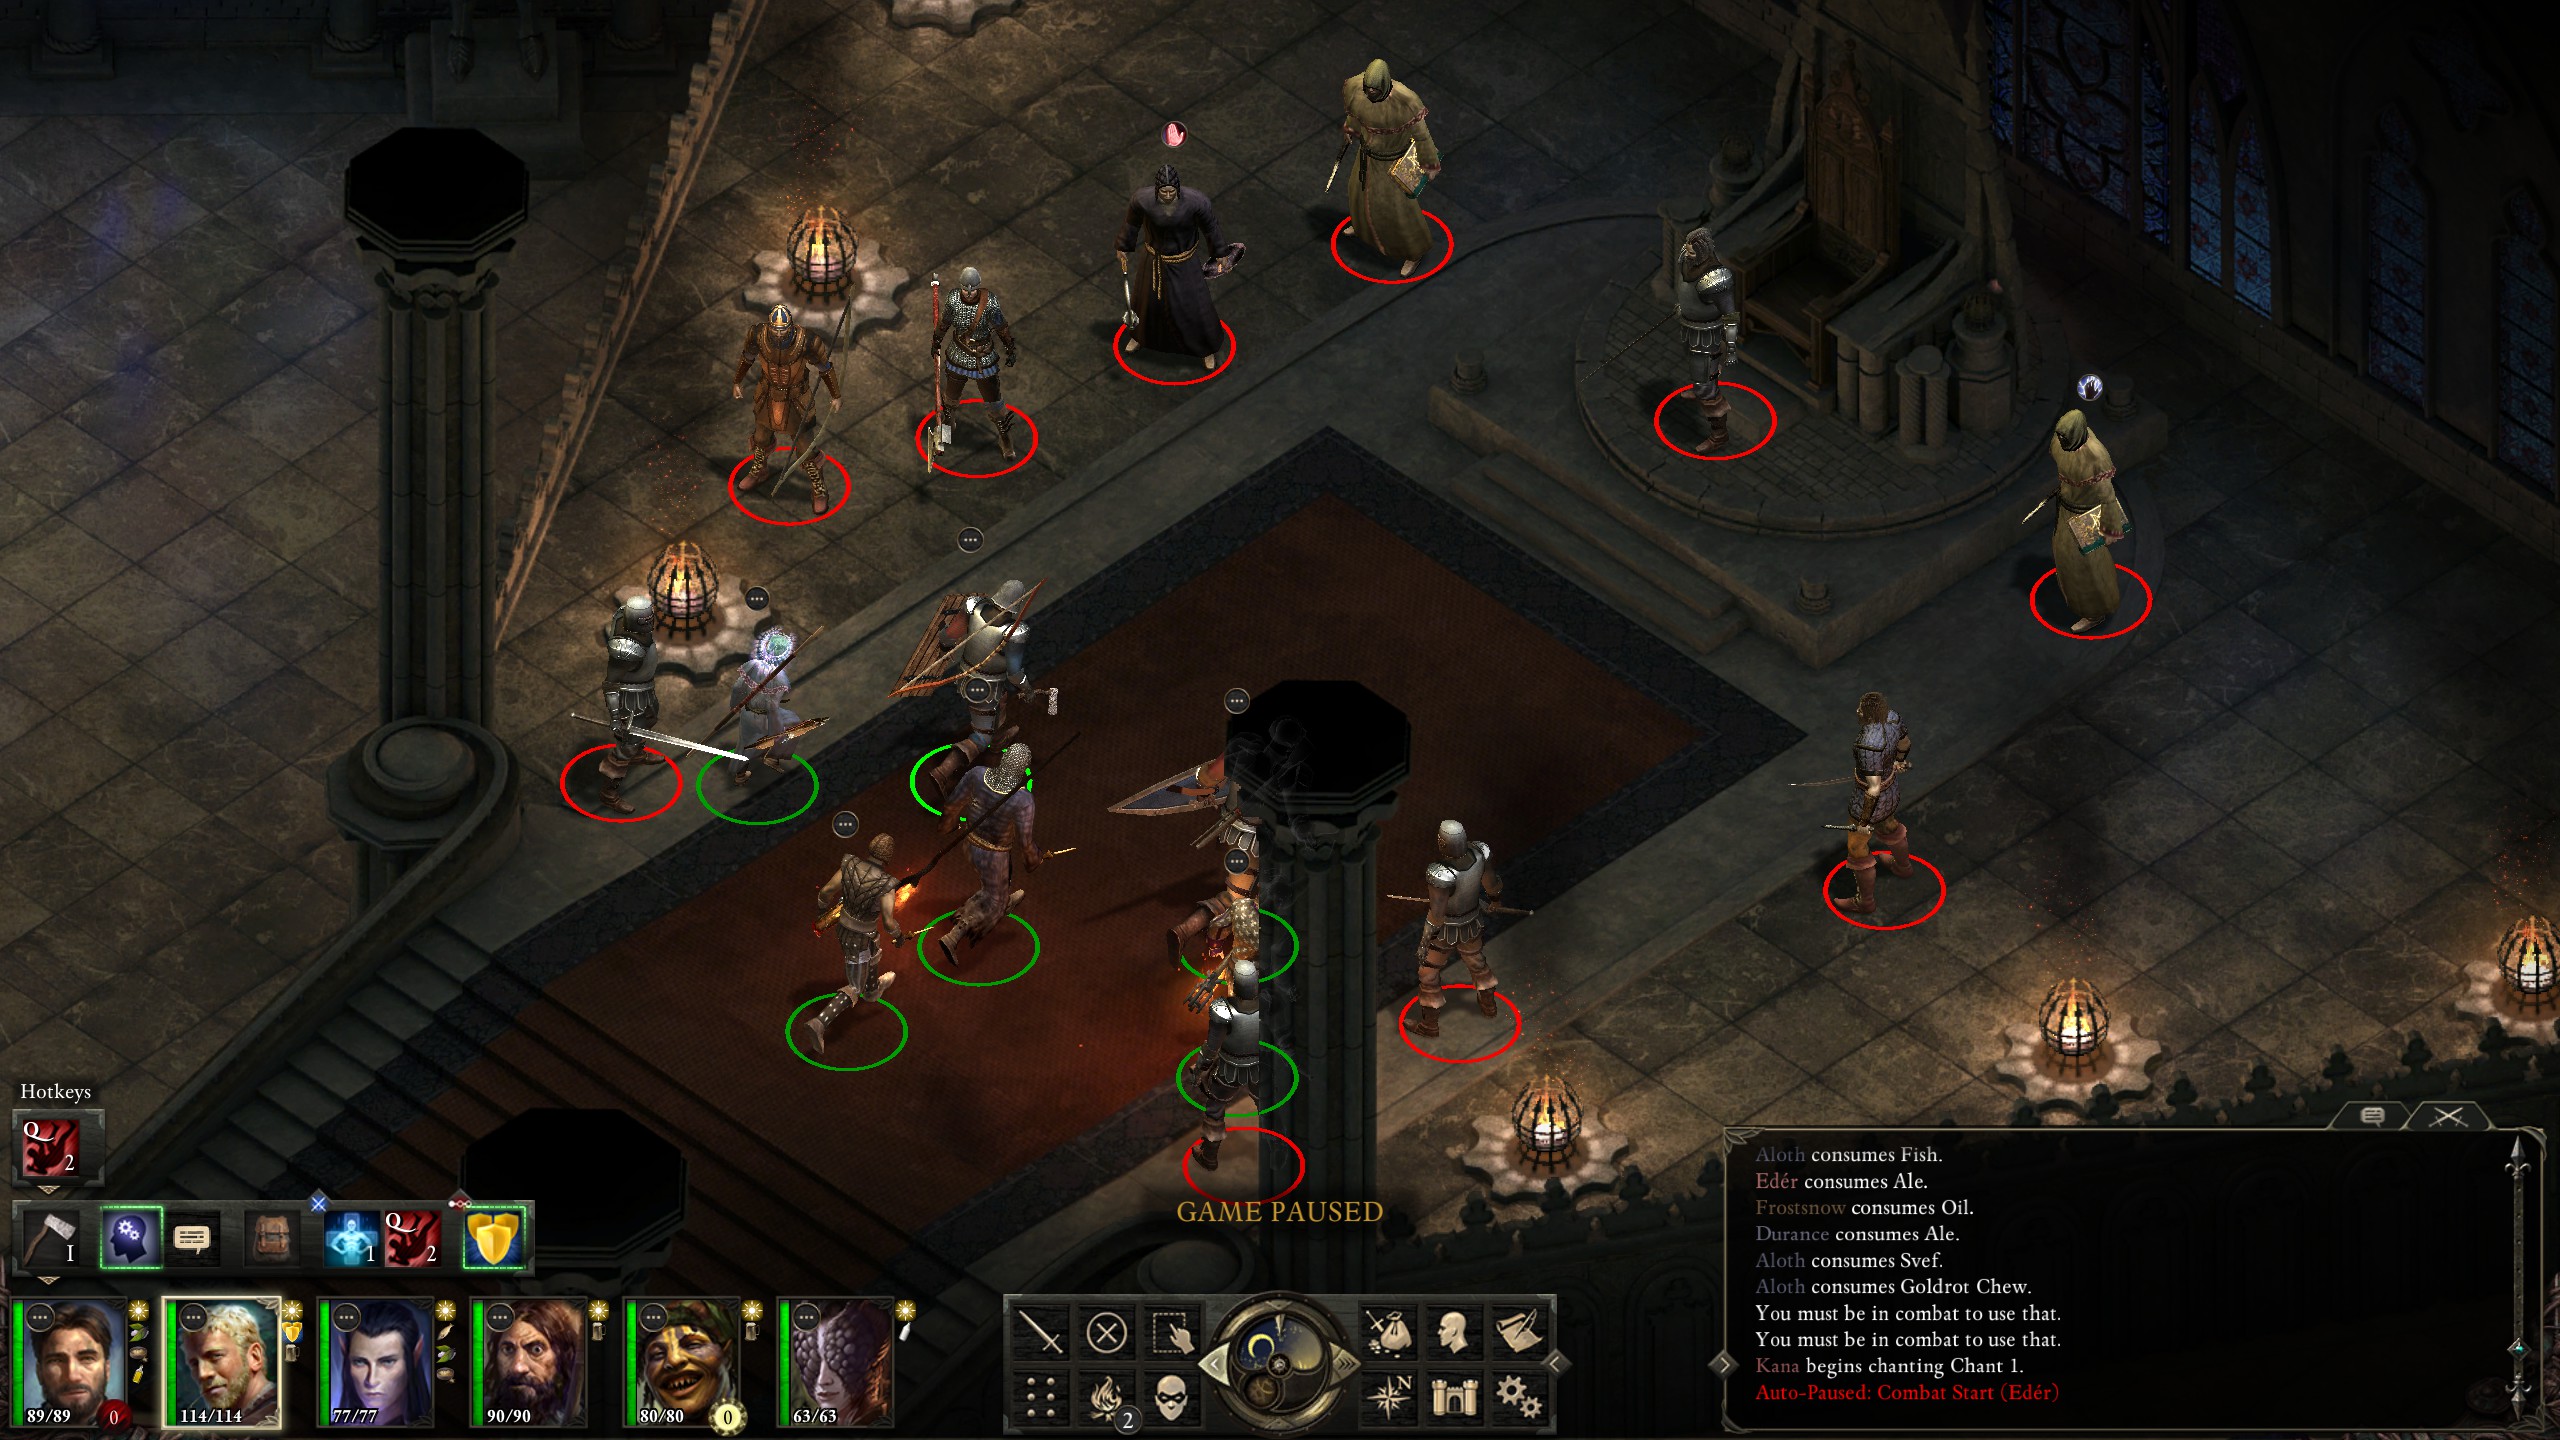
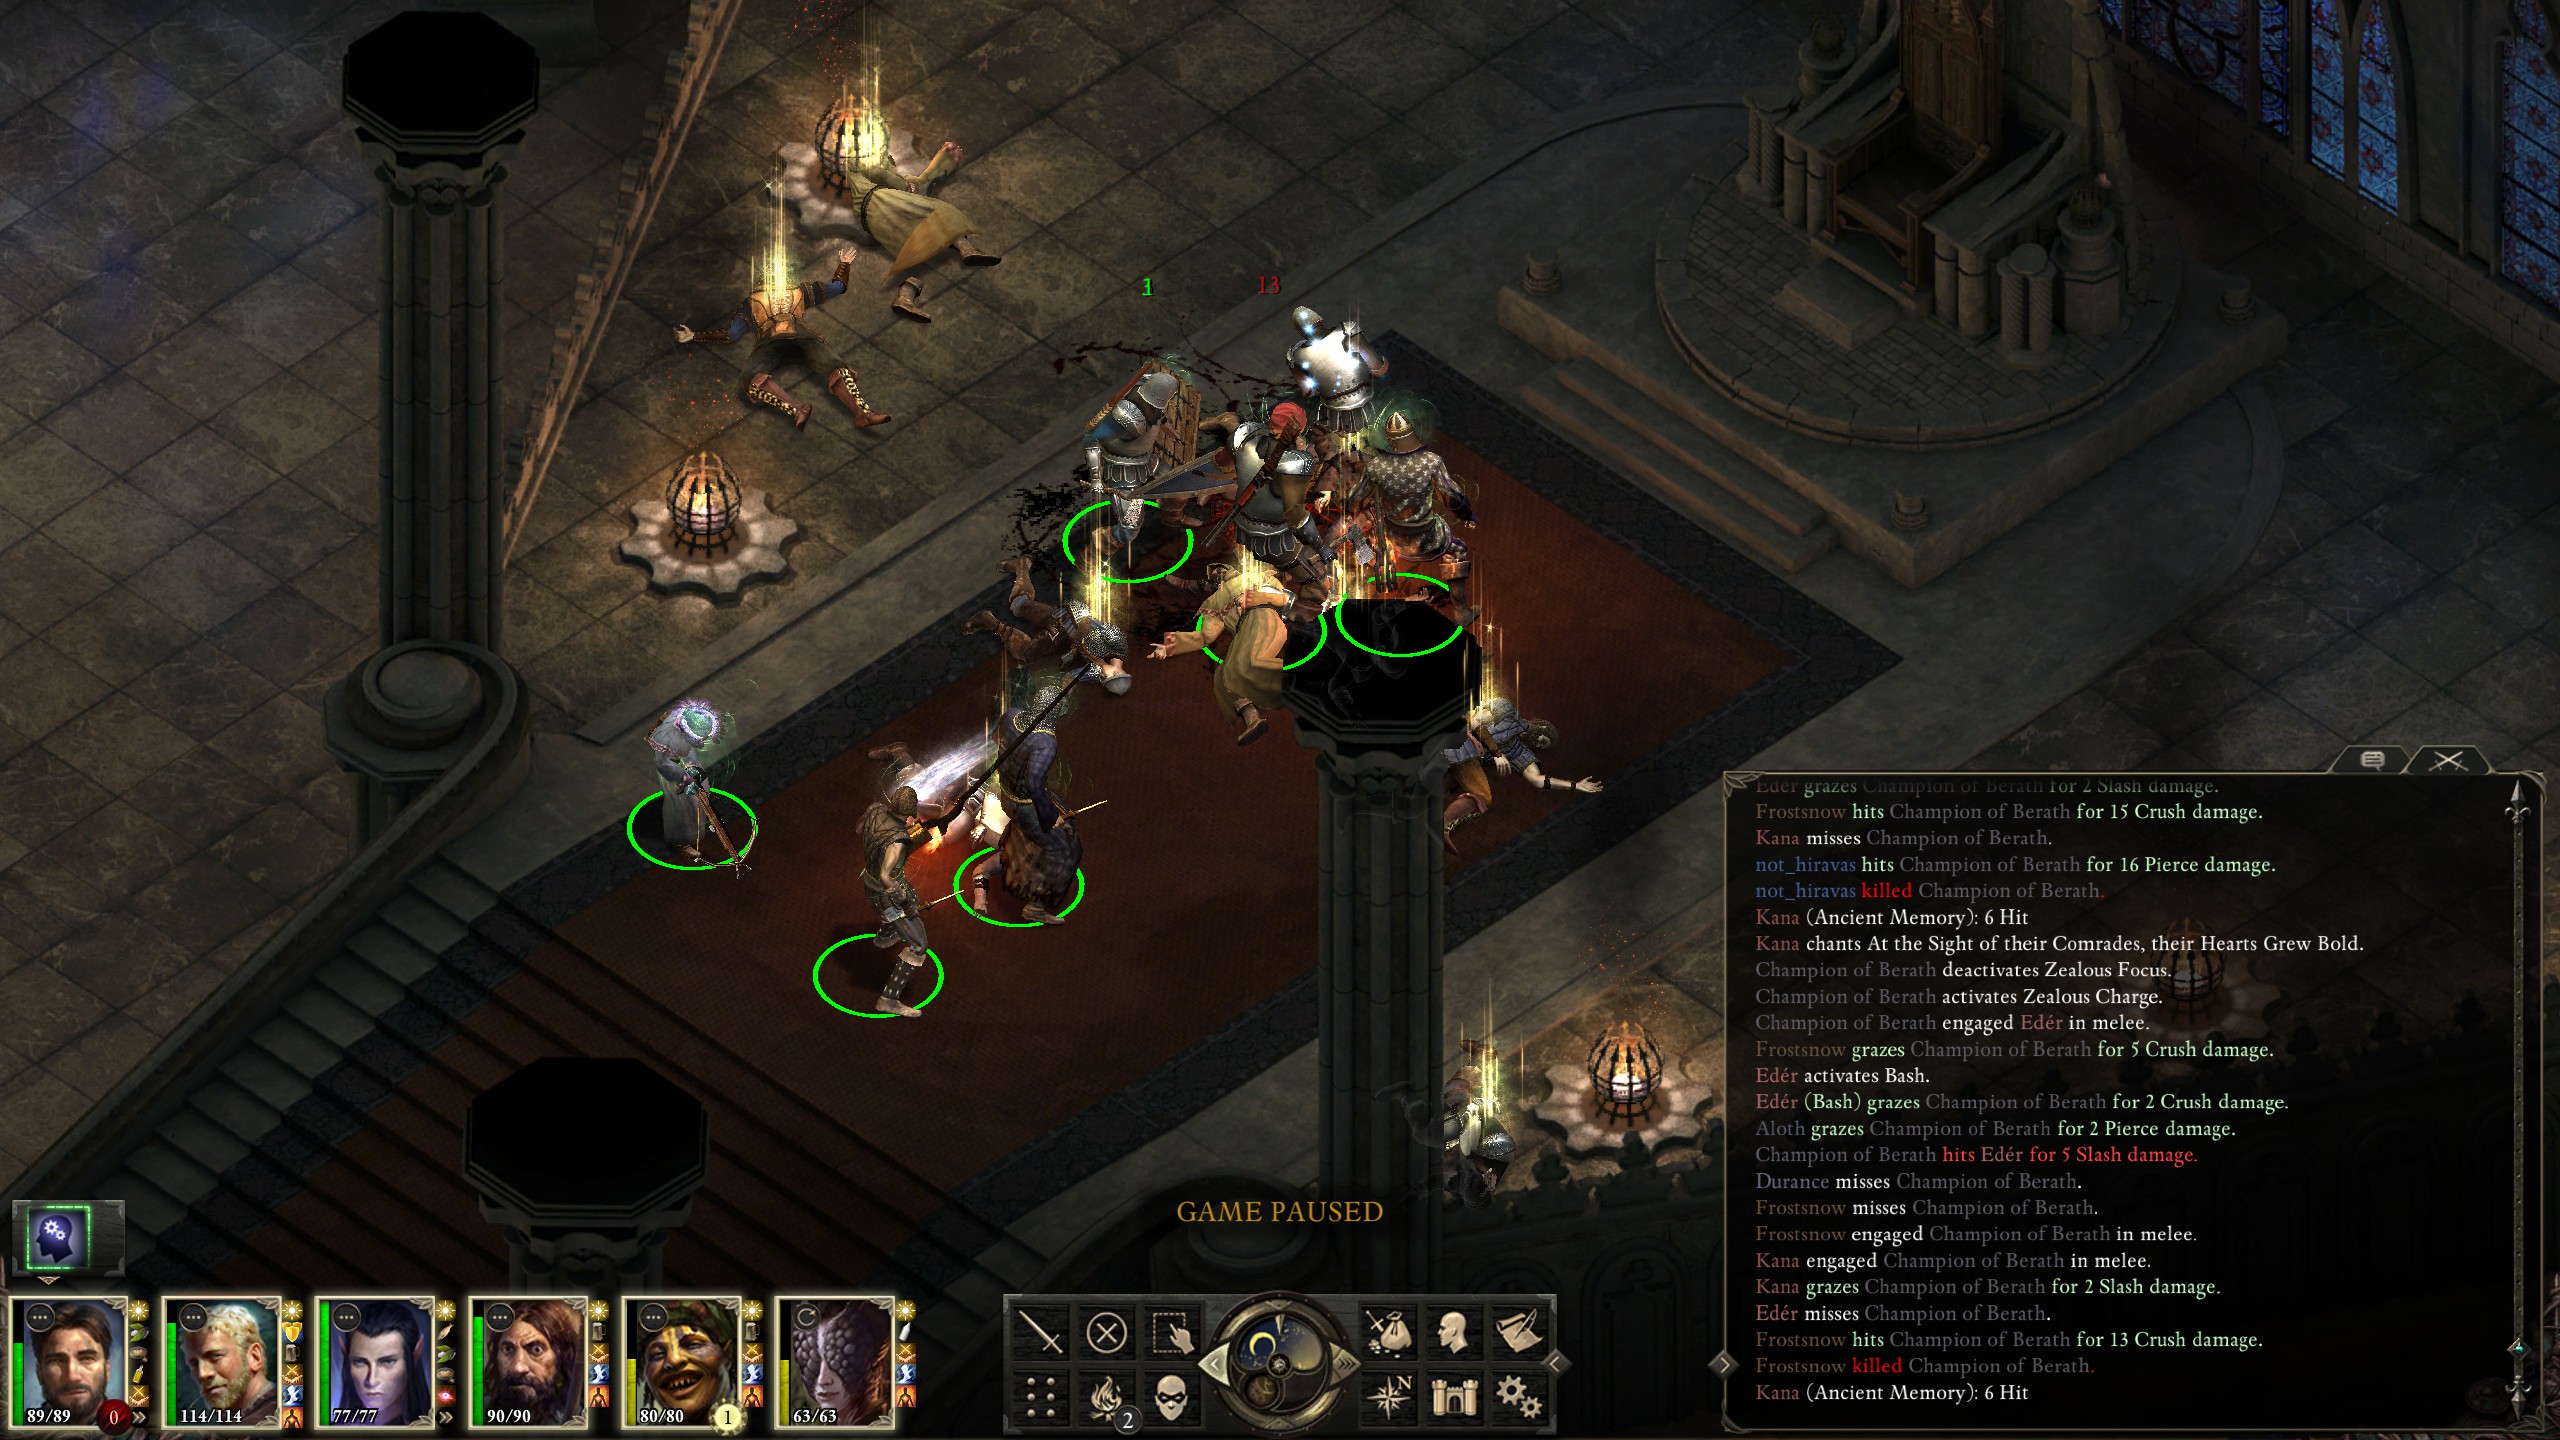
The last two difficult fights are the hoards of guards on the ground level outside of the keep. Naturally, I had to kill all of them, but they were very close fights, with the first fight being near-fatal:
During the next guard fight, poor Aloth got ganked as soon as I stepped outside (exiting through the doors is generally more sane than fighting on the stairs):
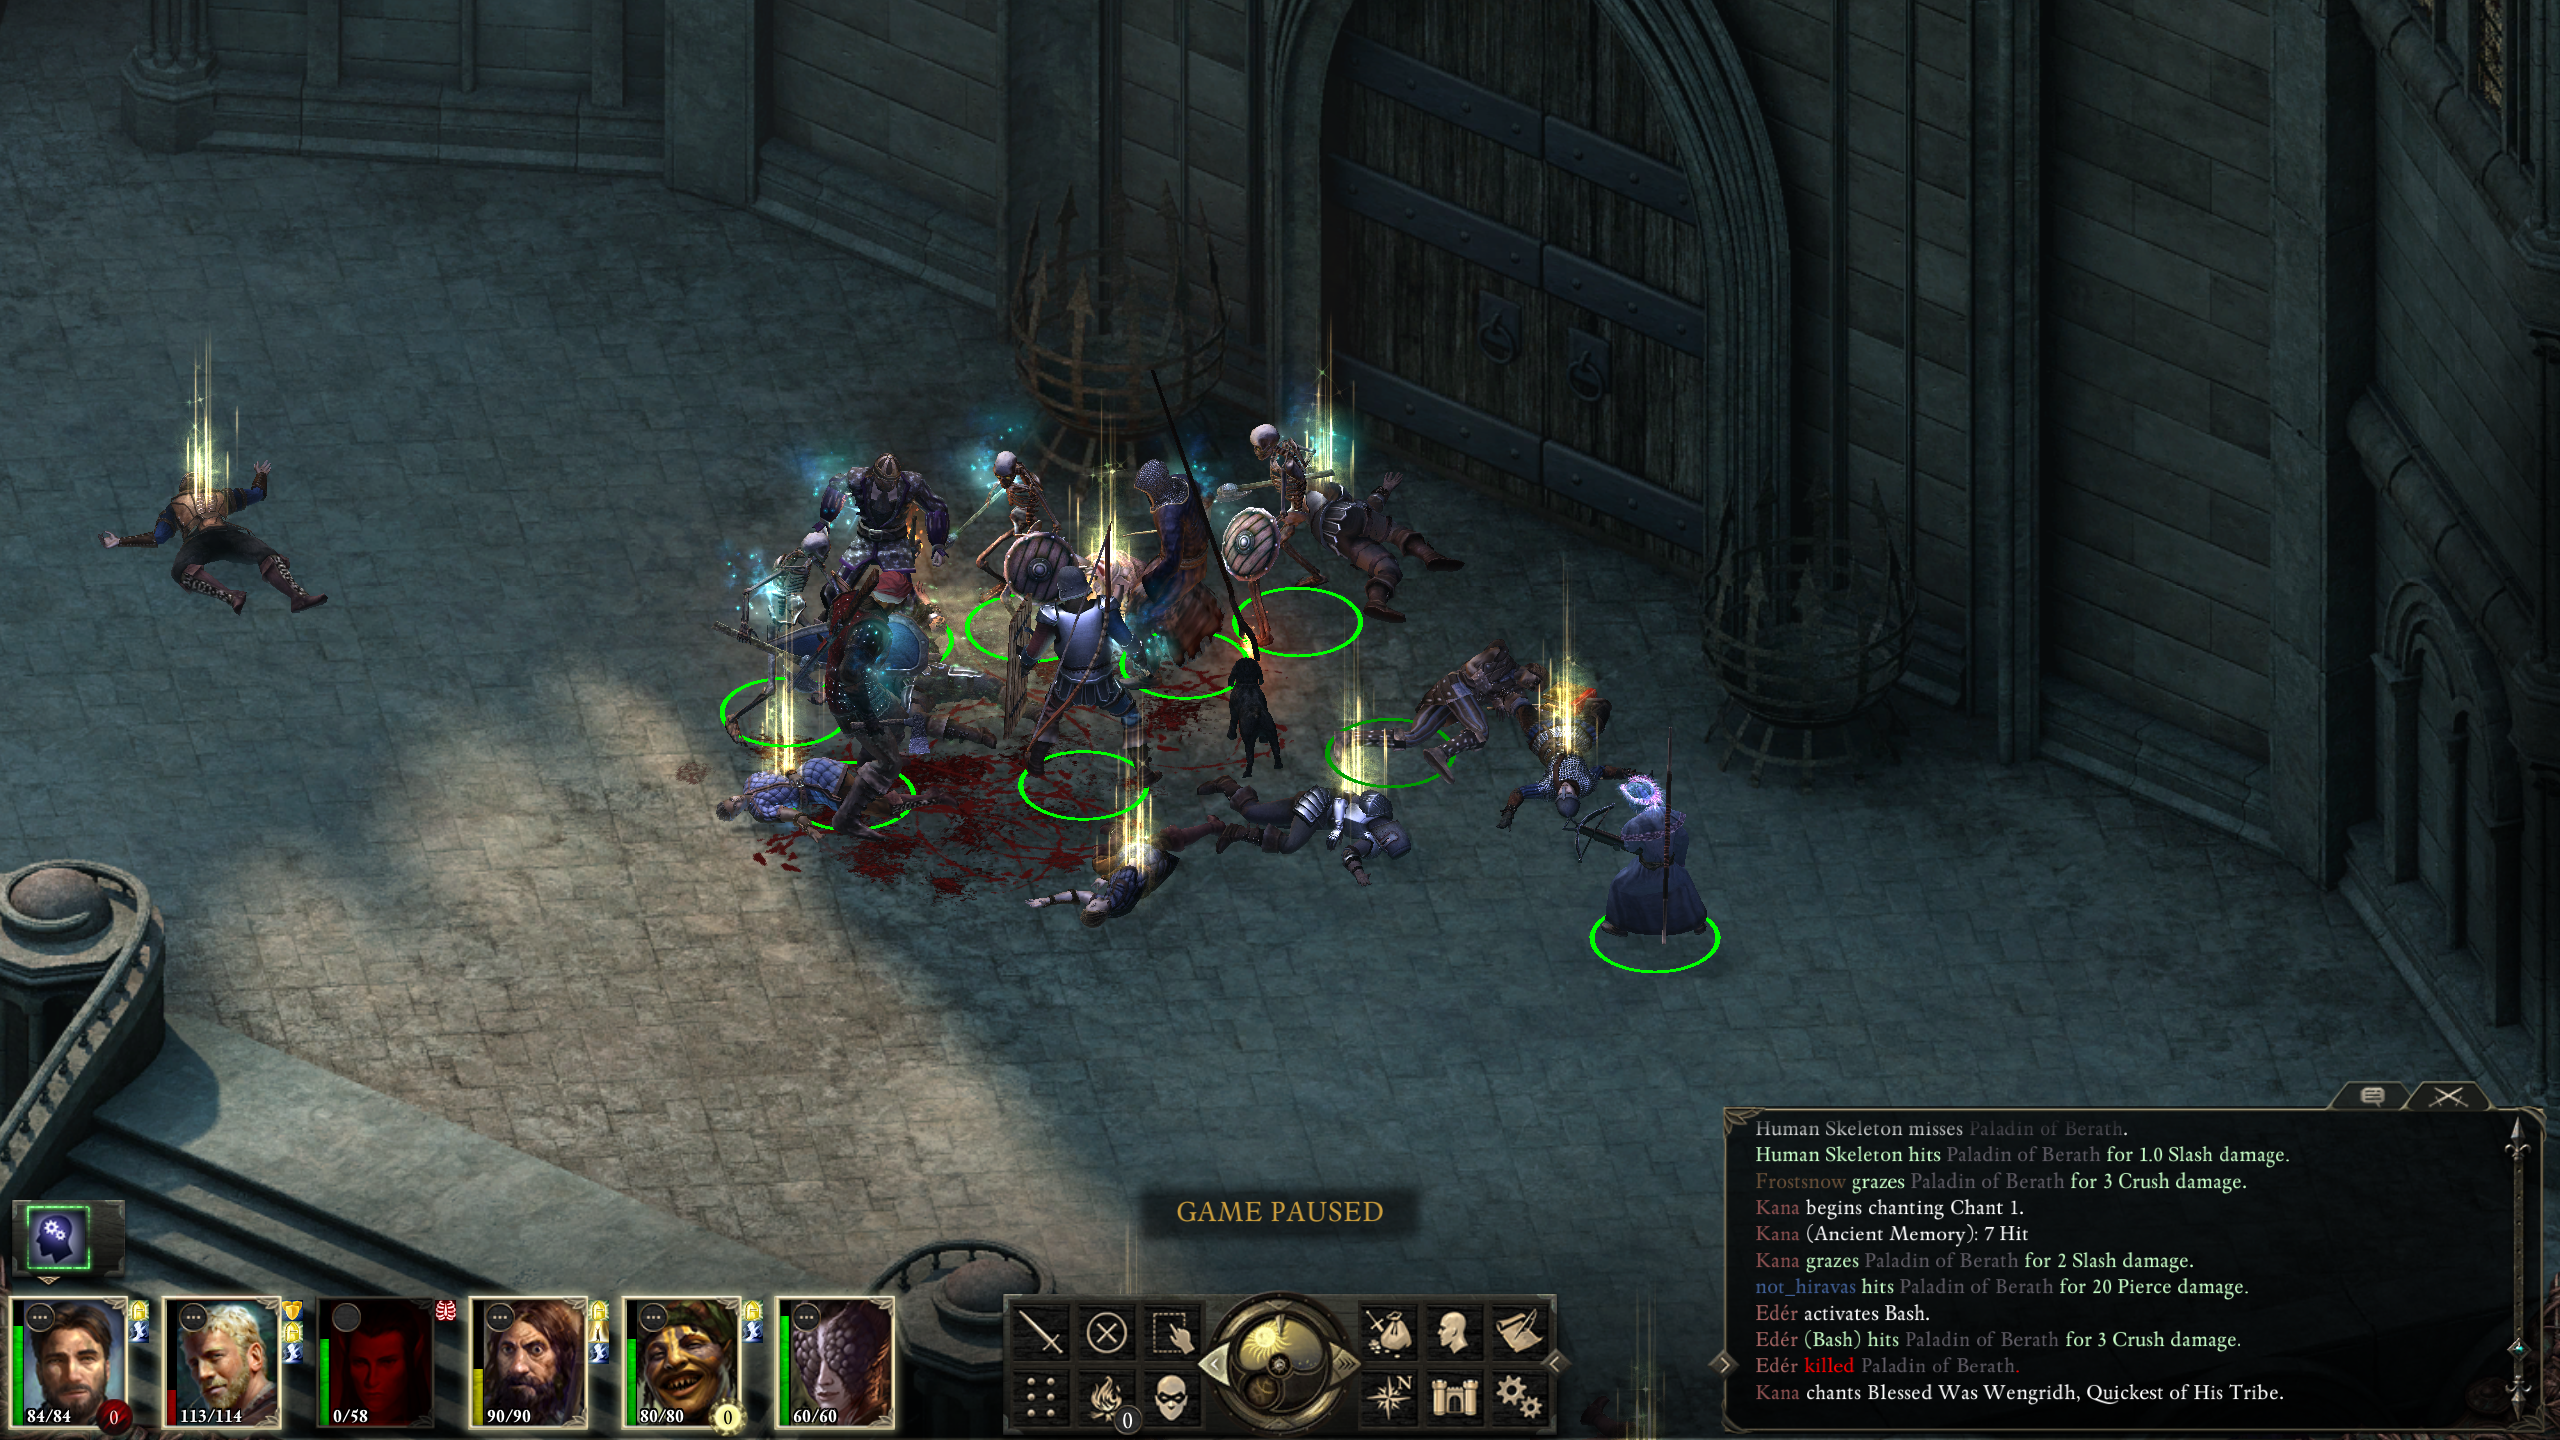
After that I took a brief interlude to Gilded Vale in order to sell the loot (the guards' armor sells quite well) and buy the "Bronze Horn Figurine", which summons an animat, as well as a few special pieces of armor for the tough battle ahead. I made sure to buff everyone with food and even some Svef before taking on Raedric and his nine guards:
And somehow managed to end victorious:
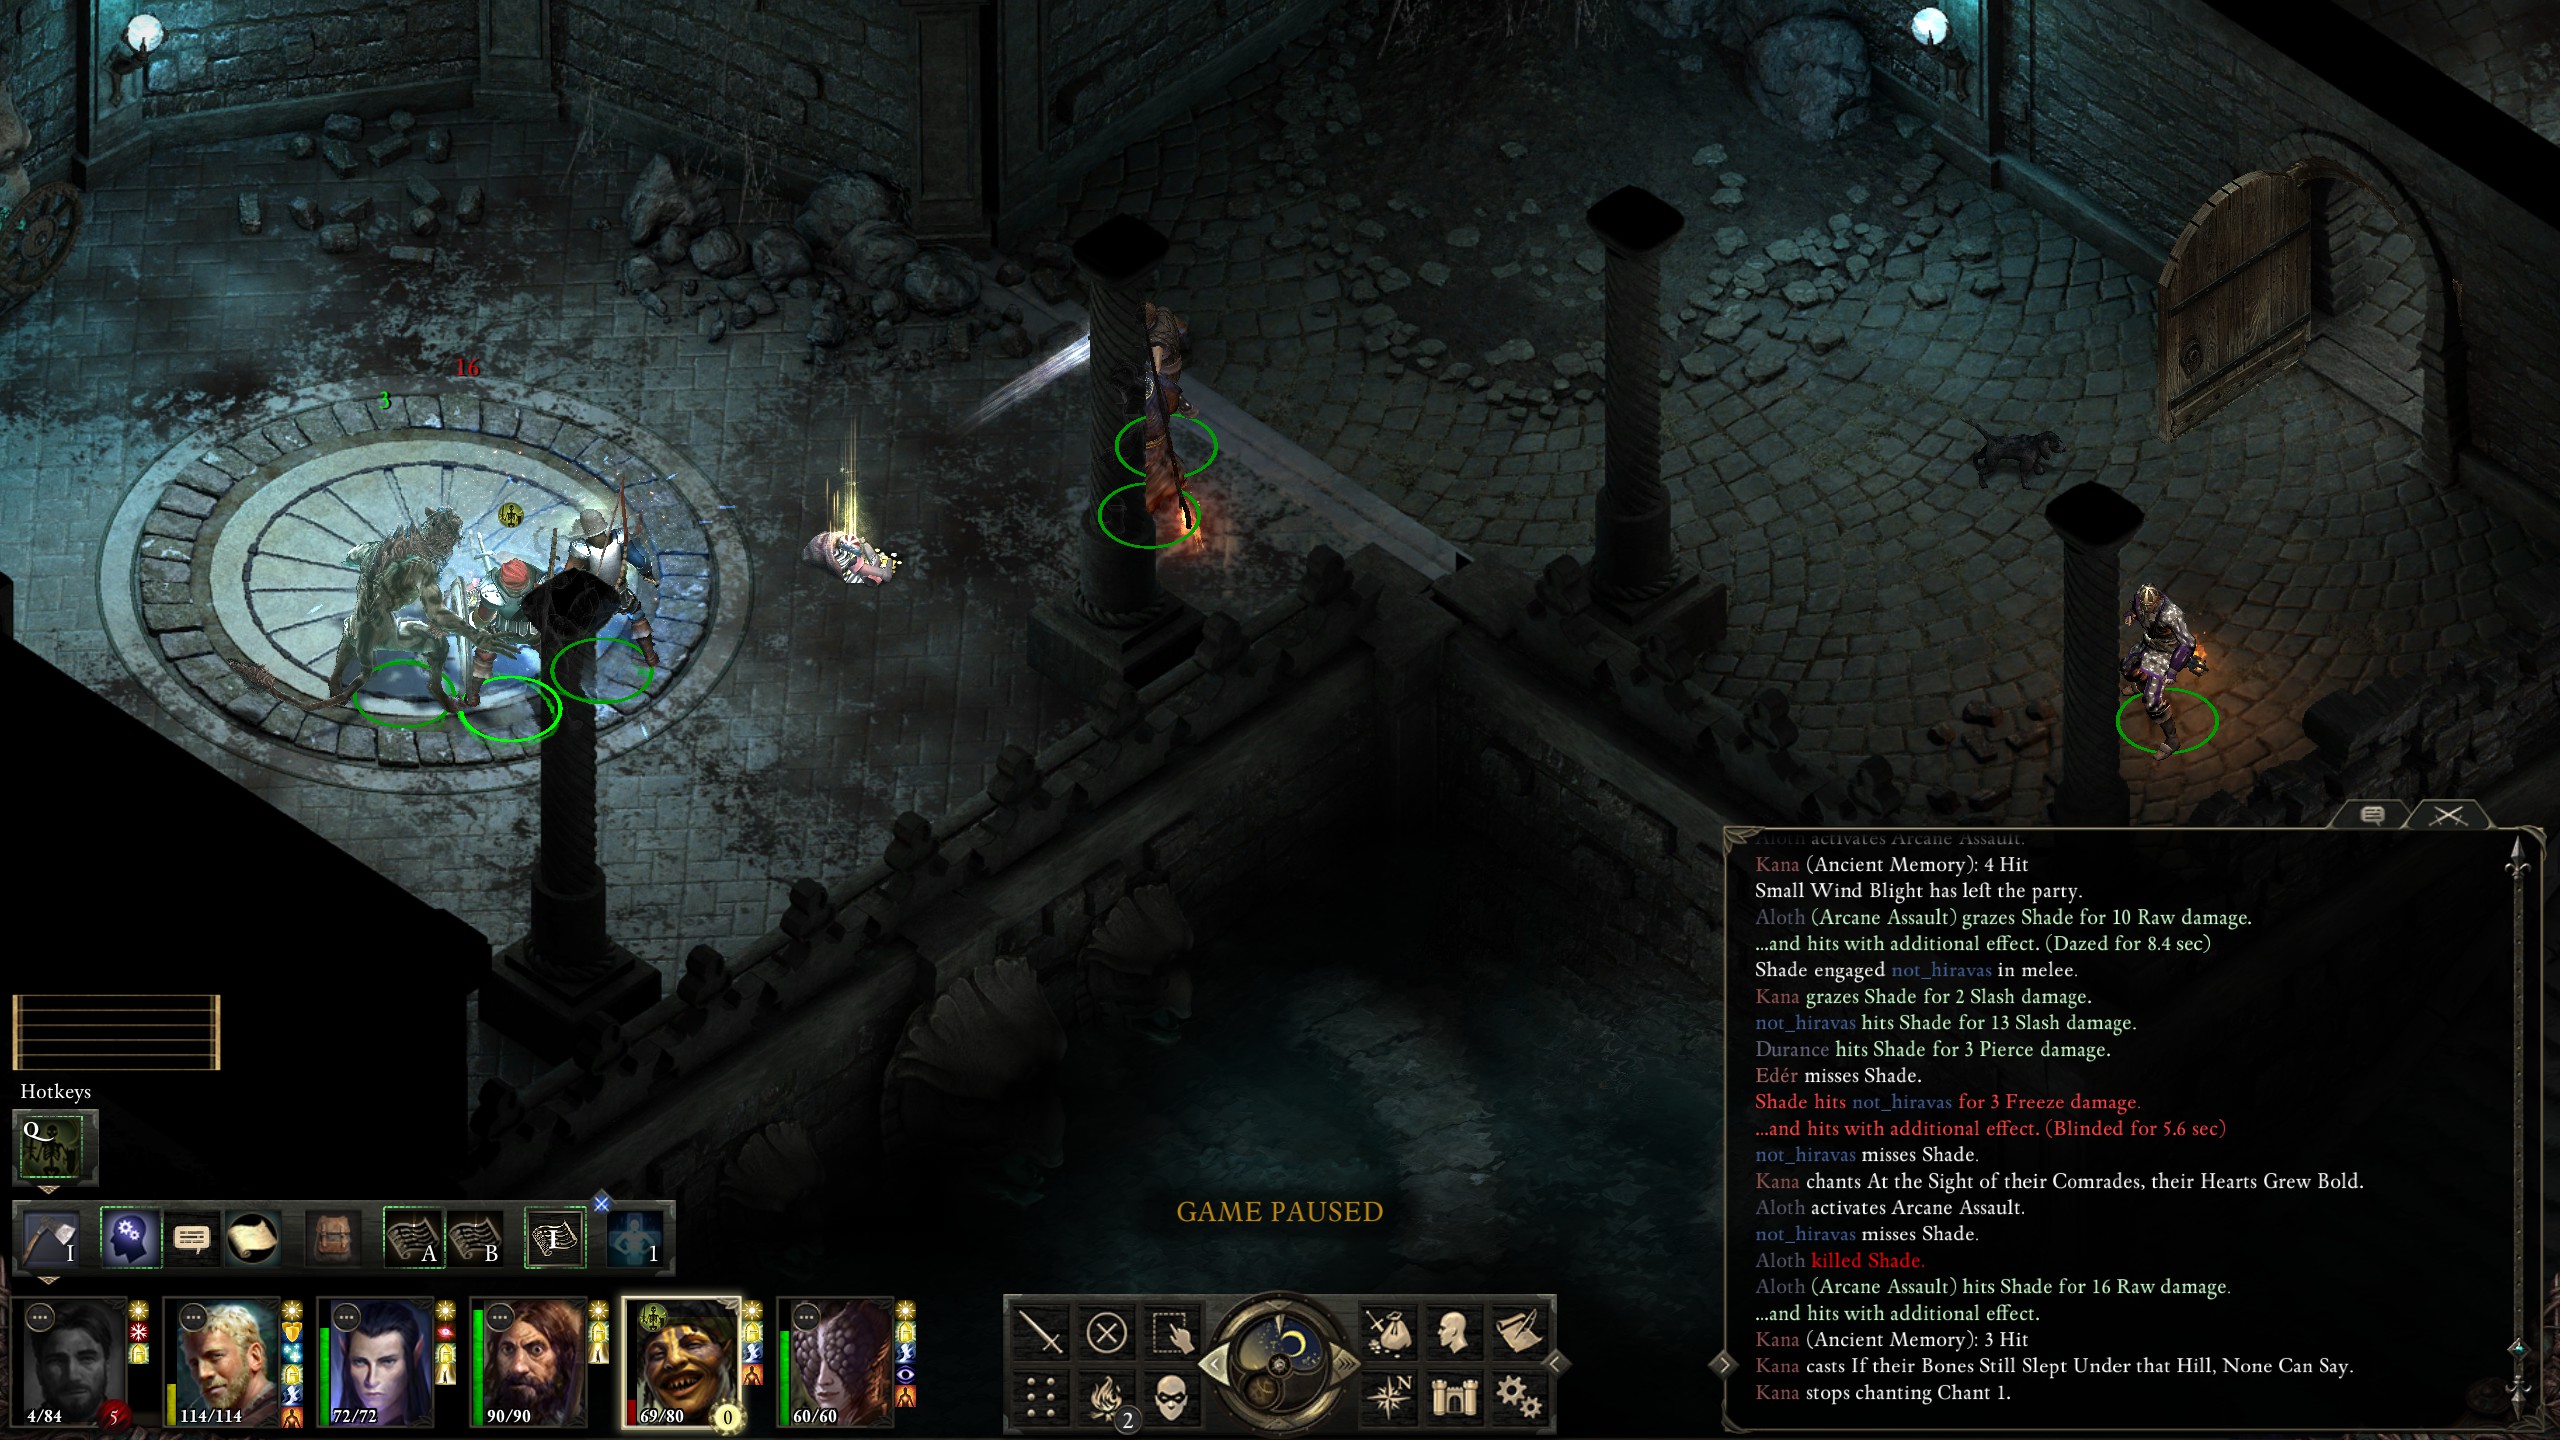
With Raedric down it was finally onto Cae–oh crap I'd forgotten the Eothasian Temple! I quickly curbed my future housing ambitions in order to clear the forsaken temple, but got a little too overconfident and almost paid for it with my first Game Over:
Thankfully I managed to clear the rest of the temple without incident, although the oozes did quite a number on me. At long last, I departed for Caed Nua!
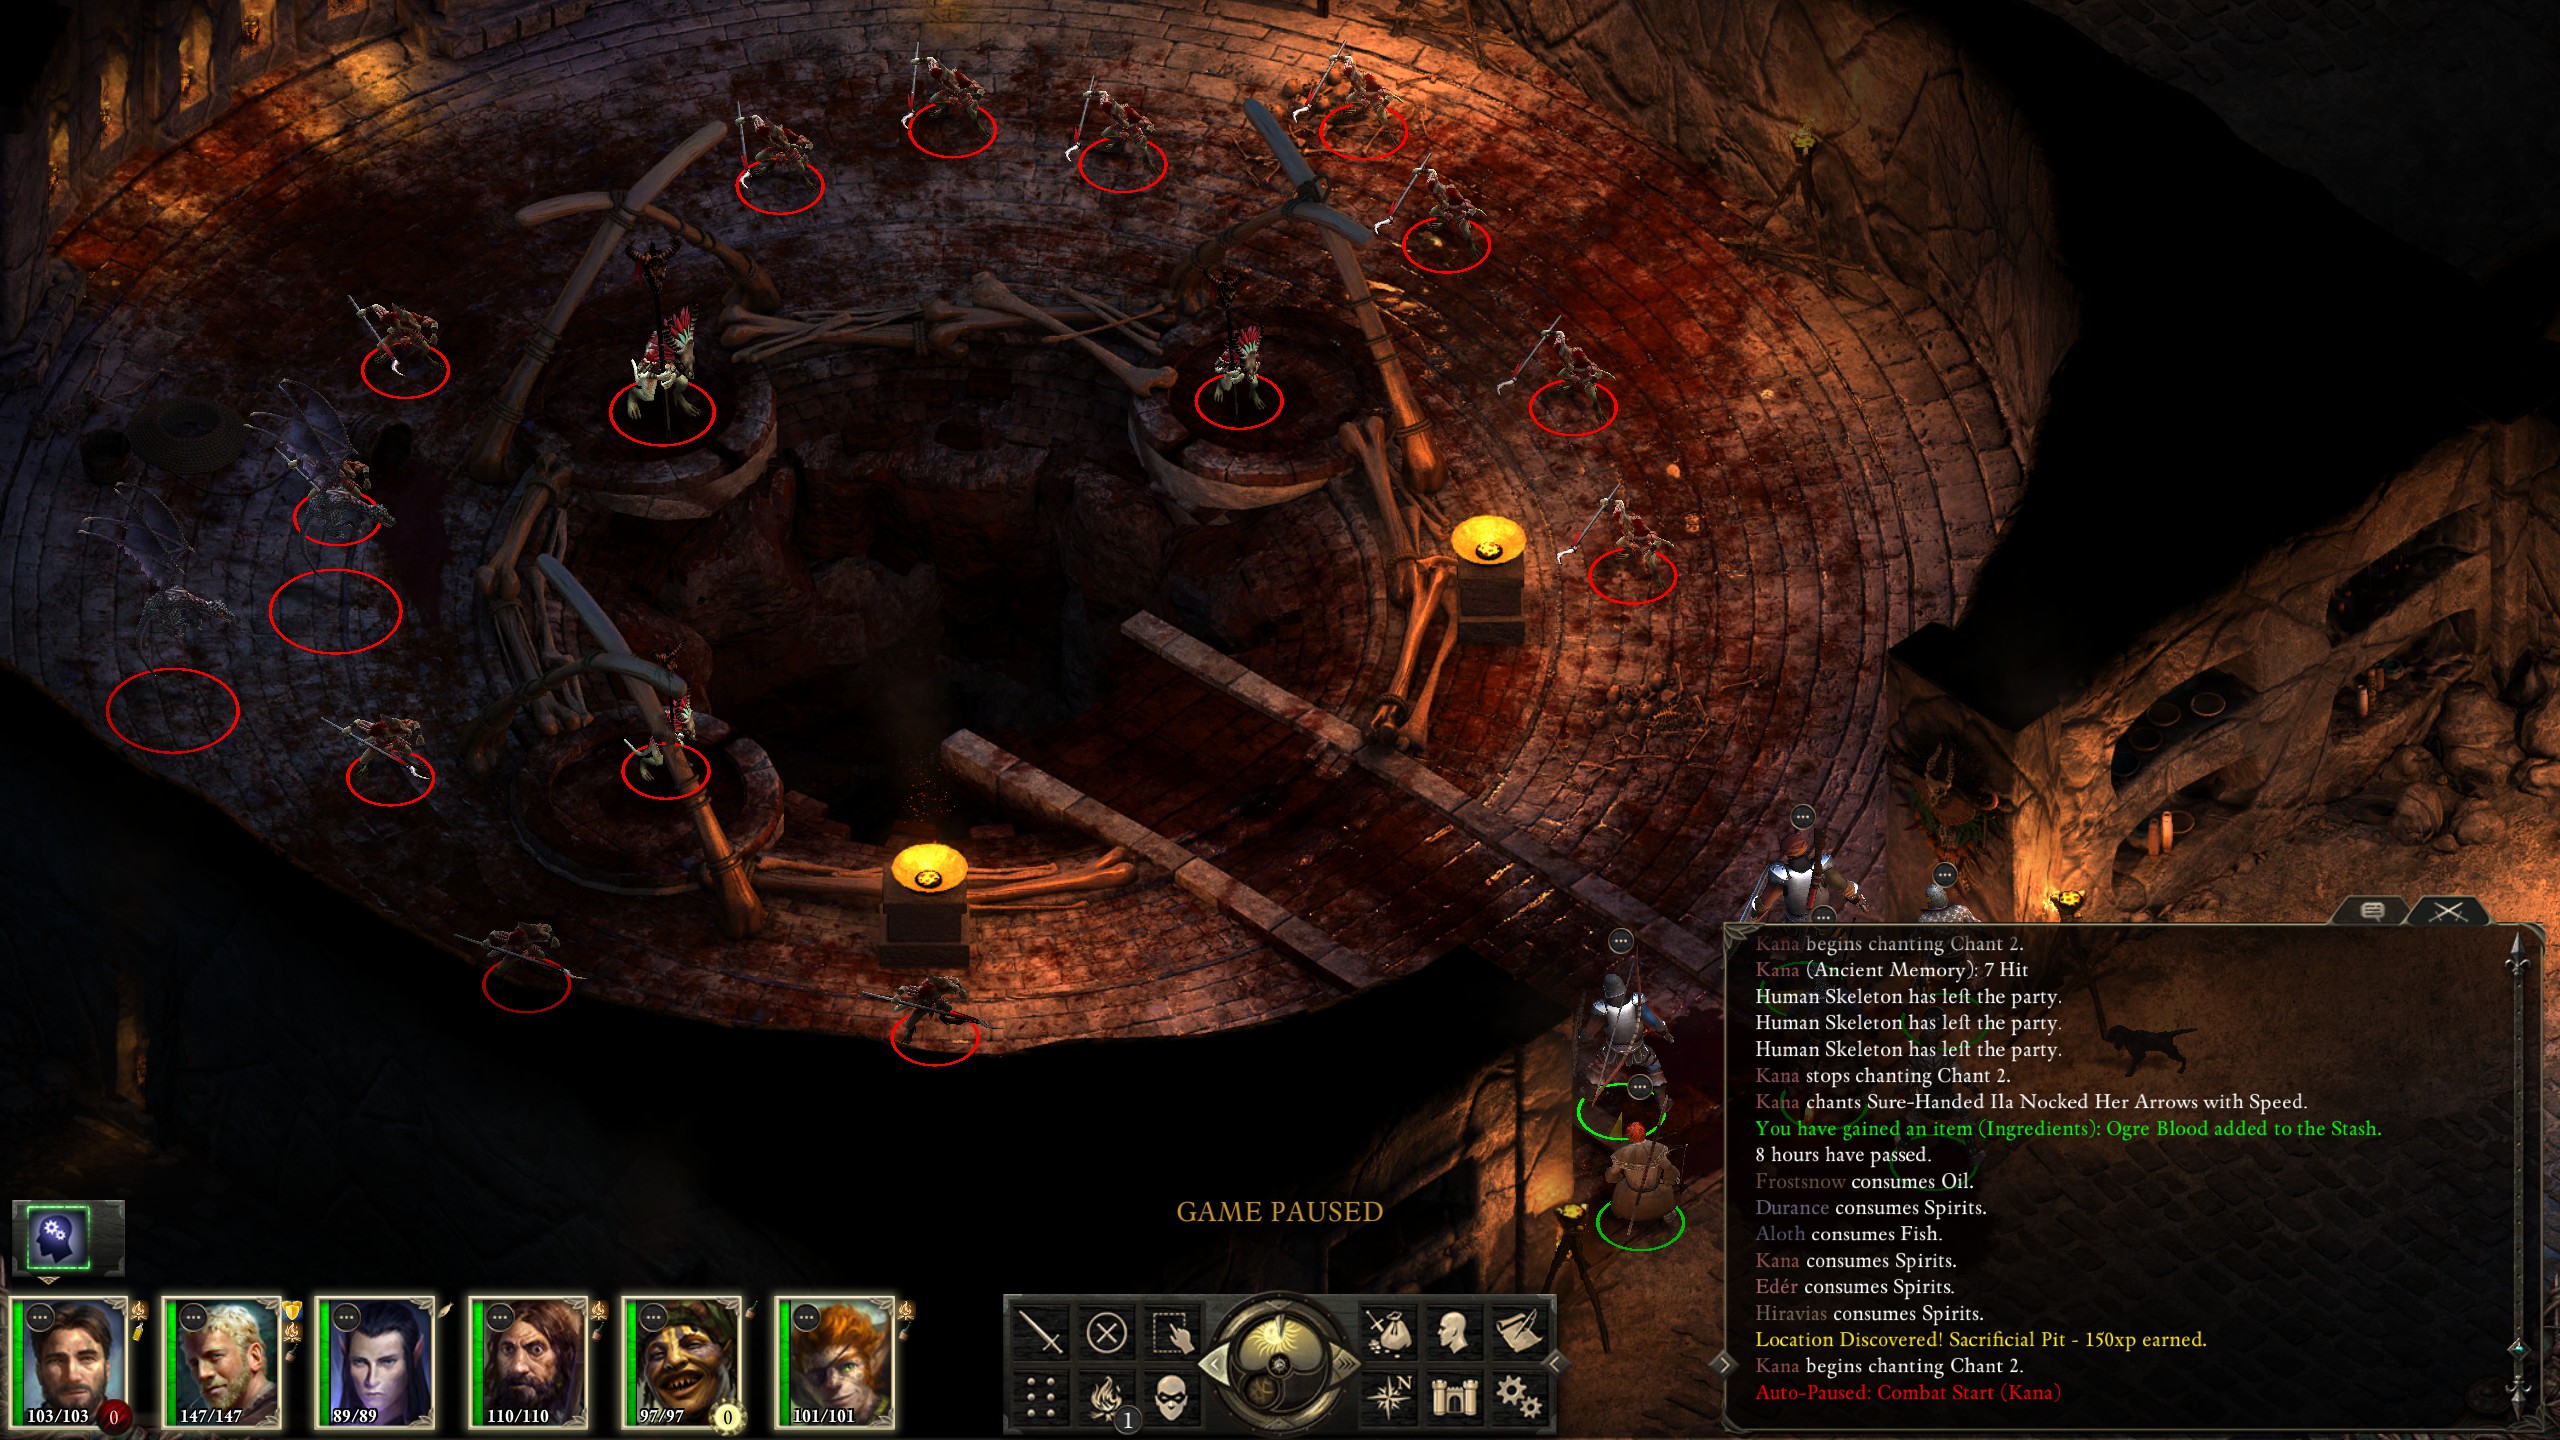
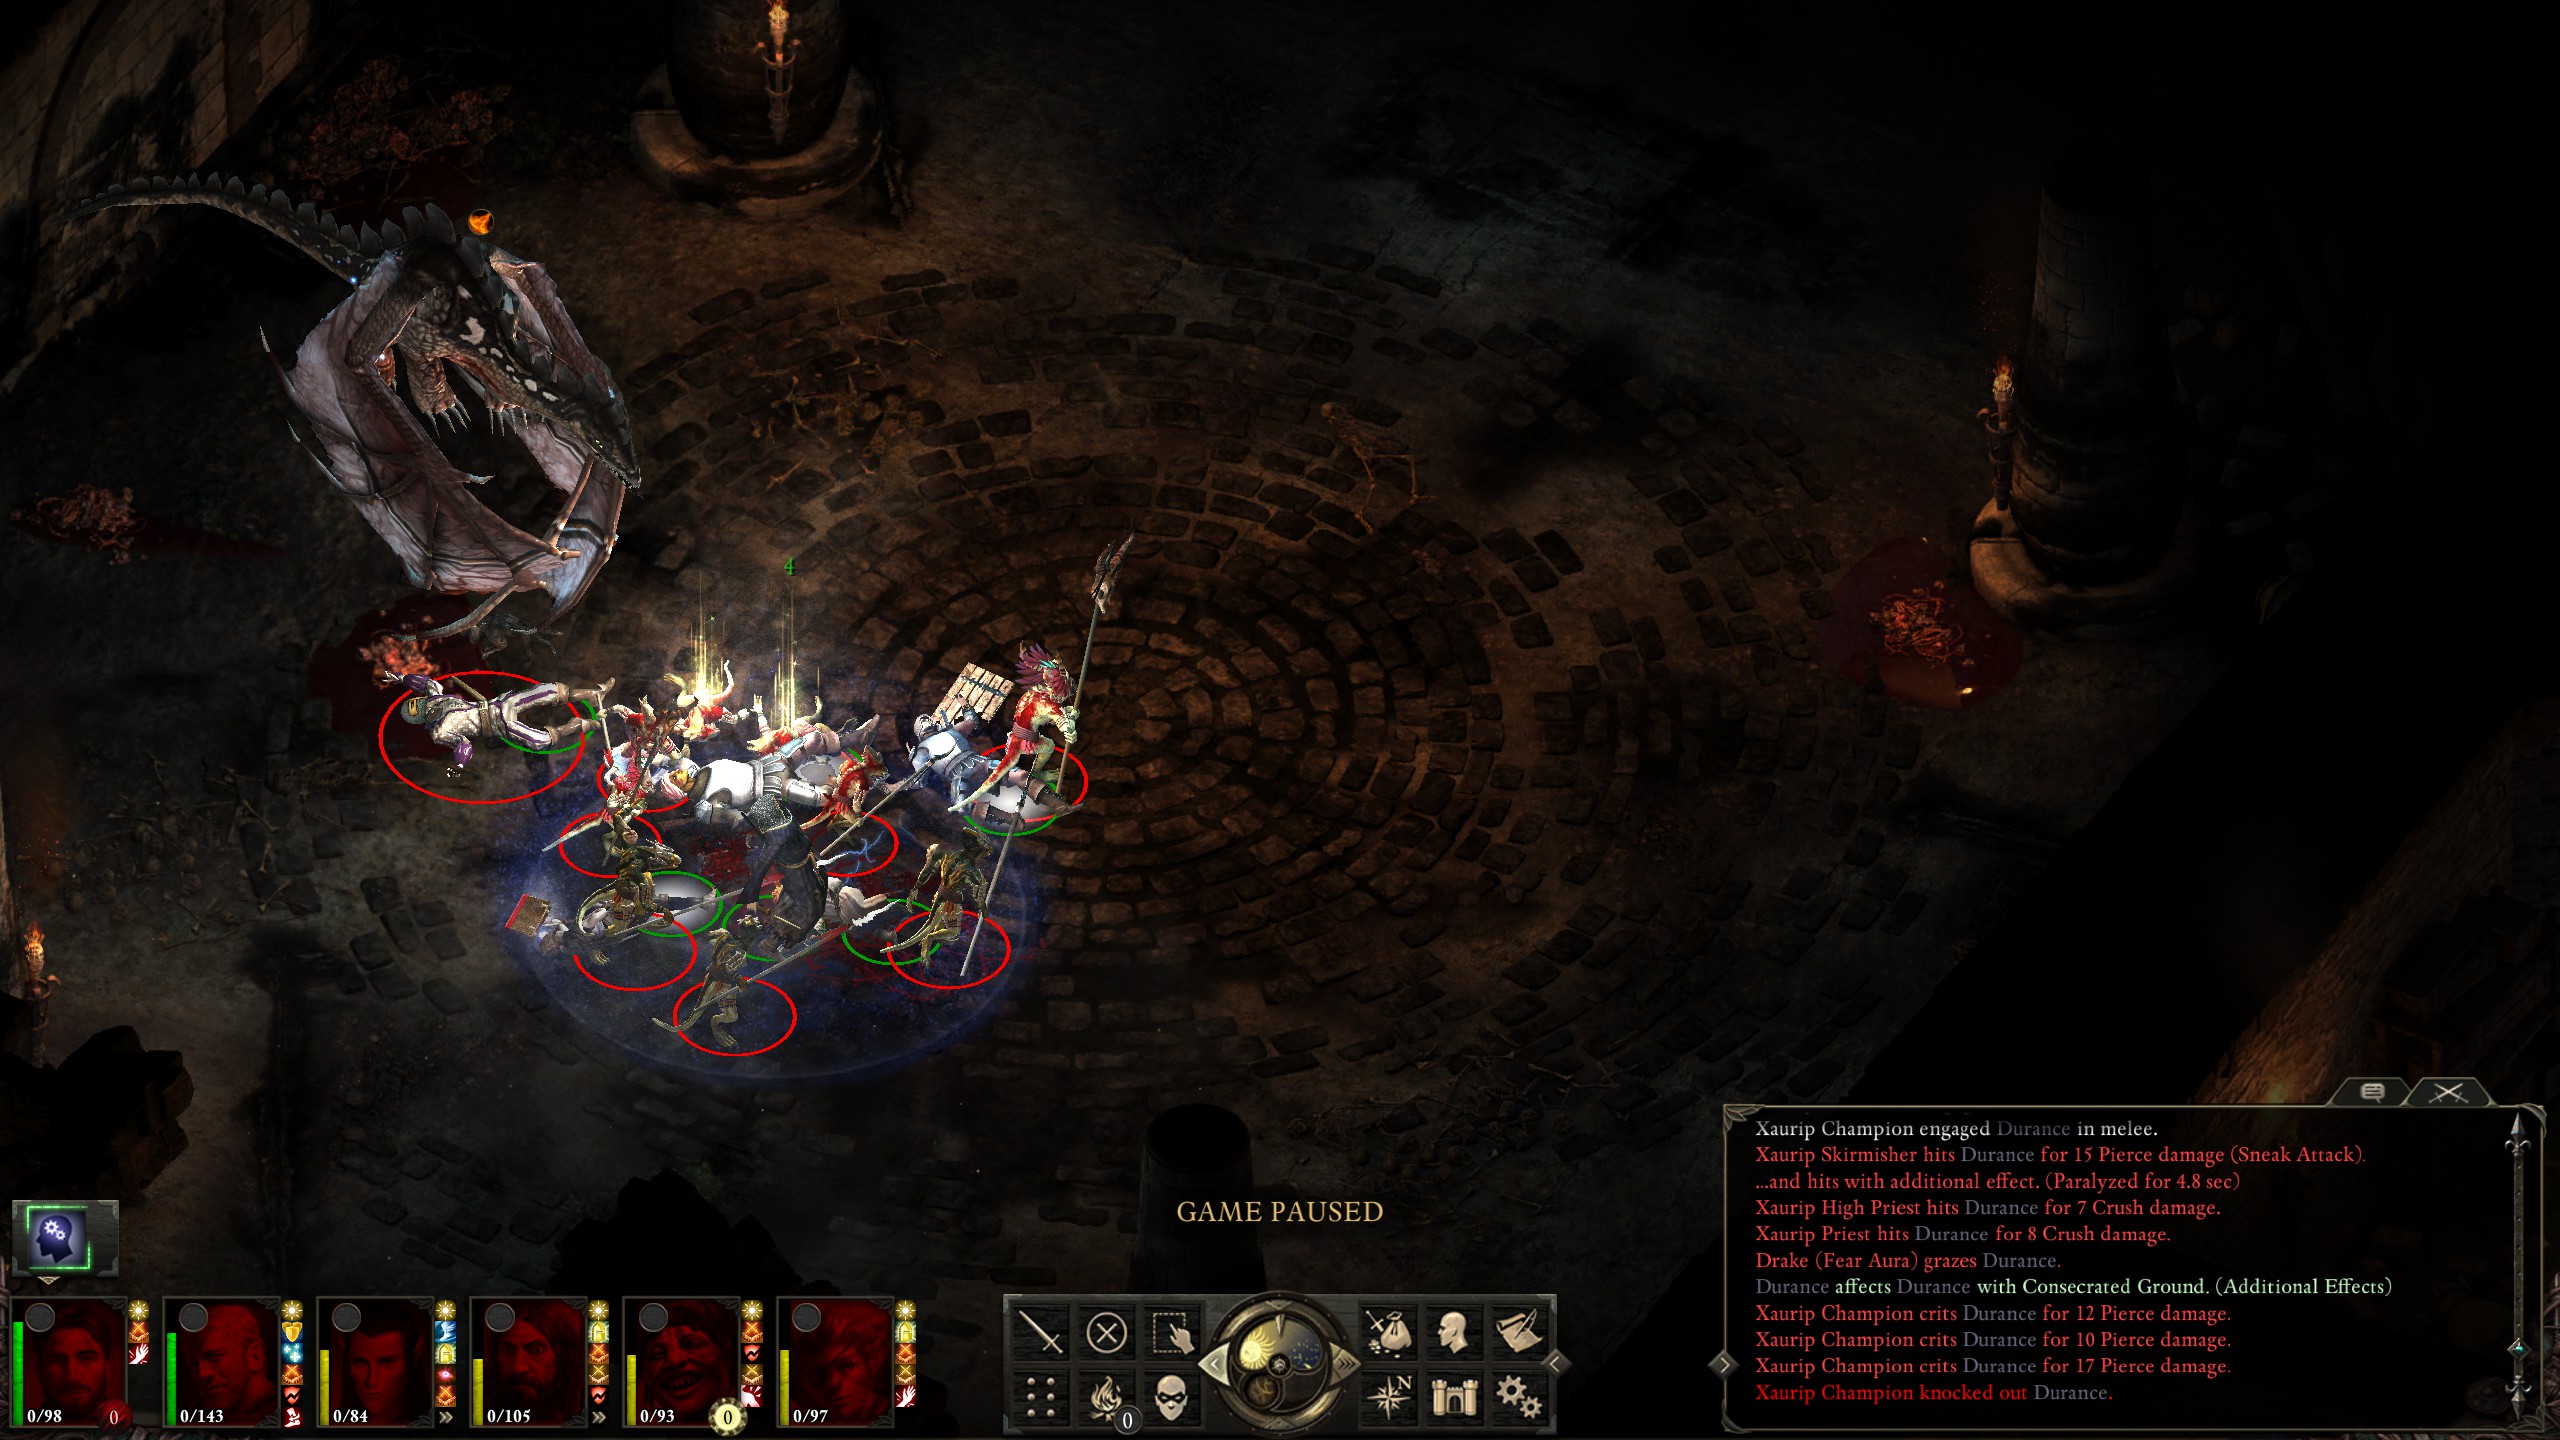
The first particularly noteworthy fight is on level 2, the Xariup pit:
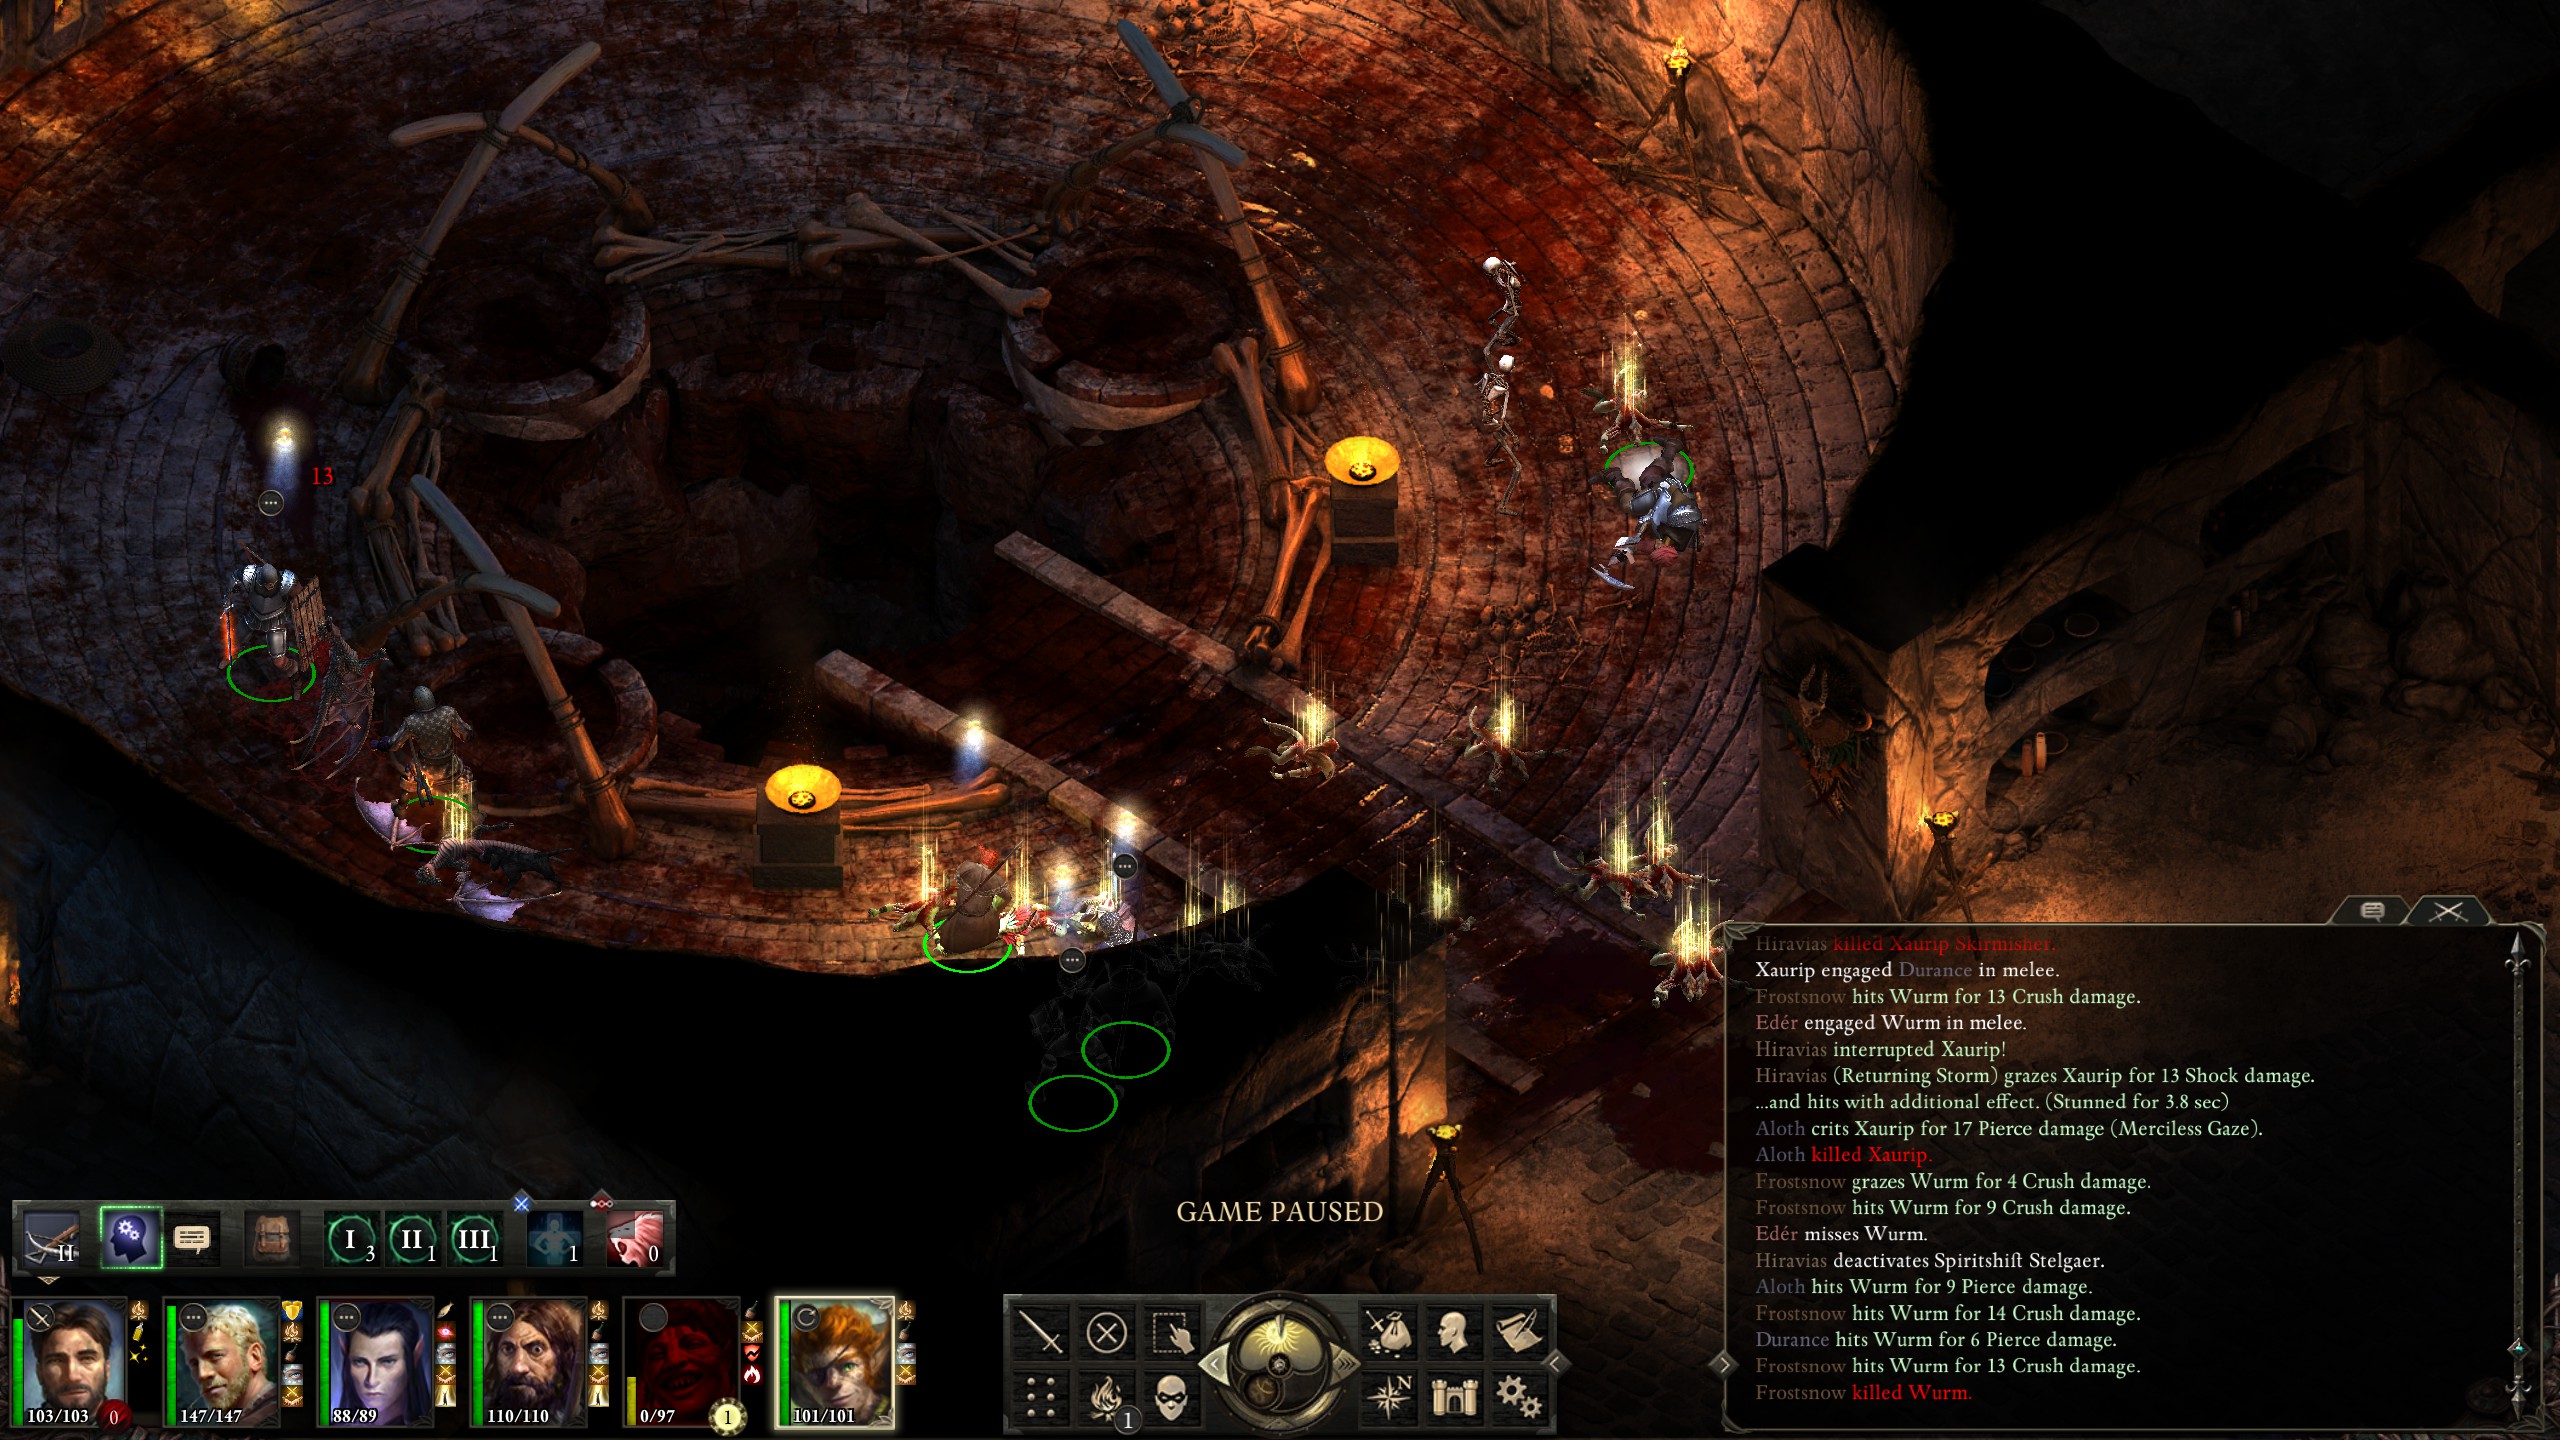
Which I managed to beat (somewhat) gracefully:
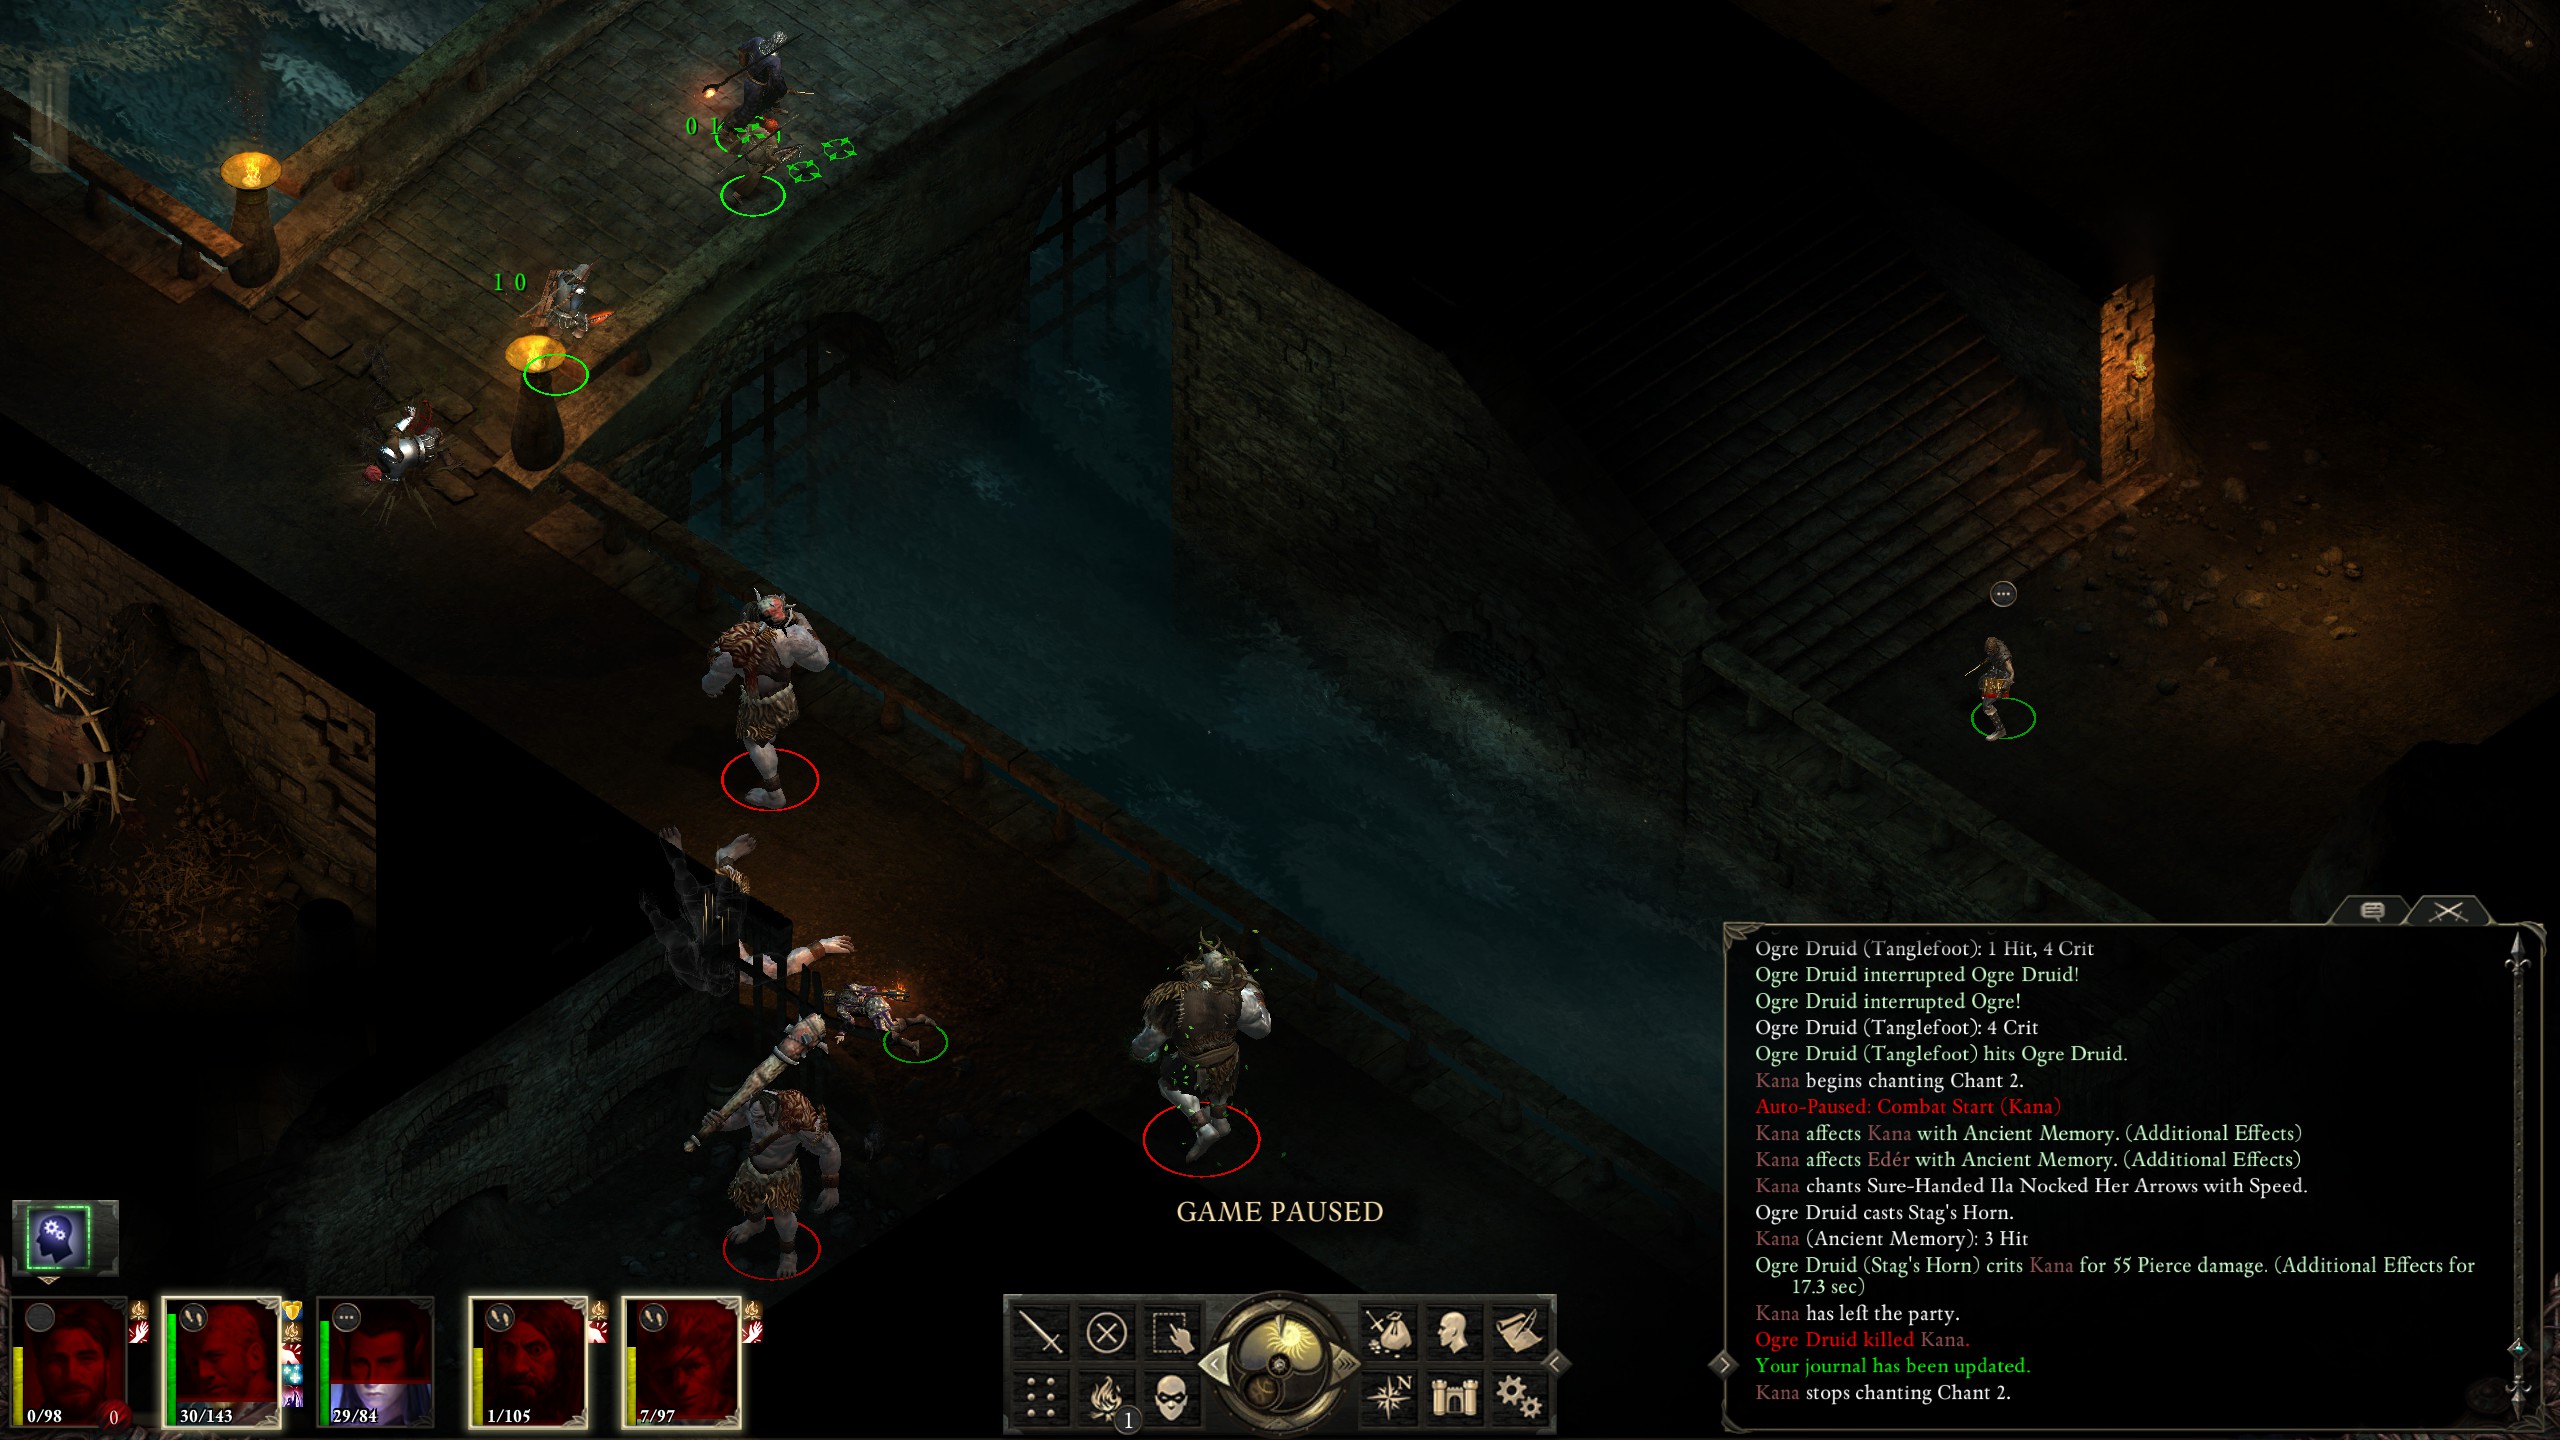
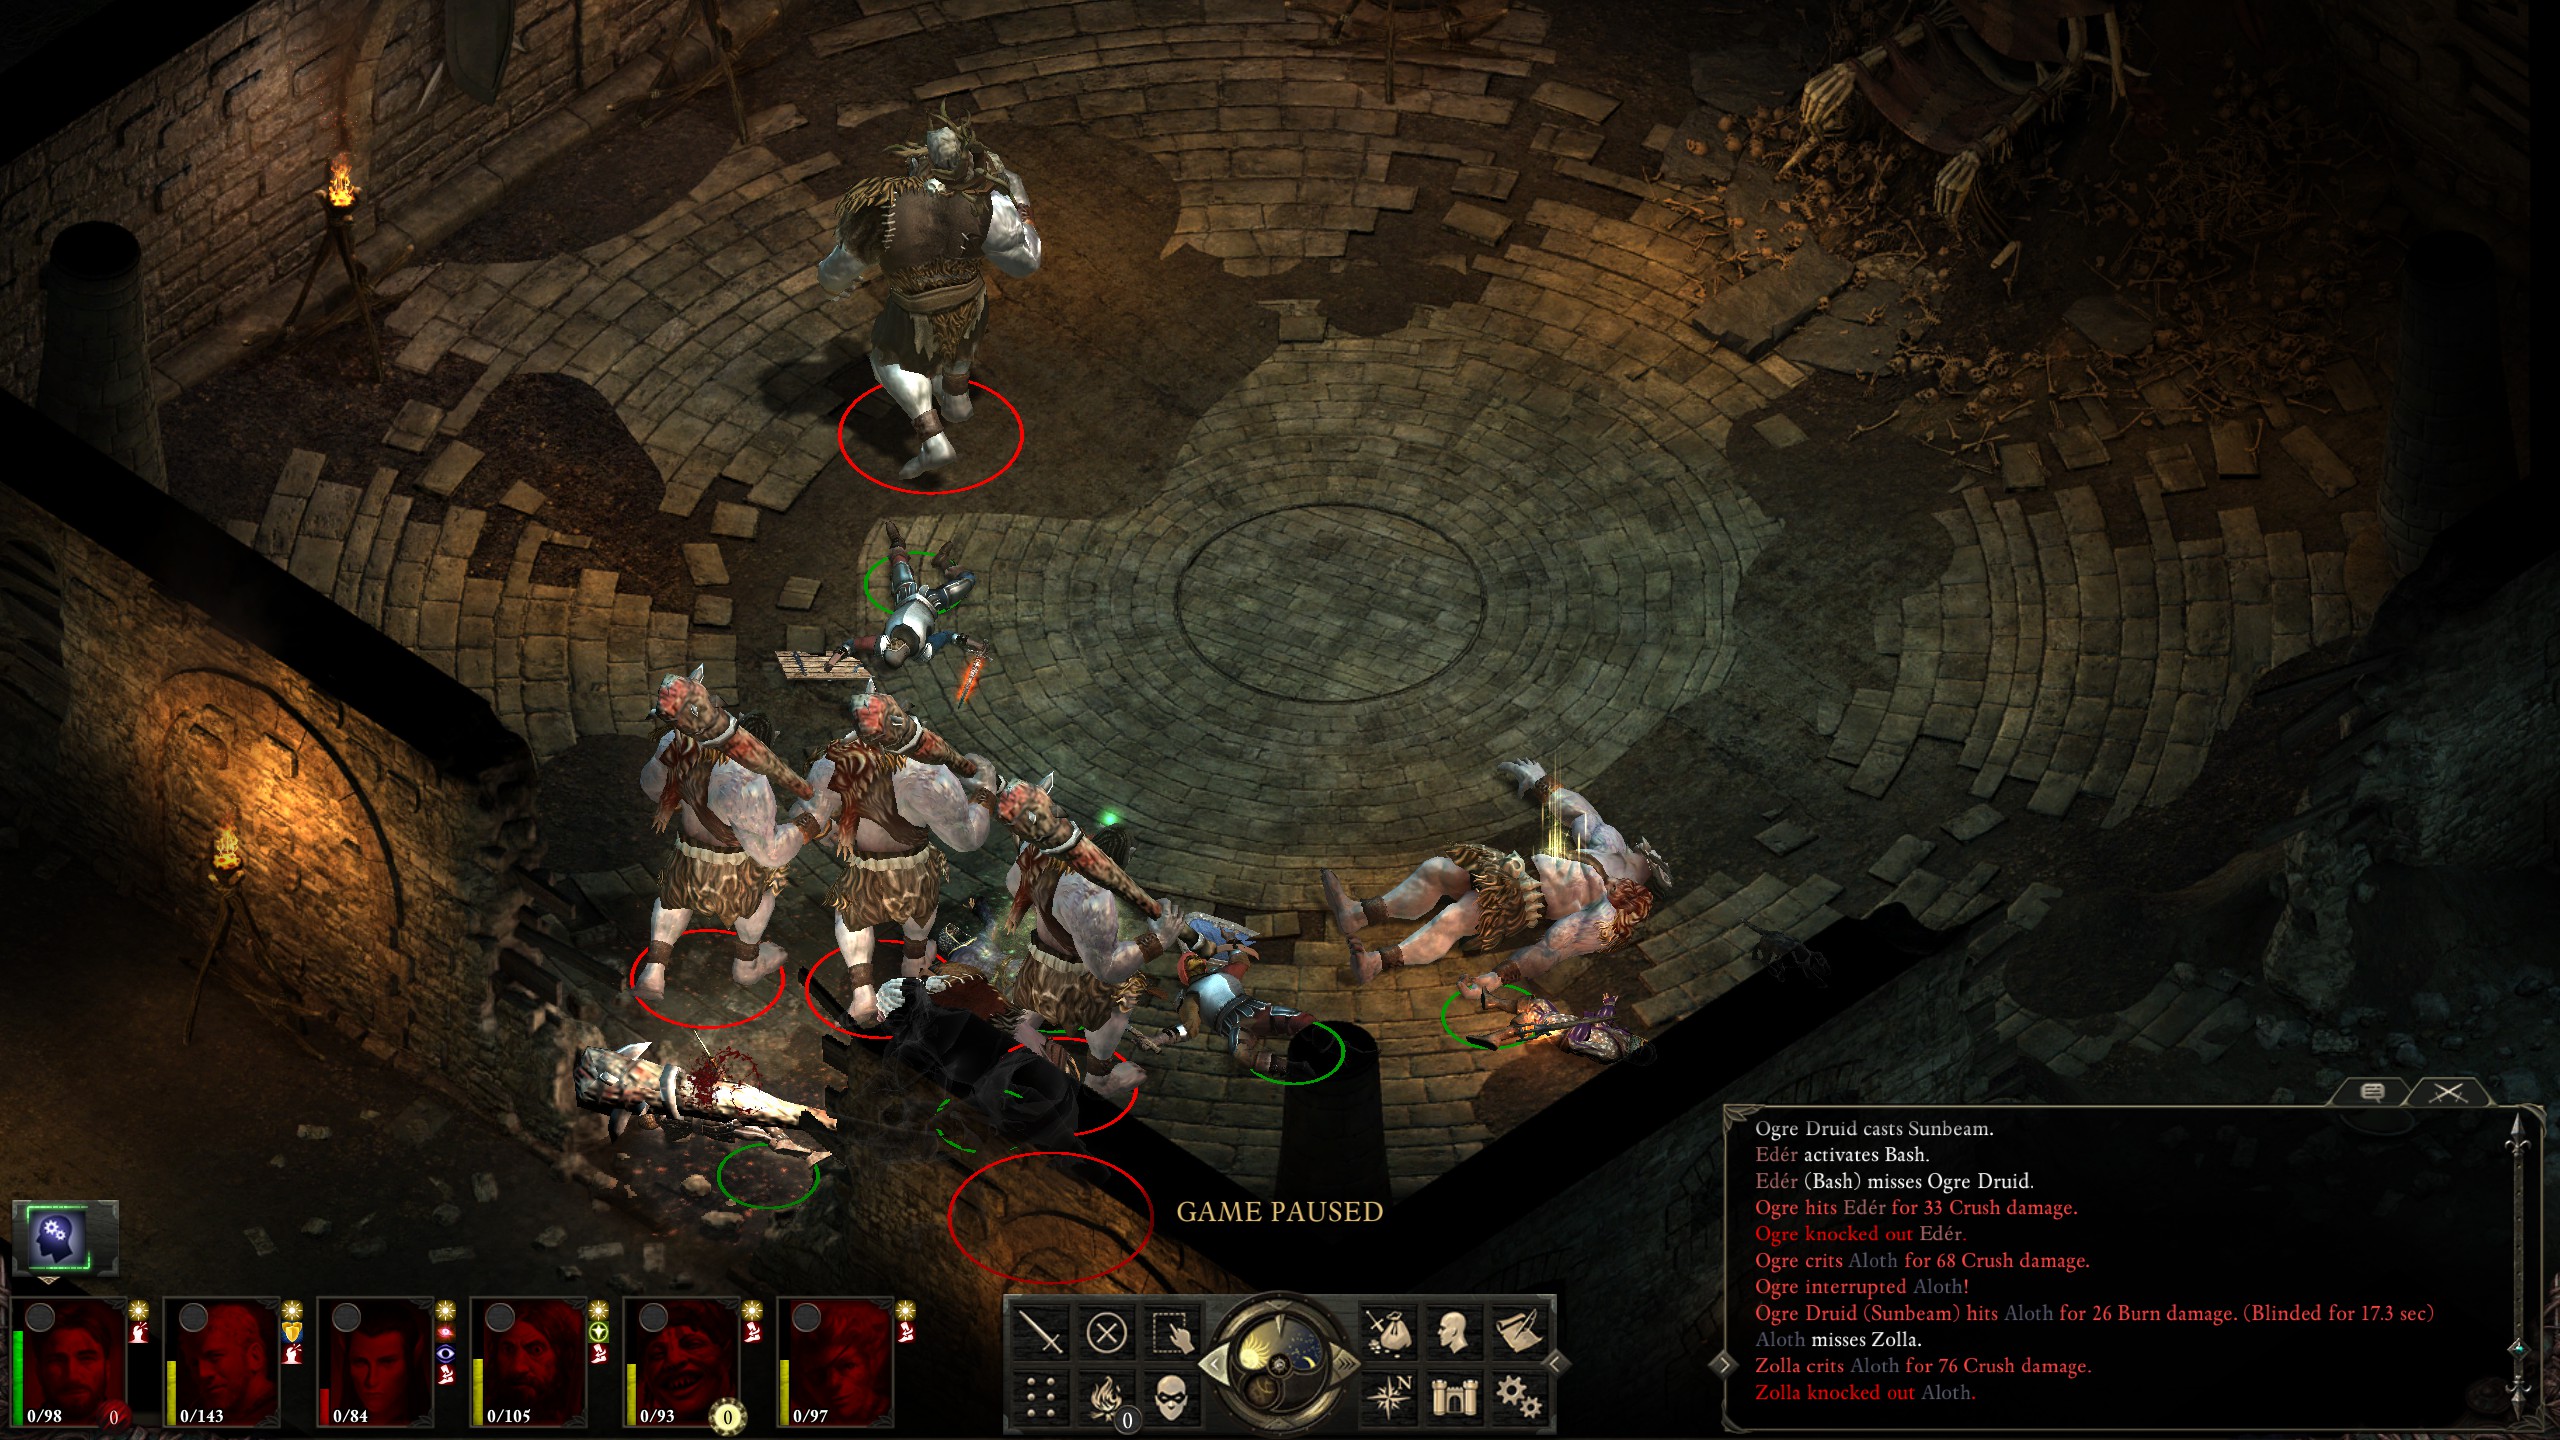
Note that one thing in particular was becoming clear at this point: Kana's health isn't too great. He makes a decent tank endurance-wise, but he can't be knocked down as much as a class that's more naturally-geared for tanking. Moving onto level 3, I began picking off ogres despite having most of my spells spent, until I accidentally pulled an entire group of them thinking that there was only one, resulting in my first wipe:
Saddening, but no big deal; I thought I'd just rest, try again, pop off a few casual spells, and continue on my merry way. I was wrong:
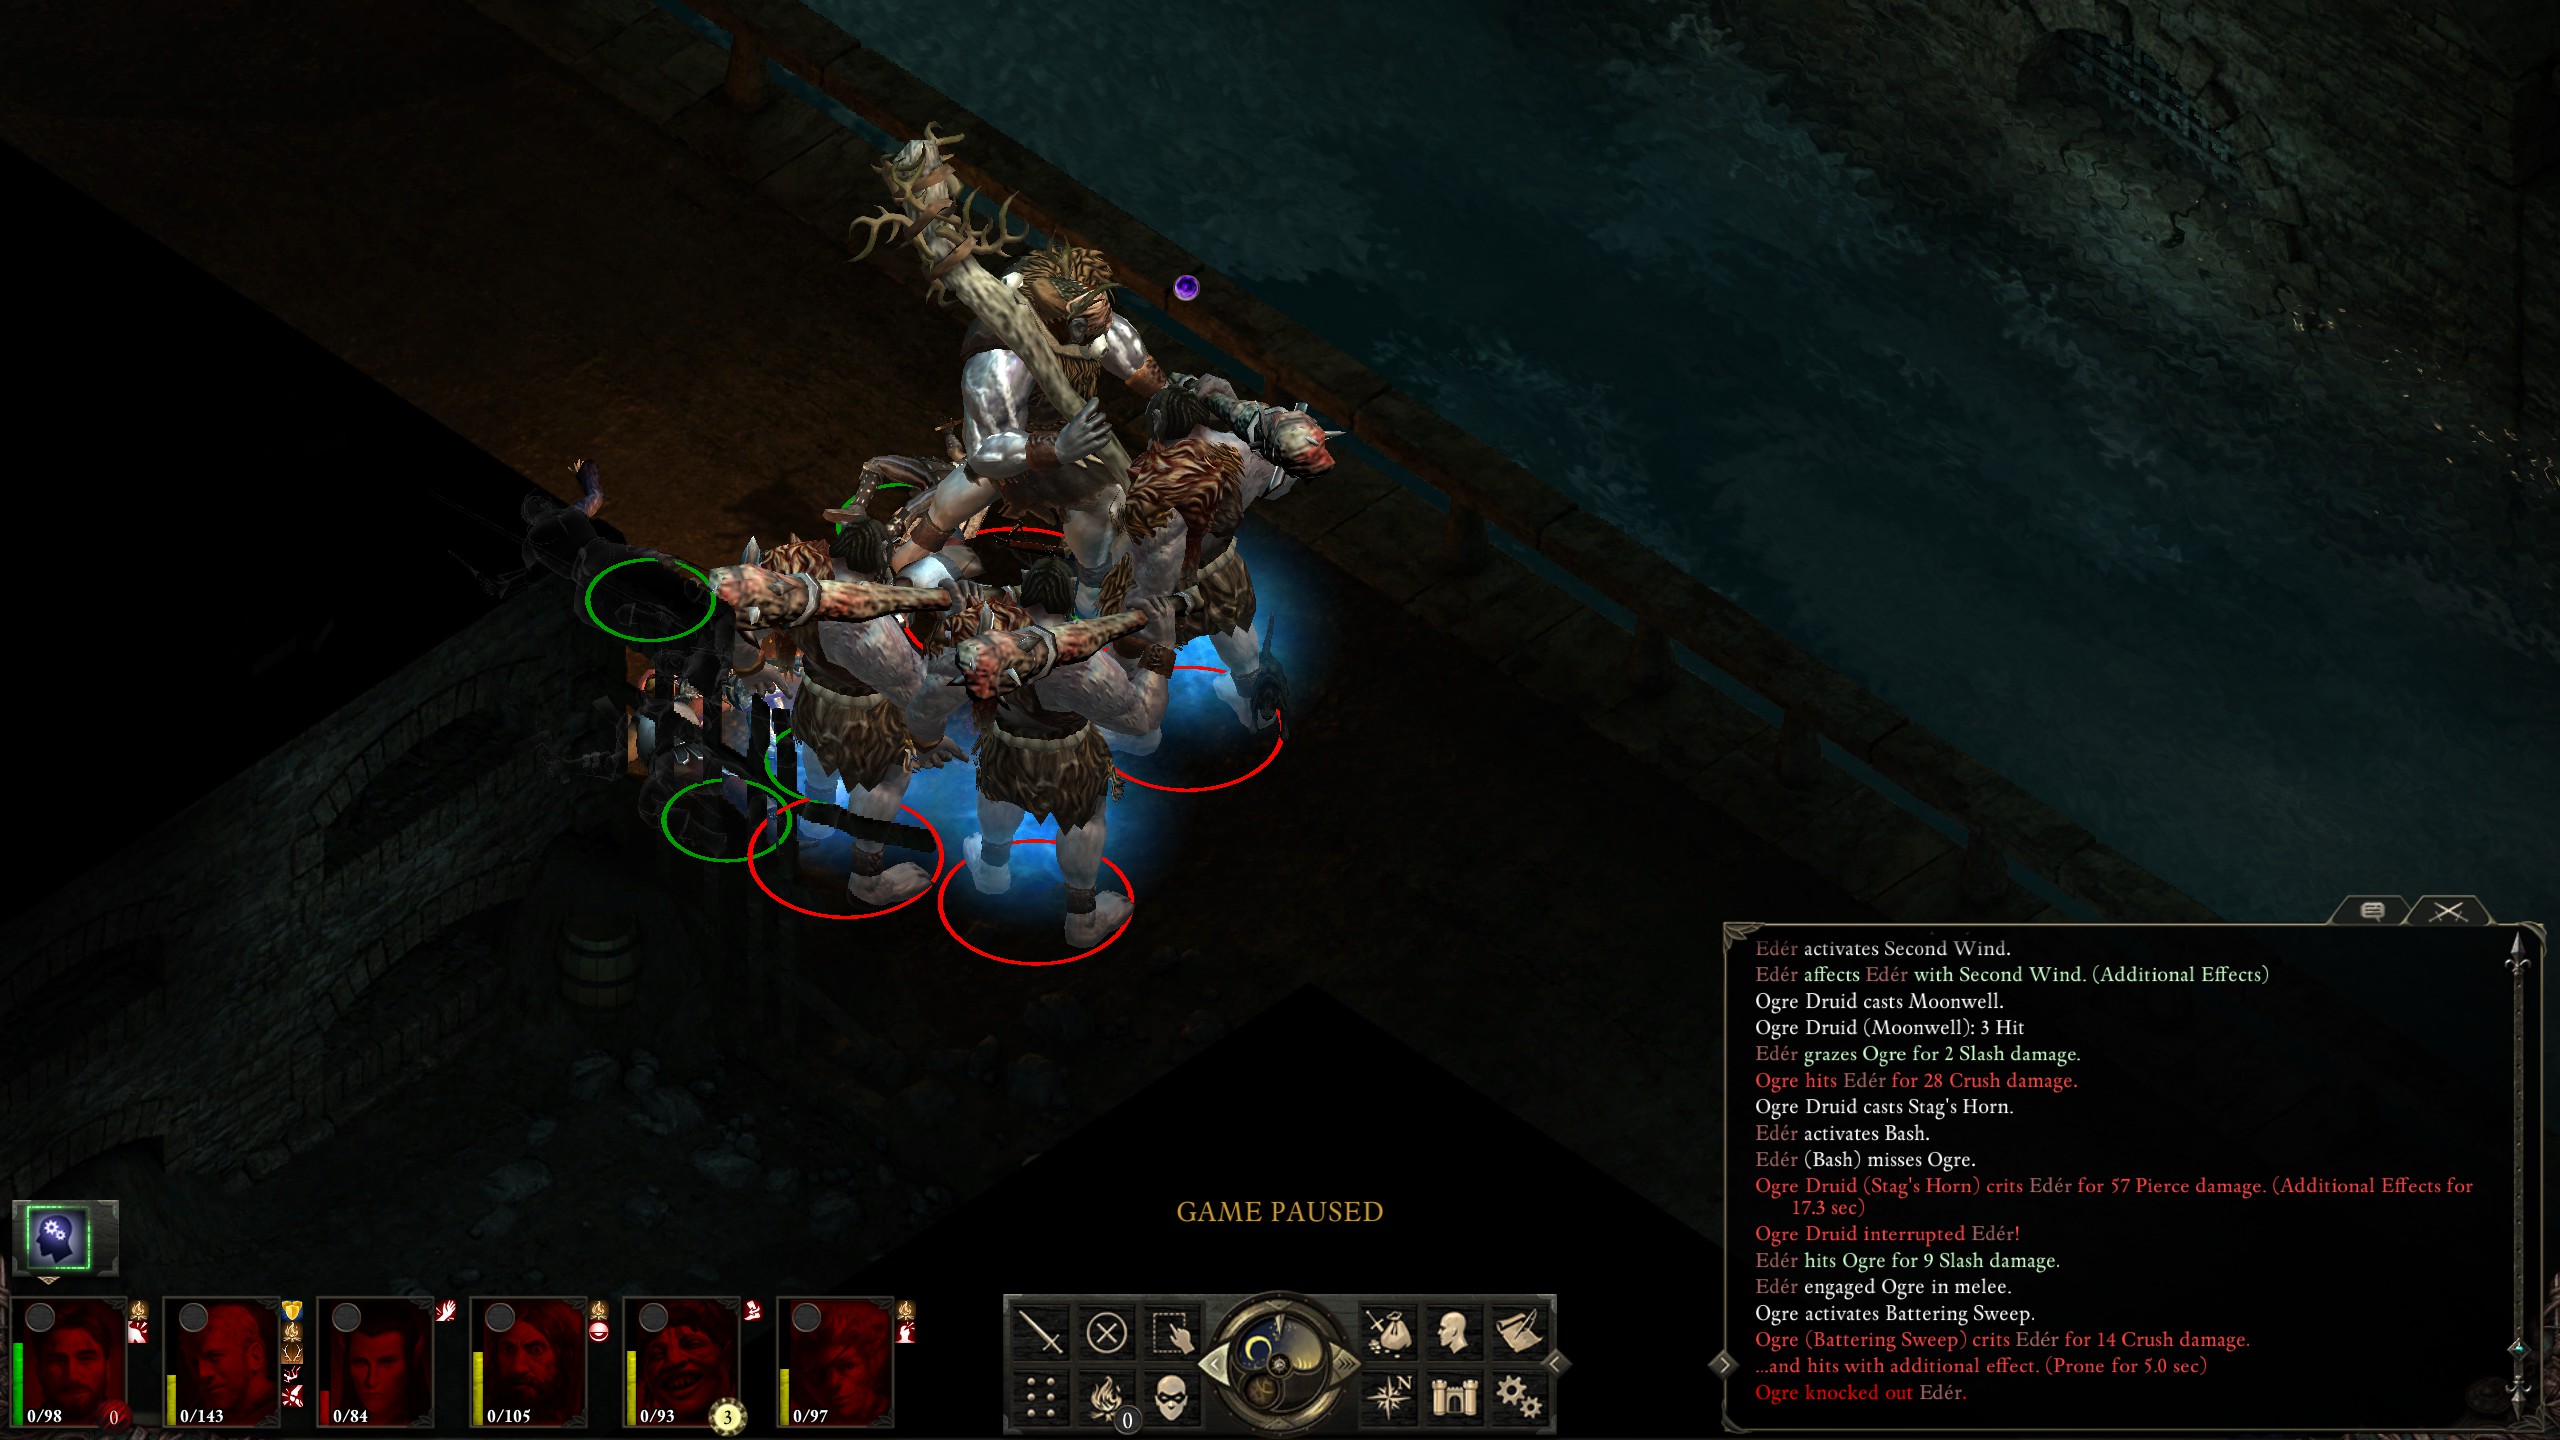
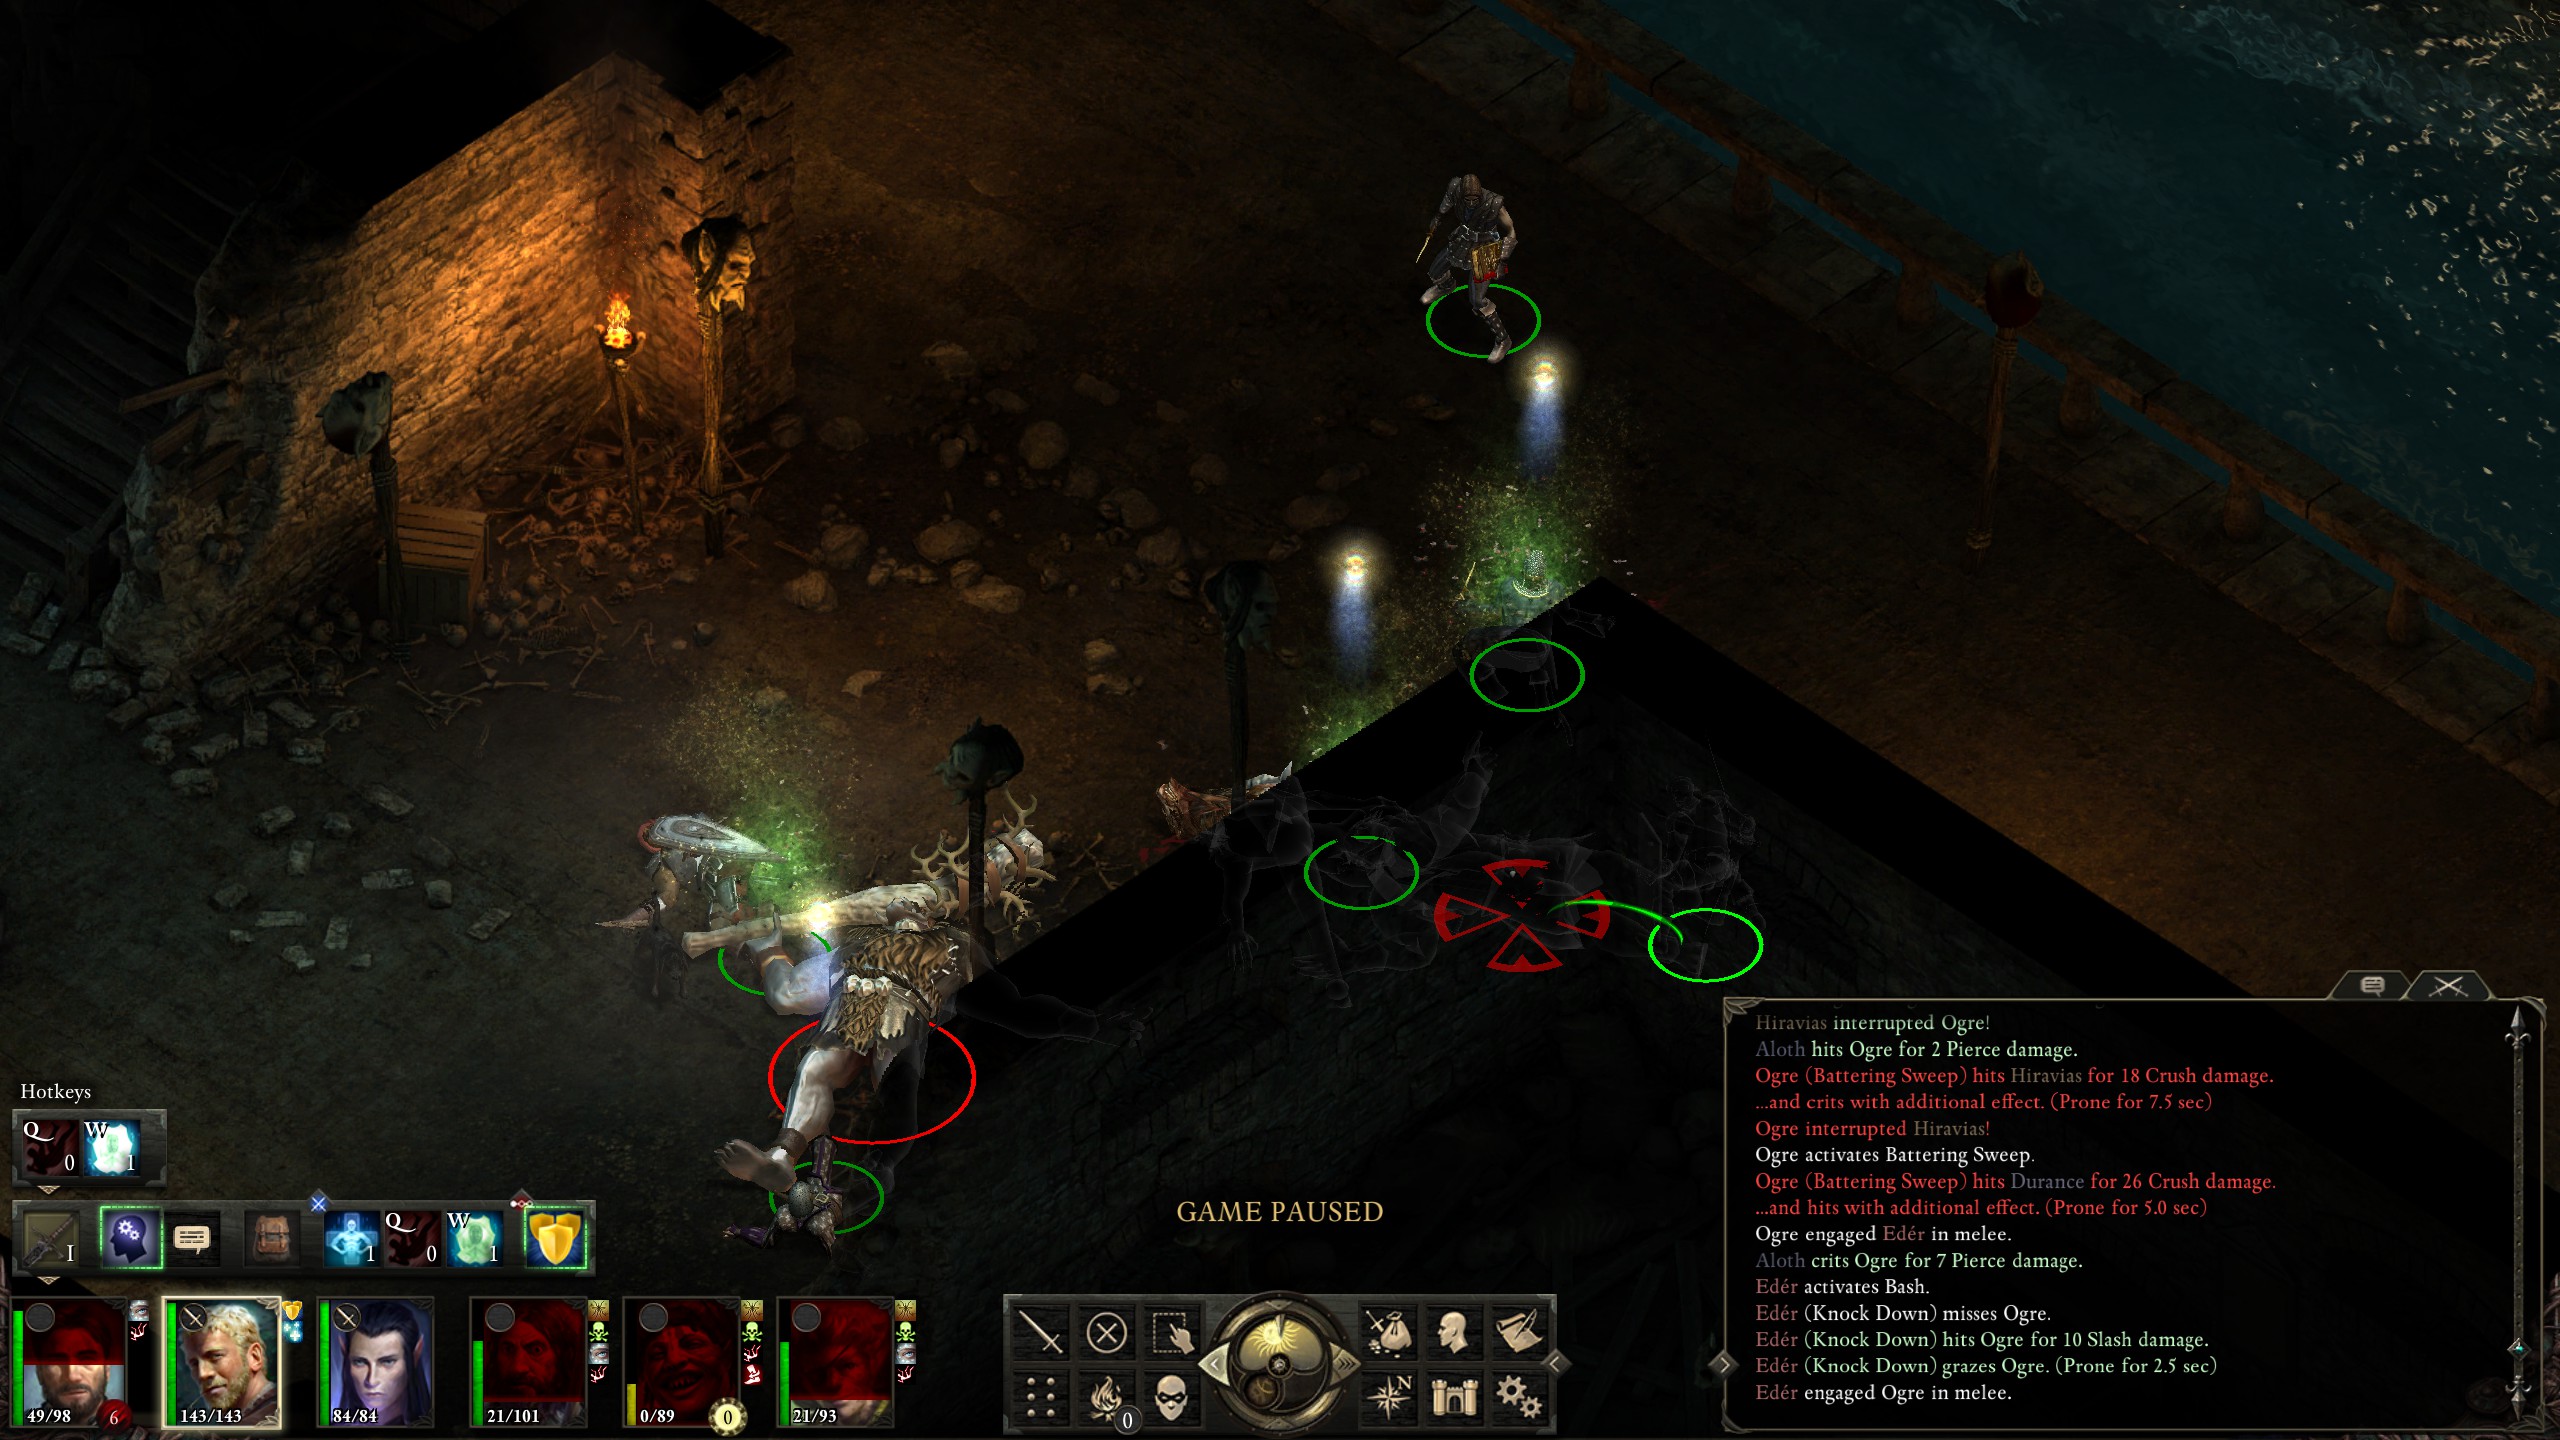
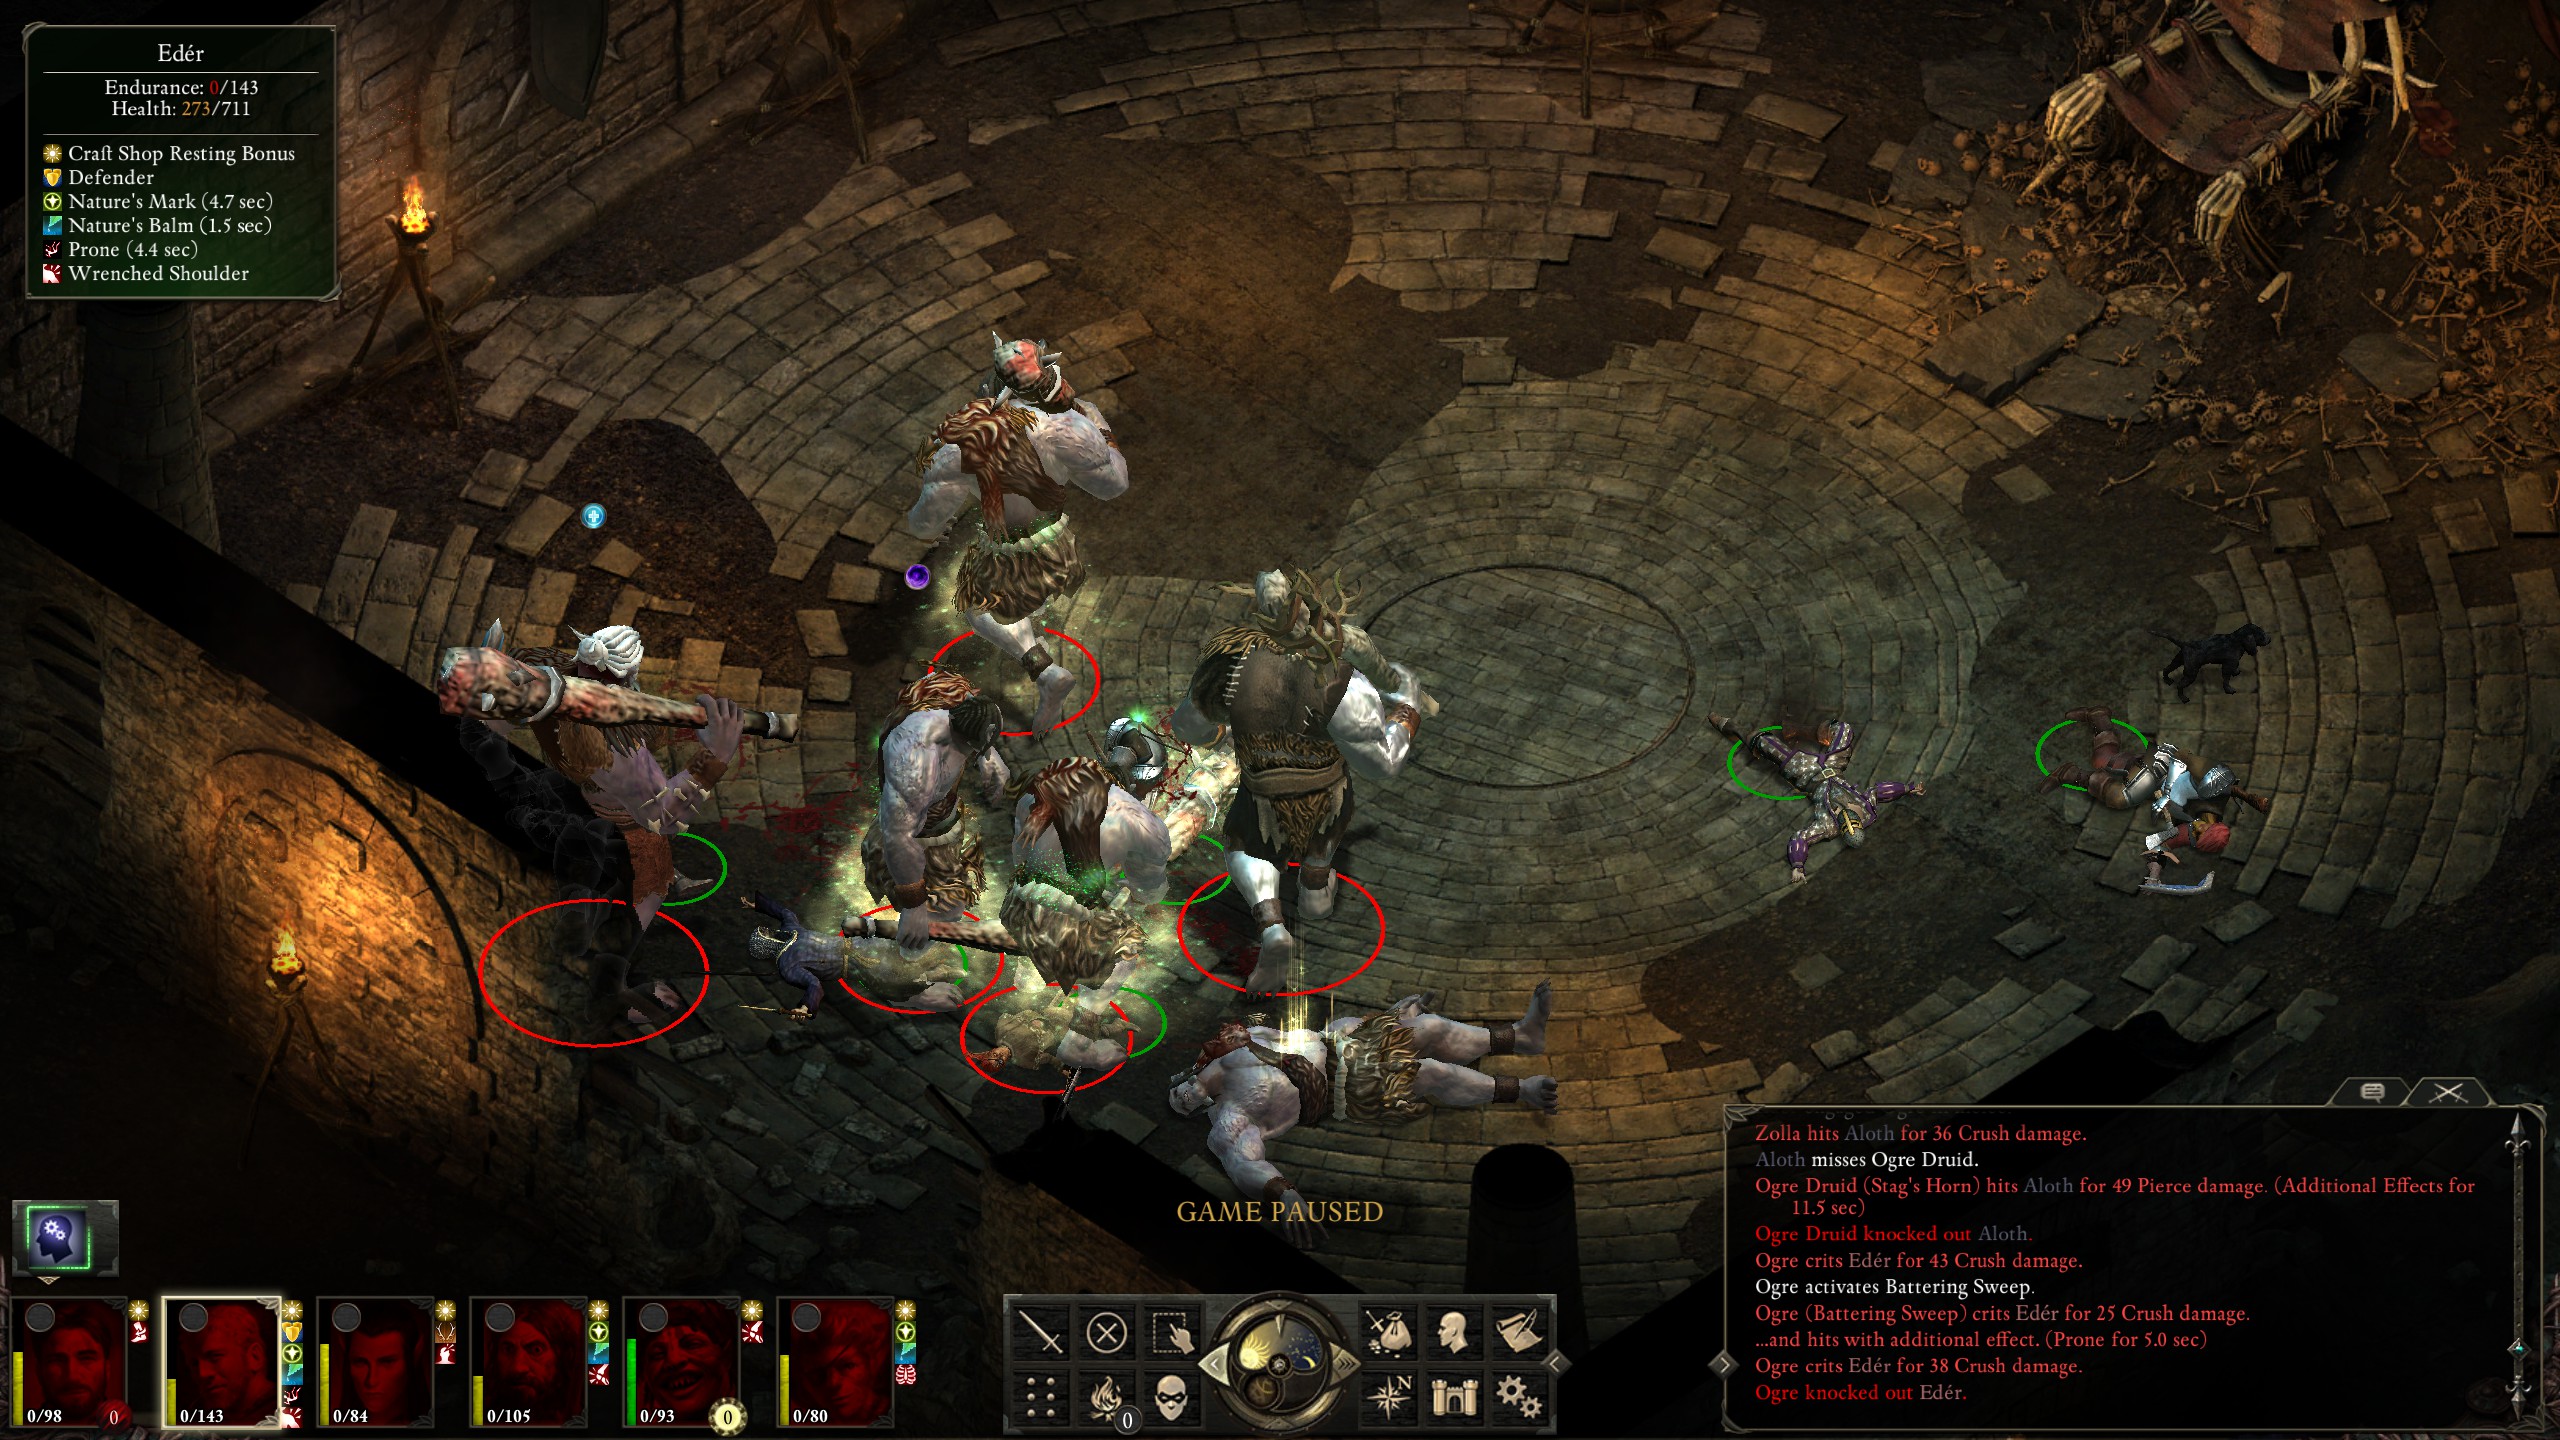
Fine. I tried another route. I managed to clear a few small groups of ogres before trying to take on an ogre druid and its pack, which resulted in another wipe:
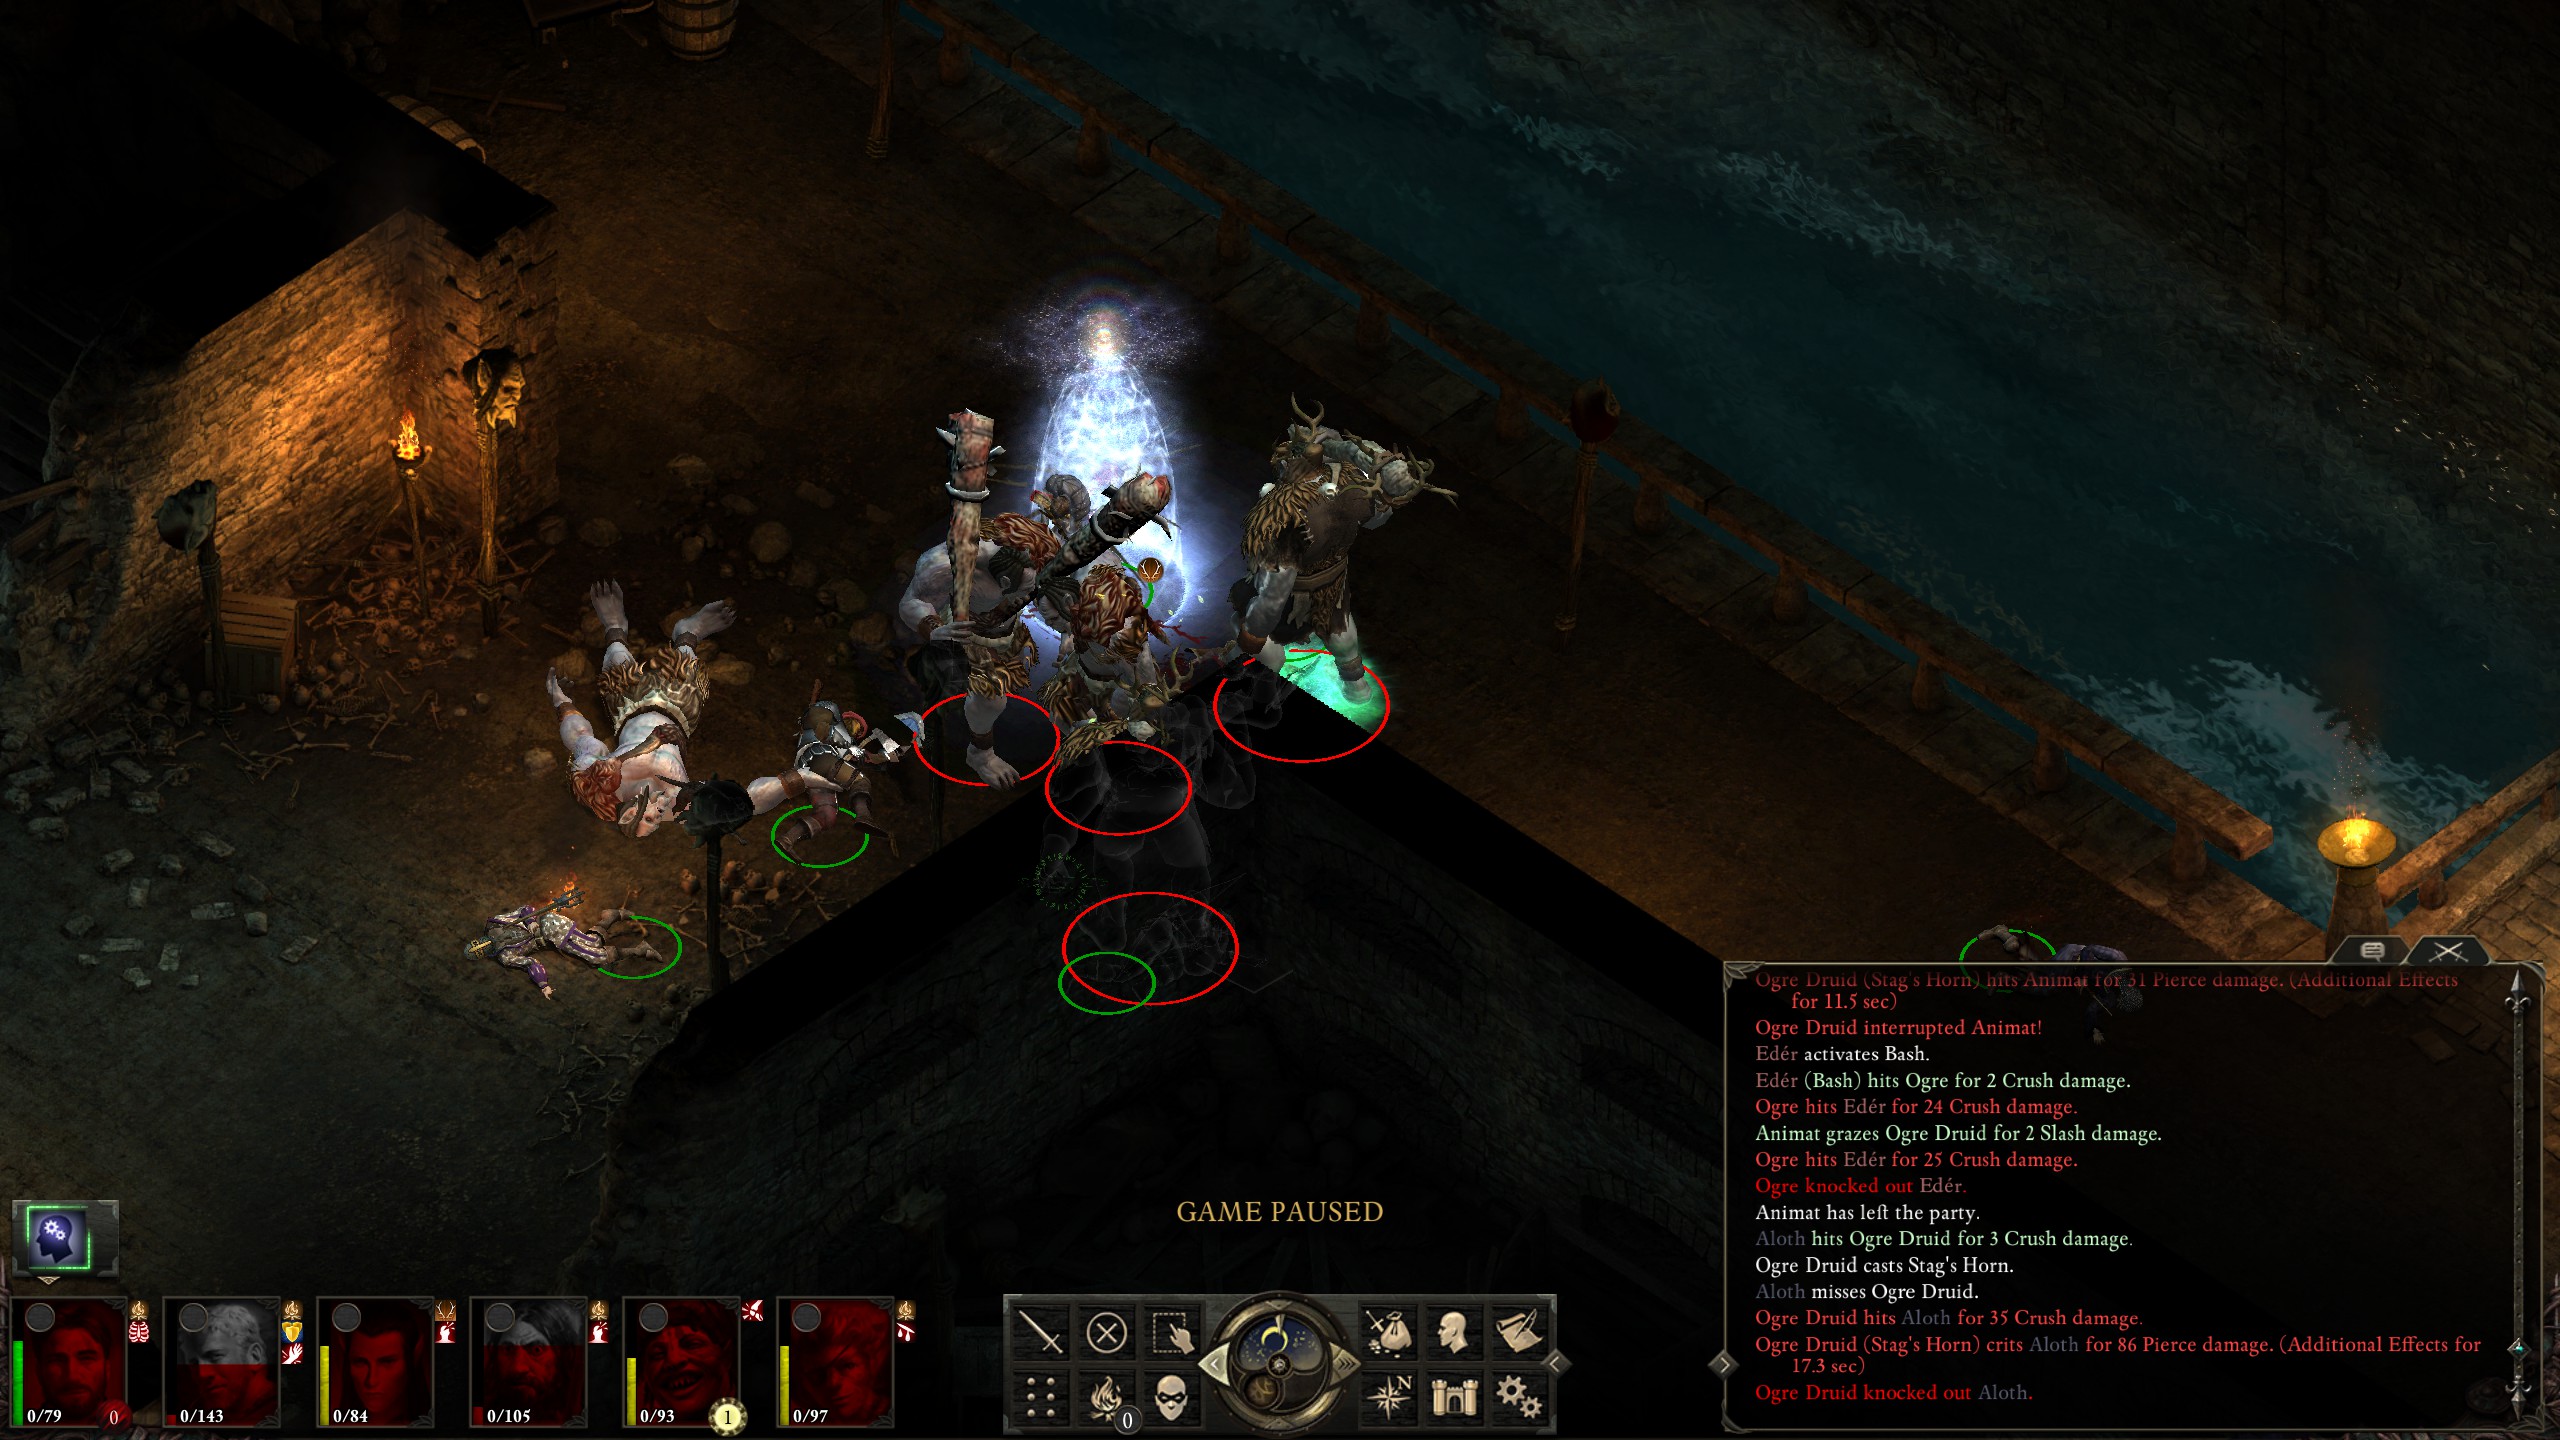
Ogre druids are terrifying creatures, especially this early on. I somehow accidentally managed to pull just one ogre druid and one regular ogre out of the pack, and they alone almost took me out:
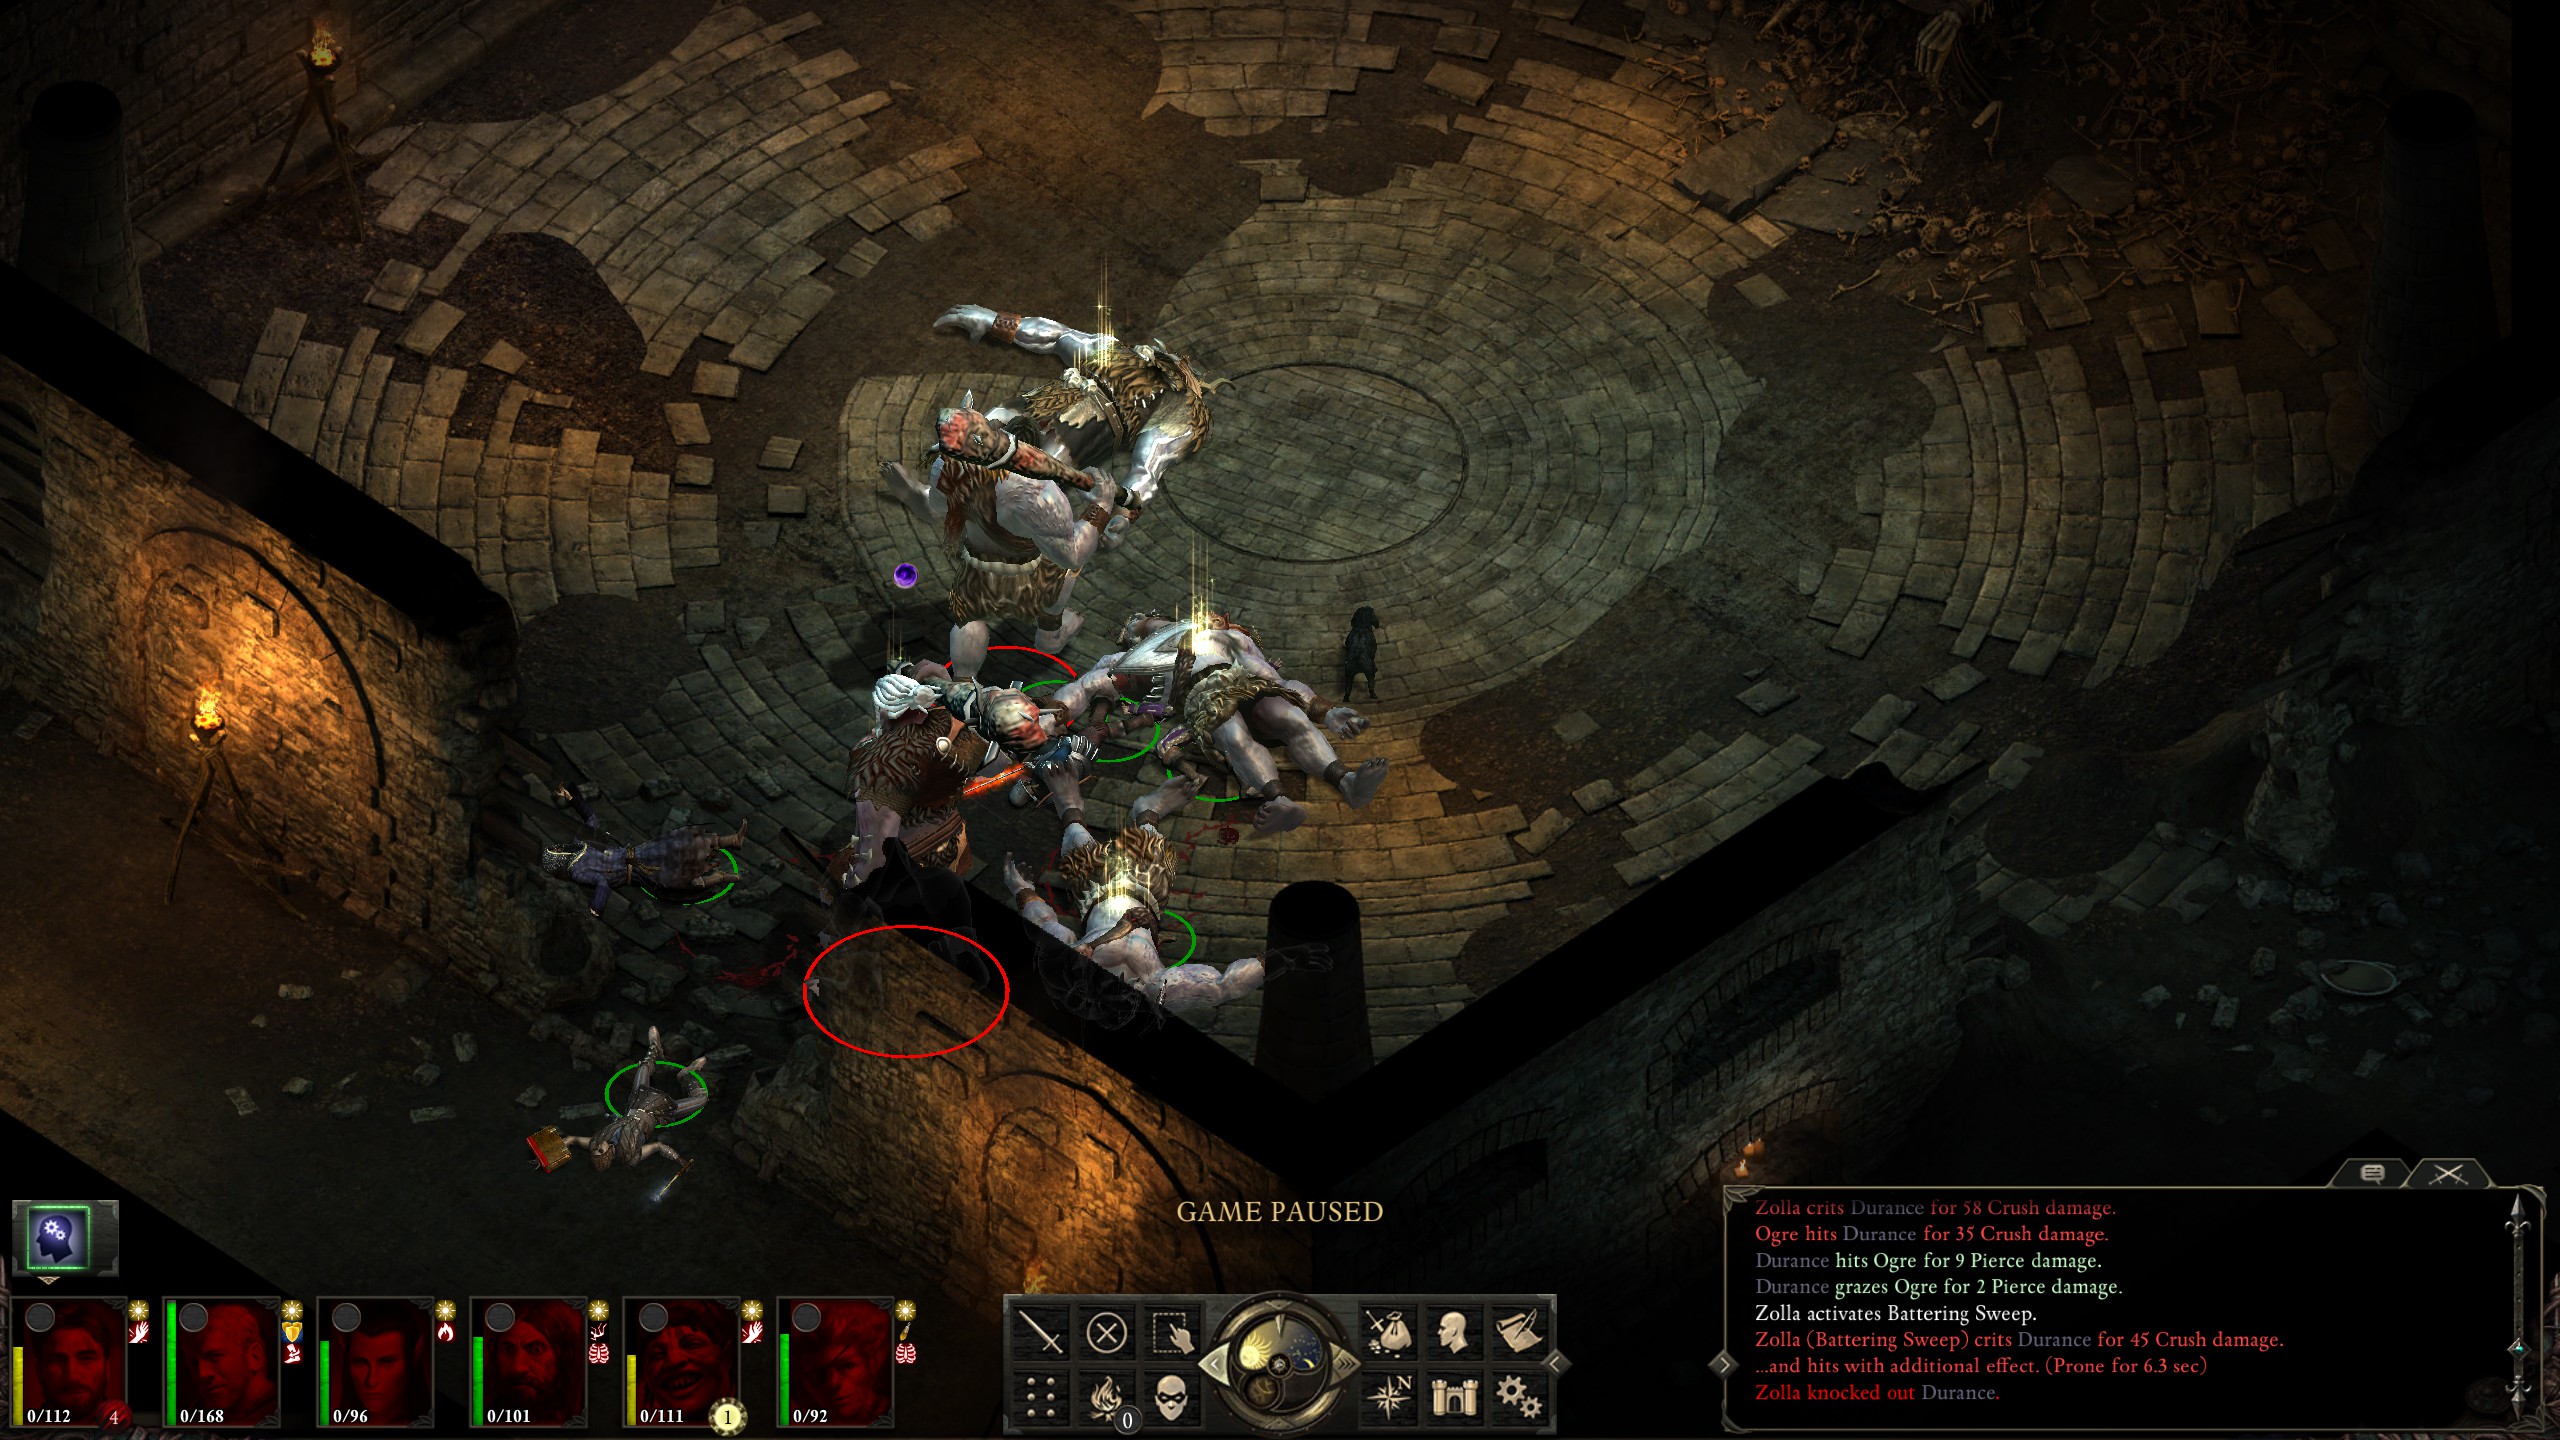
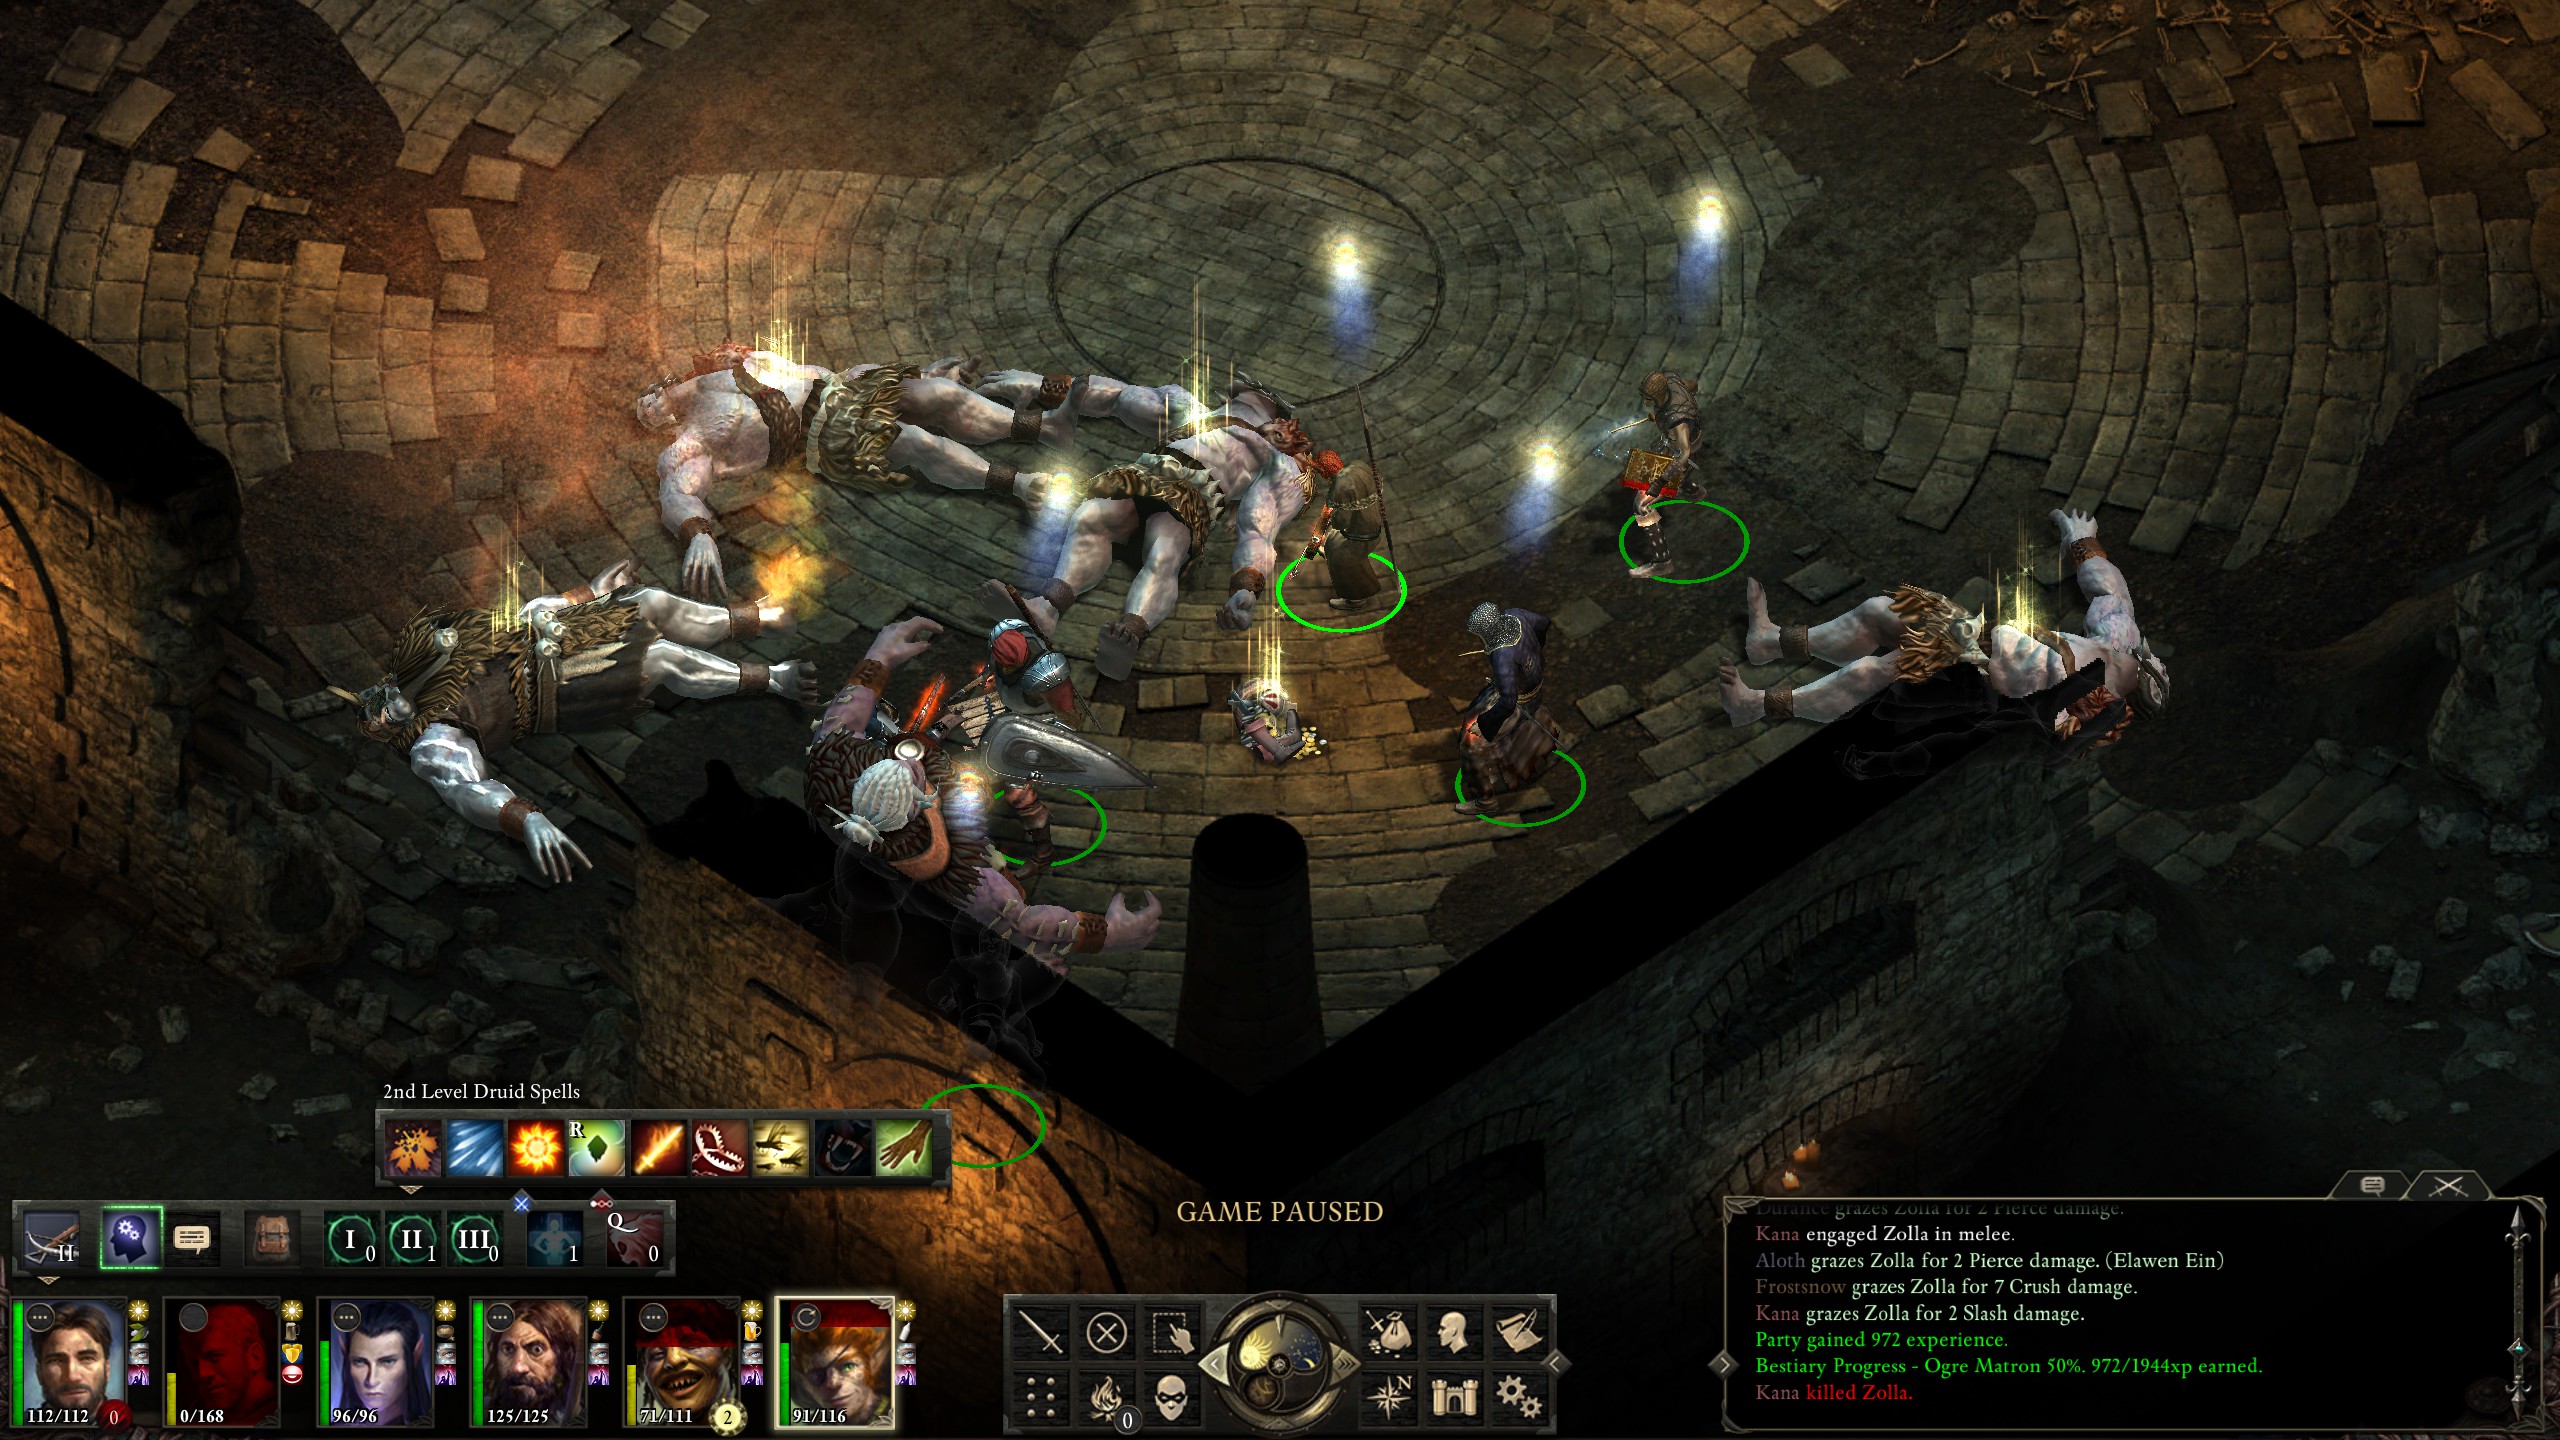
Given how much trouble I'd been having on the trash mobs, I wasn't expecting the boss, Zolla, to be easy, or, for that matter, feasible. It turns out that:
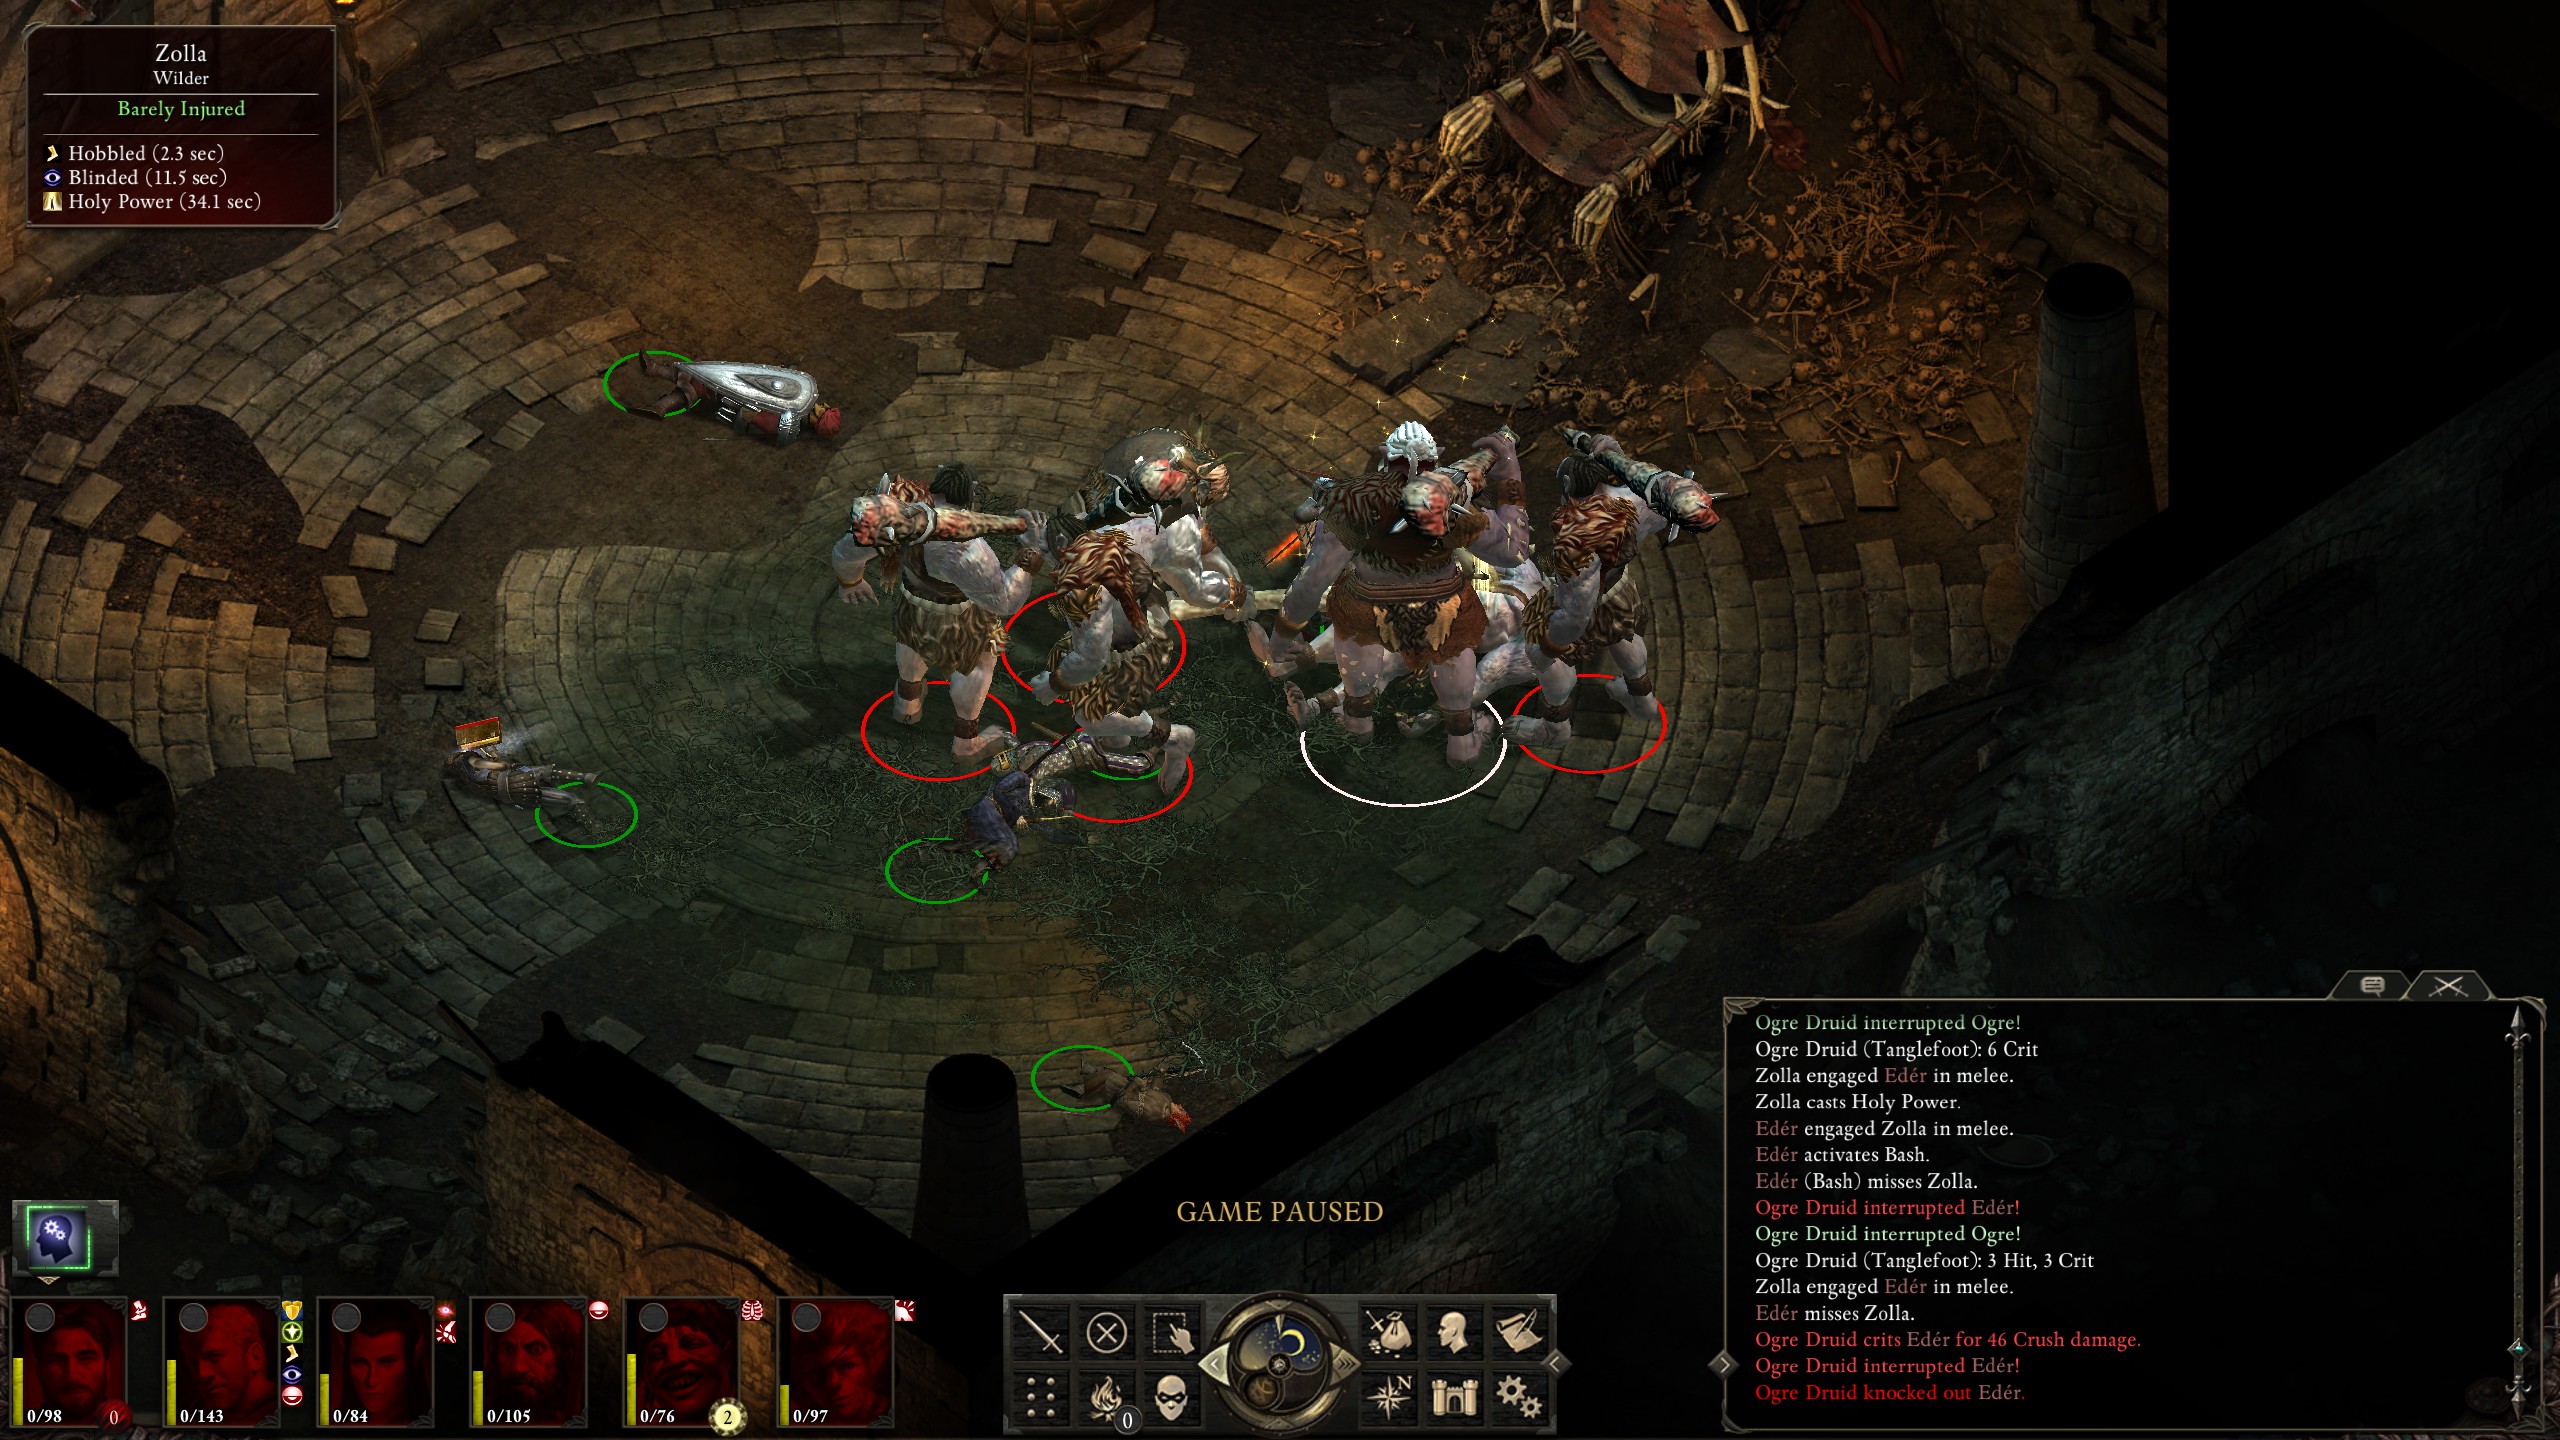
my guess:
was accurate:
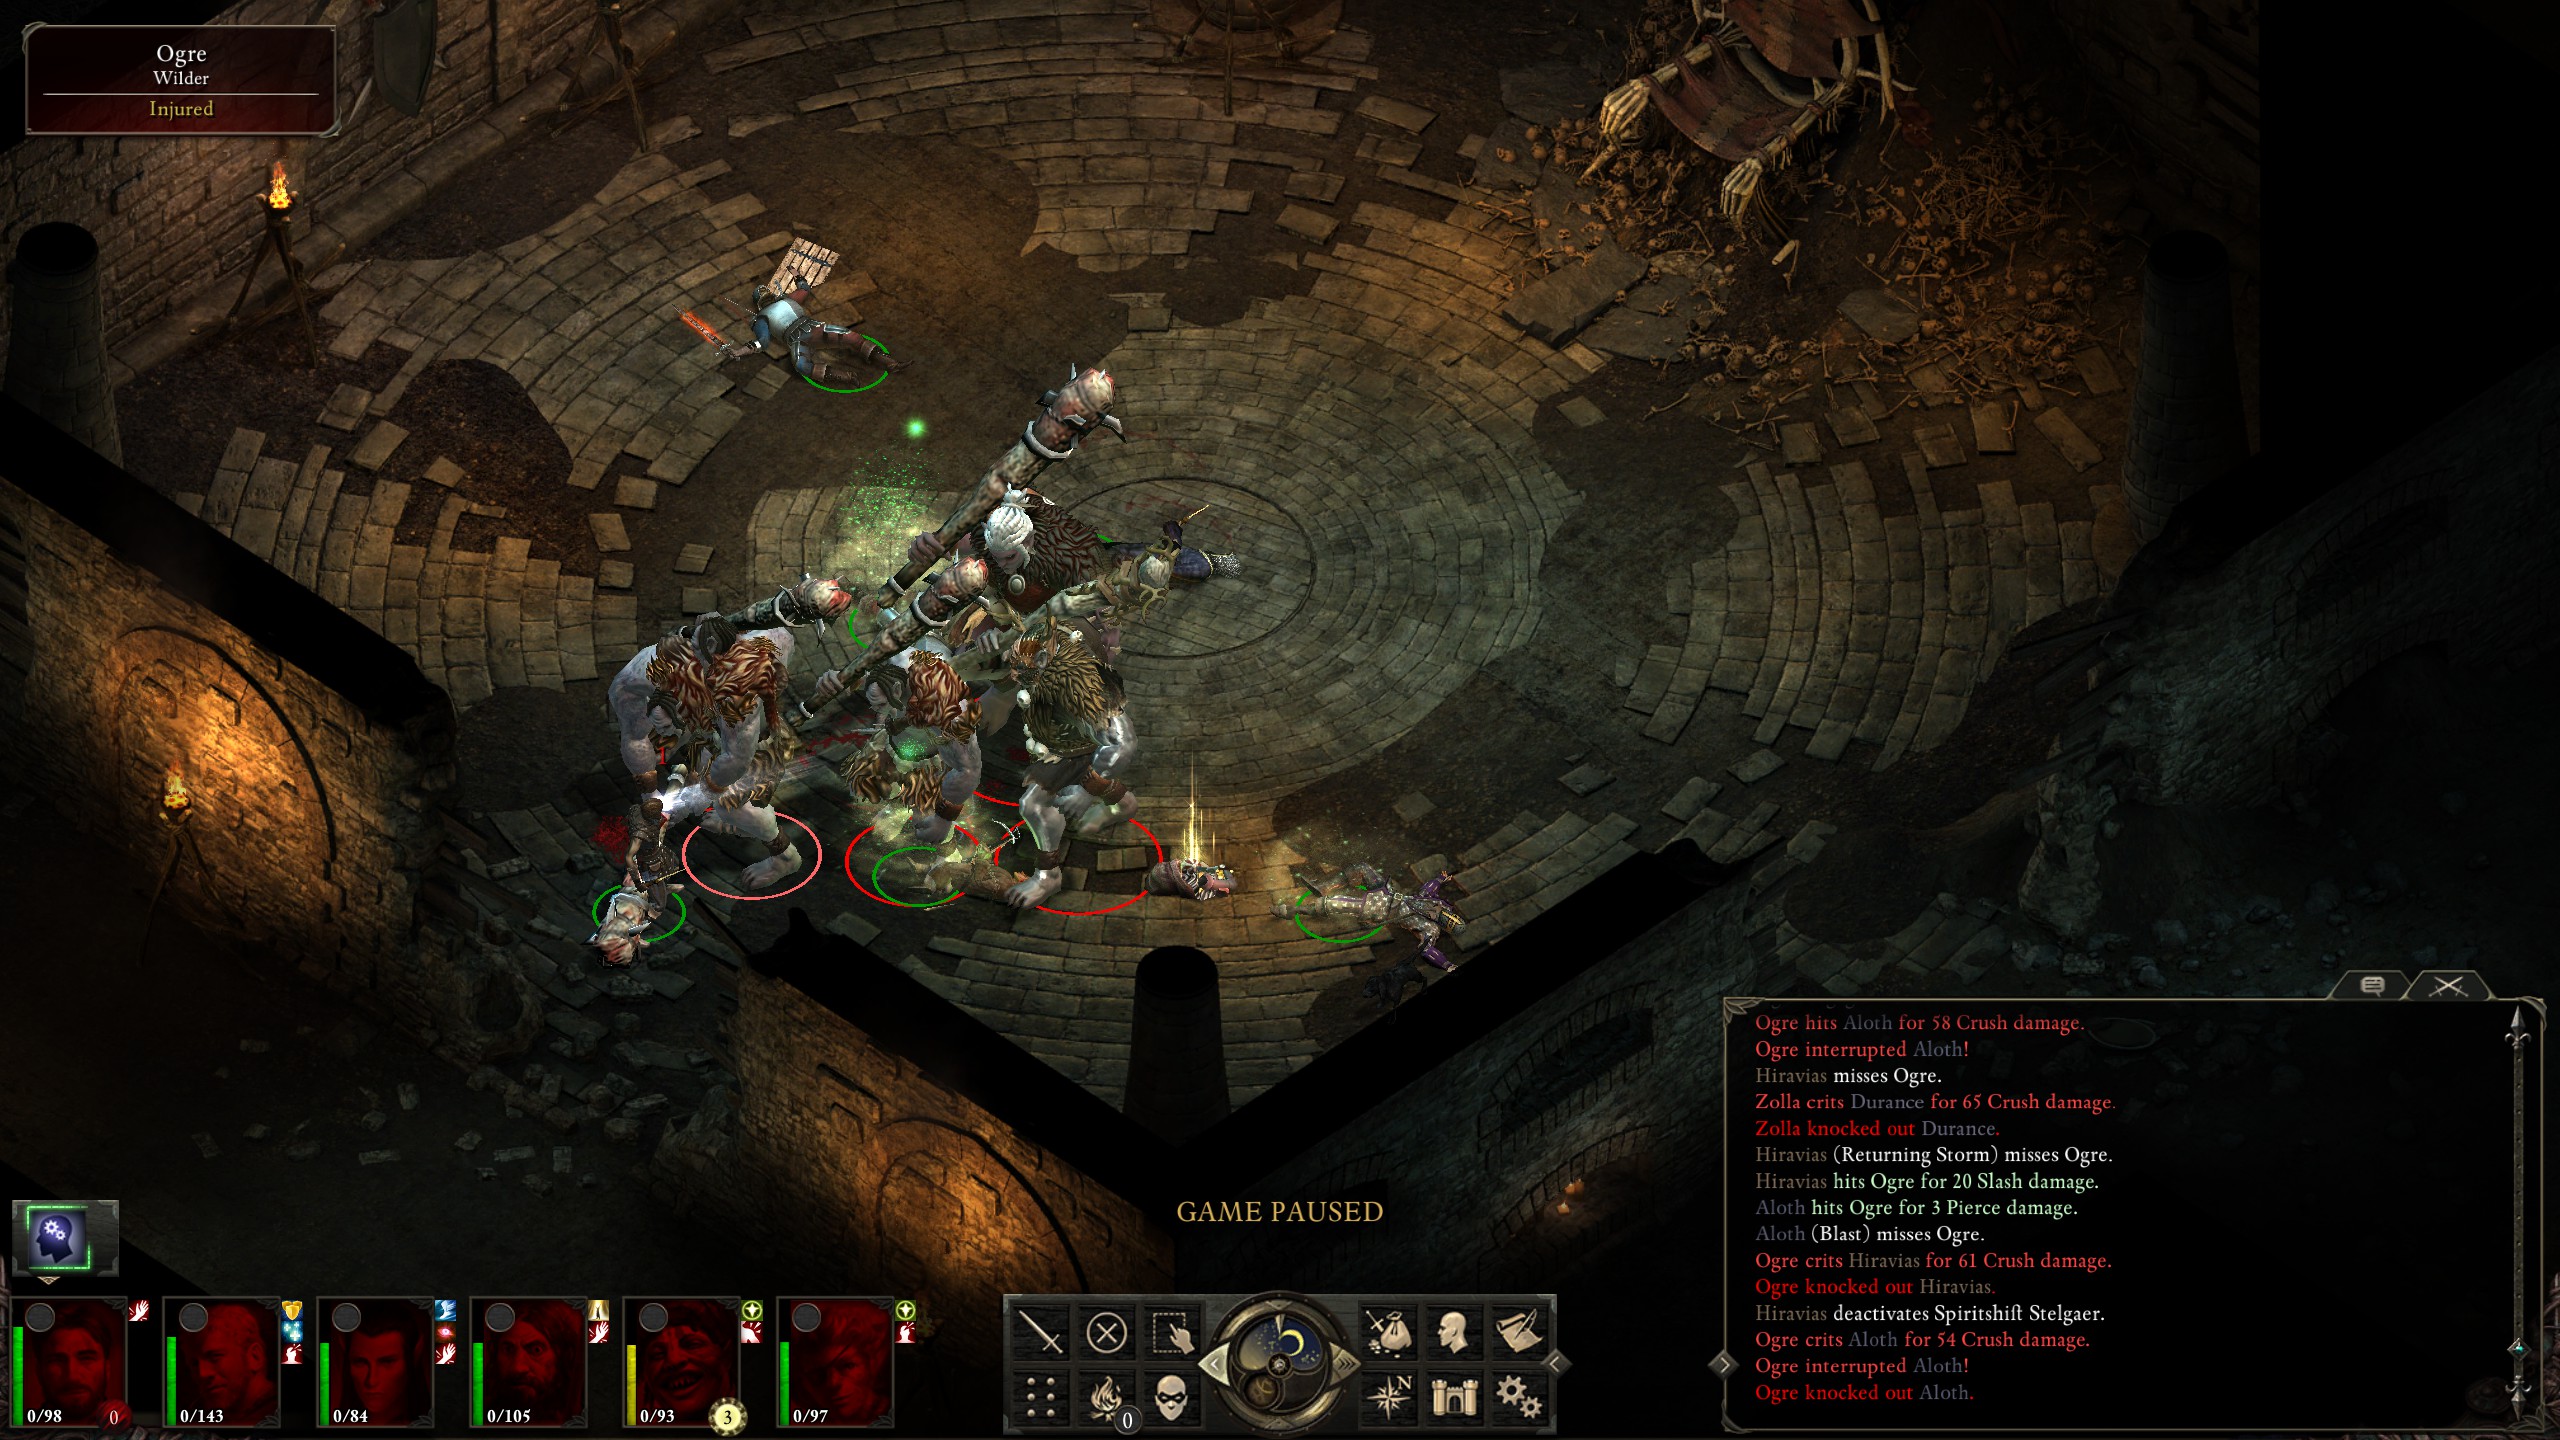
Over many years of gaming I've developed a rule-of-thumb for difficult boss fights: do something else after three failed attempts. In this case that meant skipping Zolla and going further into the Endless Paths in the hopes of getting some better gear and more levels before trying again. On level 5 I decided to clear the area before the Drake in a counter-clockwise manner; unfortunately, in the south-western room within the circle, I managed to agro the guard pack outside of the room, resulting in a flood of xariups mauling one of my squishier party members, and finally wiping me:

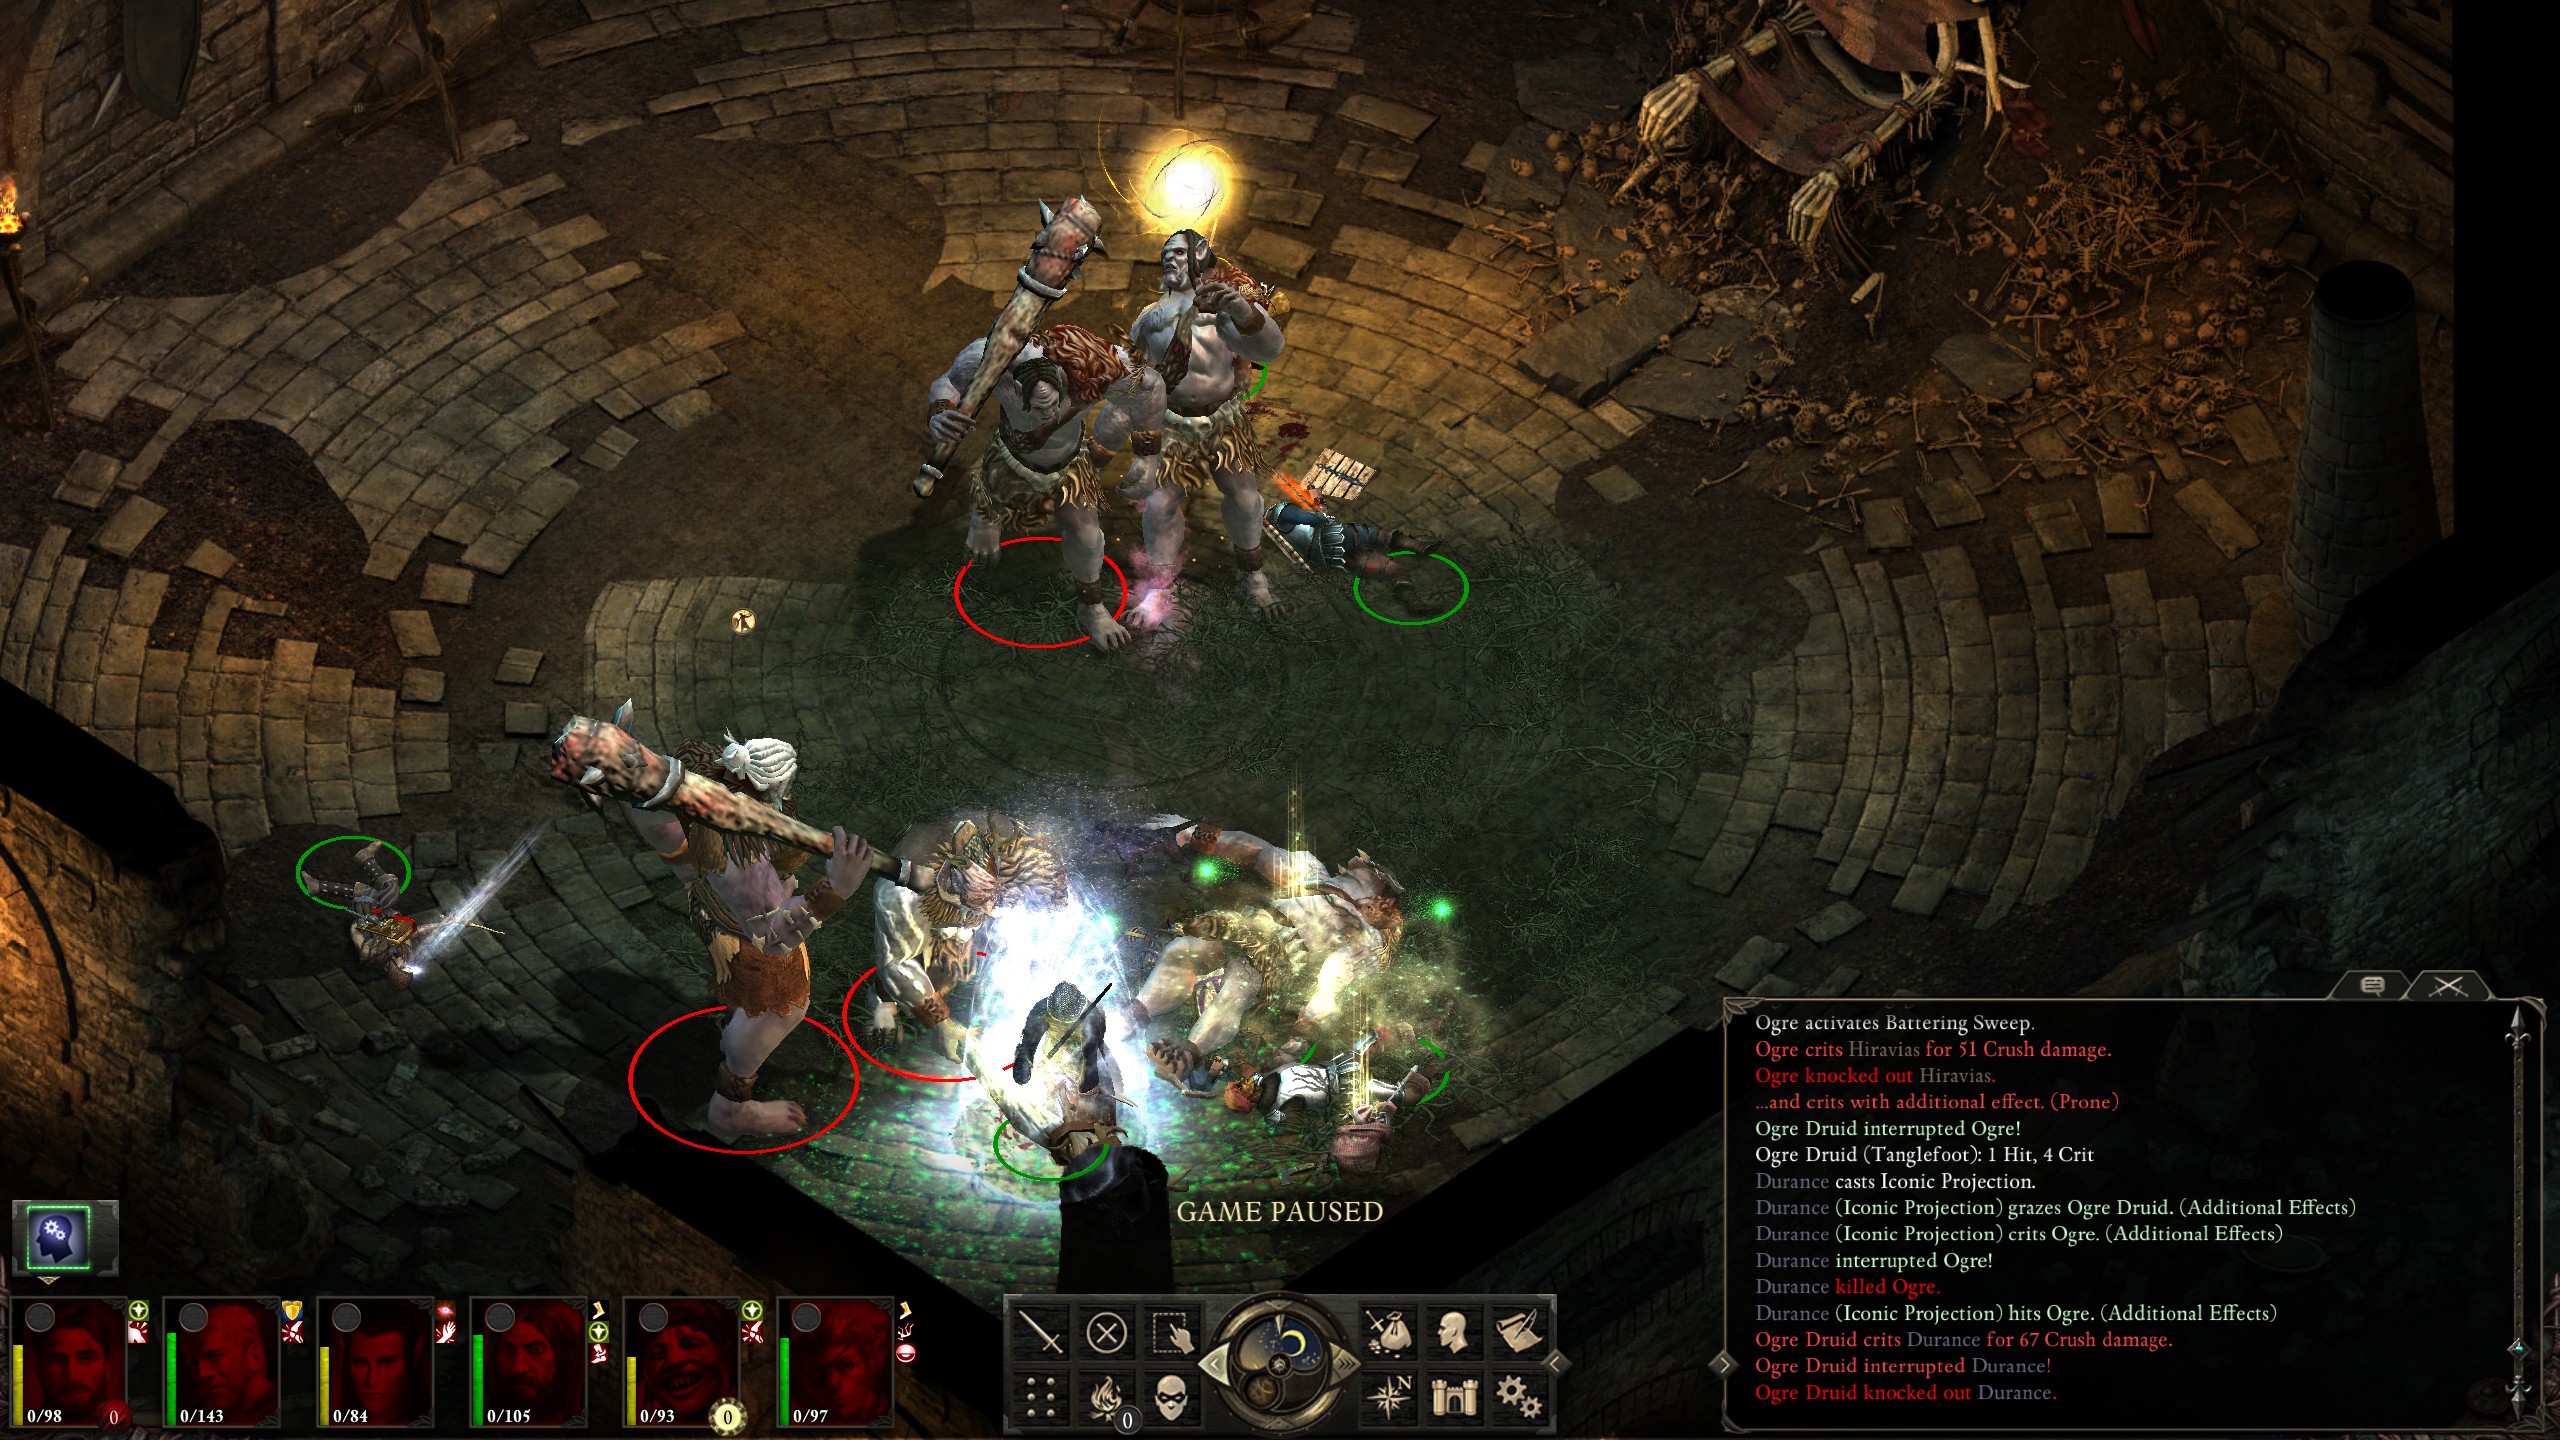
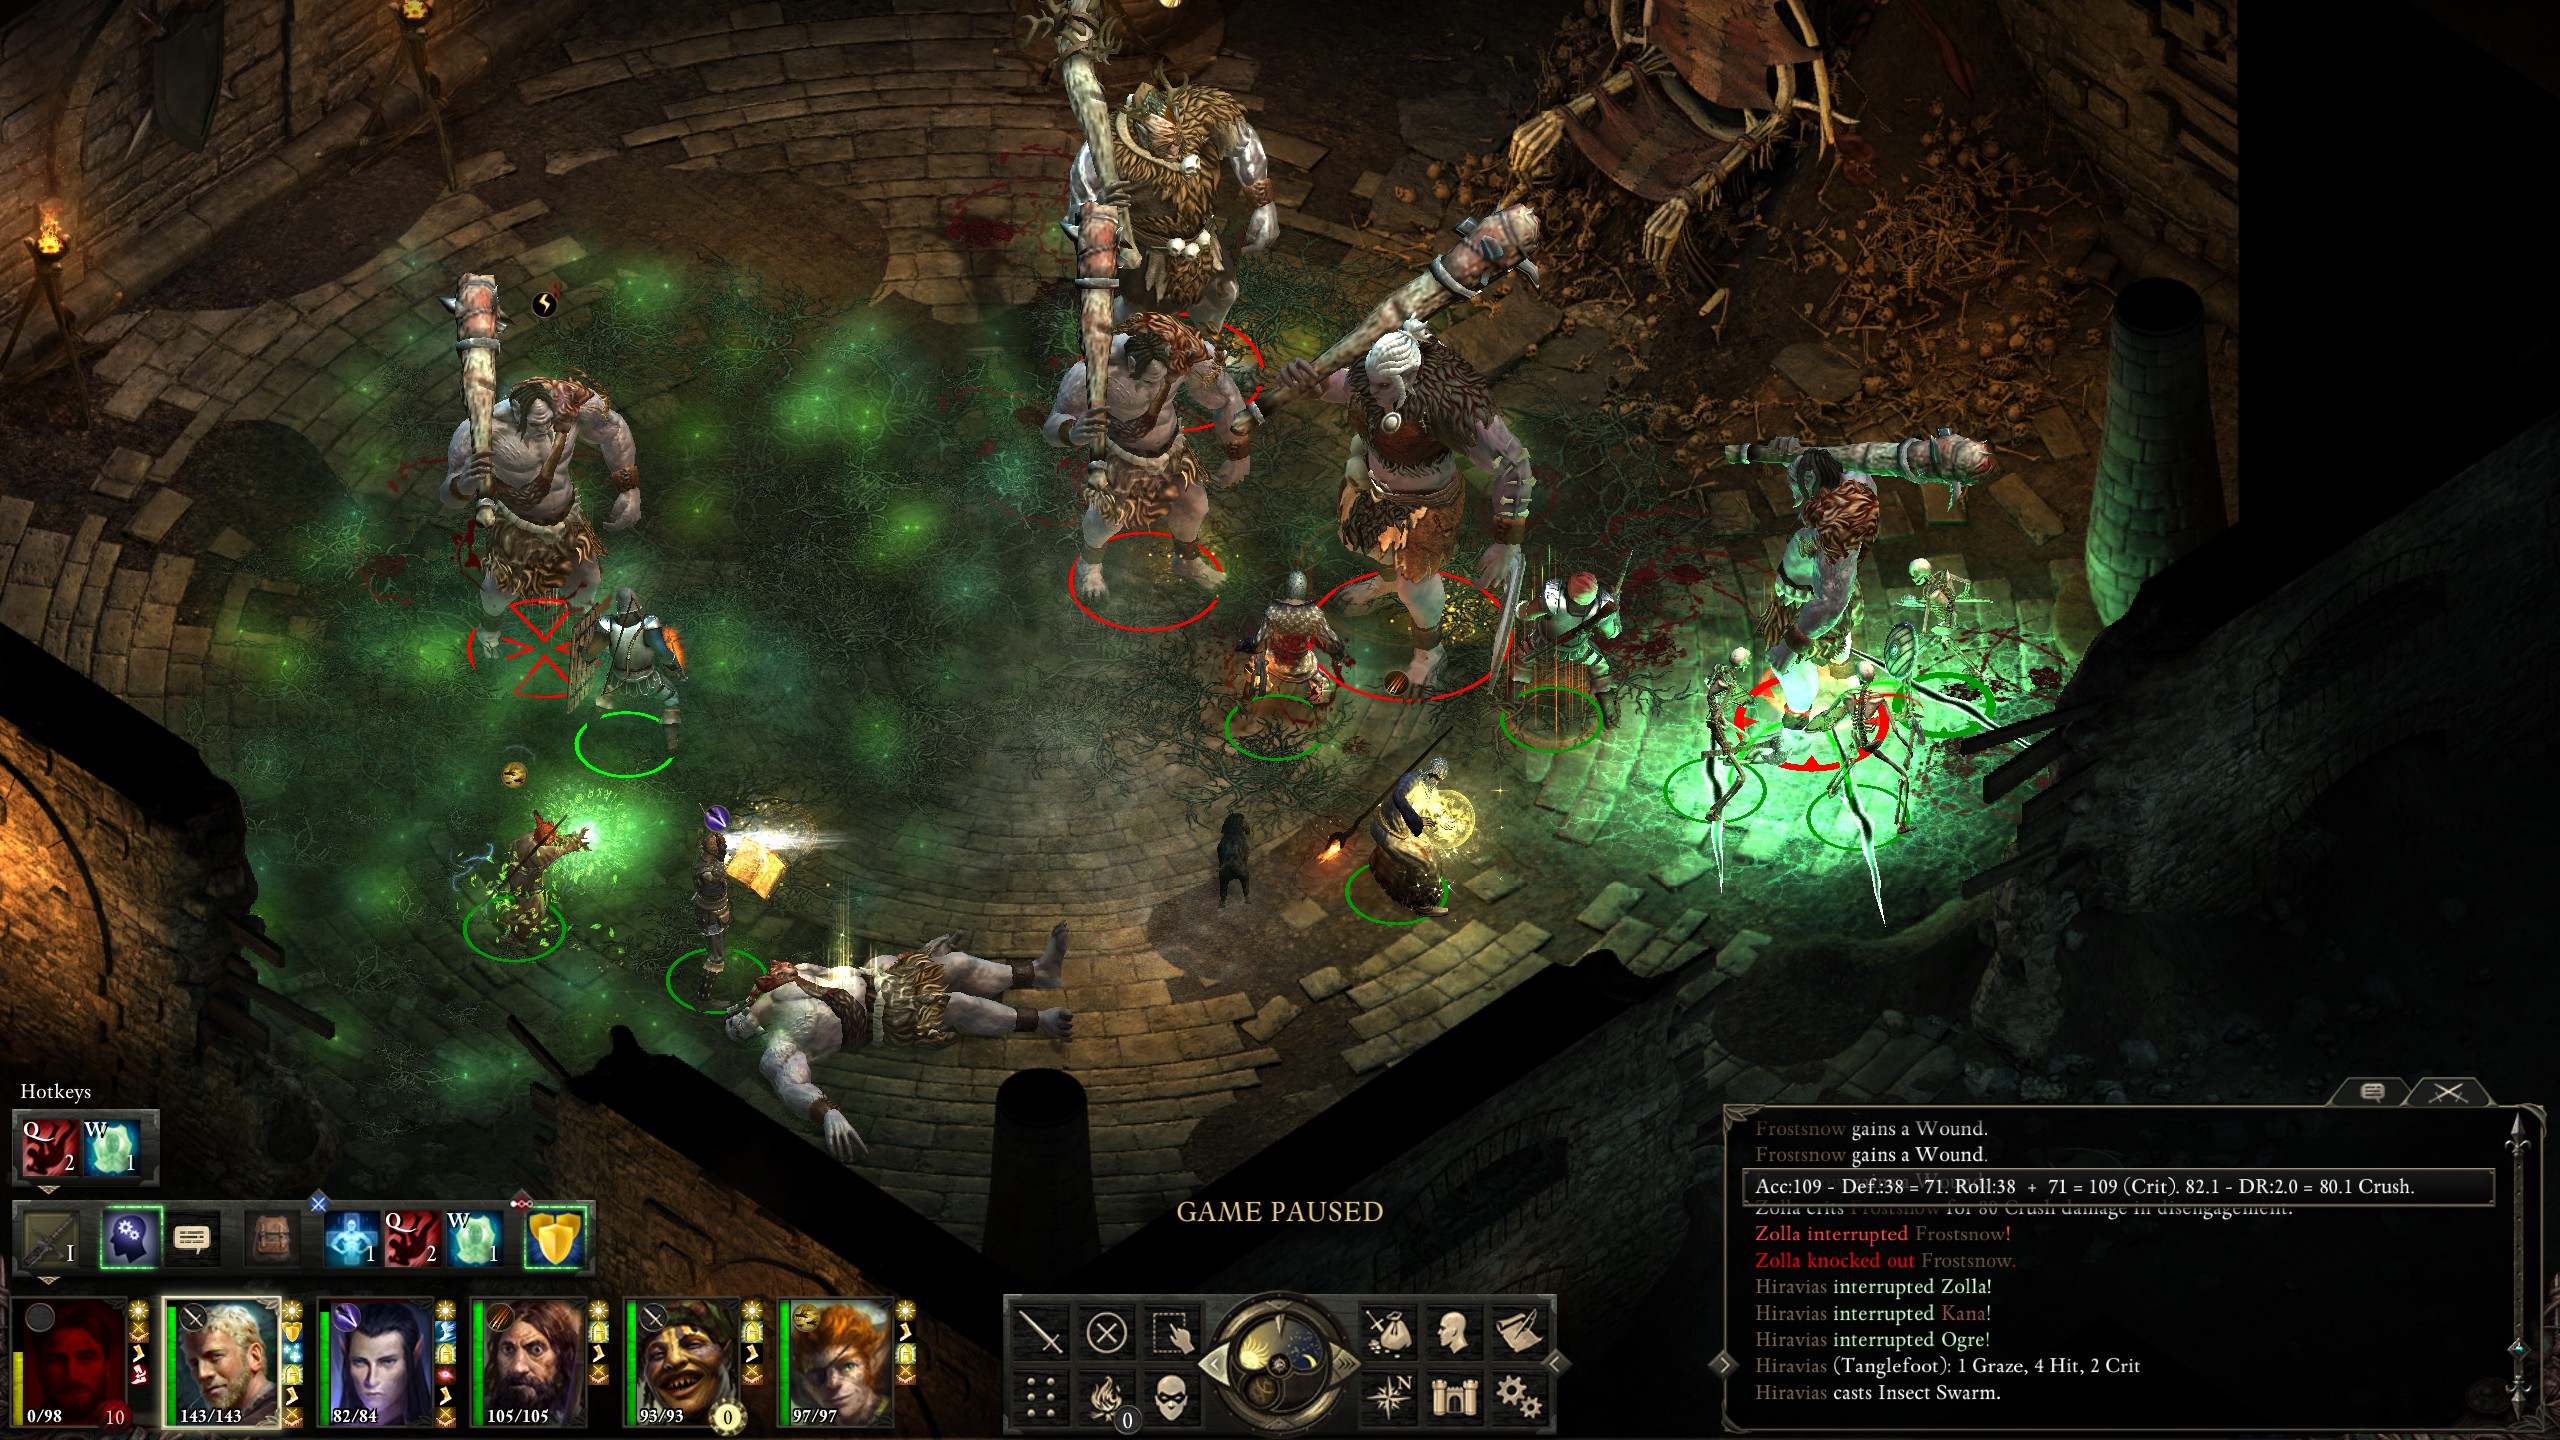
The good thing about taking a break from boss fights is that it allows one to slowly contemplate methods for beating said boss while working on other things. By the time I'd cleared up to the Drake on level 5, one thing that I'd contemplated about was that ogres were really slow and only the druids had spells with range, so I might be able slow them enough that I could pick them off before they mobbed me. I also noticed that the druid's "Insect Swarm" and "Tanglefoot" combinations had made it nigh-impossible for Hiravas to cast spells; since Hiravas is a druid I should see about using this power for myself. The trick that I found was to combine "Insect Swarm" with Aloth's "Deleterious Alacrity of Motion" and waves of "Minoletta's Minor Missiles", which could virtually lockdown an enemy spellcaster while nuking it. Thus I attempted Zolla again, attempting to slow the ogres with "Tanglefoot" and interrupting the druids' casting with "Insect Swarm" spells; unfortunately, my squishy monk managed to run face-first into a club wielded by a very angry Zolla:
Which left me without enough damage to kill the ogres in time:
Not that a second attempt went any better:
Two attempts was enough in this case; besides, I was rather eager to try my hand at another, likely more difficult but with fewer knockdowns, boss, the Drake. For starters, I decided to try a head-on approach, and it went as well as one would expect:
For my second attempt I tried pulling it past the blood pool into the side room so that the xariups would be bottlenecked and I could slowly pick them off 300-style as they came in, but, rather than follow me, all the mobs de-agroed yet I continued to remain in combat. This might not have been much of an advantage... except I had Kana in my party; this allowed him to accumulate chants and summon skeletons which I could then throw at the Drake from a safe distance. Now, skeletons don't do a lot of damage, so this would have been a rather tiresome strategy, however, the Drake likes to breathe fire on enemies, xariups caught in the fire be damned, thus I would send in the skeletons such that the xariups would be between the Drake and the skeletons, then the Drake would incinerate its own allies with its recklessness. Once its allies were dead, taking out the Drake itself was rather easy. I imagine the Drake's callous disregard for its xariup allies was intentional, even though the exact method which I used to exploit it was not (I should have de-agroed once the mobs left); there aren't any screenshots of its defeat, because, amusing as it was, it wasn't particularly glorious.
The Paths actually get easier for a bit after the Drake, unless, of course, you decide to agro practically the entire room:
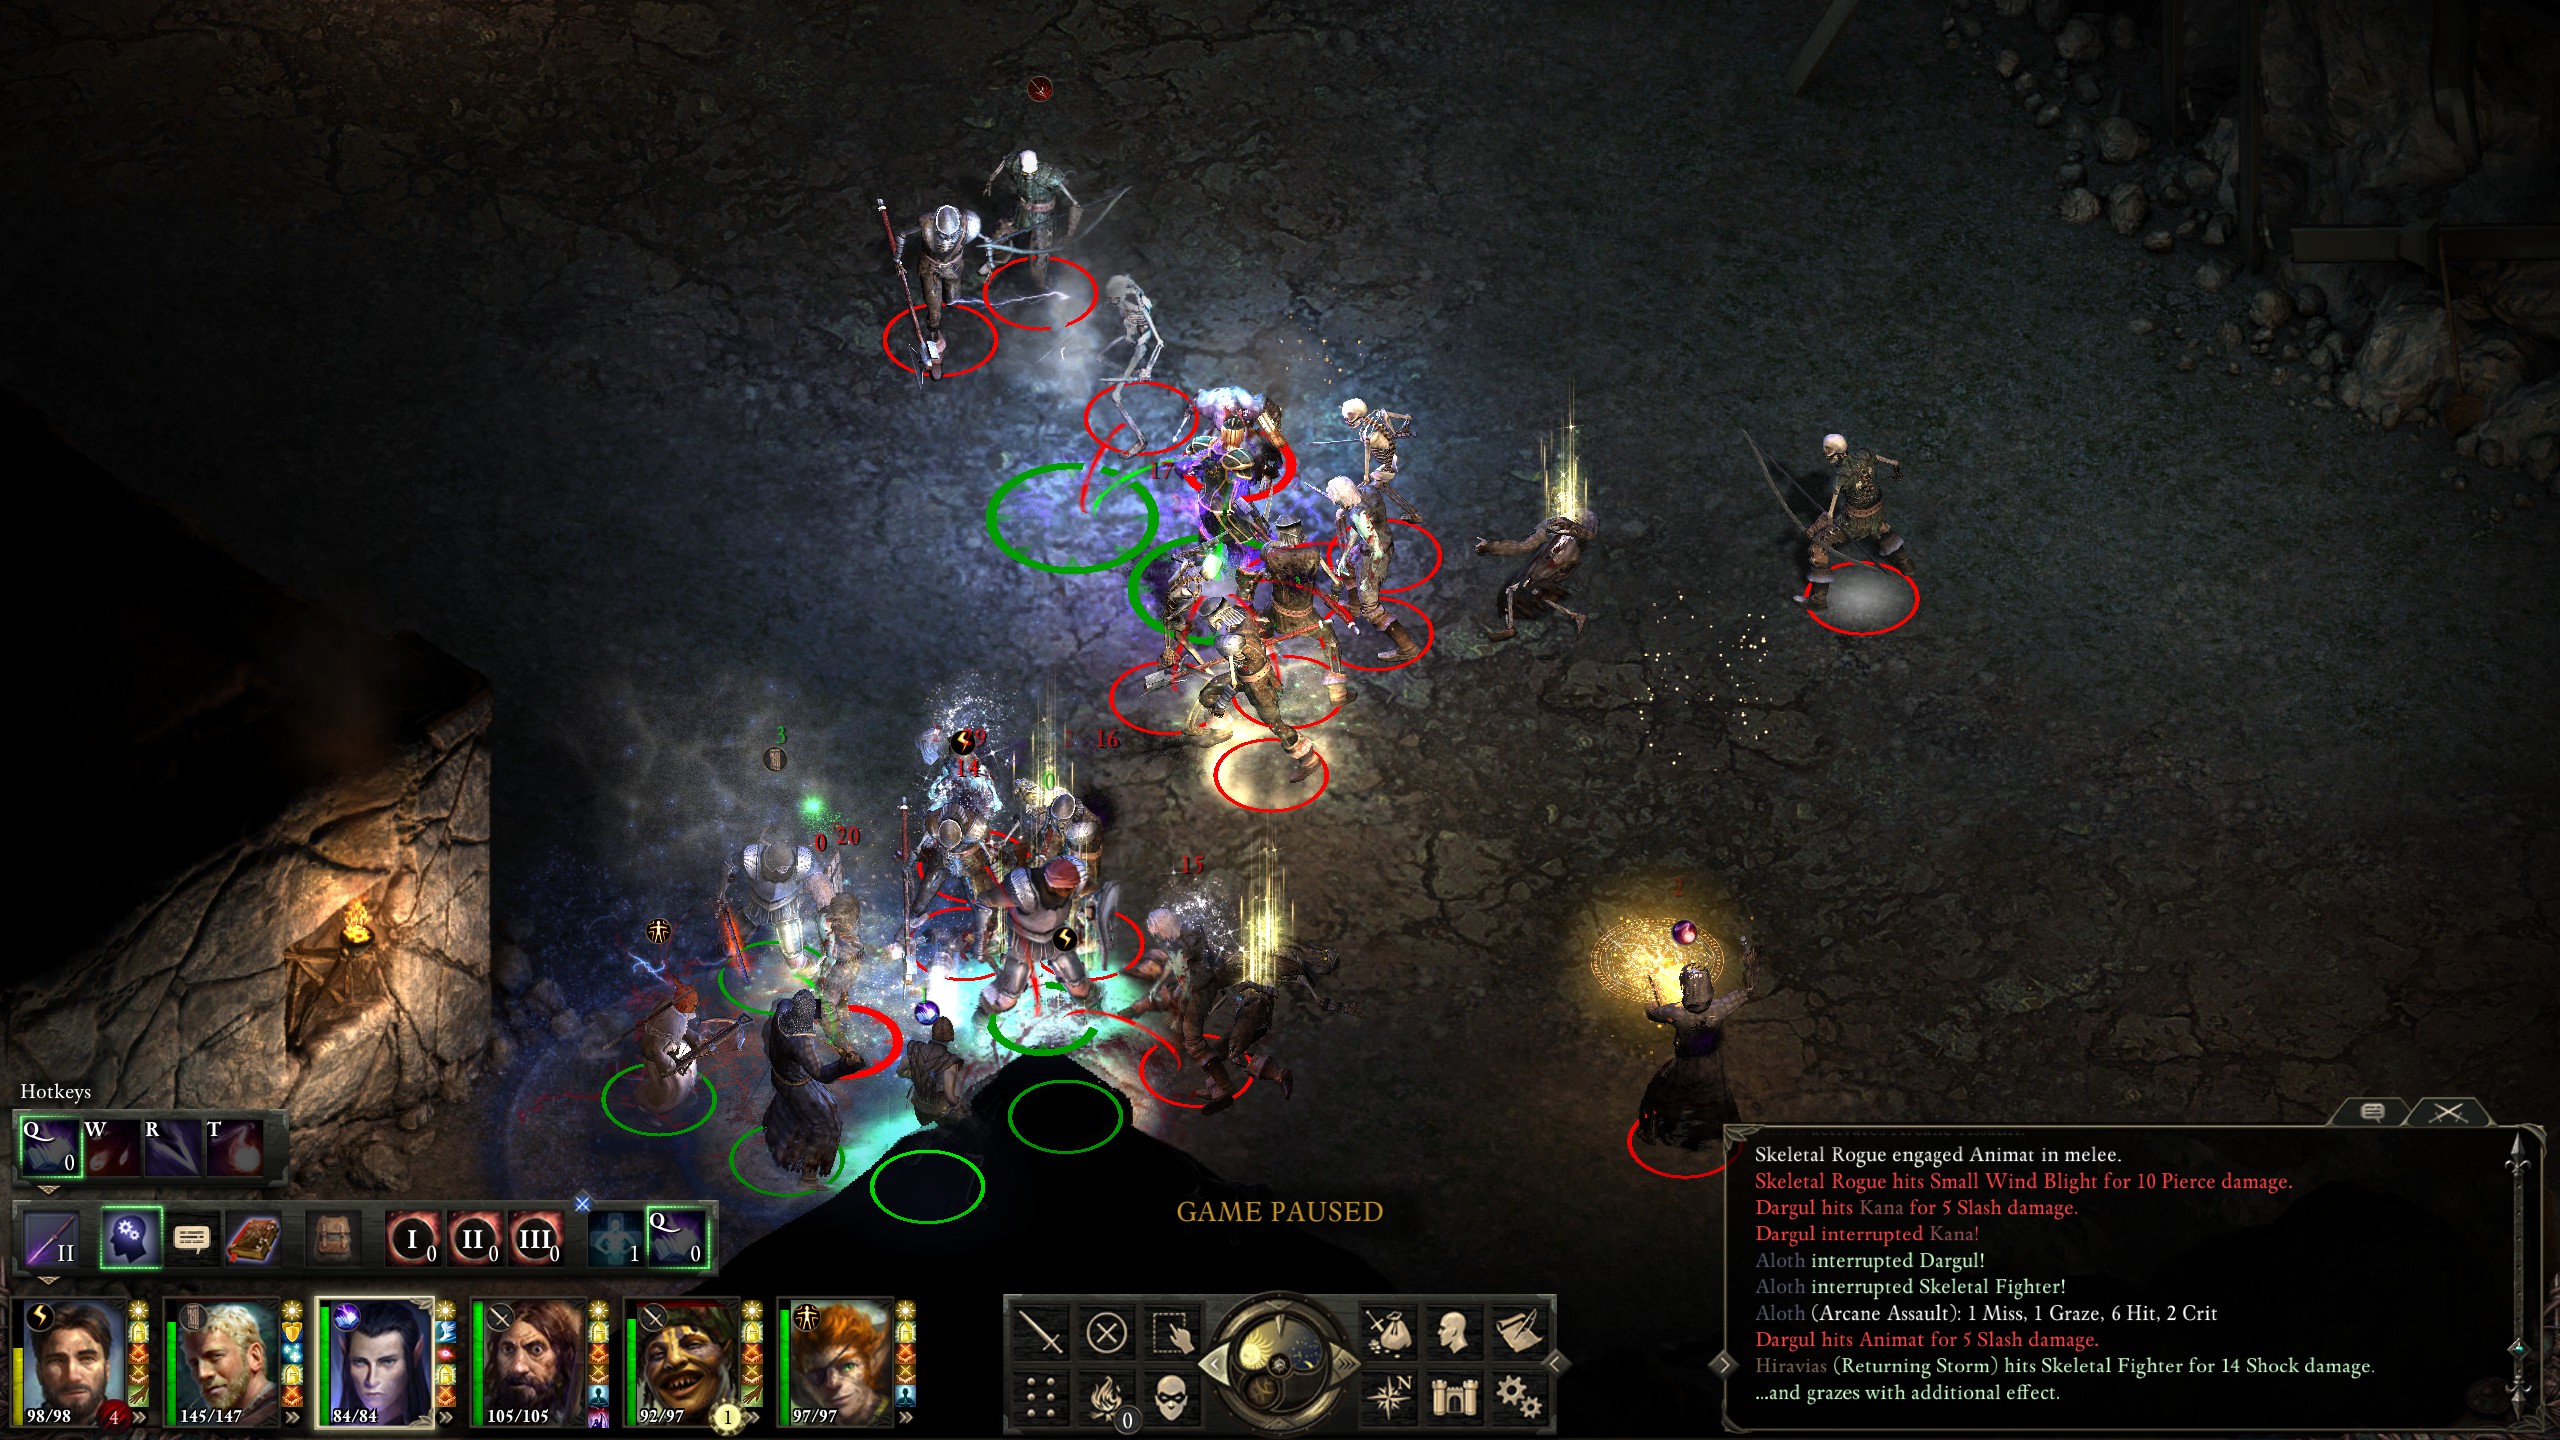
but that's still more do-able than the Drake:
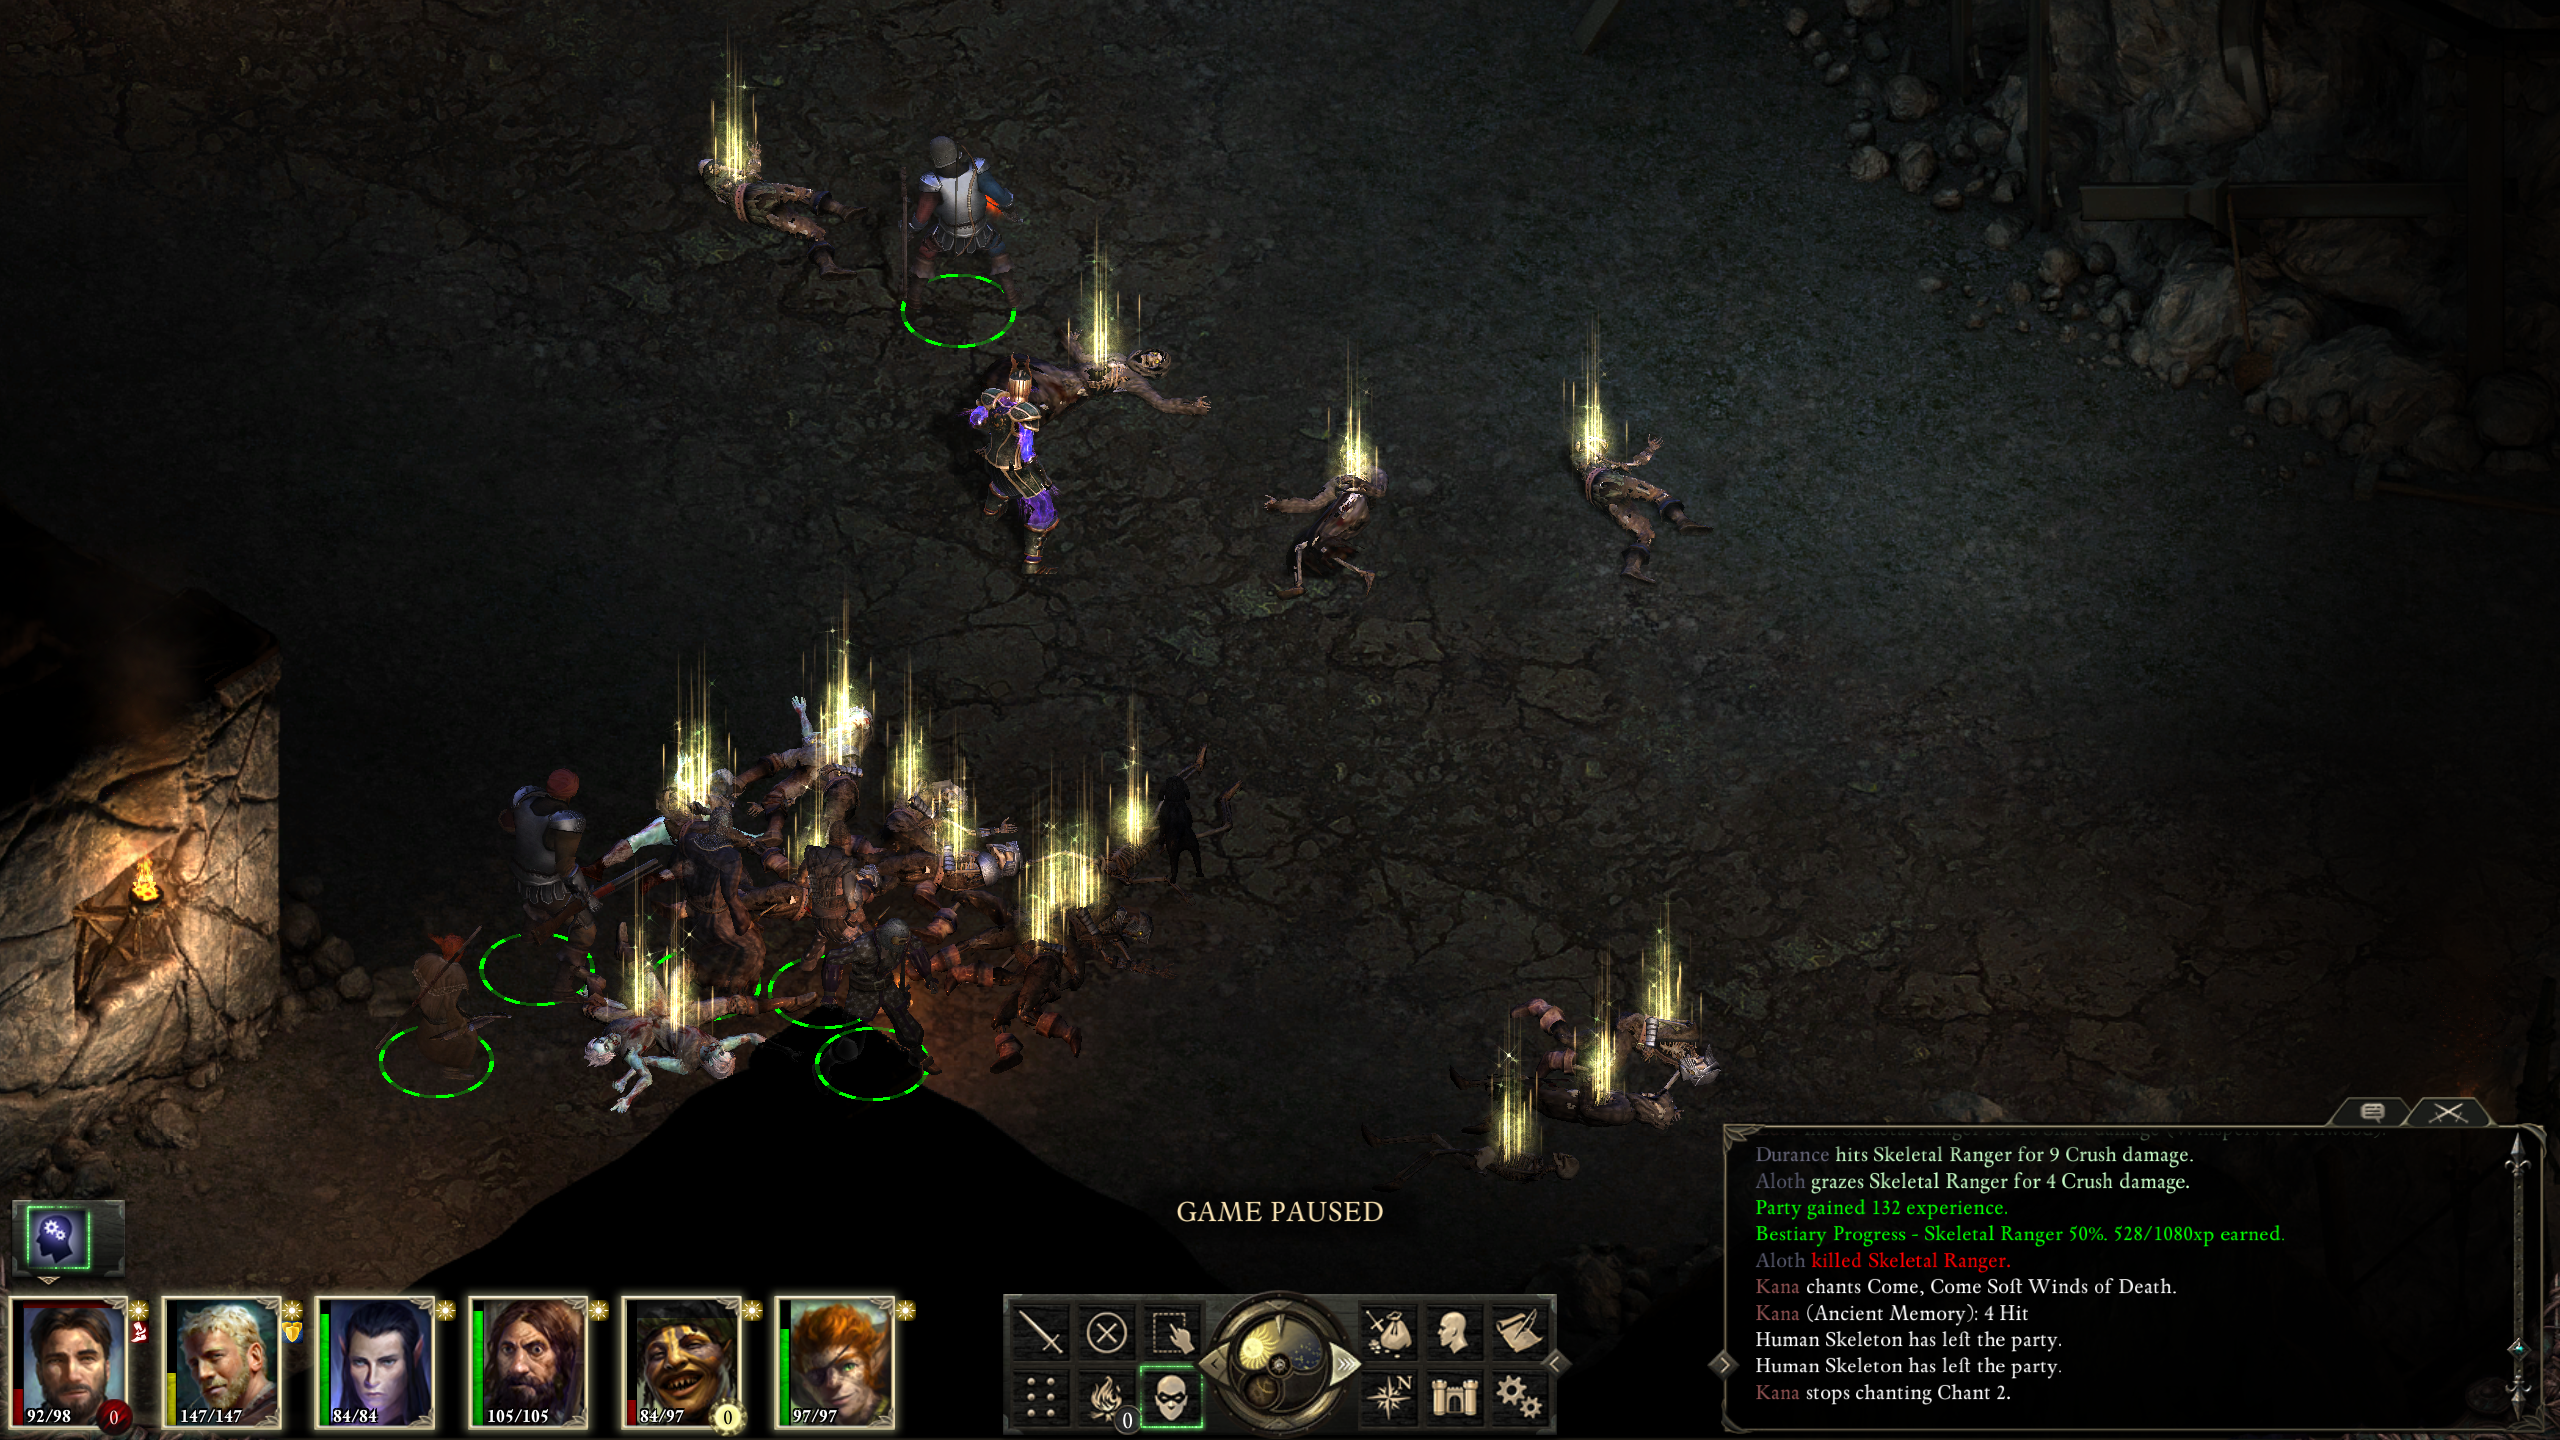
Though it's best not to get too confident:
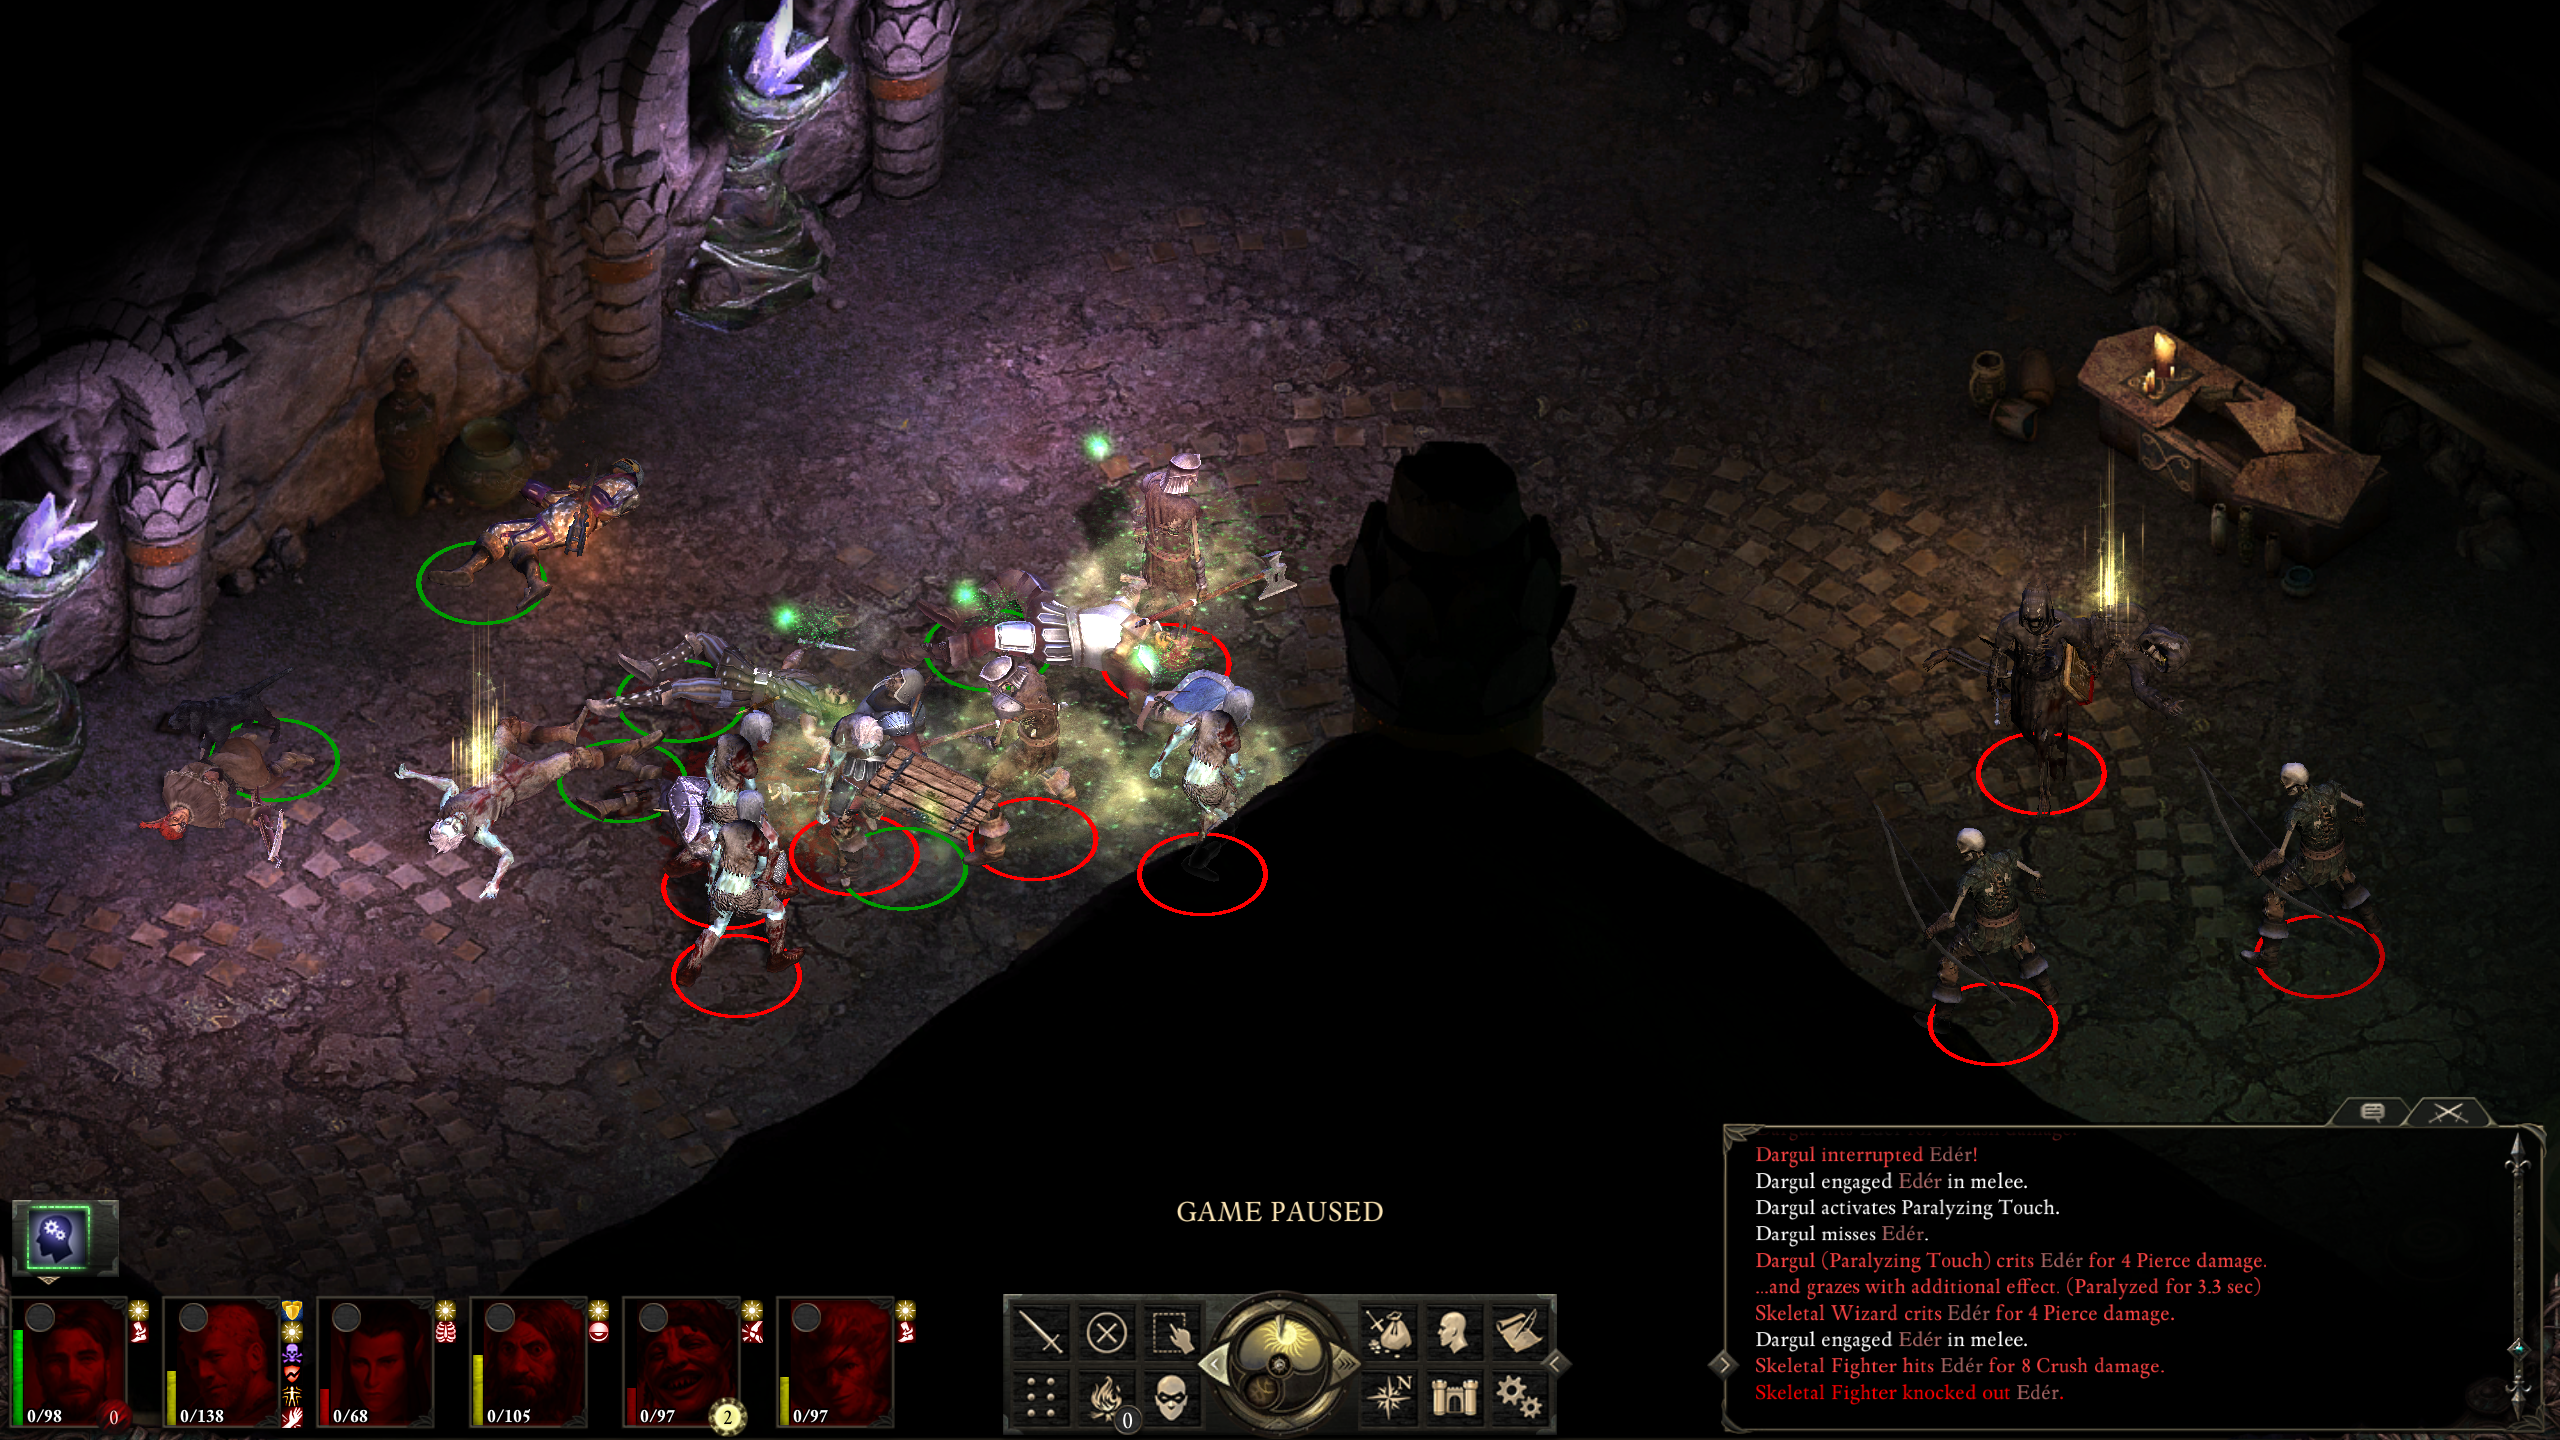
The darguls were difficult due to their "Paralyzing Touch" ability, but Hiravas' "Purge of Toxins" spell seemed to counteract it, though Eder still got re-paralyzed despite being affected by the buff.
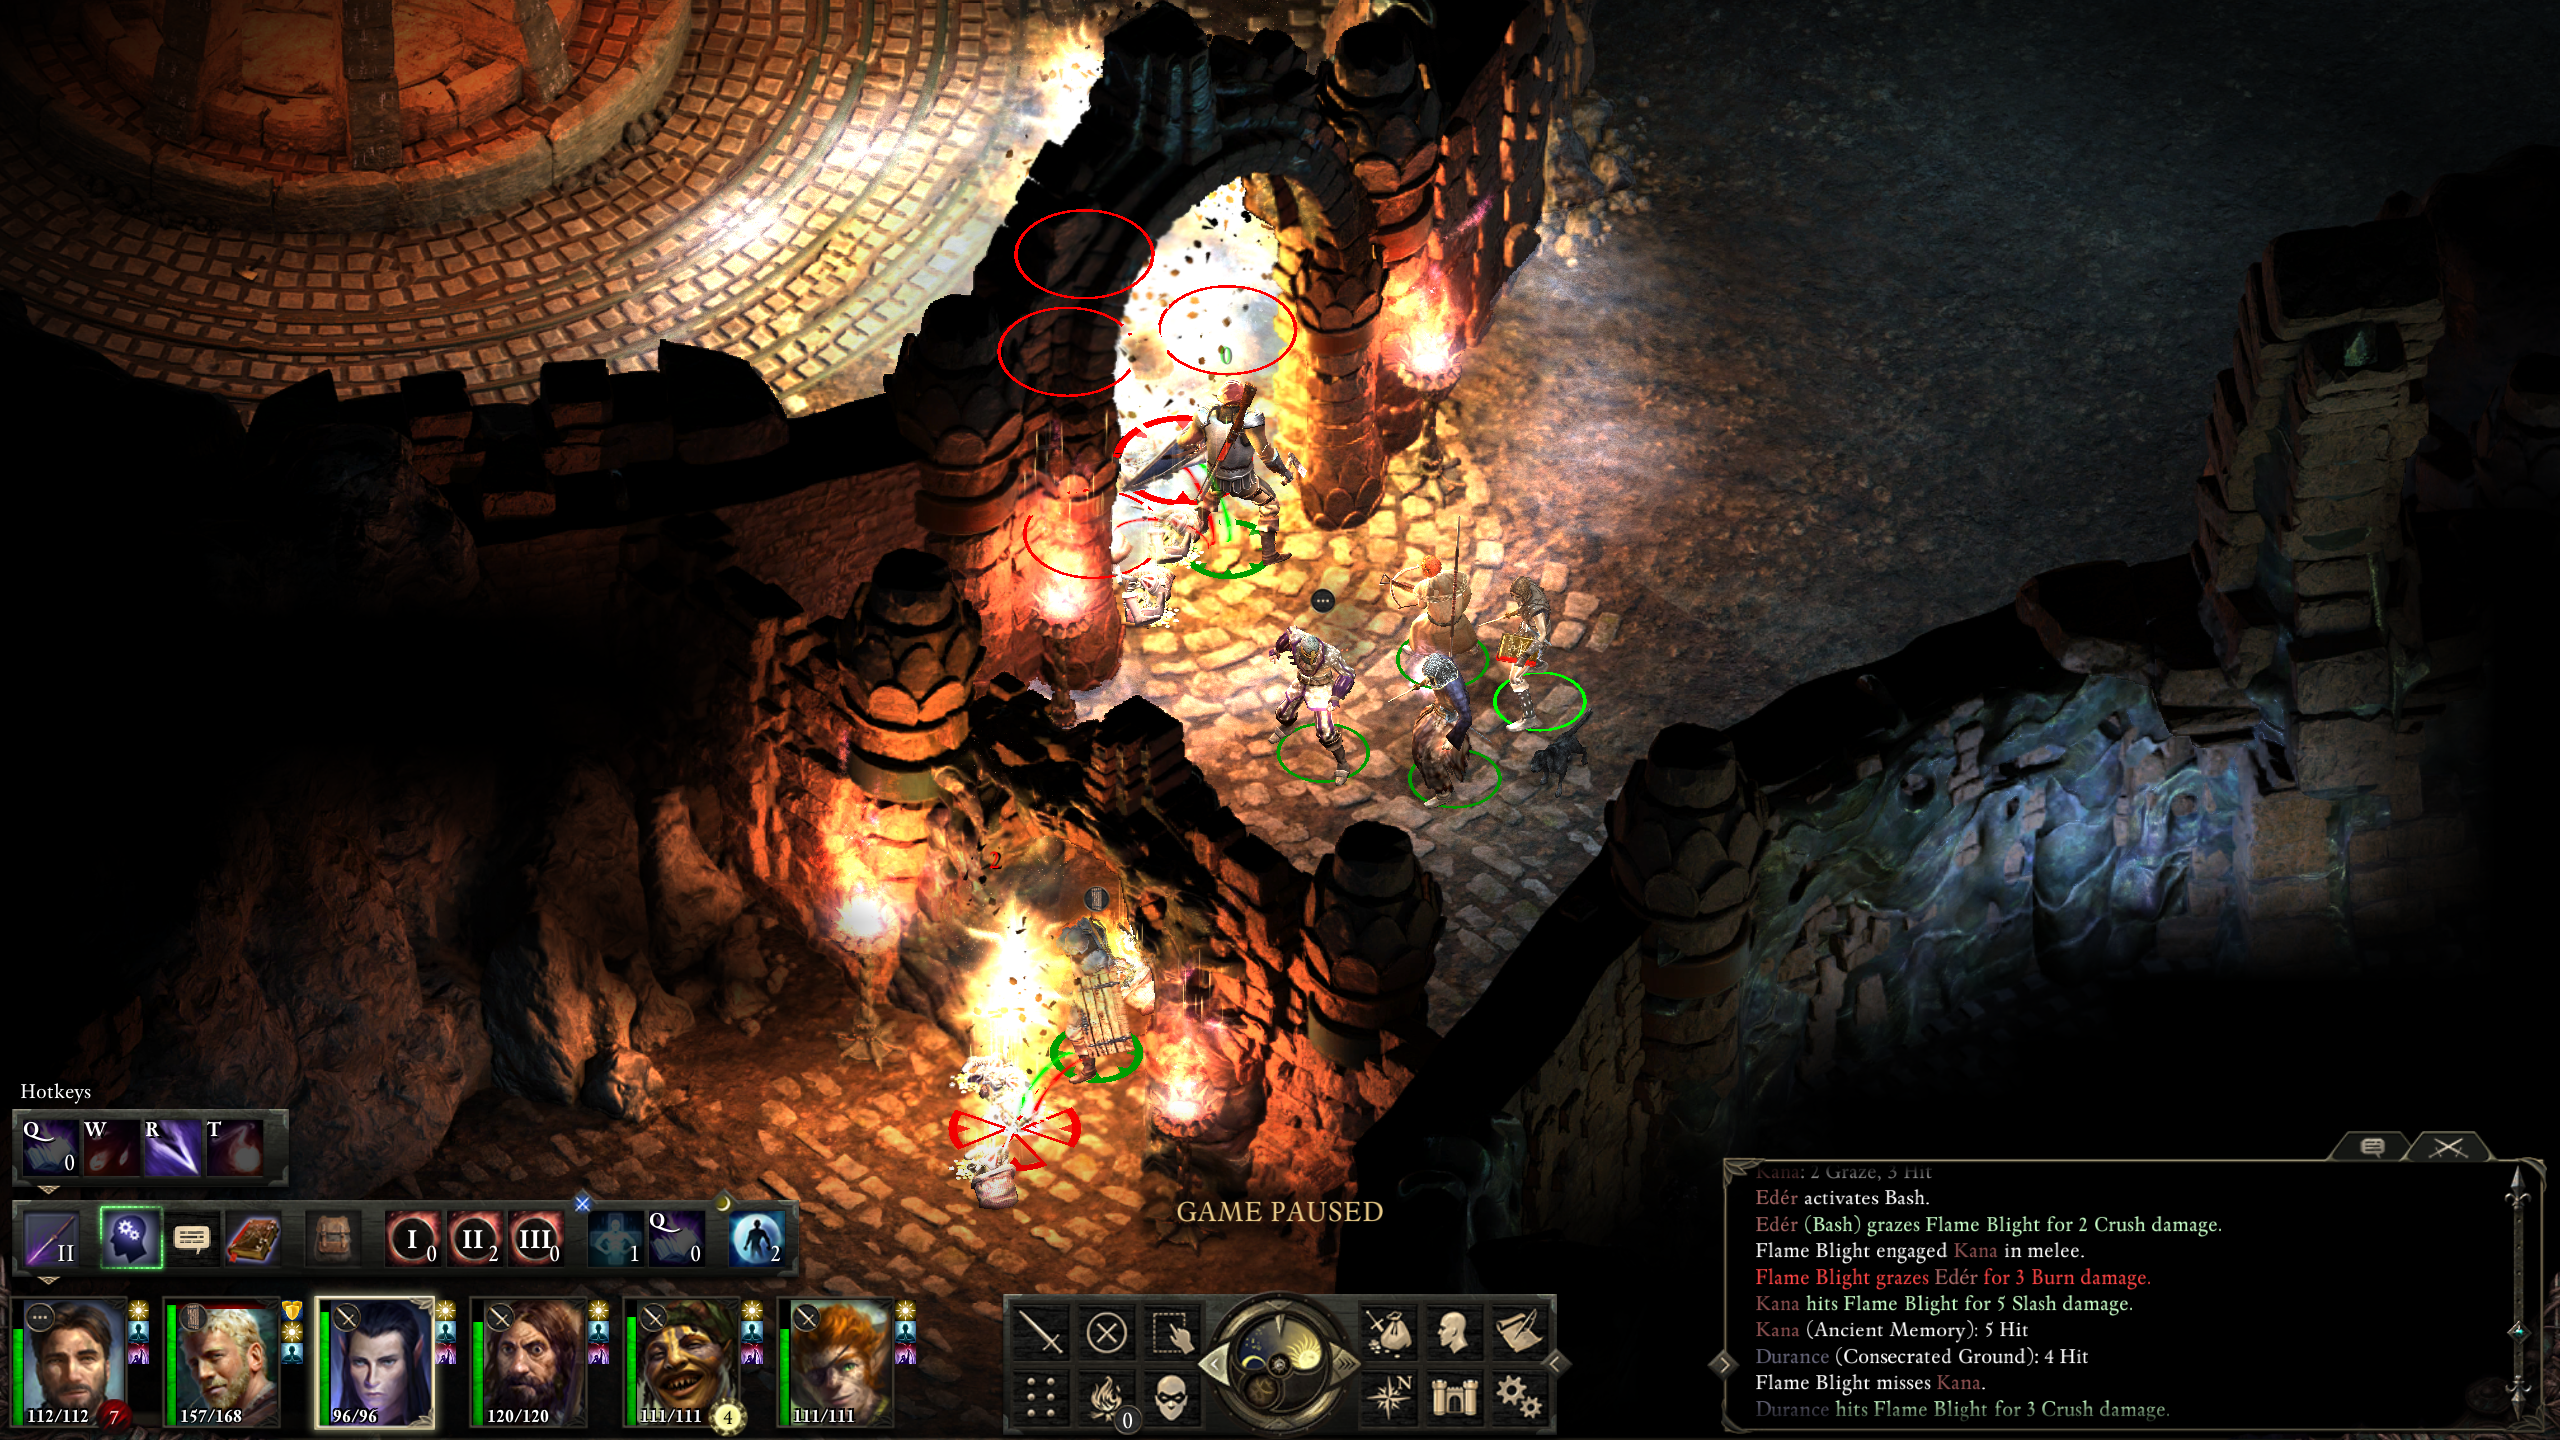
The blights on level 7 were tricky, but nothing that I wasn't able to overcome:
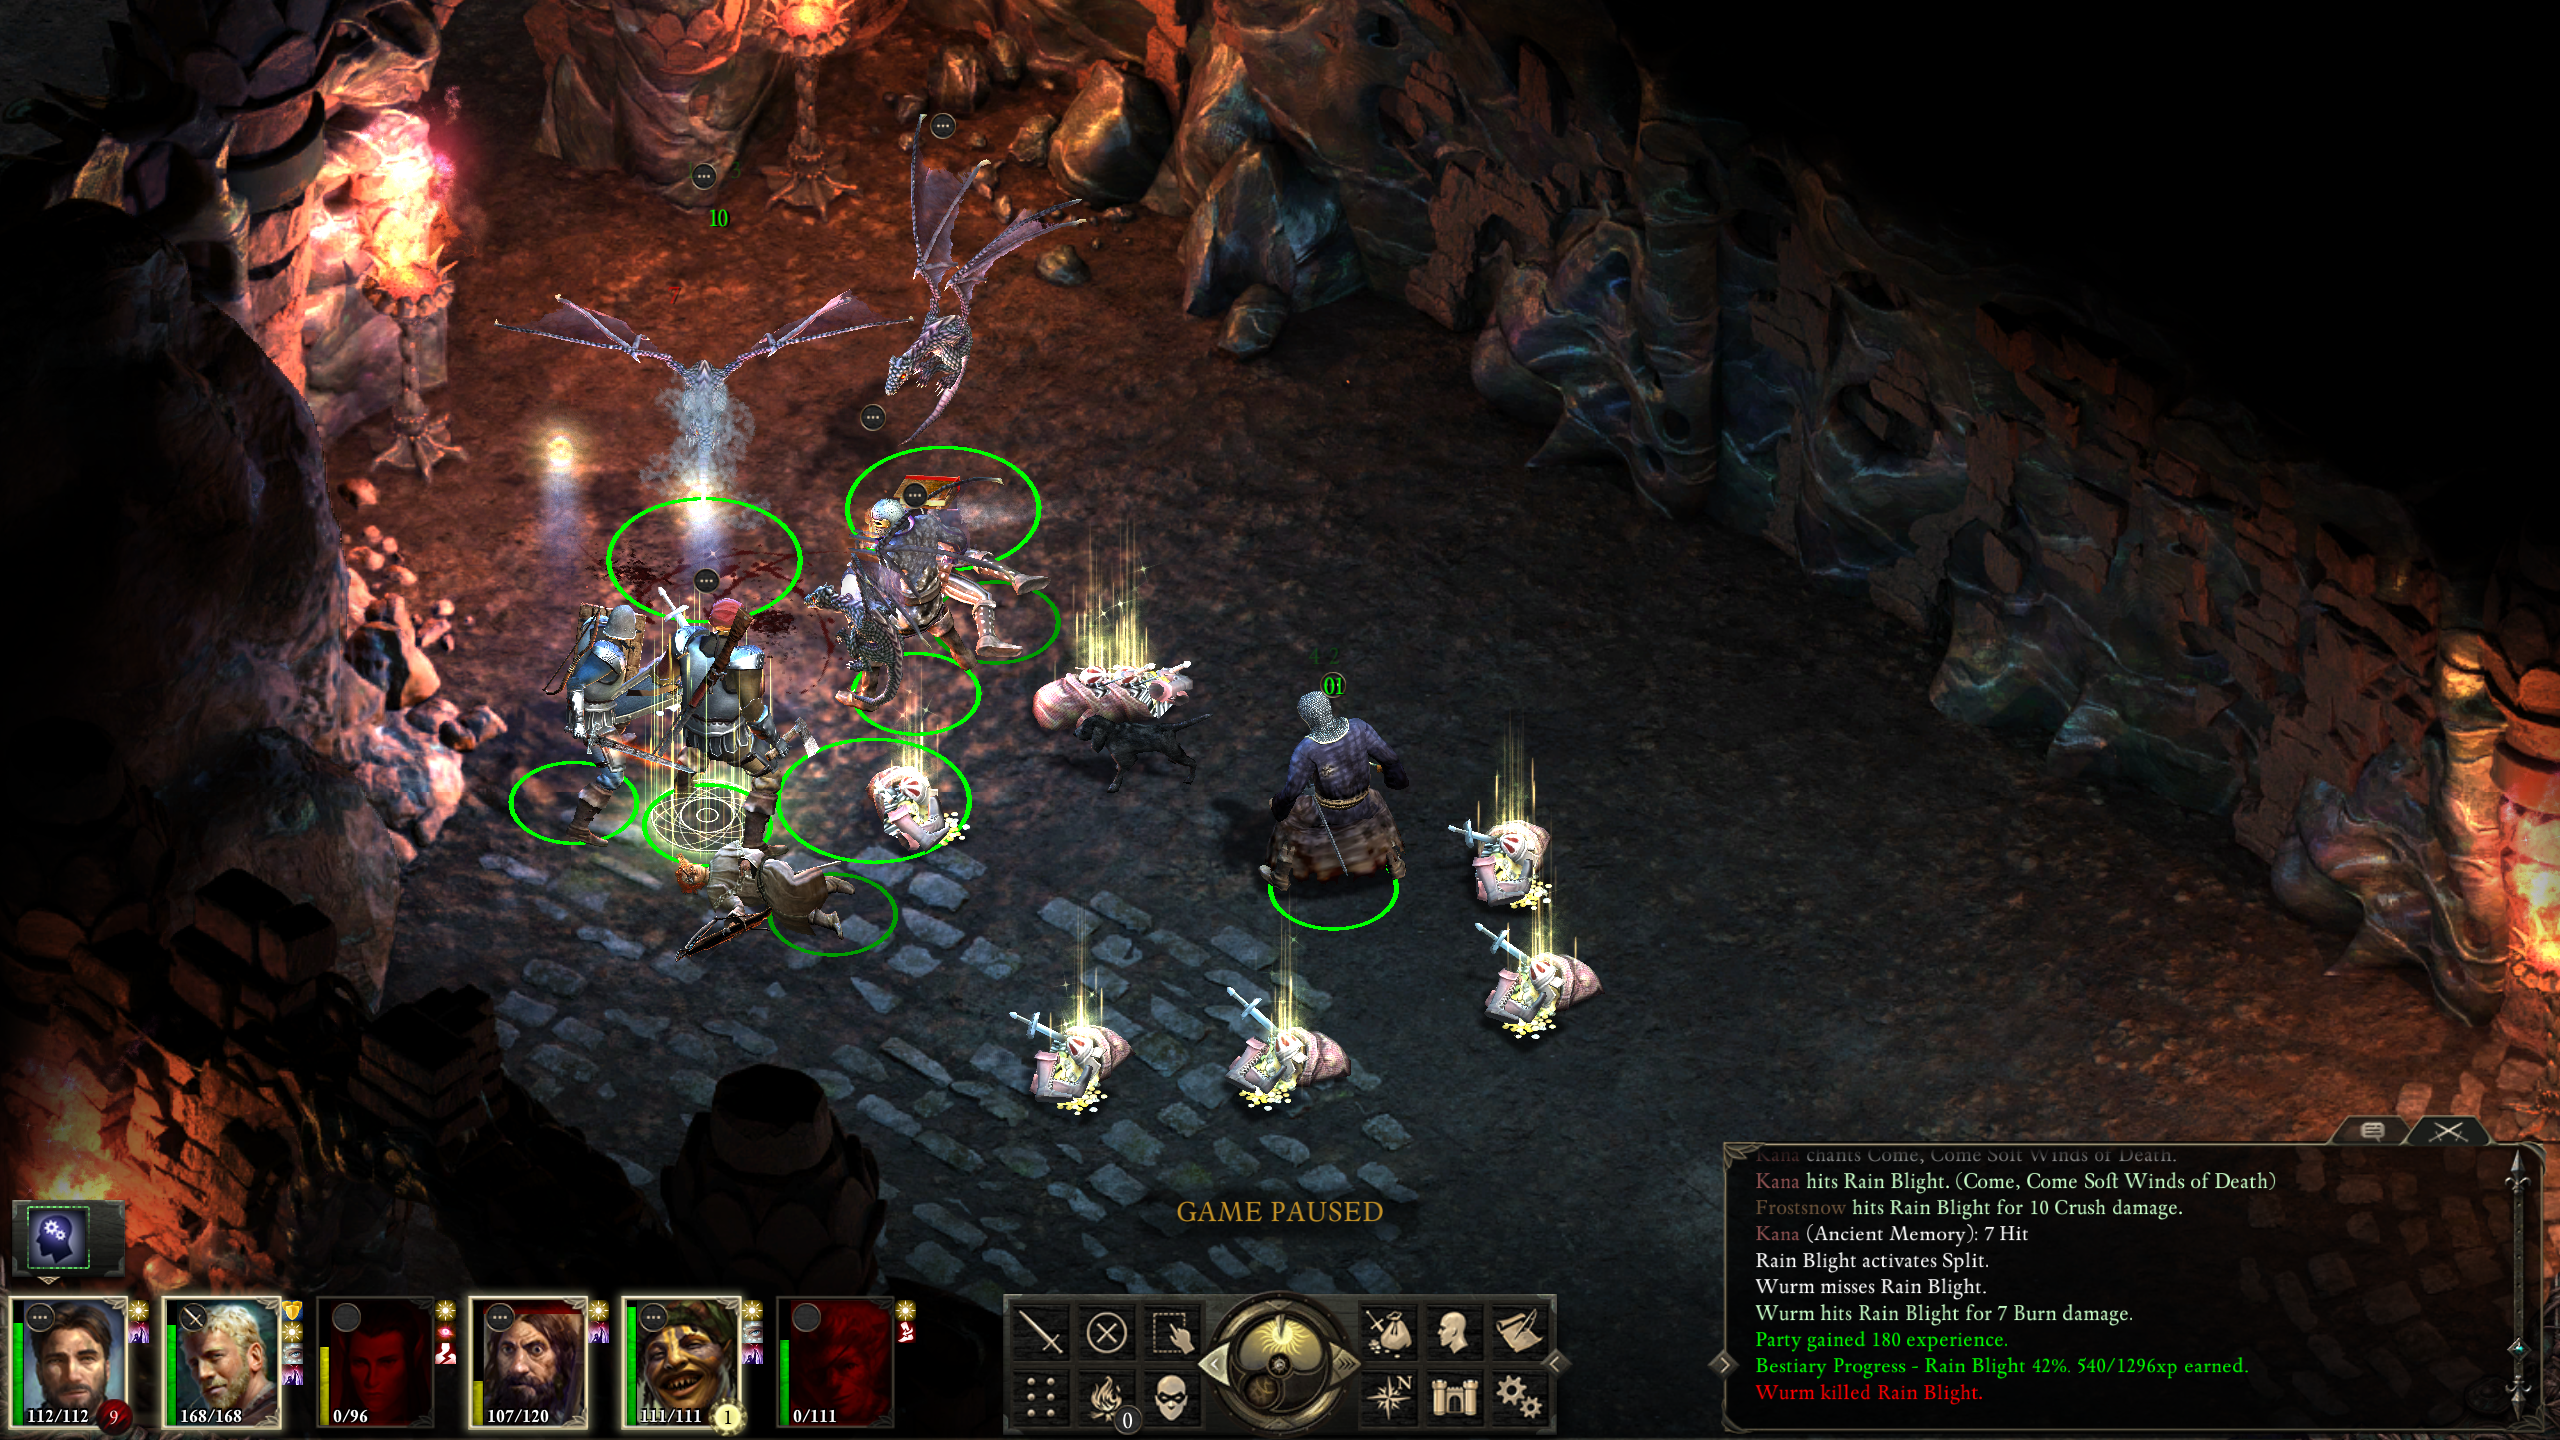
It does, however, help when you don't accidentally agro two rooms at once, though Aloth's "Chill Fog" makes quick work of fire blights:
At the end of level 7 is the next boss fight. Having cleared the rest of levels 6 and 7 and having gained a level myself, I decided it was time again to take on Zolla. This time I also gave Aloth "Binding Web" and had Hiravas cast "Spreading Plague". The extra level seemed to help quite a bit, but it was hardly a giveaway:
Finally, the next attempt yielded fruit:
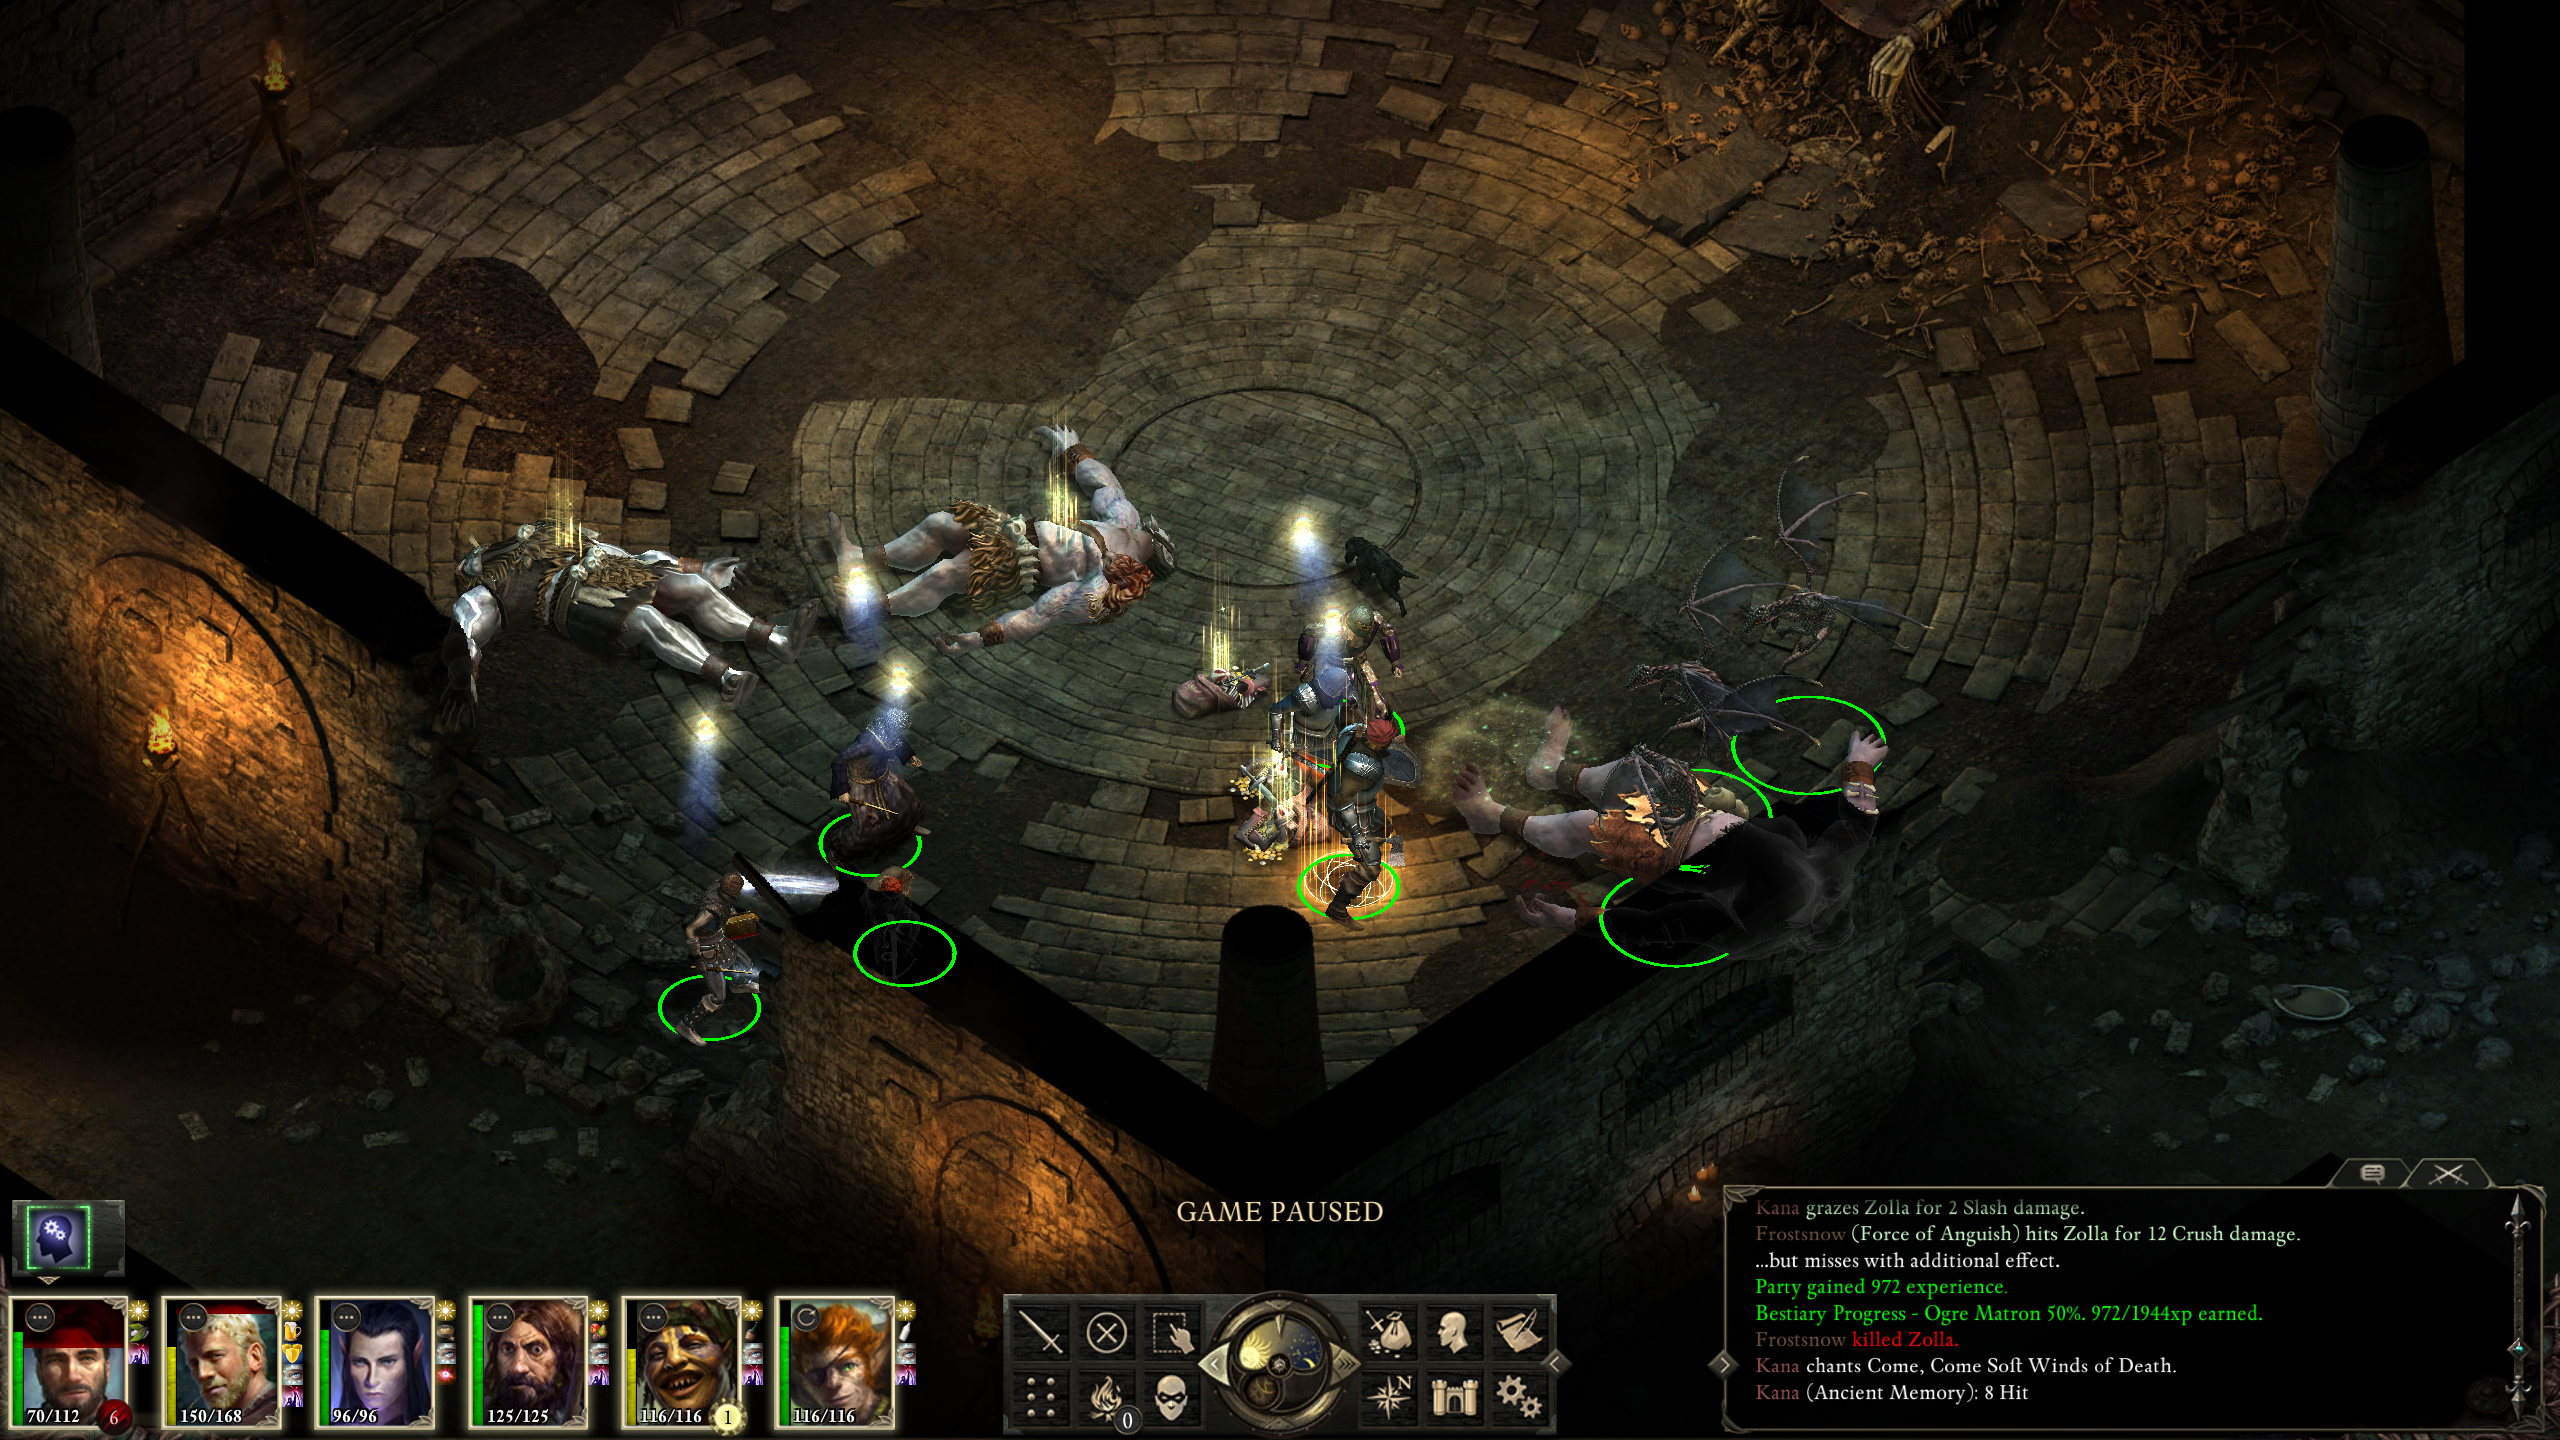
Unfortunately, something about trying to screenshot caused Steam to crash, which meant that I couldn't save, which meant another attempt had to be made, but, thankfully, I had it (mostly) down by now:
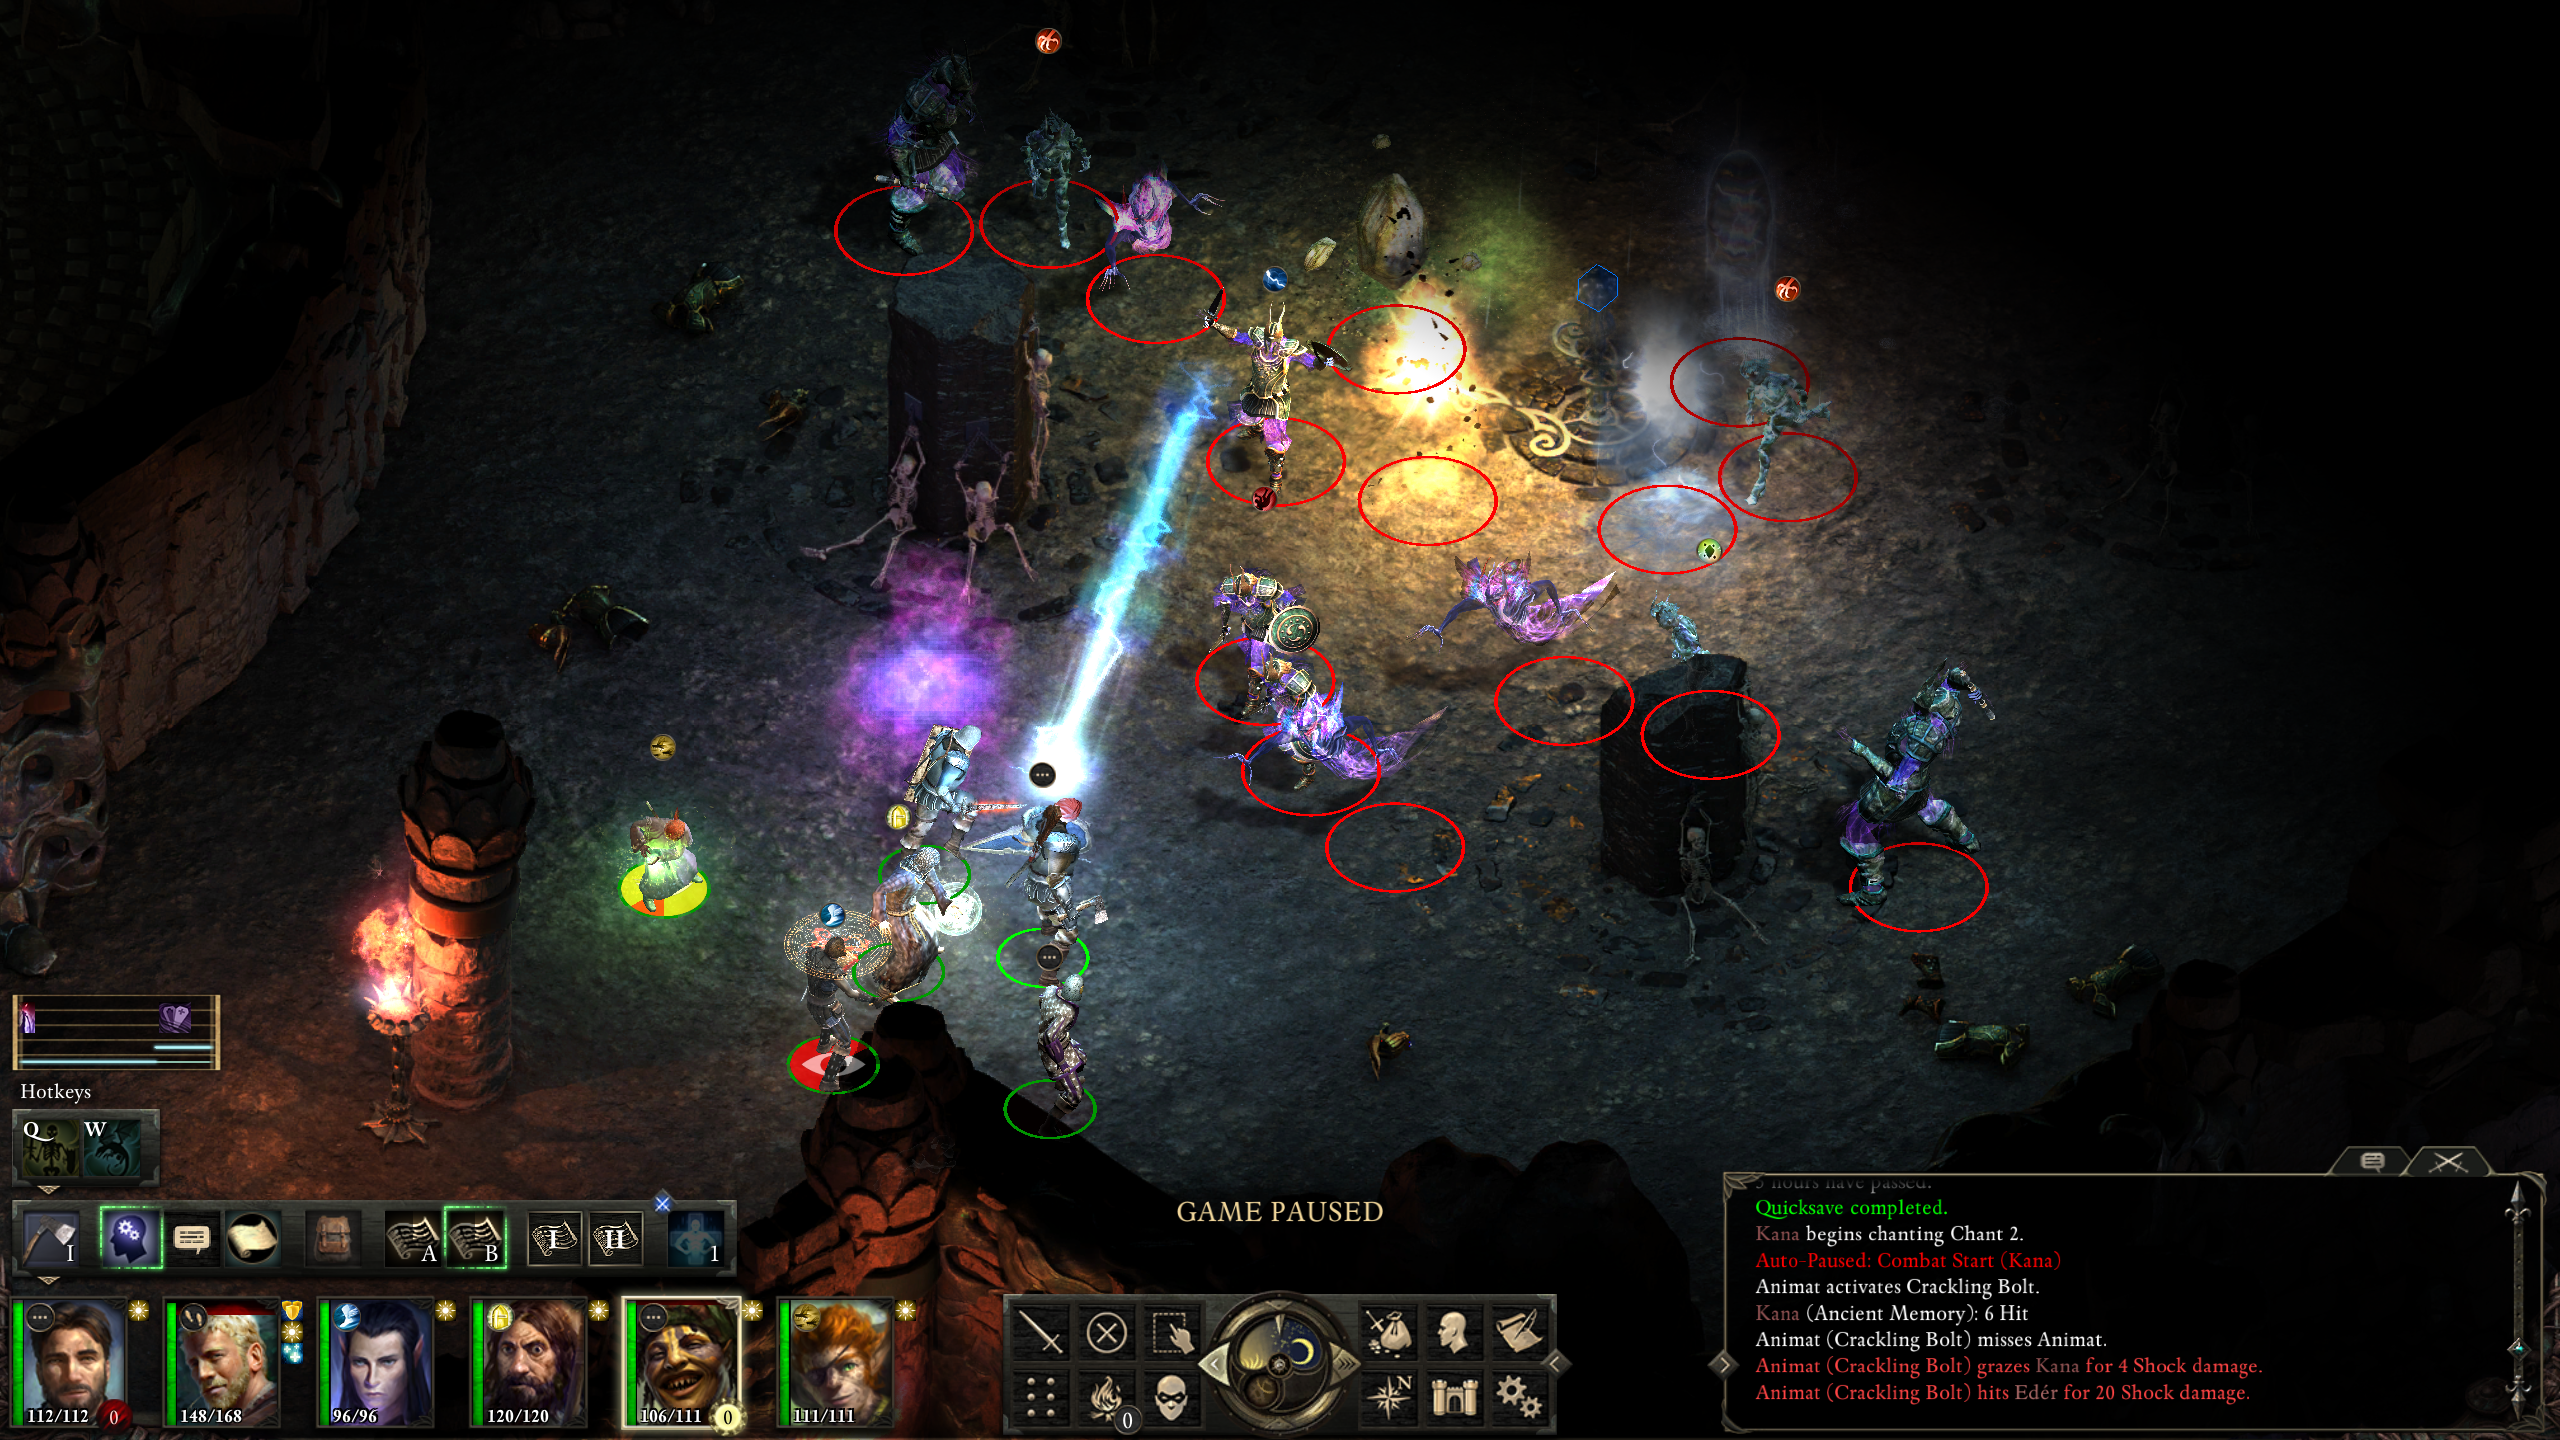
With Zolla down it was time to take a vain stab at the level 7 boss fight; considering that I had only beaten the Drake by cornballing it and this fight would be more difficult, these attempts were mostly for fun rather than a serious attempt at getting through, especially as I decided to leave the blights in. This turned out to be a reasonable prediction:
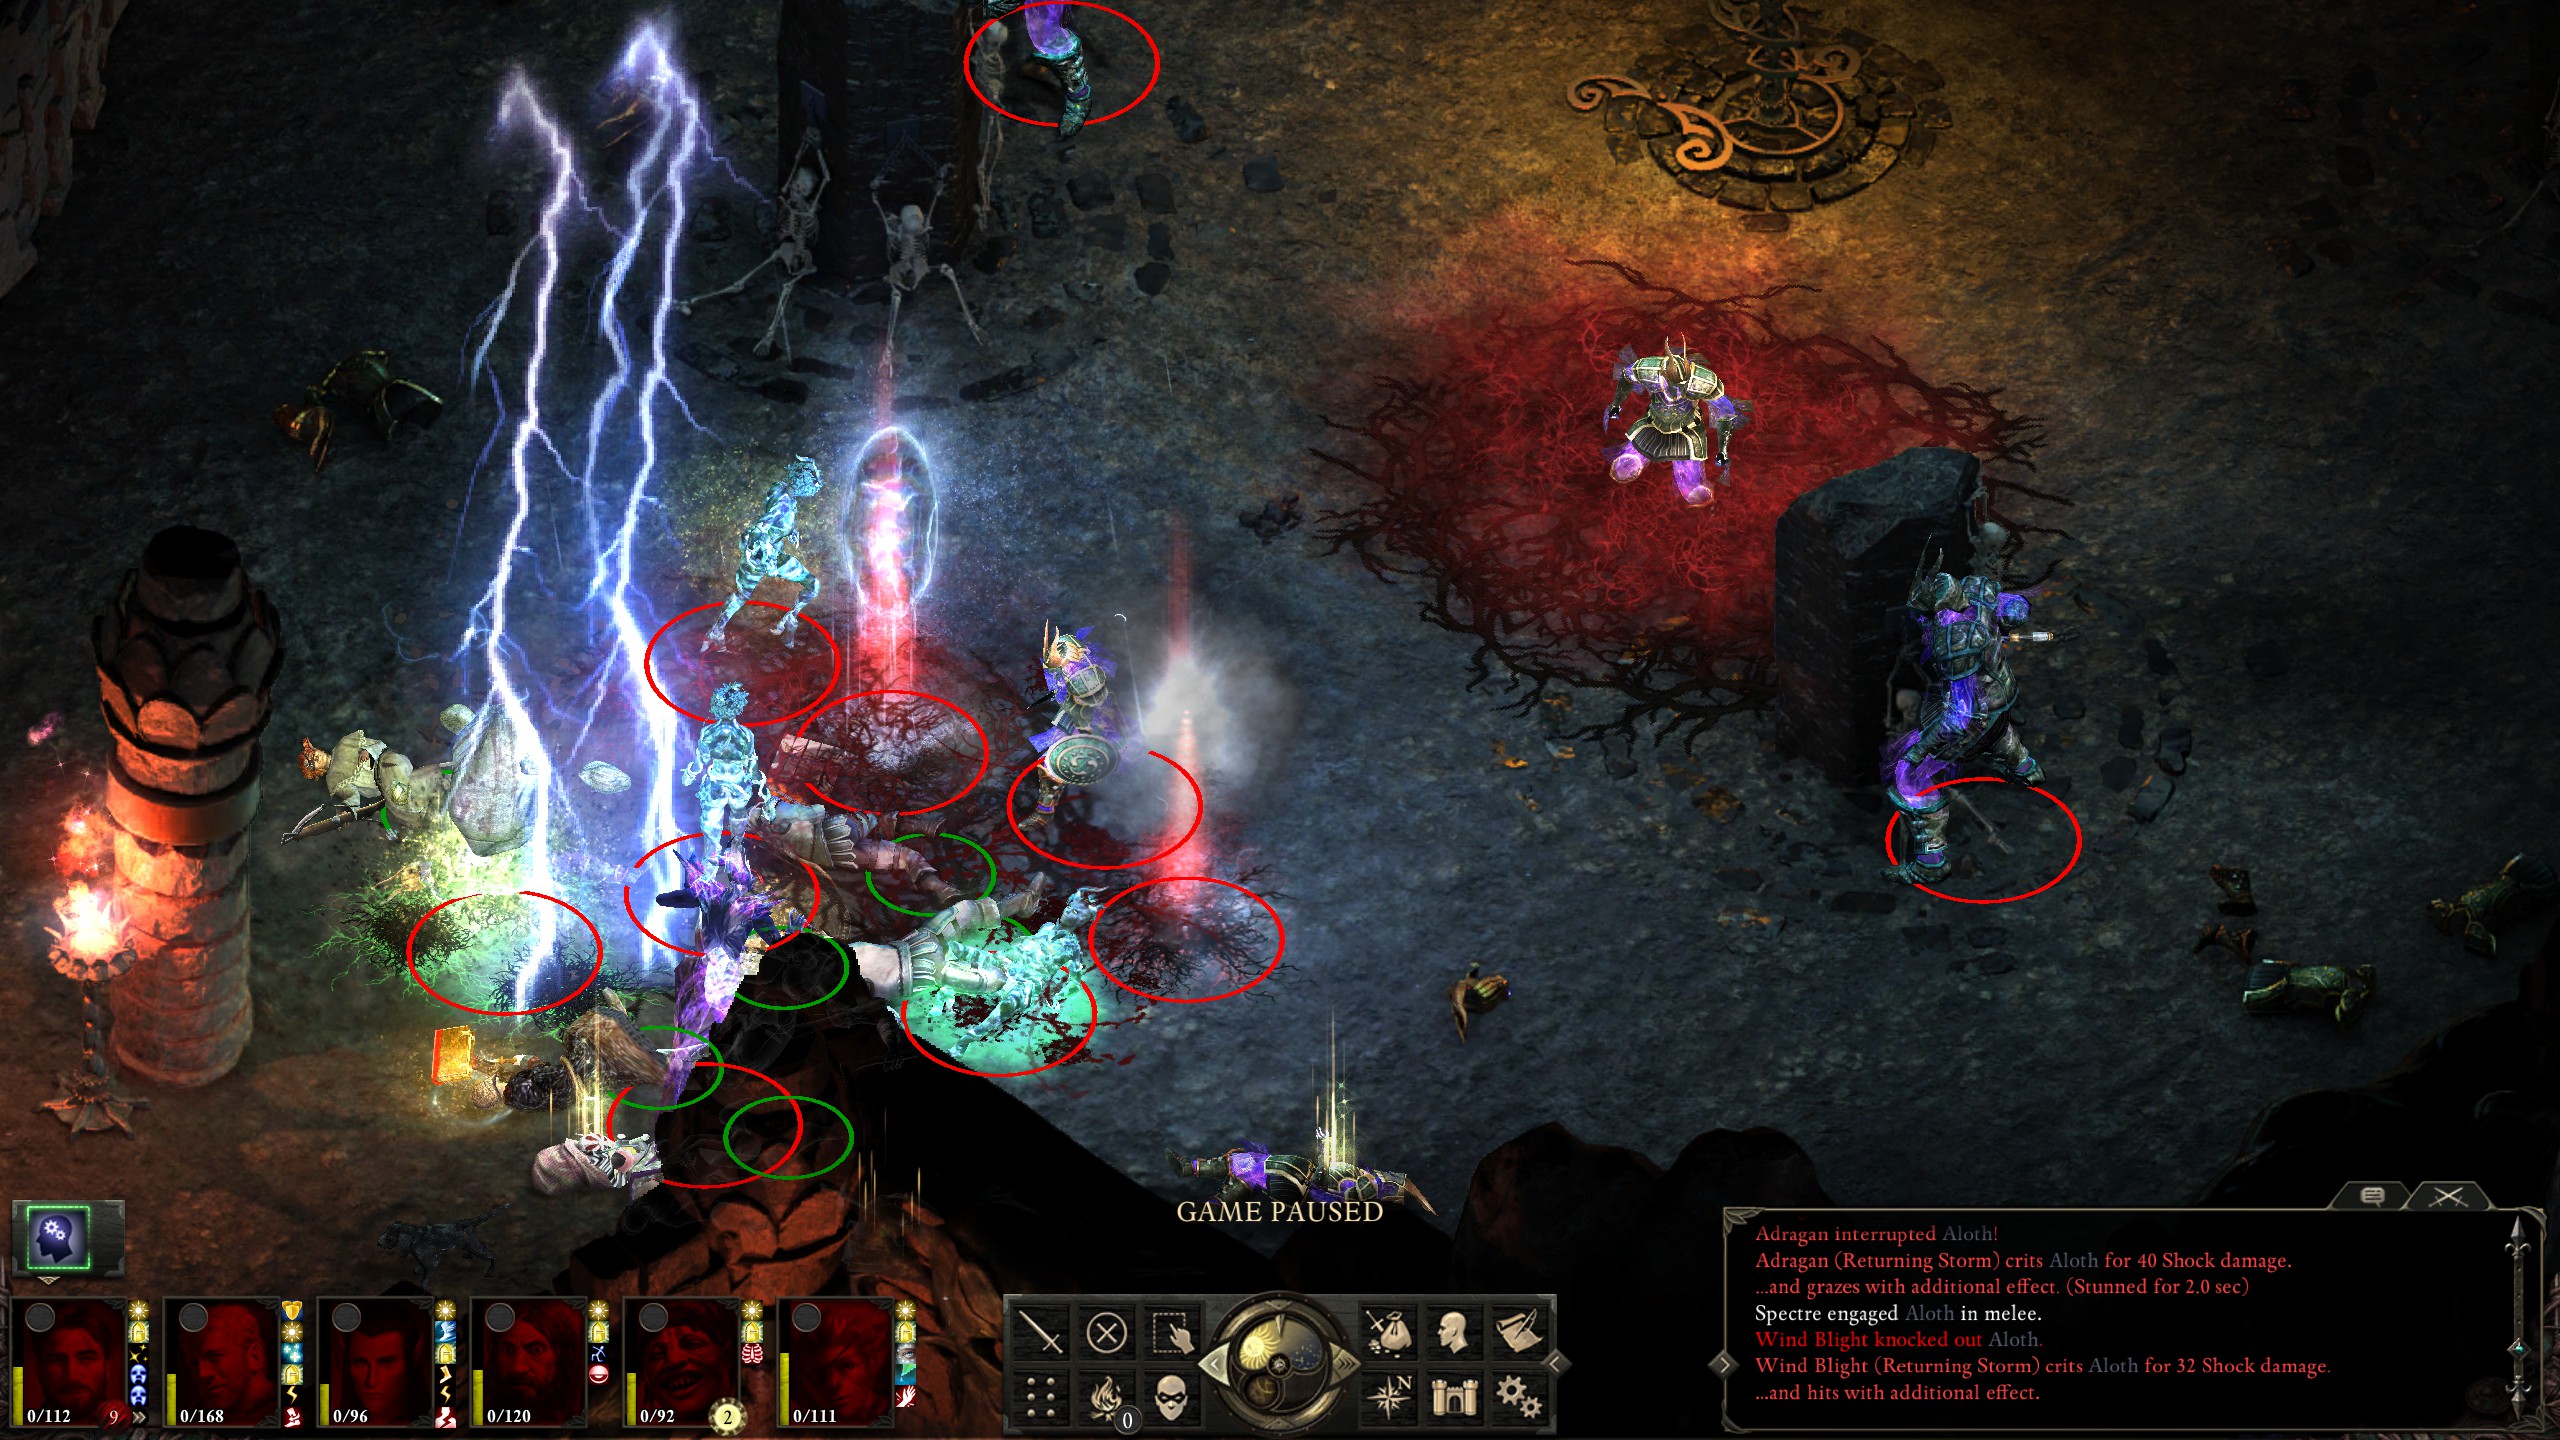
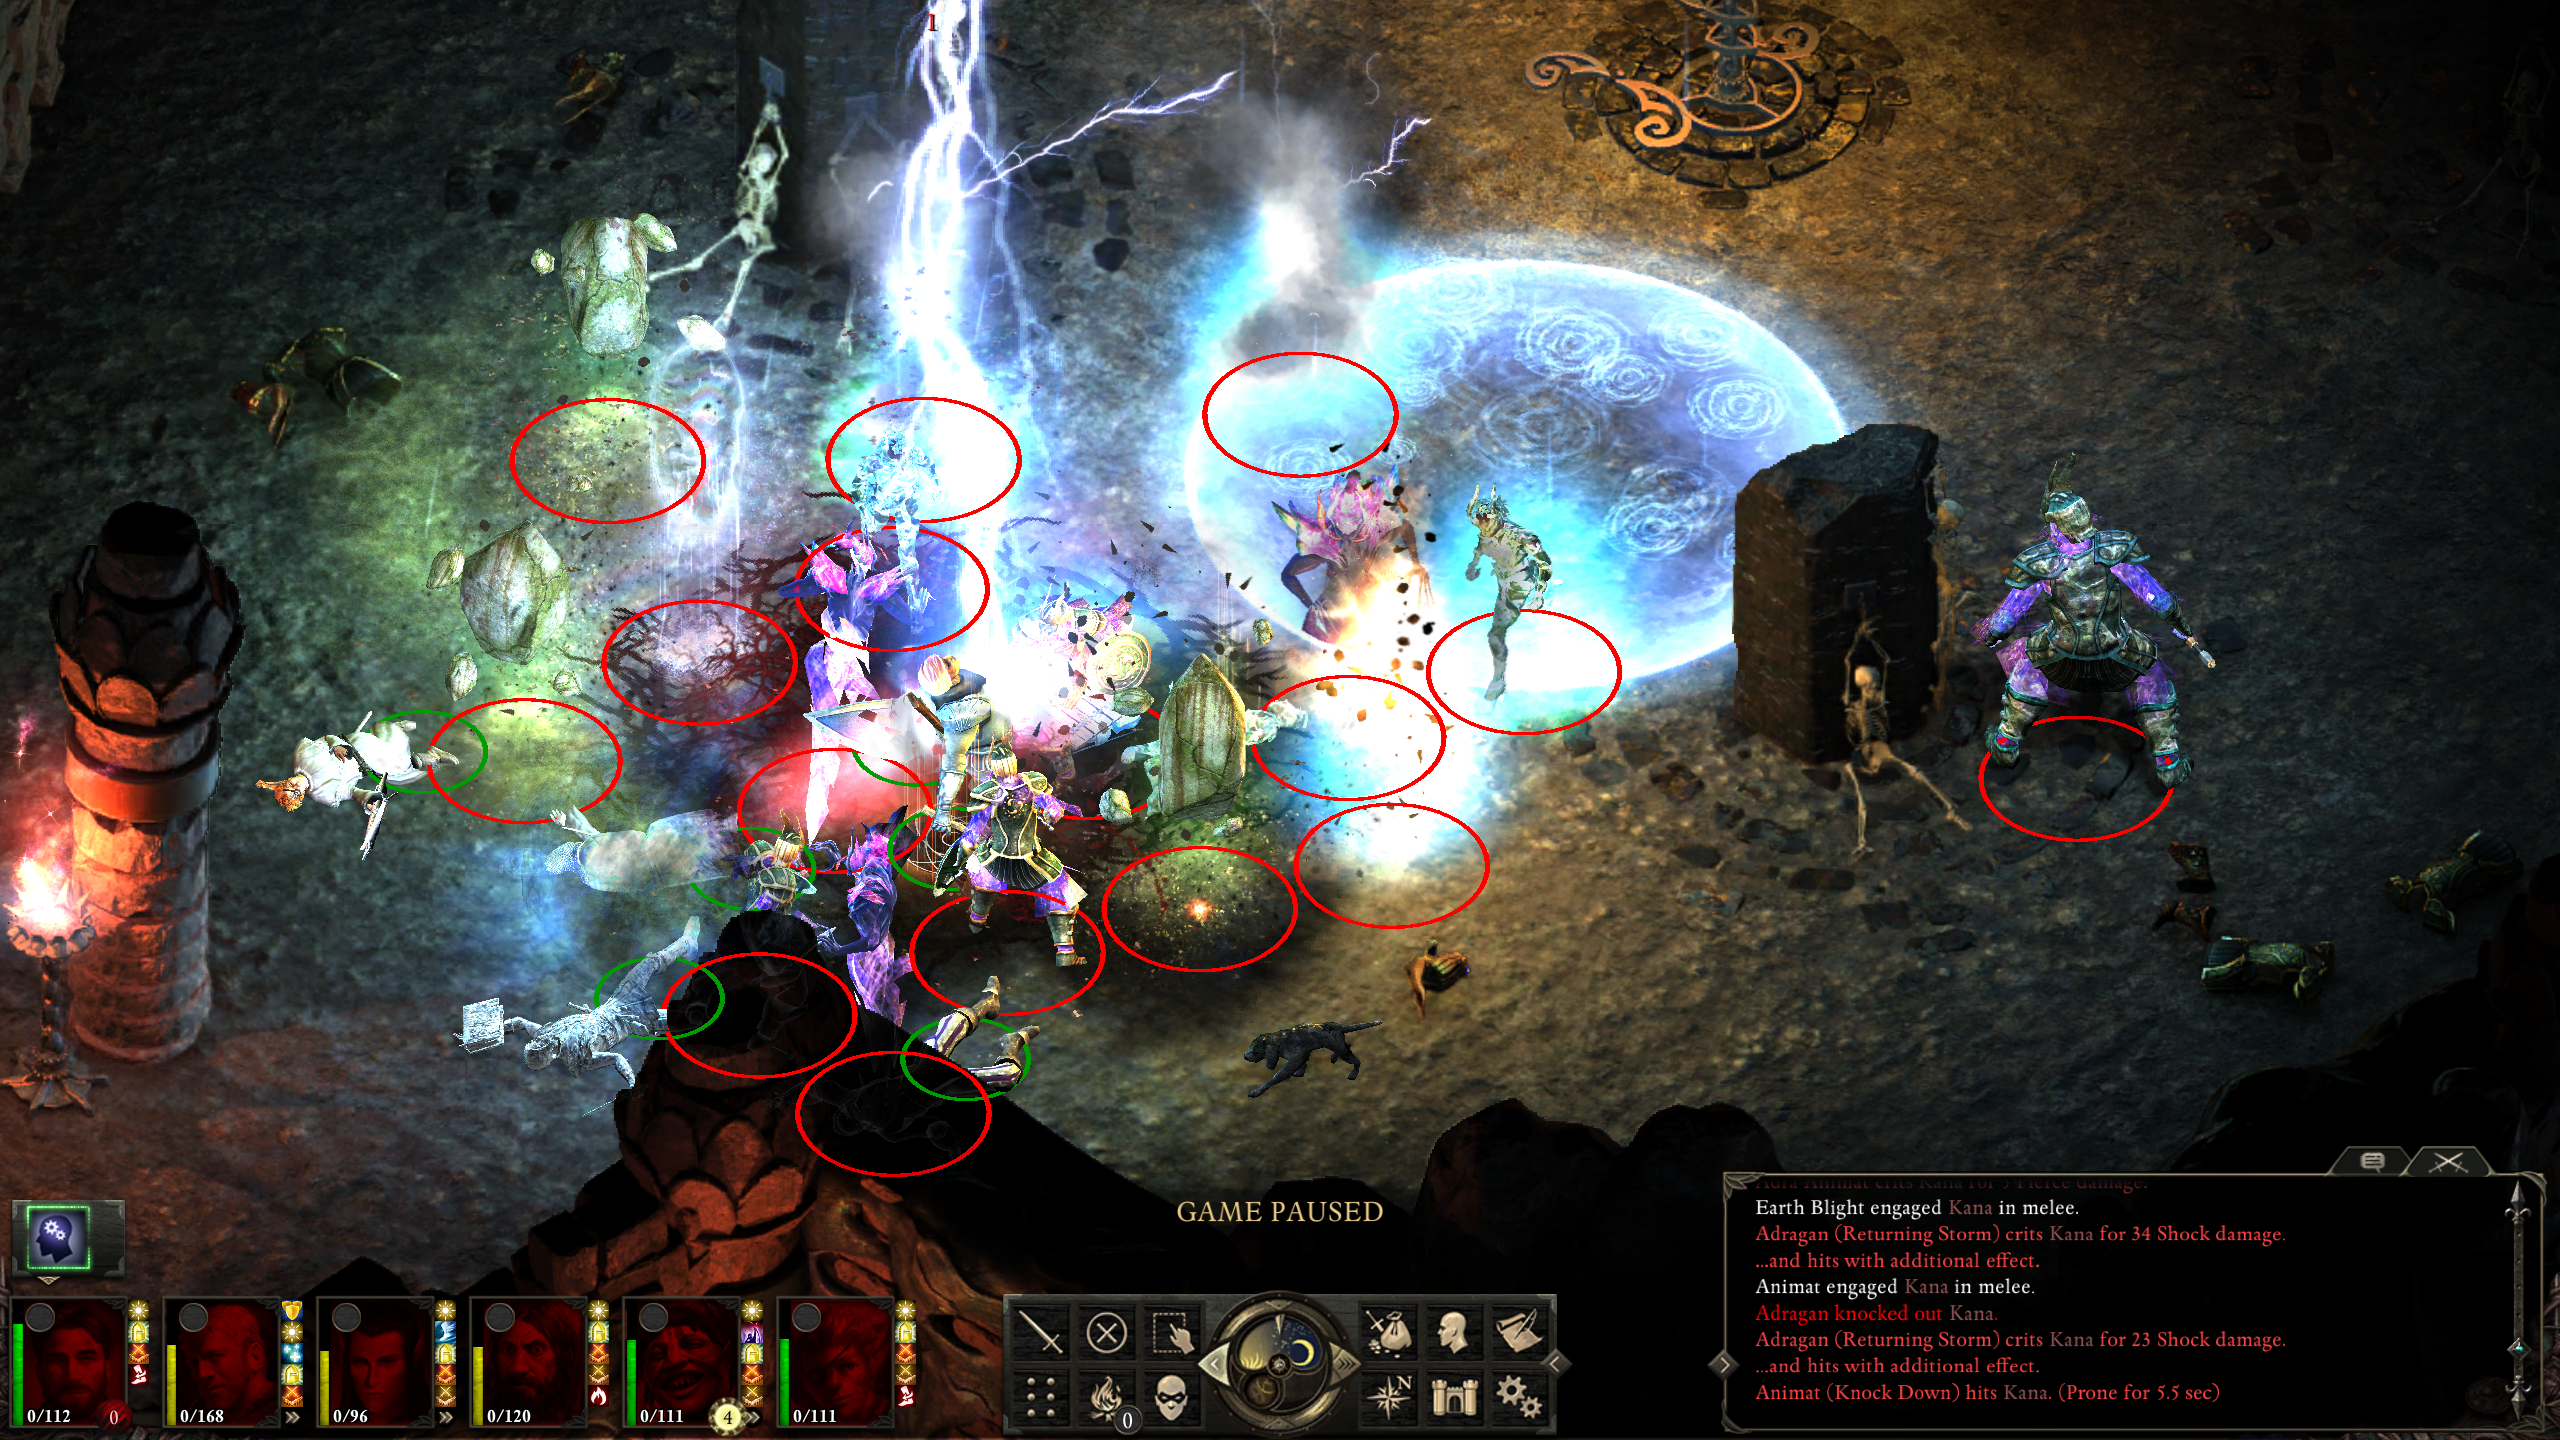
Though I normally give bosses three attempts before calling it quits, I took a good, hard look at what I was up against:
And it became quickly apparent that my best just wasn't good enough then:
Thus I'd finally reached a blocker when going through the Endless Paths. This meant that it was time to take a break from the Paths and head onwards to Defiance Bay in search of the Leaden Key!
After that I proceeded across Aedelwan Bridge and onto Defiance Bay, marking the end of Act I.
Eder, Aloth, and Durance are excellent as expected. I've been playing around with Aloth's spells a bit more than normal, trying out "Merciless Gaze" for the extra crit chance (I've not noticed it much) and also "Deleterious Alacrity of Motion" which is actually insanely powerful, allowing Aloth to cast spells almost twice as fast as normal. With Durance I've been using "Armor of Faith" and "Circle of Protection" much more in order to save both endurance and health, thus keeping the actual healing spells to a minimum.
Kana makes an interesting tank. At first he was rather squishy endurance-wise, but that got better with a large shield and full set of plate mail. The chant-based healing and buffs are nice, keeping everyone on the front lines strong, especially Eder when combined with his "Constant Recovery"; in addition, Kana's summons are always both fun and useful. The biggest problem with Kana is that his health-to-endurance ratio is actually quite weak, meaning that he will be close to death much sooner than Eder even if his endurance is okay. I've been working around this by making Eder the "main" tank, having him initiate first and then having Kana gather up the few stragglers, thus keeping the majority of the damage off of Kana while still having him tank the front line.
Hiravas has been an alright pick. The healing spells that I had thought would be very handy tend to not come in use too much as Durance and Kana provide lots of healing already. Summoning blights, however, often provides a useful distraction against the floods of enemies that come, "Returning Storm" is always fun to cast for the sporadic disables, and "Insect Swarm" has proven quite useful against casters. In addition, "Nature's Mark" provides a little extra accuracy against hard-to-hit enemies. His damage is okay, and can actually be very powerful when he shapeshifts into the Golden Stelgar, but is otherwise quite underwhelming.
In summary the team has proven heavy on support and healing but a little light in damage. The monk and Aloth pretty much do all of the damage, so it's critical to keep them alive; keeping Aloth alive is generally easy as he is in the back of the team, the monk, however, tends to be a bit more difficult as he must be in melee range. So far I've managed to make it work, though. Hopefully this continues to be the case for the next act!