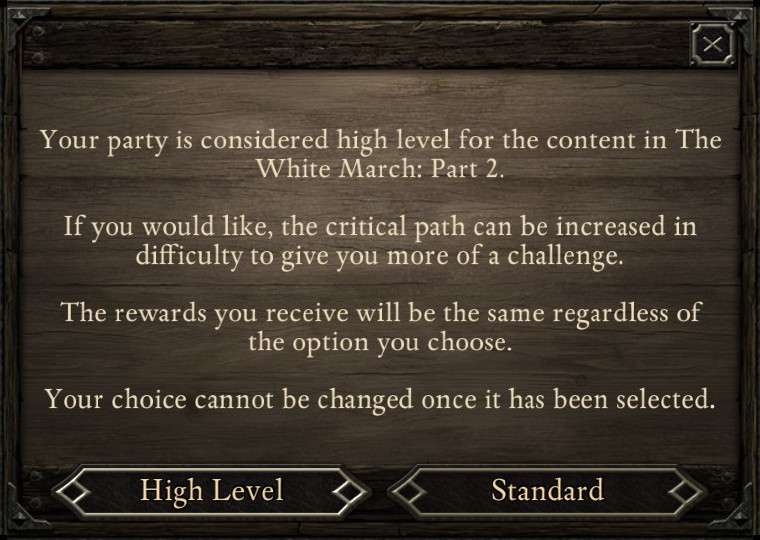
It would have been nice if the areas had been natively designed for players at level 14+, but, nonetheless, a few of the fights proved quite challenging indeed.
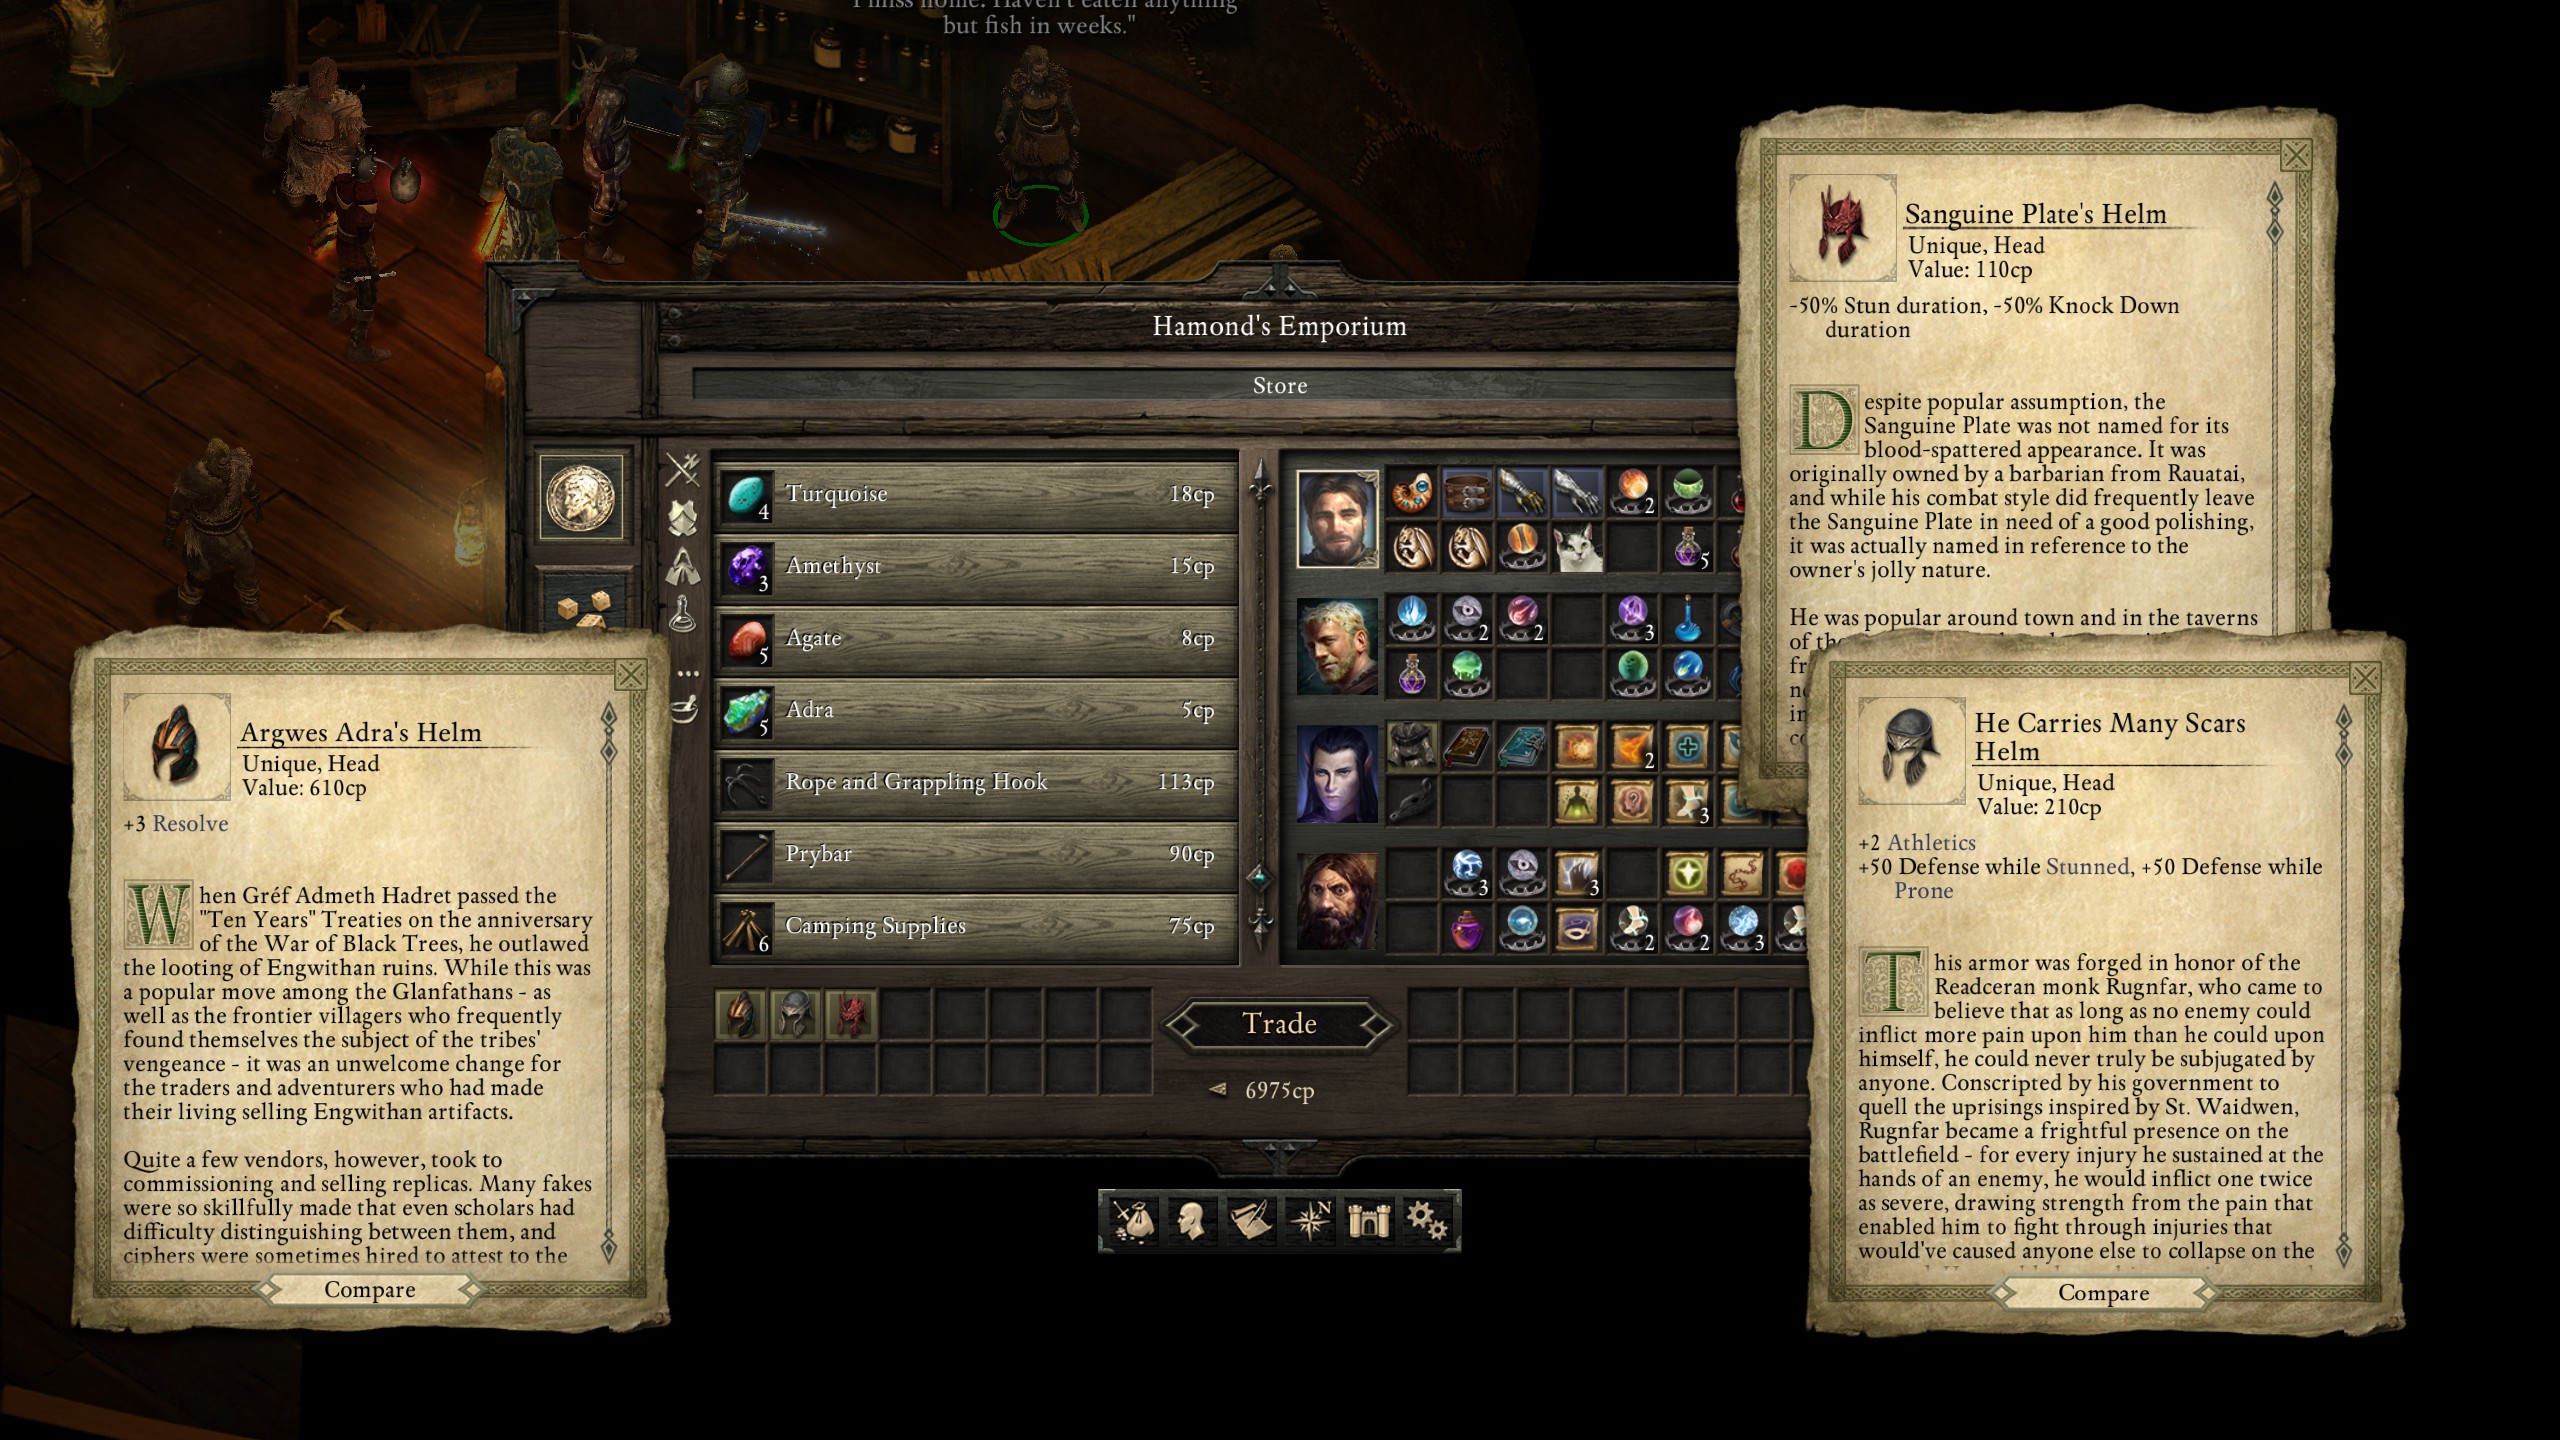
After purchasing and equipping the helmets I then travelled into the mines.
Though none of the fights had been particularly challenging thus far, the high difficulty (plus expert mode) meant that I had to watch my health closely; I made the mistake of pushing too hard and got close to actually dying, though “Barring Death's Door” would have protected me for another 5 seconds.
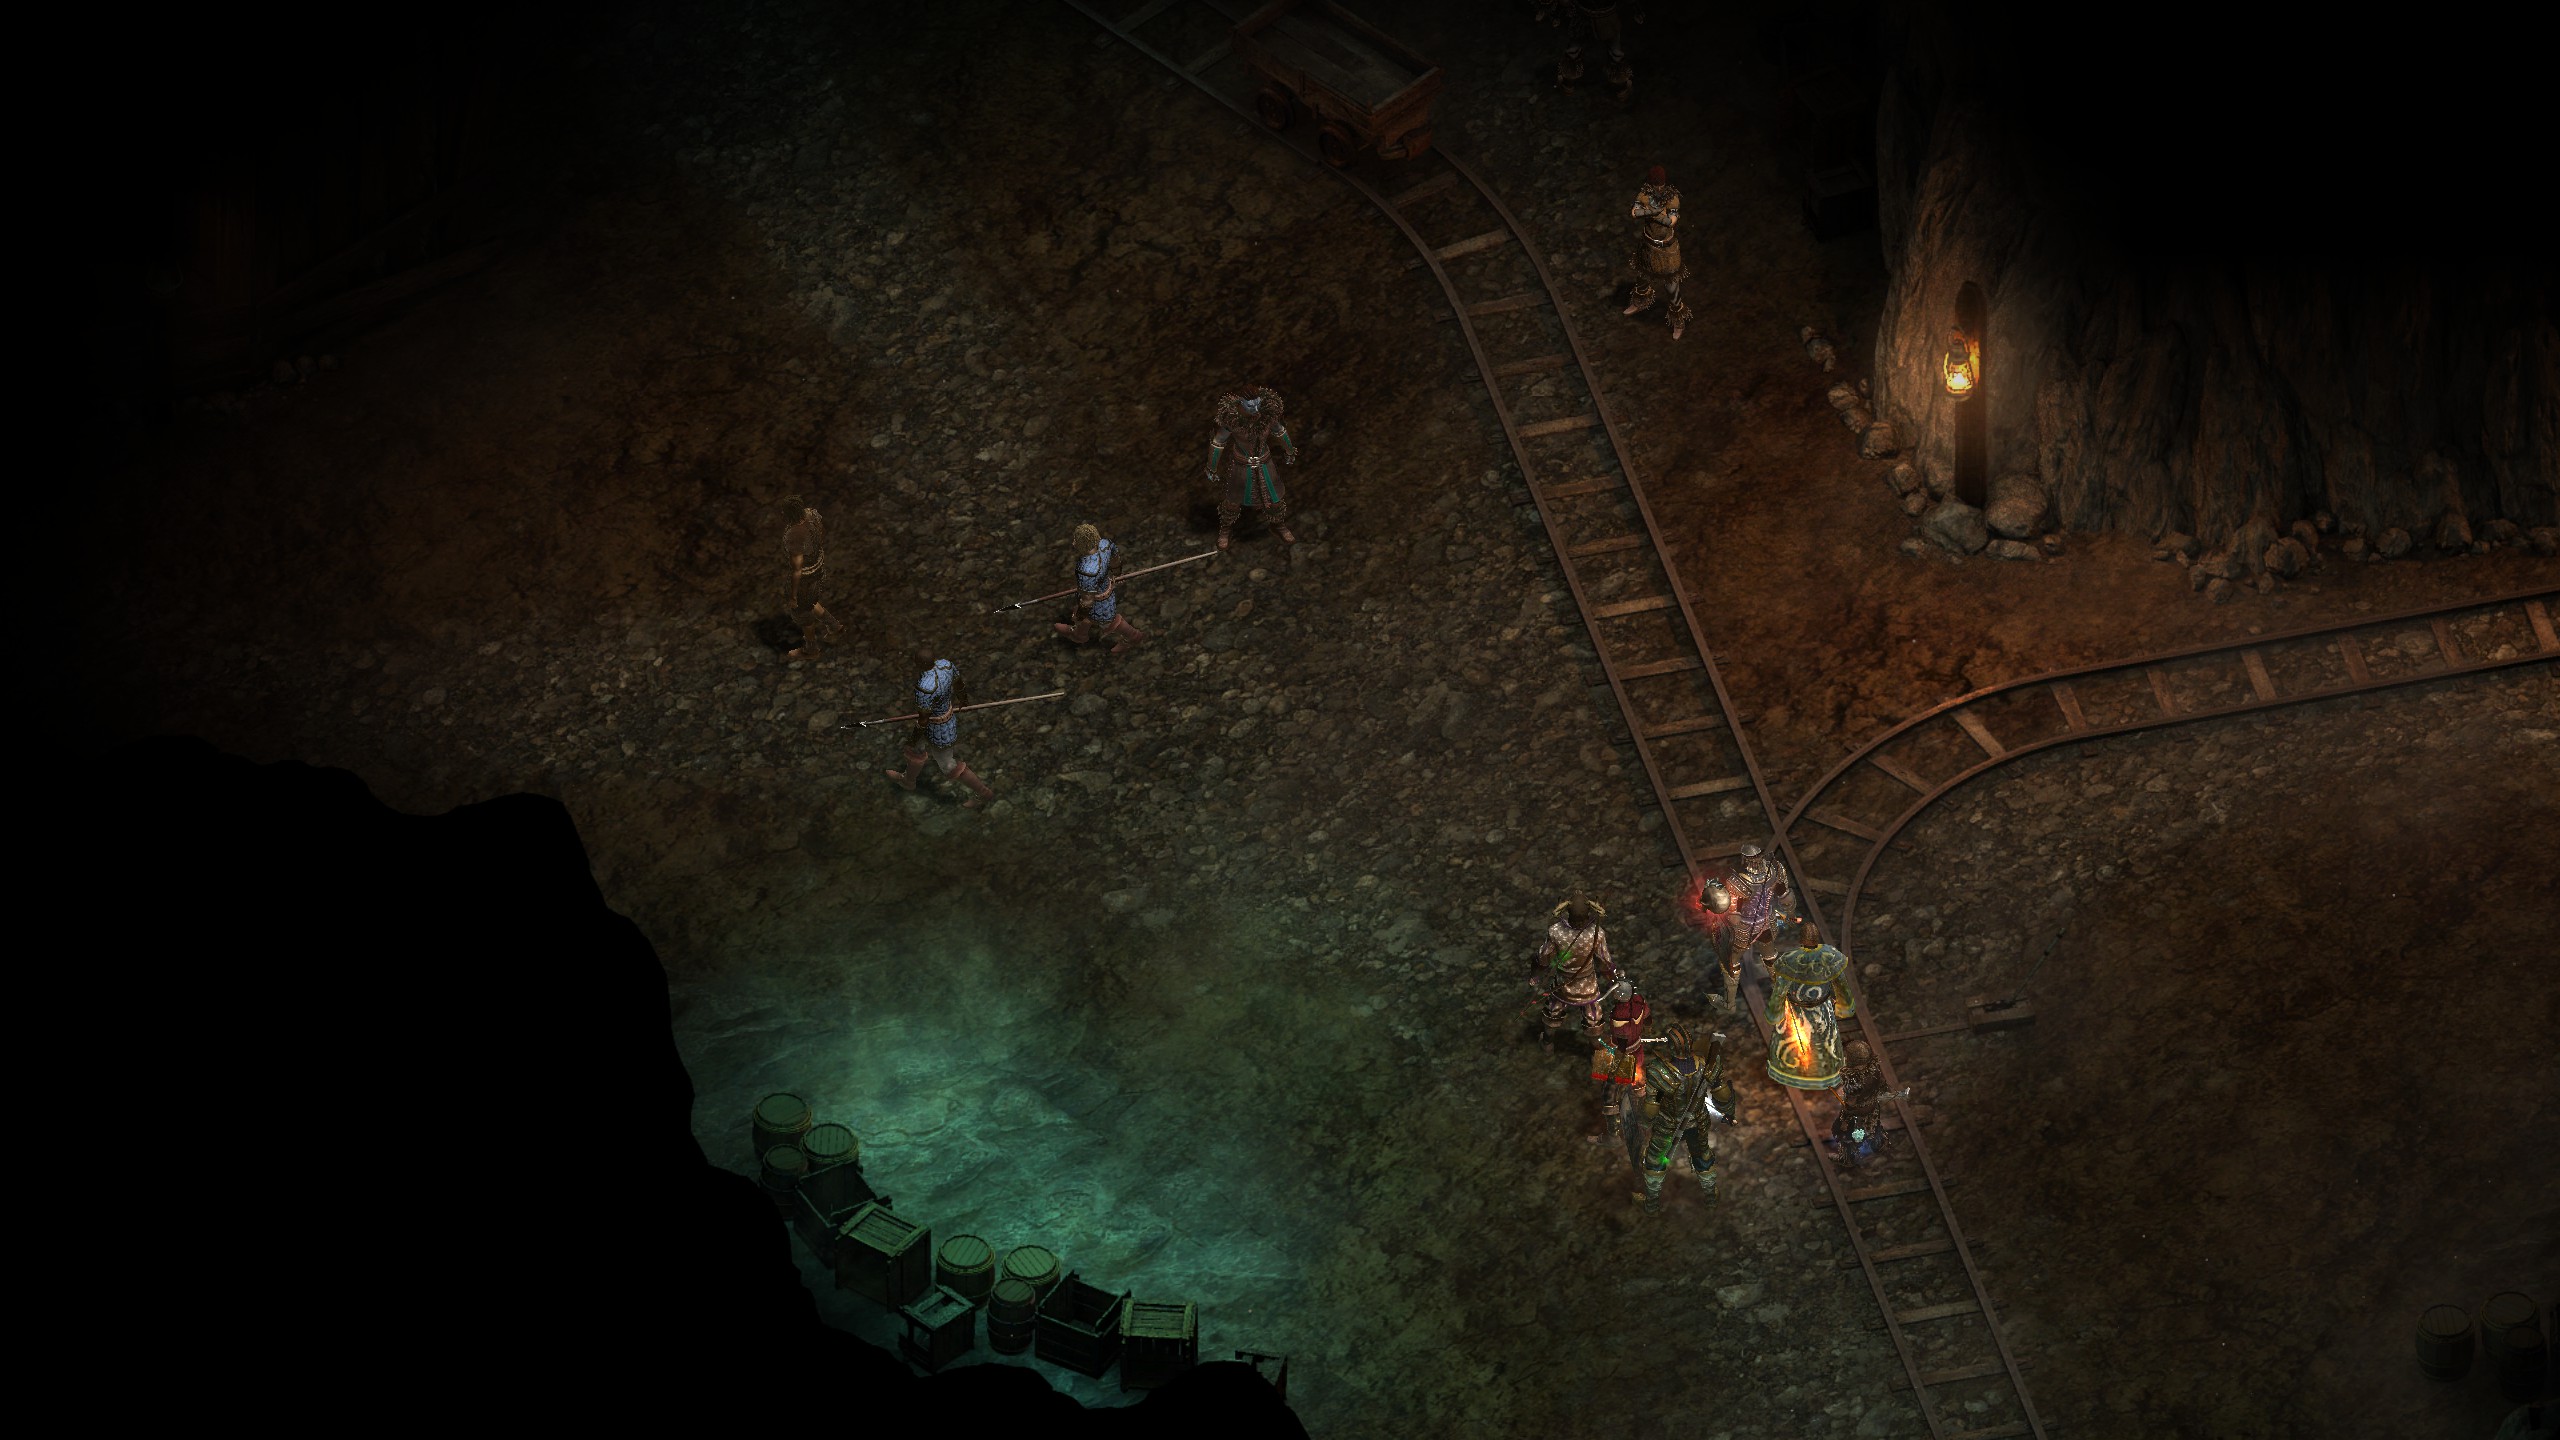
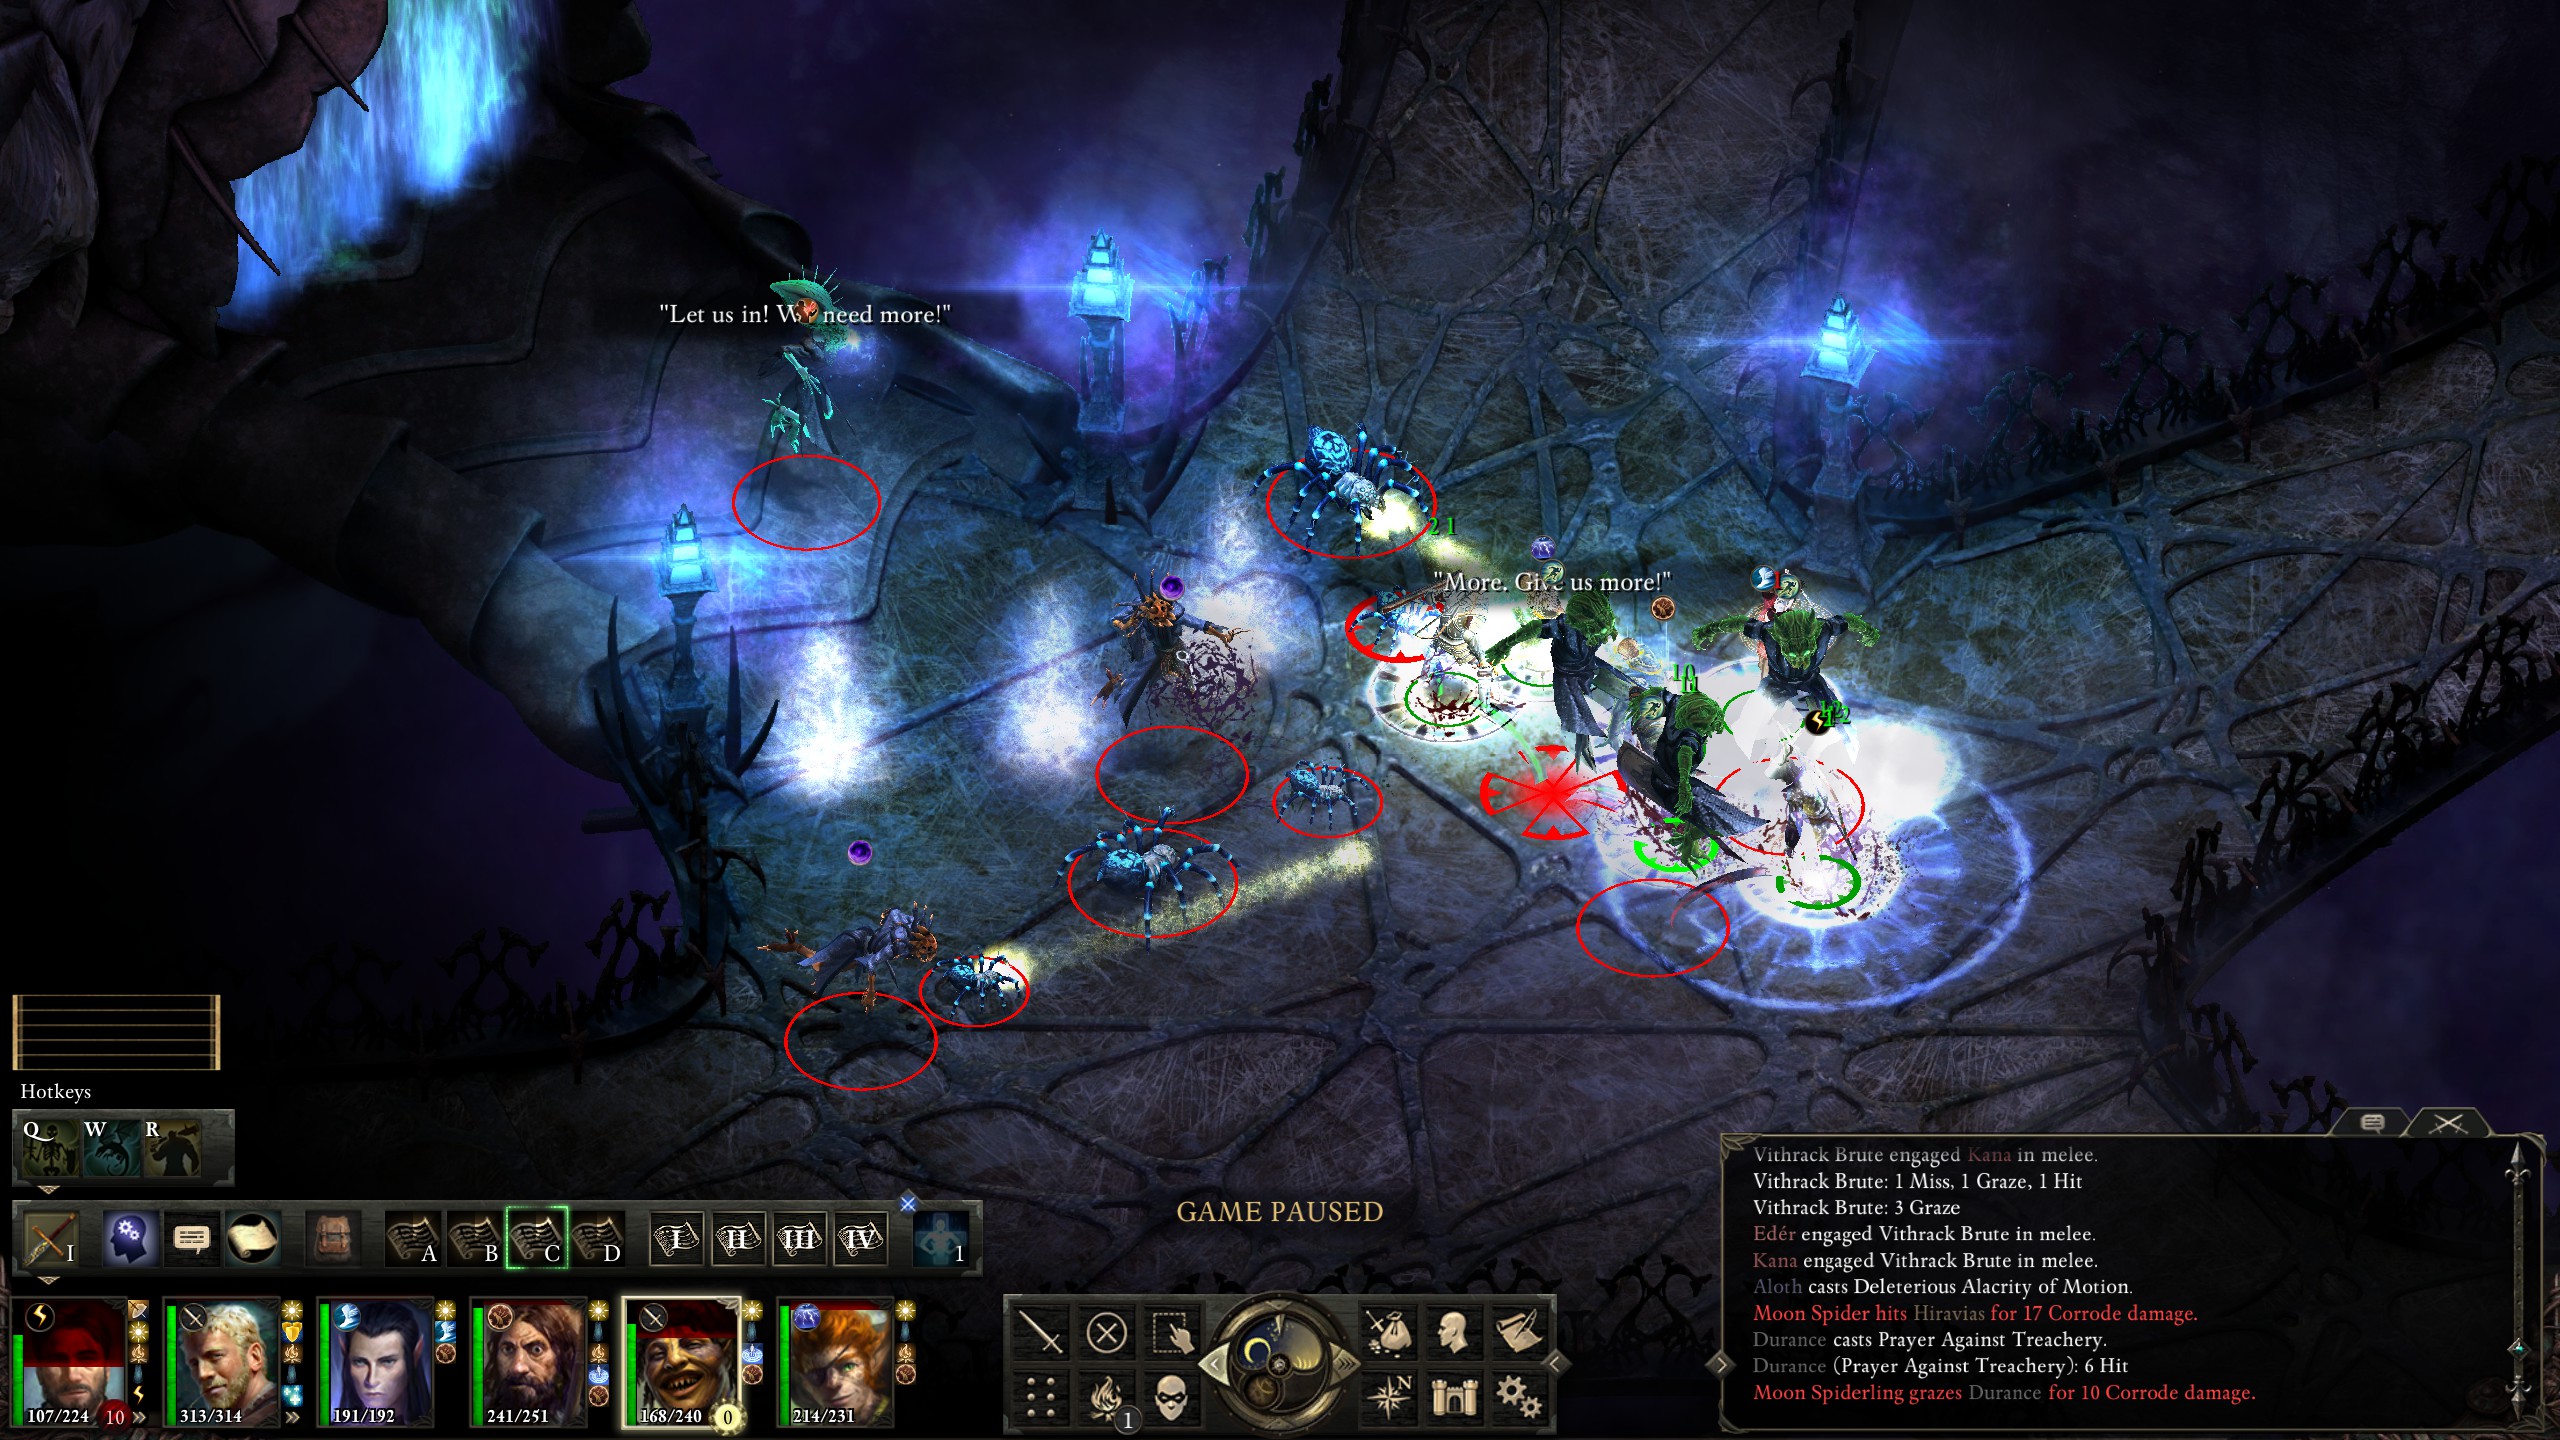
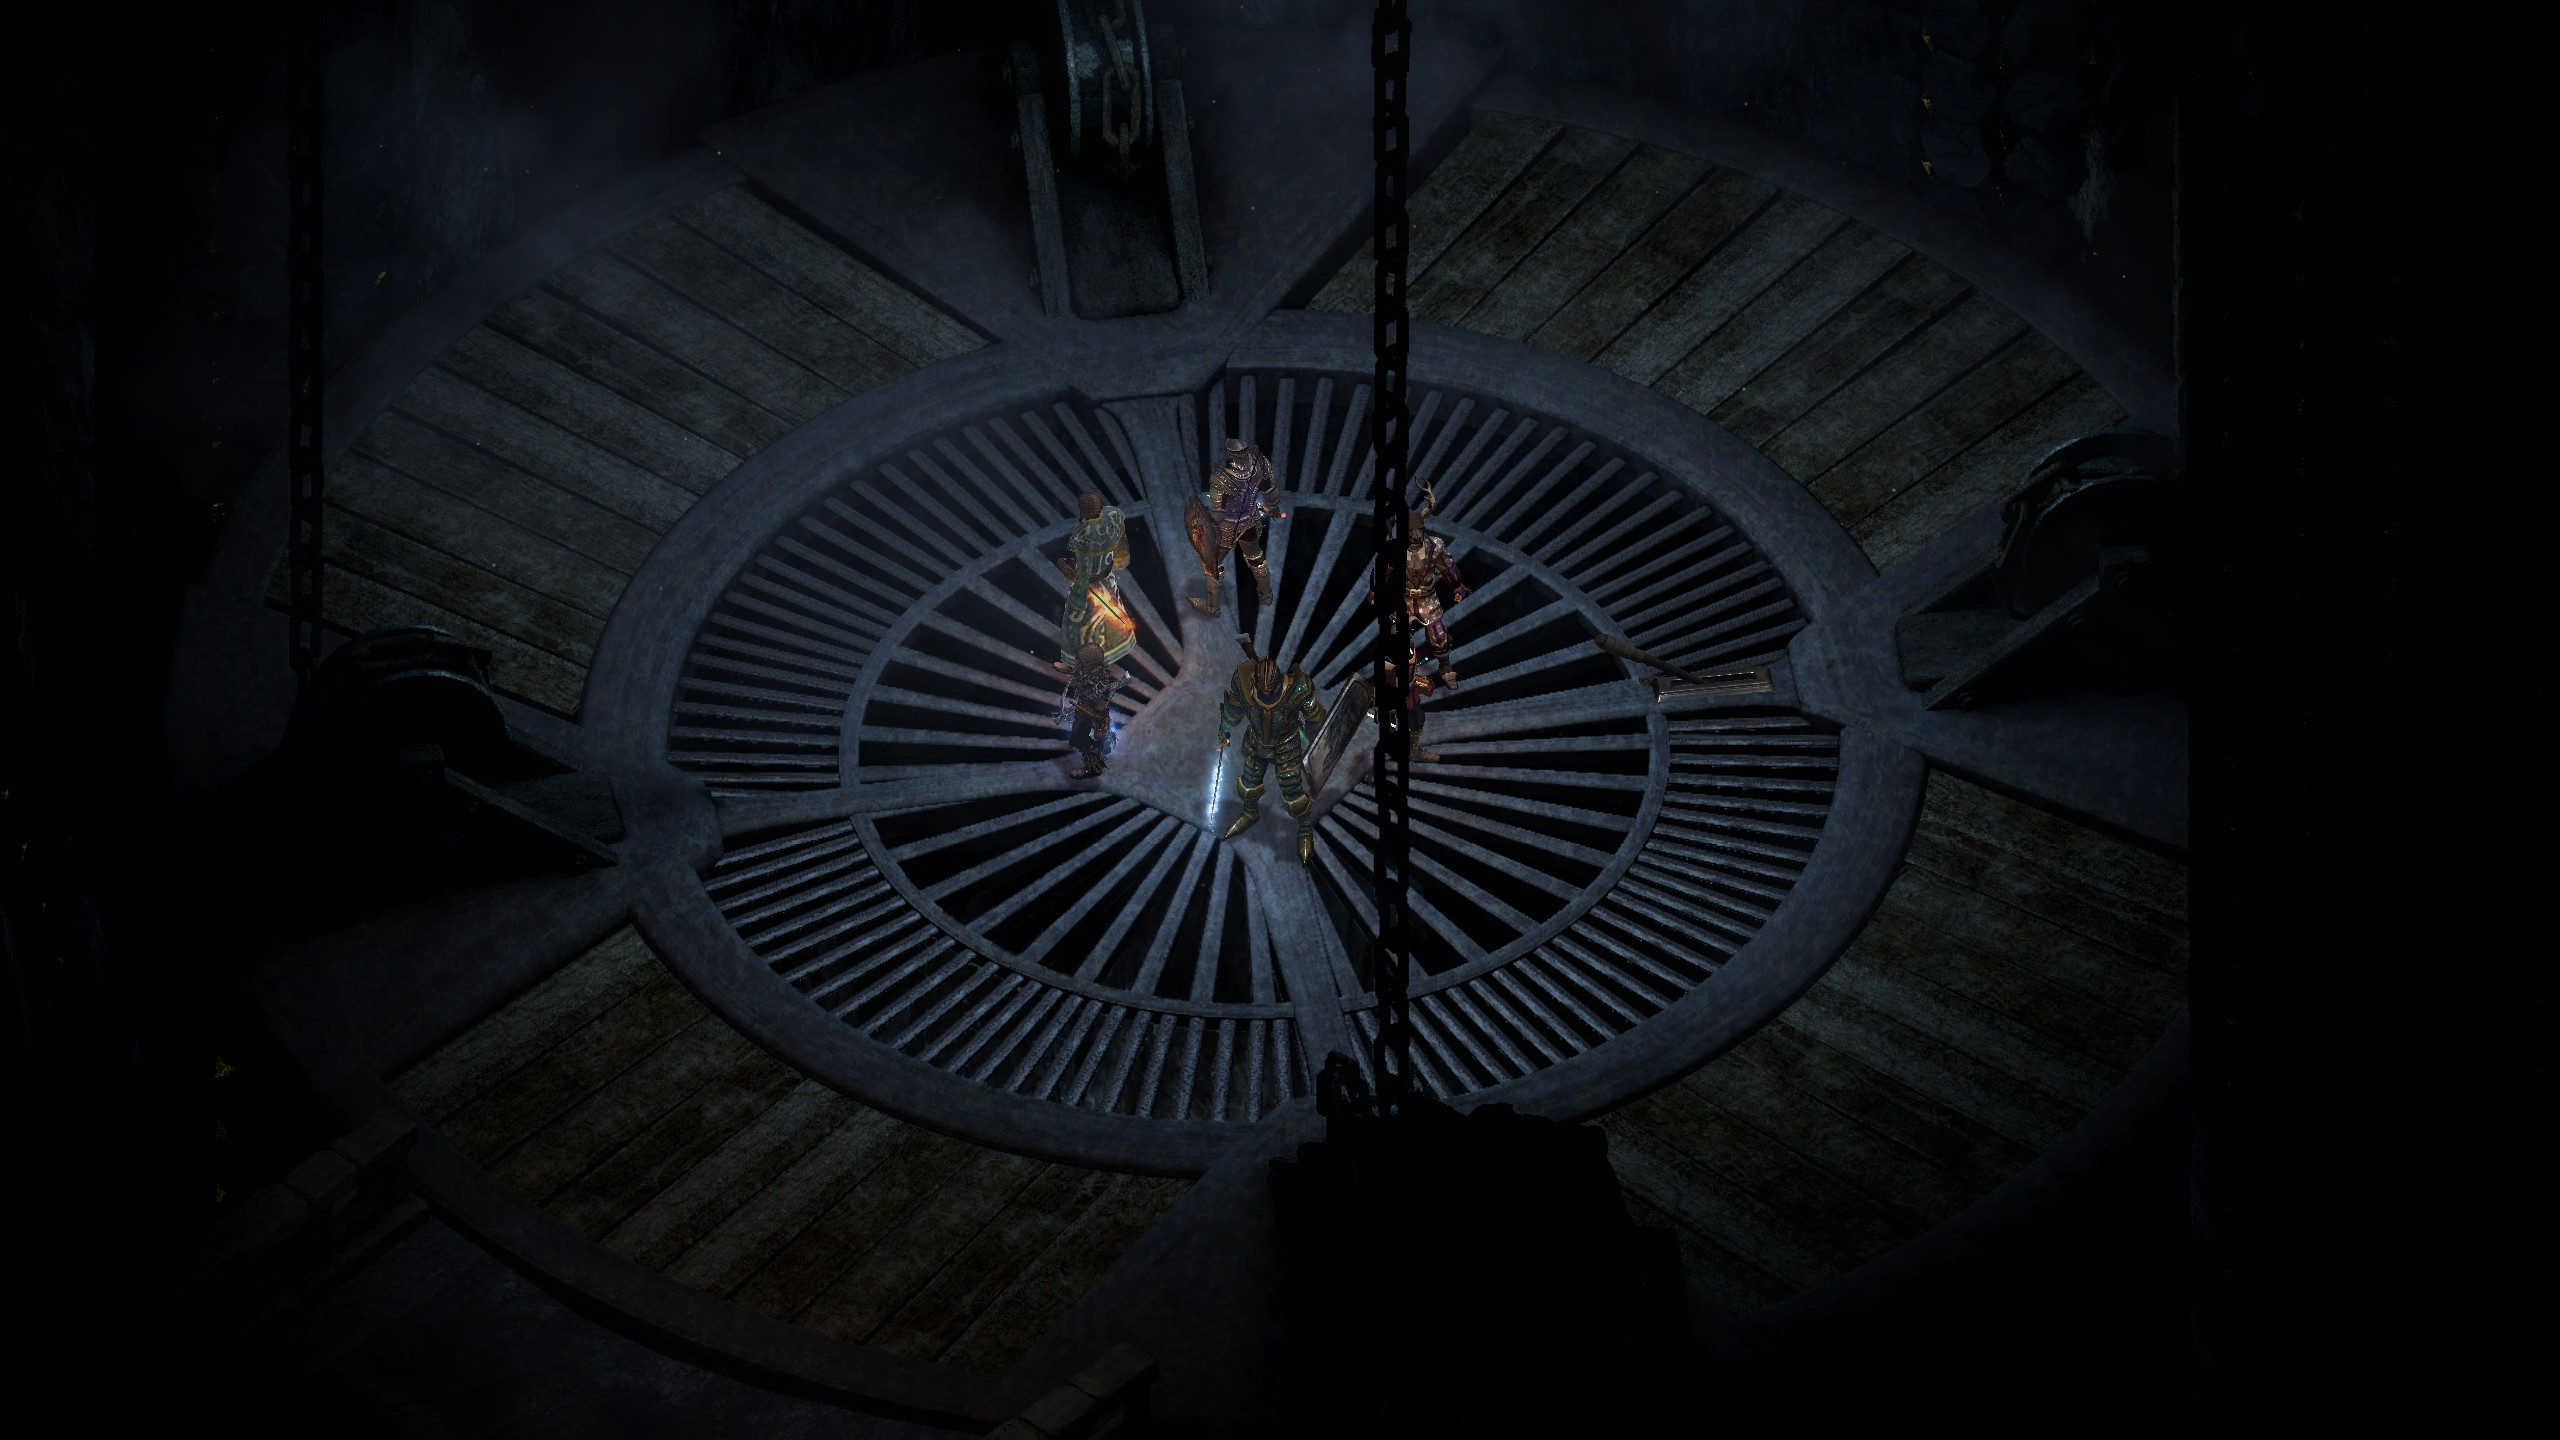
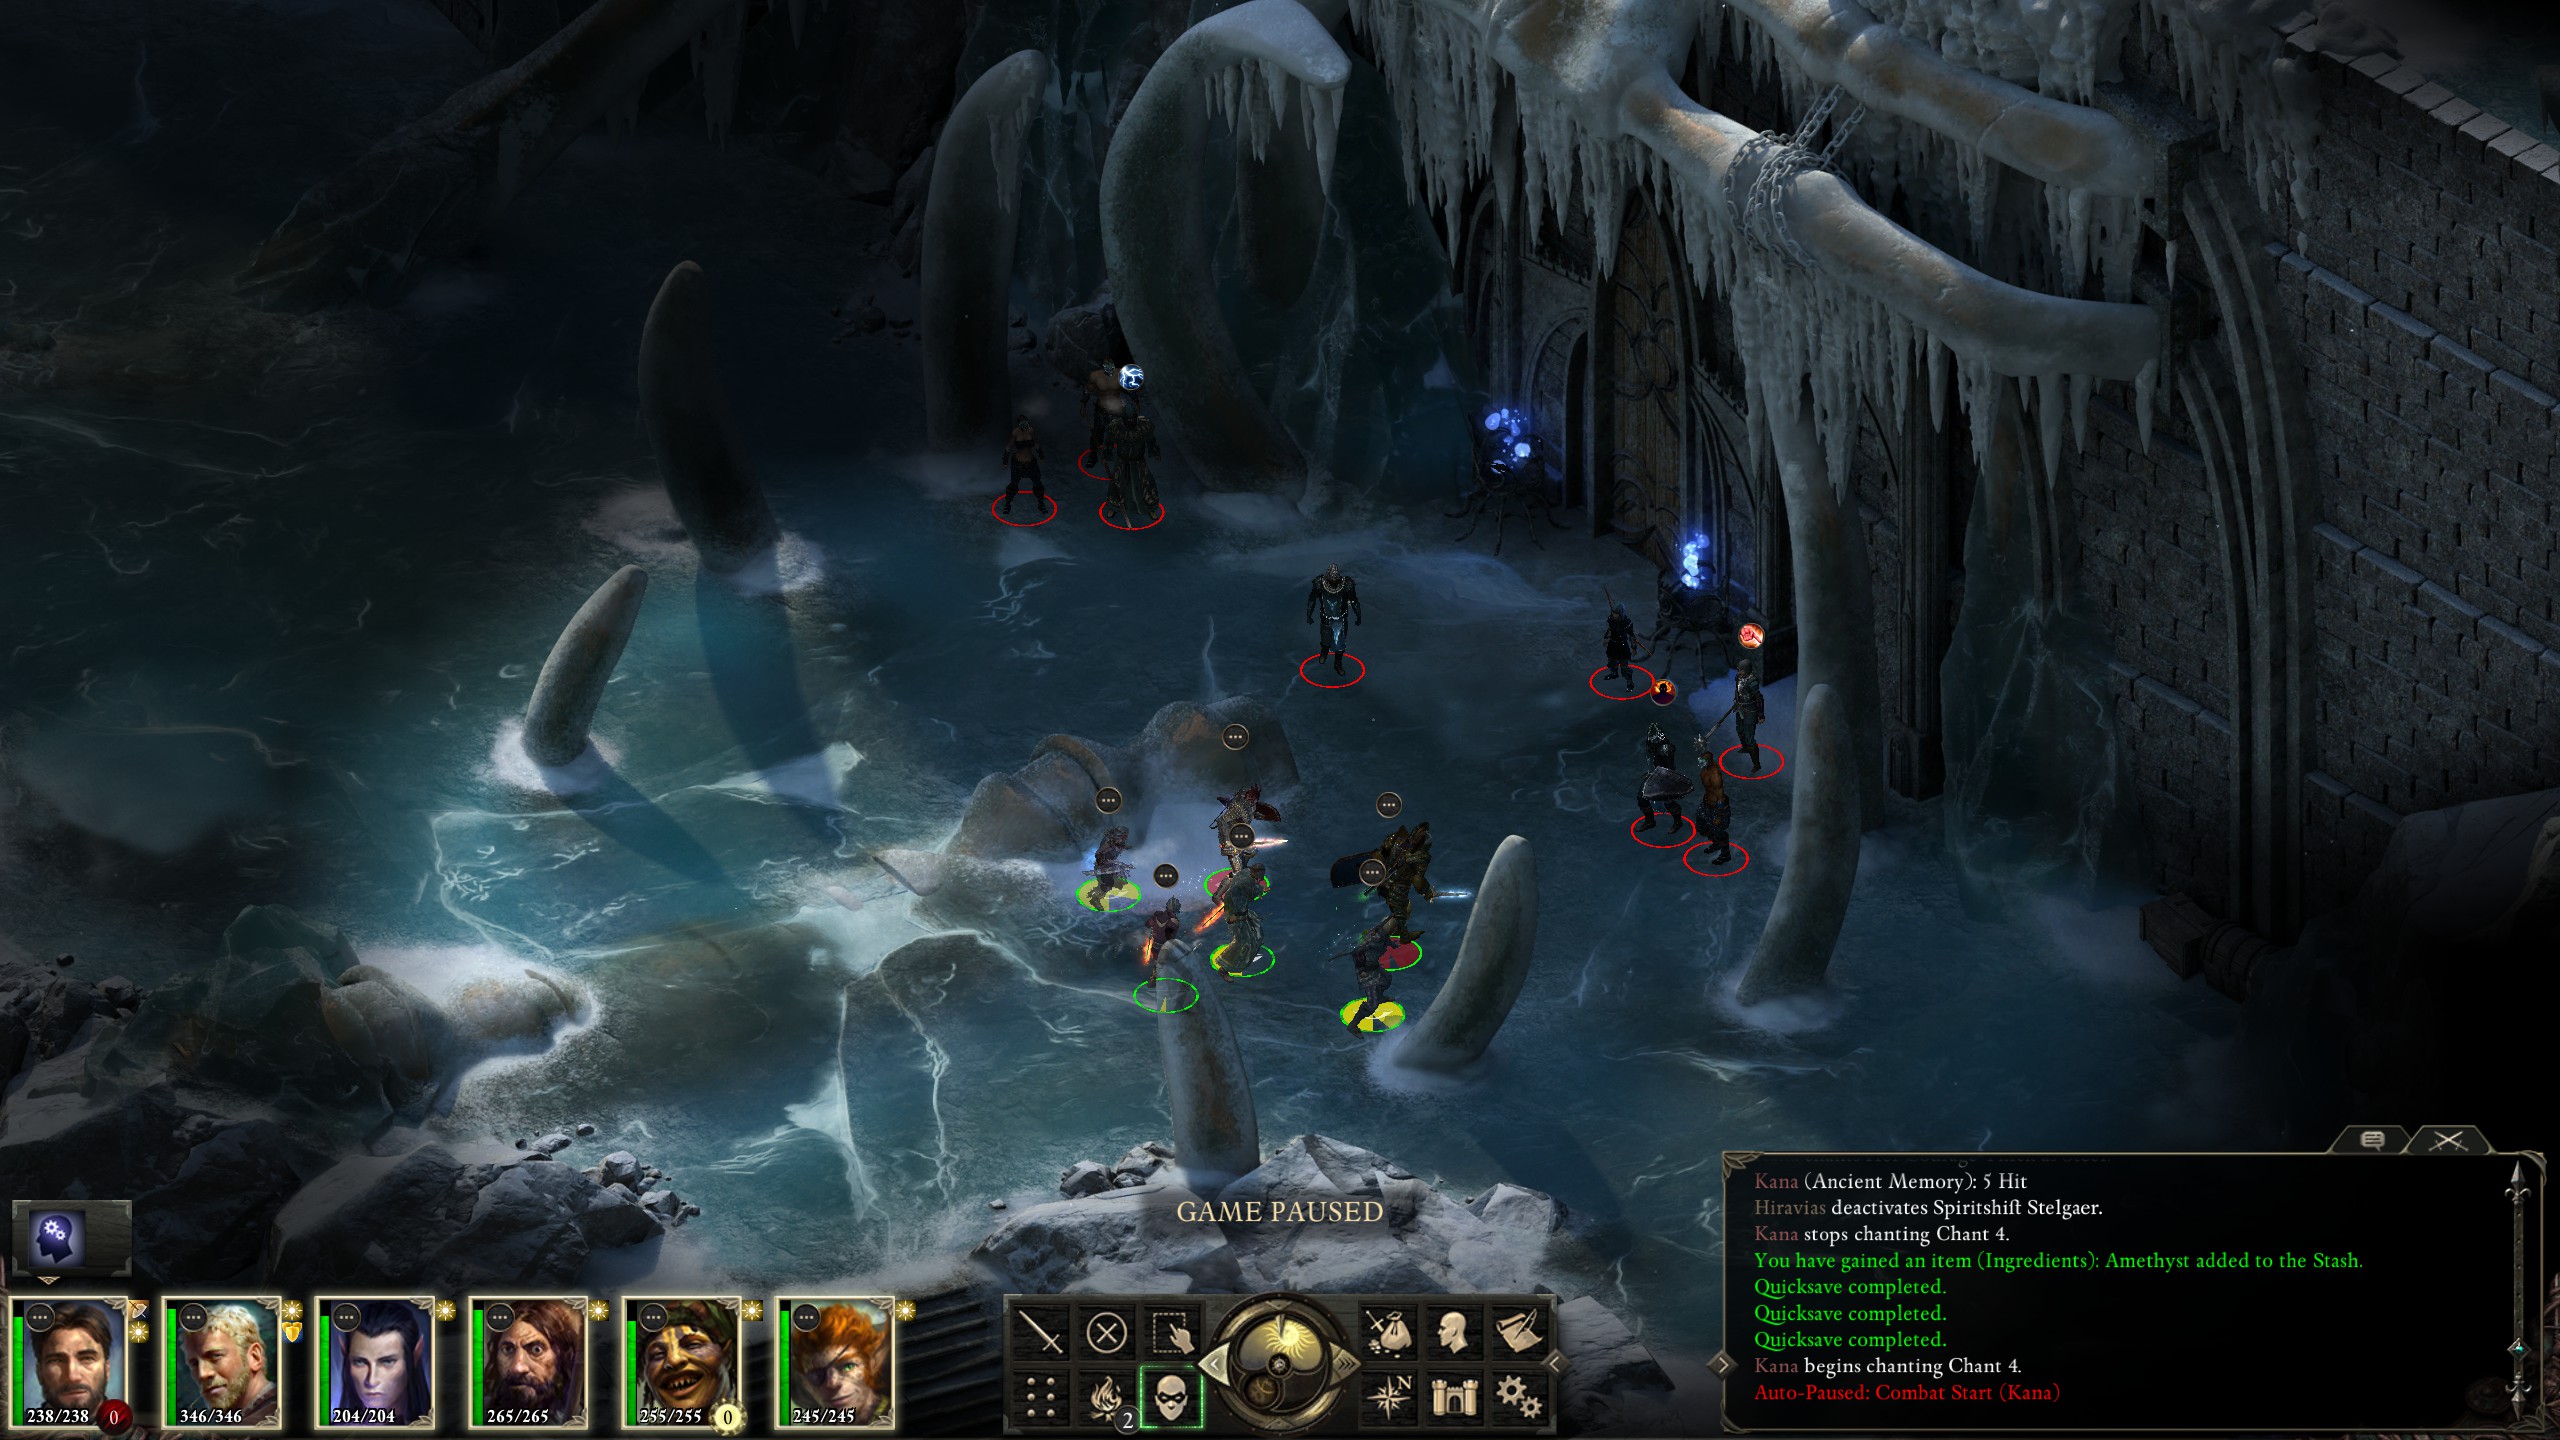
Before long I made it to the vithrack colony, where the vithrack brutes gave me a hard time by going straight for my squishy monk. It gave my monk plenty of wounds to retaliate with, though, when he wasn't being stun-locked. In the meantime Durance had to use “Prayer Against Treachery” to prevent half of my team turning against itself.
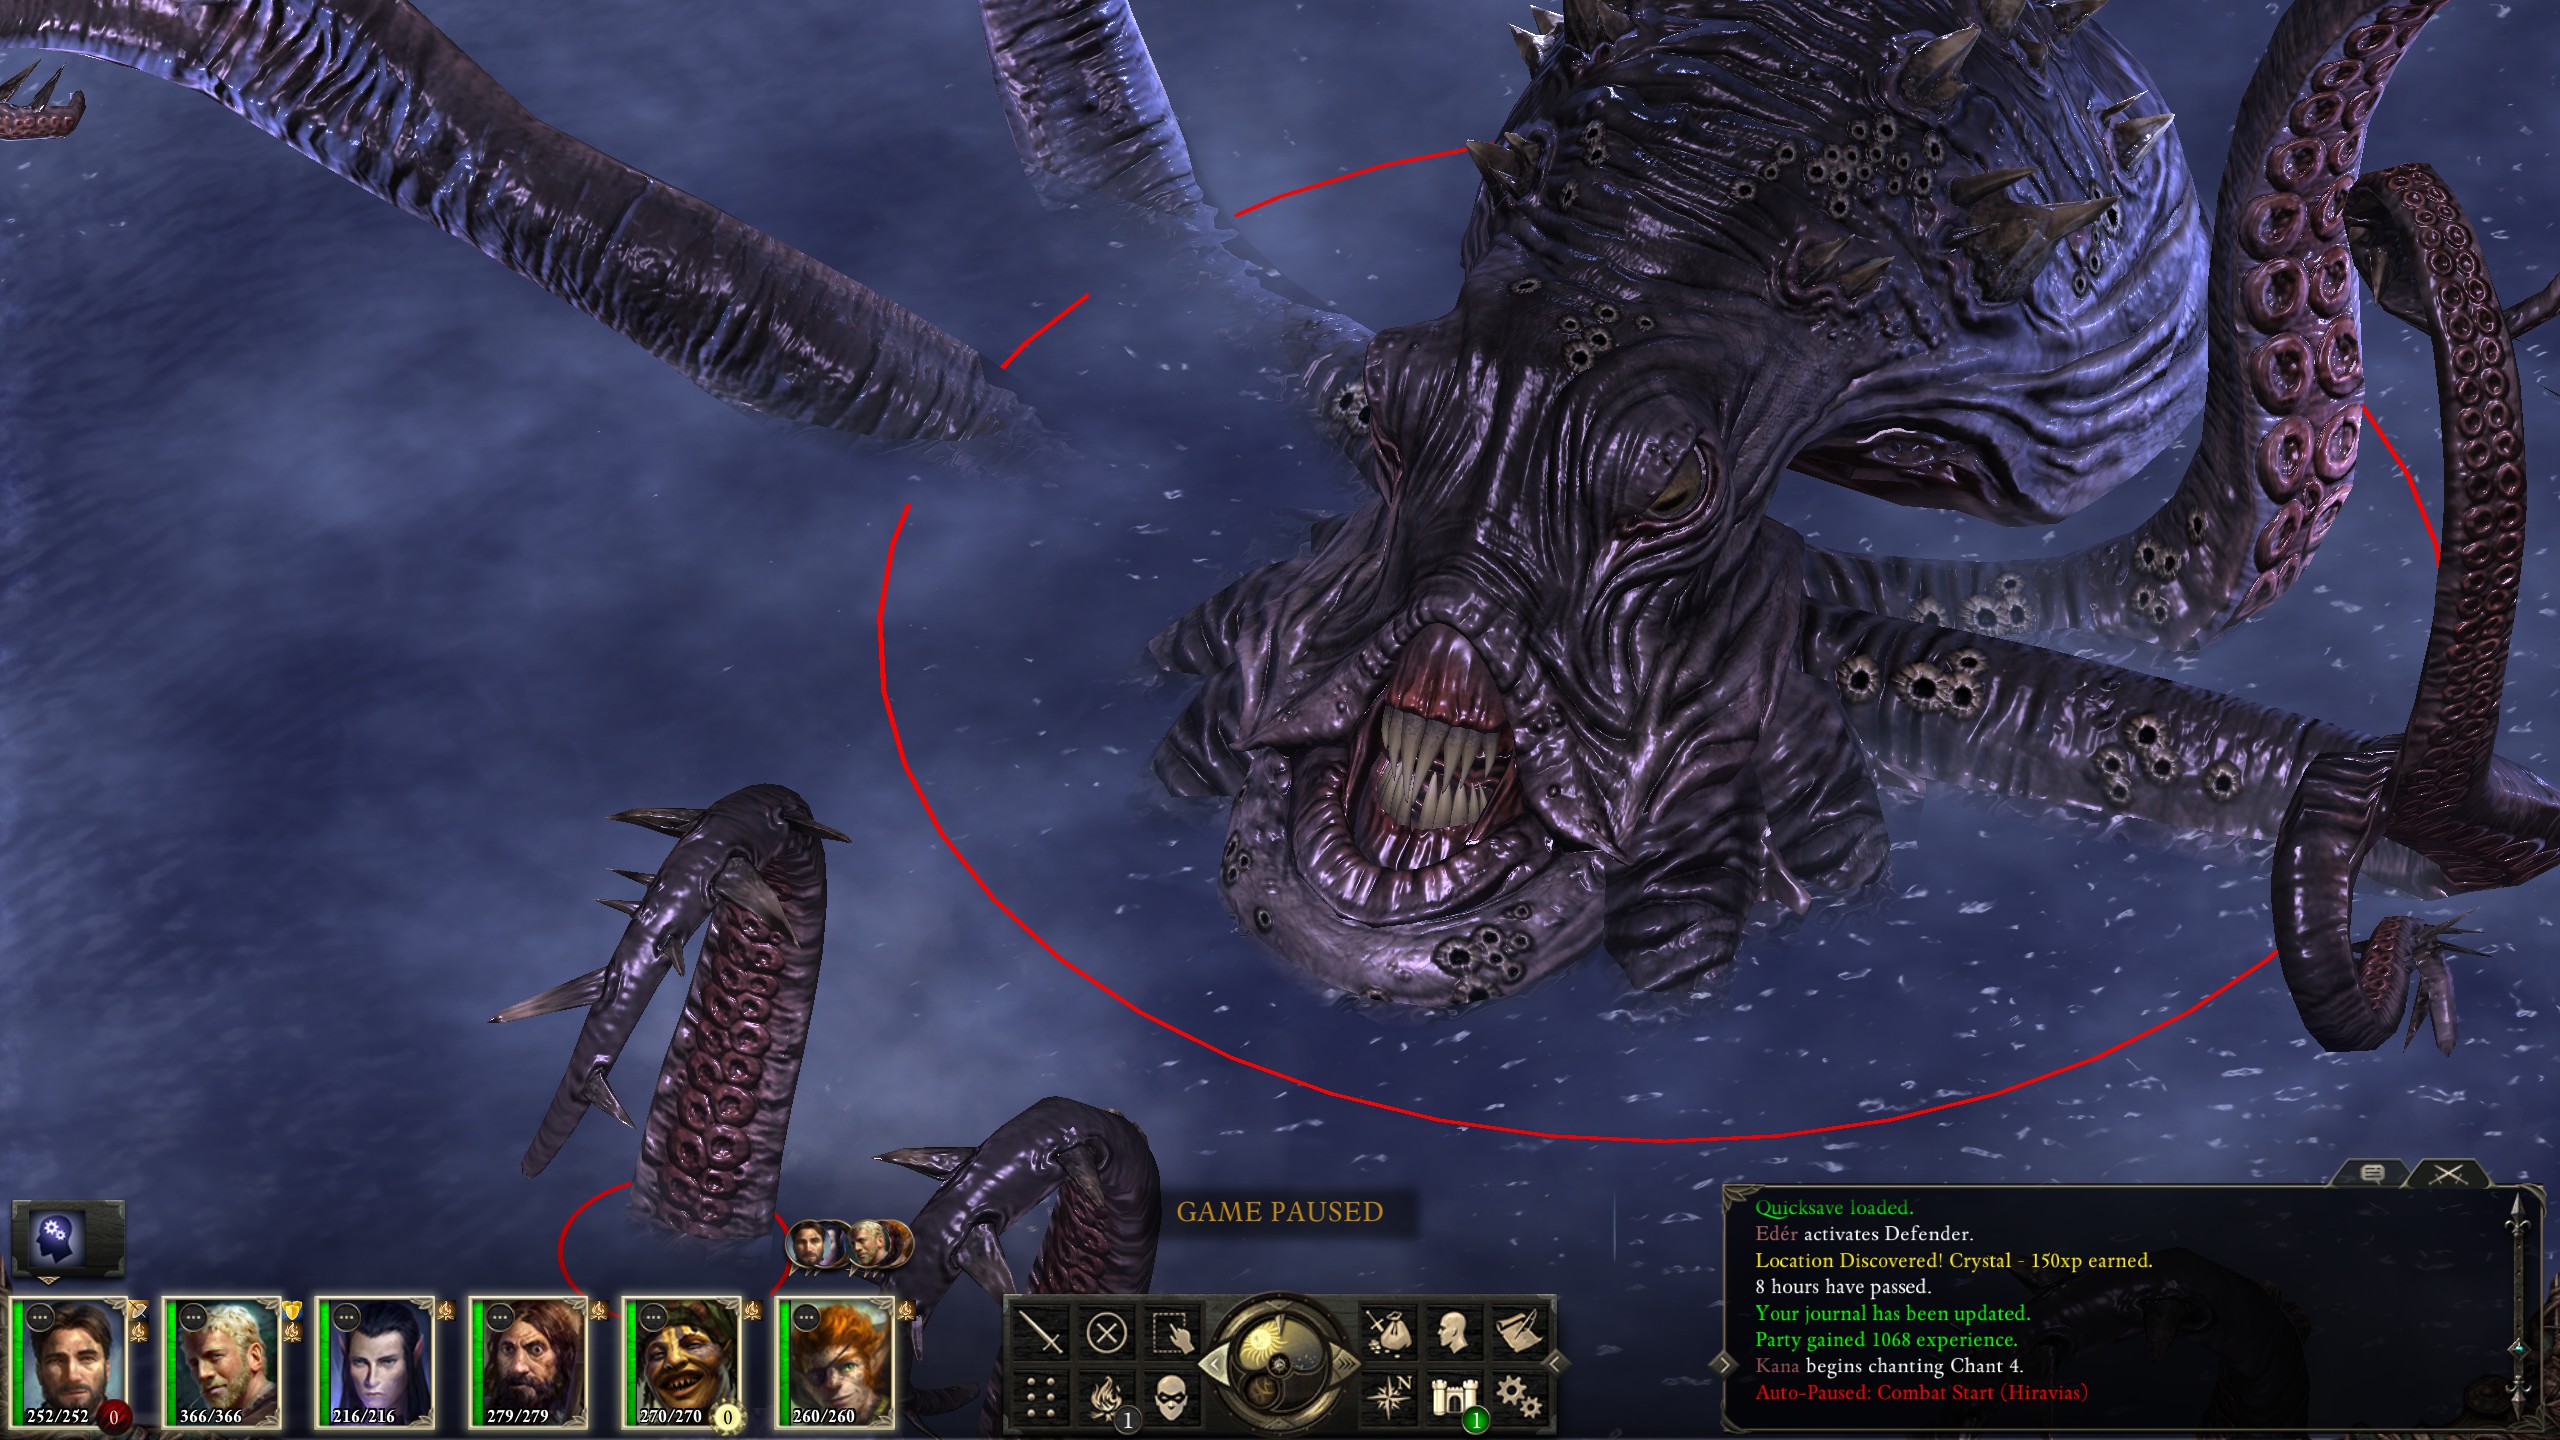
After battling through the chambers I finally made it into the giant spore boss in the commons.
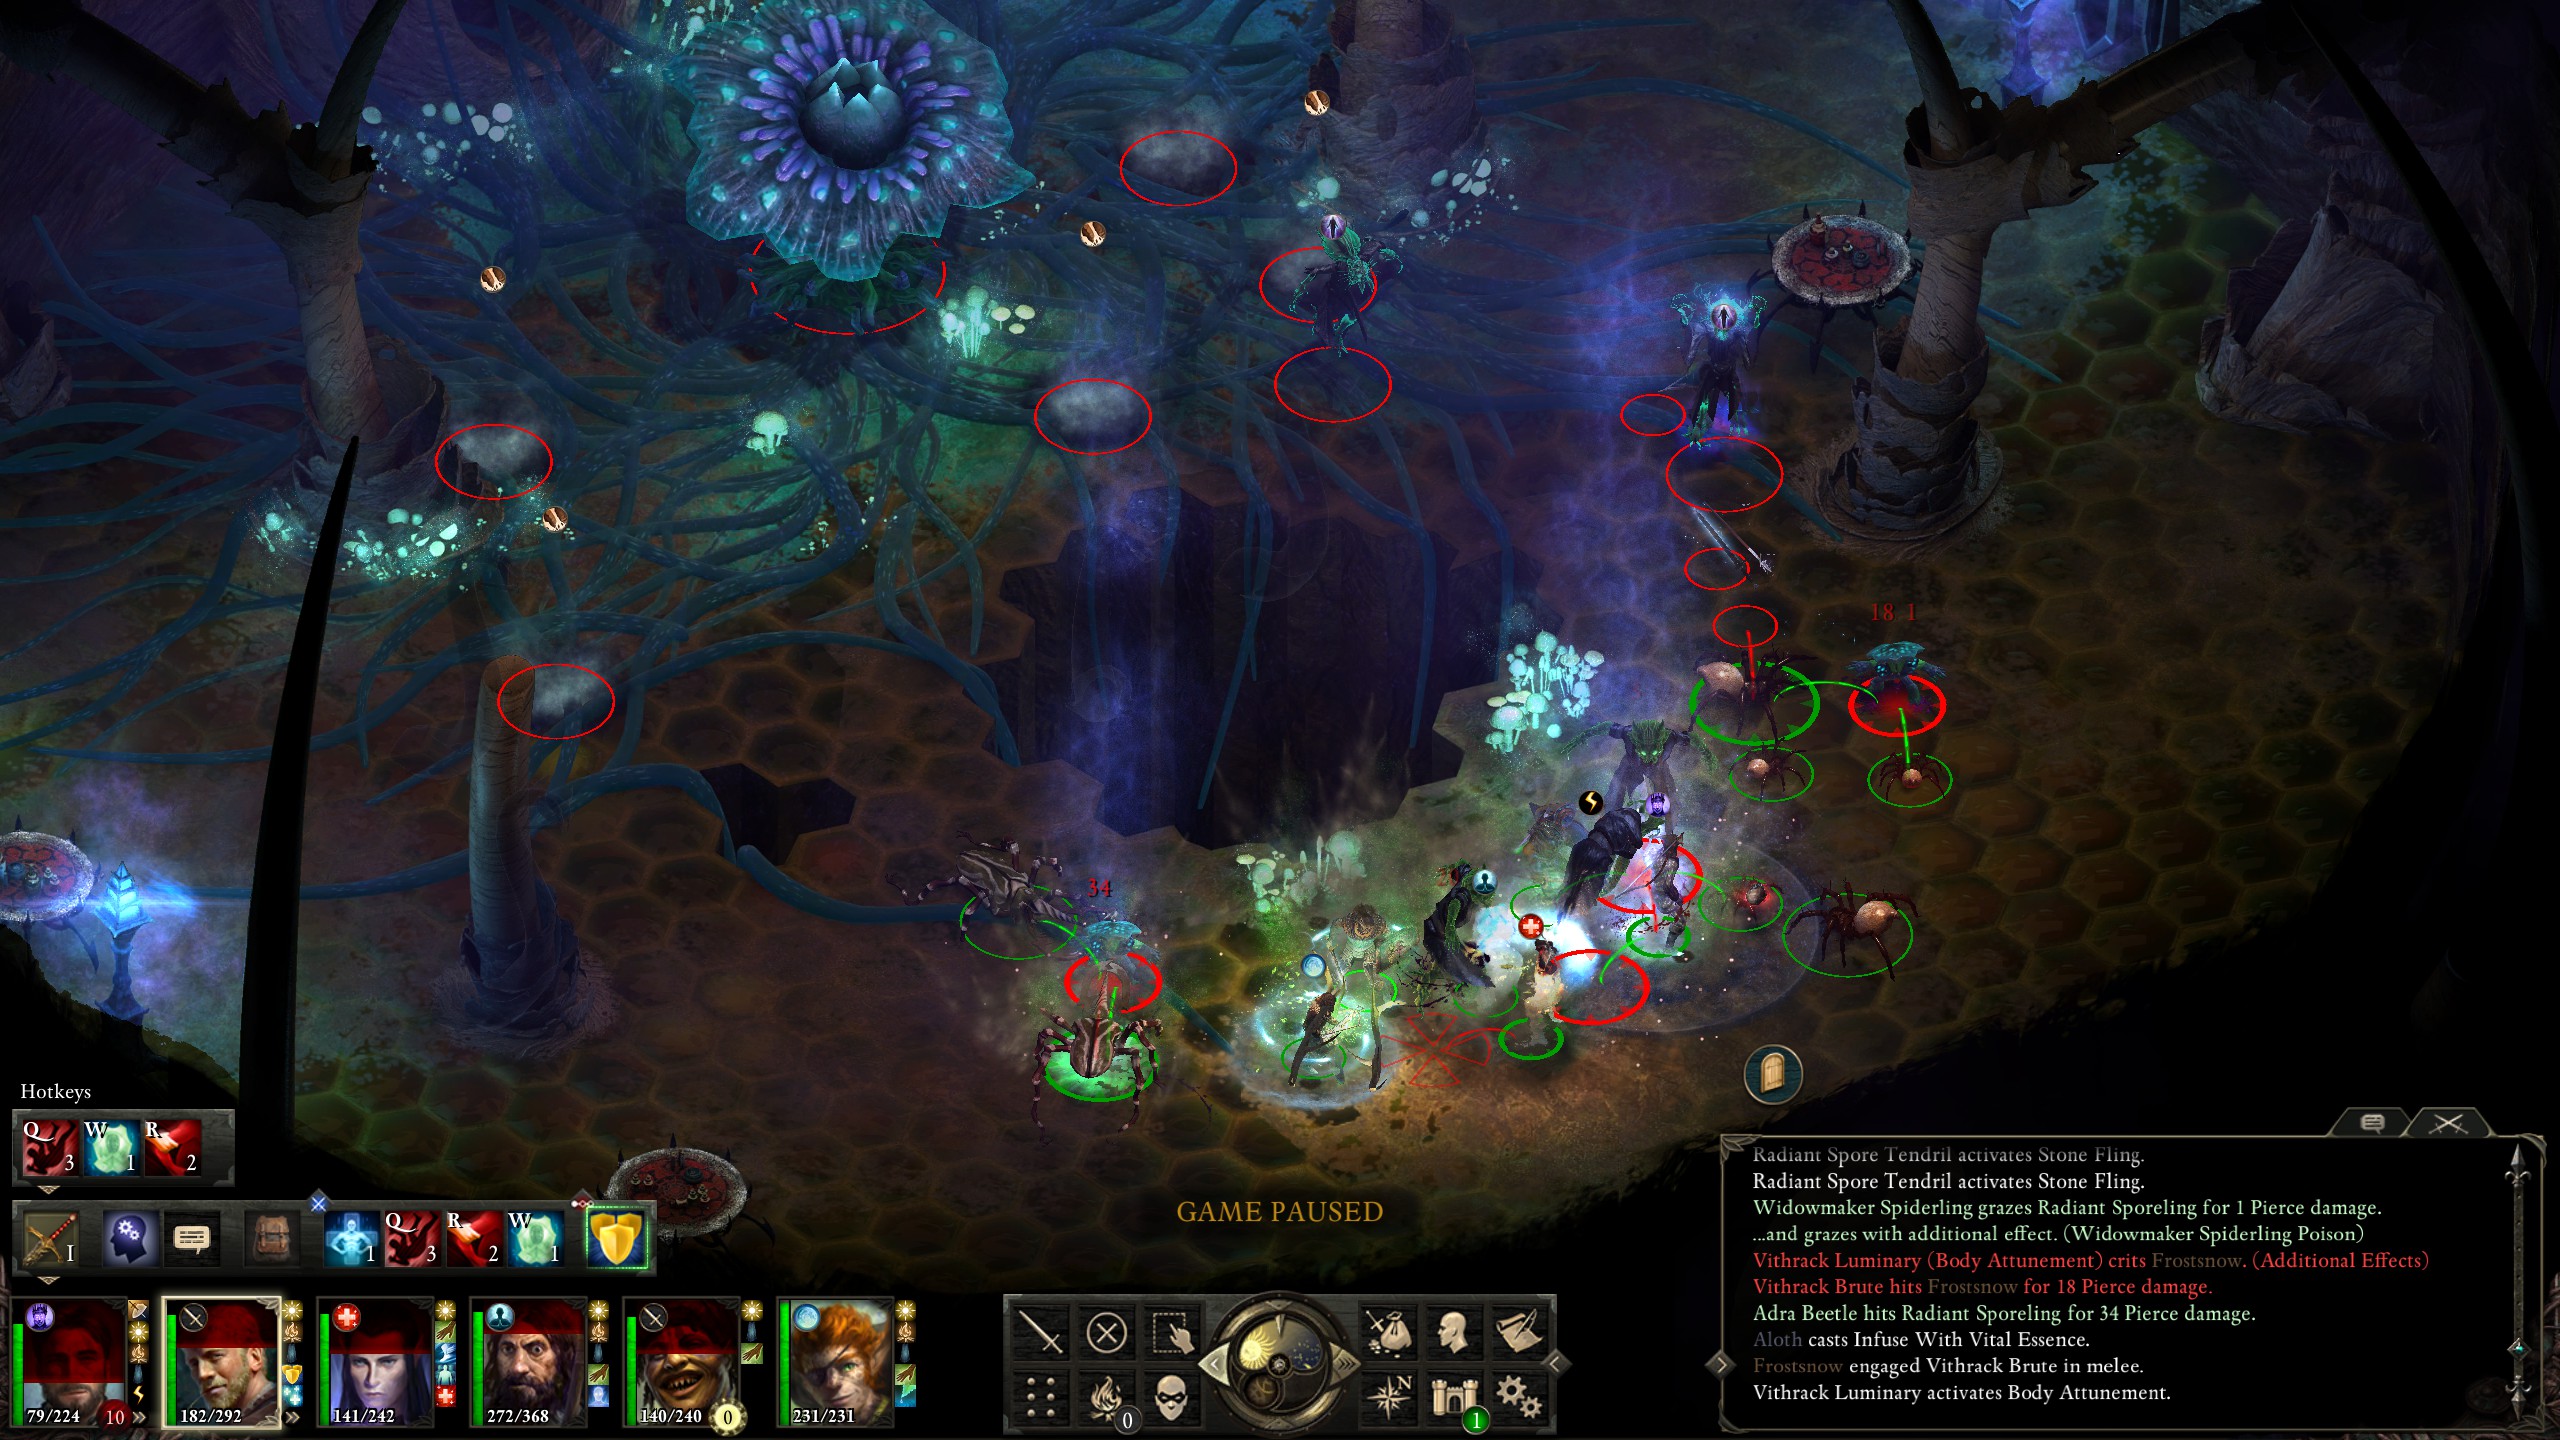
Like the vithrack brutes from earlier, the boss intelligently had all of its tentacles sling rocks at the same, weak target. Unintelligently, though, the boss attacked the temporary allies that I summoned with trinkets, leaving my monk free to deal massive damage.
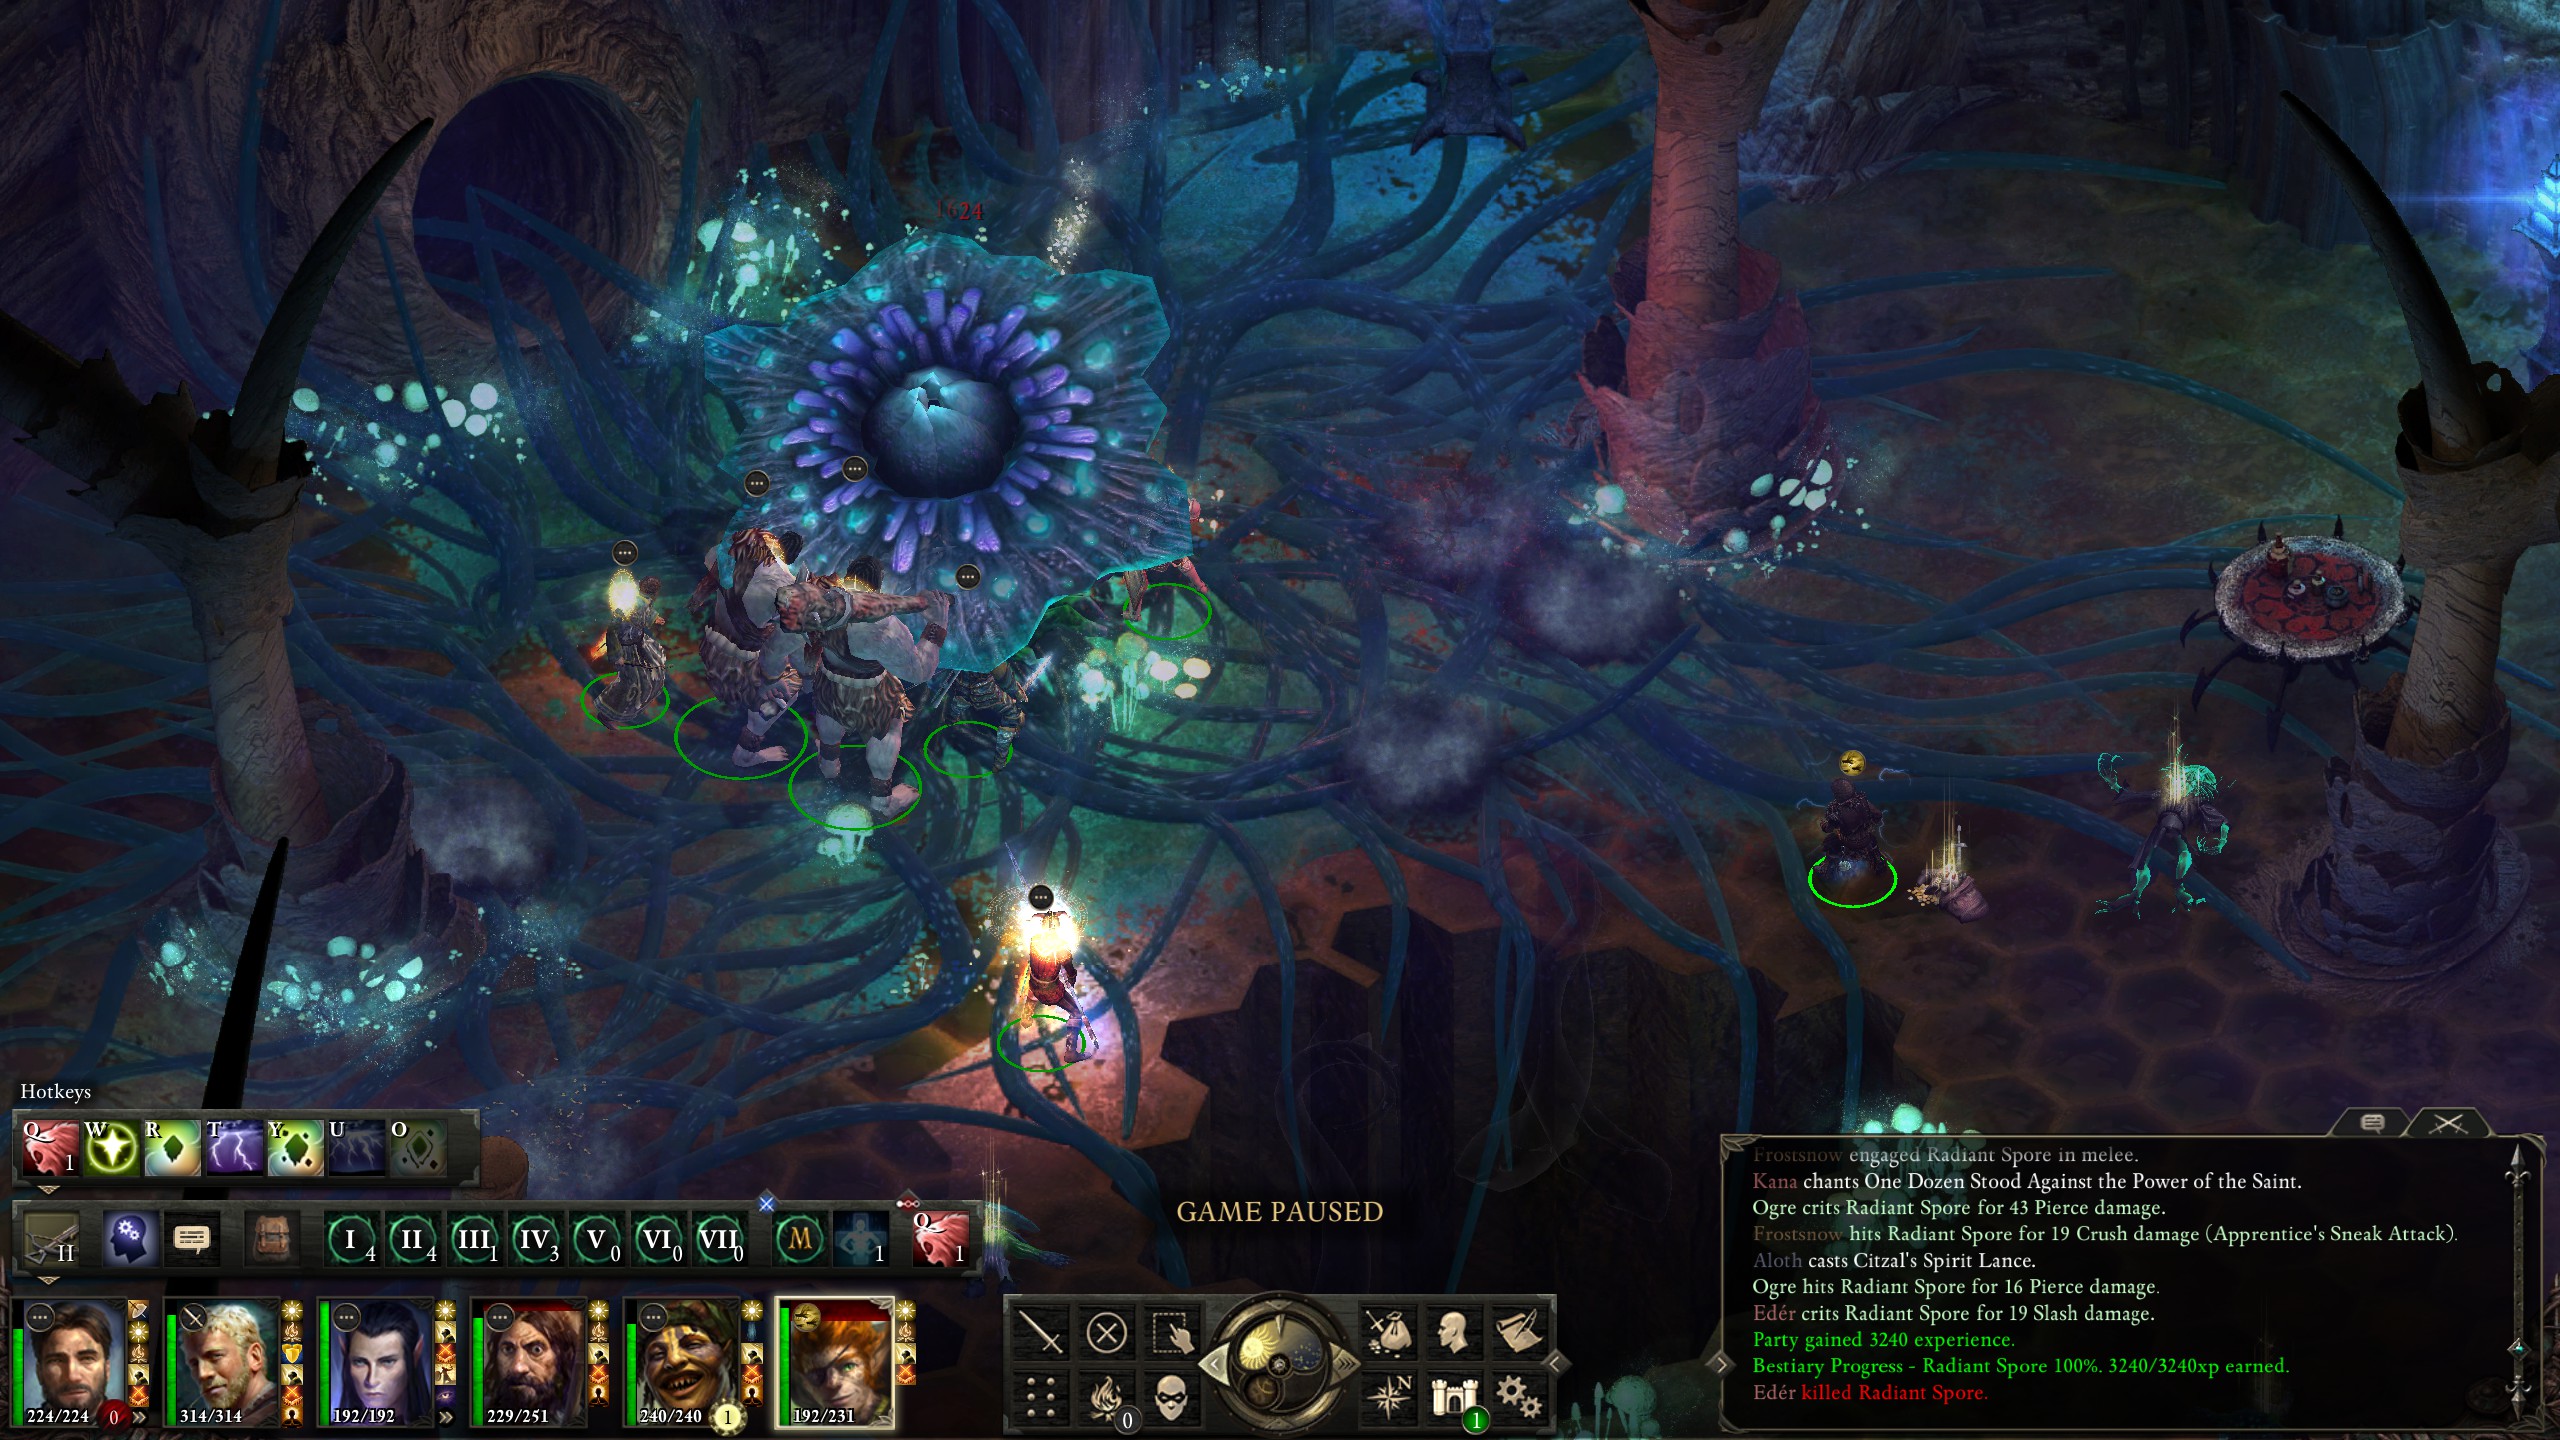
I thus slowly pushed my way through the adds and took out the boss without much trouble. With the mines cleared, I then headed to Durgan's Battery in order to clear out the cannon tower.
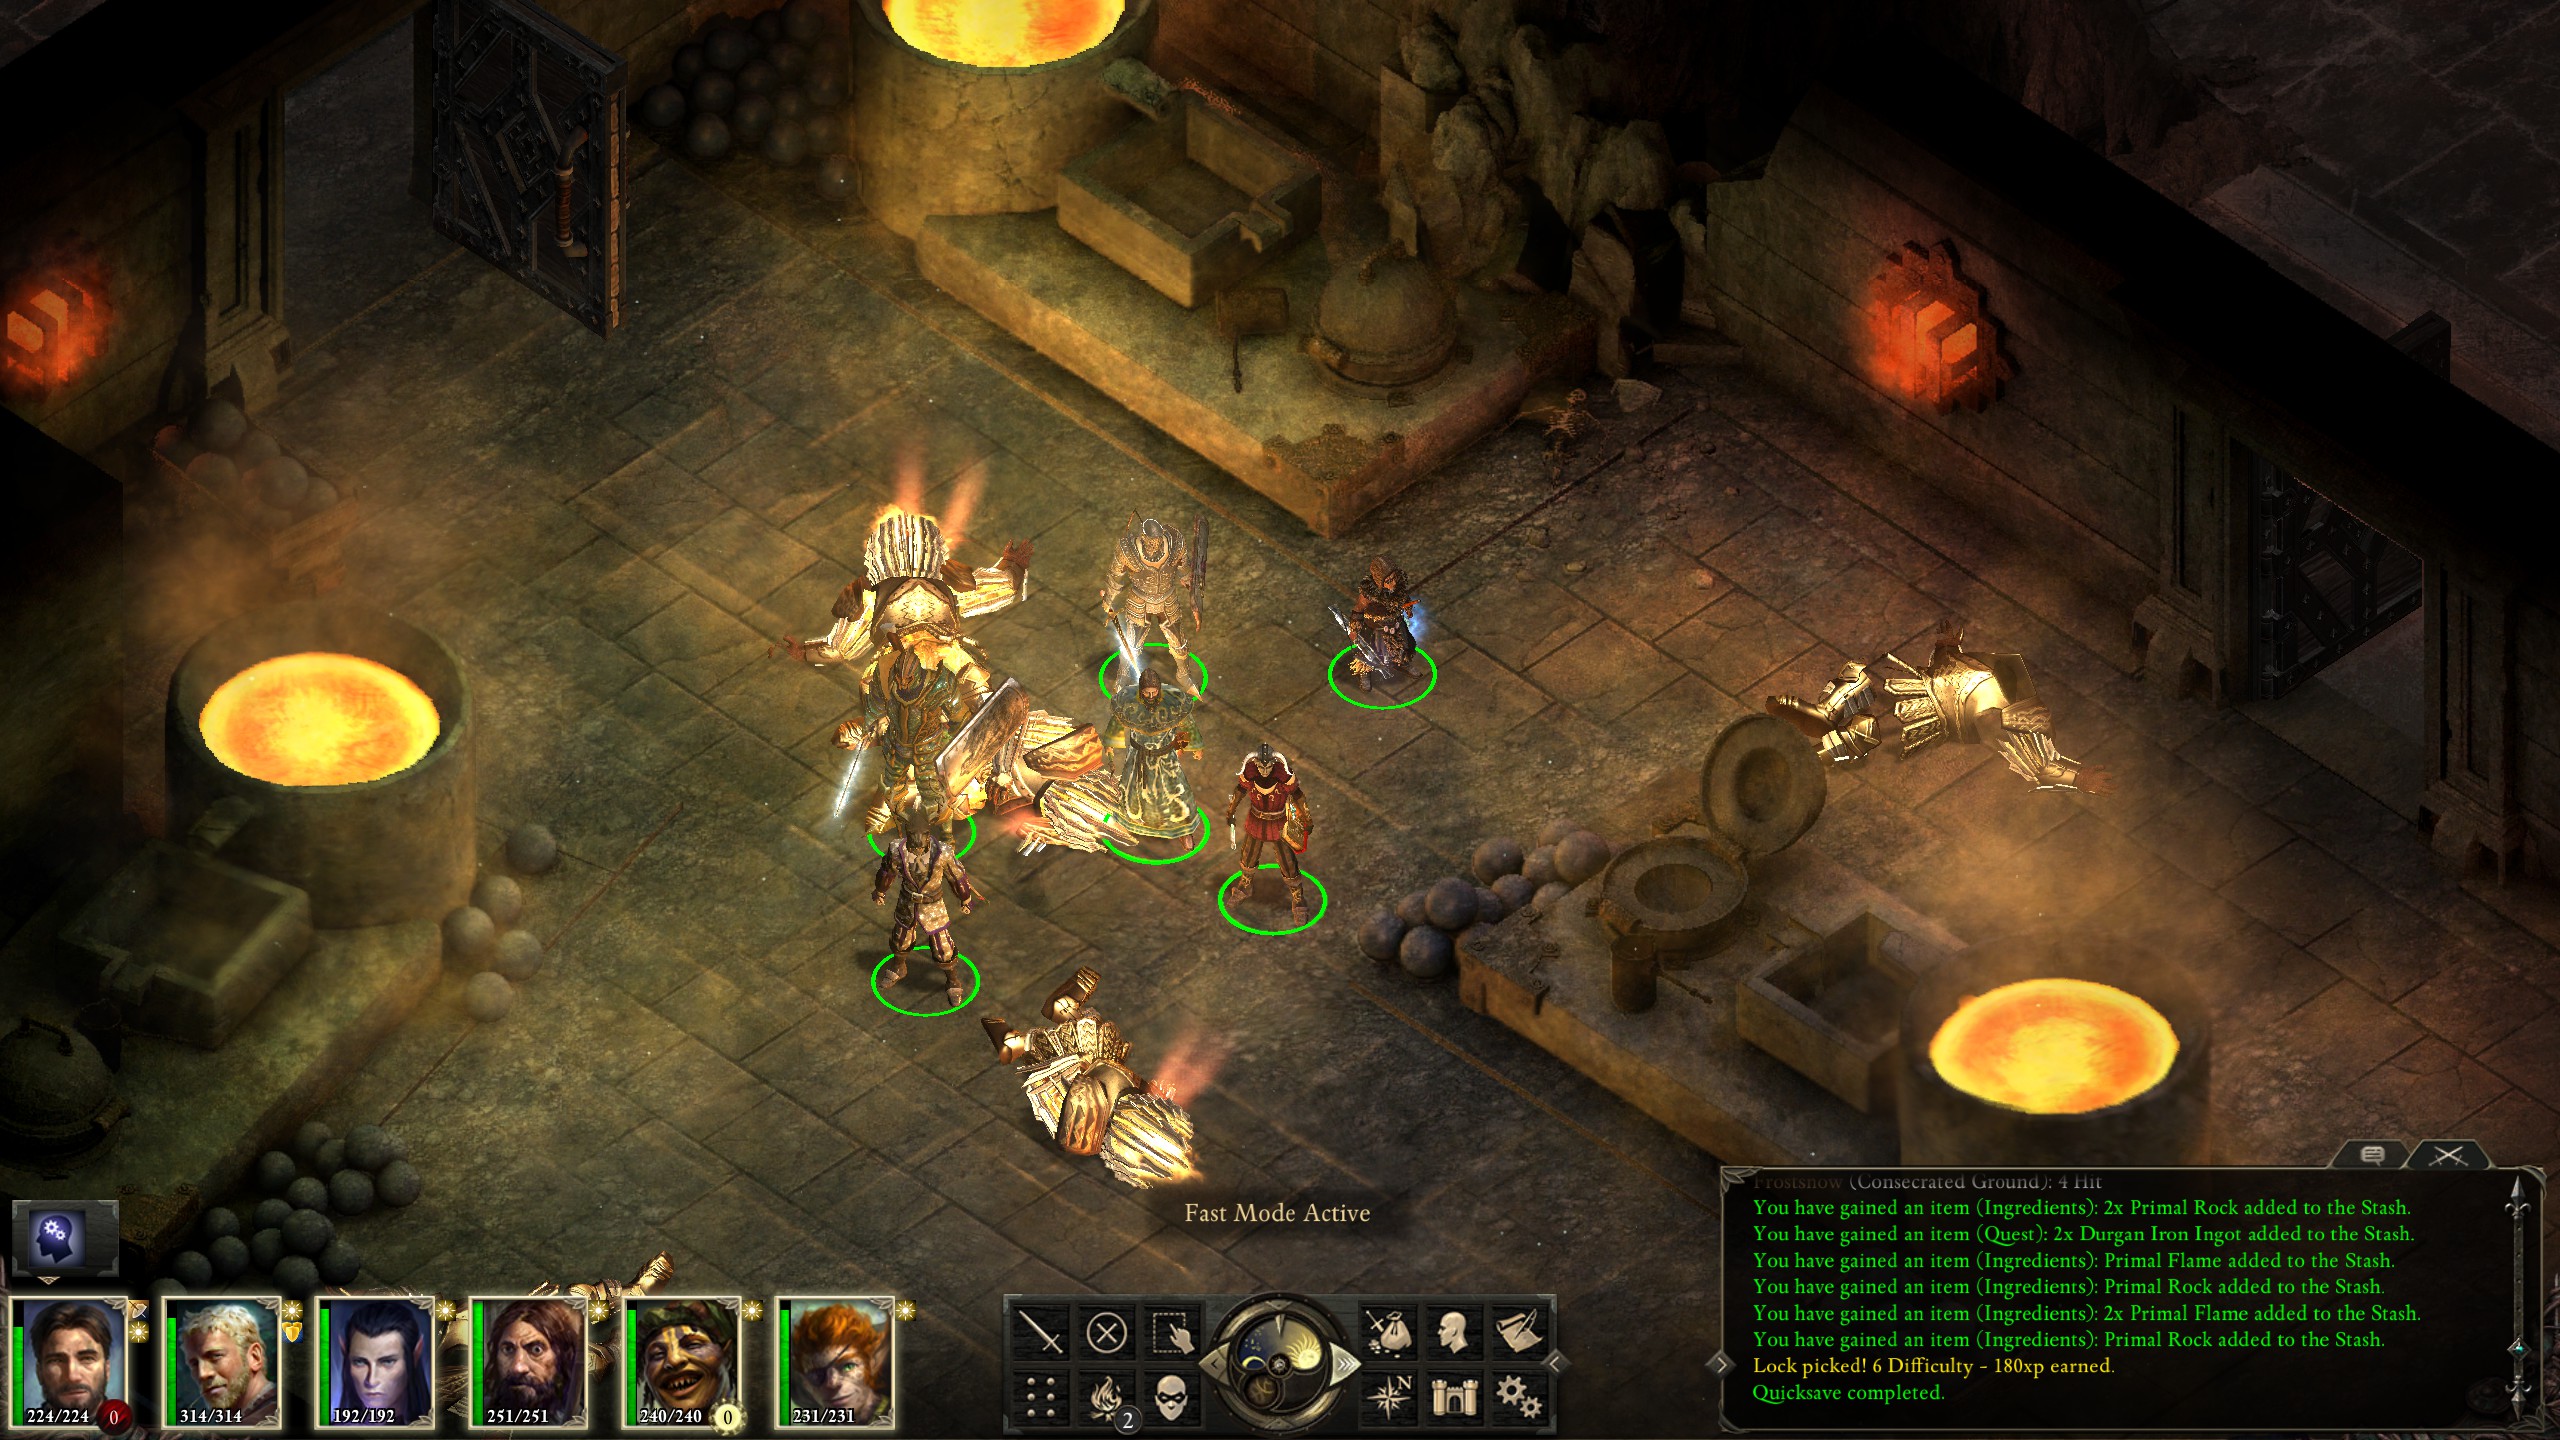
After clearing the first floor I then gathered the items to repair the elevator and headed towards the cannons up top.
Once up top I cleared out the skuldrak and thawed out the cannons.
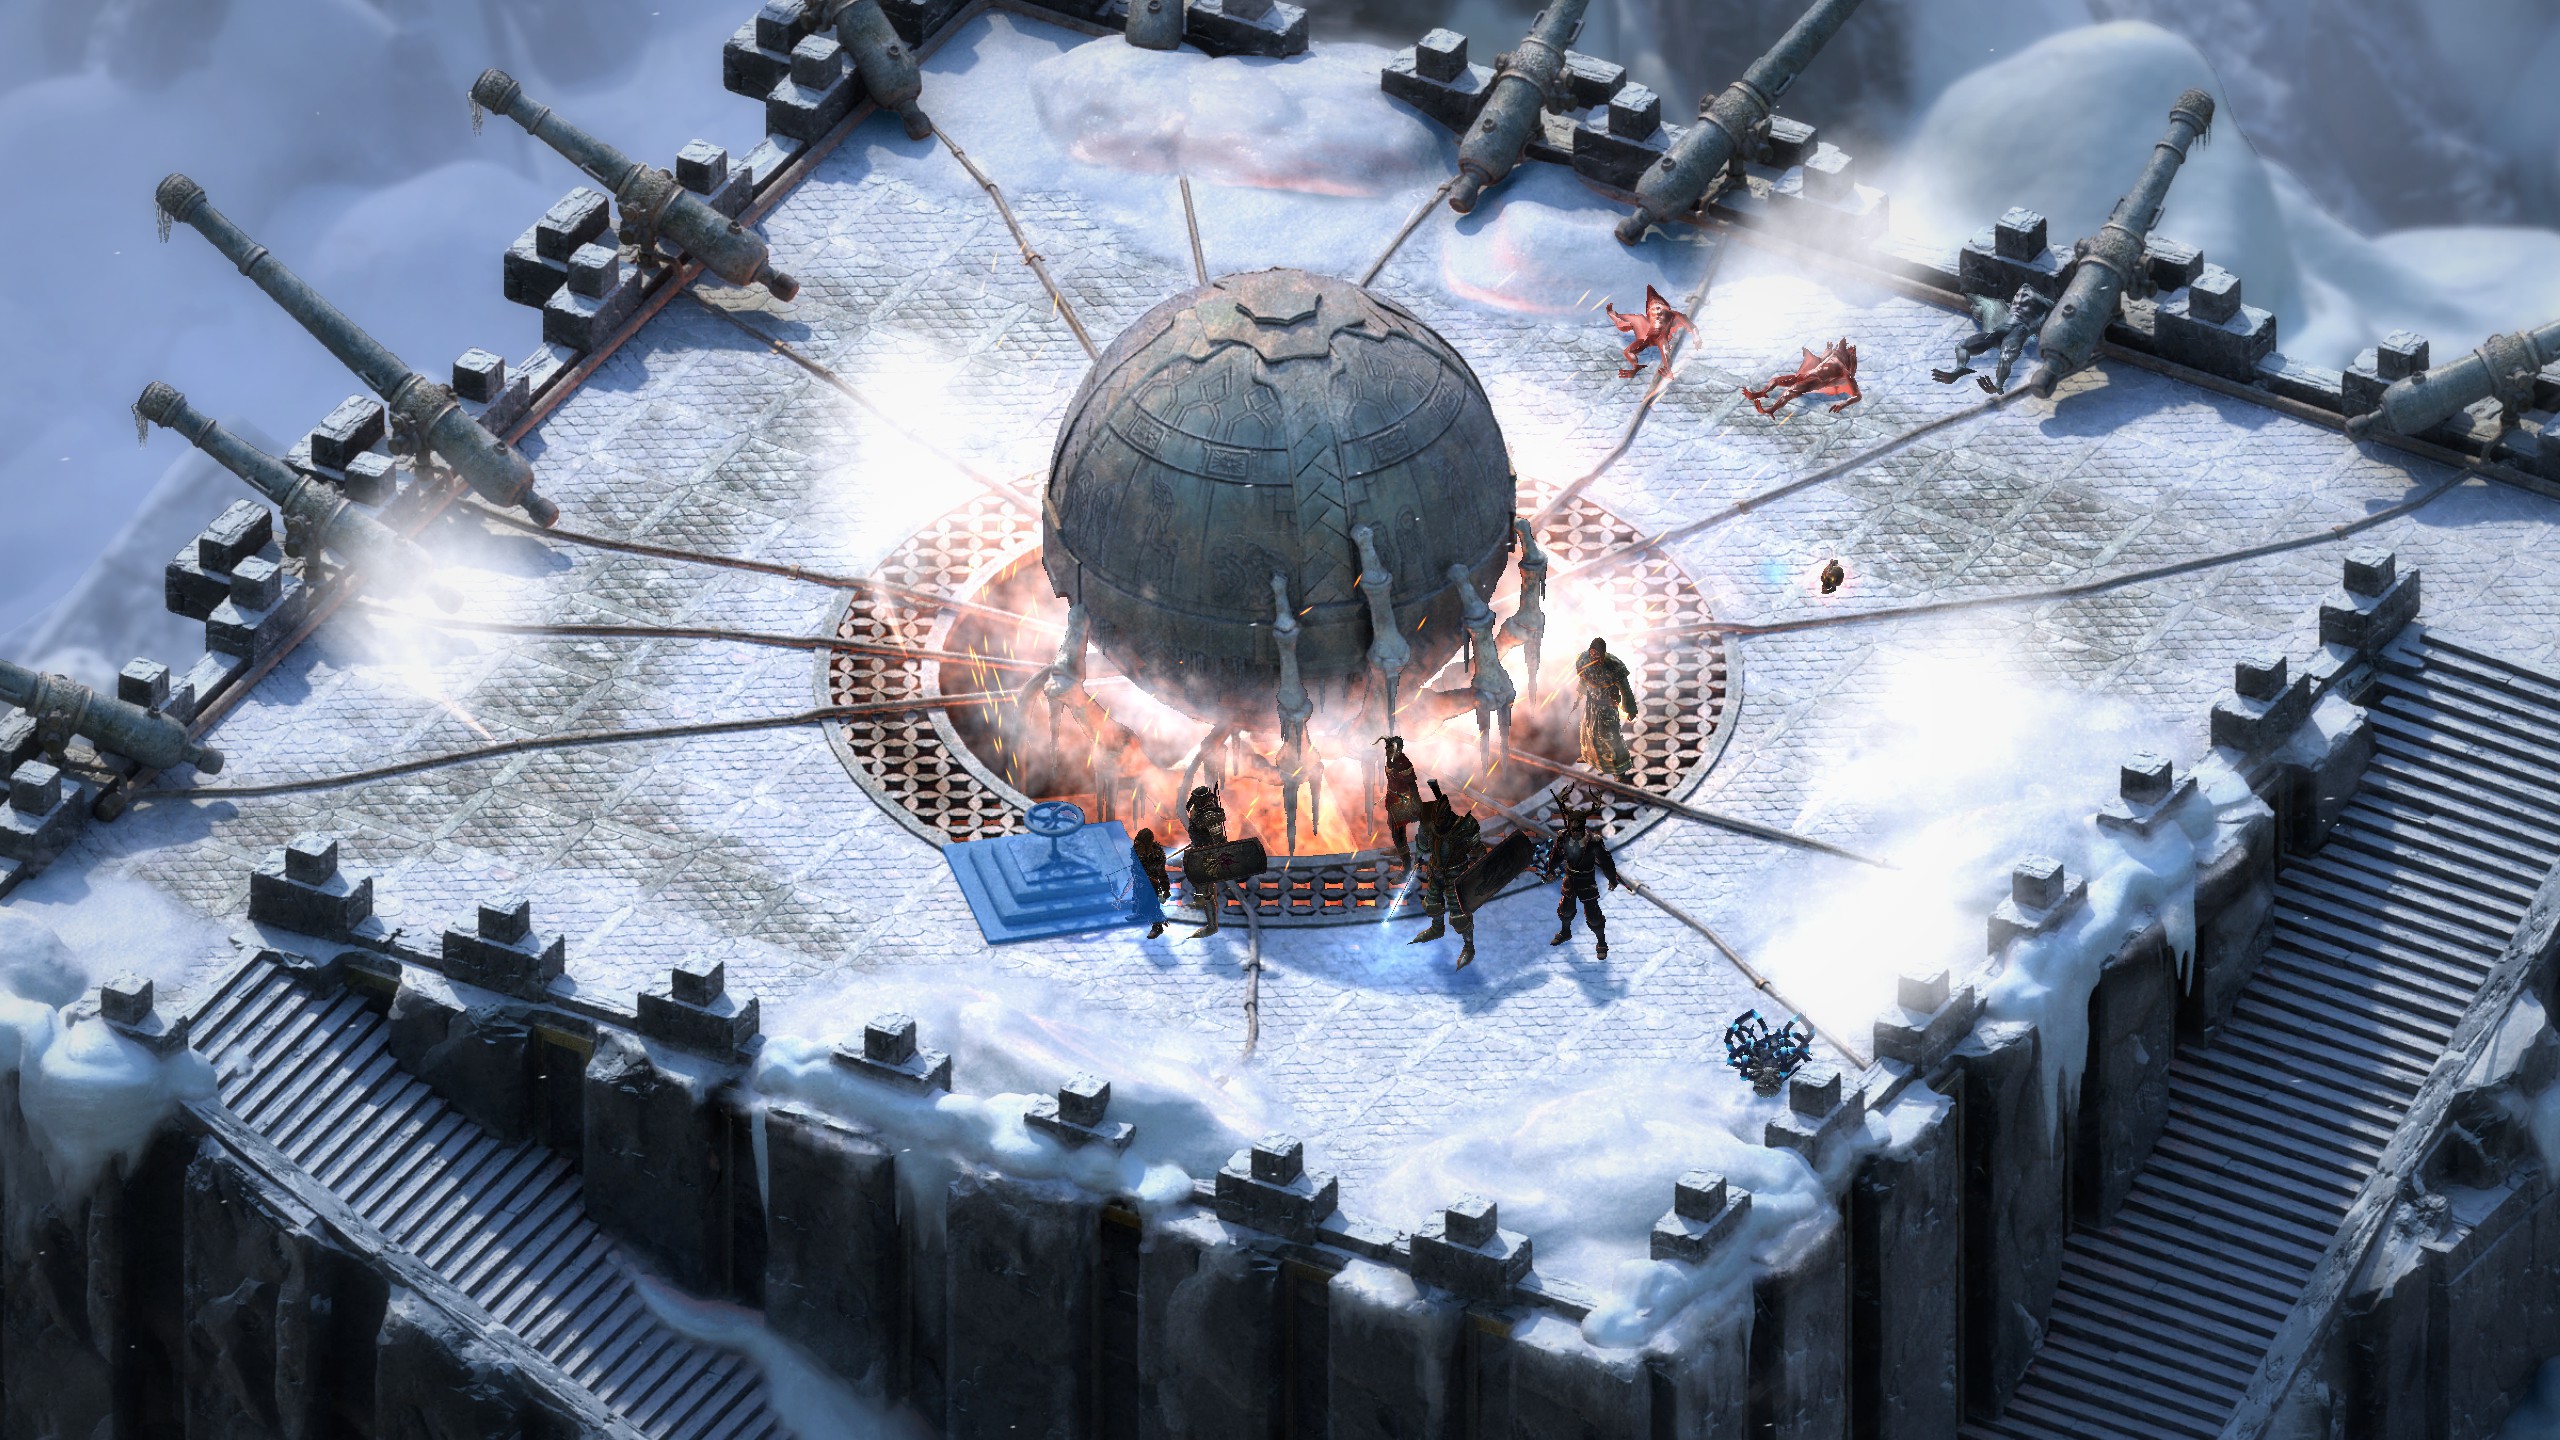
Easy enough, and the work would prove valuable later when I went to Iron Flail Fort. Before that, though, I wanted to run the last of the bounty quests and also clear out the new wilderness area.
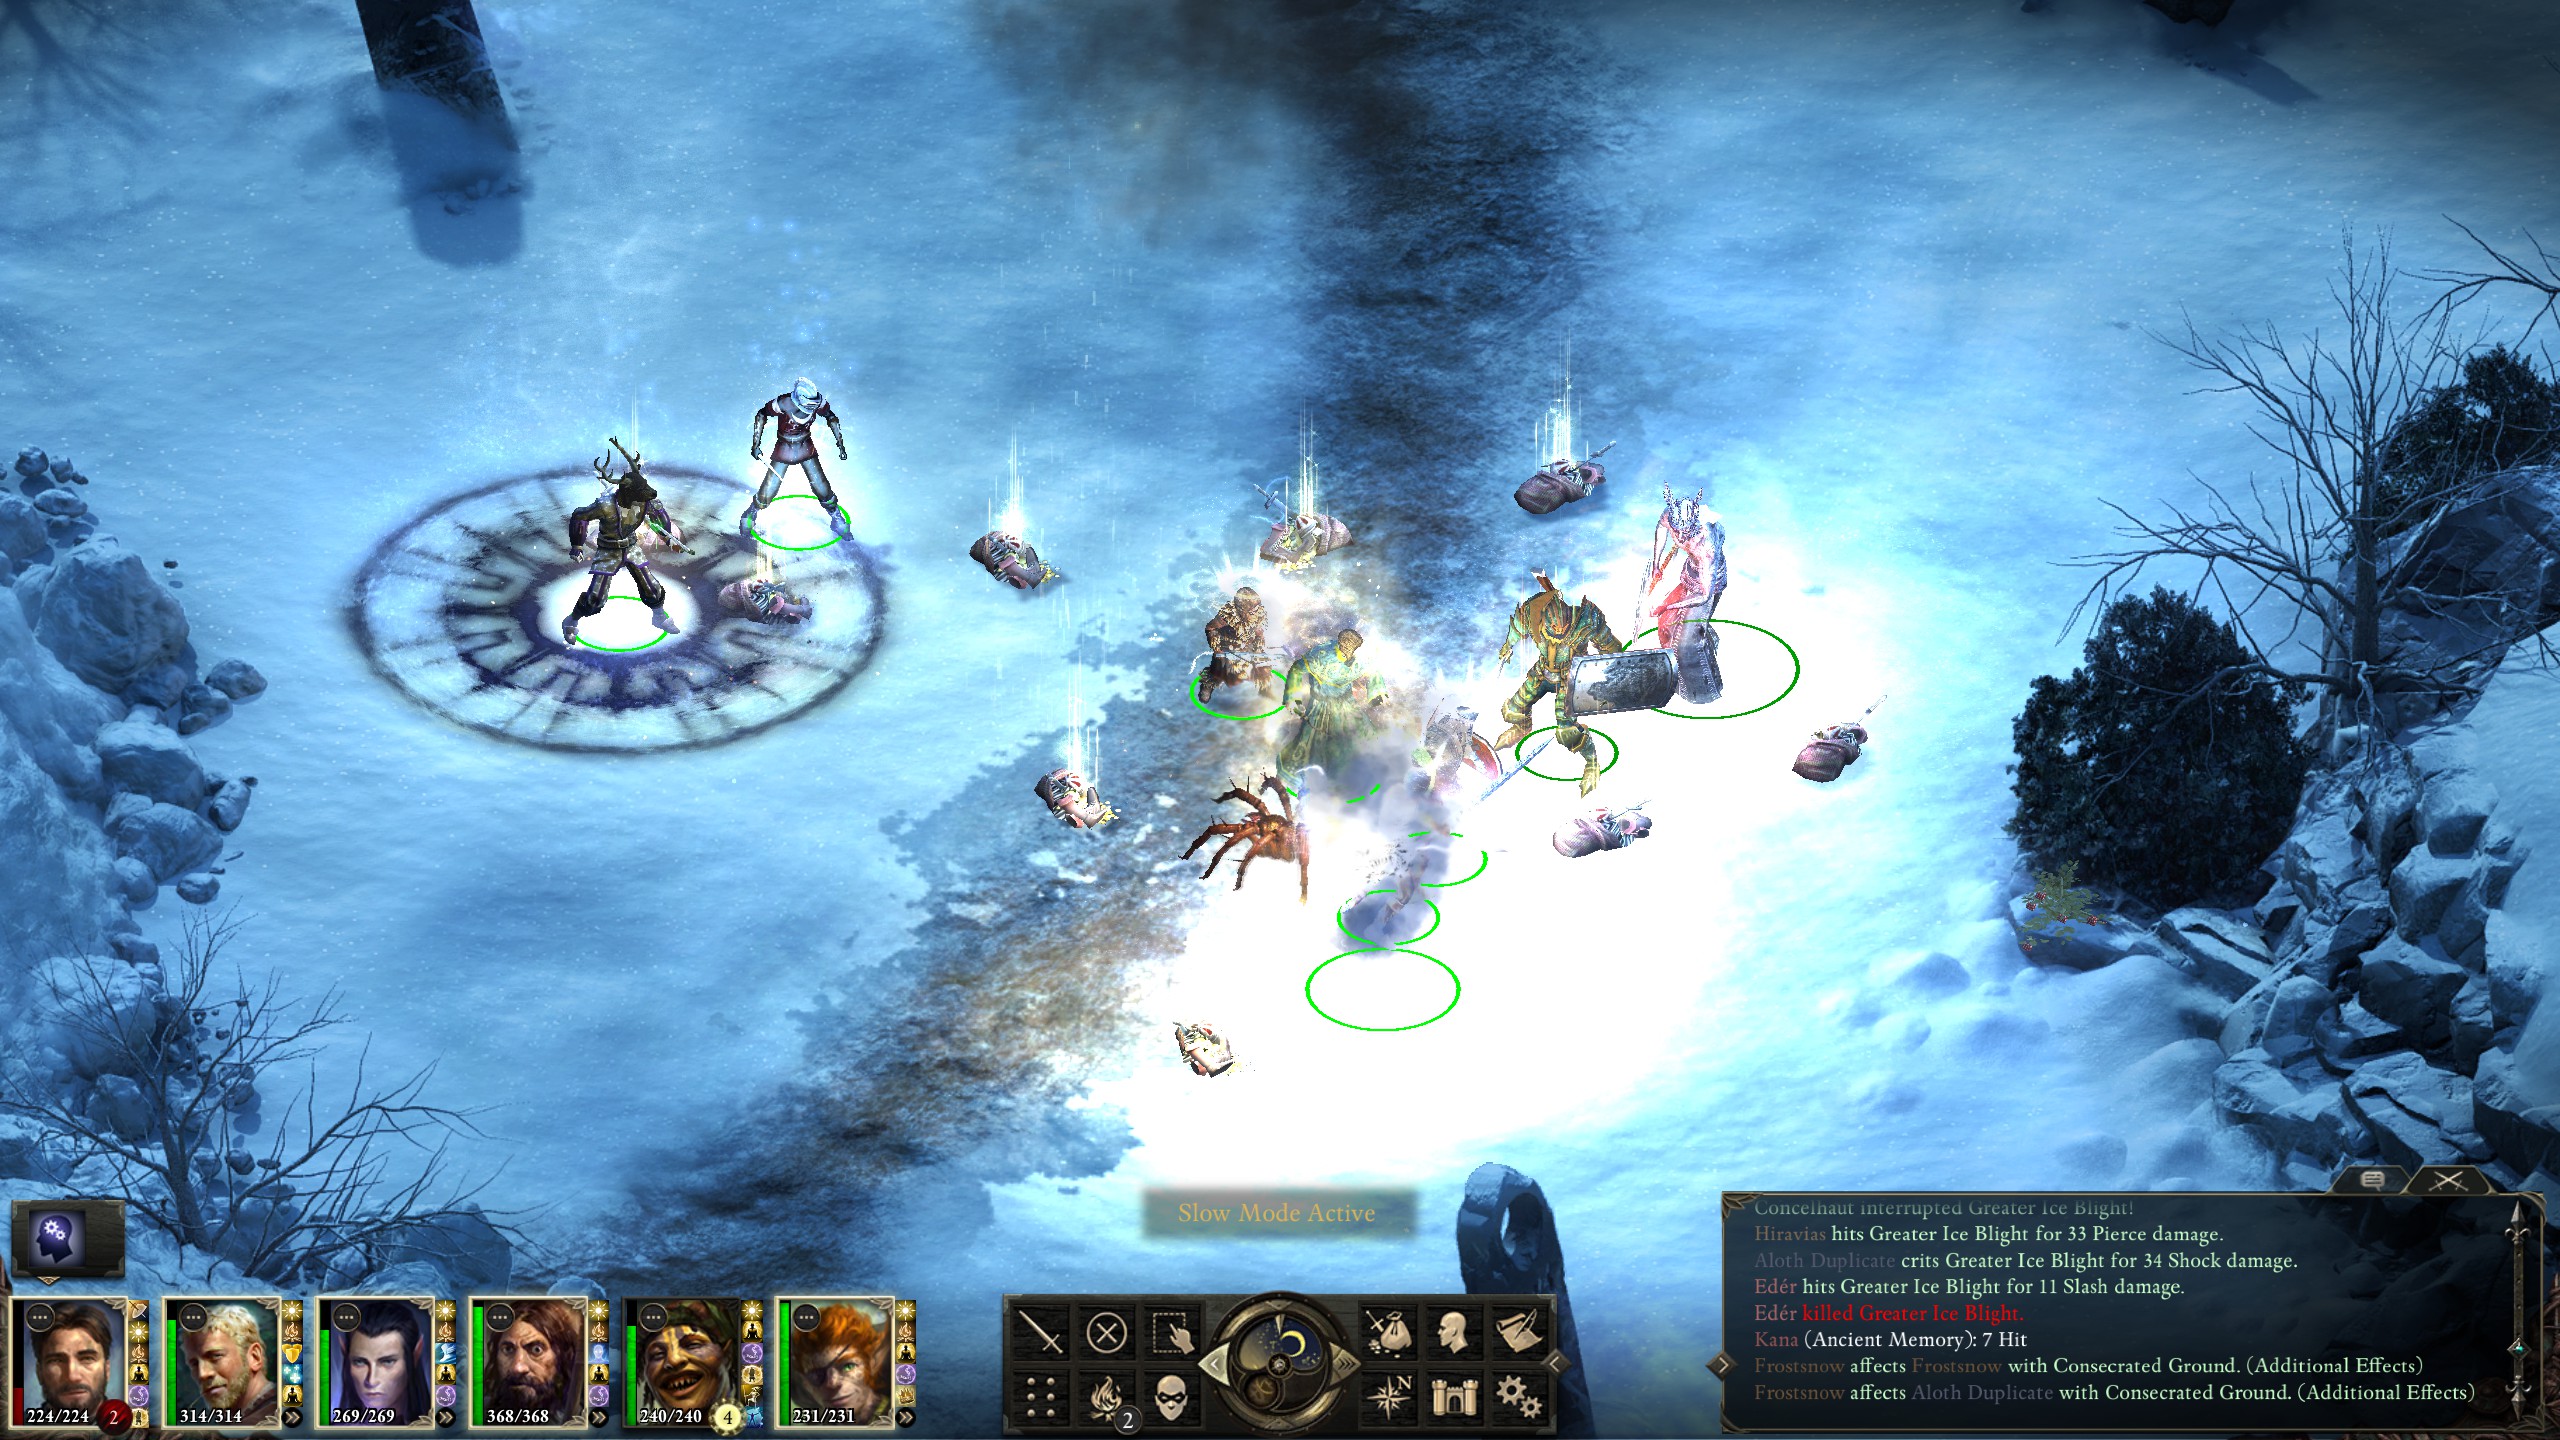
My monk had difficulties with the paralysis affliction that the creatures liked to use, but a few casts of Aloth's “Call to Slumber” quickly gave me the advantage.
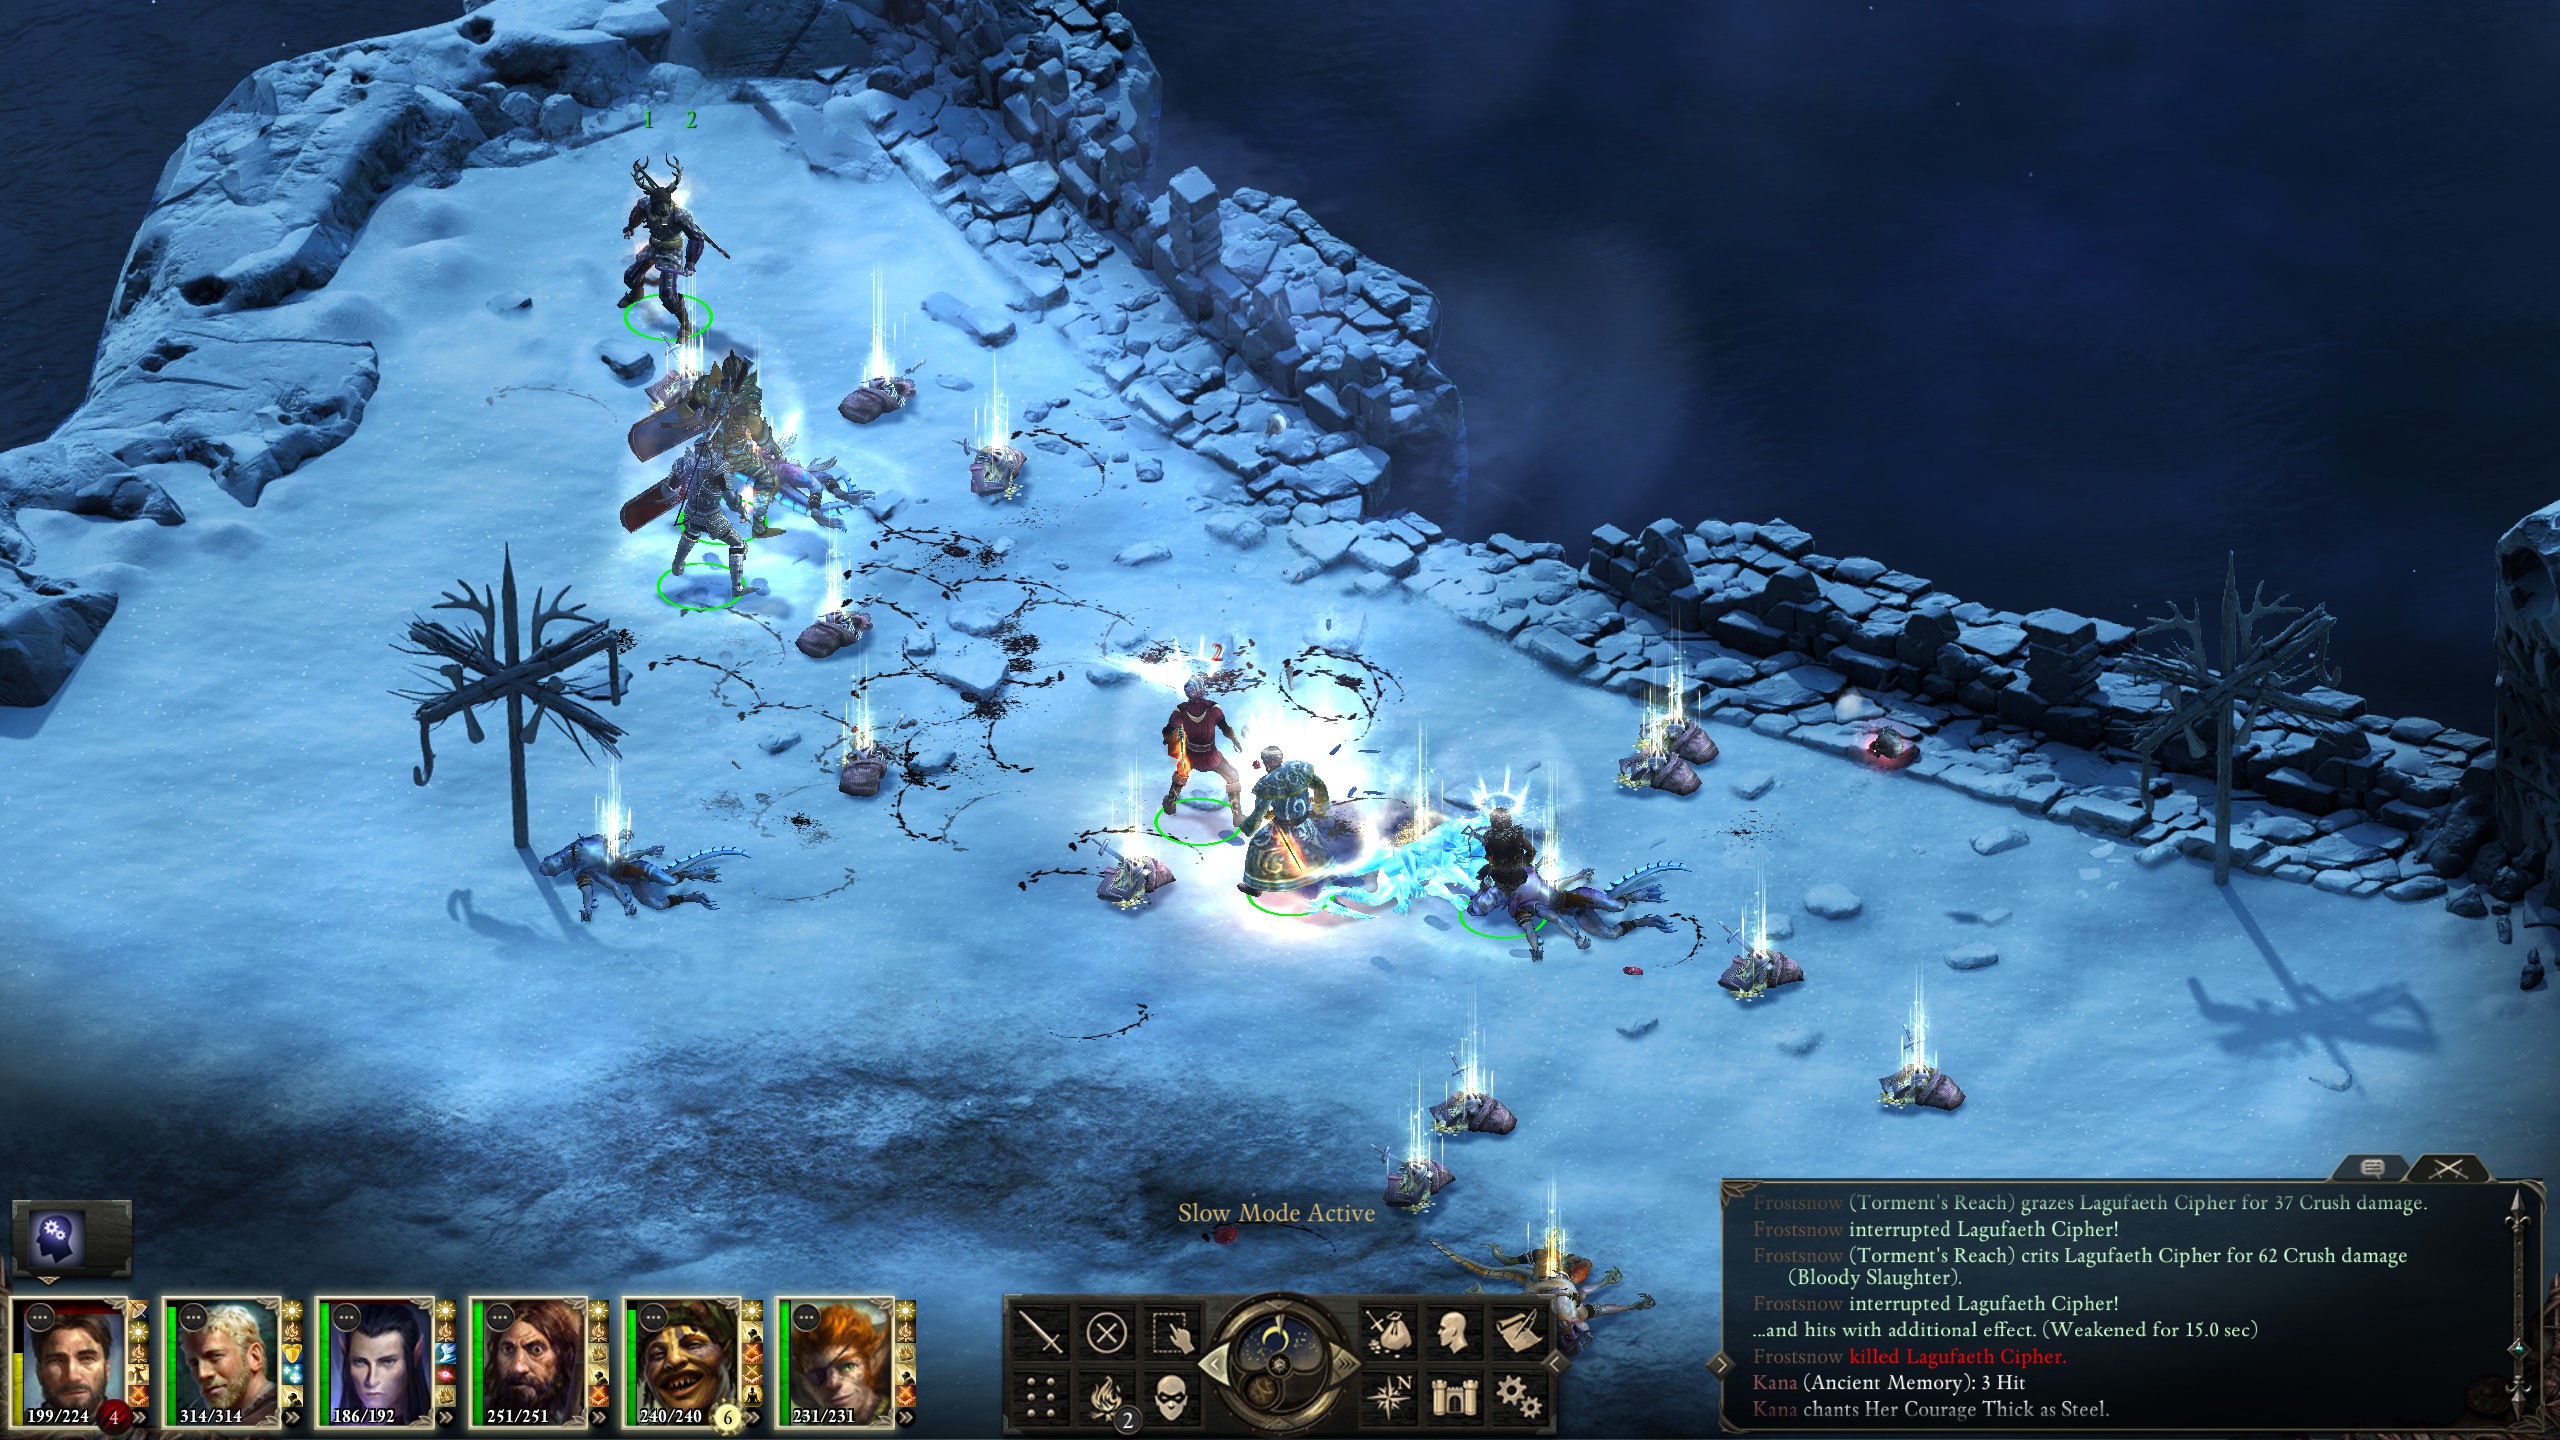
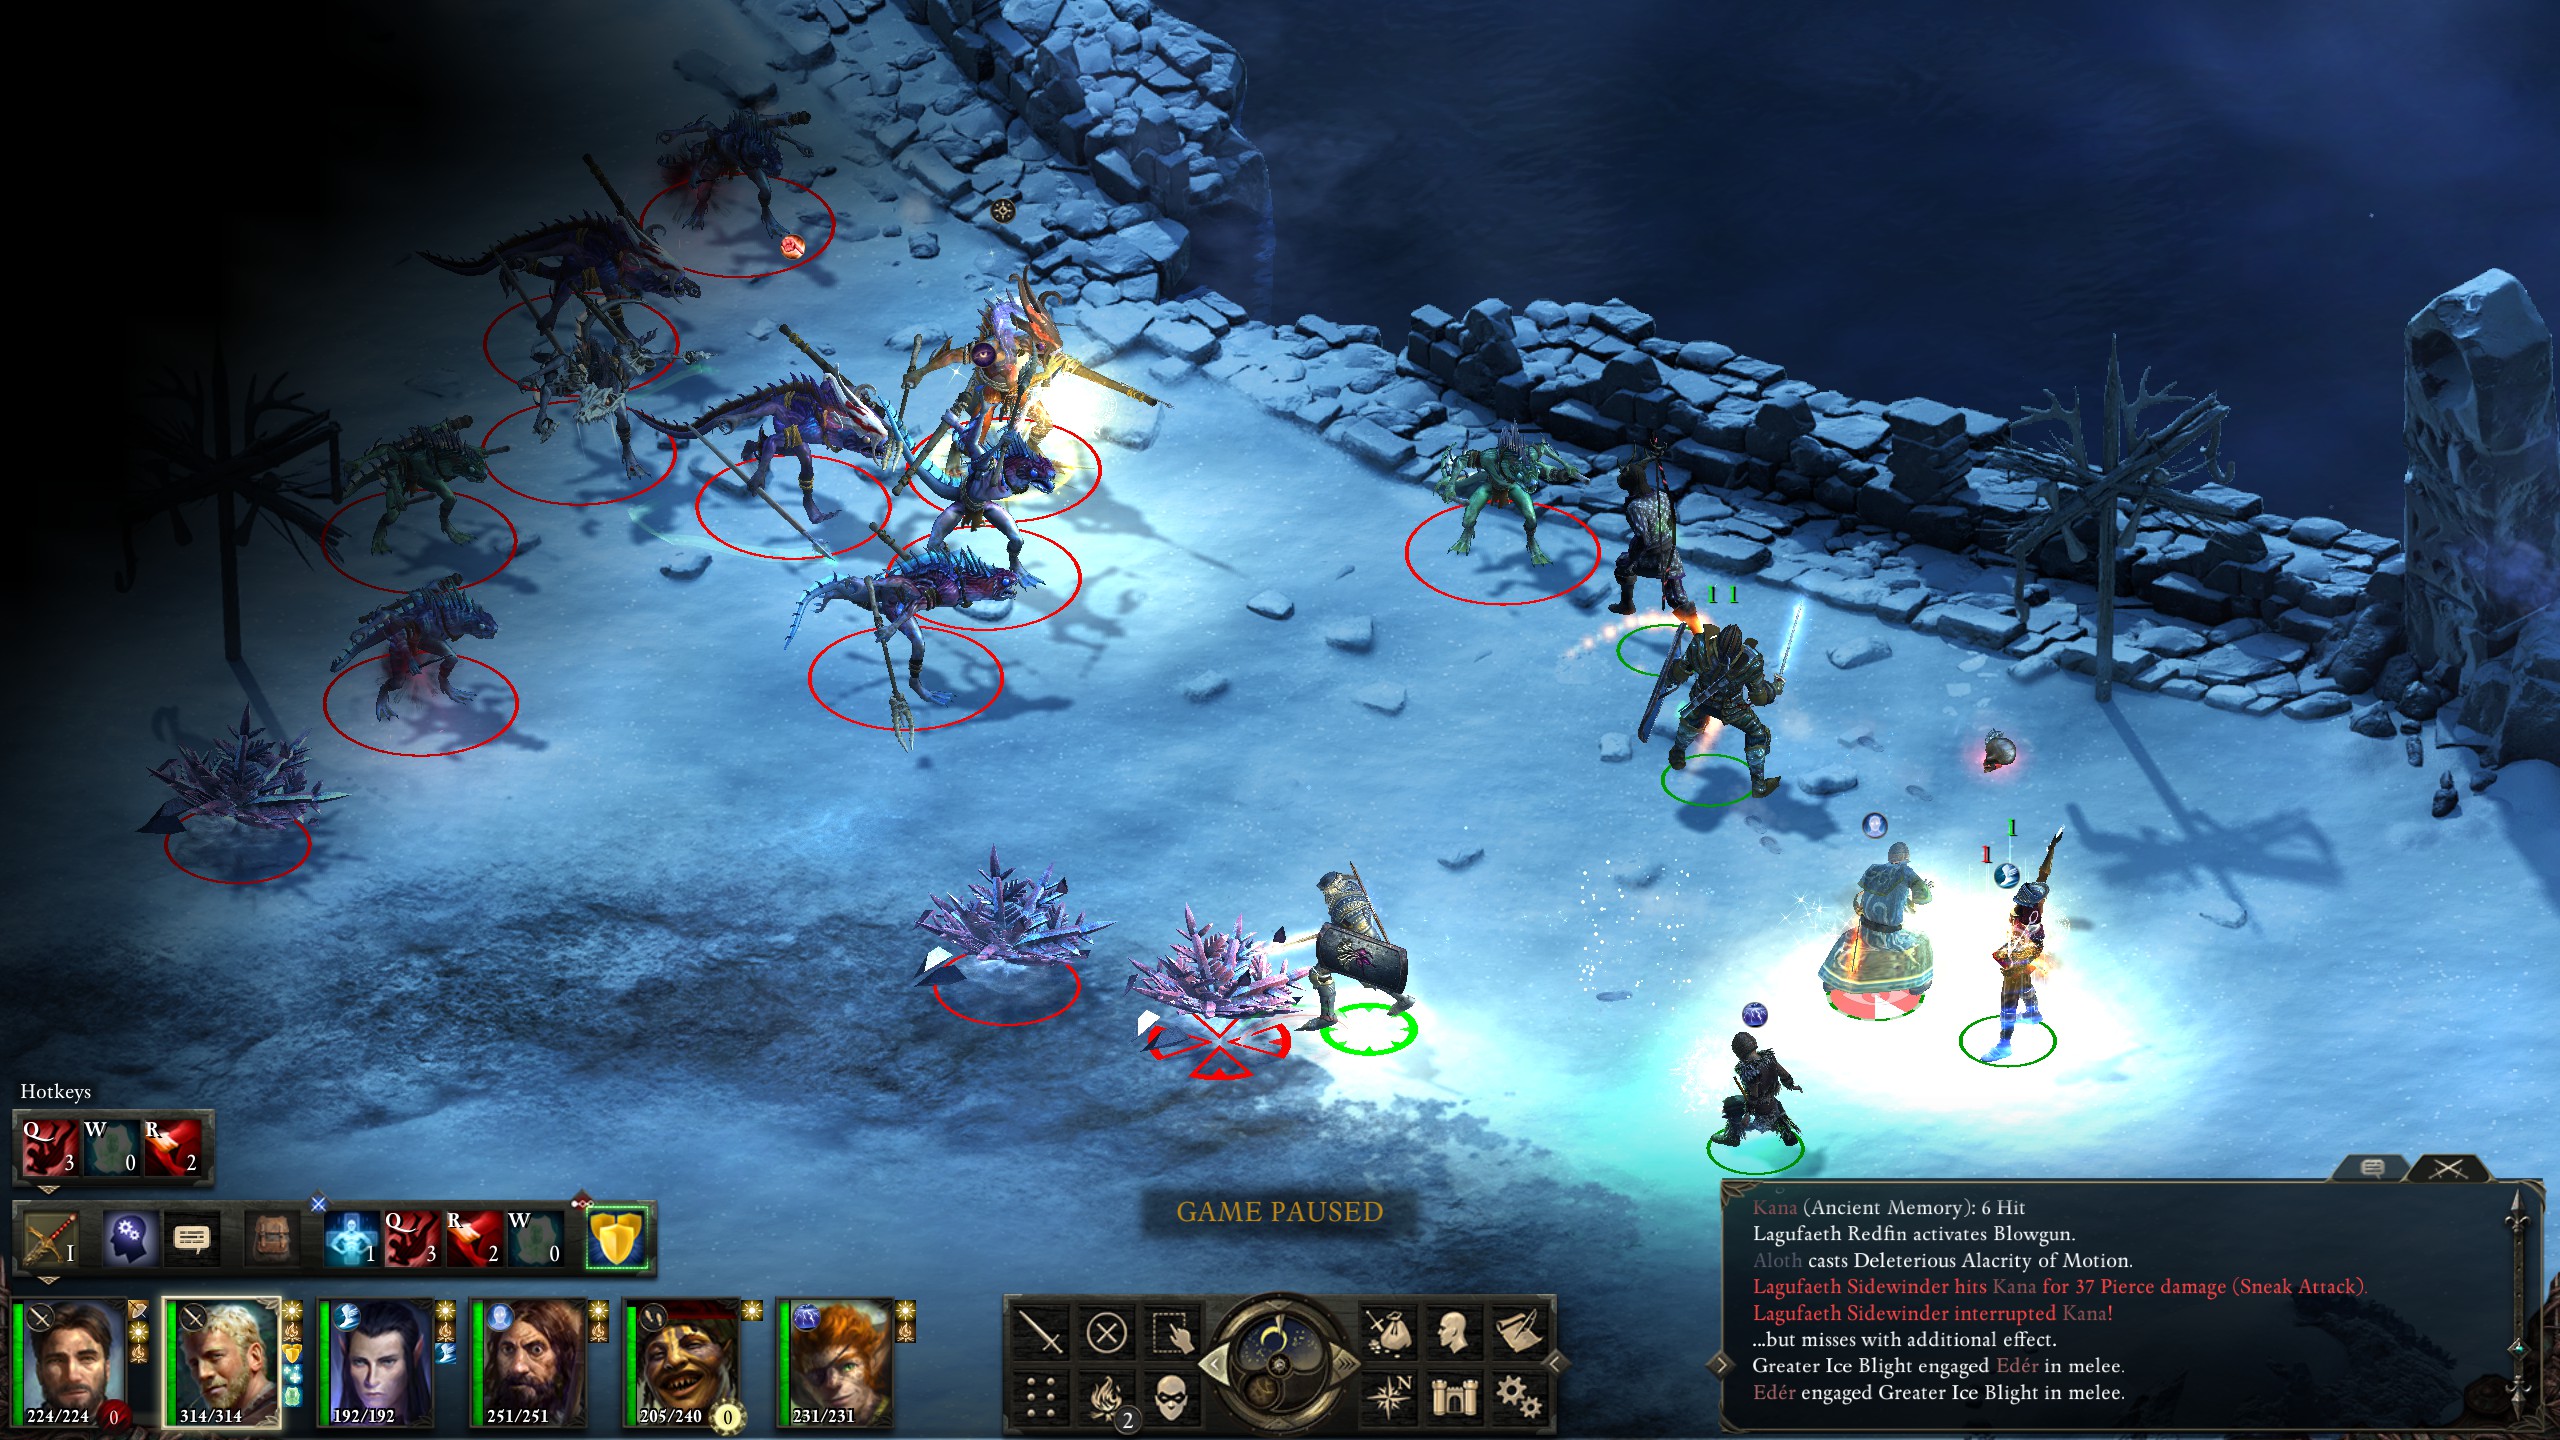
After finishing off the lagufaeth, I then headed to the next bounty, a giant ice blight named the Terror of Whitestone Hollow.
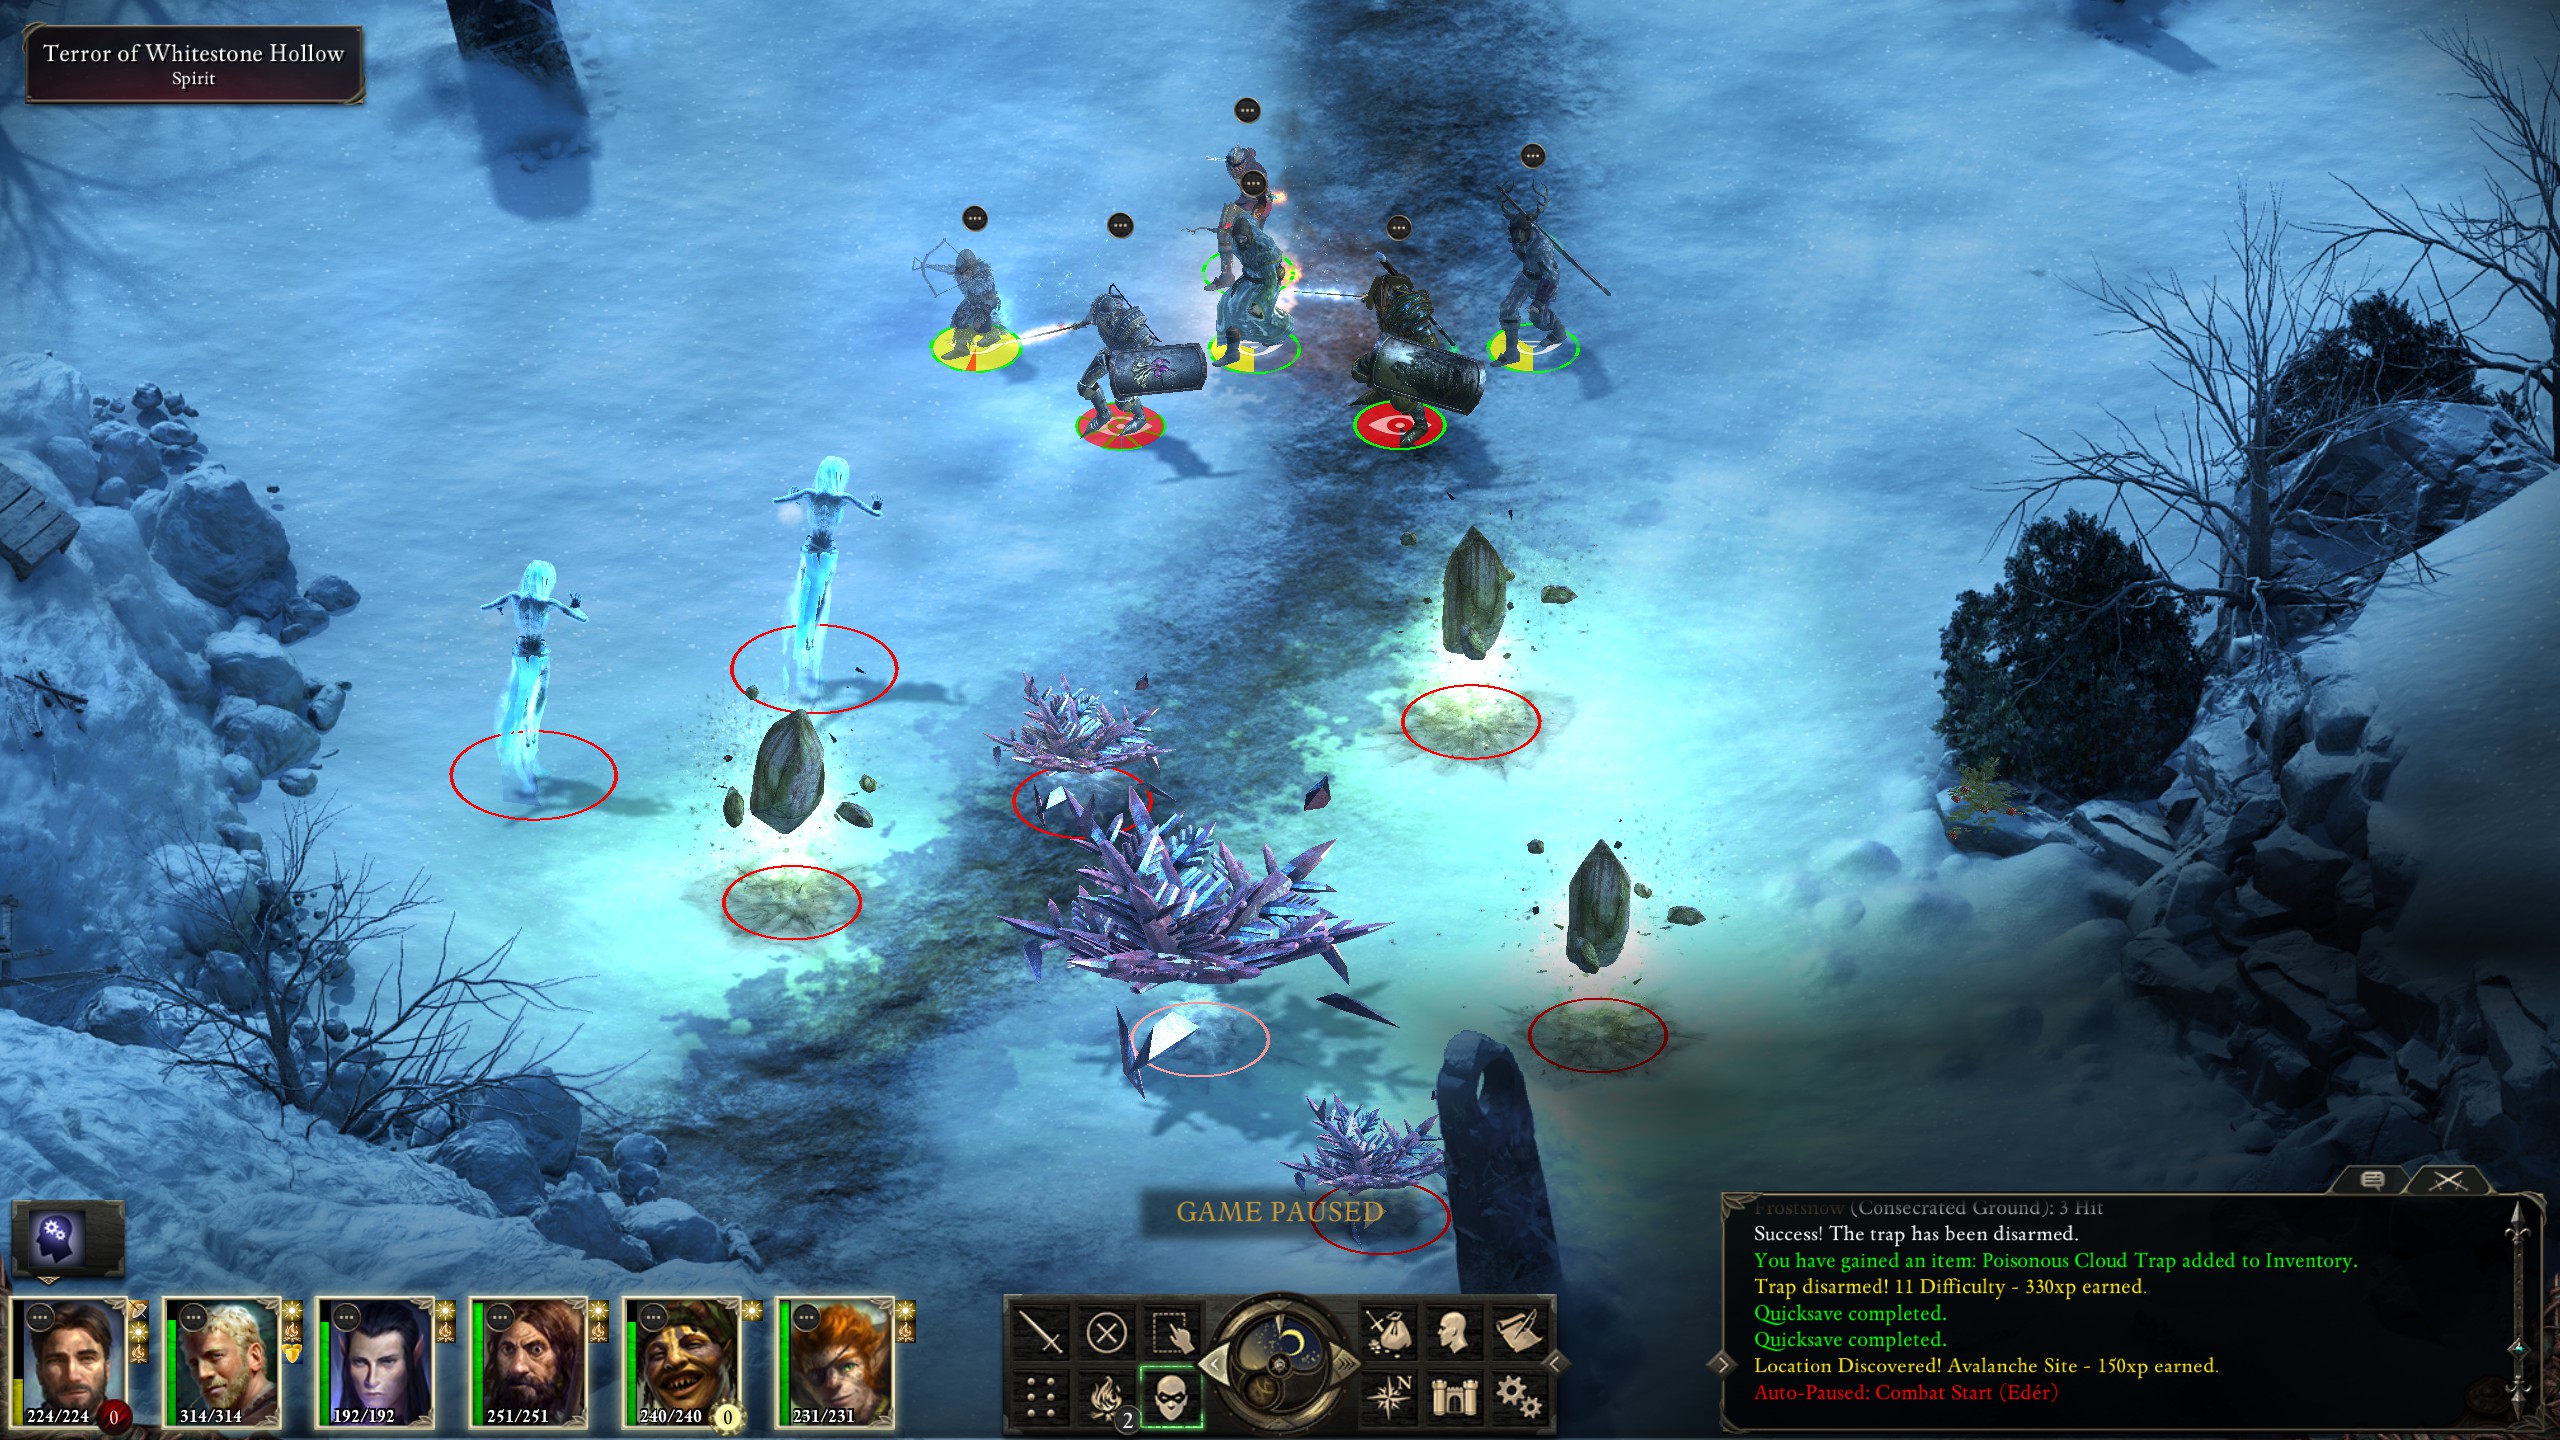
The blights were slow and susceptible to unconsciousness, but the cean gŵla were not, so I had Aloth's use “Substantial Phantom” then had the duplicate summoned by the spell use “Arduous Delay of Motion” in order to immobilize the blights. For the cean gŵla, I had Durance cast “Prayer Against Imprisonment” in order to protect against their screams while my Monk summoned Concelhaut in order to crush them with “Concelhaut's Crushing Doom”.
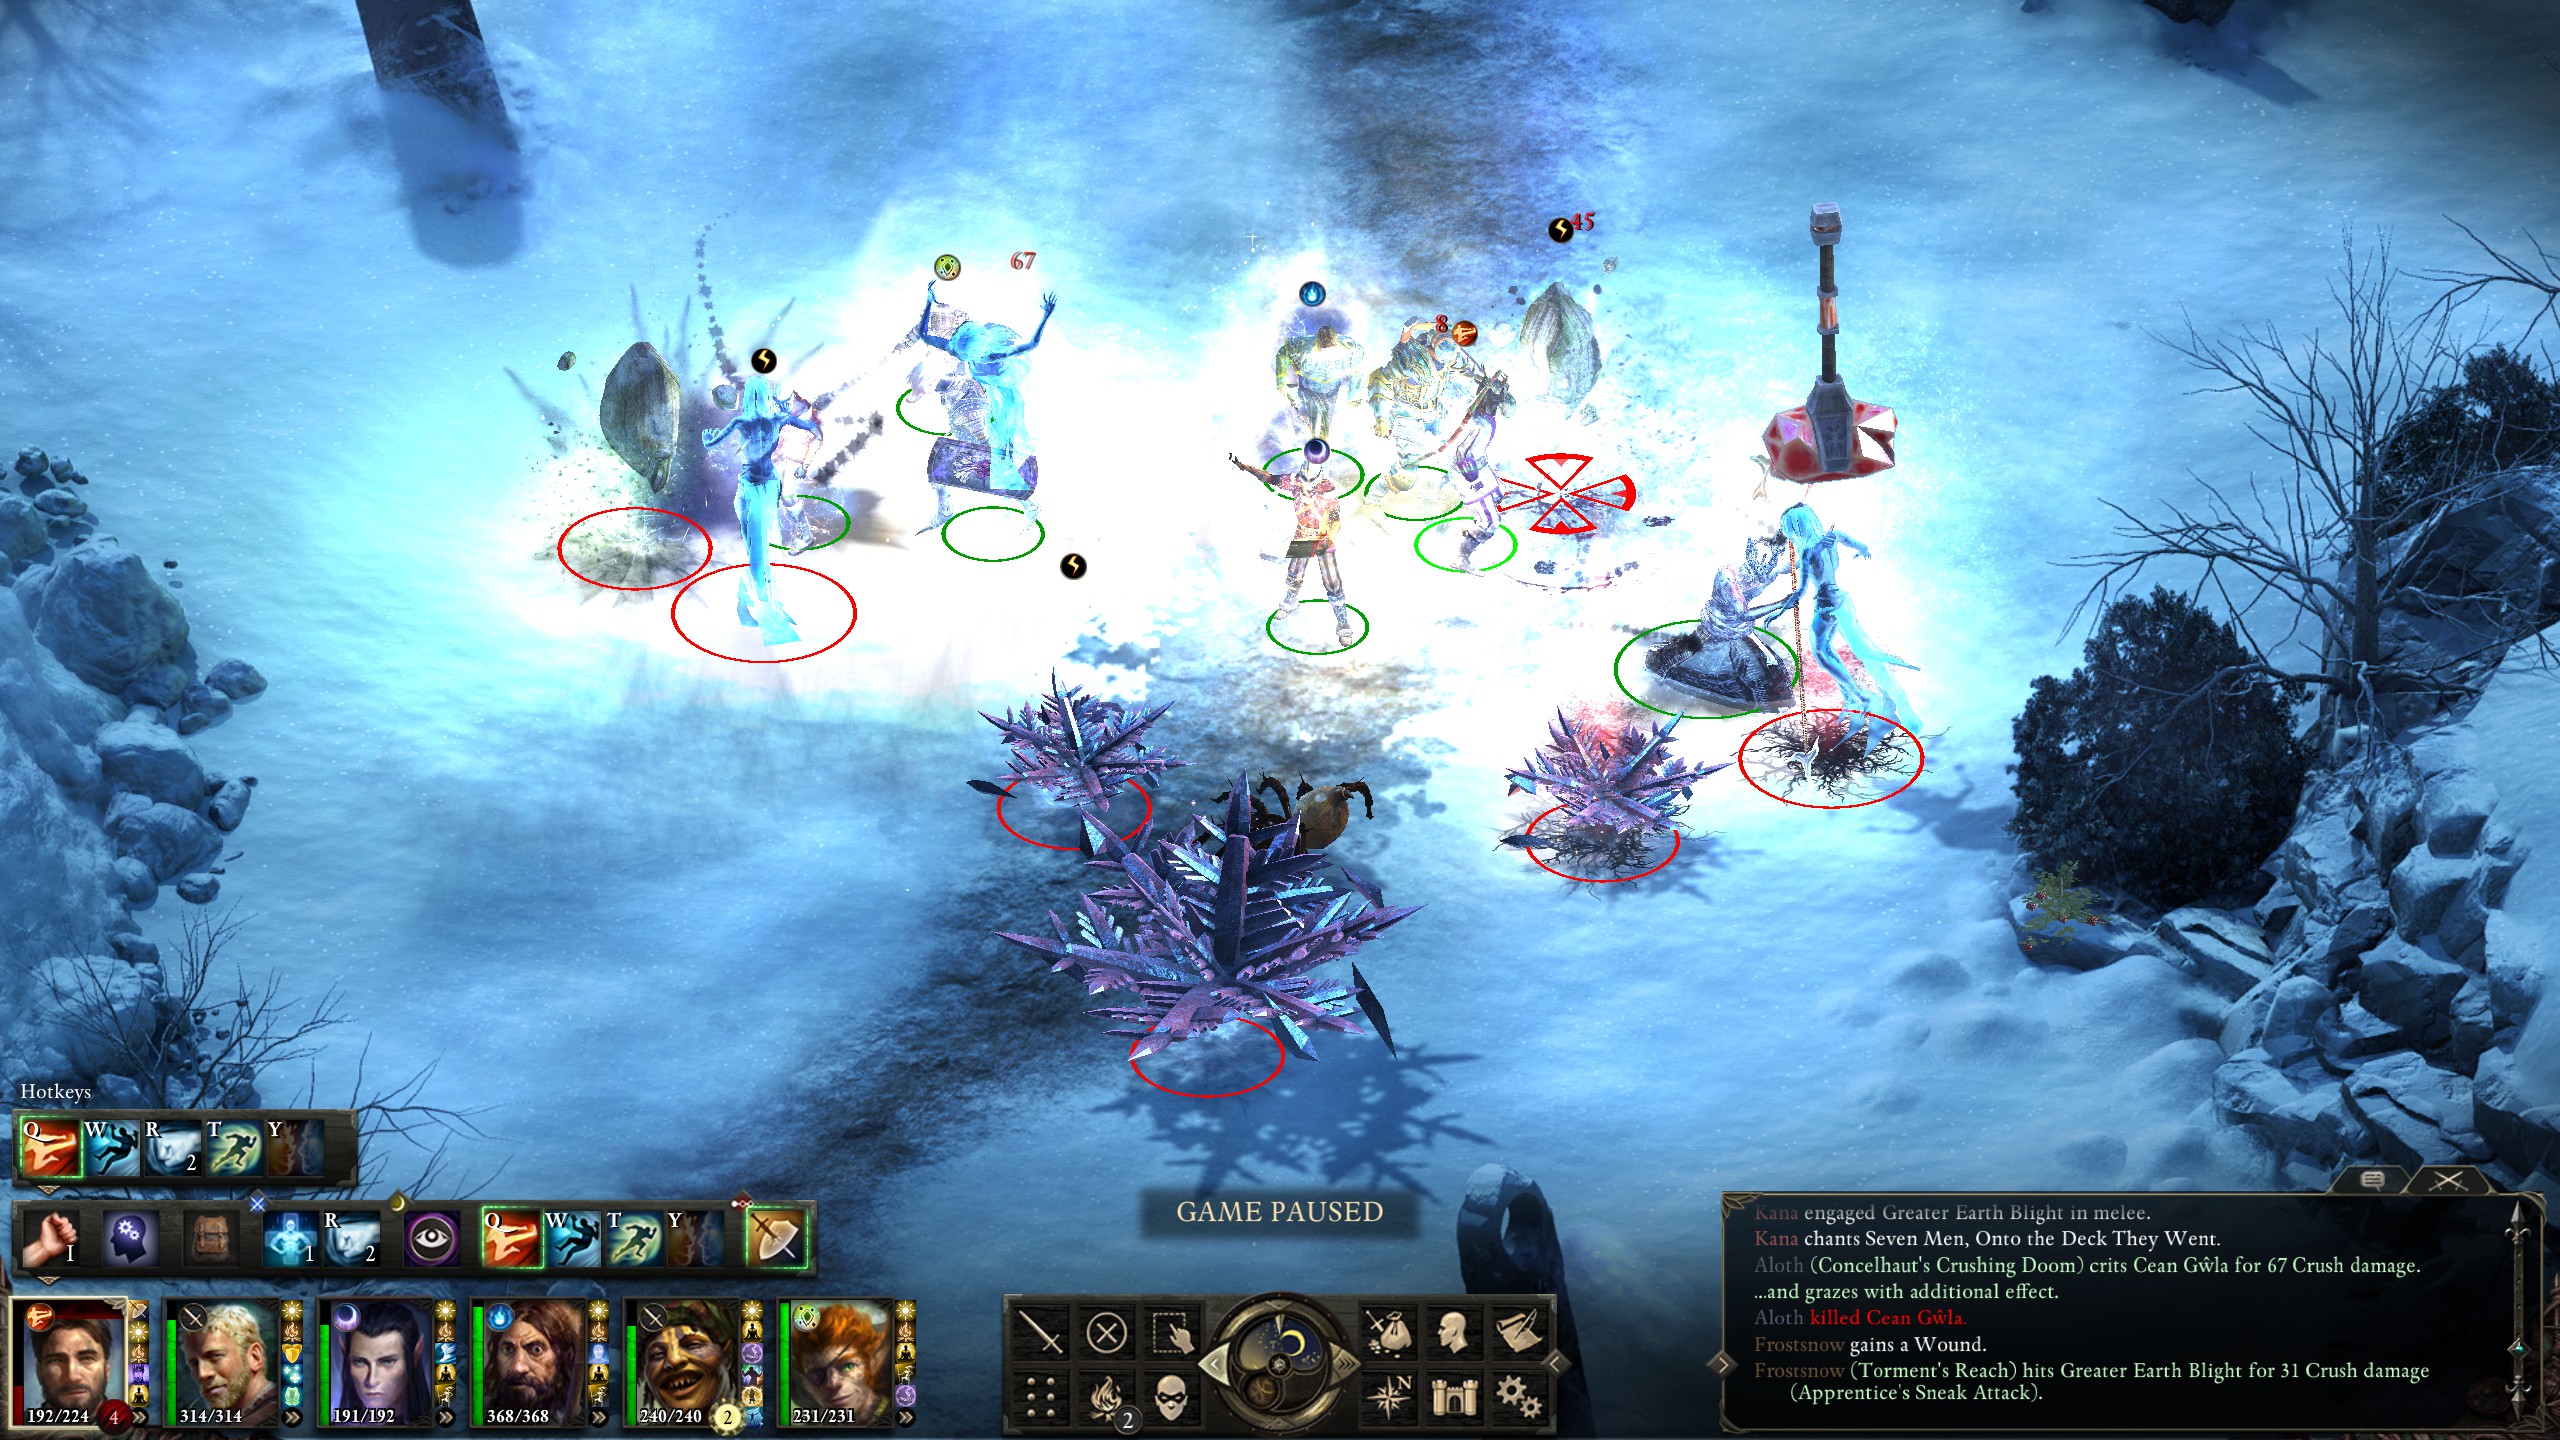
This proved to be a highly effective strategy, and I beat the blight and its minions without taking much damage.
Since I'd cleared the bounties in the area, I also cleared out the rest of Whitestone Hollow as well.
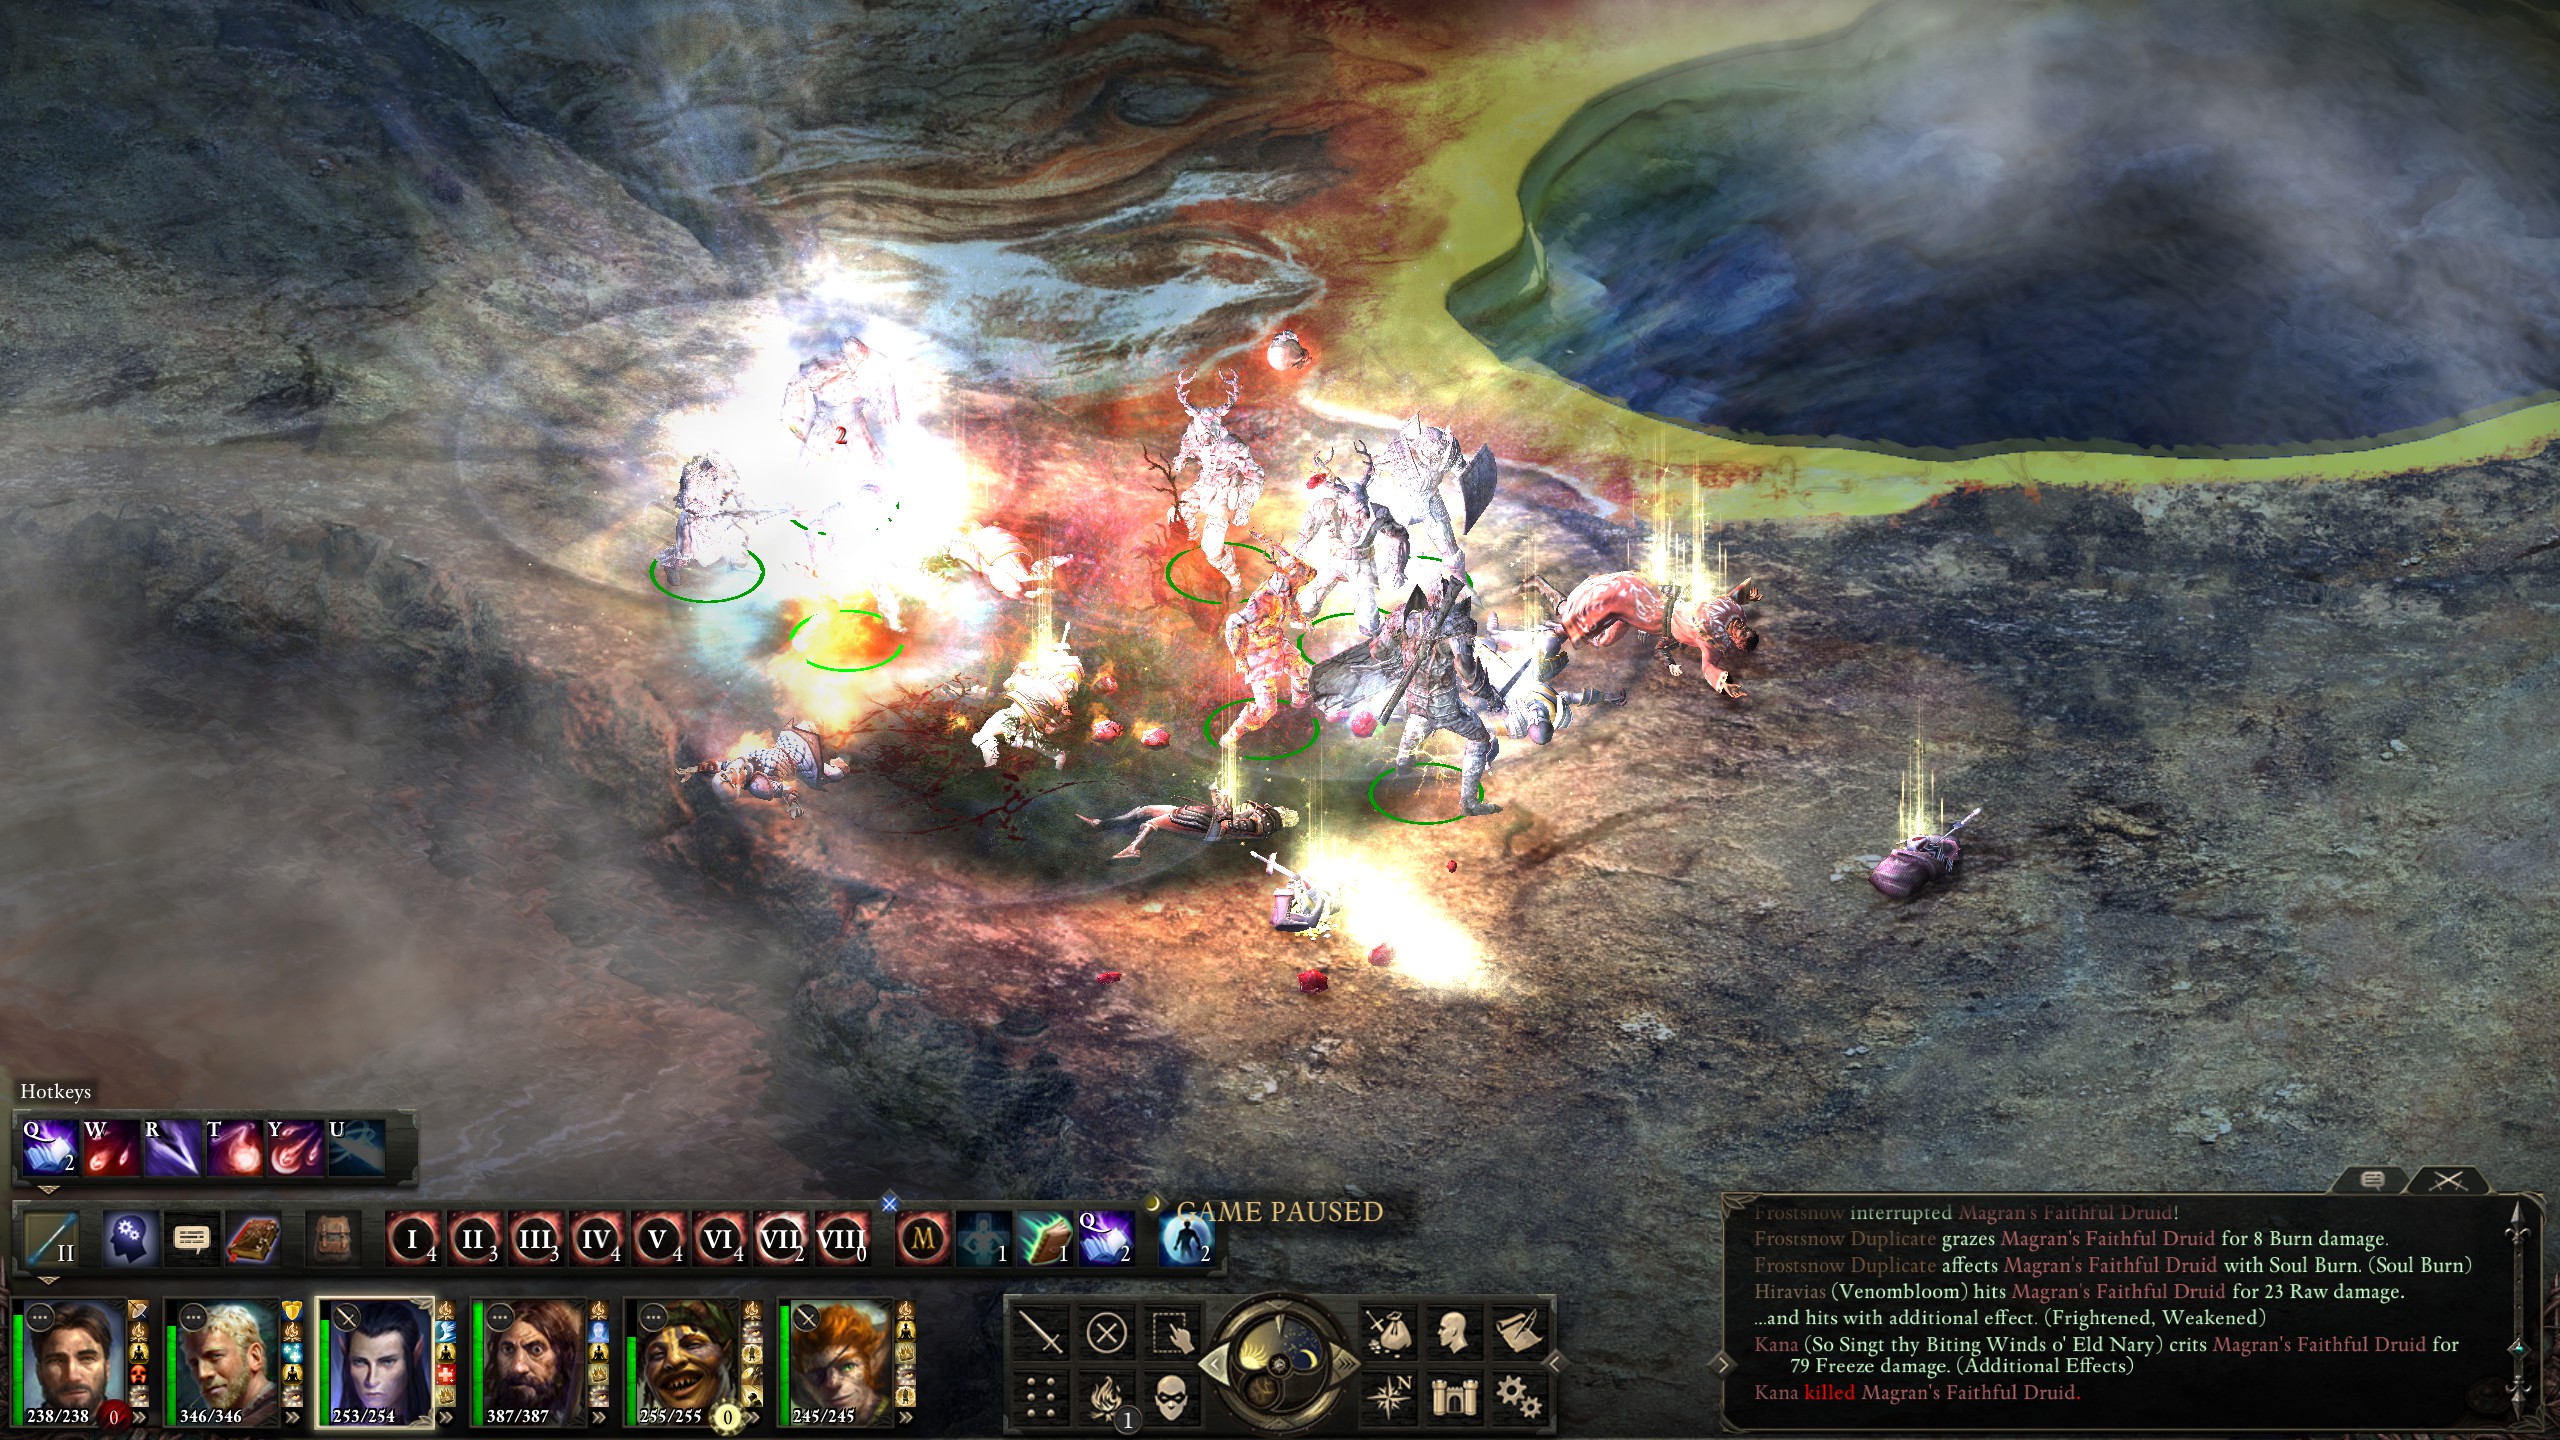
The next and final two bounties were the difficult ones. First up was Roedwith, leader of Magran's Faithful.

Having recently gained 8th-level spells, I decided to make use of Aloth's “Major Grimoire Imprint” and stole “Storm of Holy Fire” while the battle quickly dissolved into a clustered mess.
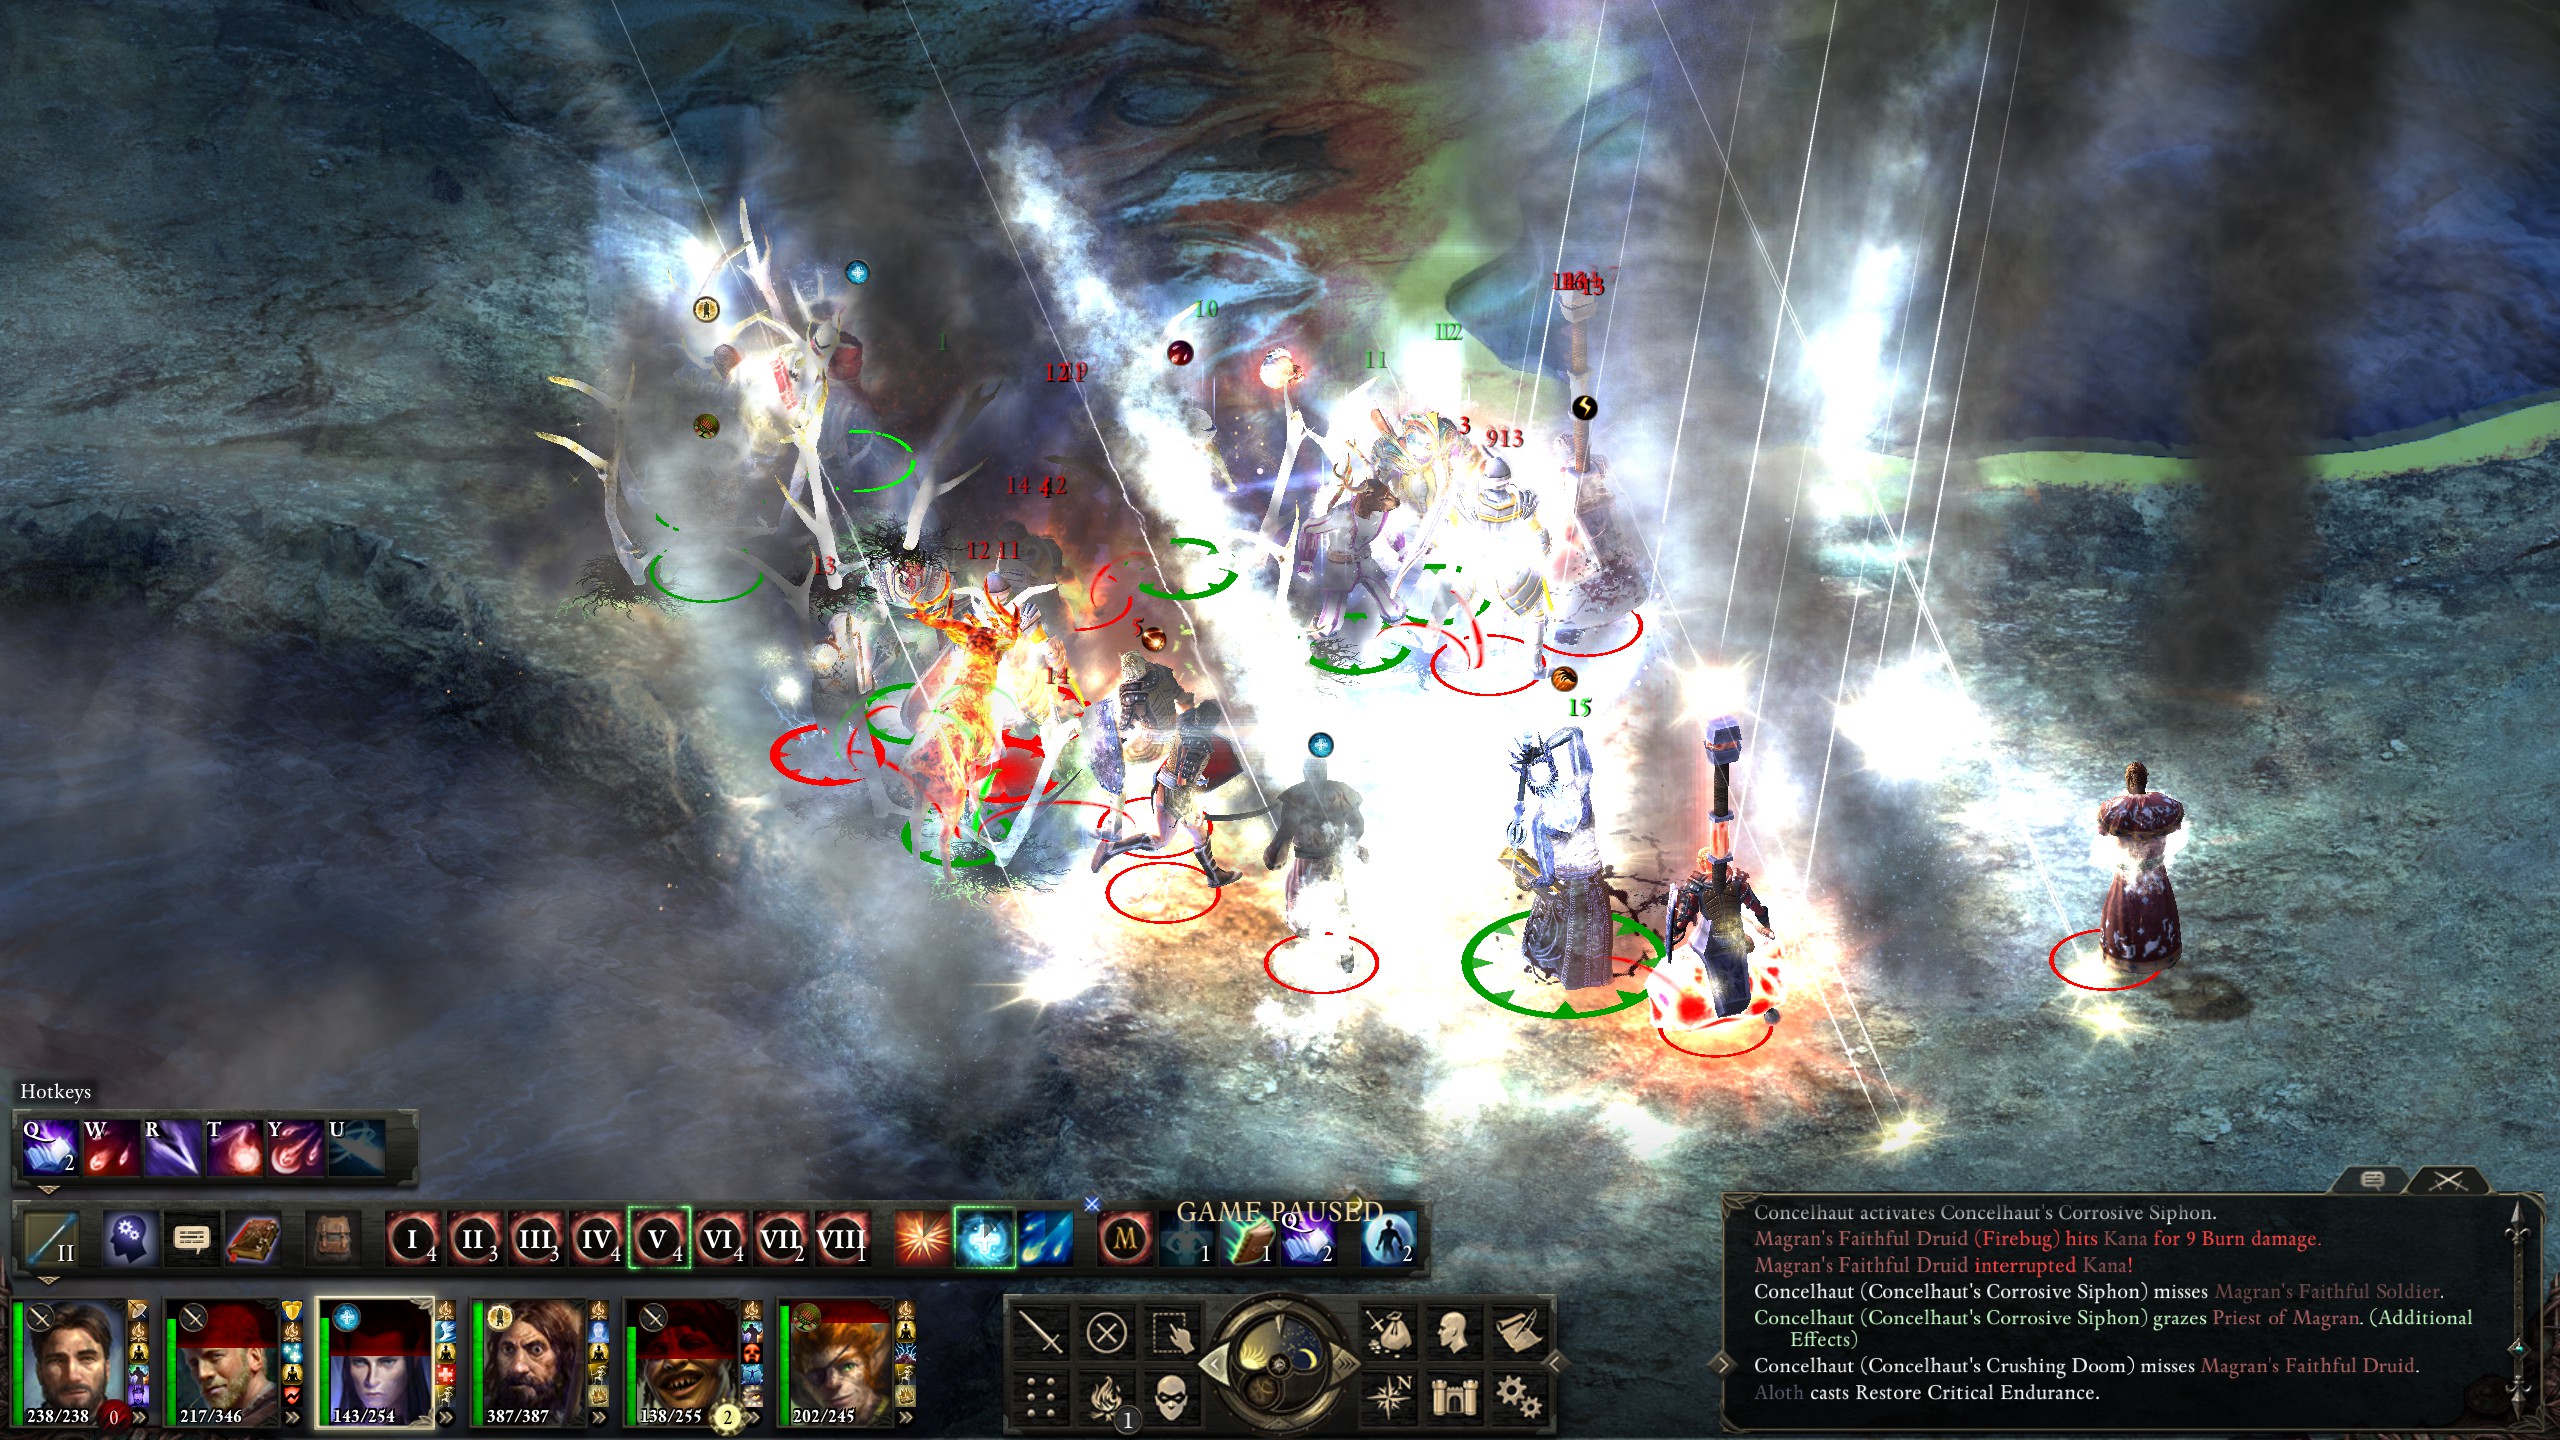
Finding the stolen priest's spells unsatisfying, I tried stealing the druid's spells, which ended up giving me unlimited “Sunlance” and “Firebug” casts for 100 seconds! I spammed both of them.
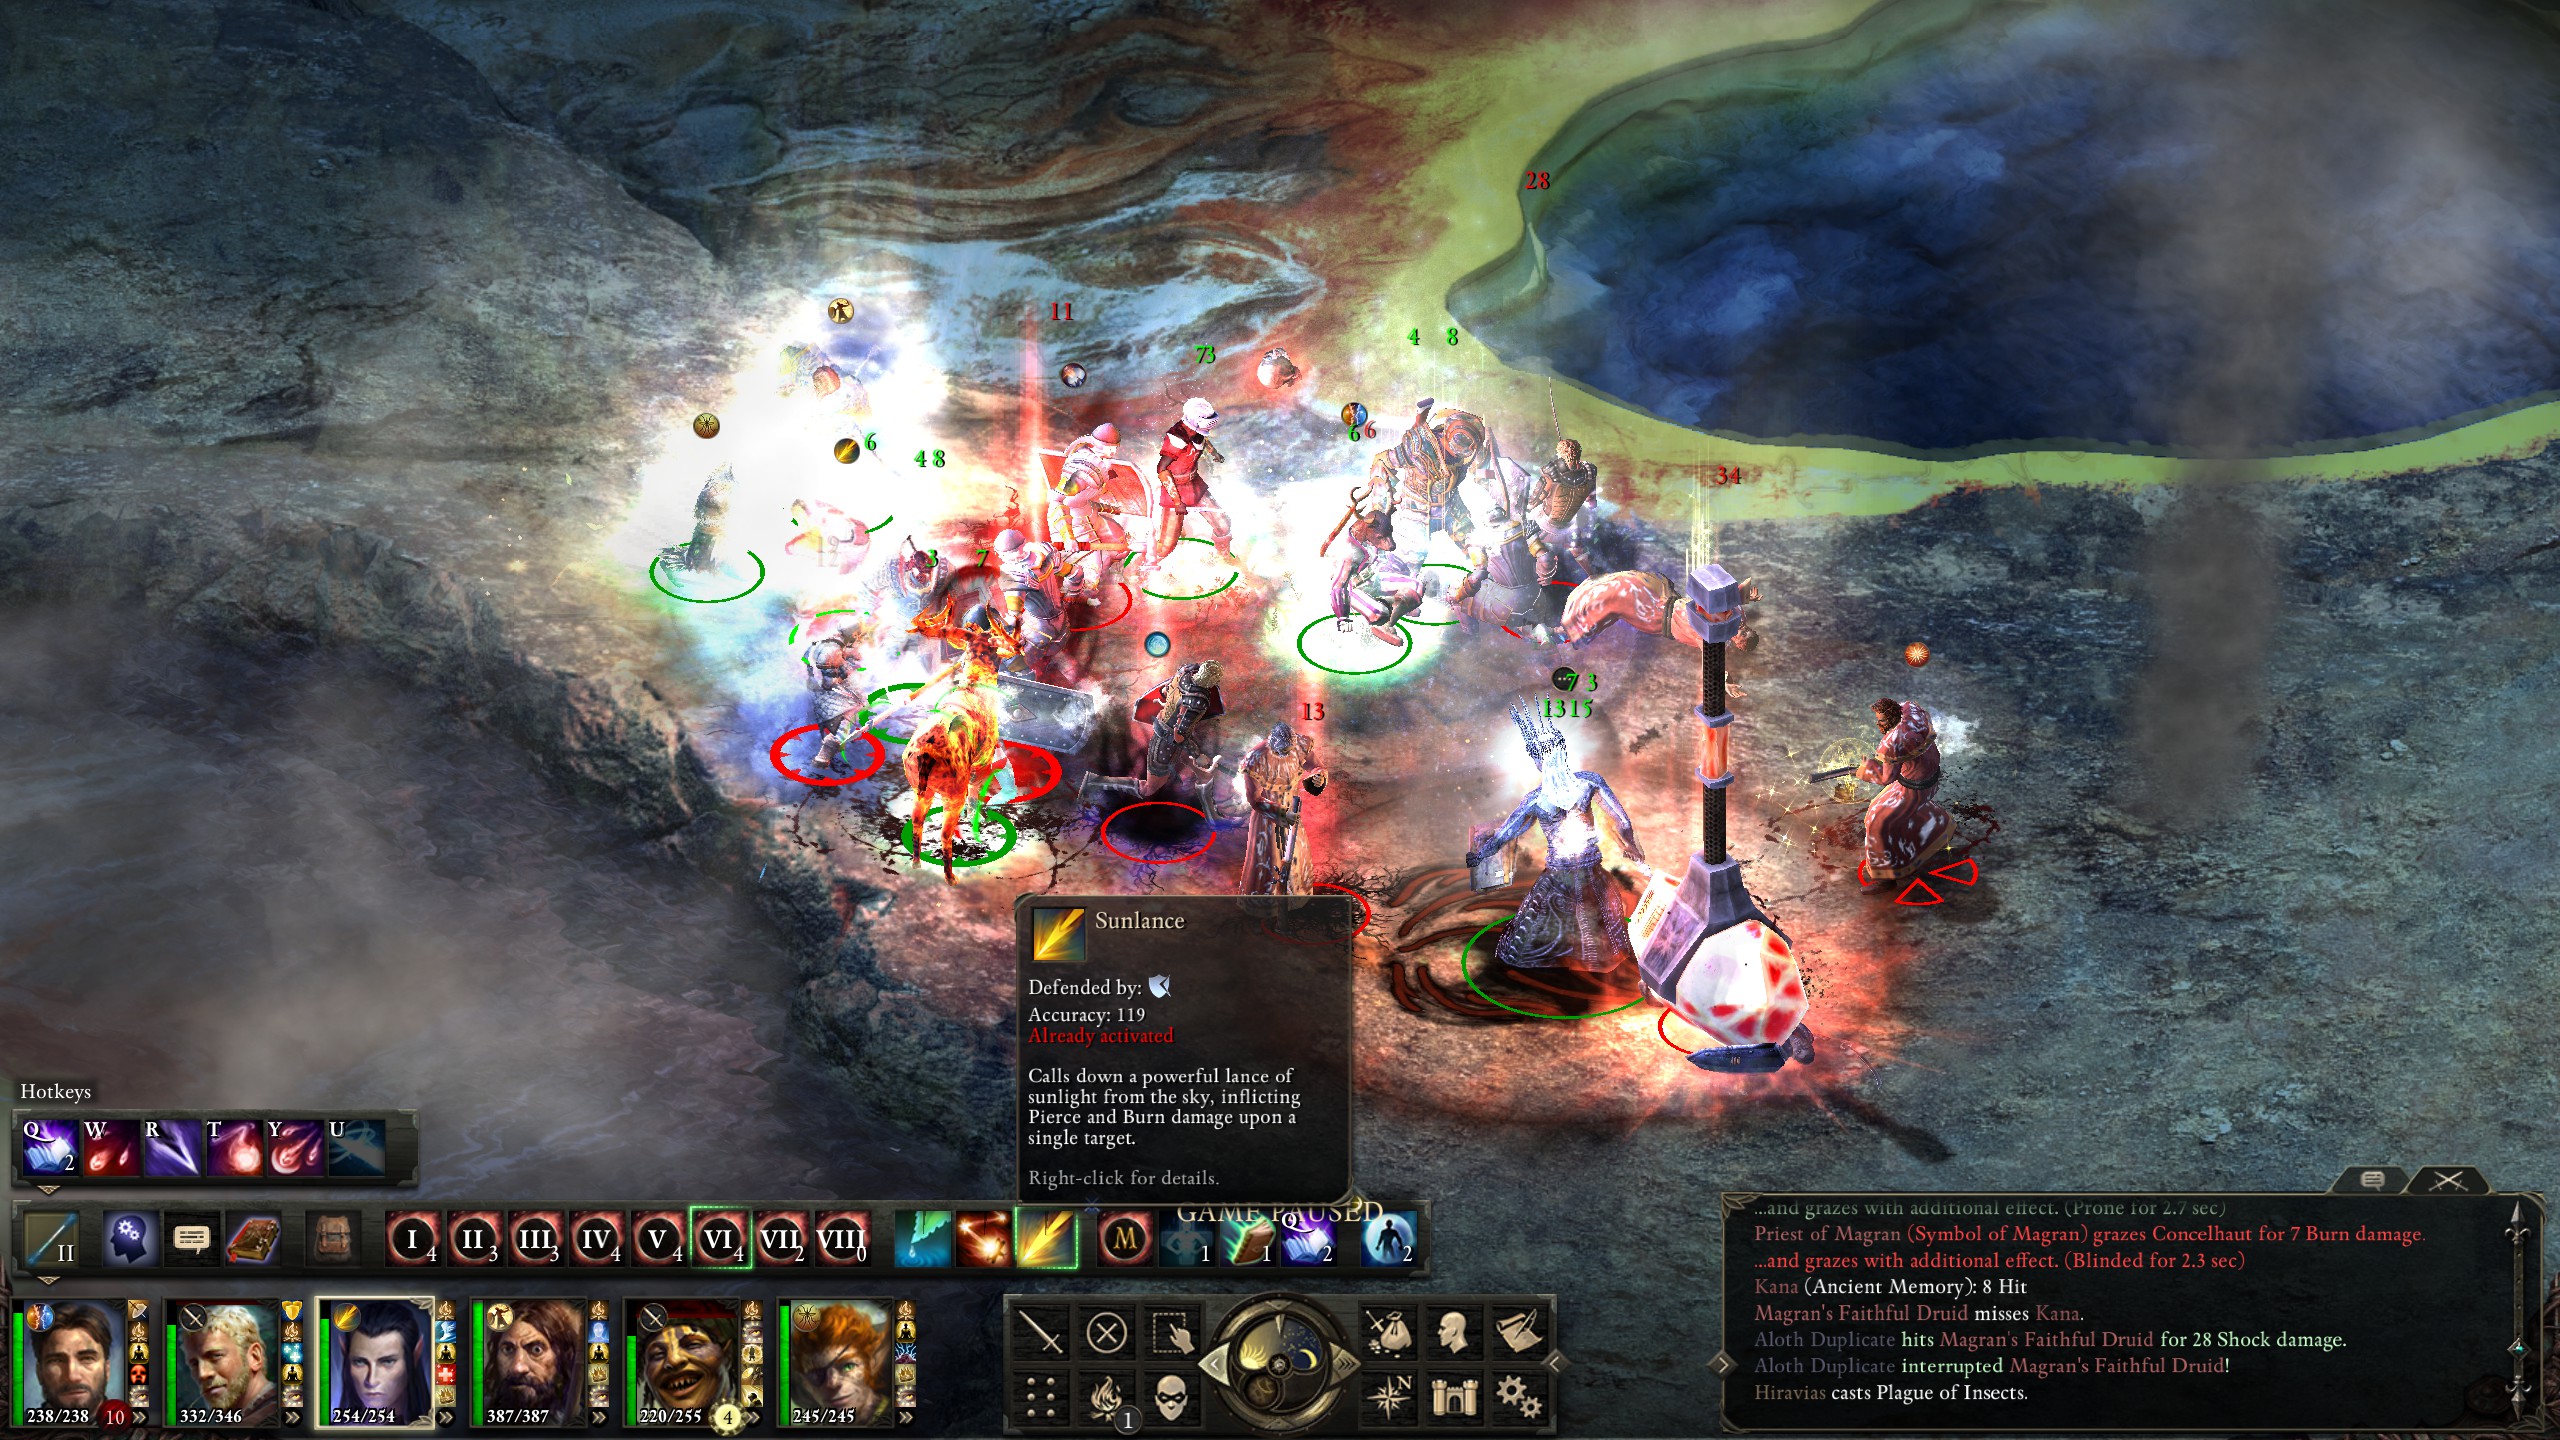
Thus with the help of their own druids I managed to beat the cult.
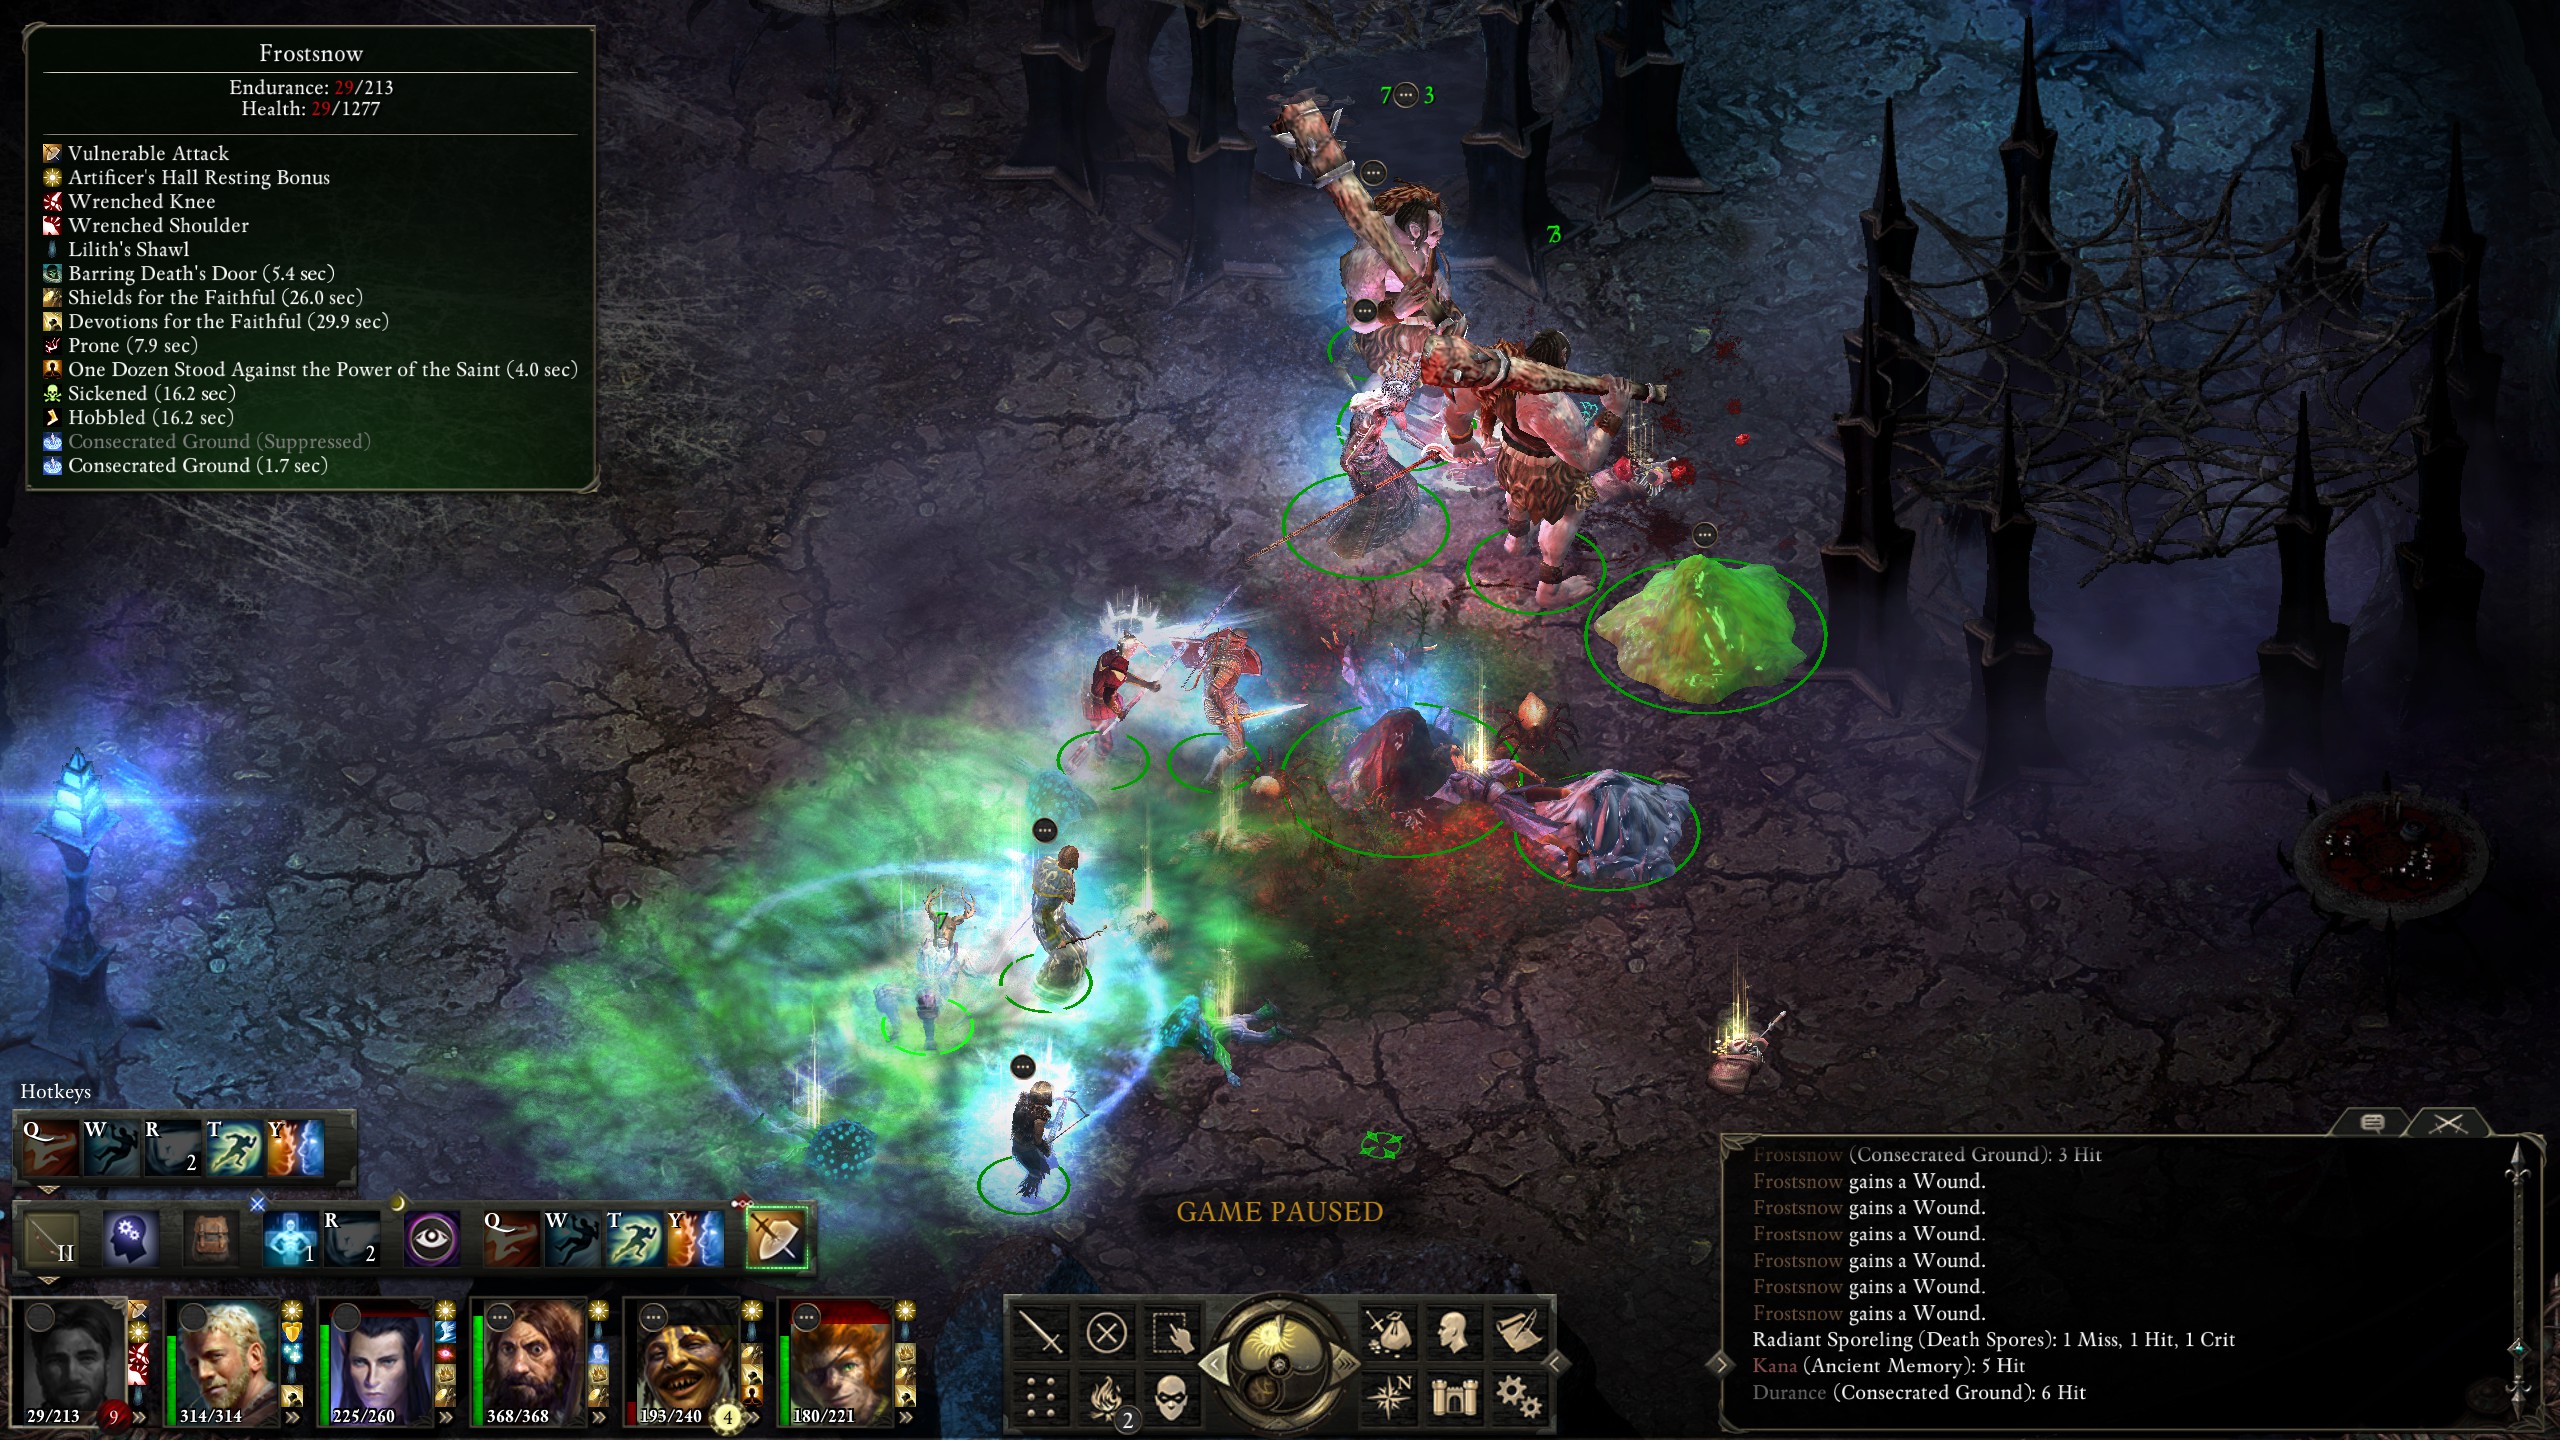
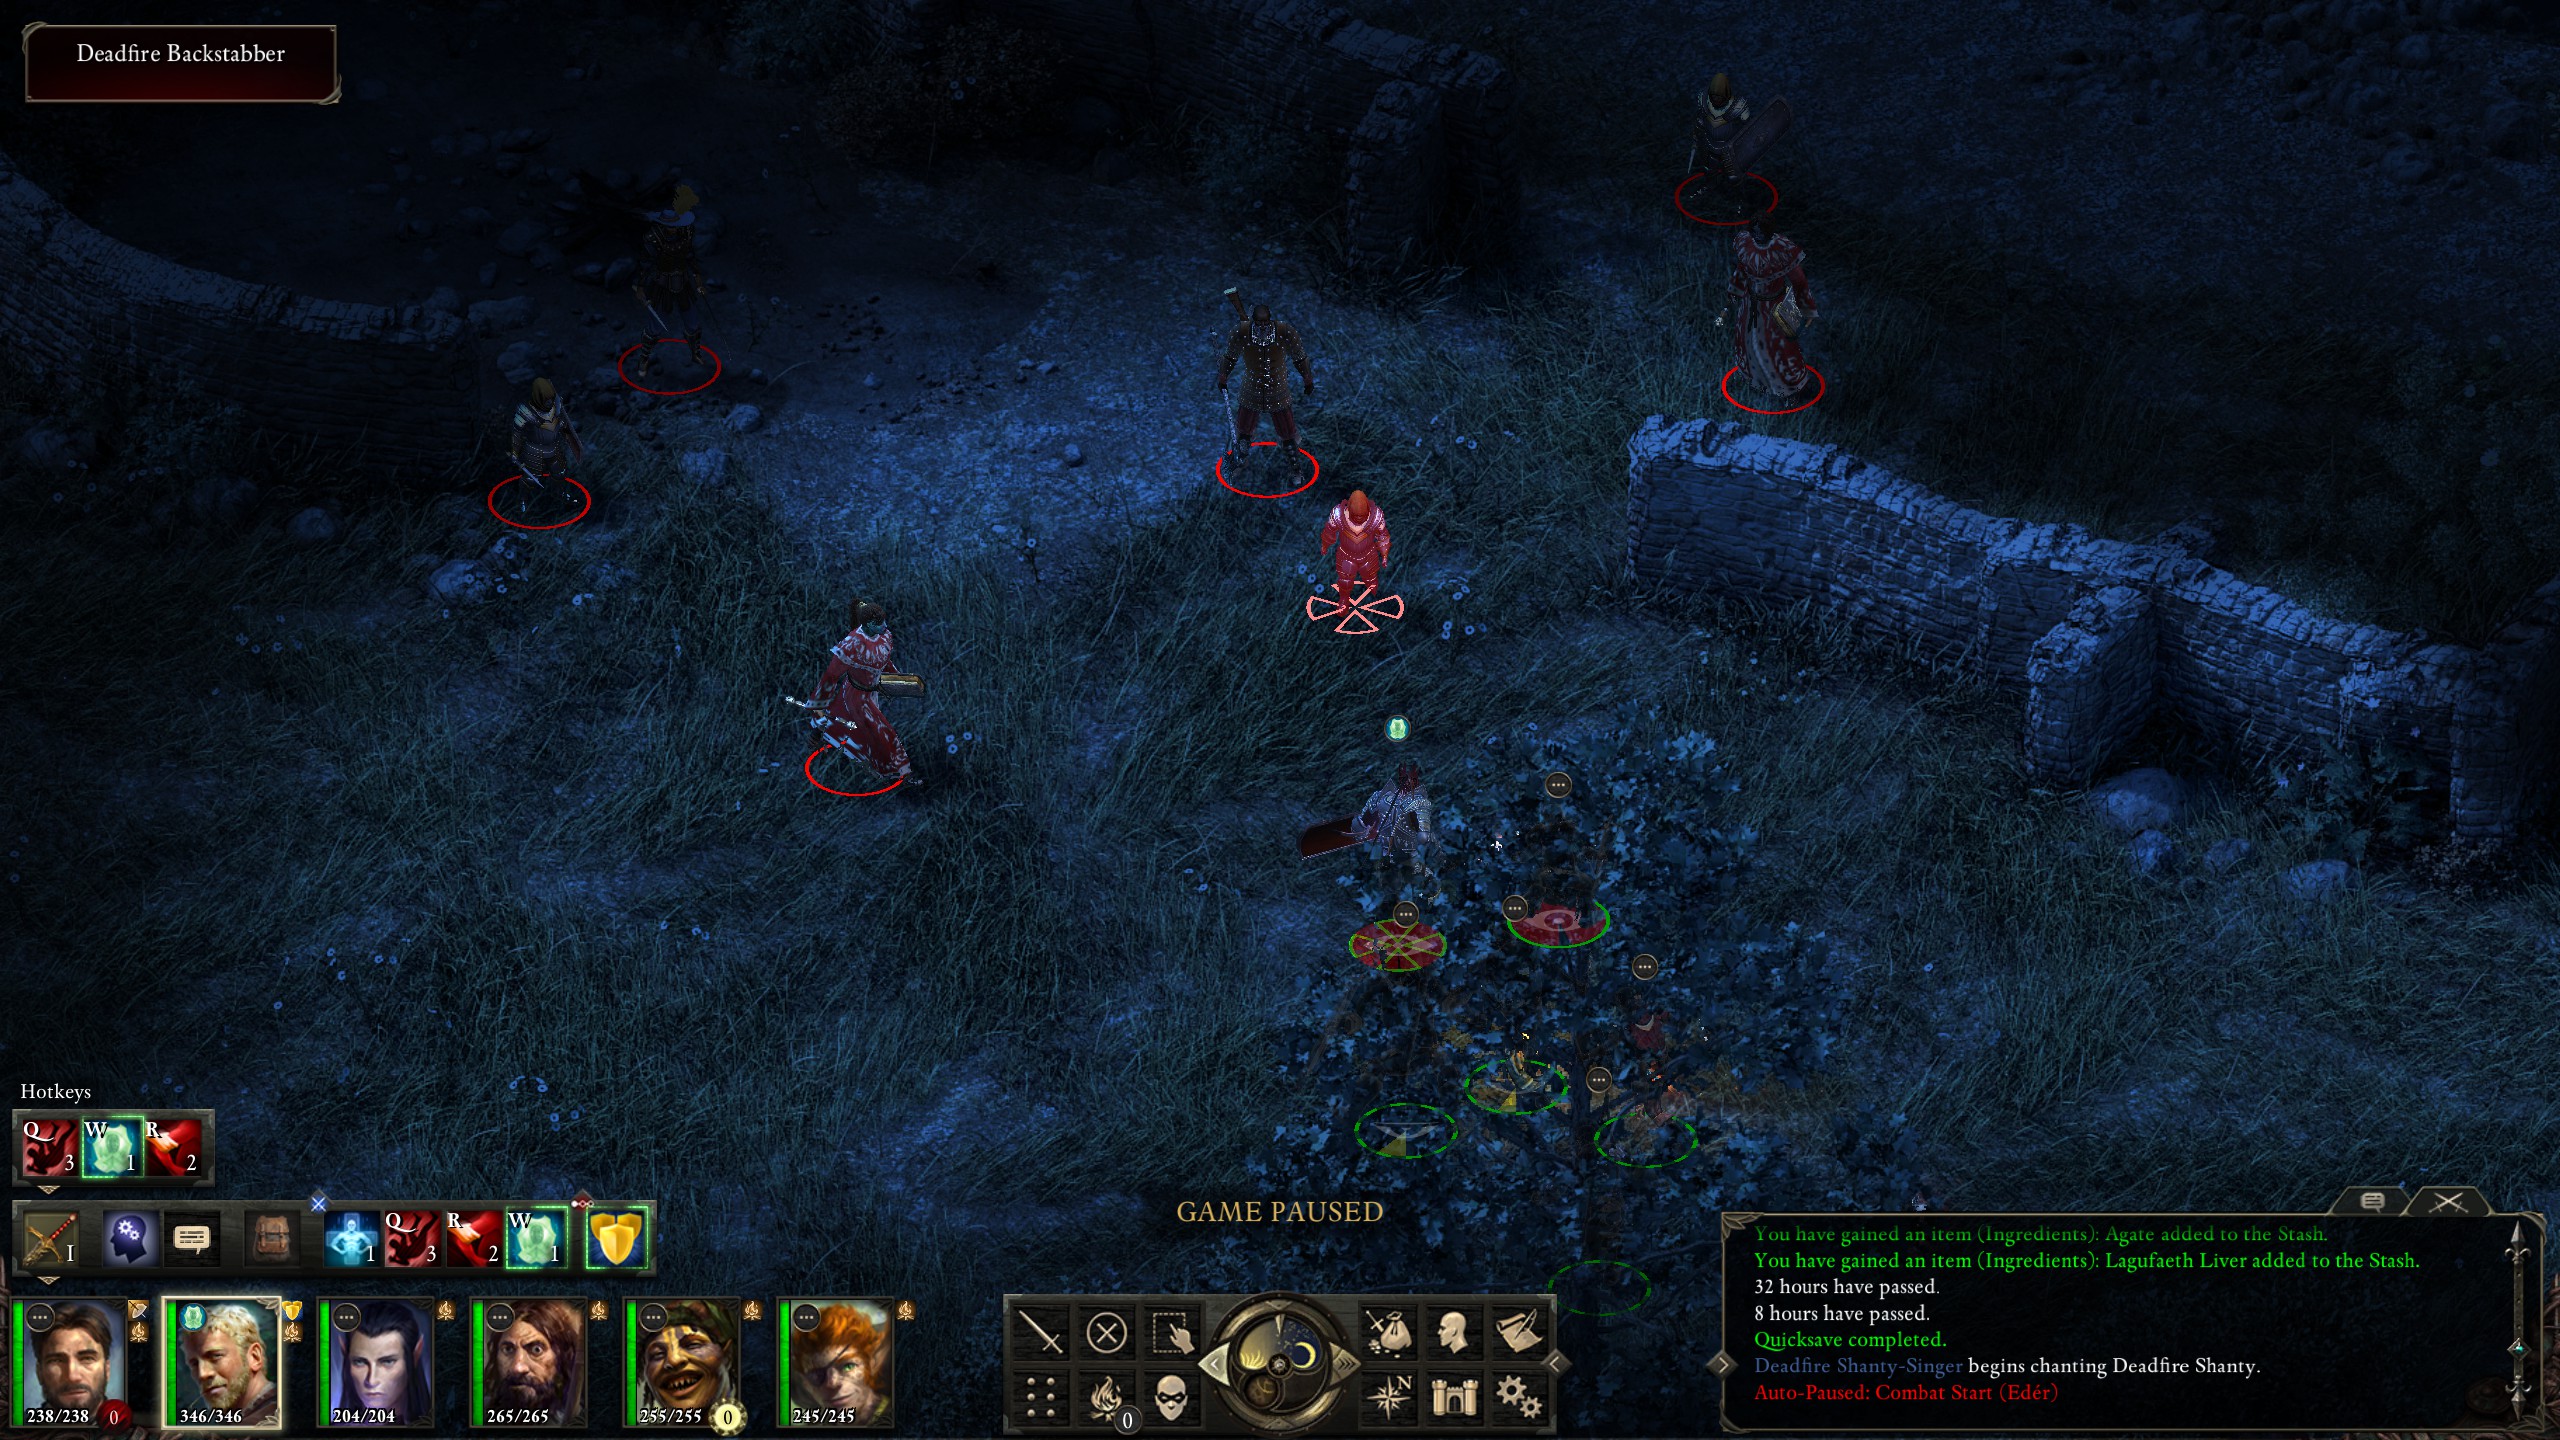
The final and most difficult bounty was Brynlod and his deadfire pirates; perhaps Obsidian already knew which area their first expansion would cover? I recalled this fight being unusually difficult from previous runs, but could not recount the reason.
About halfway into the fight I realized what exactly was happening. The three deadfire illusionists were acting as a sort of battle mage; they'd use “Deleterious Alacrity of Motion” to quickly cast spells, then “Essential Phantom” for some extra damage, then “Arcane Reflection” so they couldn't be easily picked off by spells, and finally “Caedebald's Blackbow” and “Citzal's Martial Power” in order to rapidly deal out massive auto-attack damage. Oh, and they all targeted my monk.
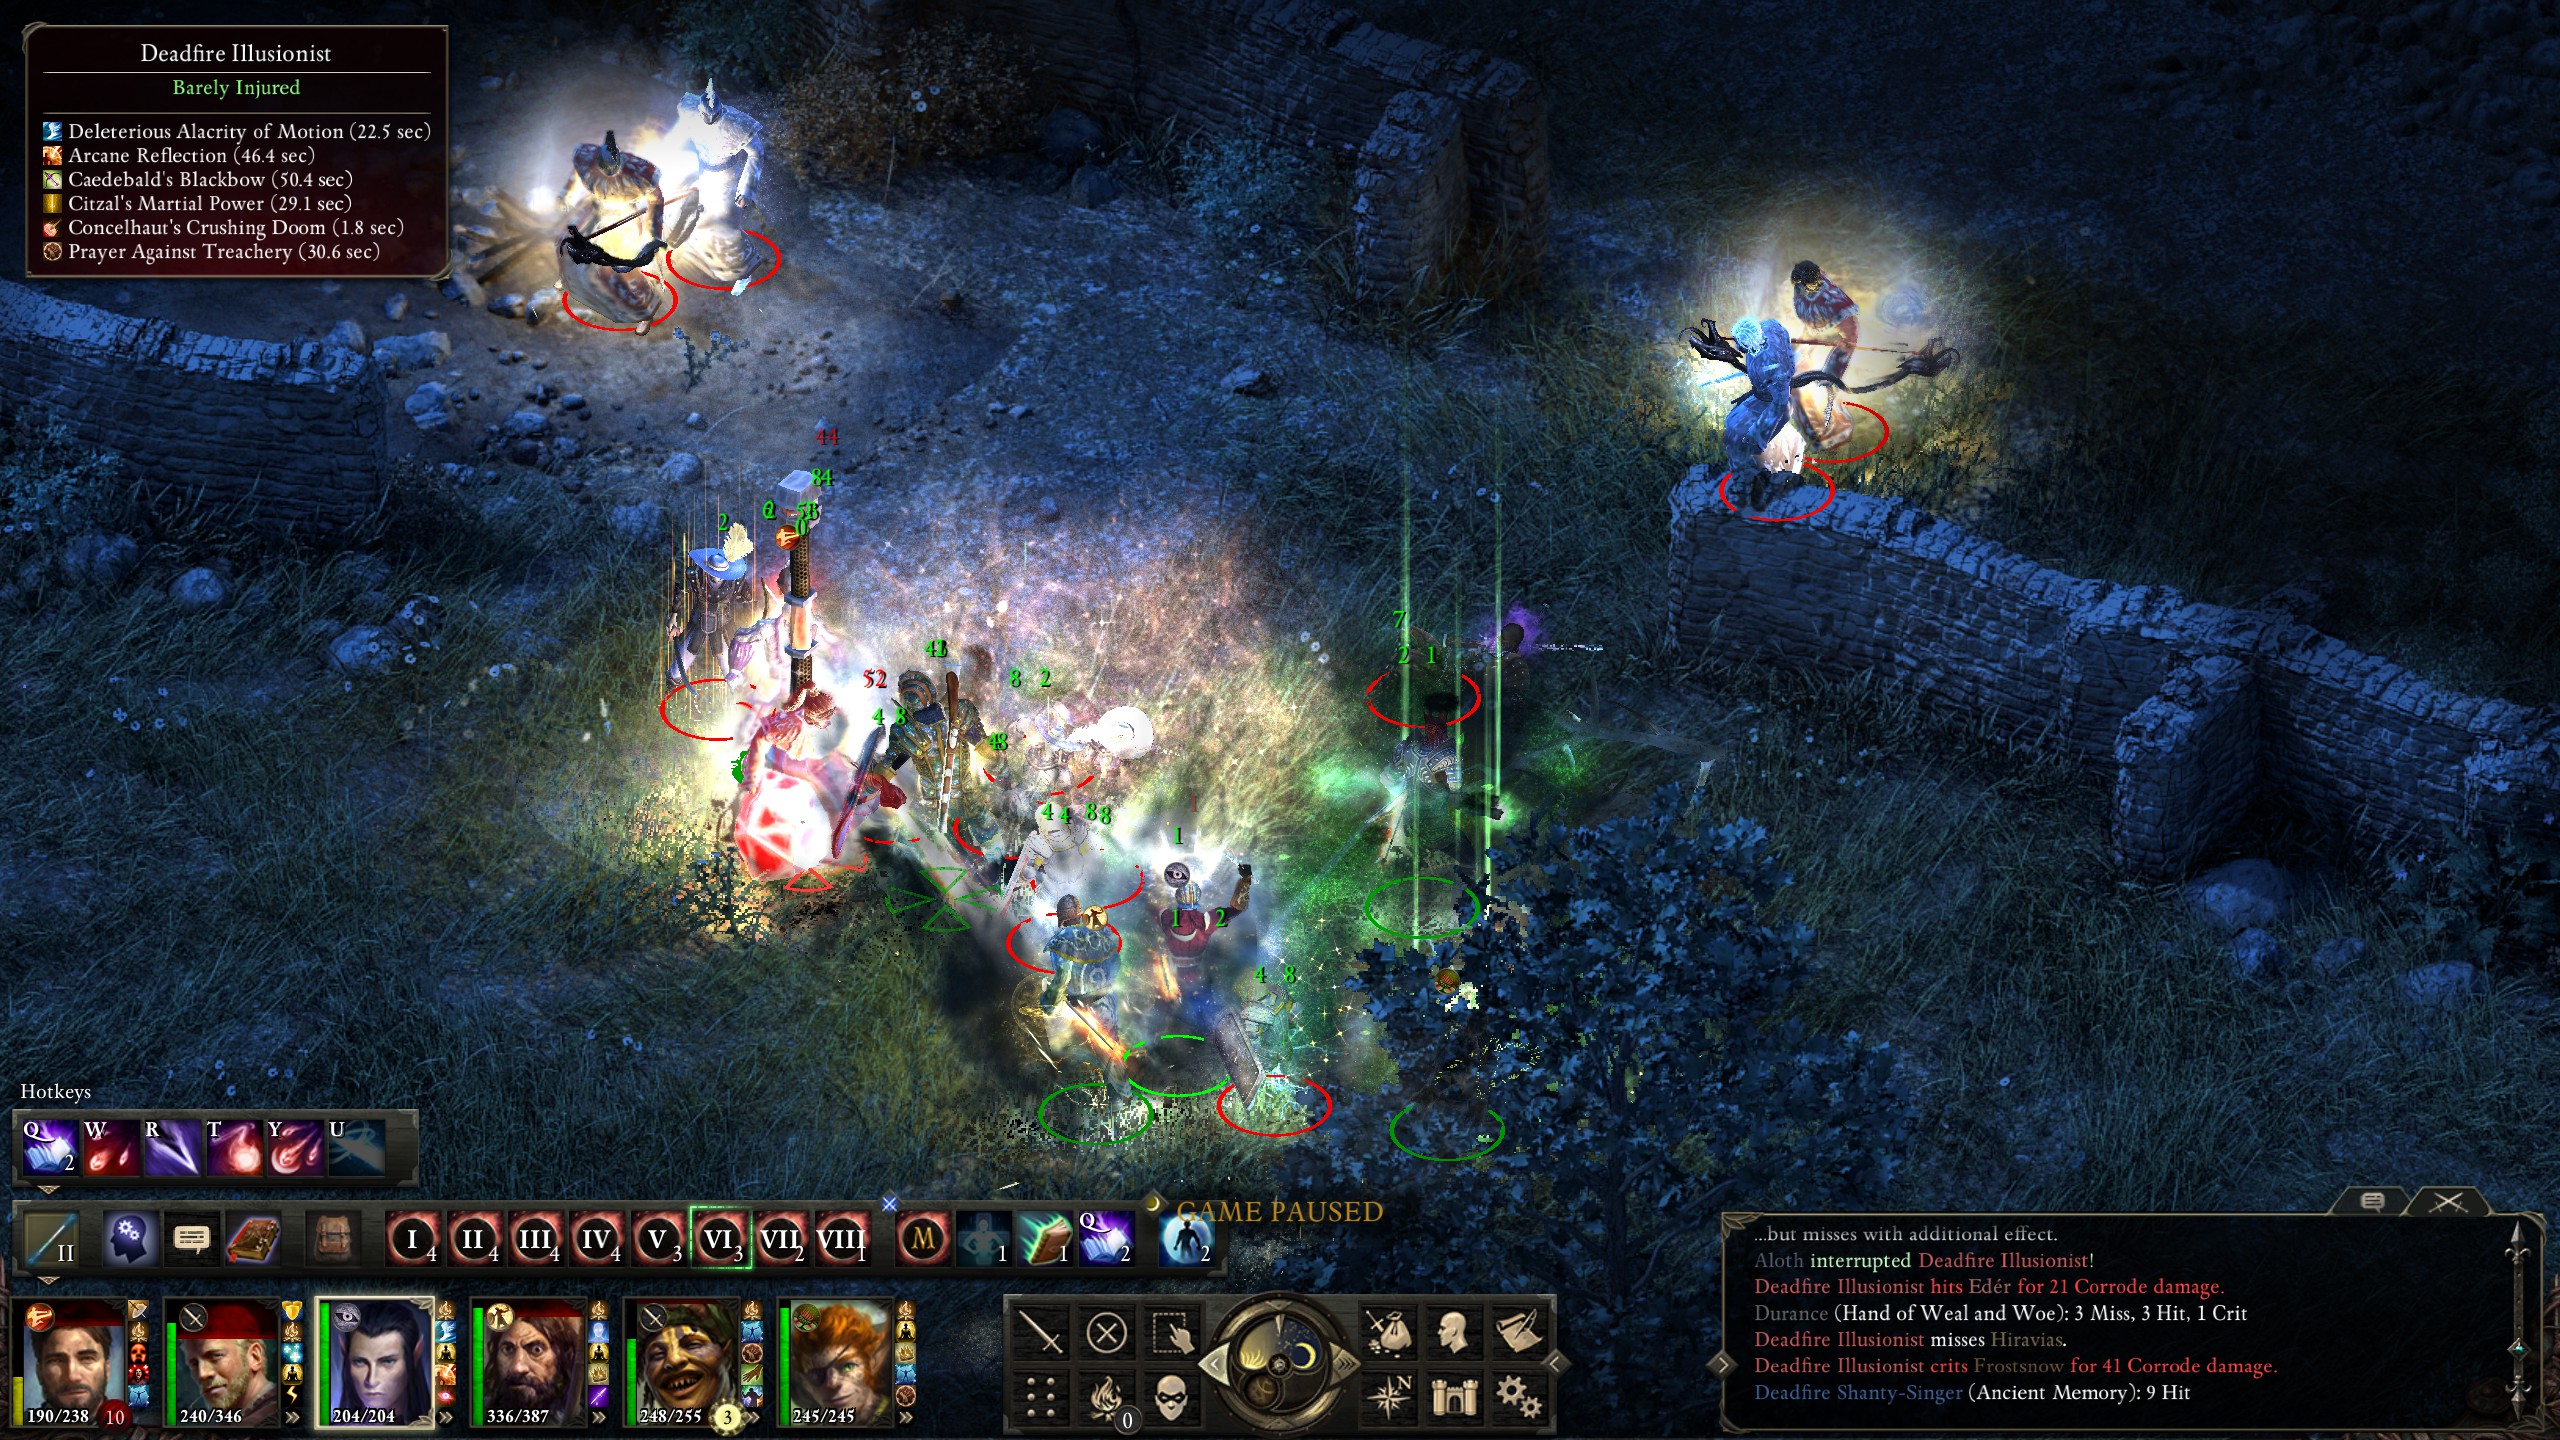
Unfortunately for me, I made a few mistakes. The first was to misremember the blackbow spell as doing raw damage when it actually did corrode, and the second was to use “Flagellant's Path” on the mage and thus leave my group before Hiravias's “Weather the Storm” buff had landed. My monk then both took so much damage and wasn't able to deliver much due to the constant interruptions from being hit by arrows that he had to run back into the group so Durance could cast “Barring Death's Door” on my monk.
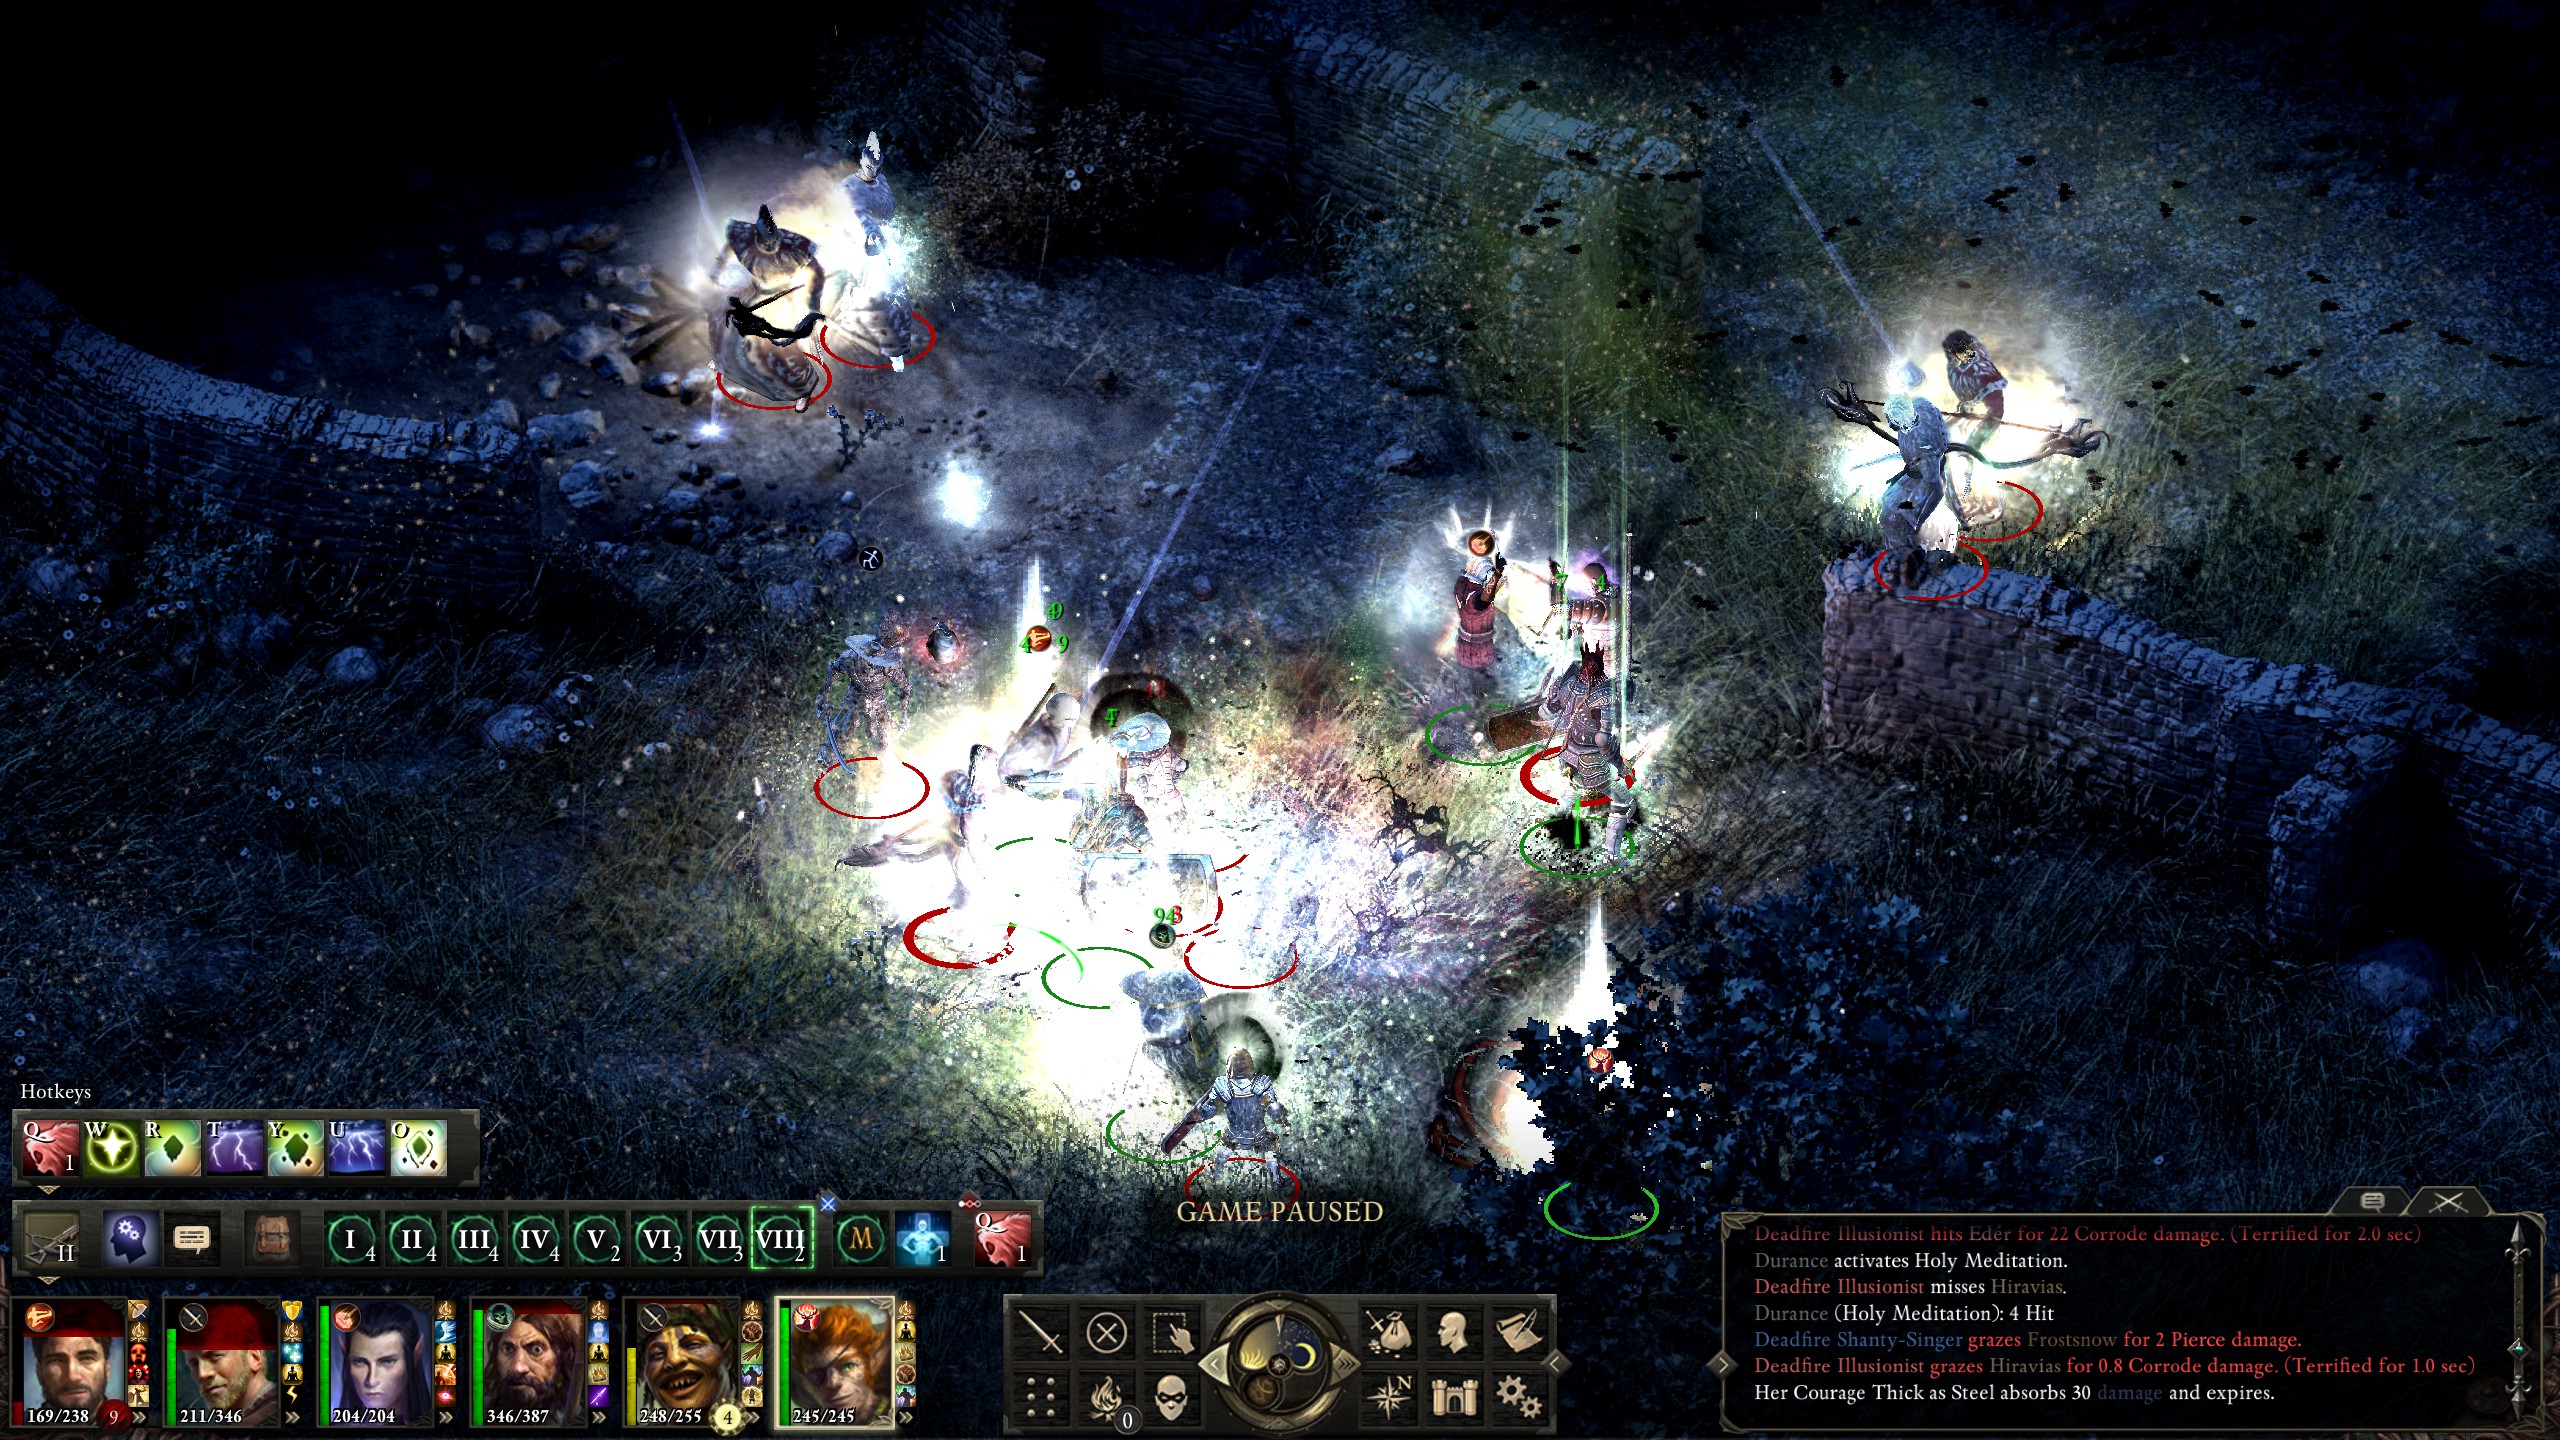
It was a good thing, too, as my monk quickly ran out of health. In the meantime I sent a few summoned creatures after the illusionists and had Aloth throw “Concelhaut's Crushing Doom” on each in order to hopefully disable them for a while.
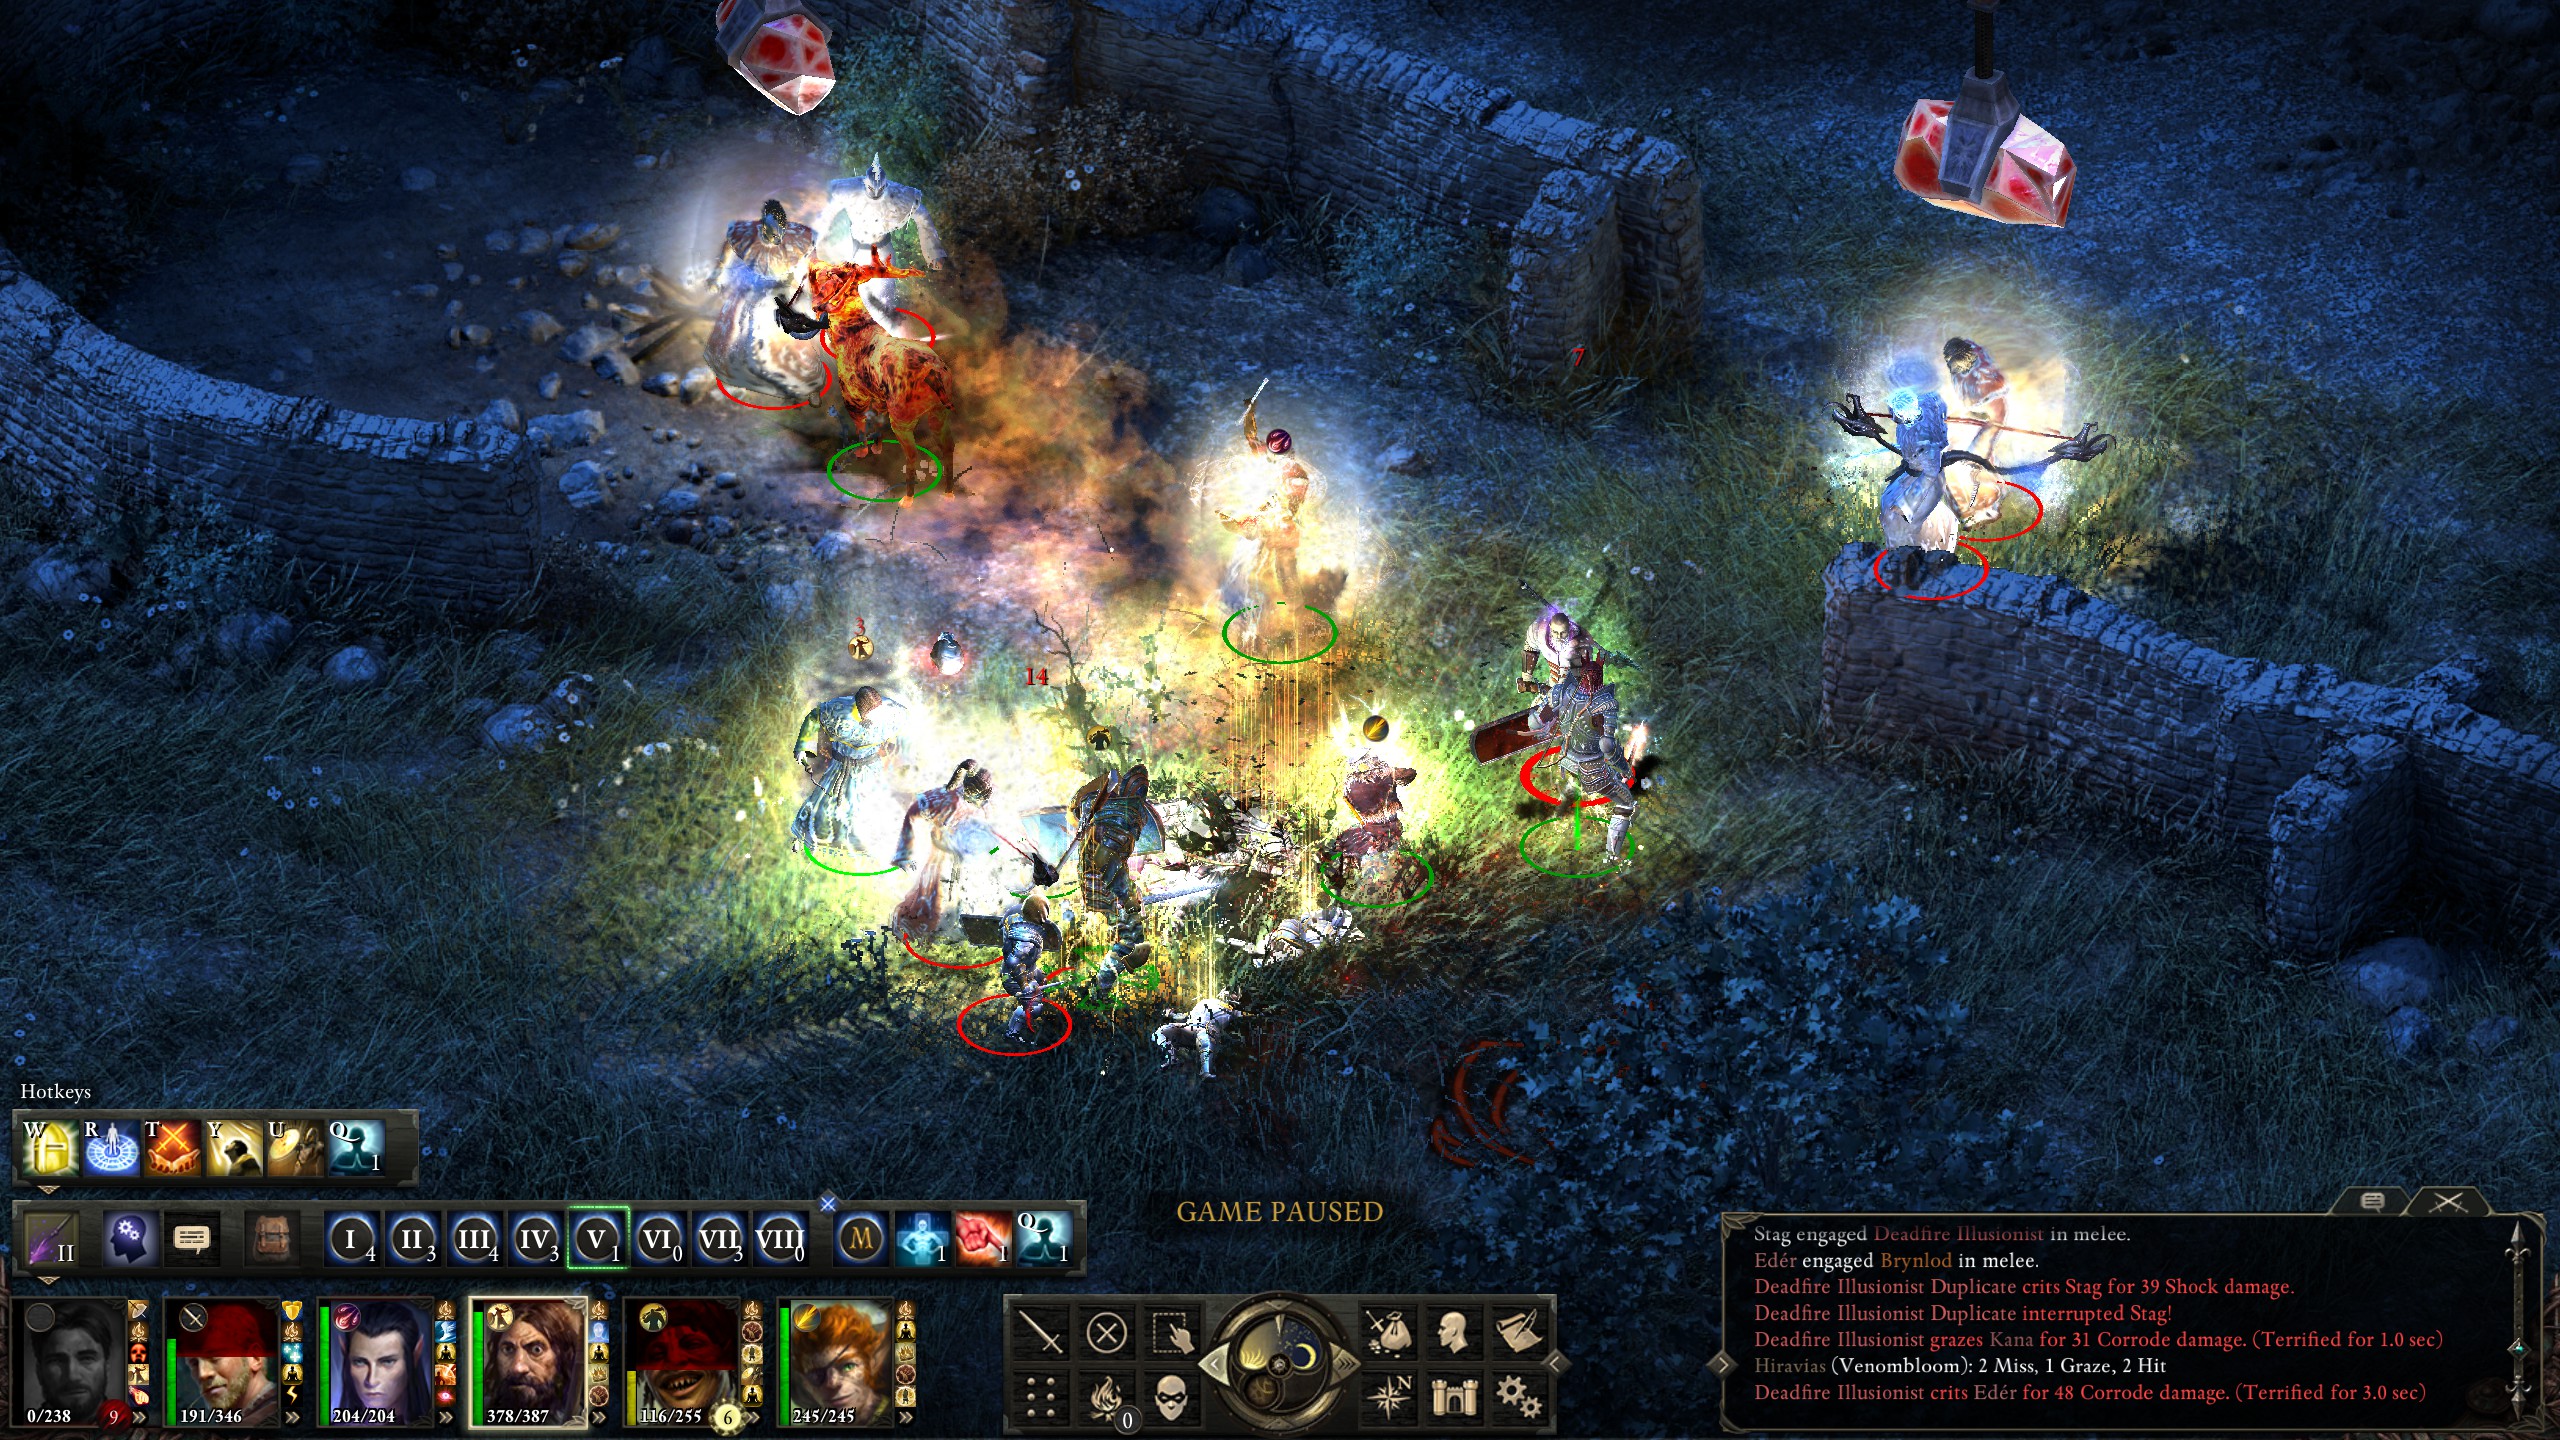
Thanks to the sheer amount of buffs I had in my main group, such as “Spark the Souls of the Righteous”, I eventually managed to kill the enemies around my main group, leaving only the outlying illusionists.
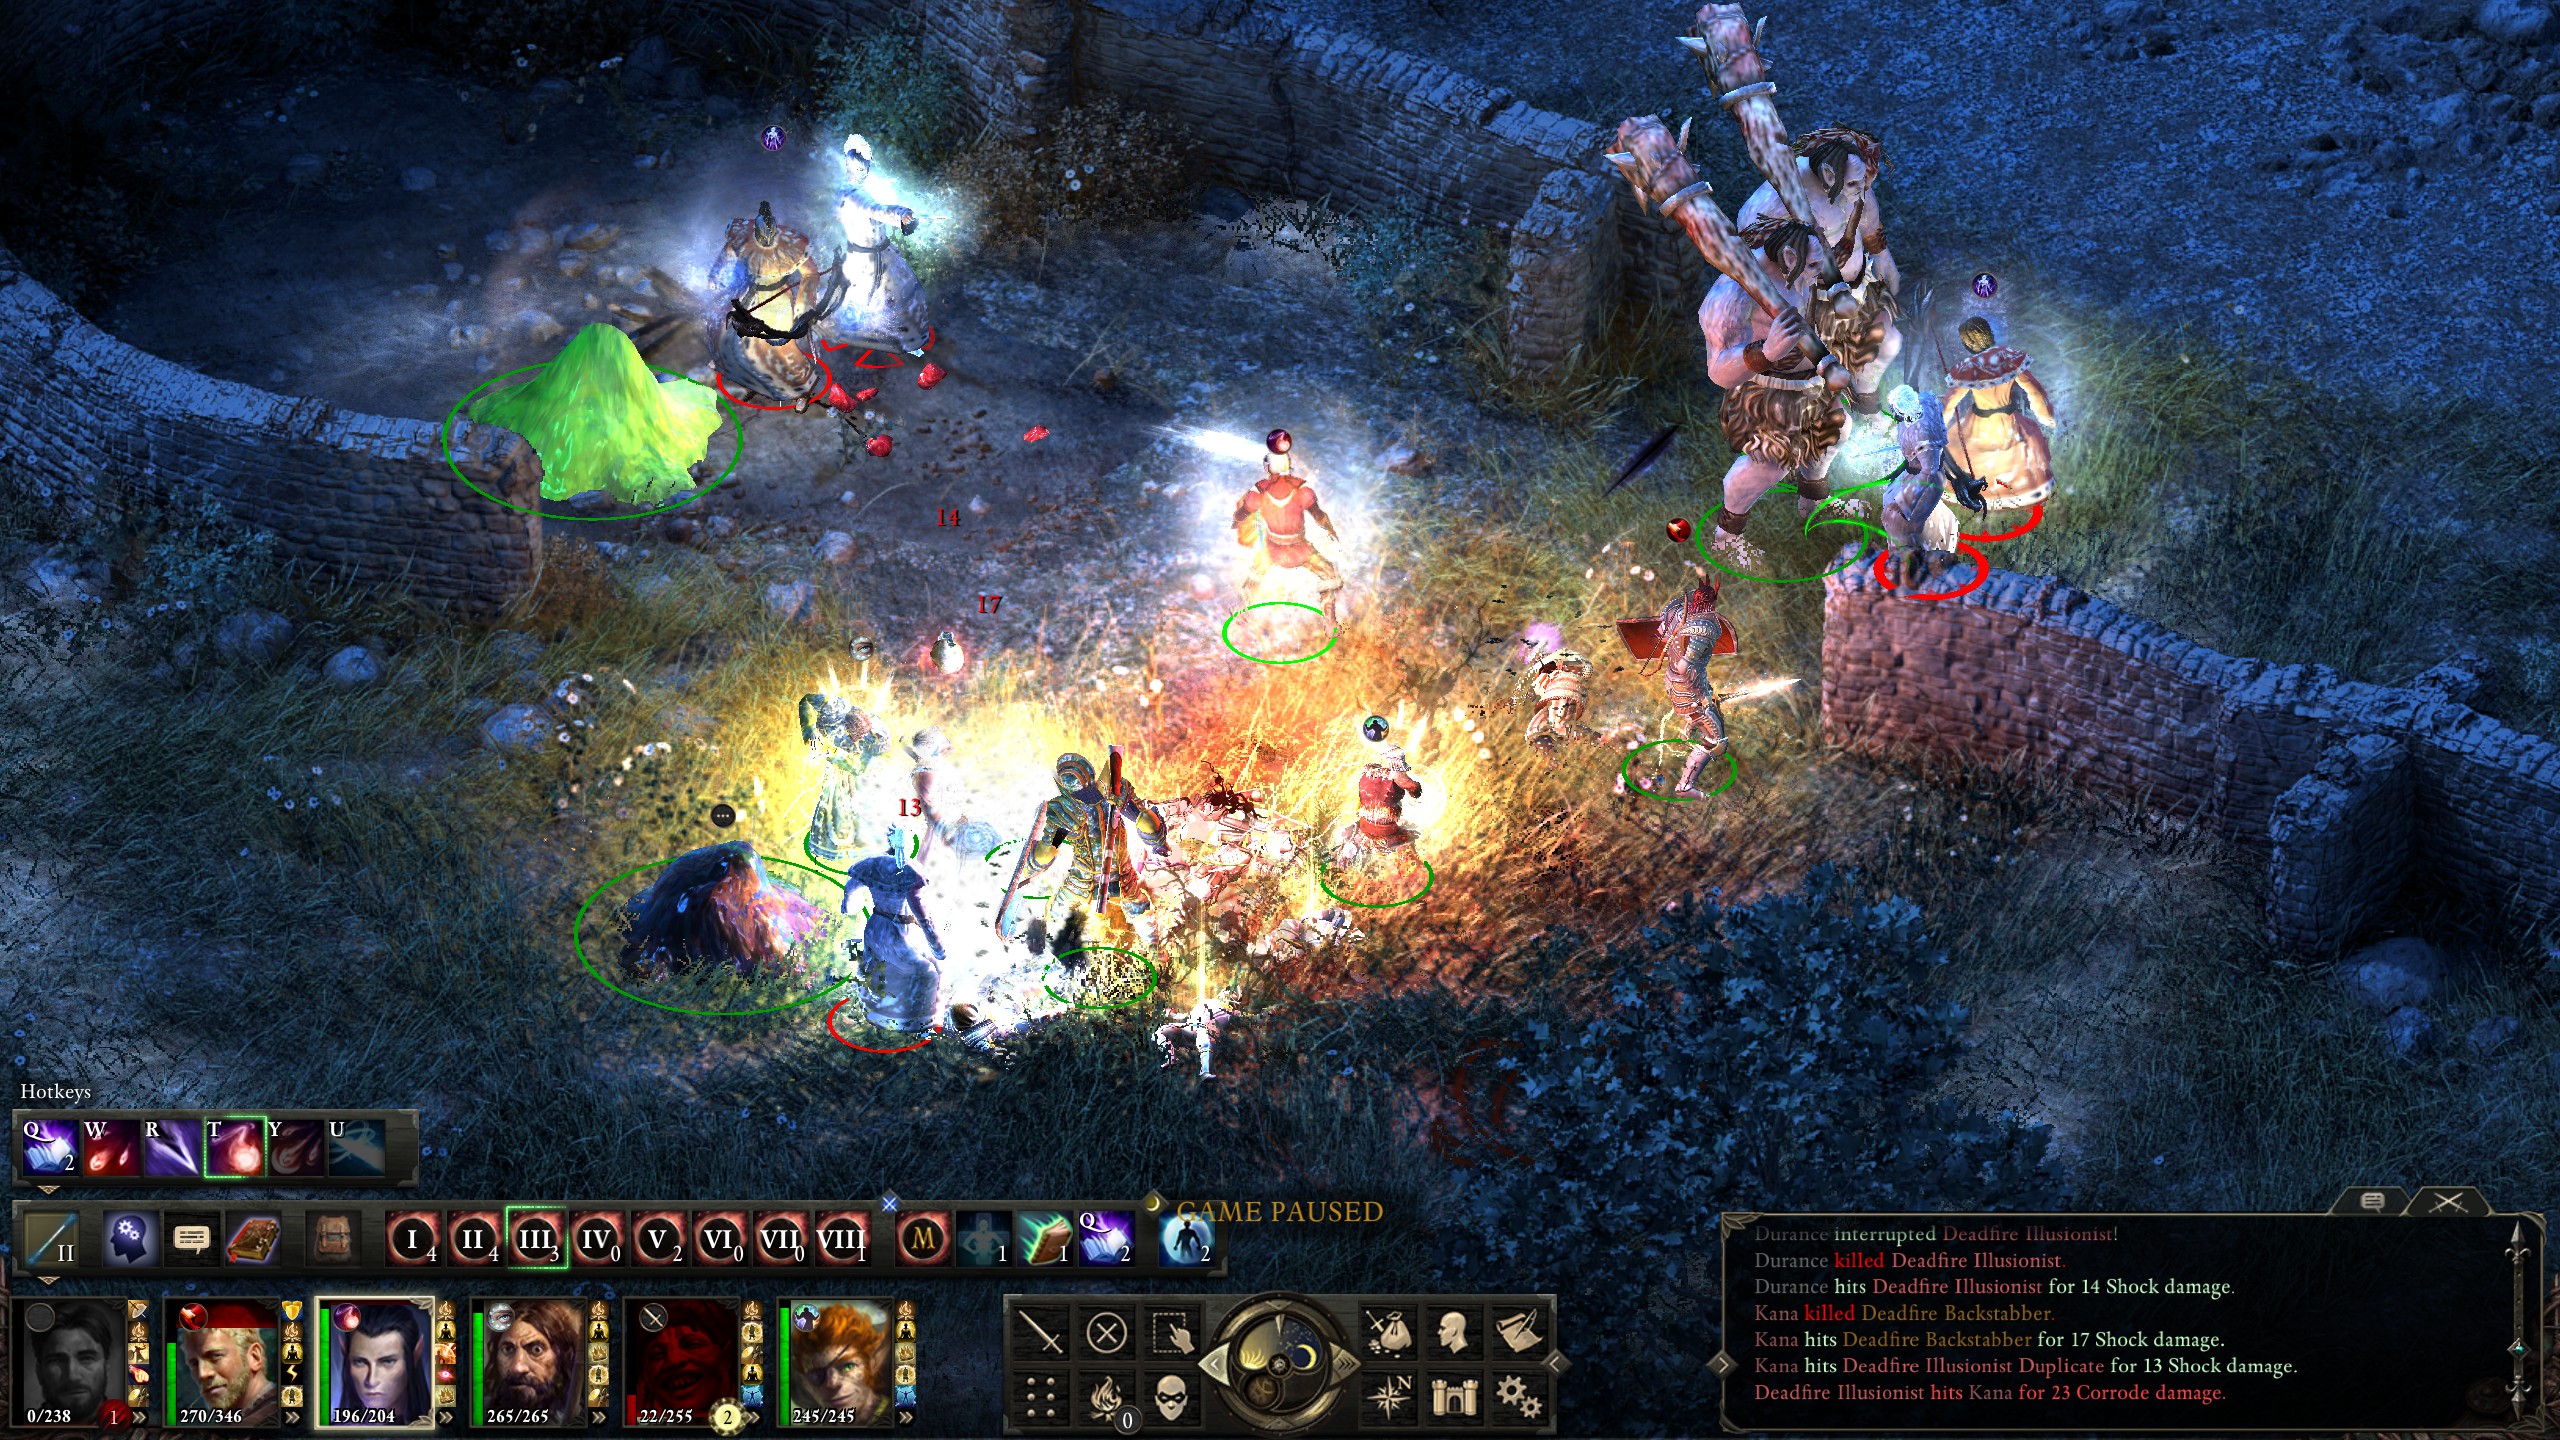
At this point the battle had gone on long enough that the illusionists' buffs started to wear off and they had to re-cast a few of their spells. Keeping as much elemental protection as I could muster up, I took my chance to kill them.
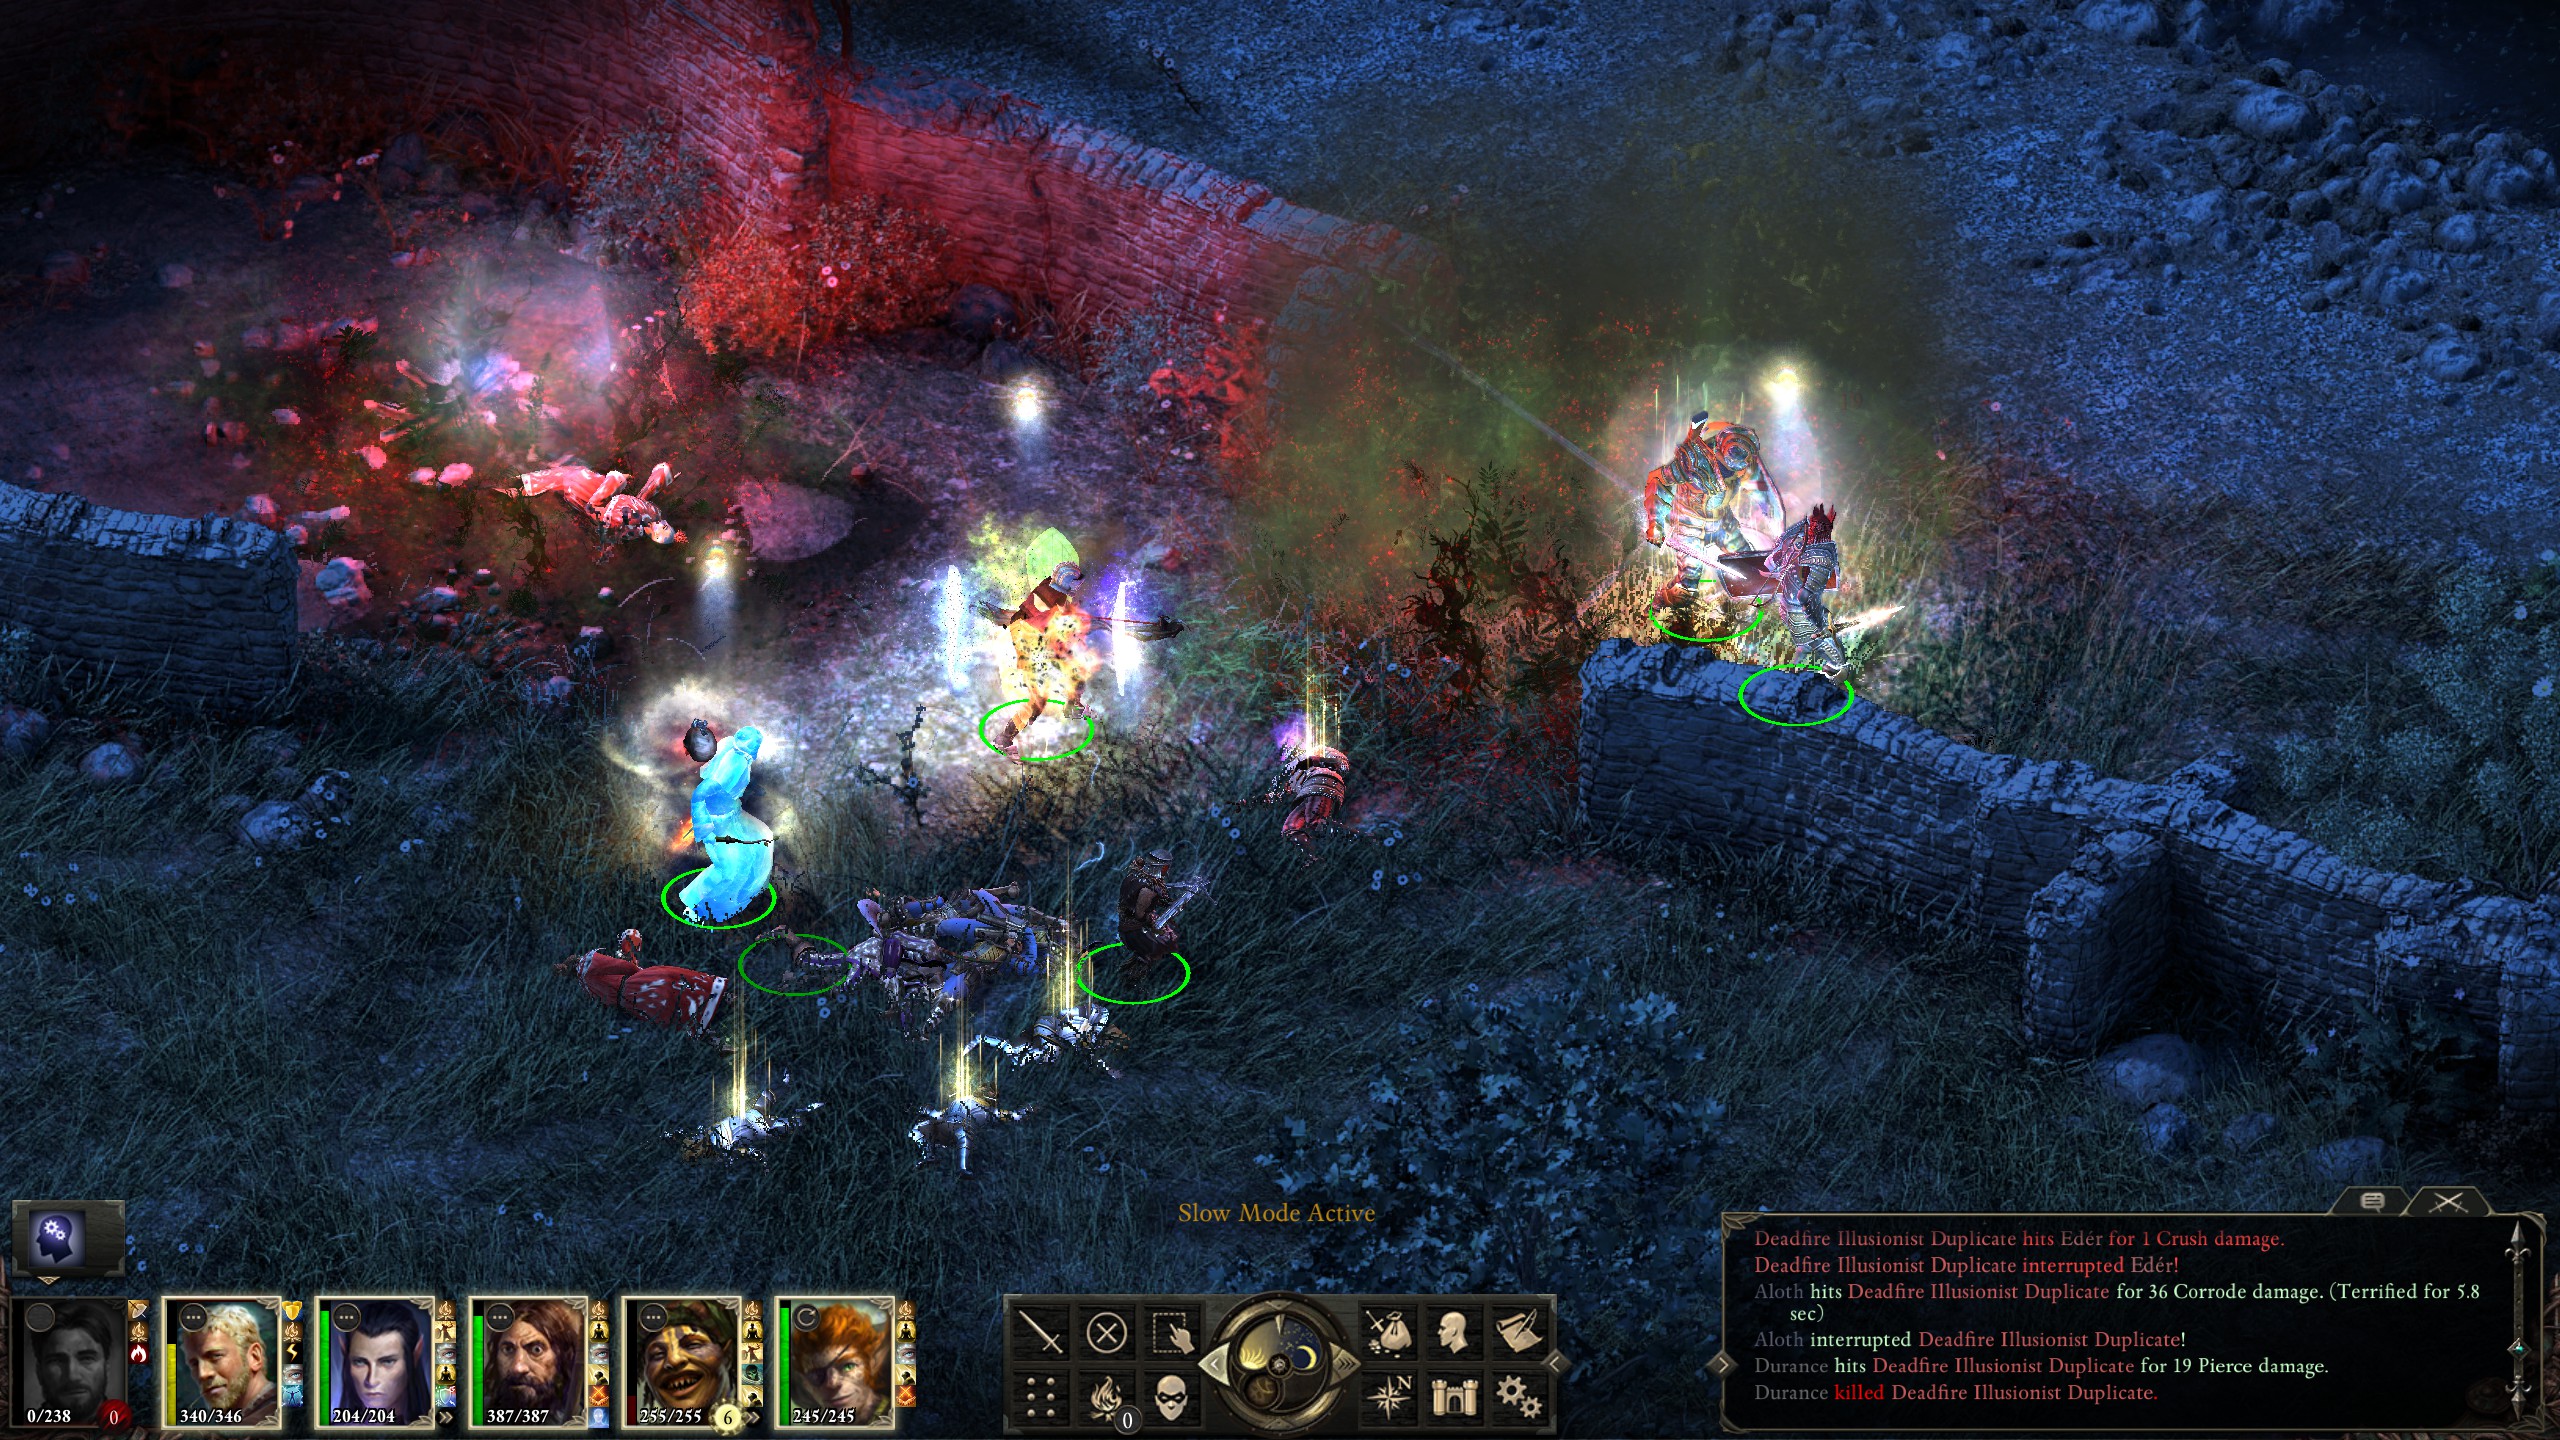
More through sheer endurance than guile, I managed to recover from my mistakes and beat the pirates on first try, but it was a very close fight. With the last bounty done, I headed to Iron Flail Fort in order to advance the main storyline.
The guards didn't prove particularly difficult, and I made it to Adaryc without much problem.
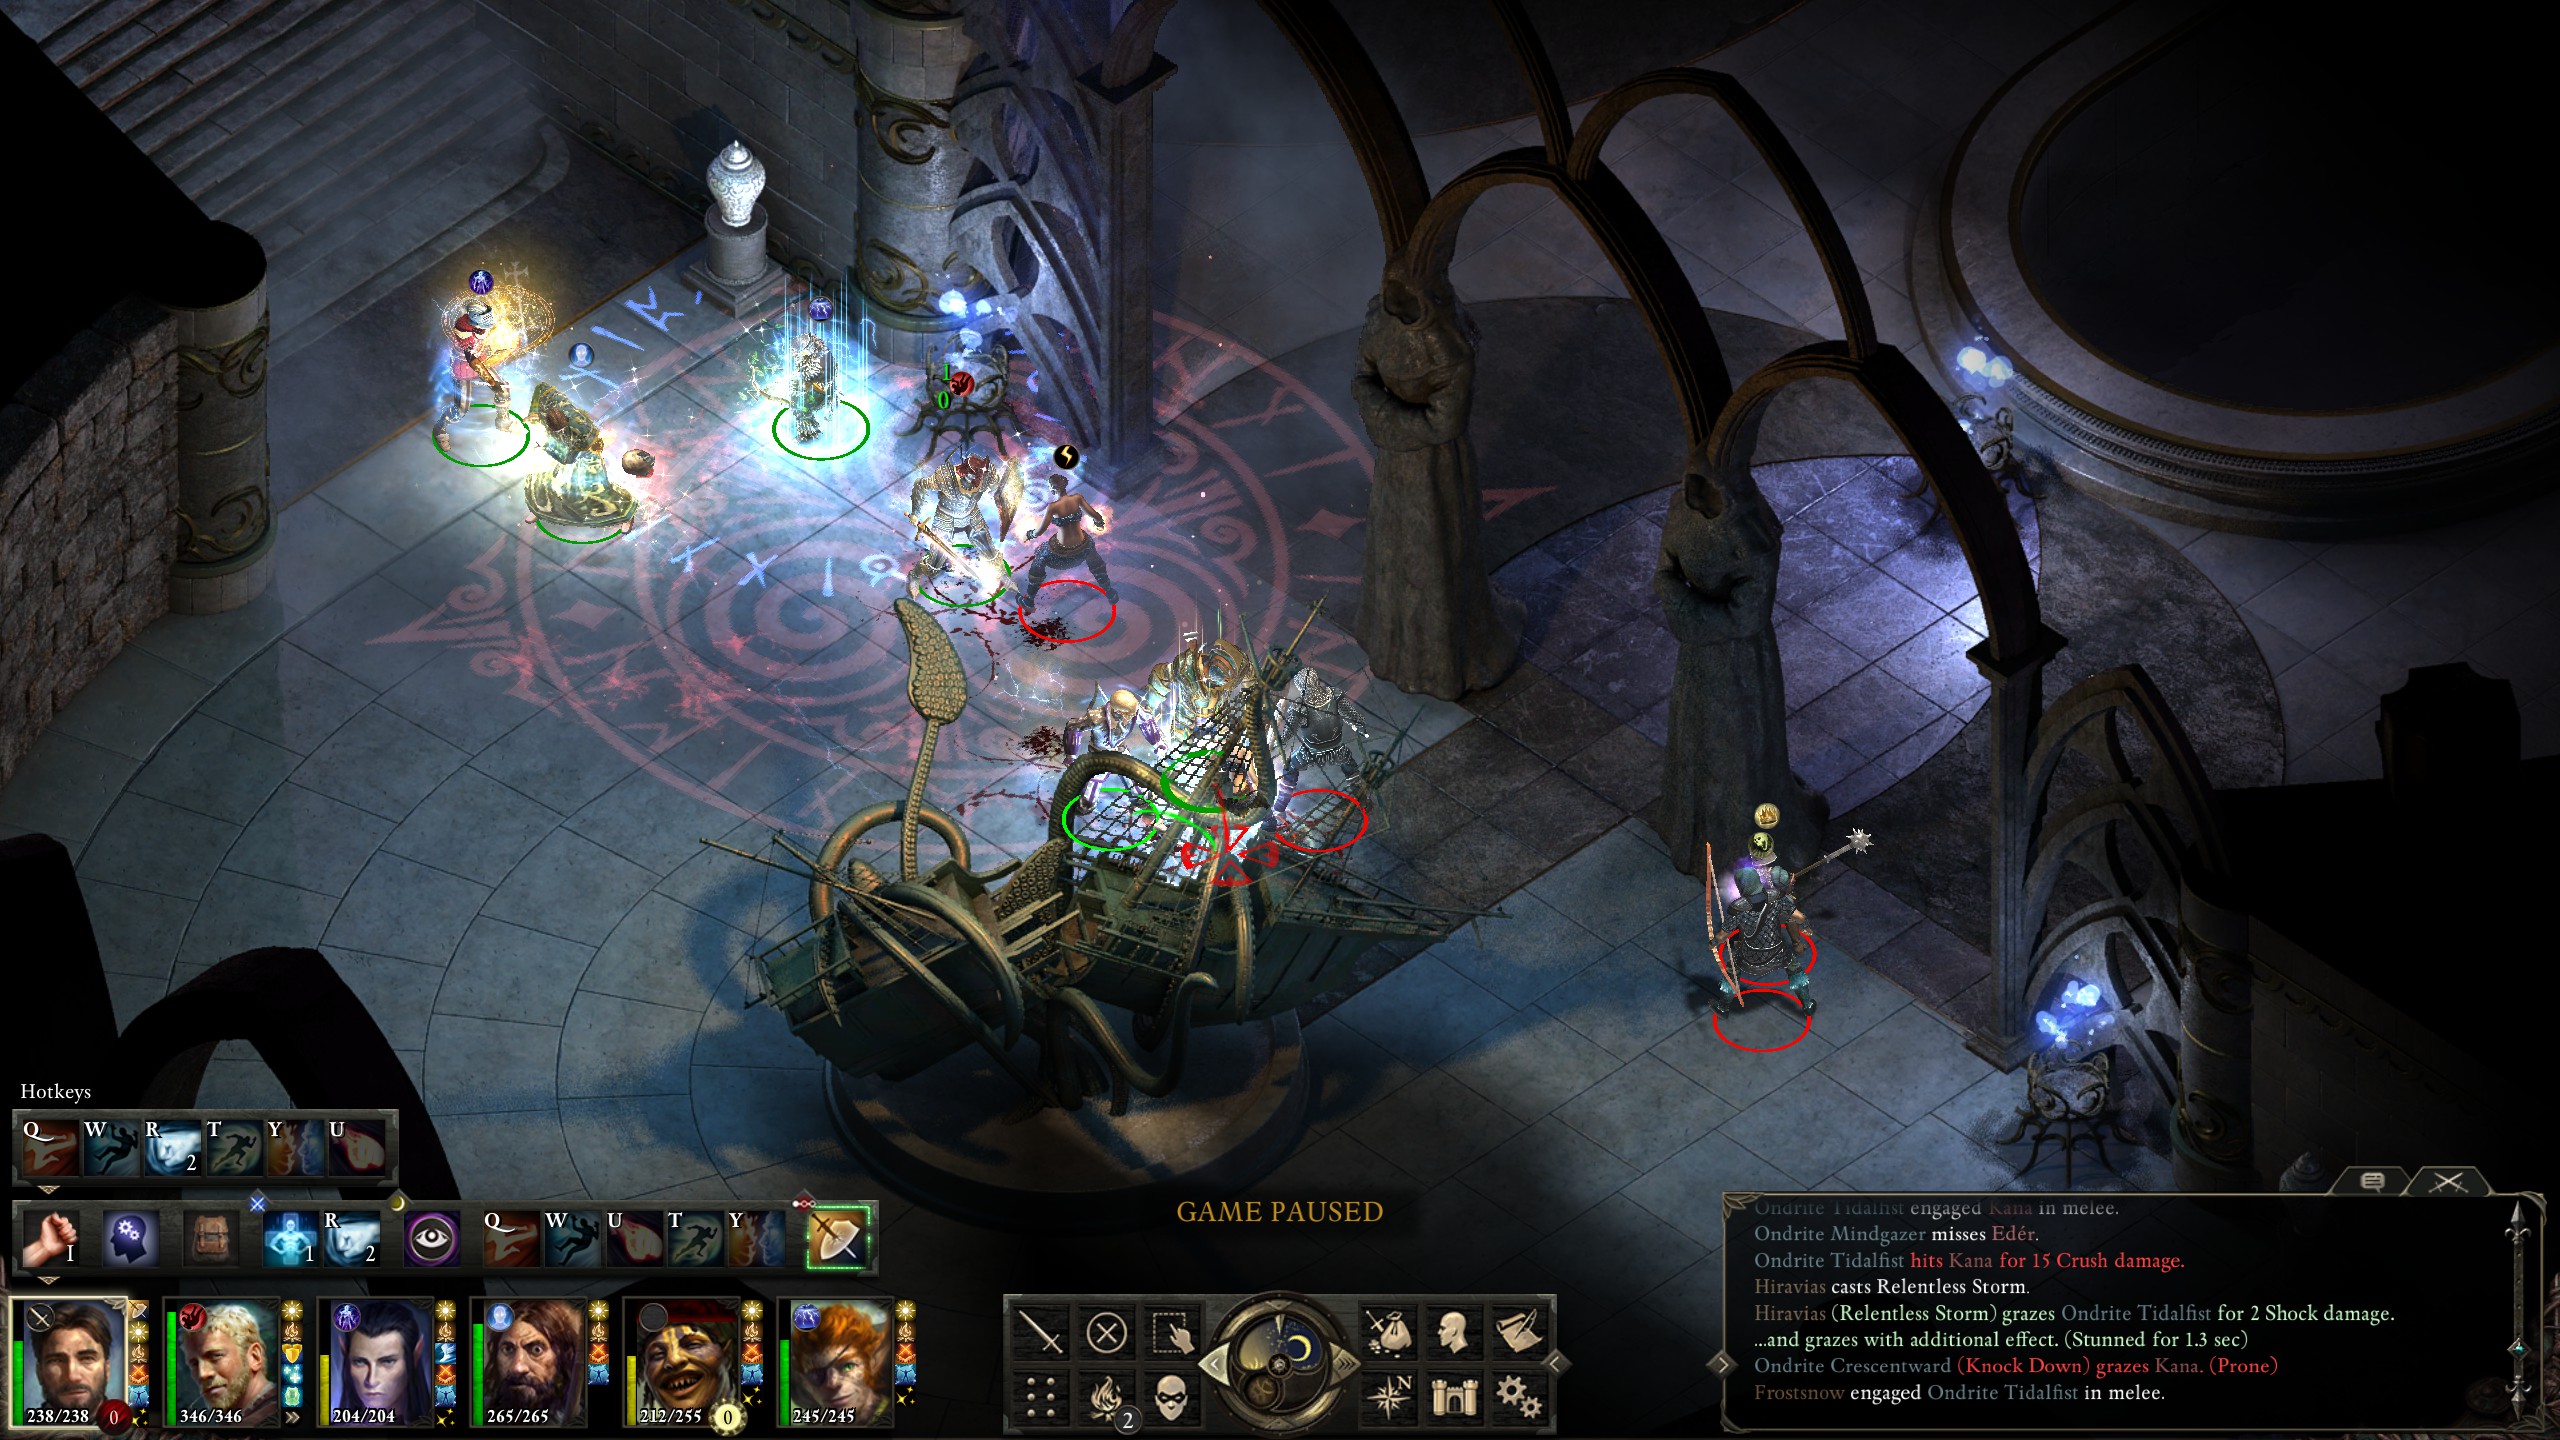
I managed to convince him to help me, but then, unfortunately, I forgot to take a screenshot of my battle with the eyeless afterwards, although the battle didn't prove difficult. I used “Concelhaut's Crushing Doom” in order to disable them and then took them down one at a time using focus firing. Once the eyeless were dead, I set out for the abbey.
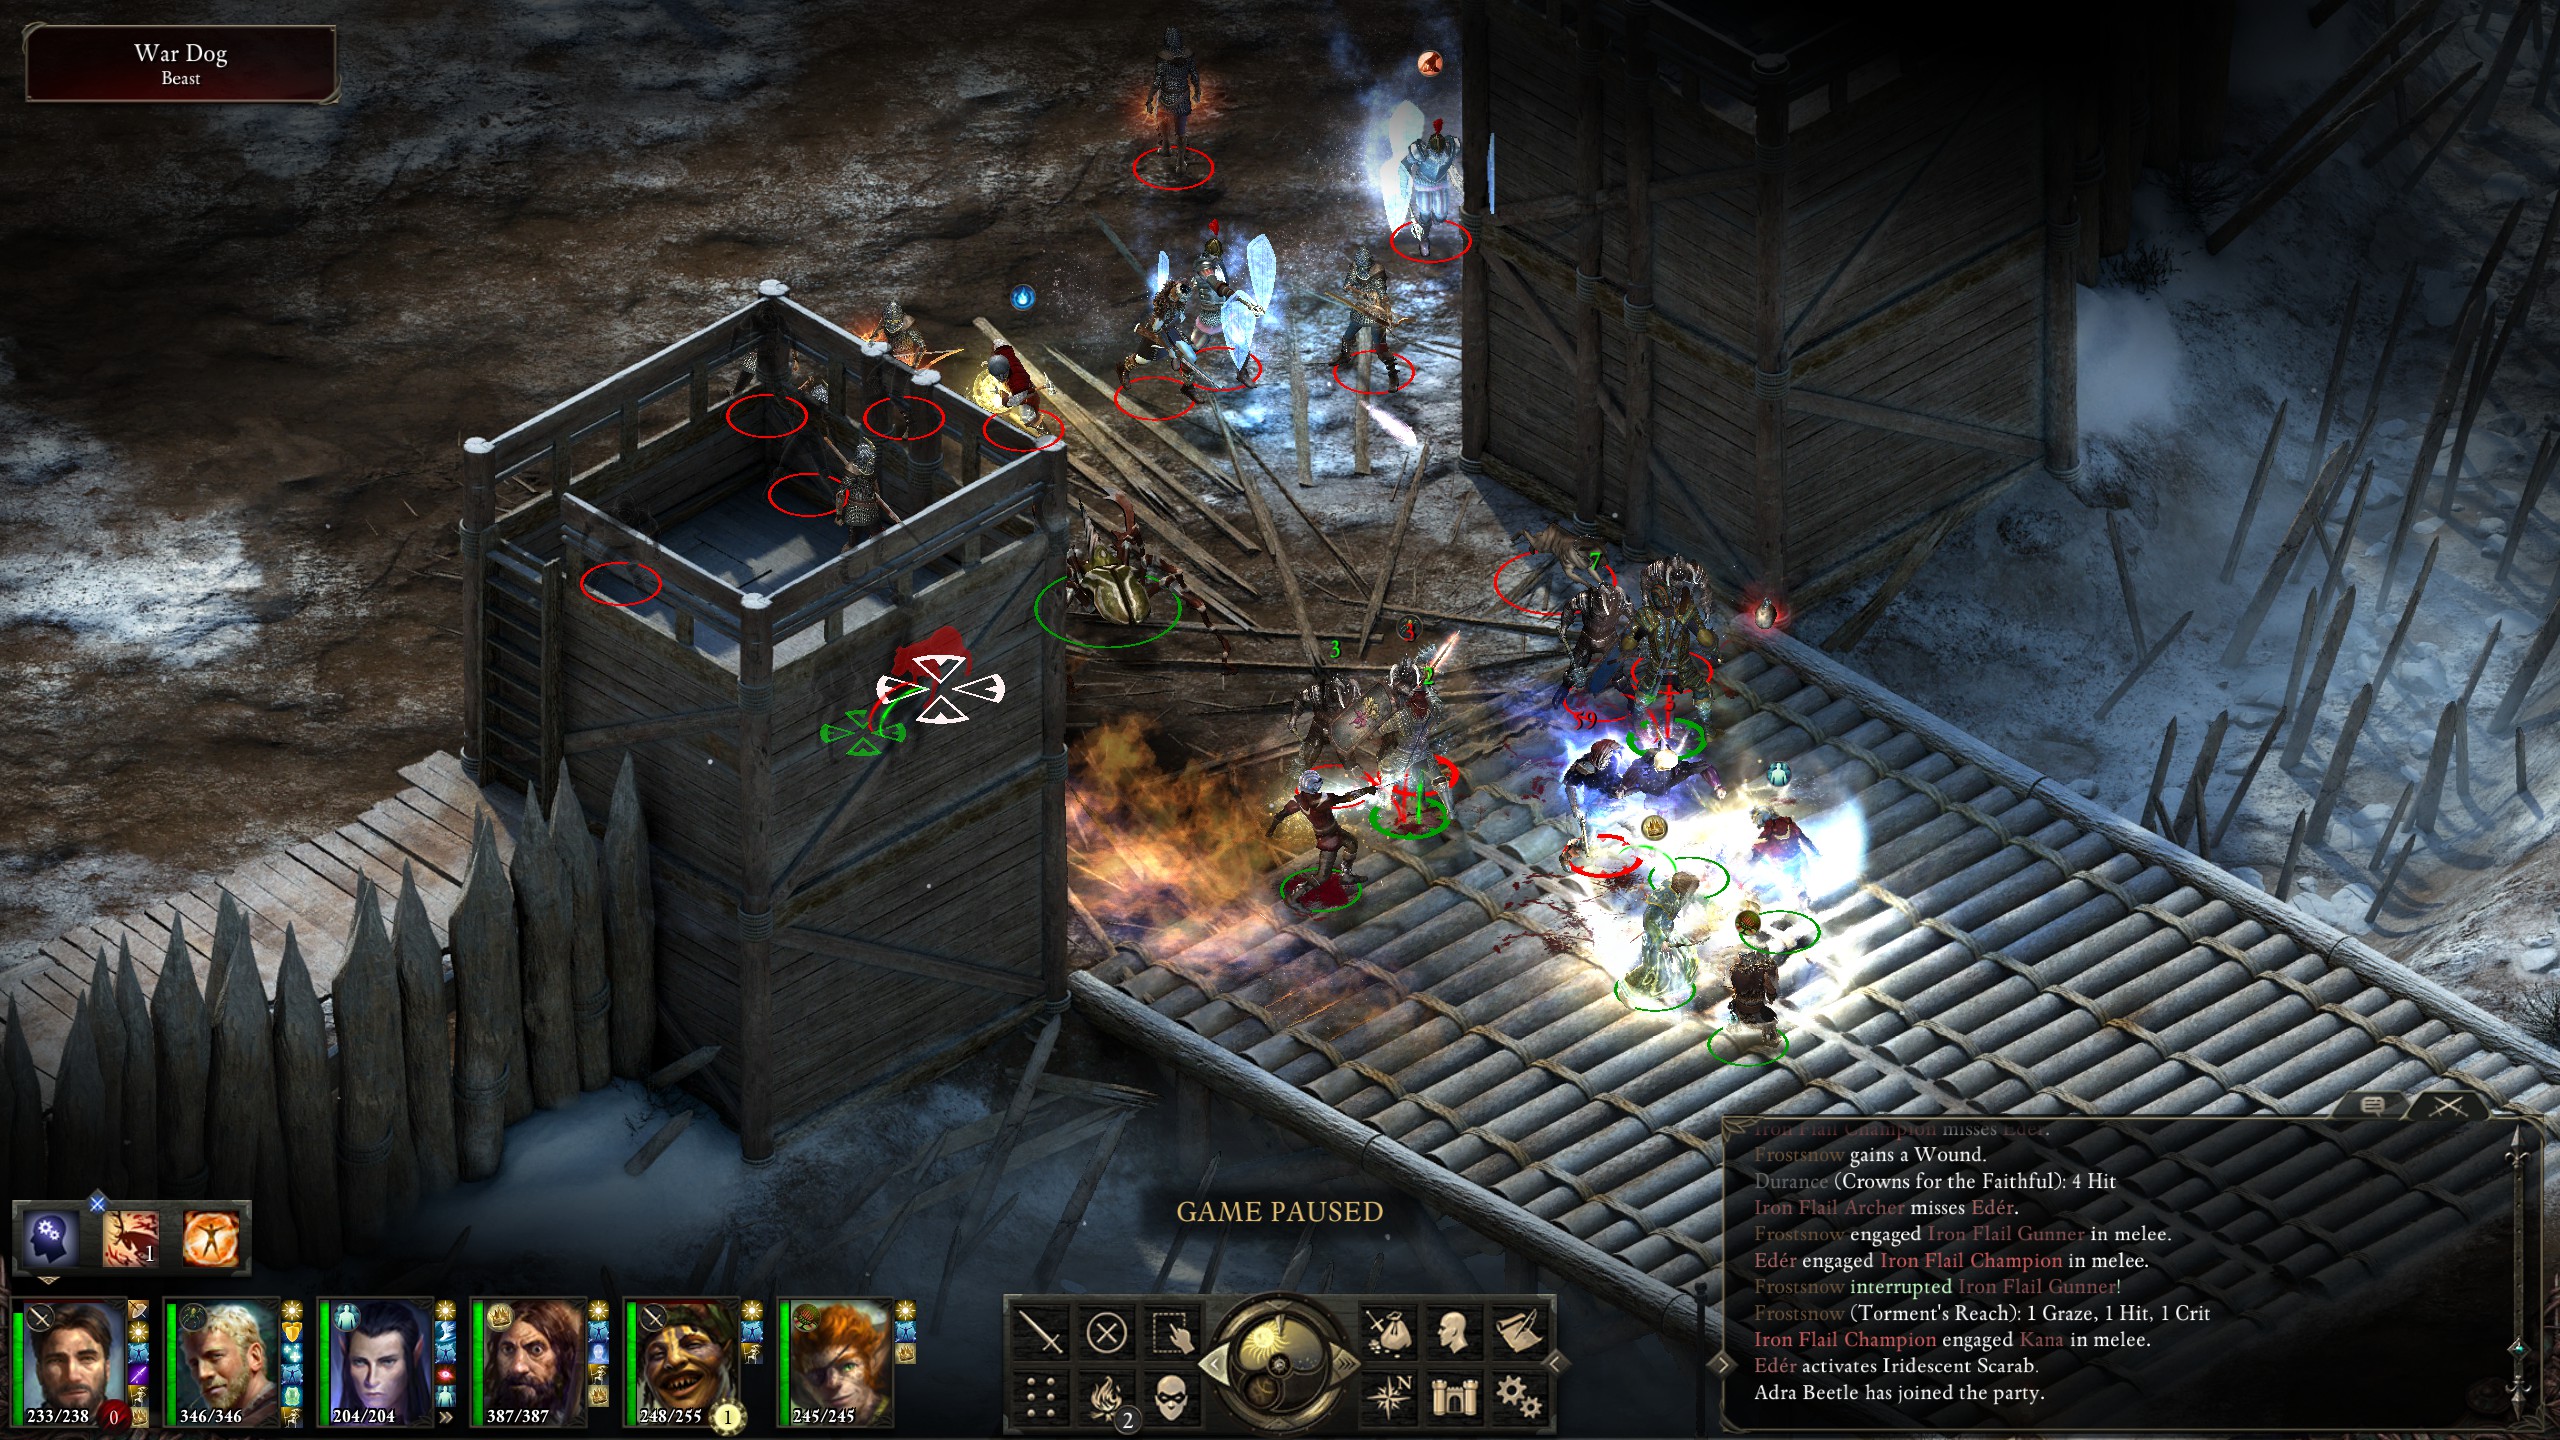
The main entrance contained the ribcage of a giant skeleton in addition to a large number of guards and some ice blights that would spawn in the middle of the fight.
I also ran into a bit of trouble on the west side as I accidentally drew numerous guards into a prolonged fight.
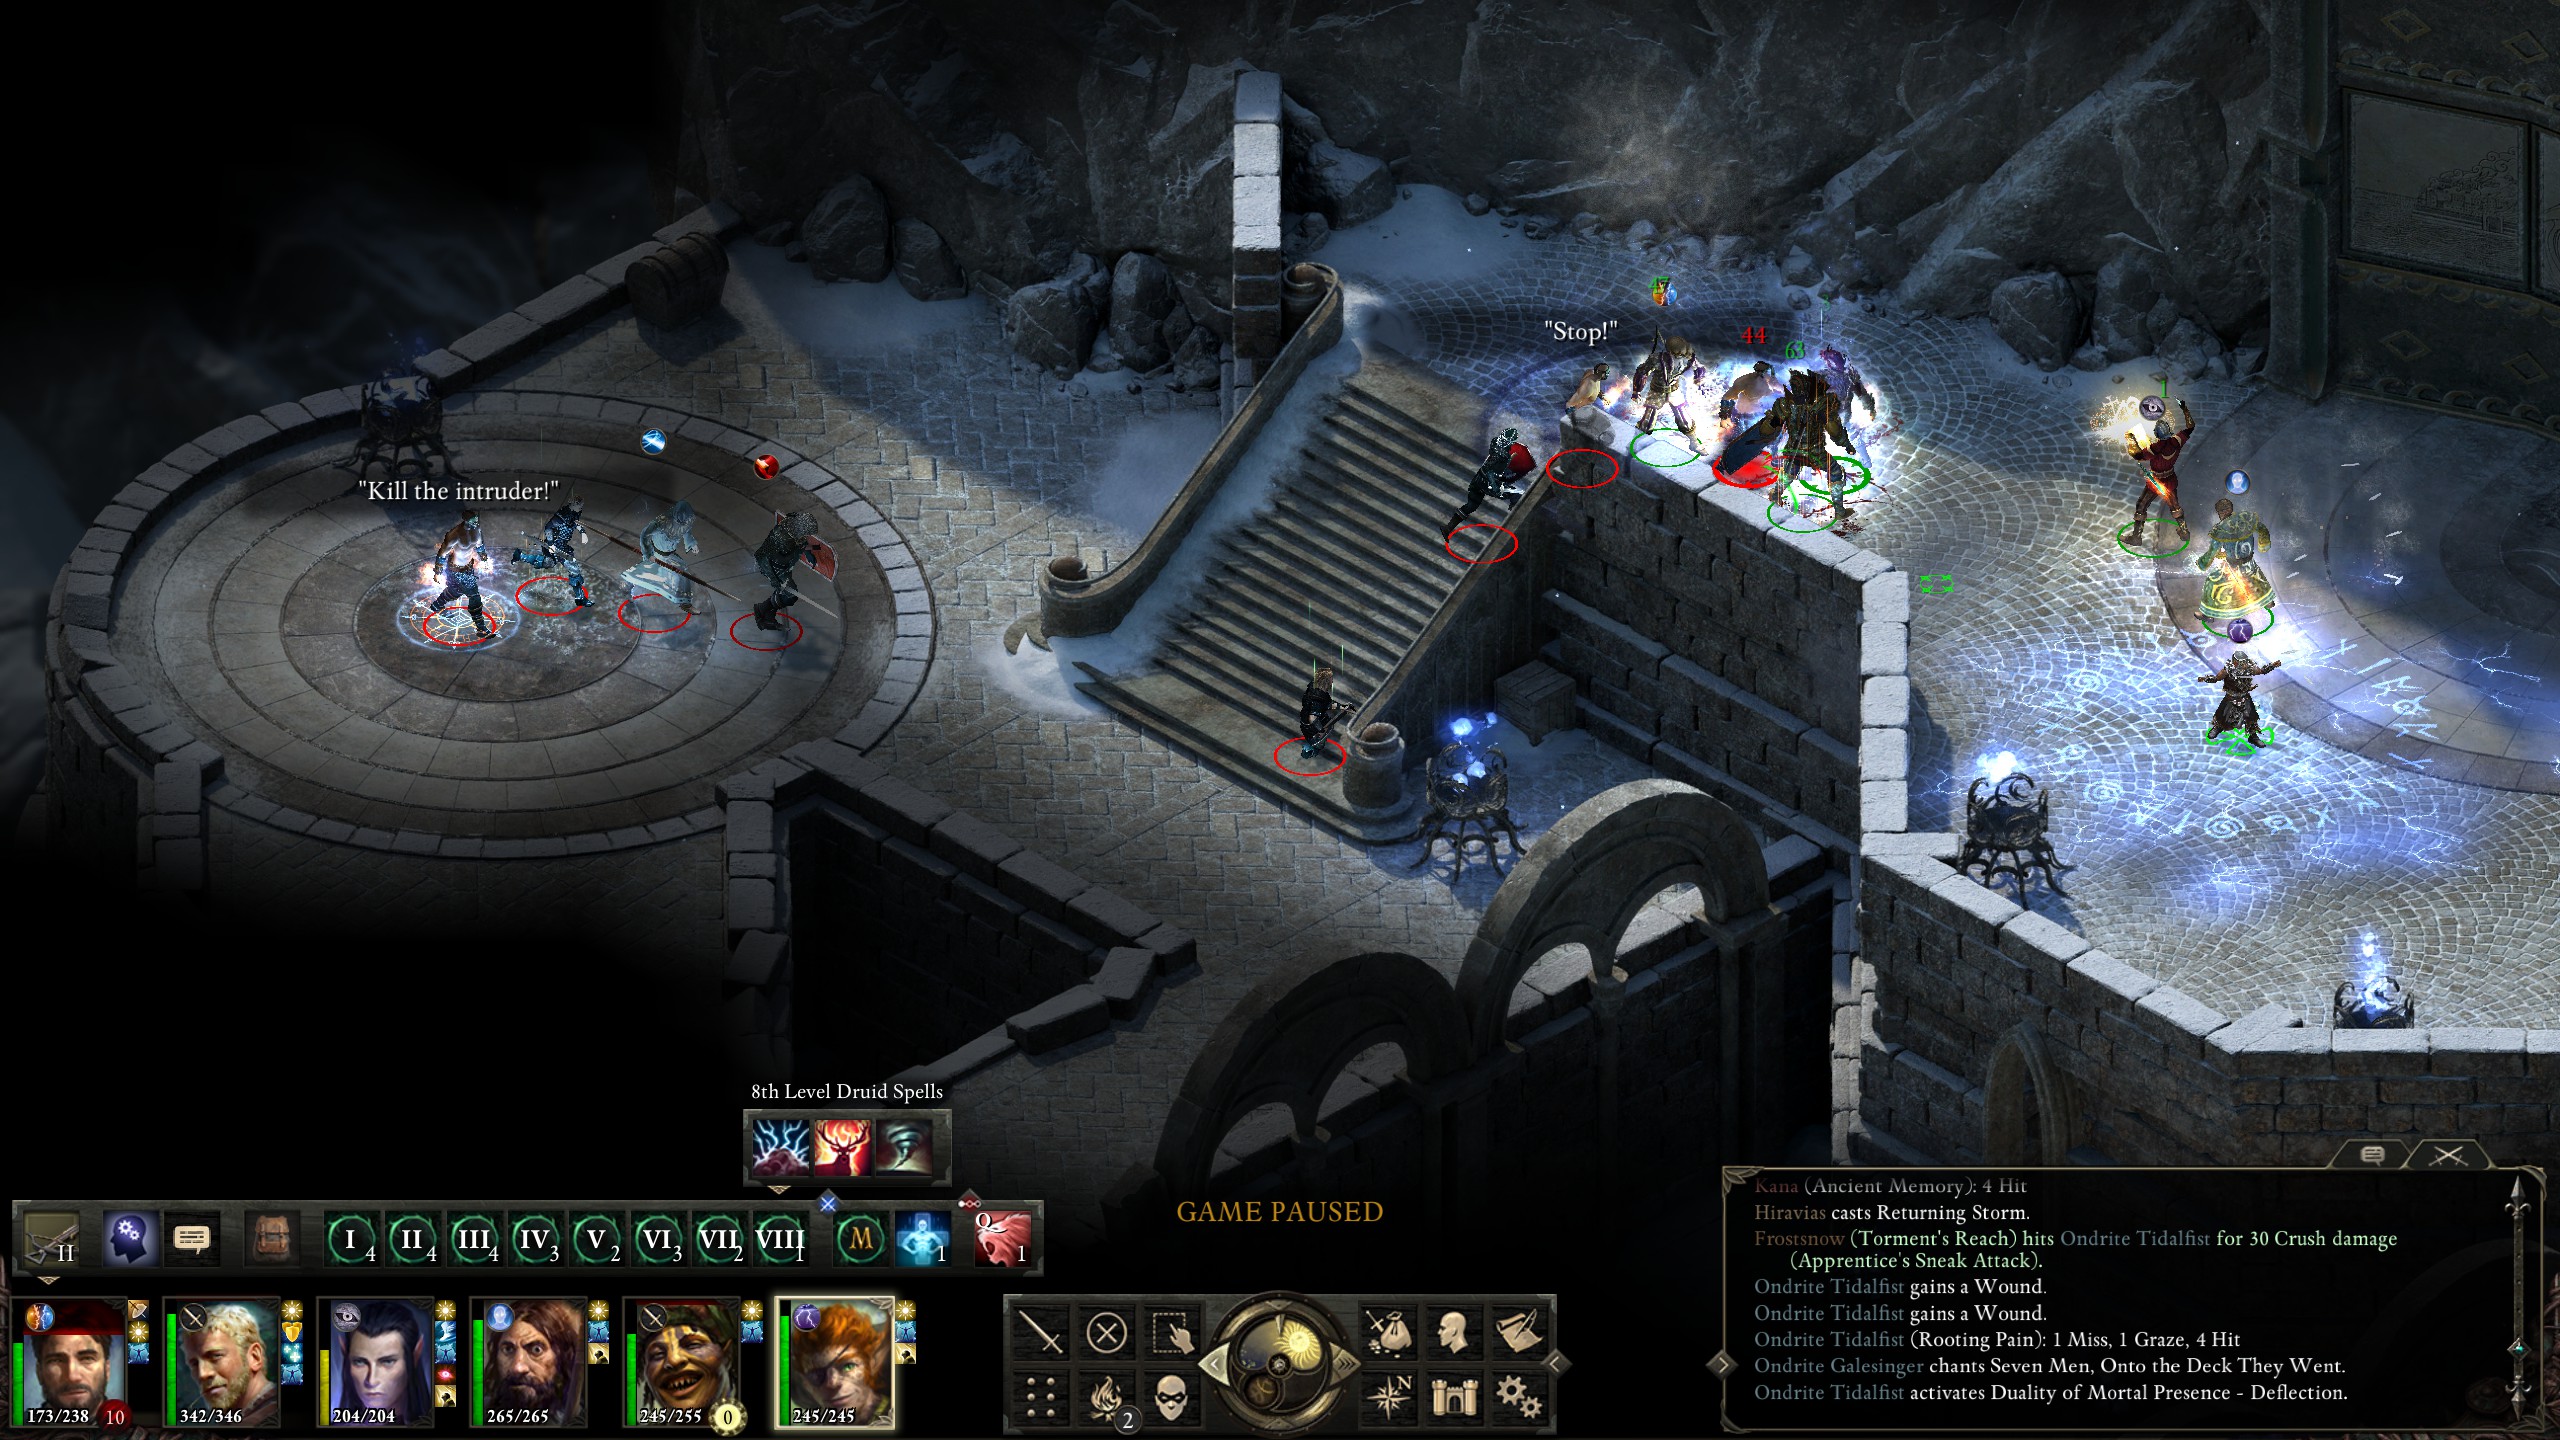
I ended up prevailing, but it was a bit closer than I'd intended.
Inside the main entrance to the abbey was this excellent sculpture of a ship being torn apart by a kraken; oh, and a few guards.
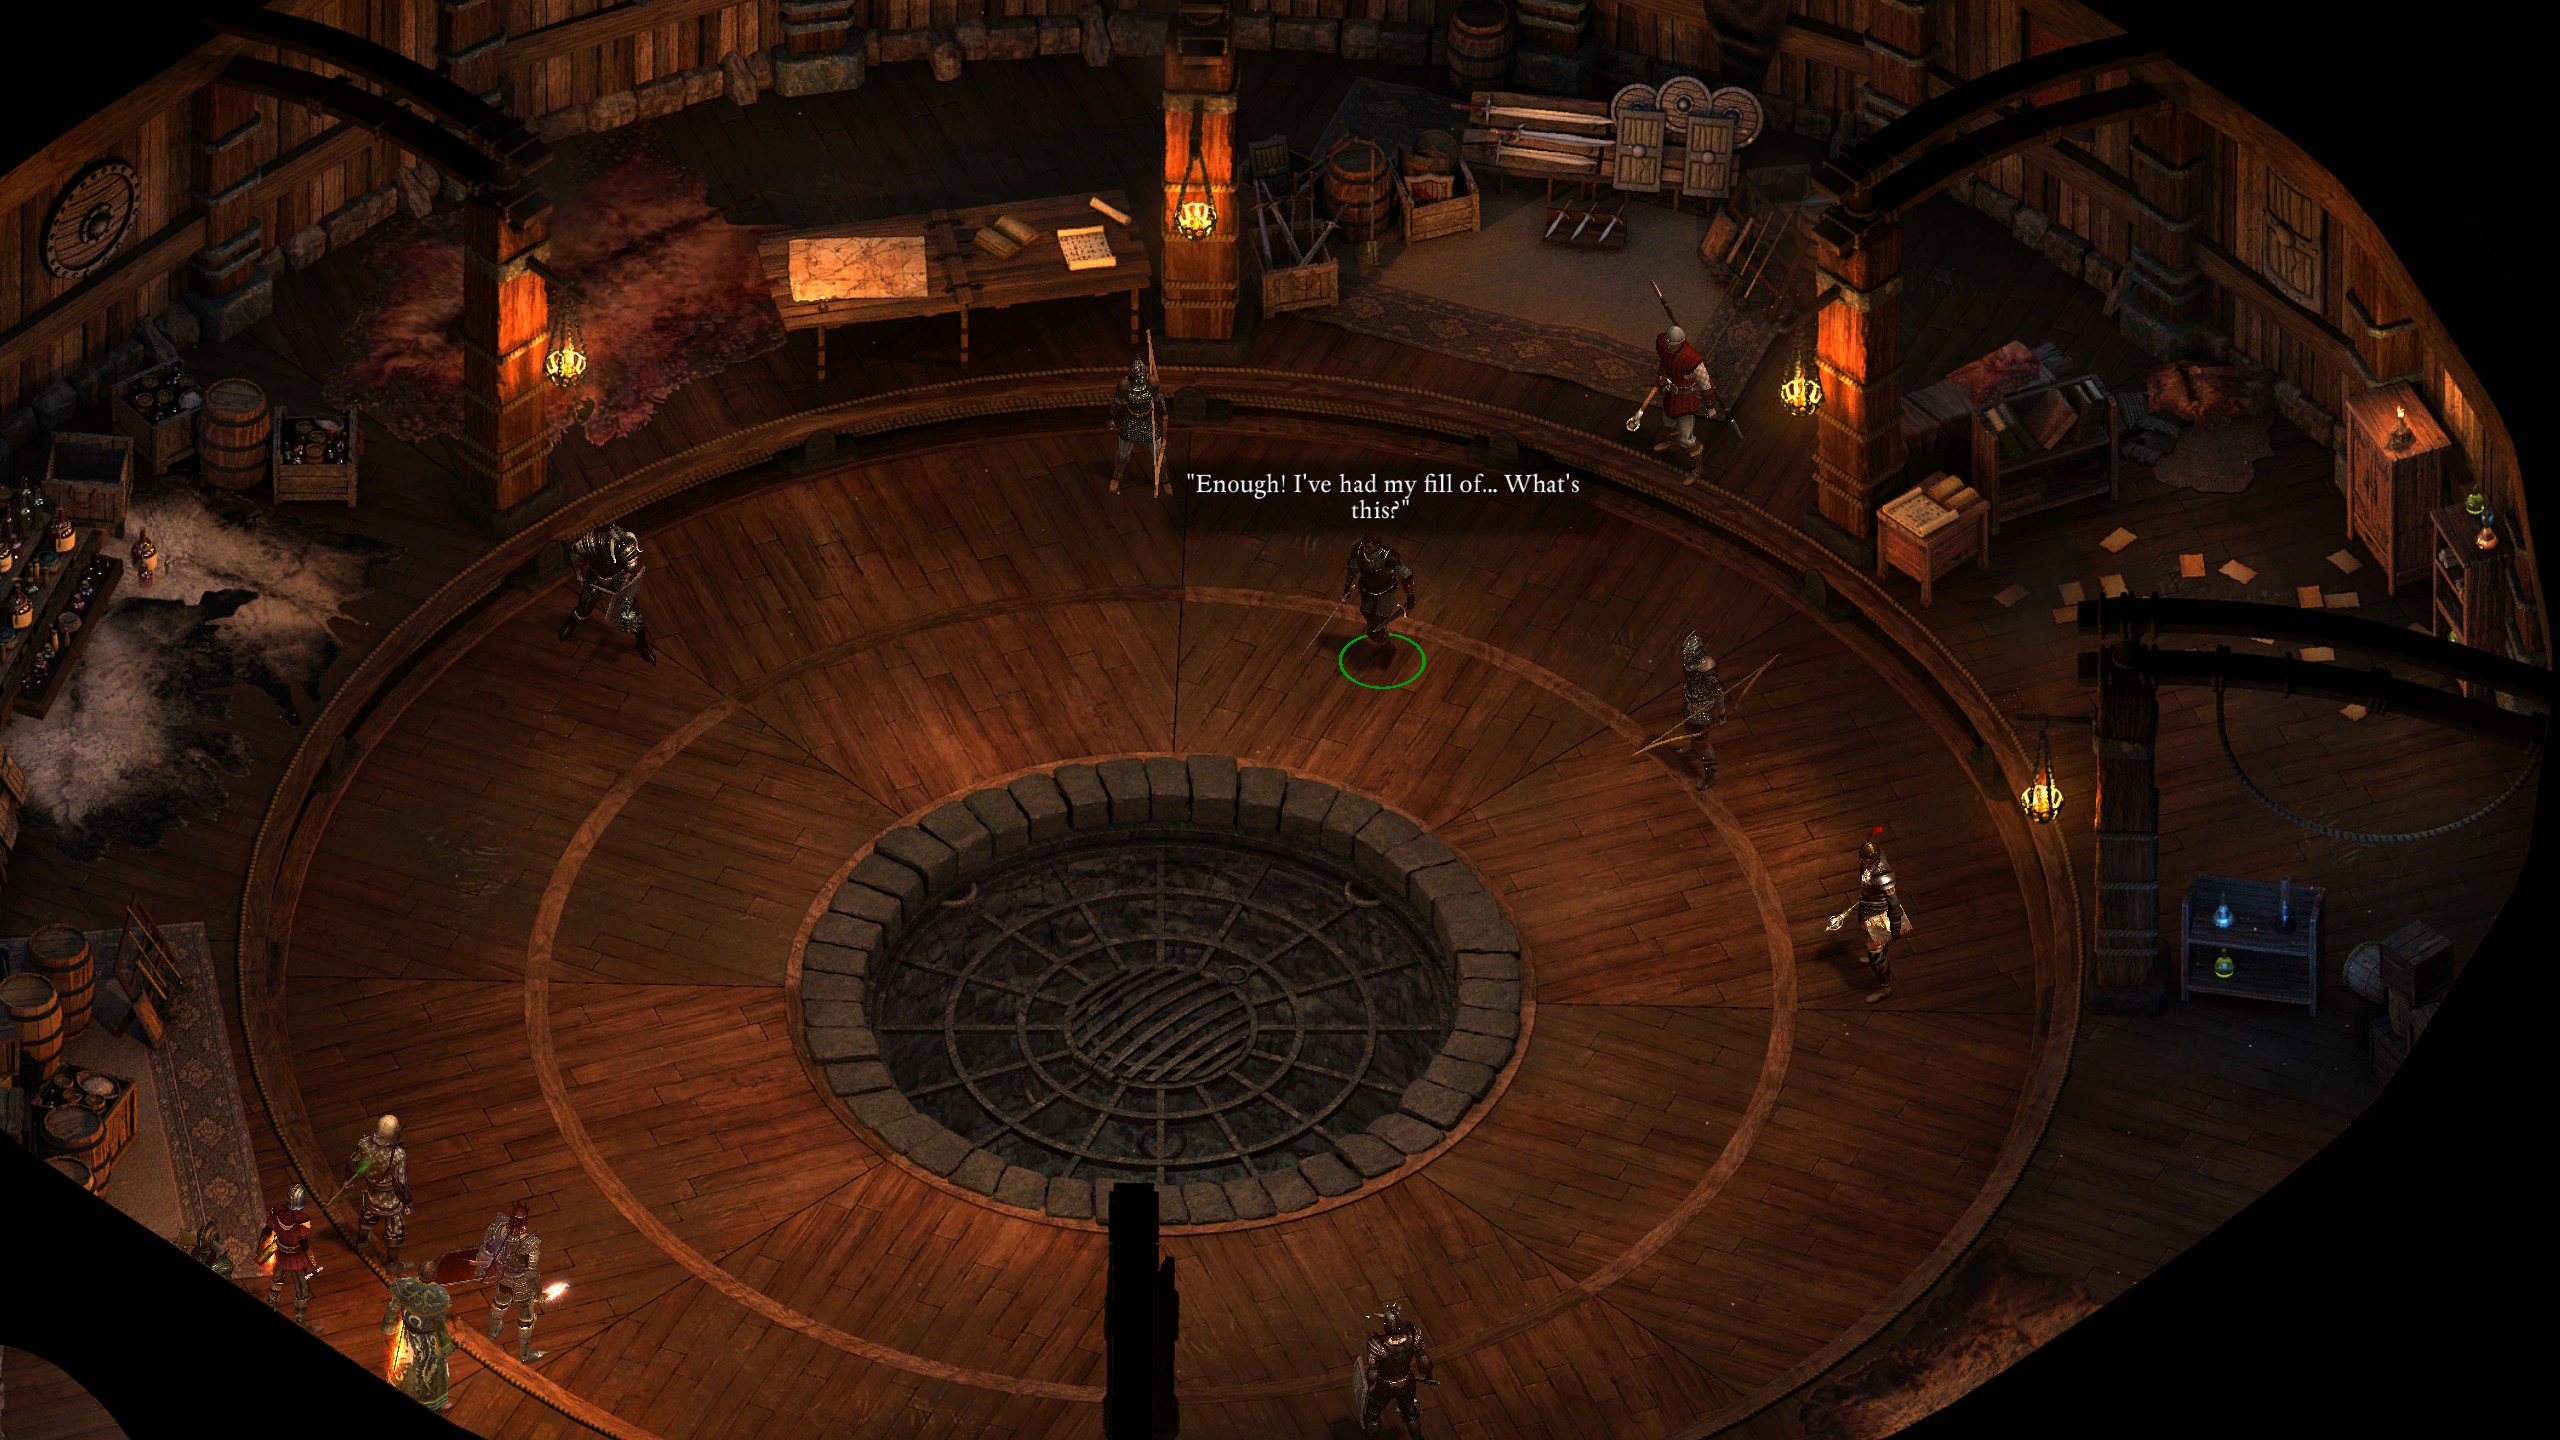
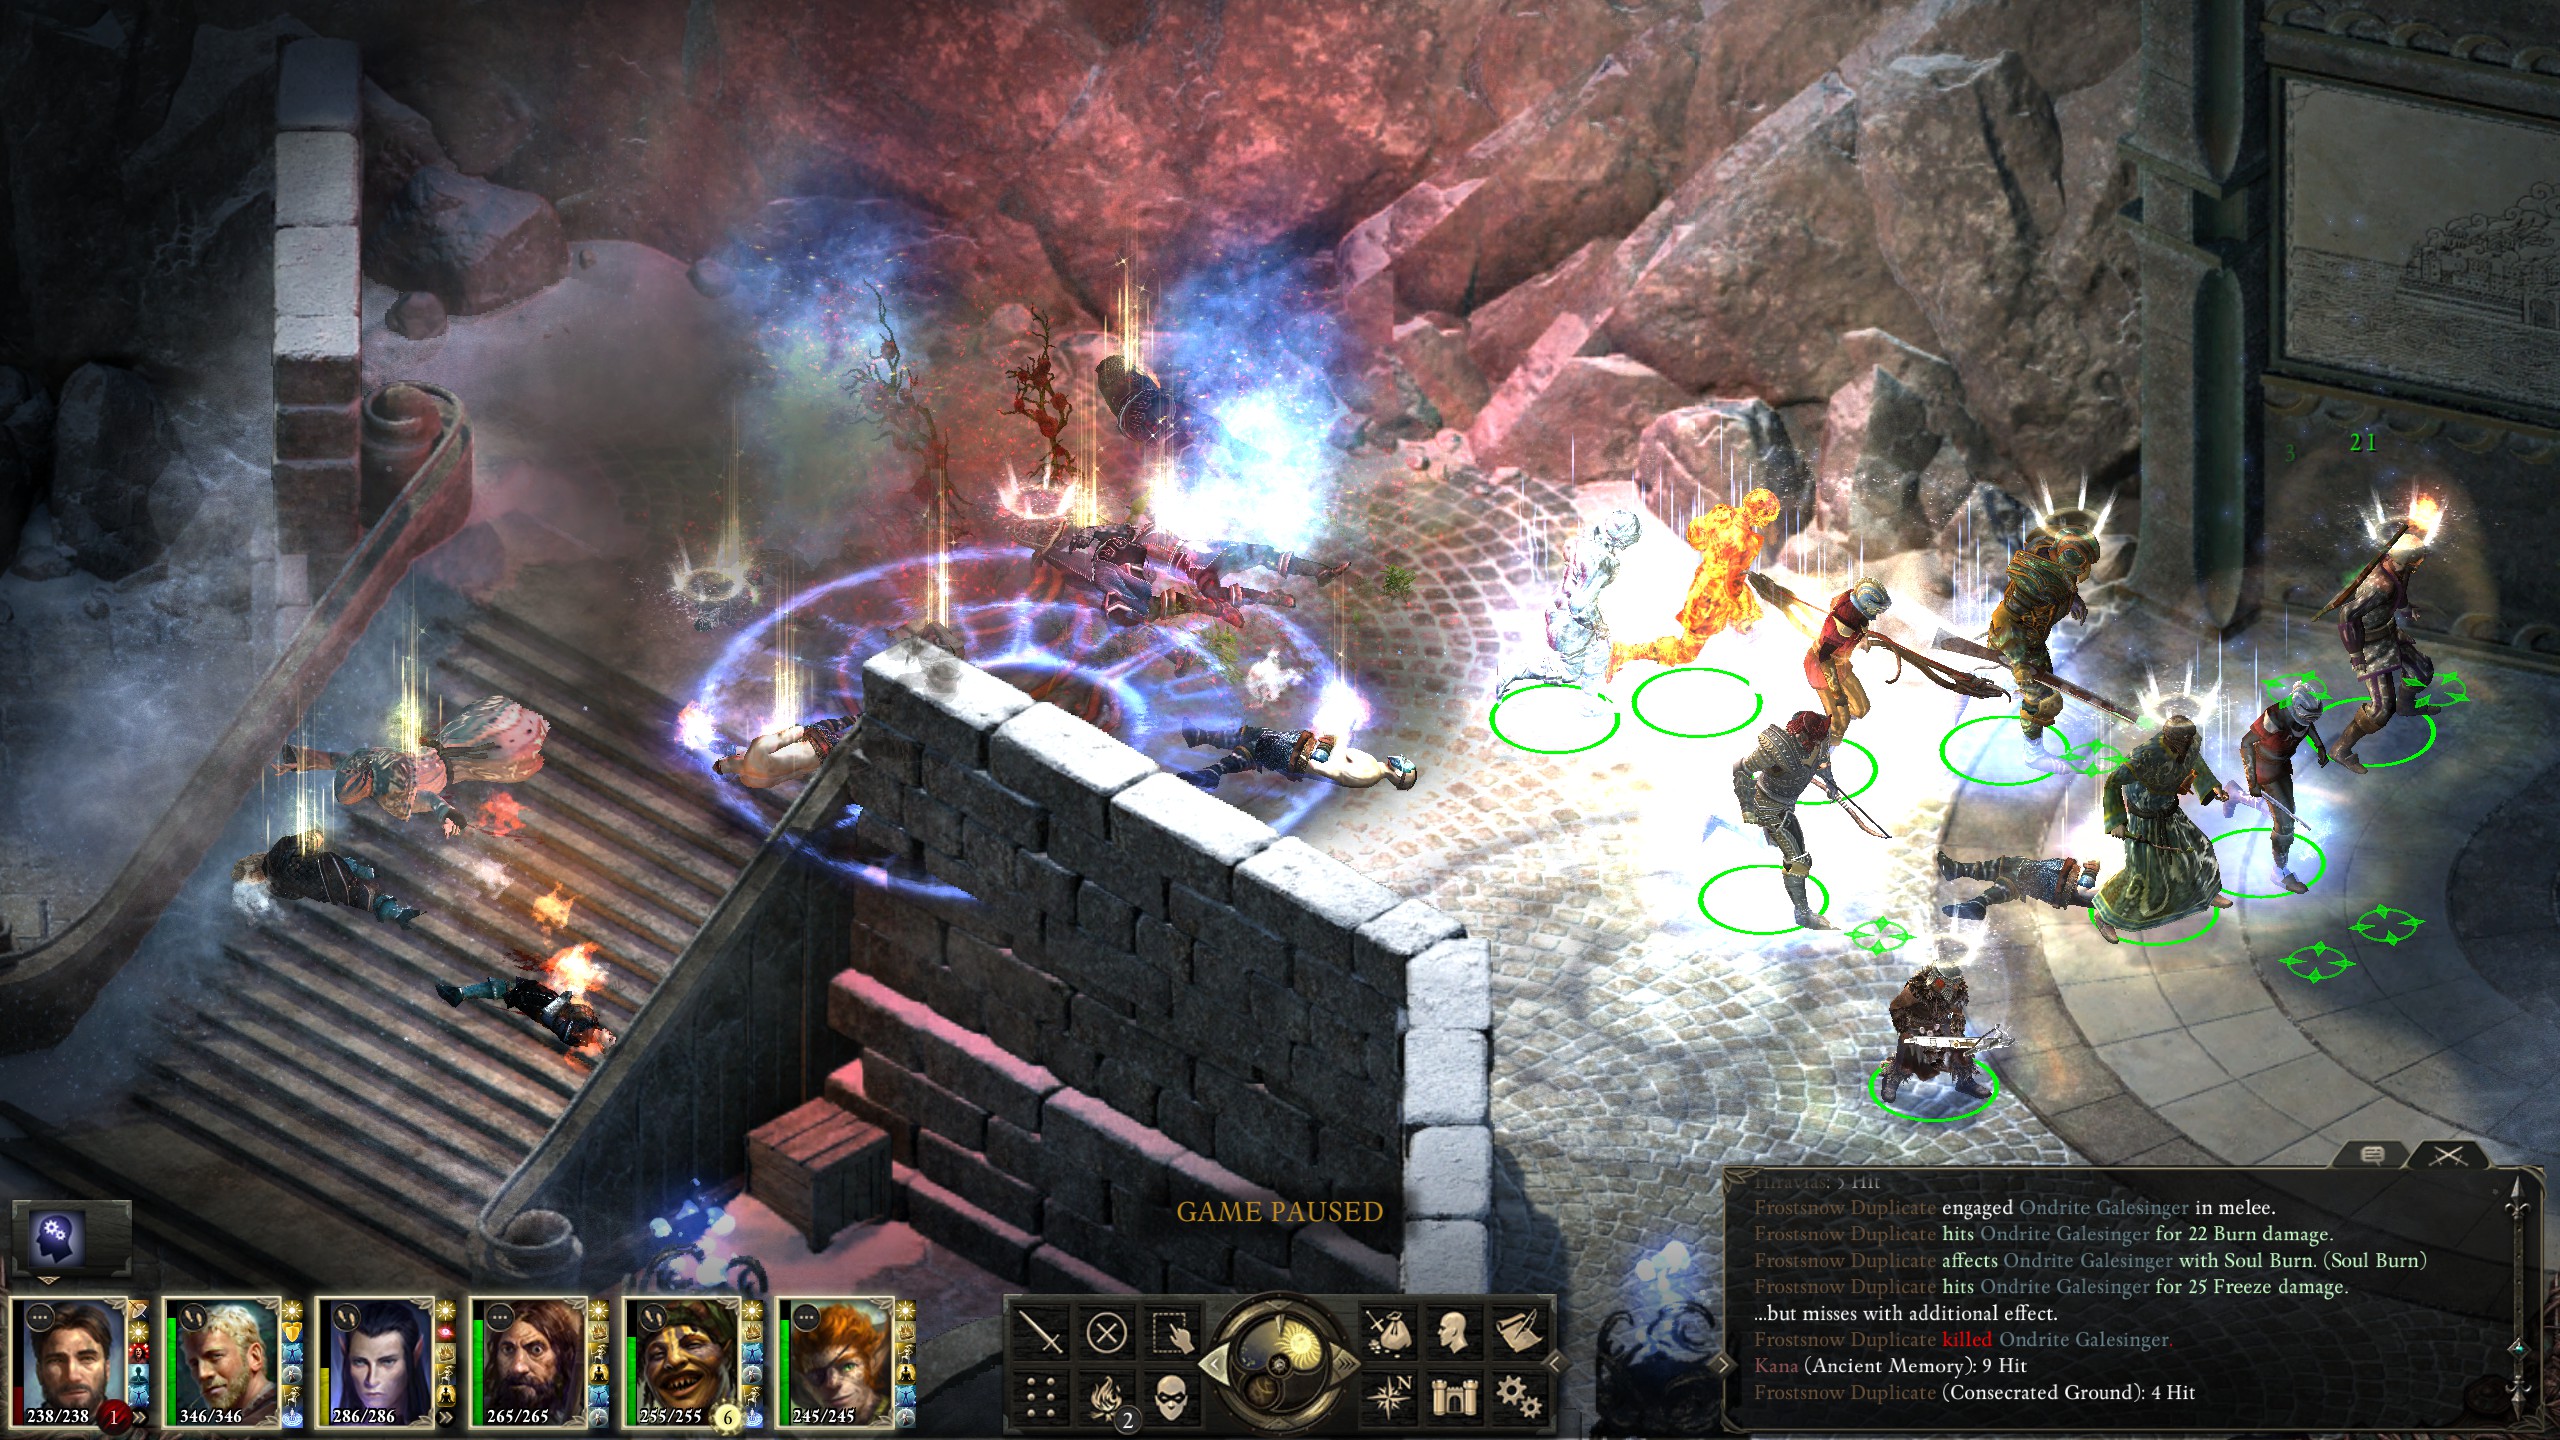
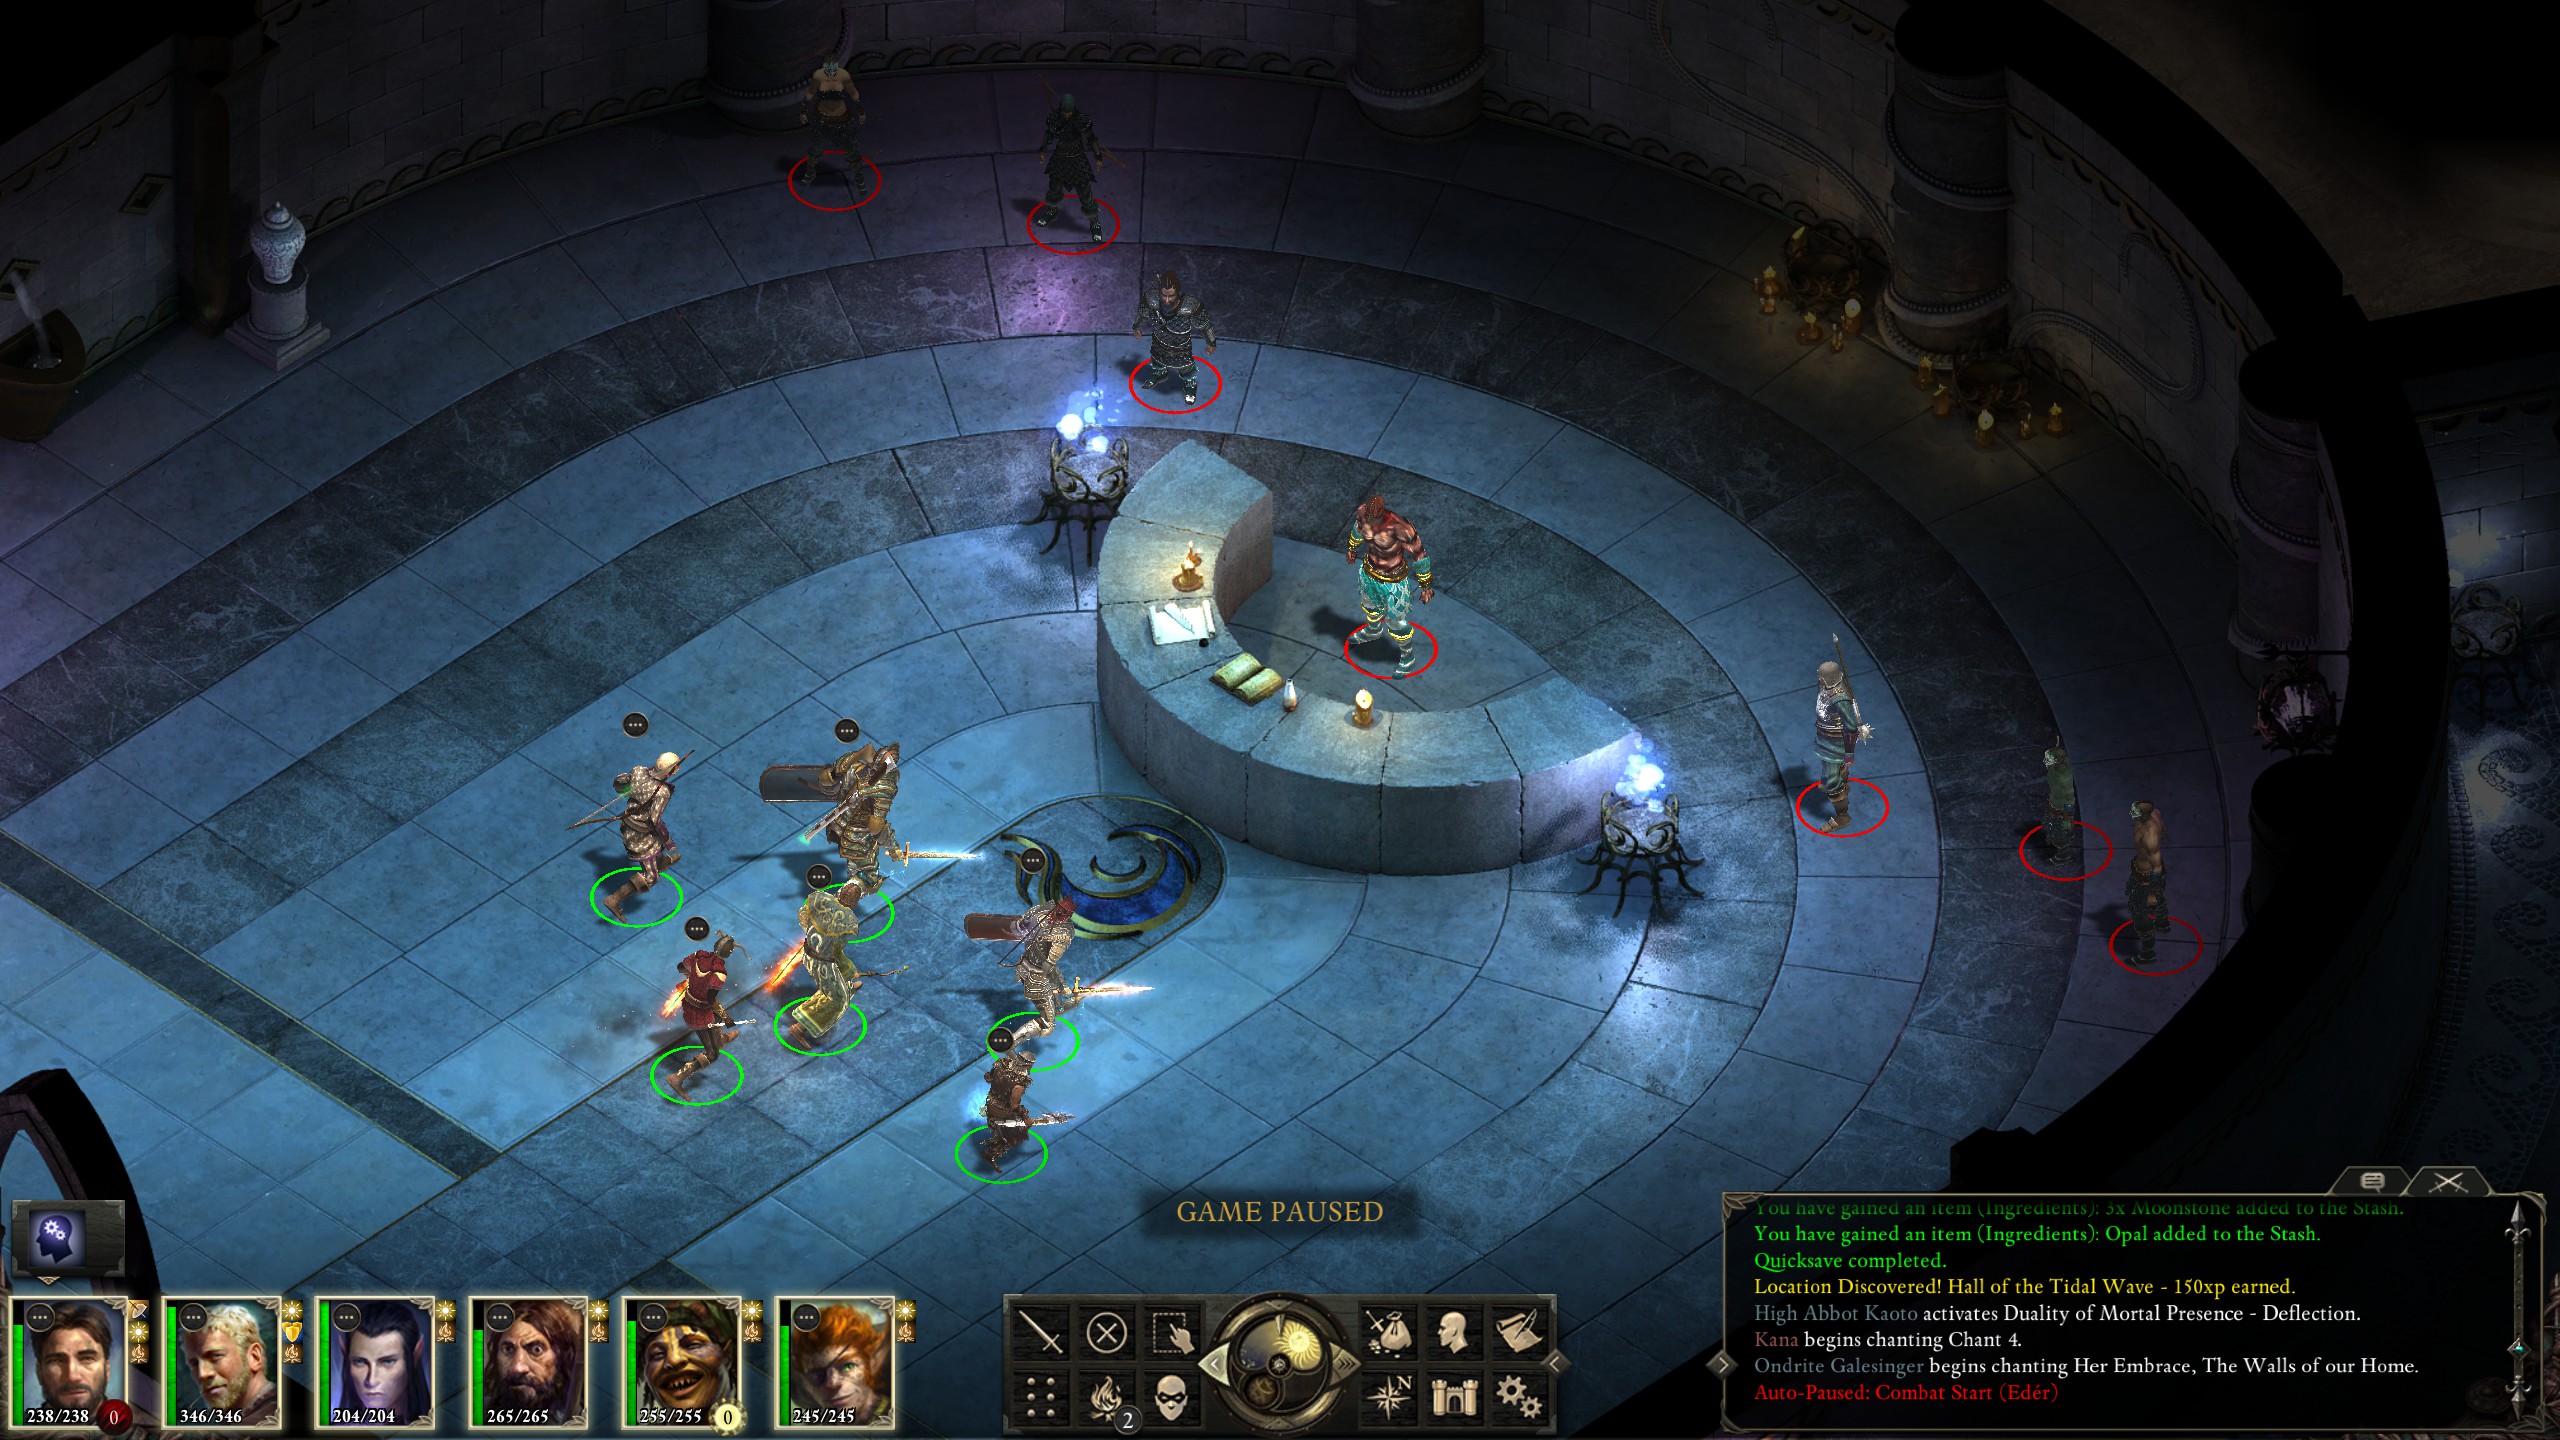
The next room over contained one of the main rooms of the abbey, which was probably the most heavily-guarded of all the rooms.
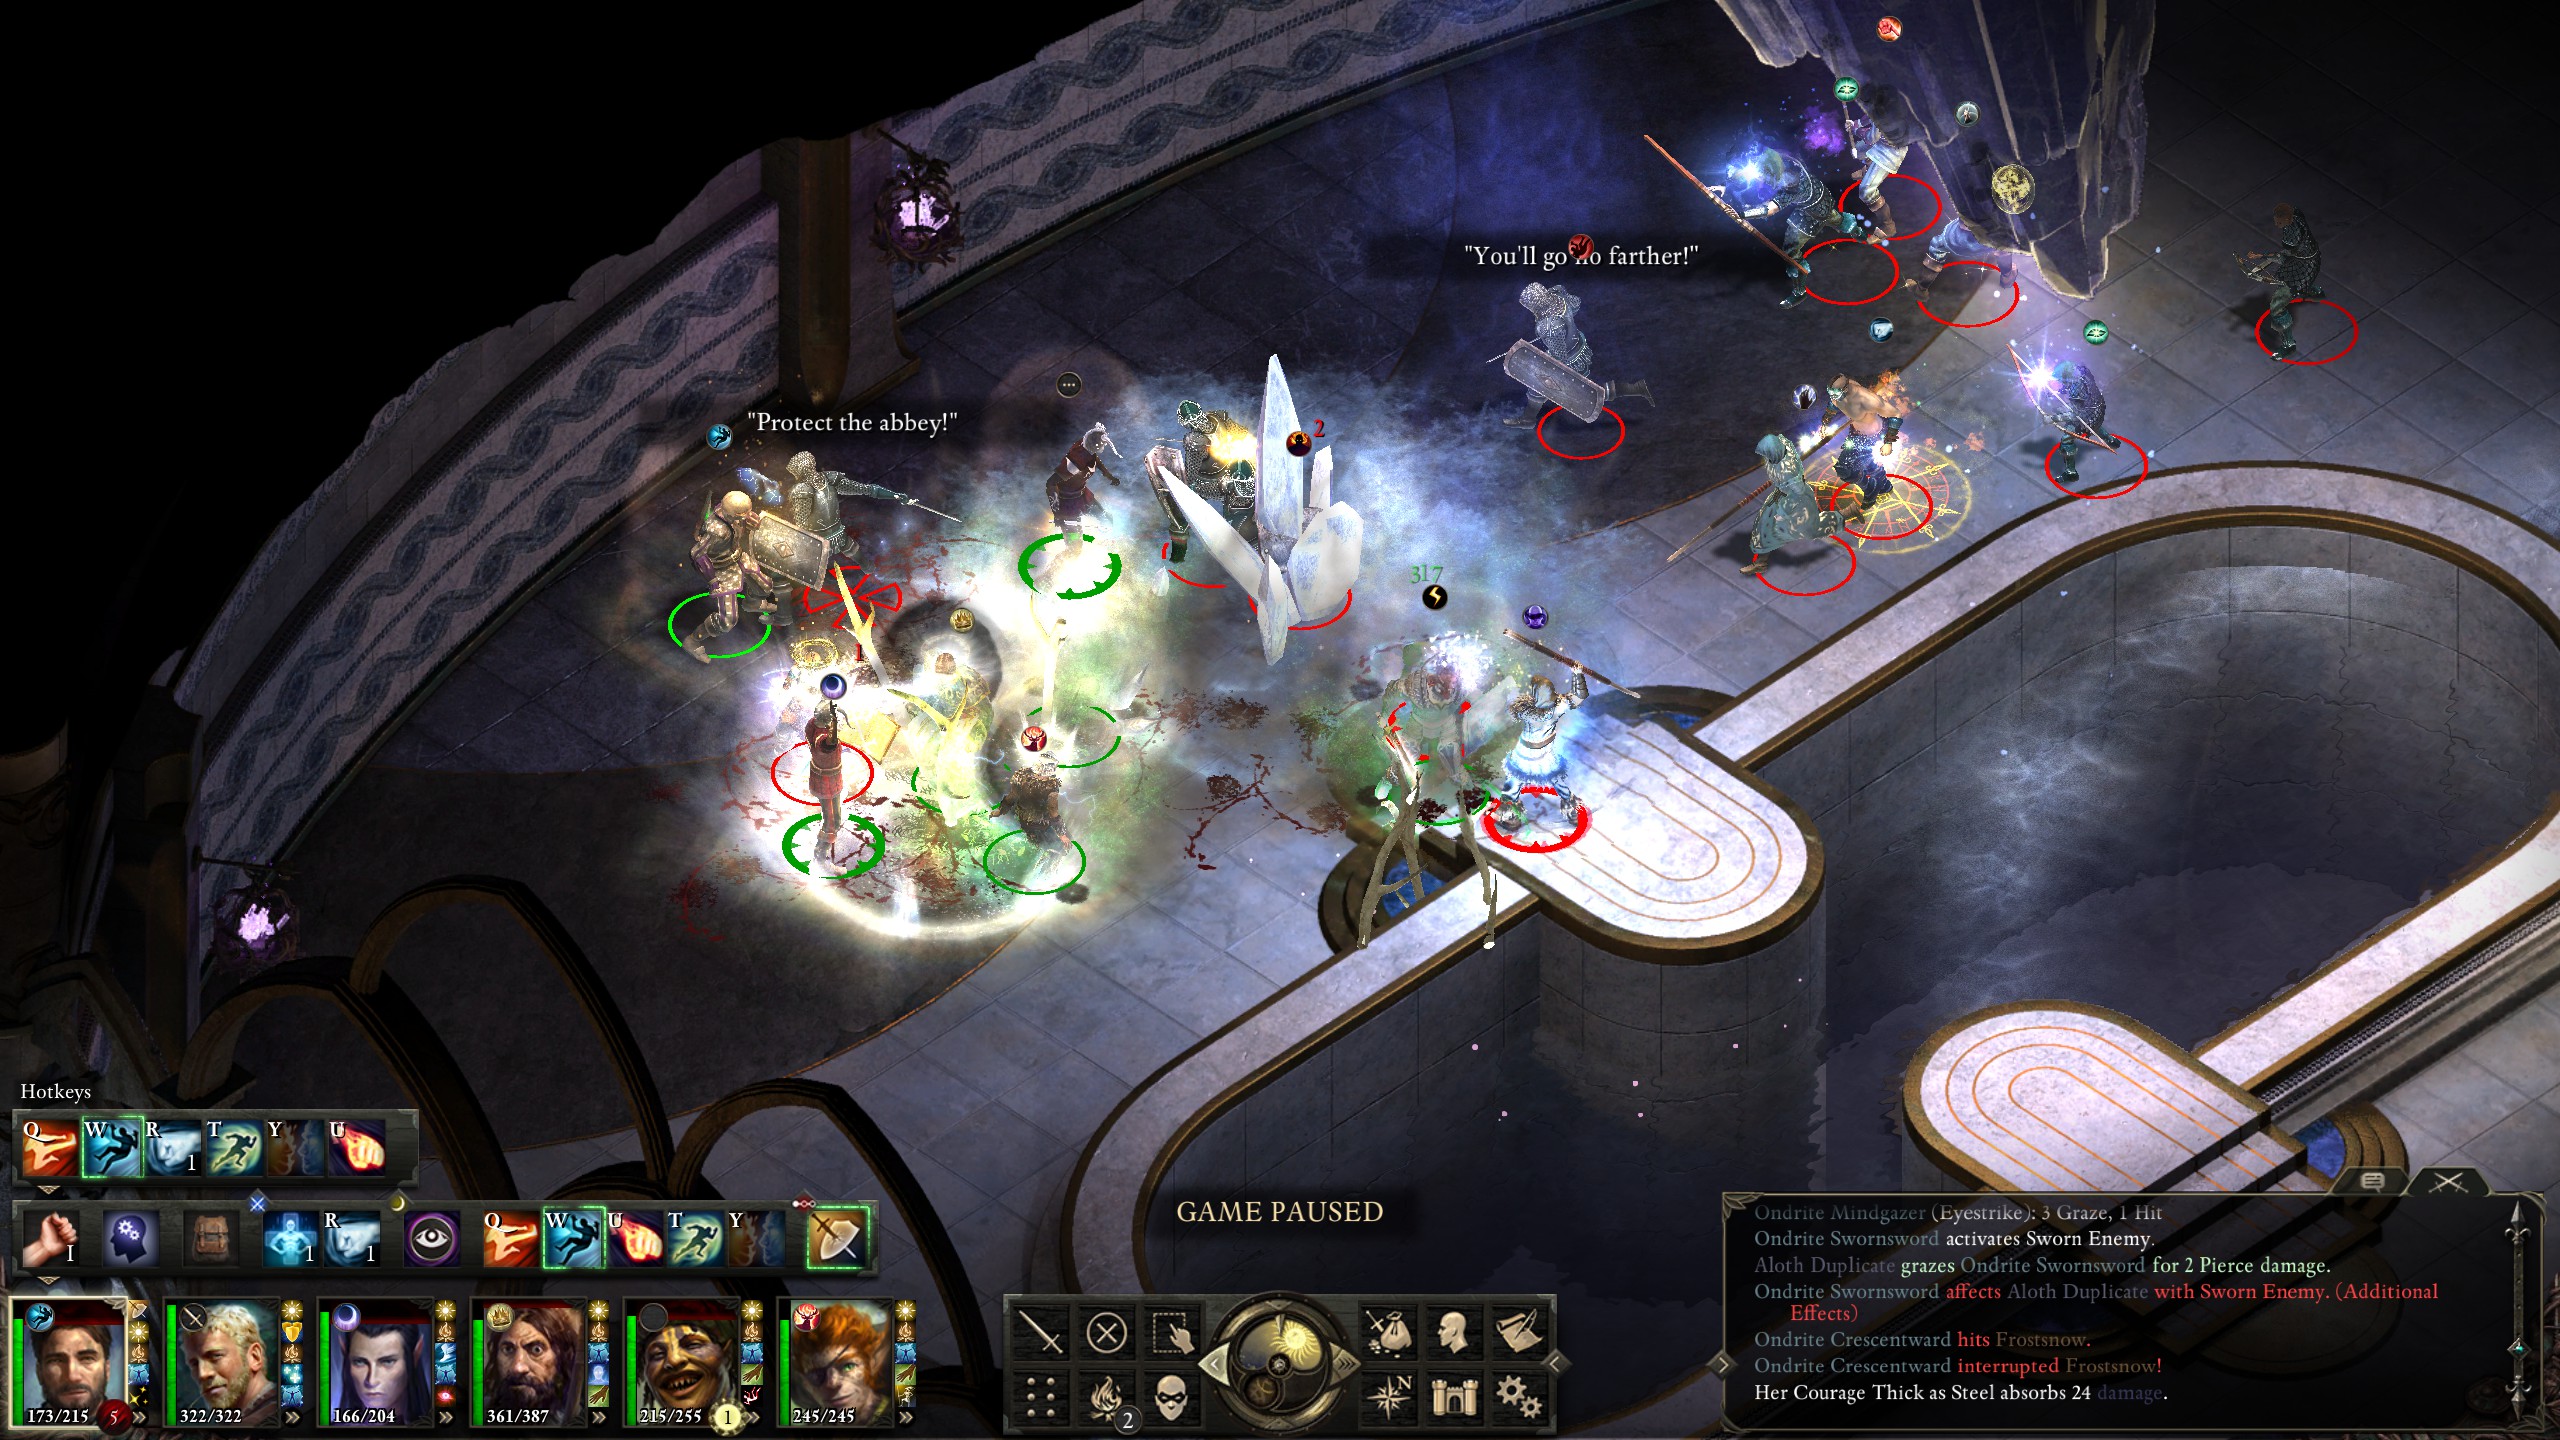
A further room past that was High Abbot Kaoto and his subordinates. The abbot actually got a good stun and burn-down in on my monk, enough that I had to revive my monk and then have him chain-cast “Force of Anguish” on the abbot in order to keep him off my monk.
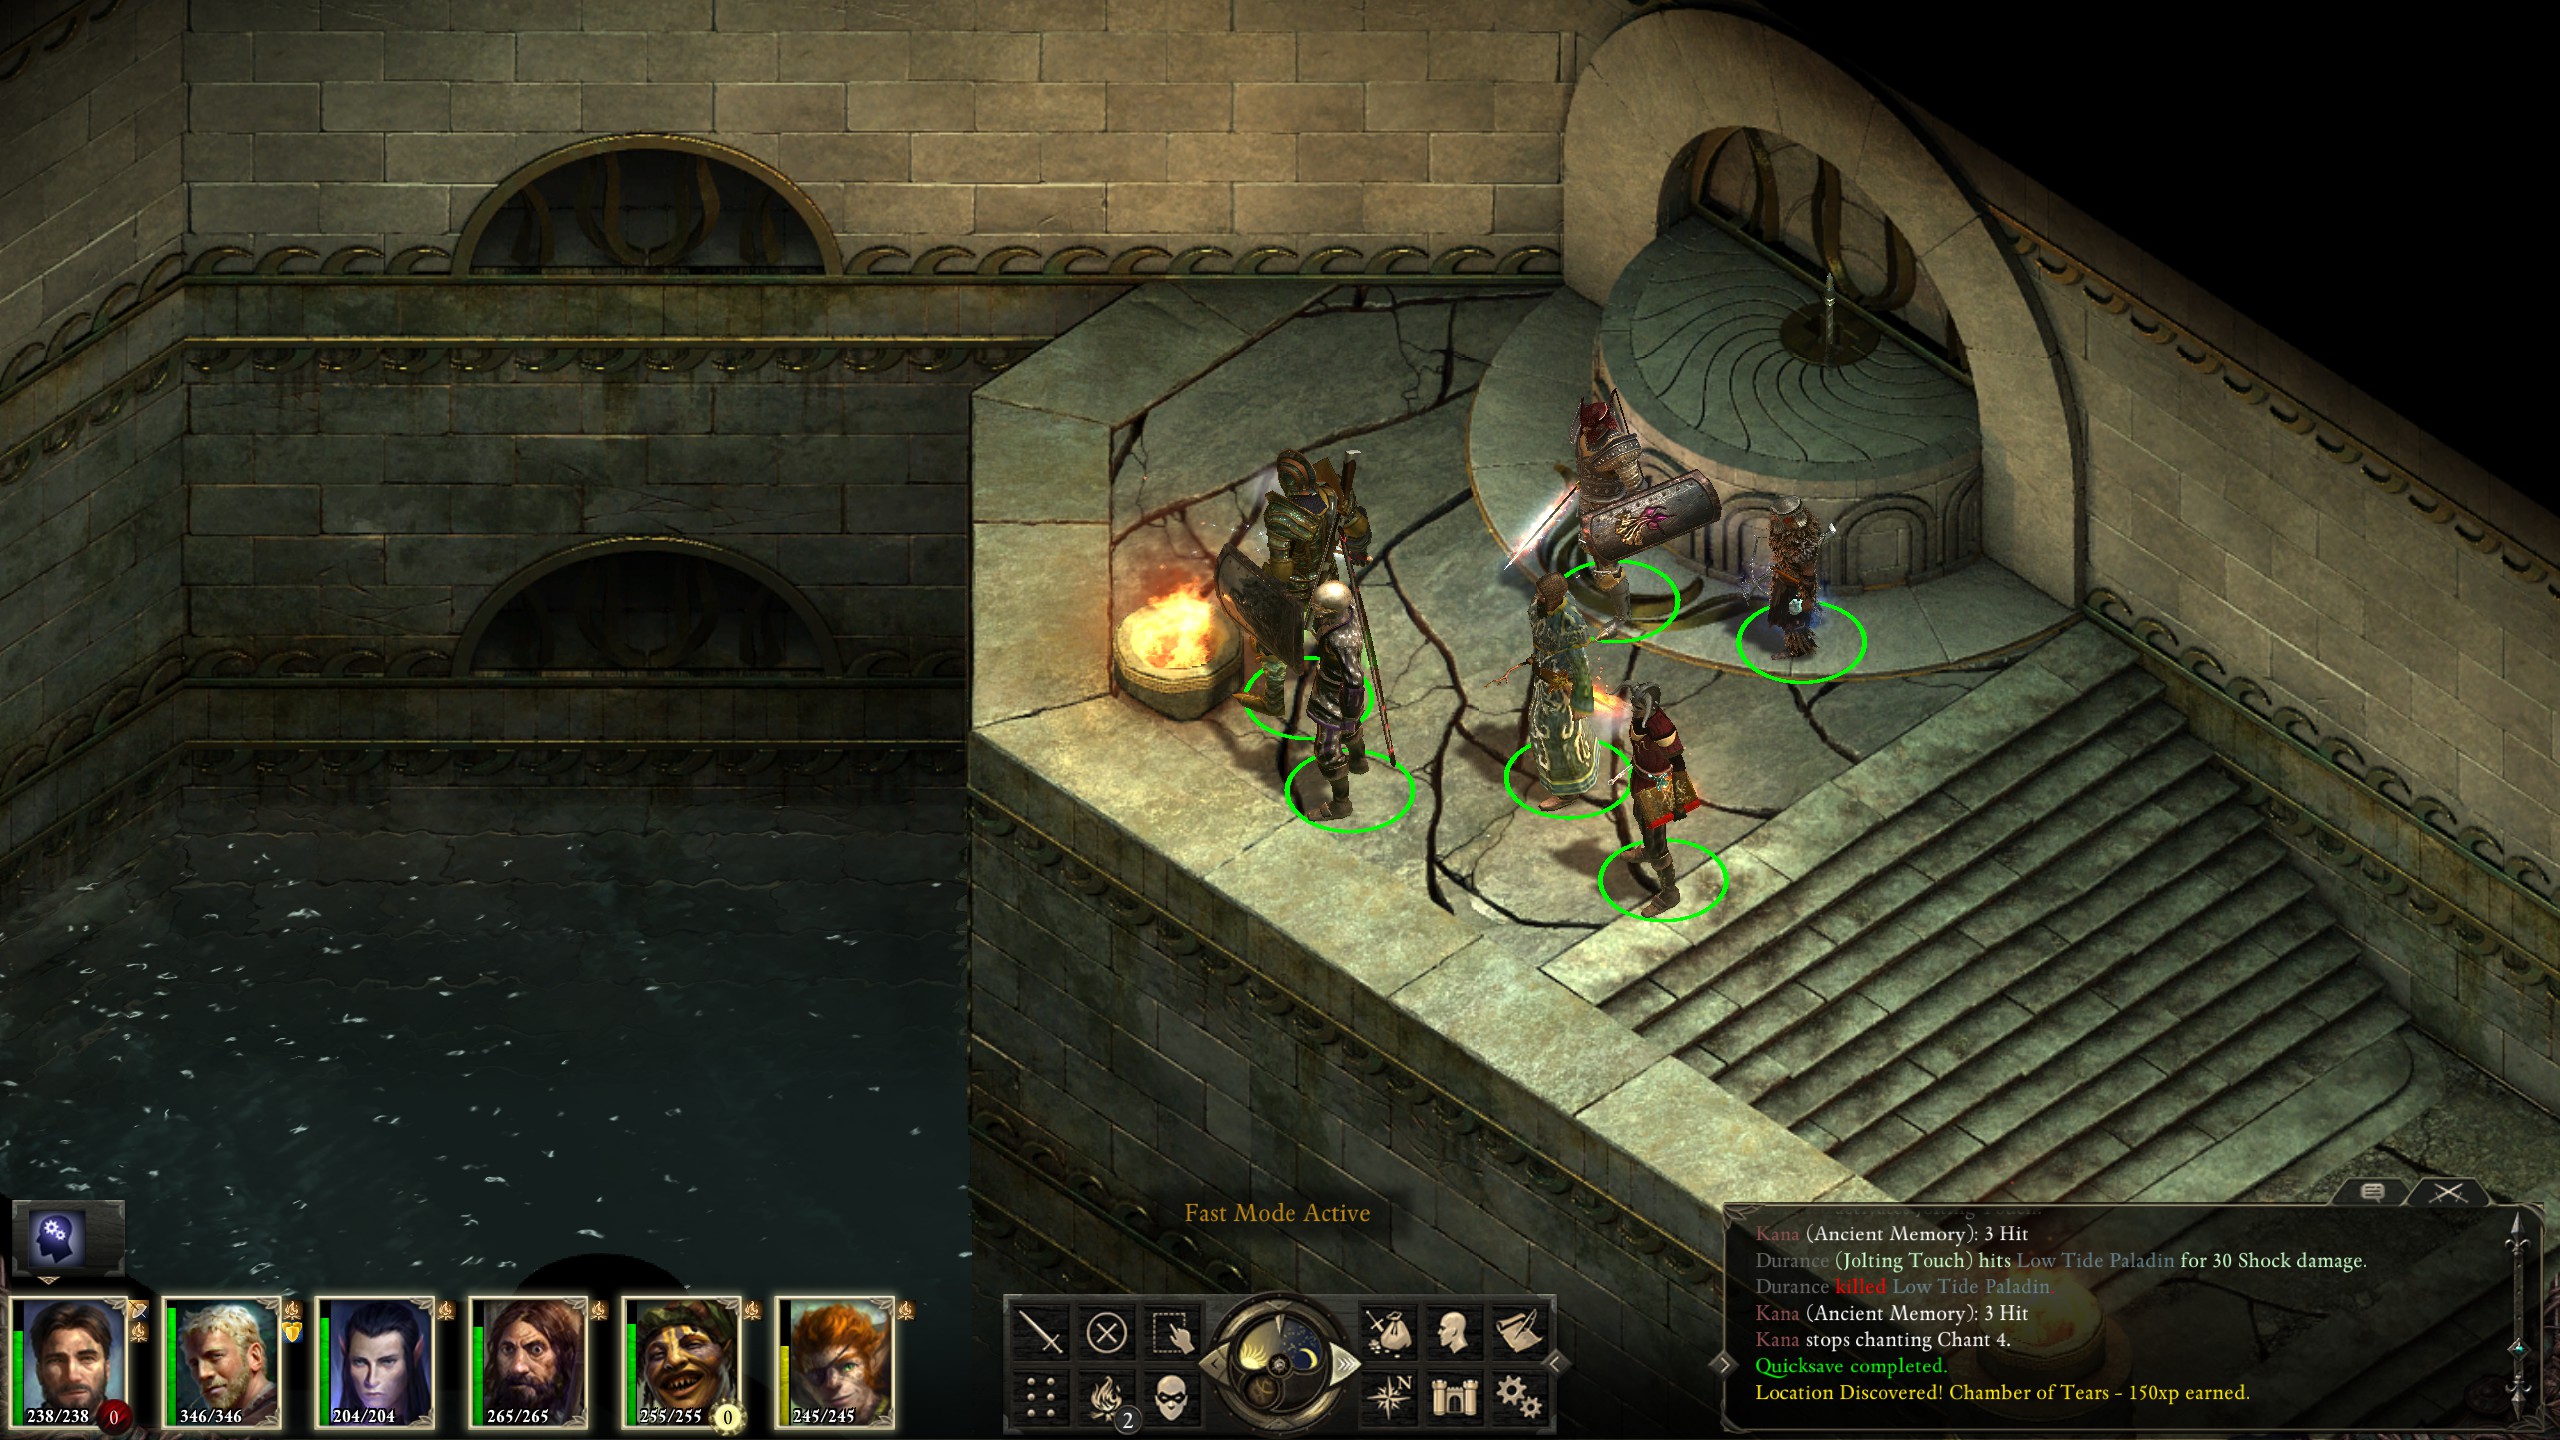
Below the first floor were the quarters where the low tide were kept.
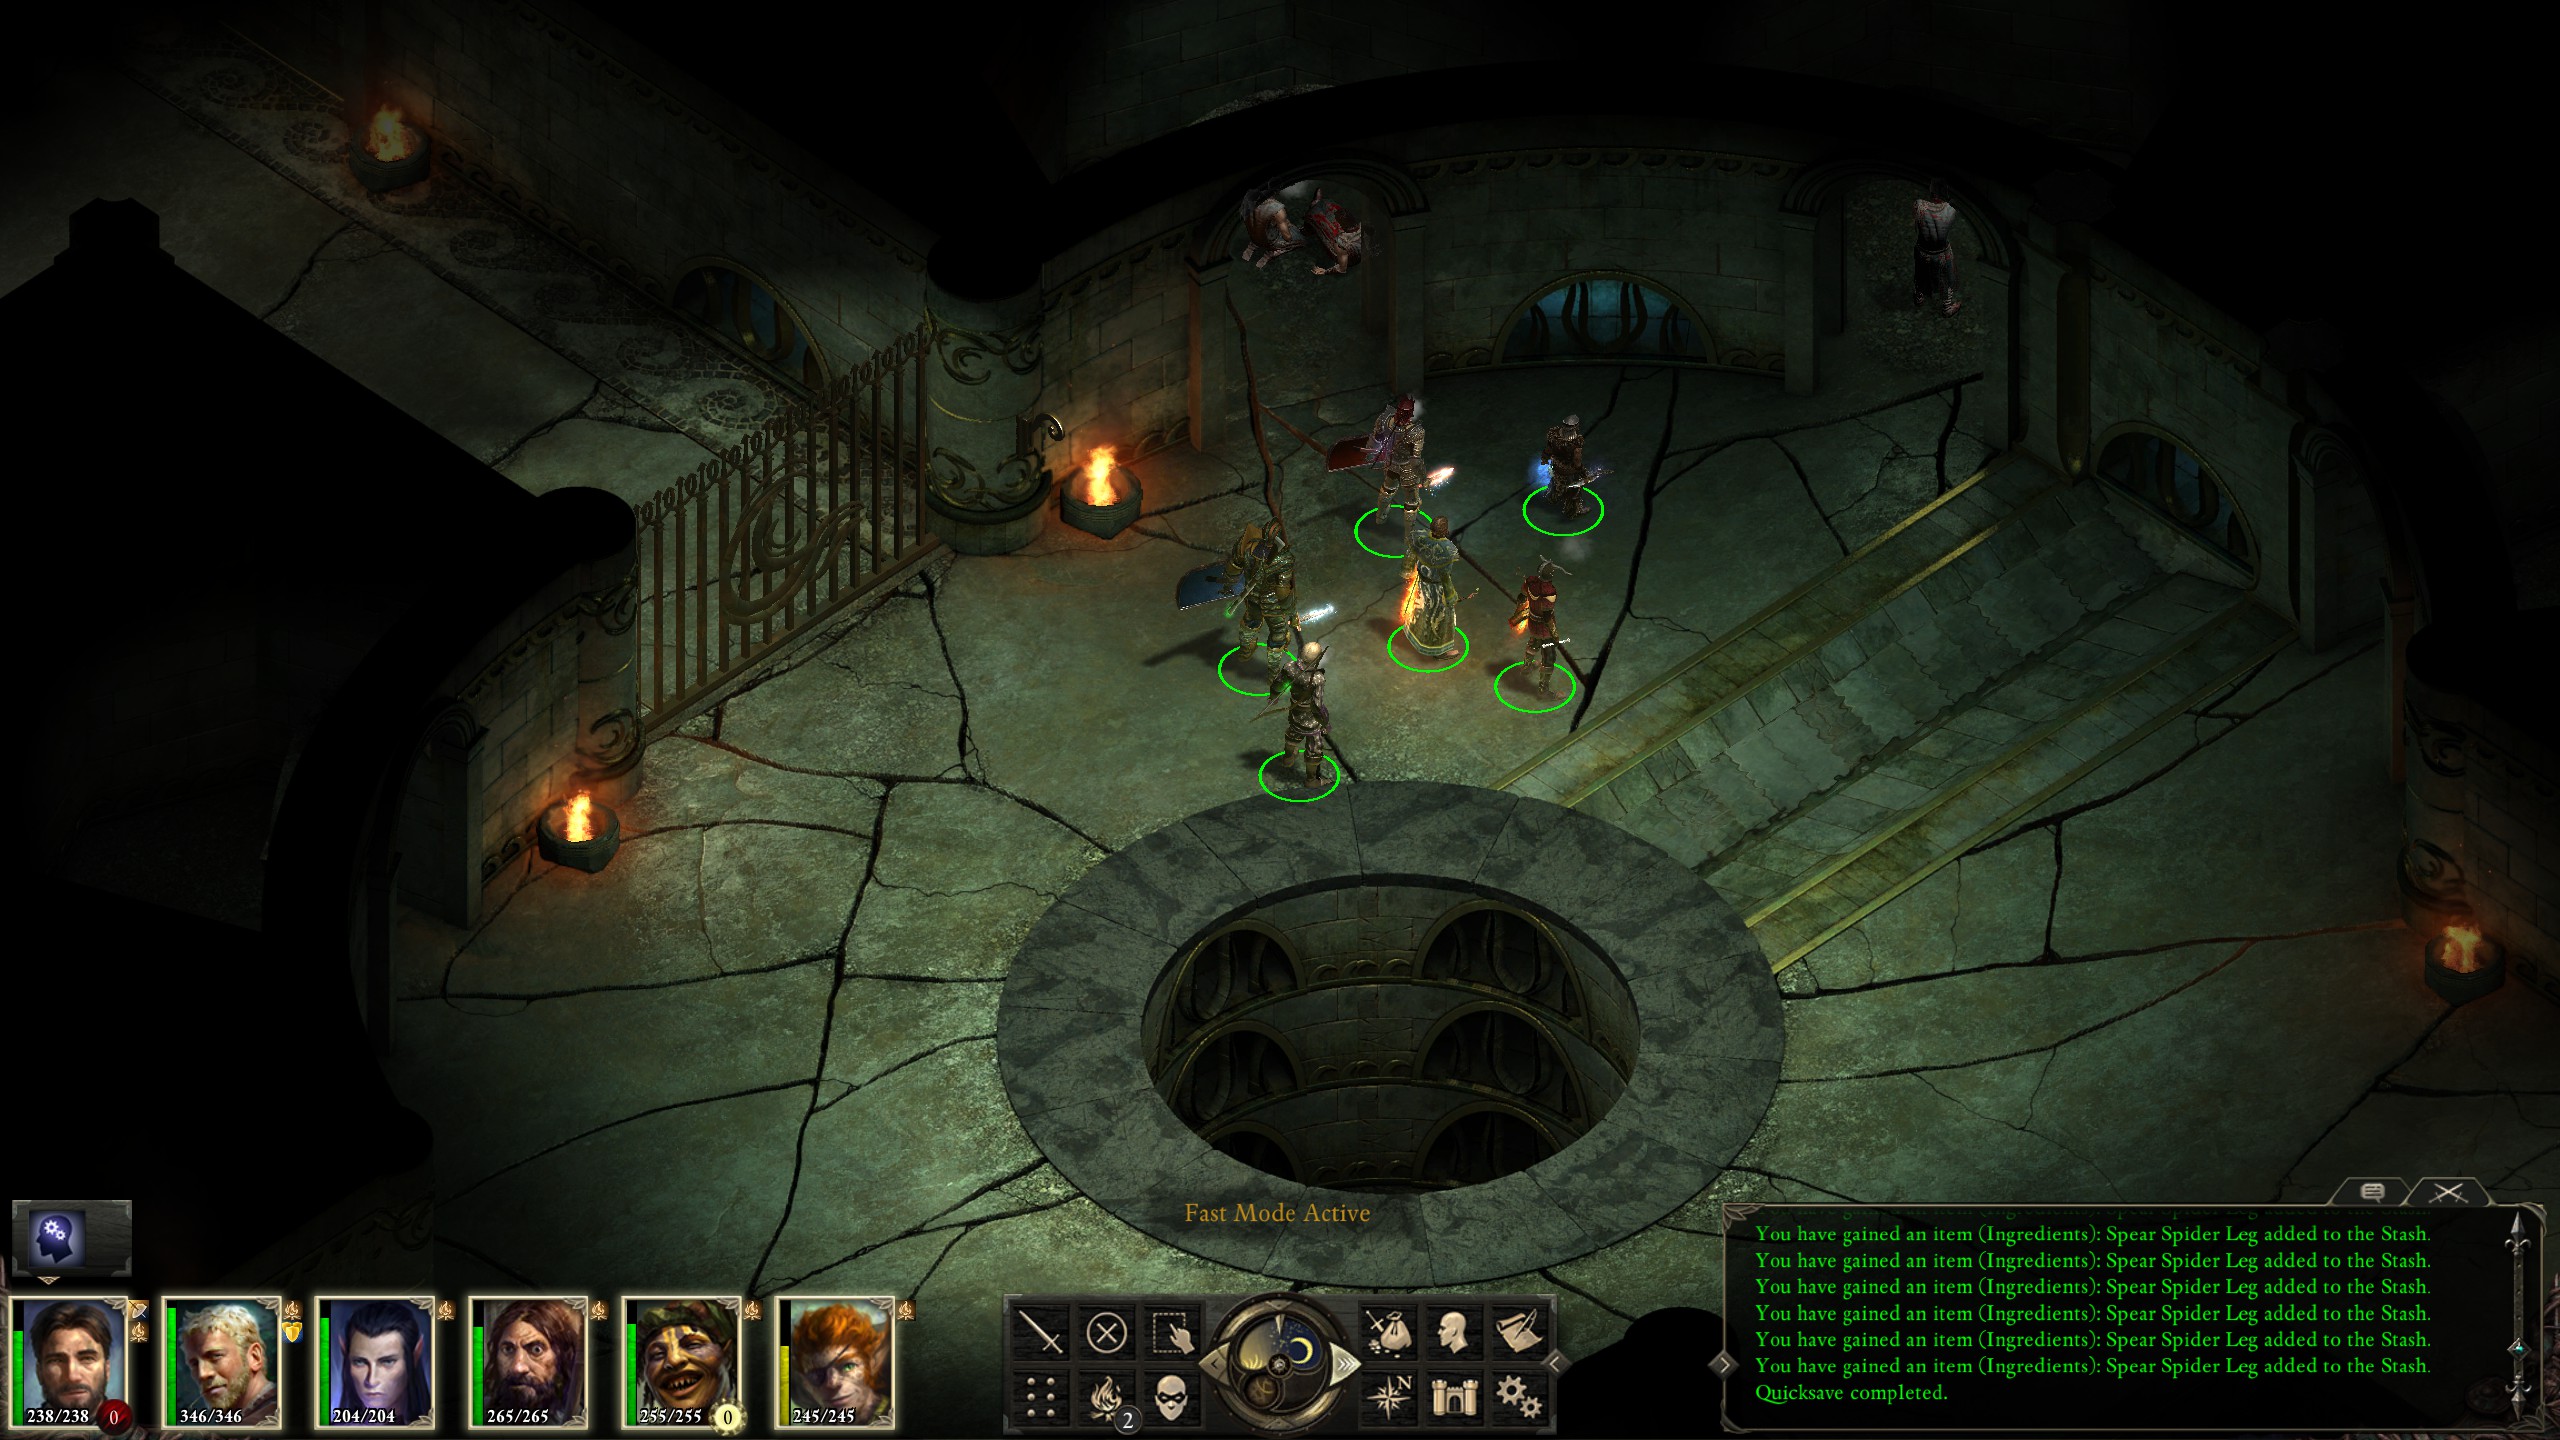
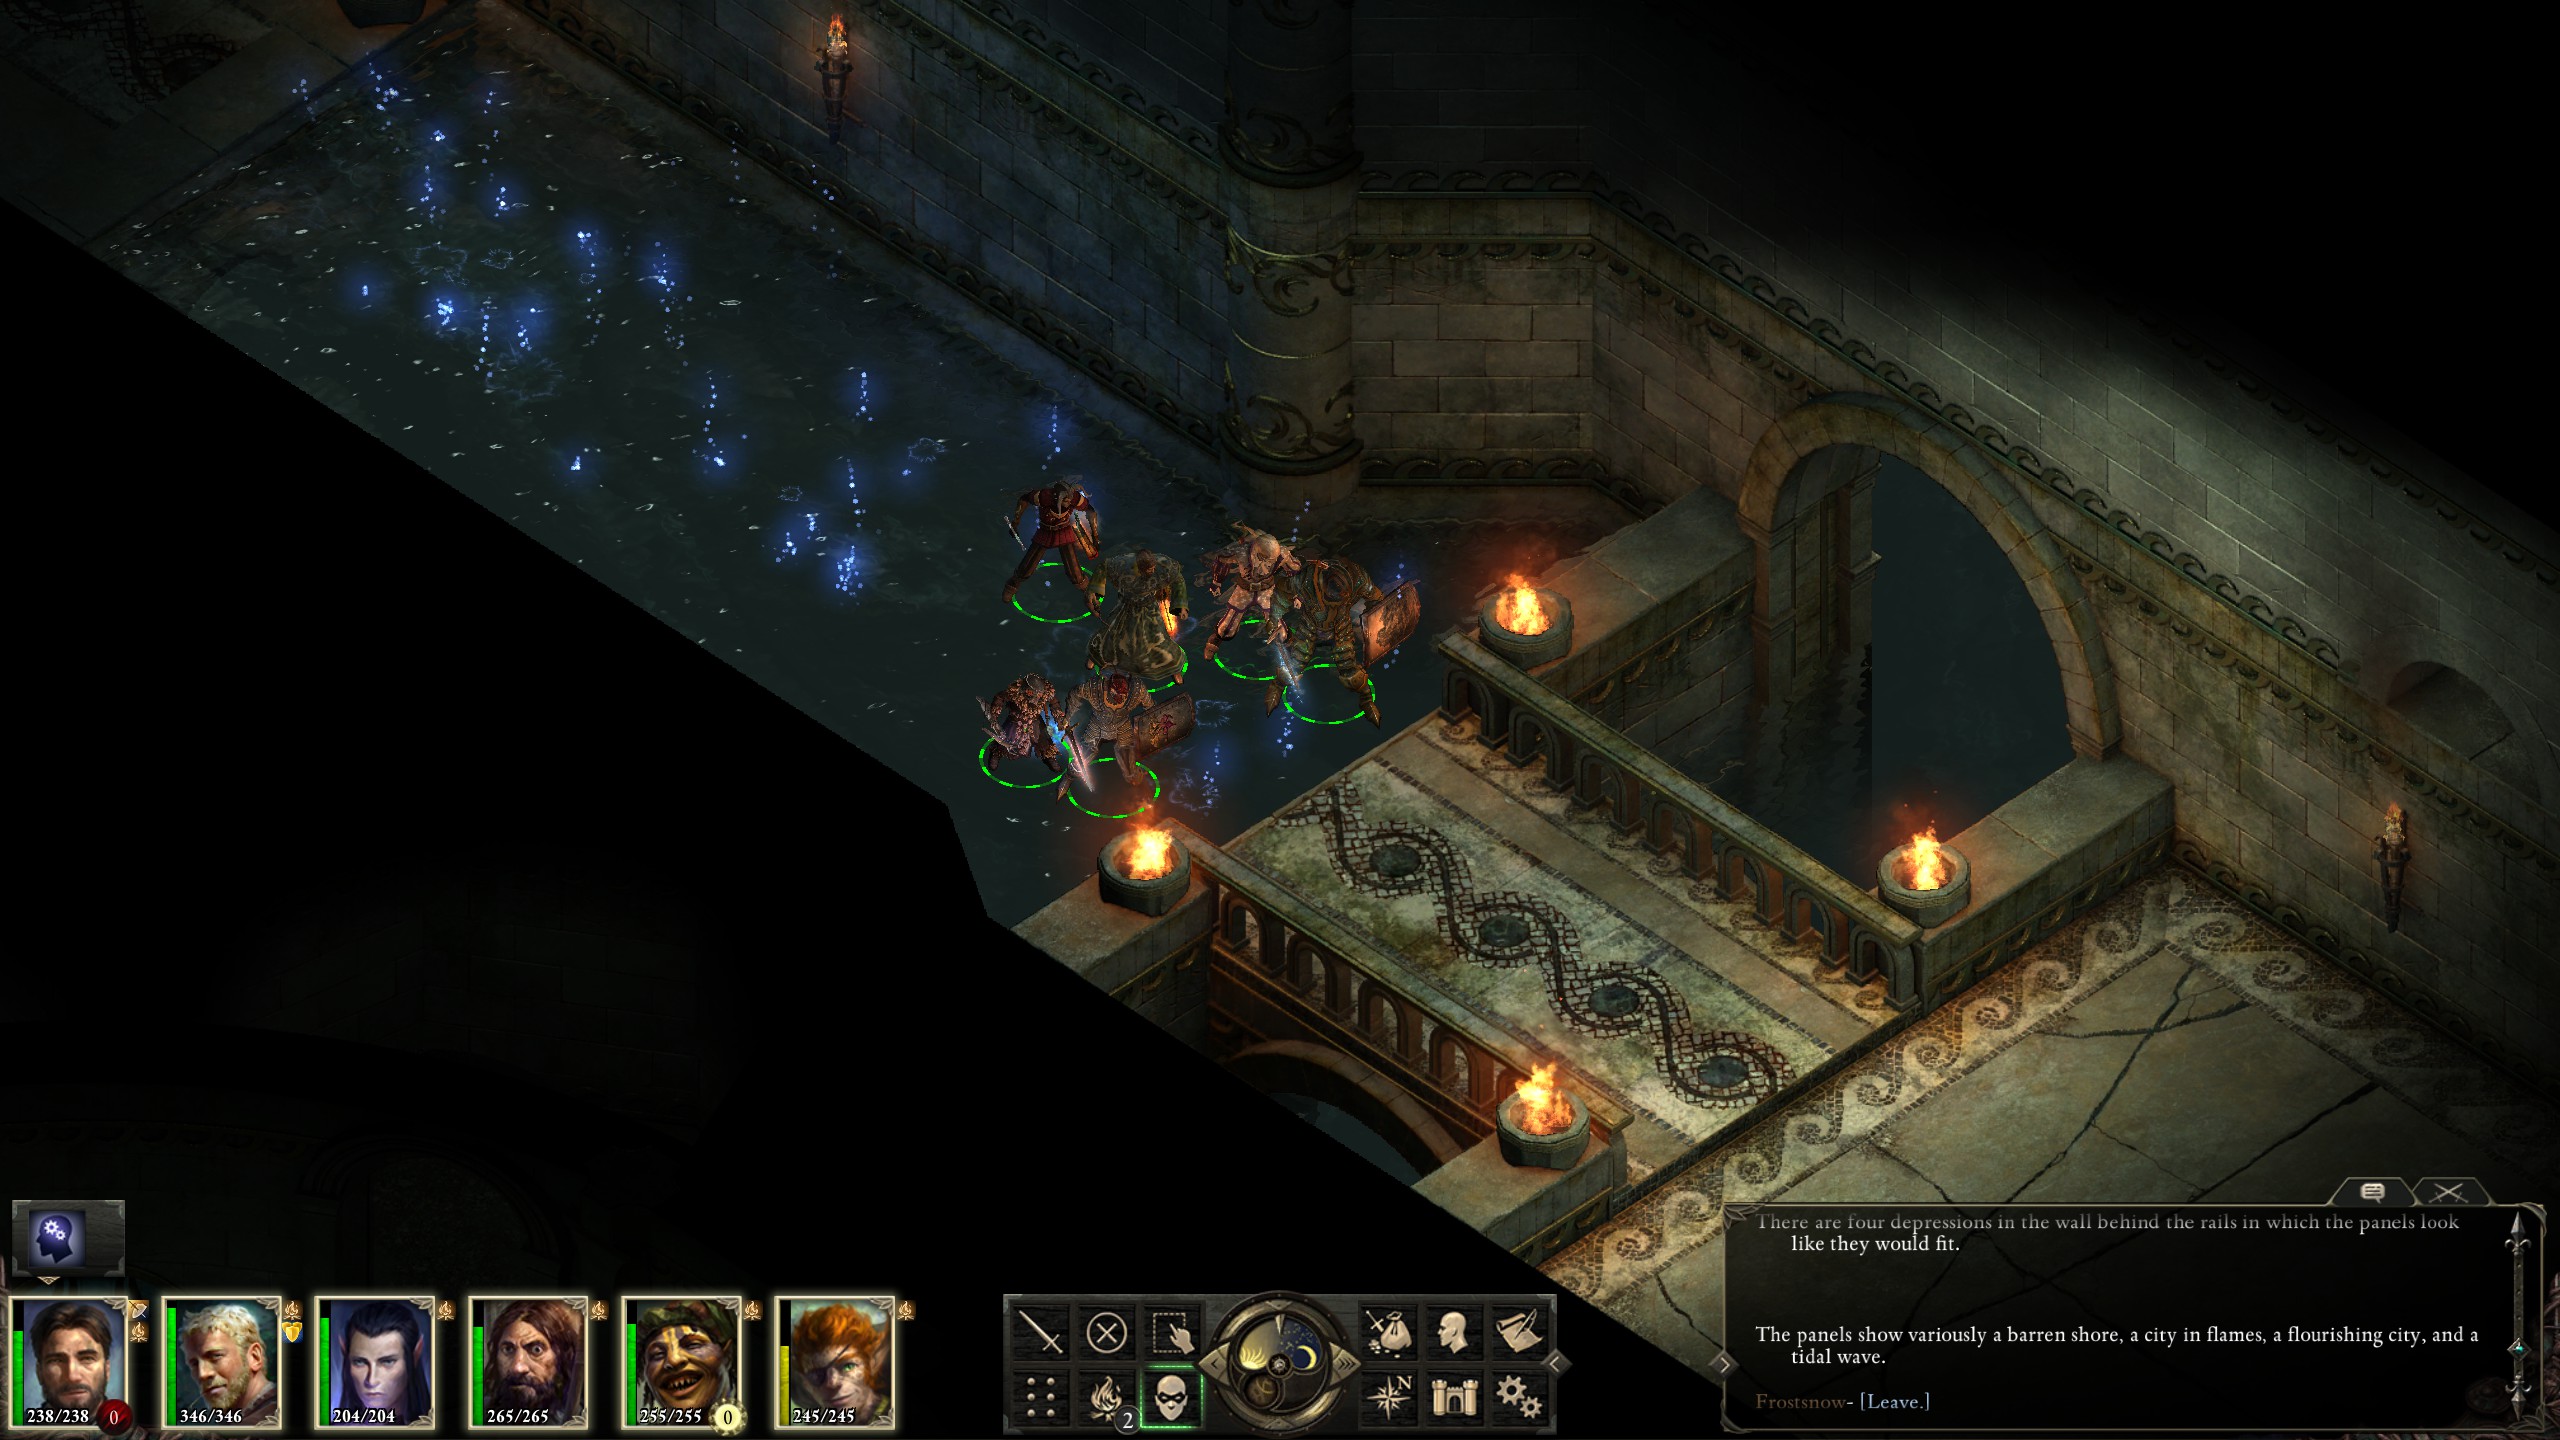
After working through their quarters and solving a puzzle, I traversed across the magical water bridge towards Ondra's Wirness.
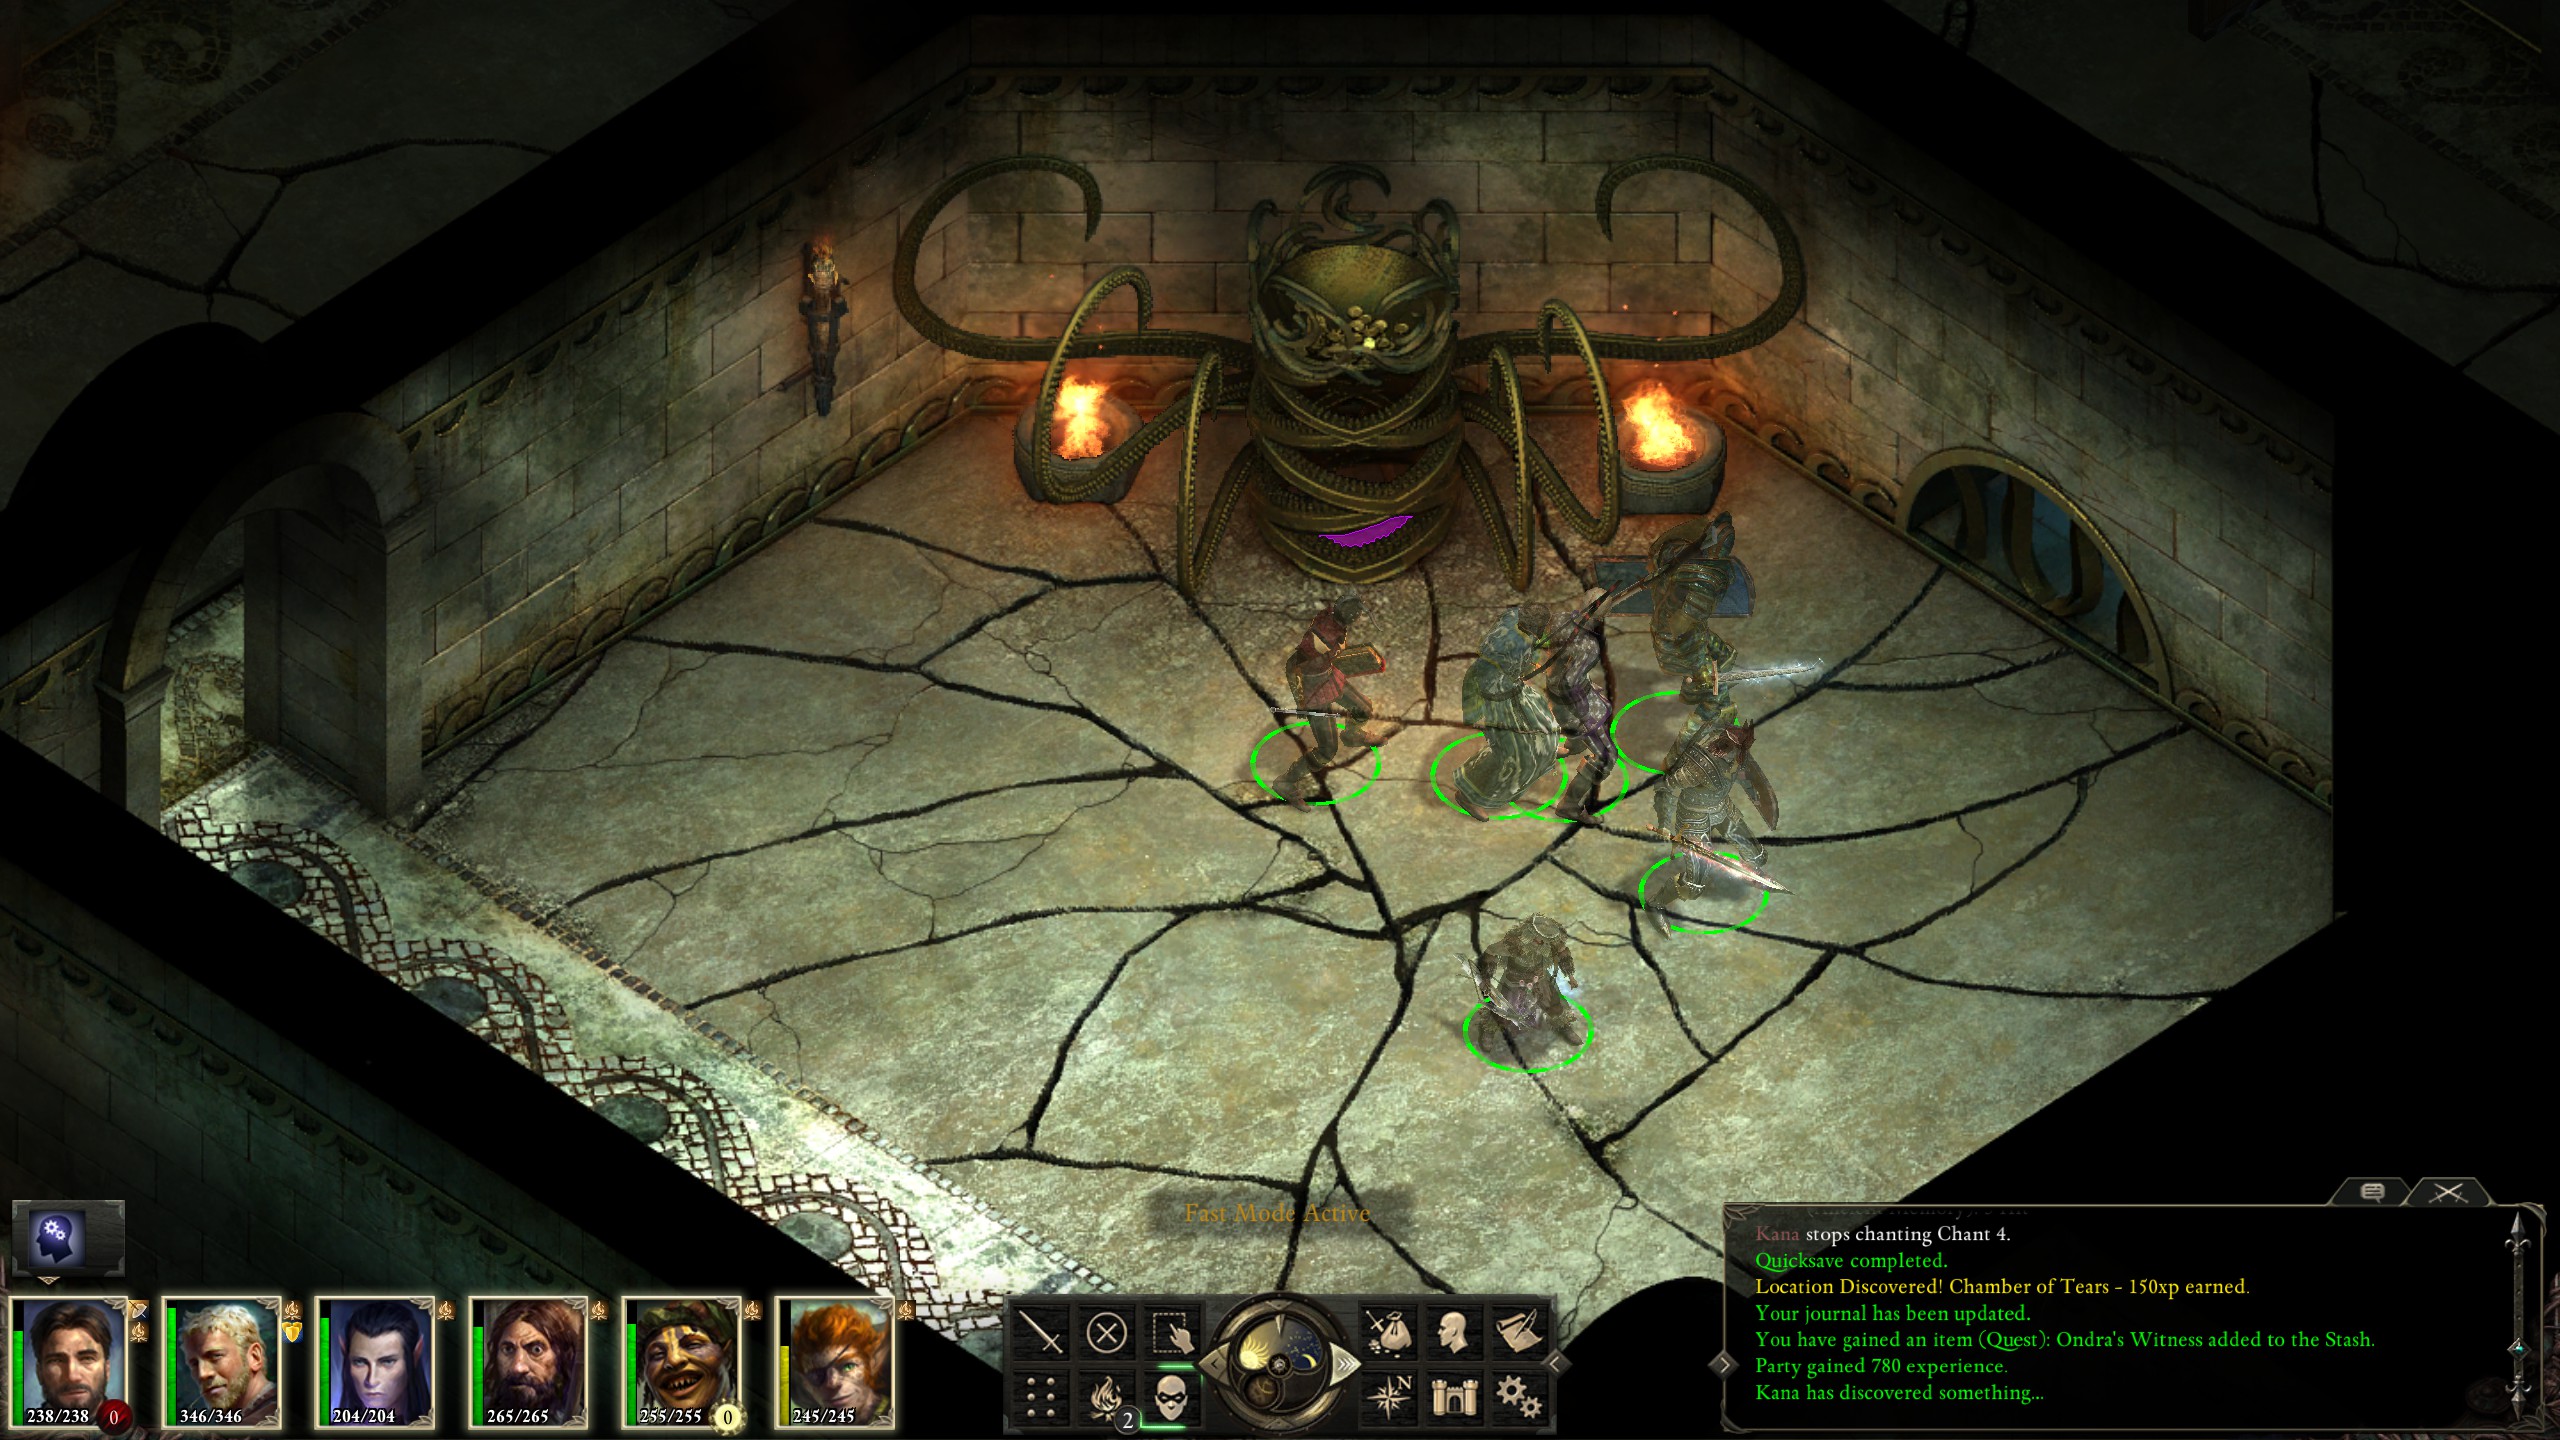
At the Chamber of Tears I decided to release the low tide rather than drowning them as per the past abbot's request. The high tide wasn't able to do much about it given that I'd just finished massacring them.
On the way out I noticed what appeared to be another exquisite kraken statue. The foreshadowing is strong with this one.
Ondra's Witness in hand, I proceeded to the top of the temple where Abydon's fractured skull lay, until now, safely hidden.
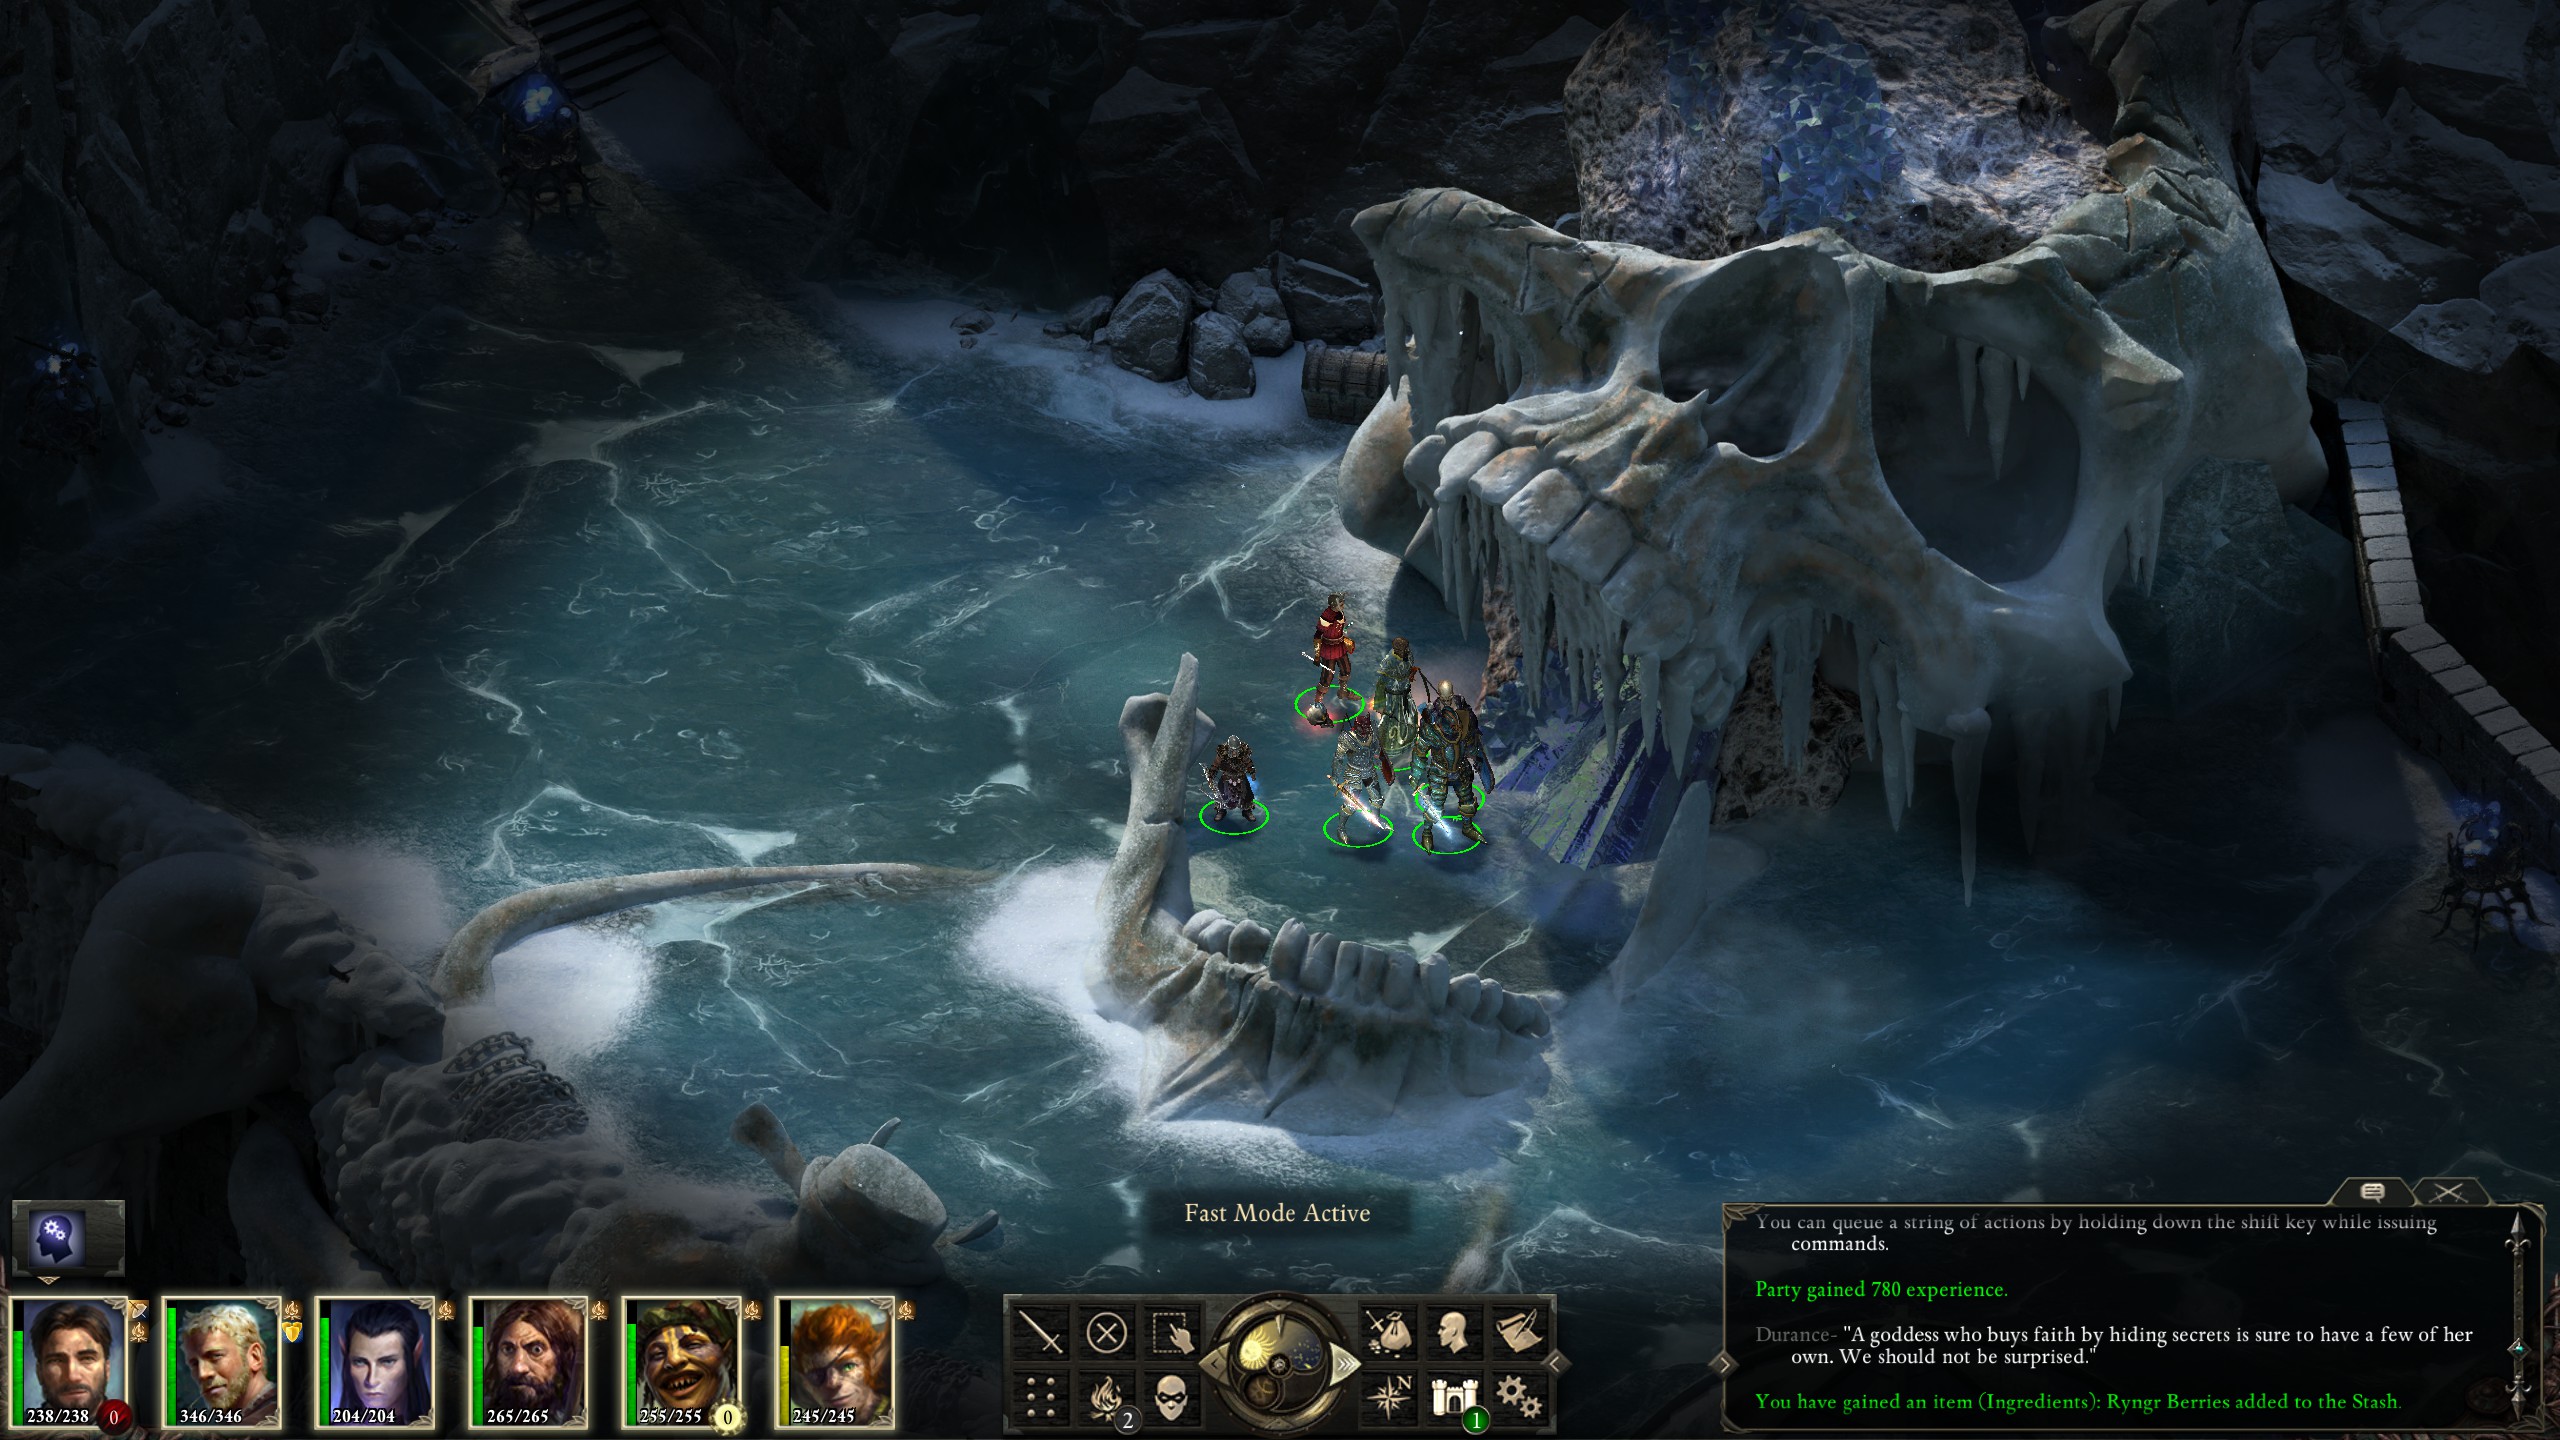
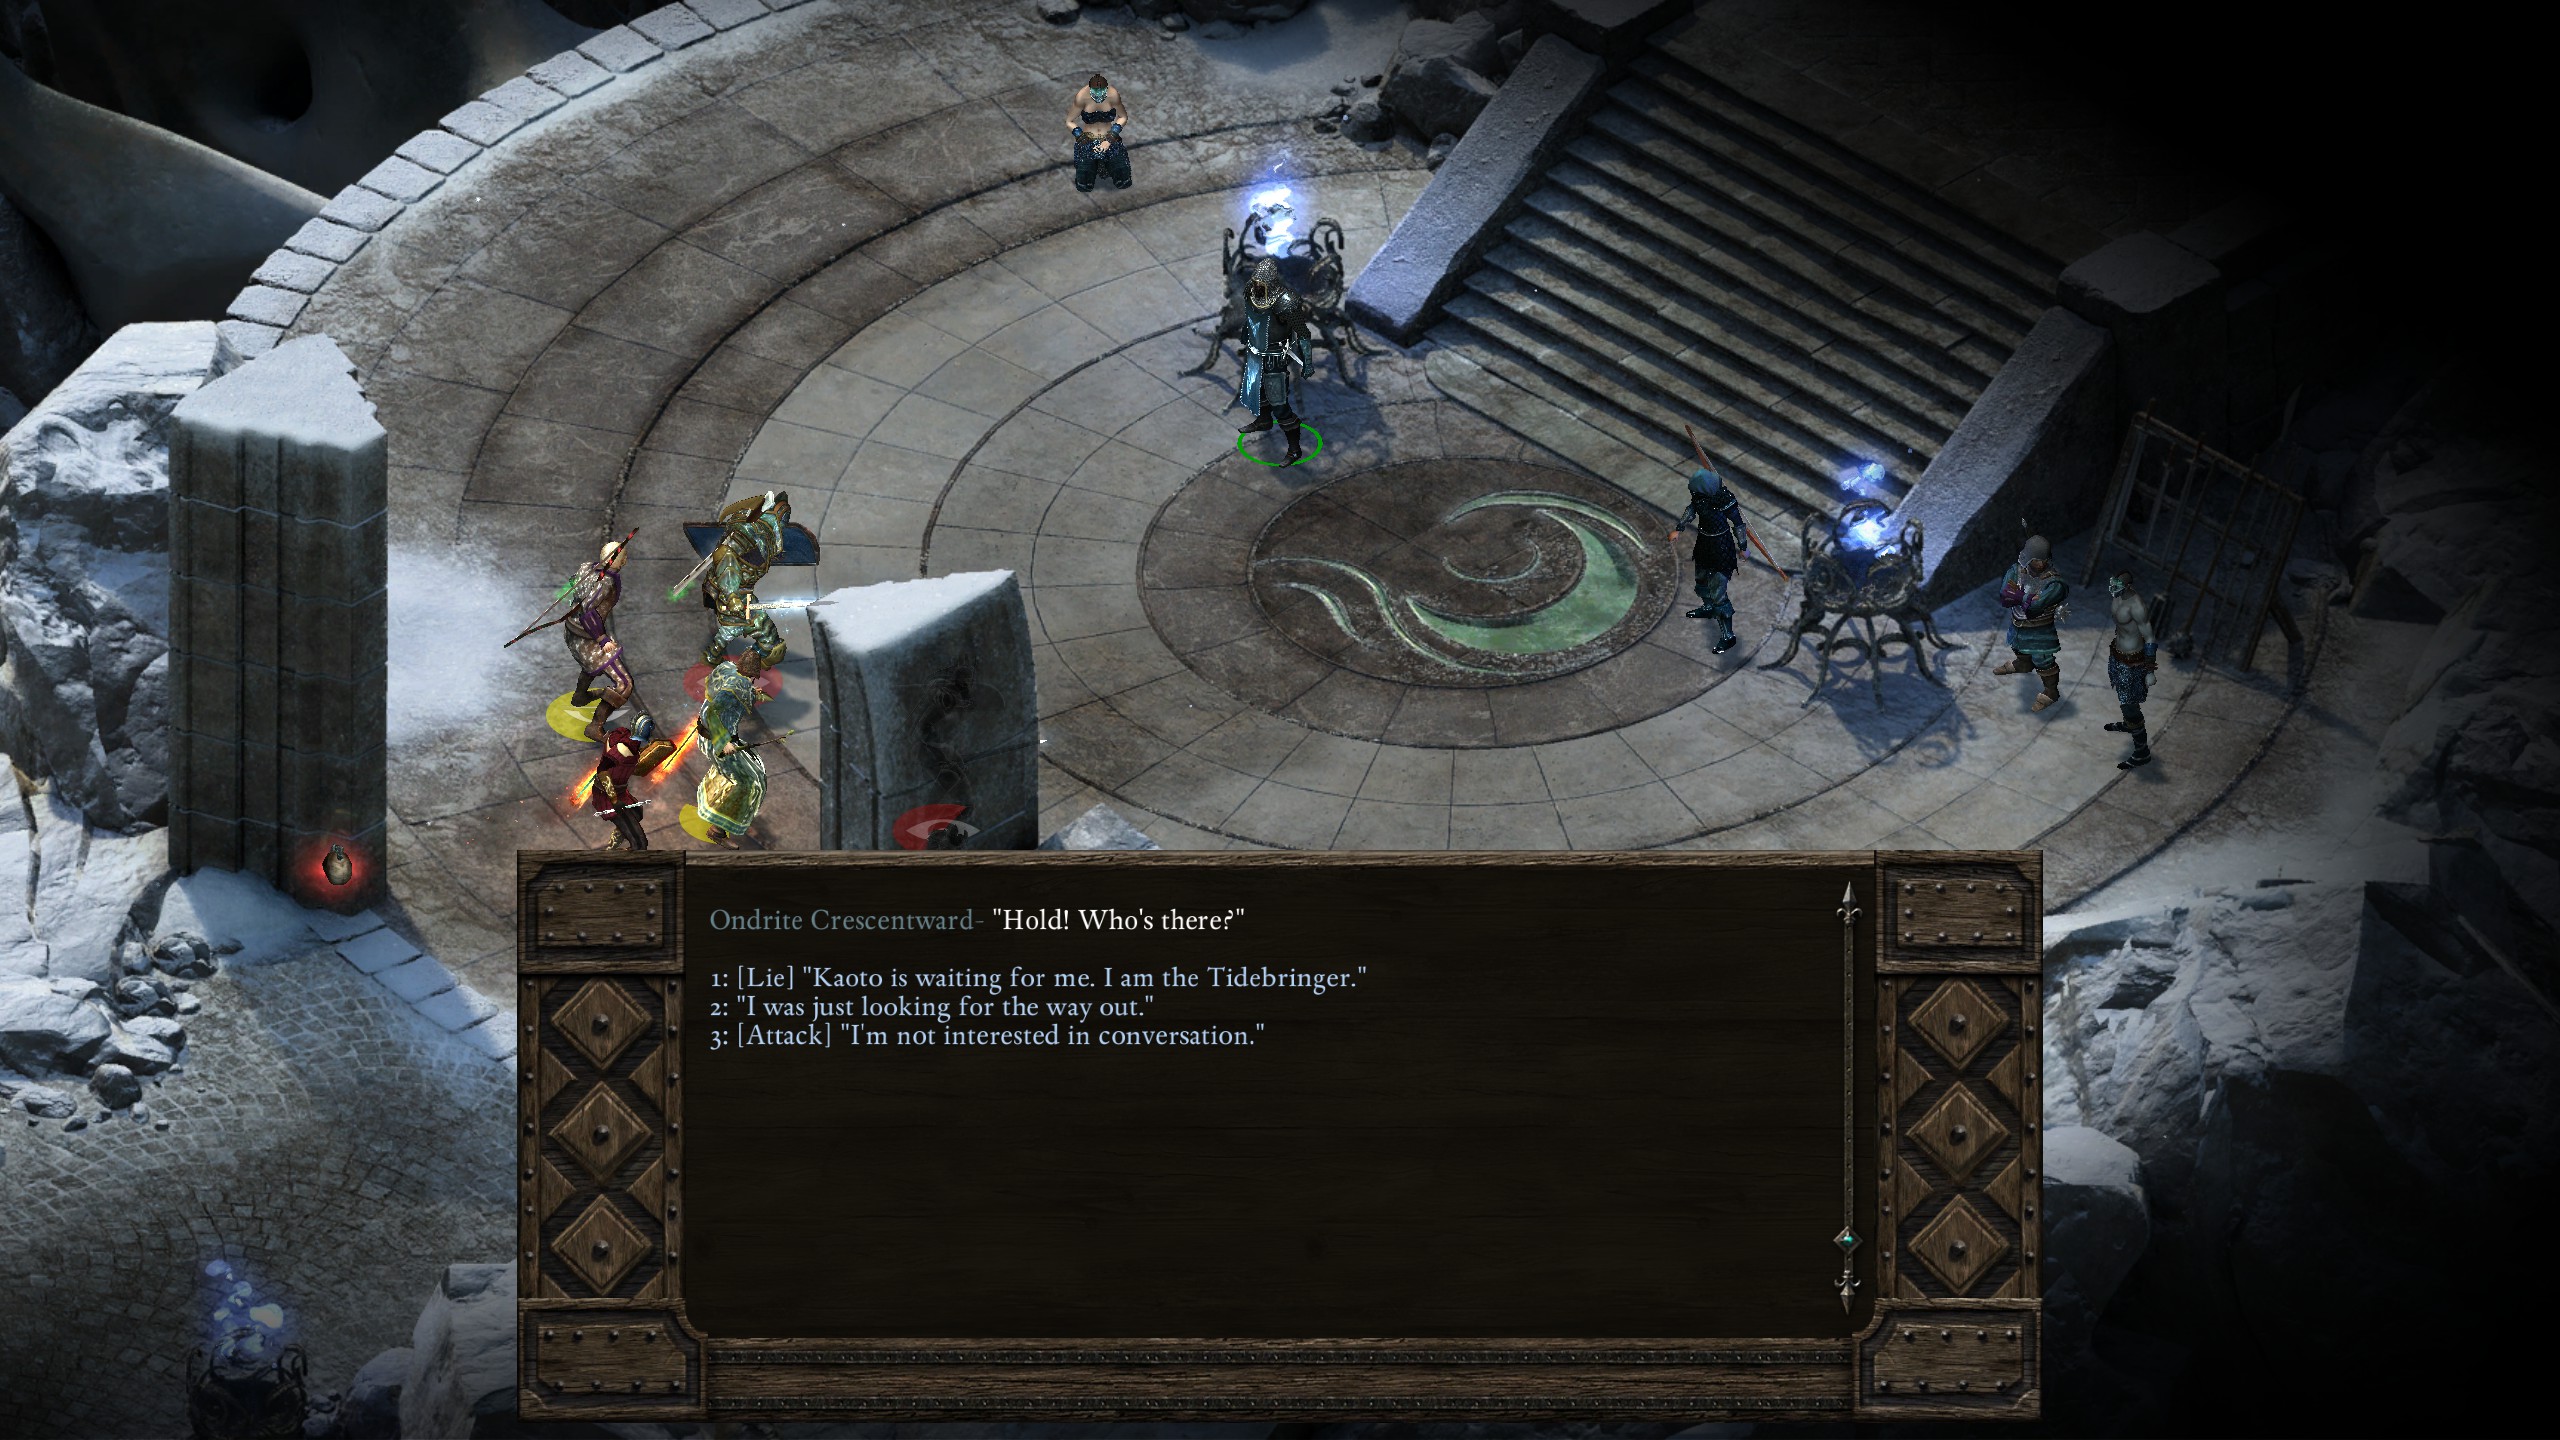
Too bad about Ondra's little secret. I then took the fragment of Abydon's Hammer, reforged it, and headed over to Crayon's Scar in order to stop the eyeless.
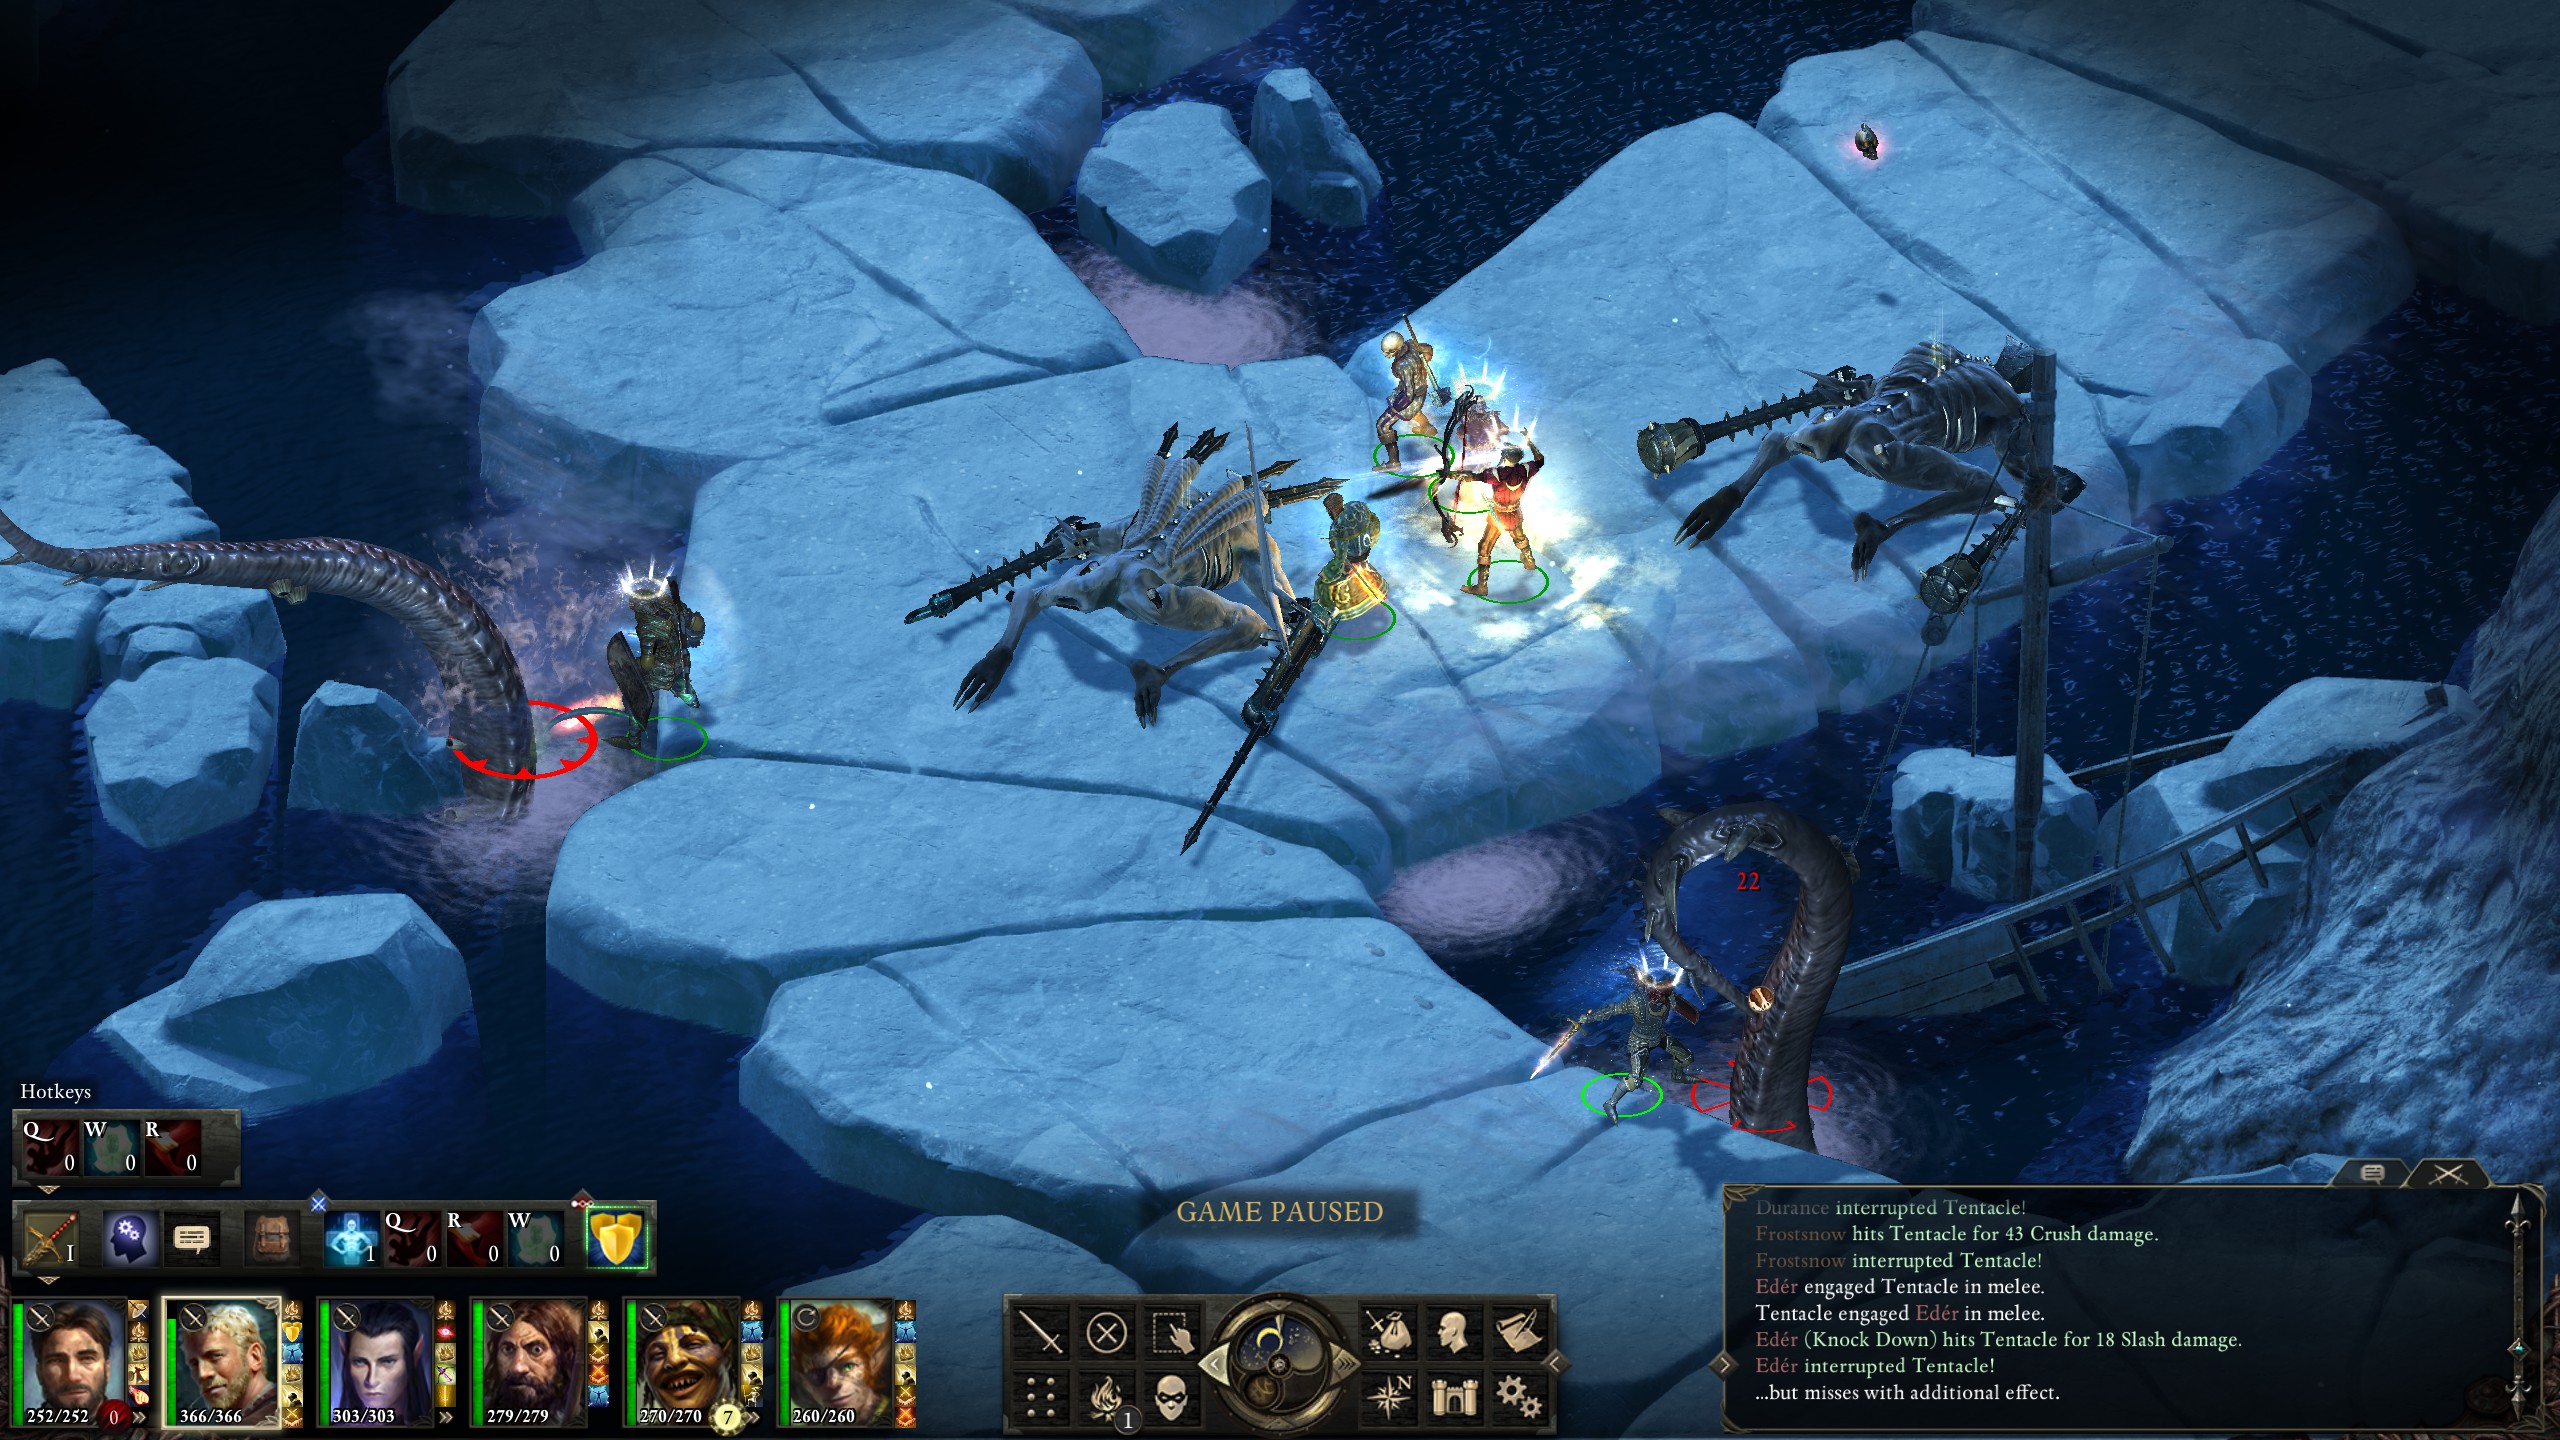
Within the moon floating in the middle of the lake I eventually found, surprise, a kraken!
I forgot to take any cool pictures of the fight but, sadly, the fight was quite easy. The main reason for this is that the boss moved all of its tentacles towards me at the beginning of the fight where the boss was then out of range for any of its abilities. This gave me time to buff up and kill the tentacles before charging with full power at the rather squishy boss. Three eyeless then showed up right as the kraken died, but they were easily put down as well. Once the boss was dead I then sunk the glacier and made it to safety using one of the two diving helmets I'd acquired from the various quests.
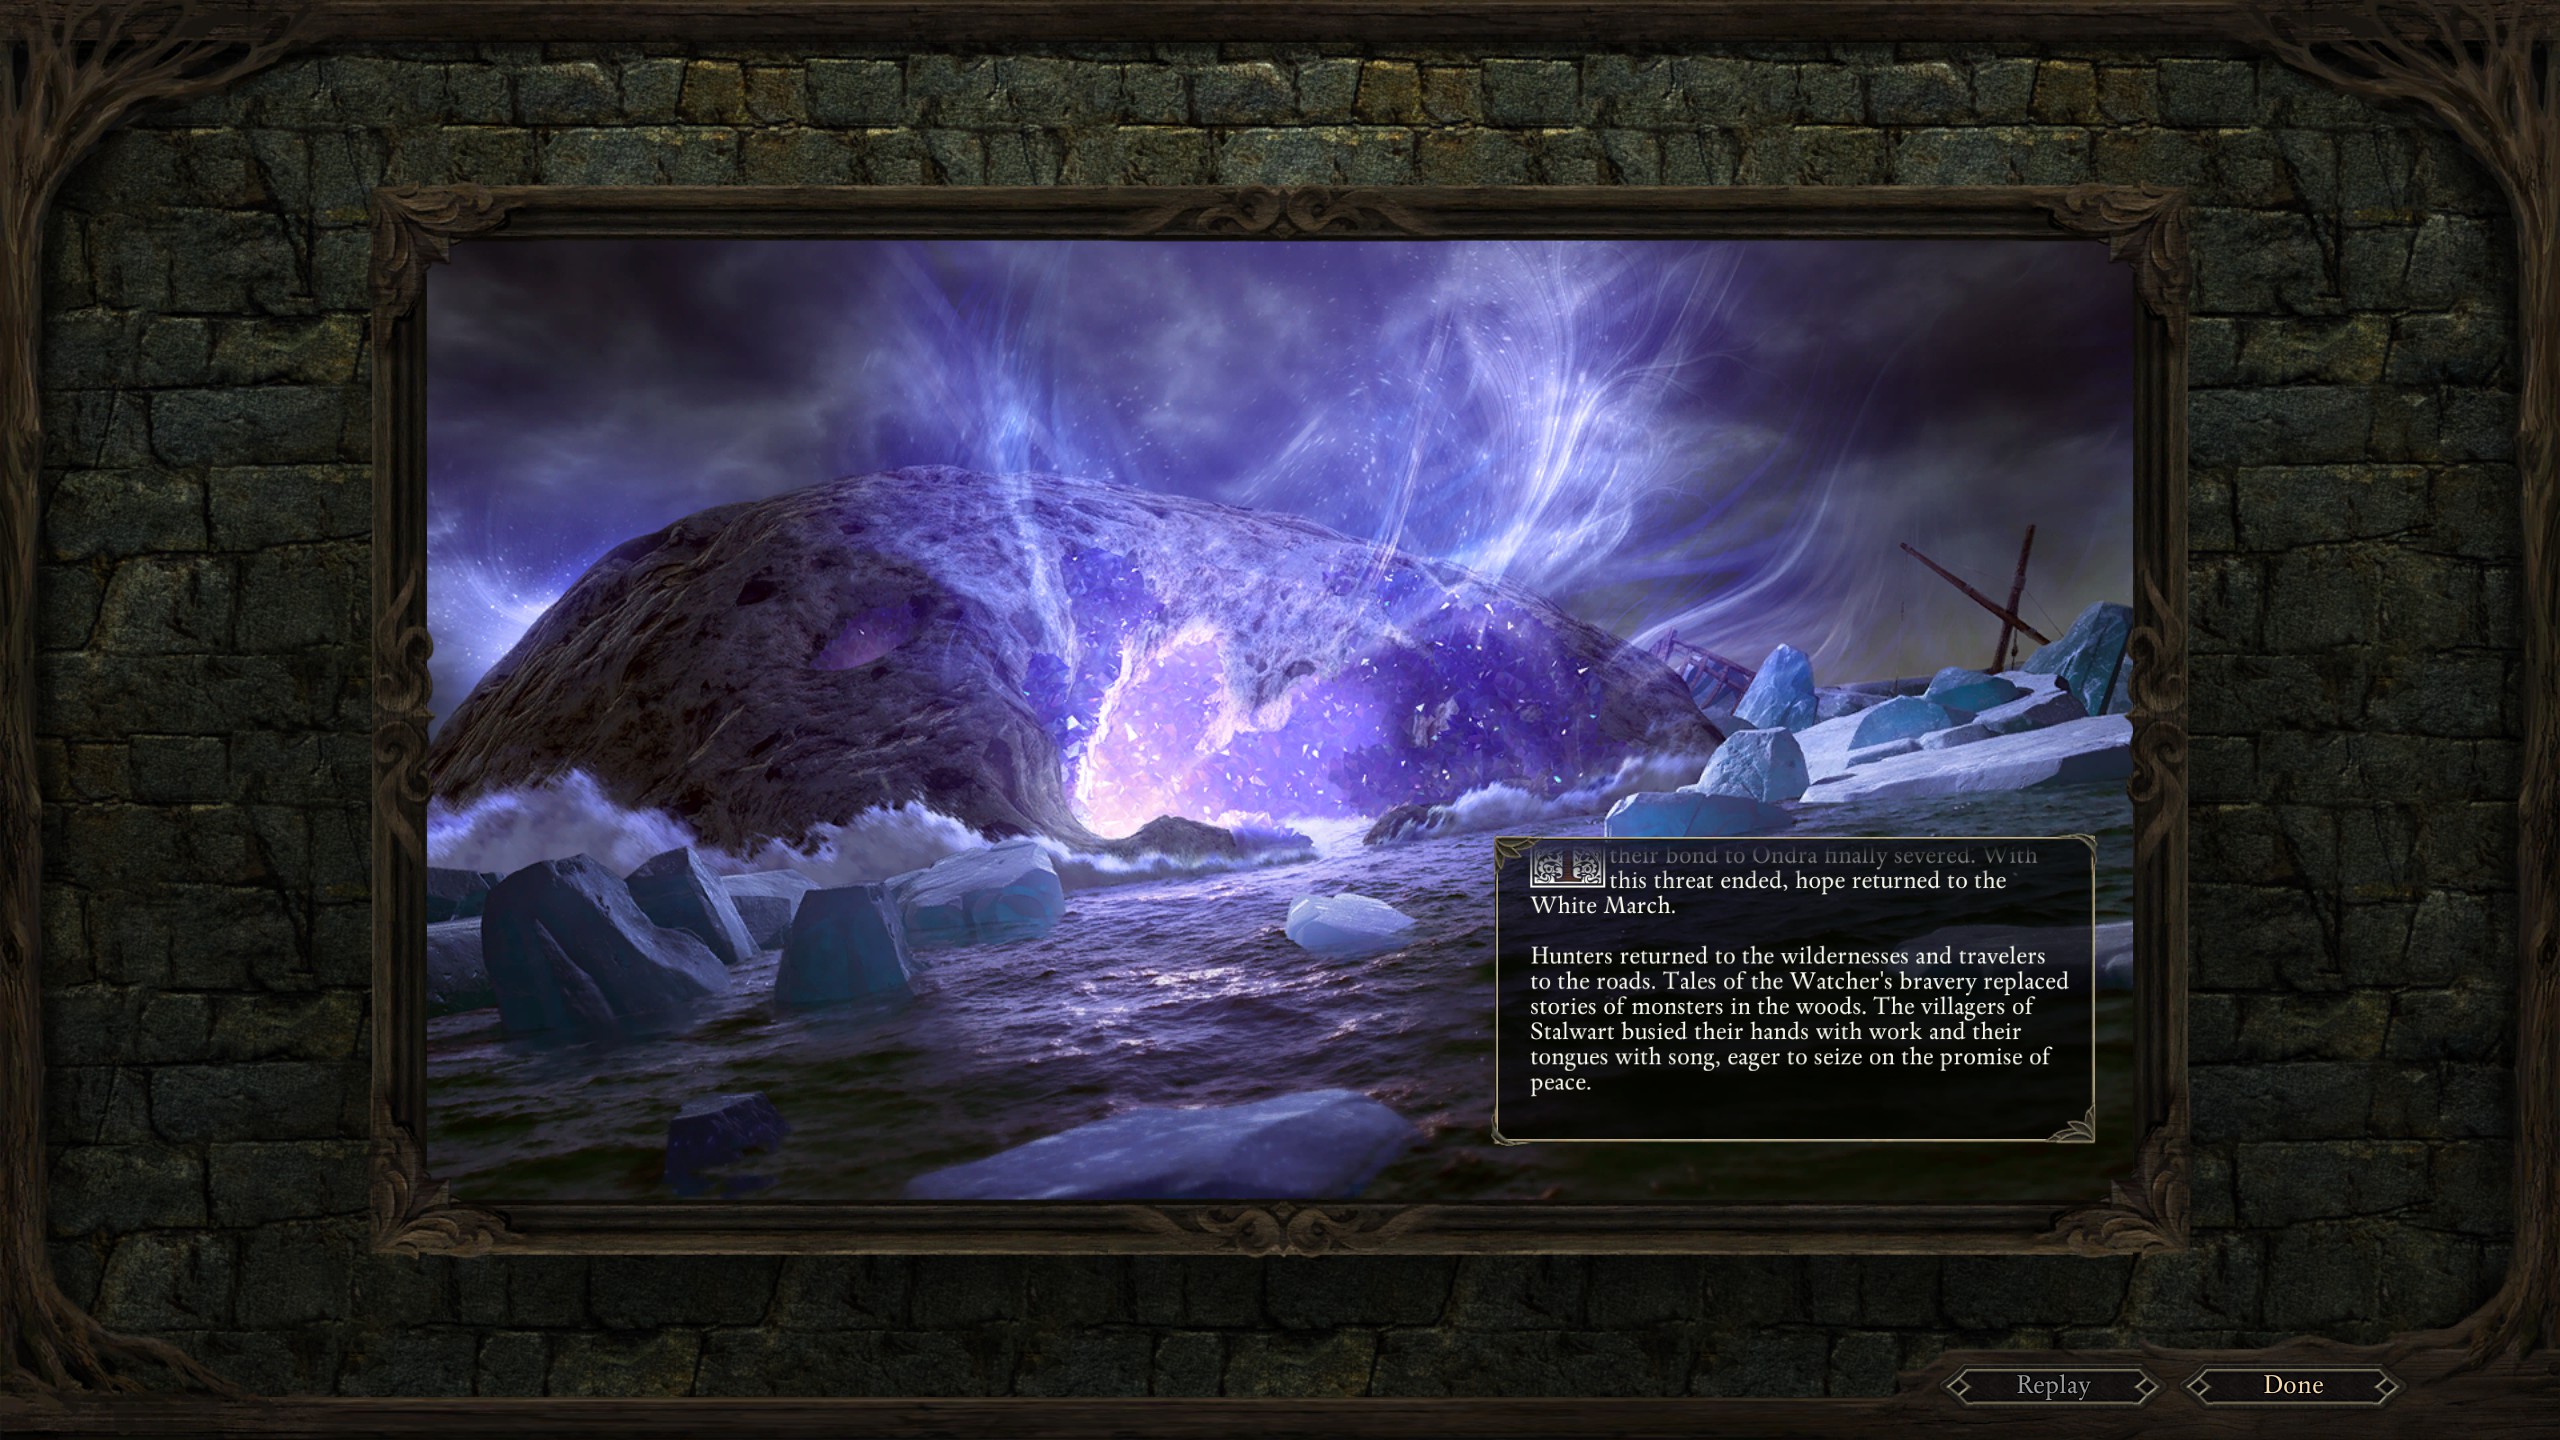
That was the end of the expansion's main storyline, but not the optional endgame content in the bog, which is where I went next.
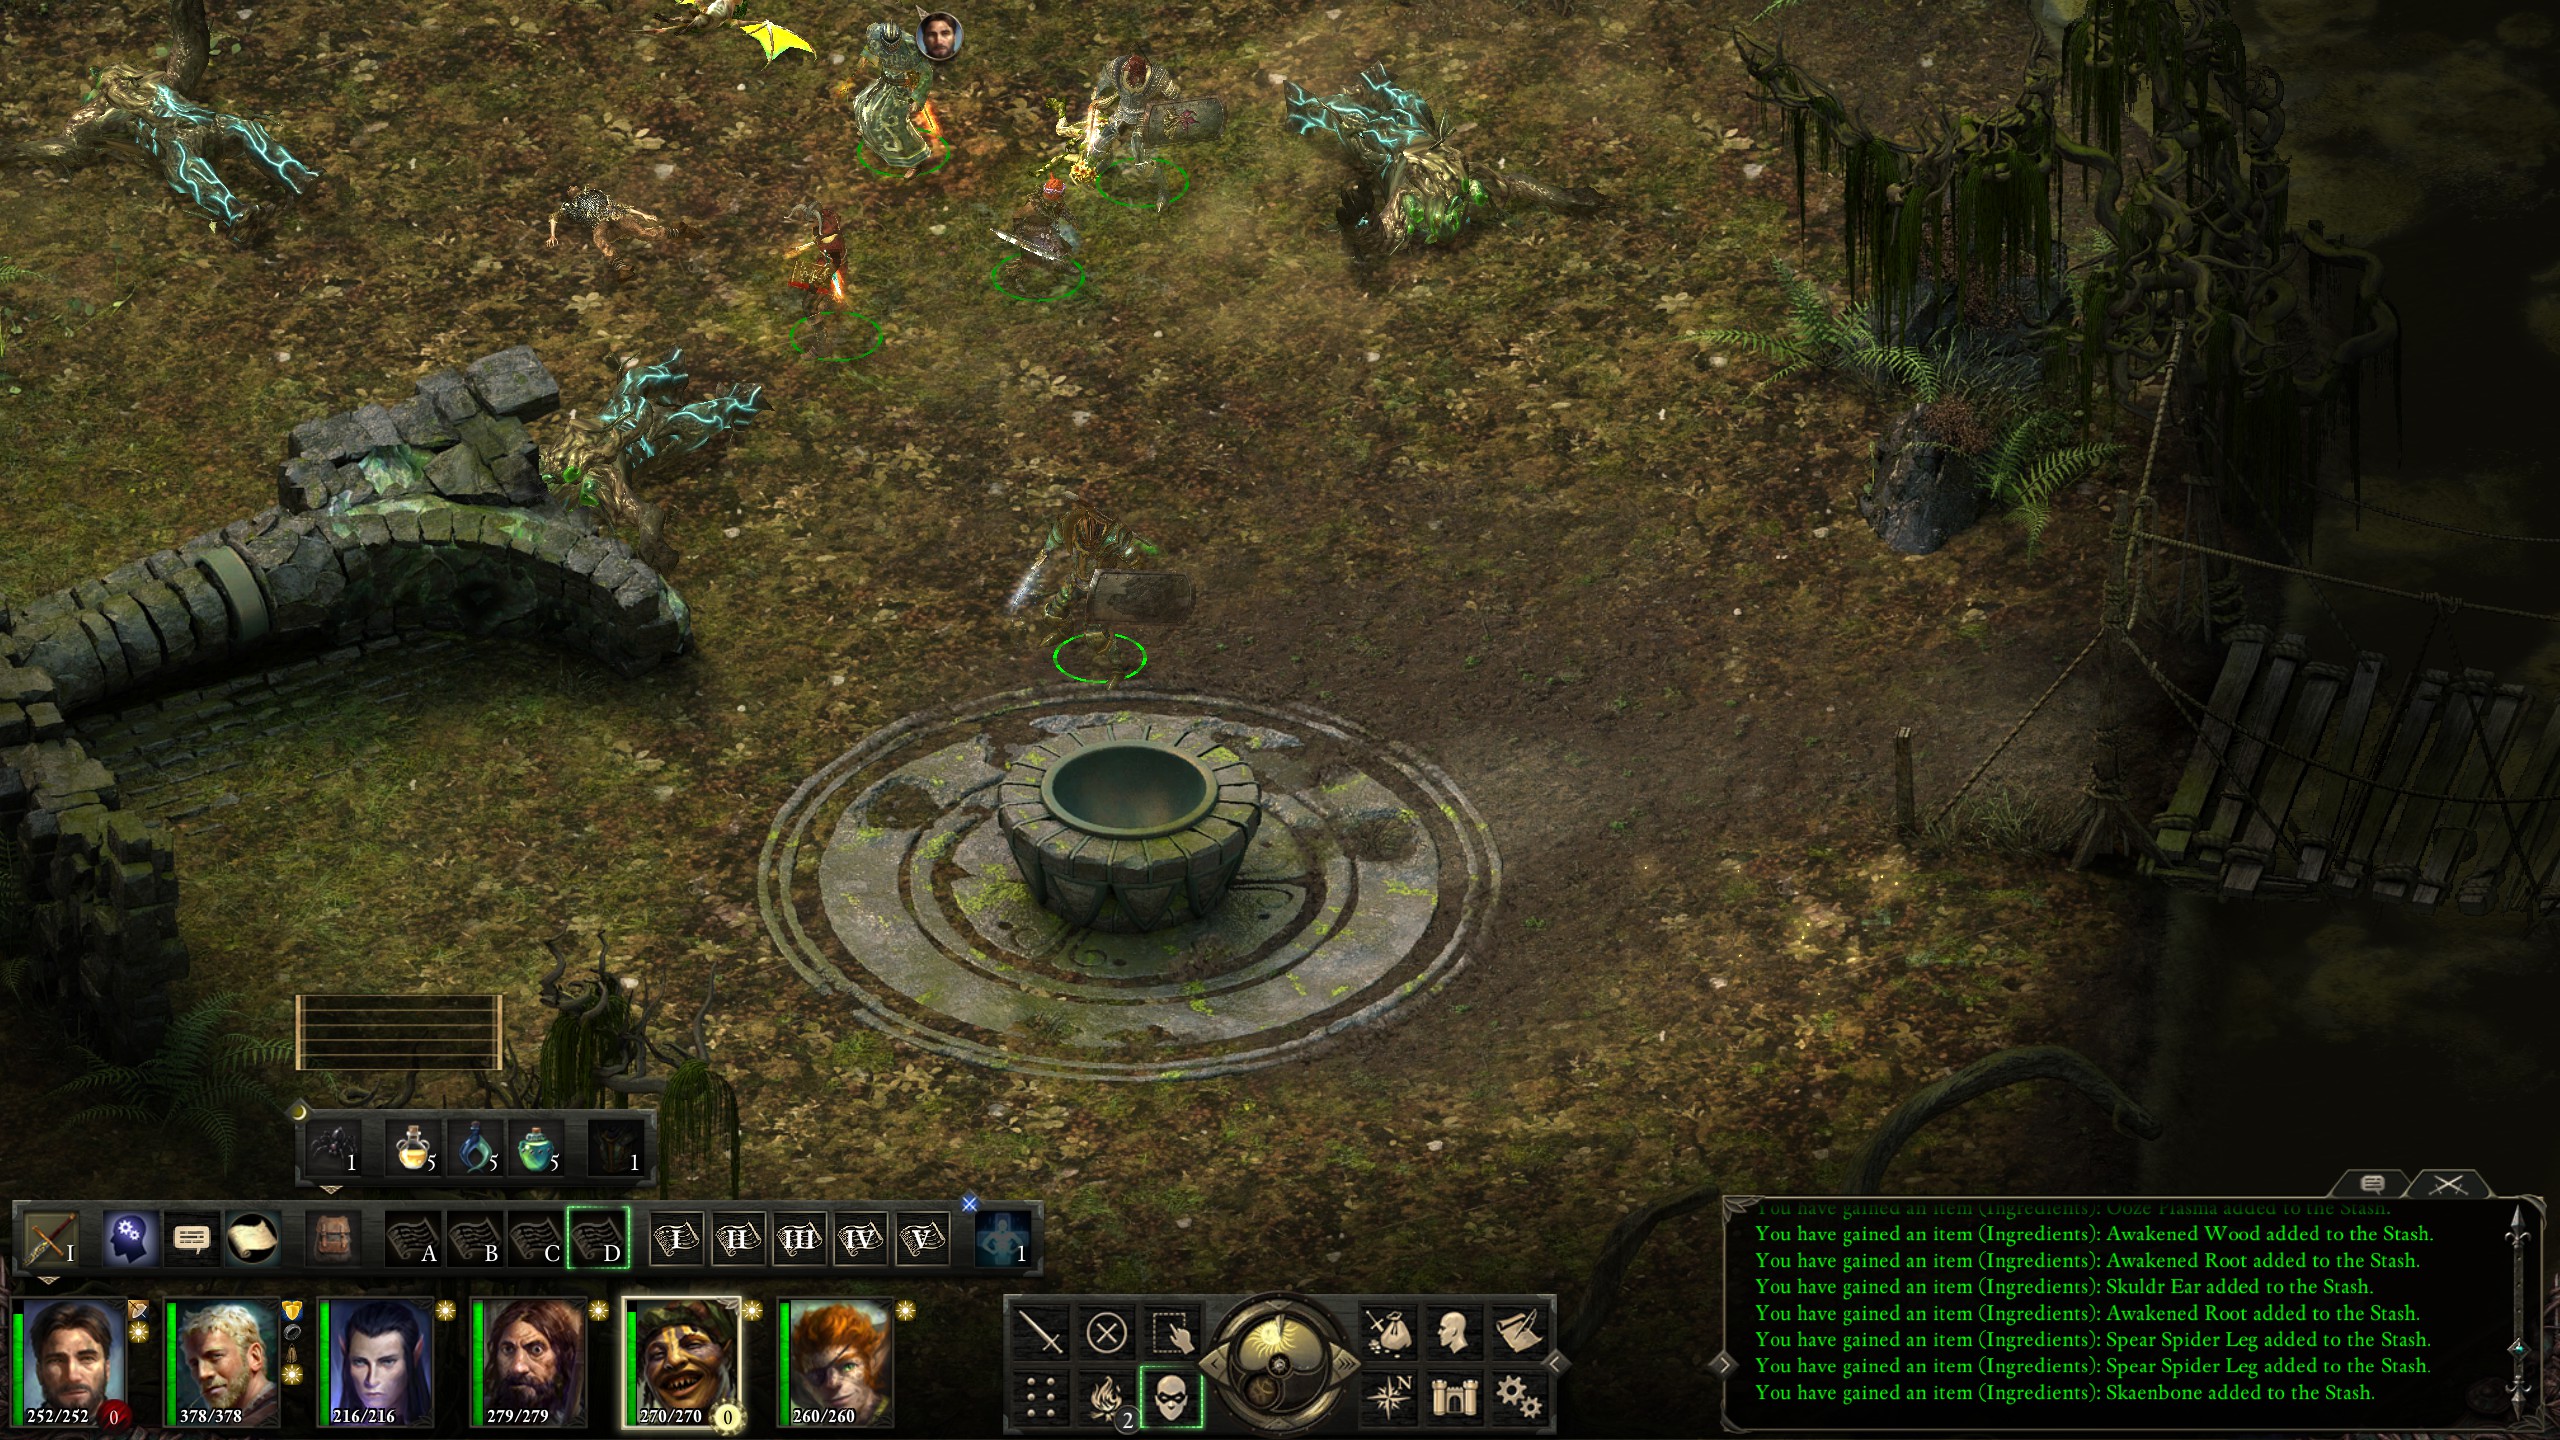
This giant head, for example, perhaps it served a similar purpose to that as the statue of Od Nua?
Alas, the ruins did not give any clue as to their original intent.
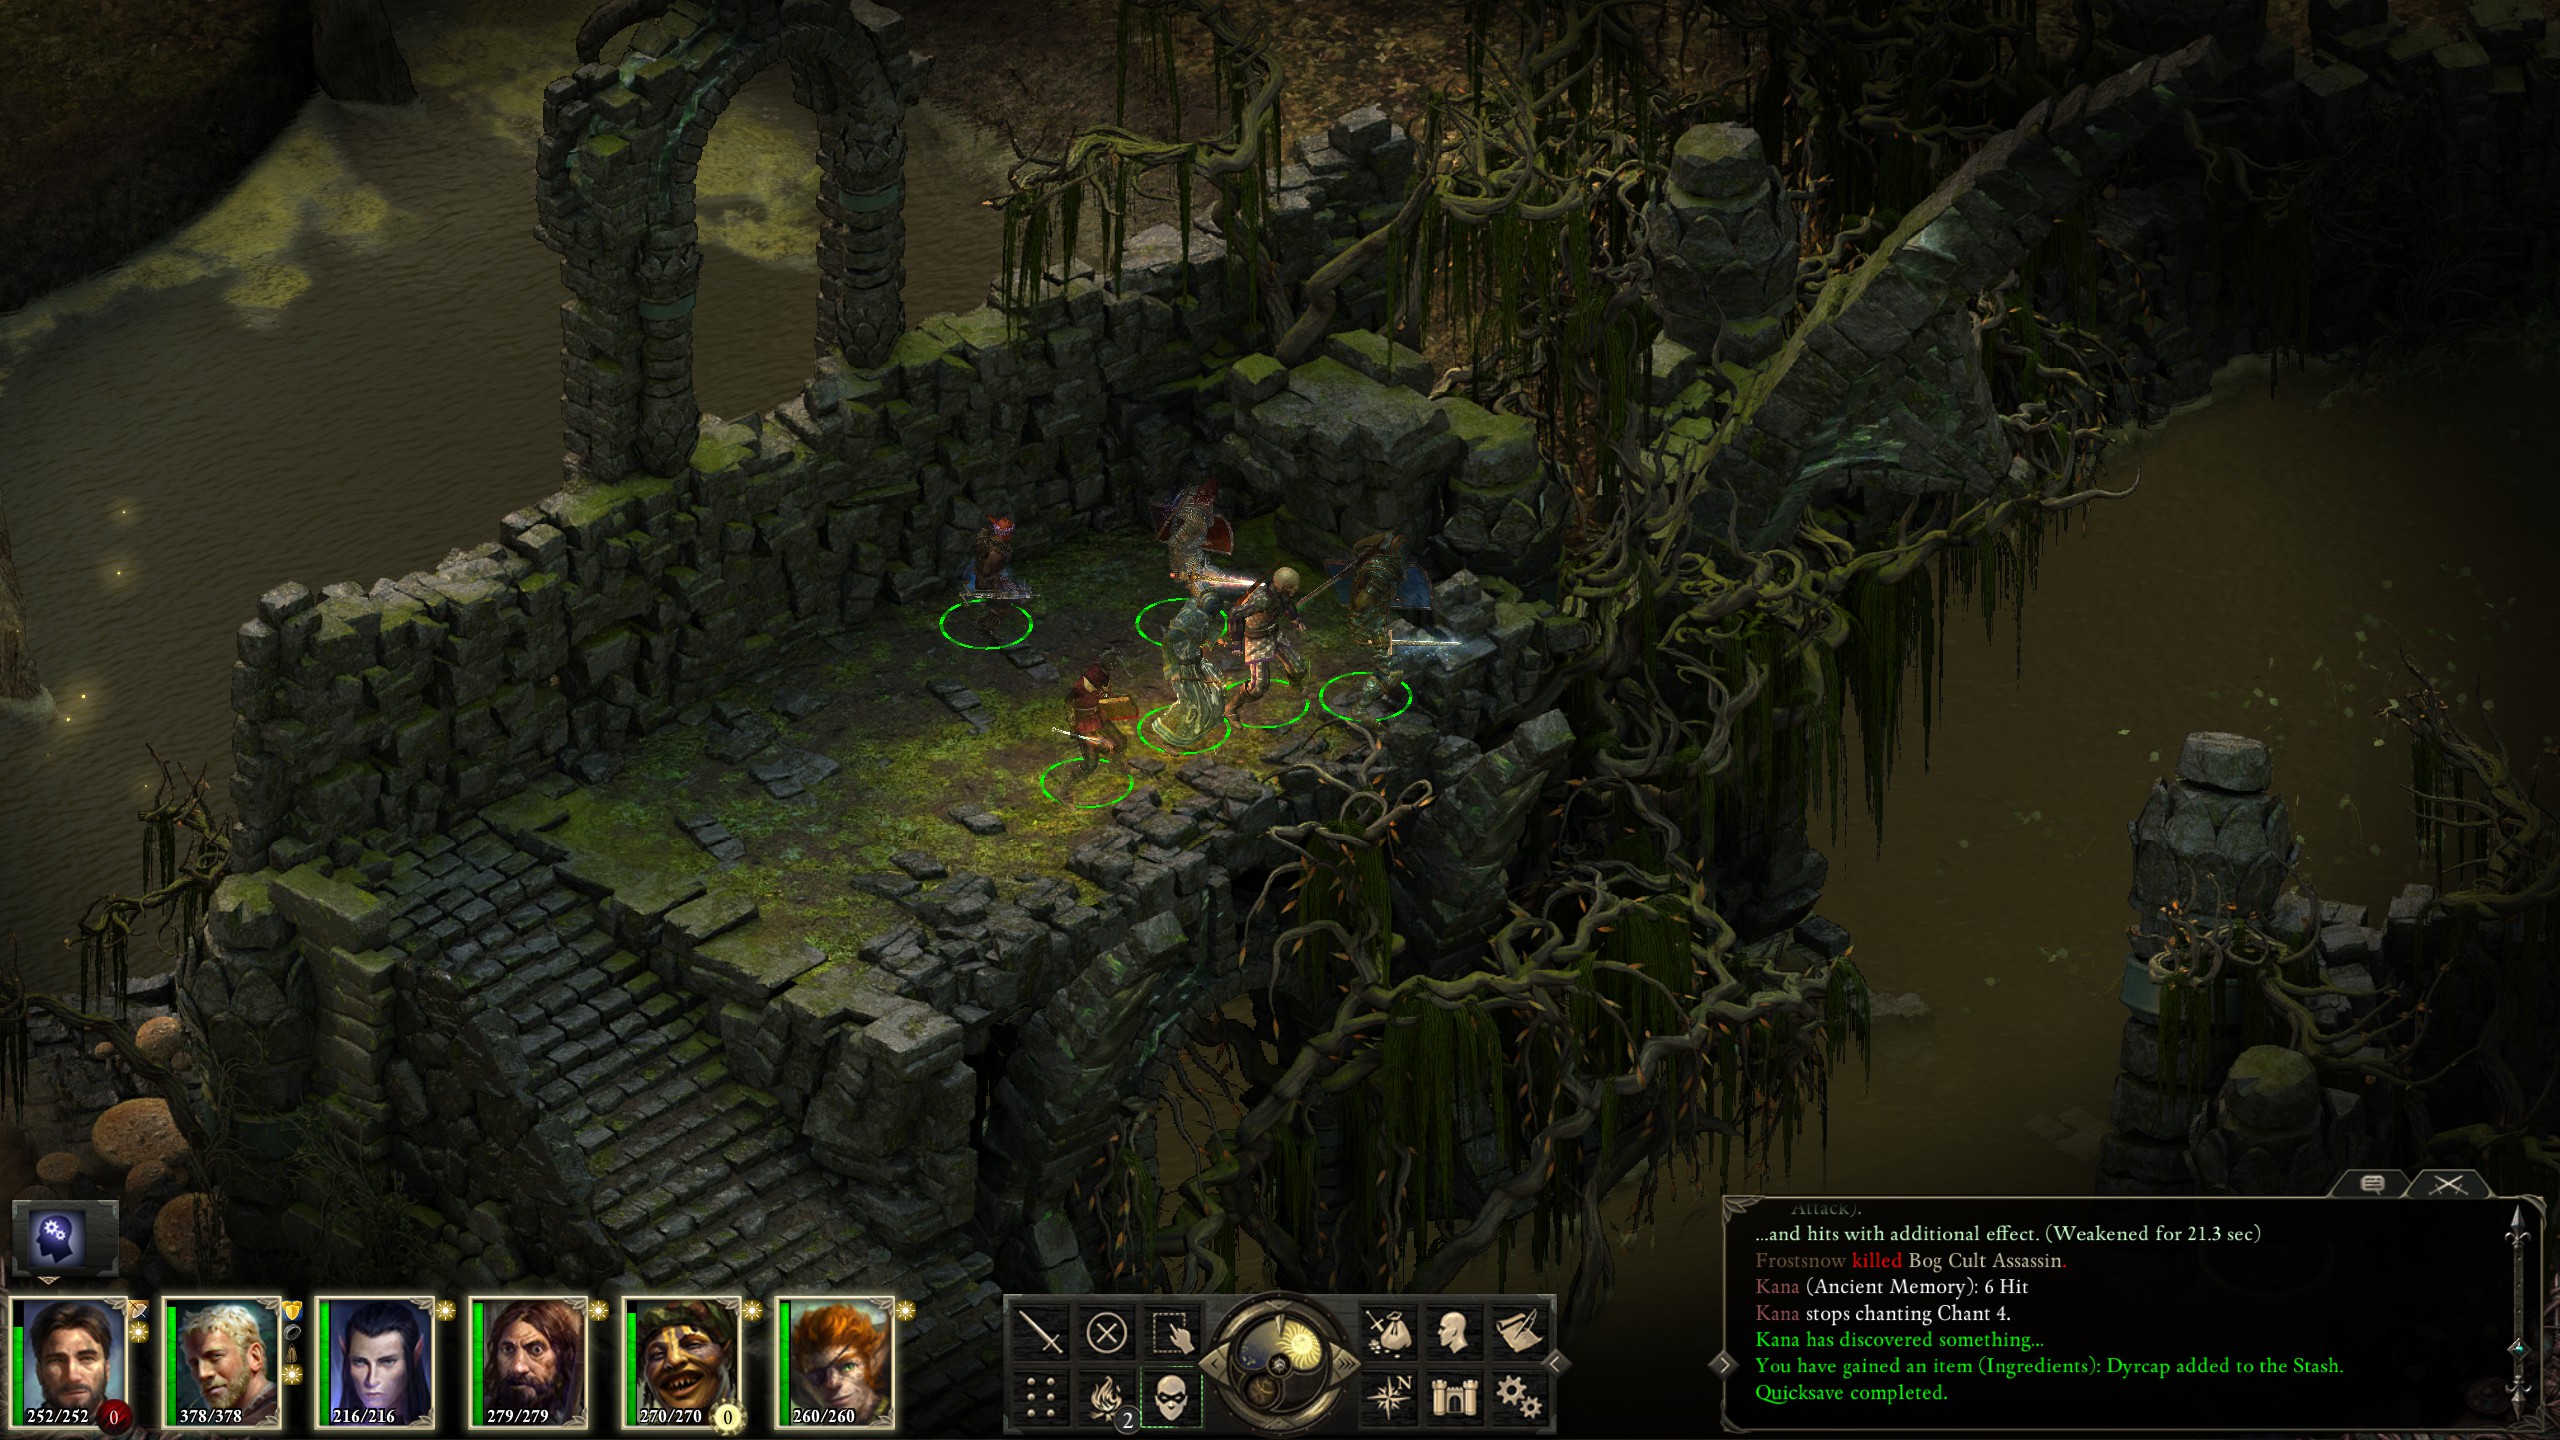
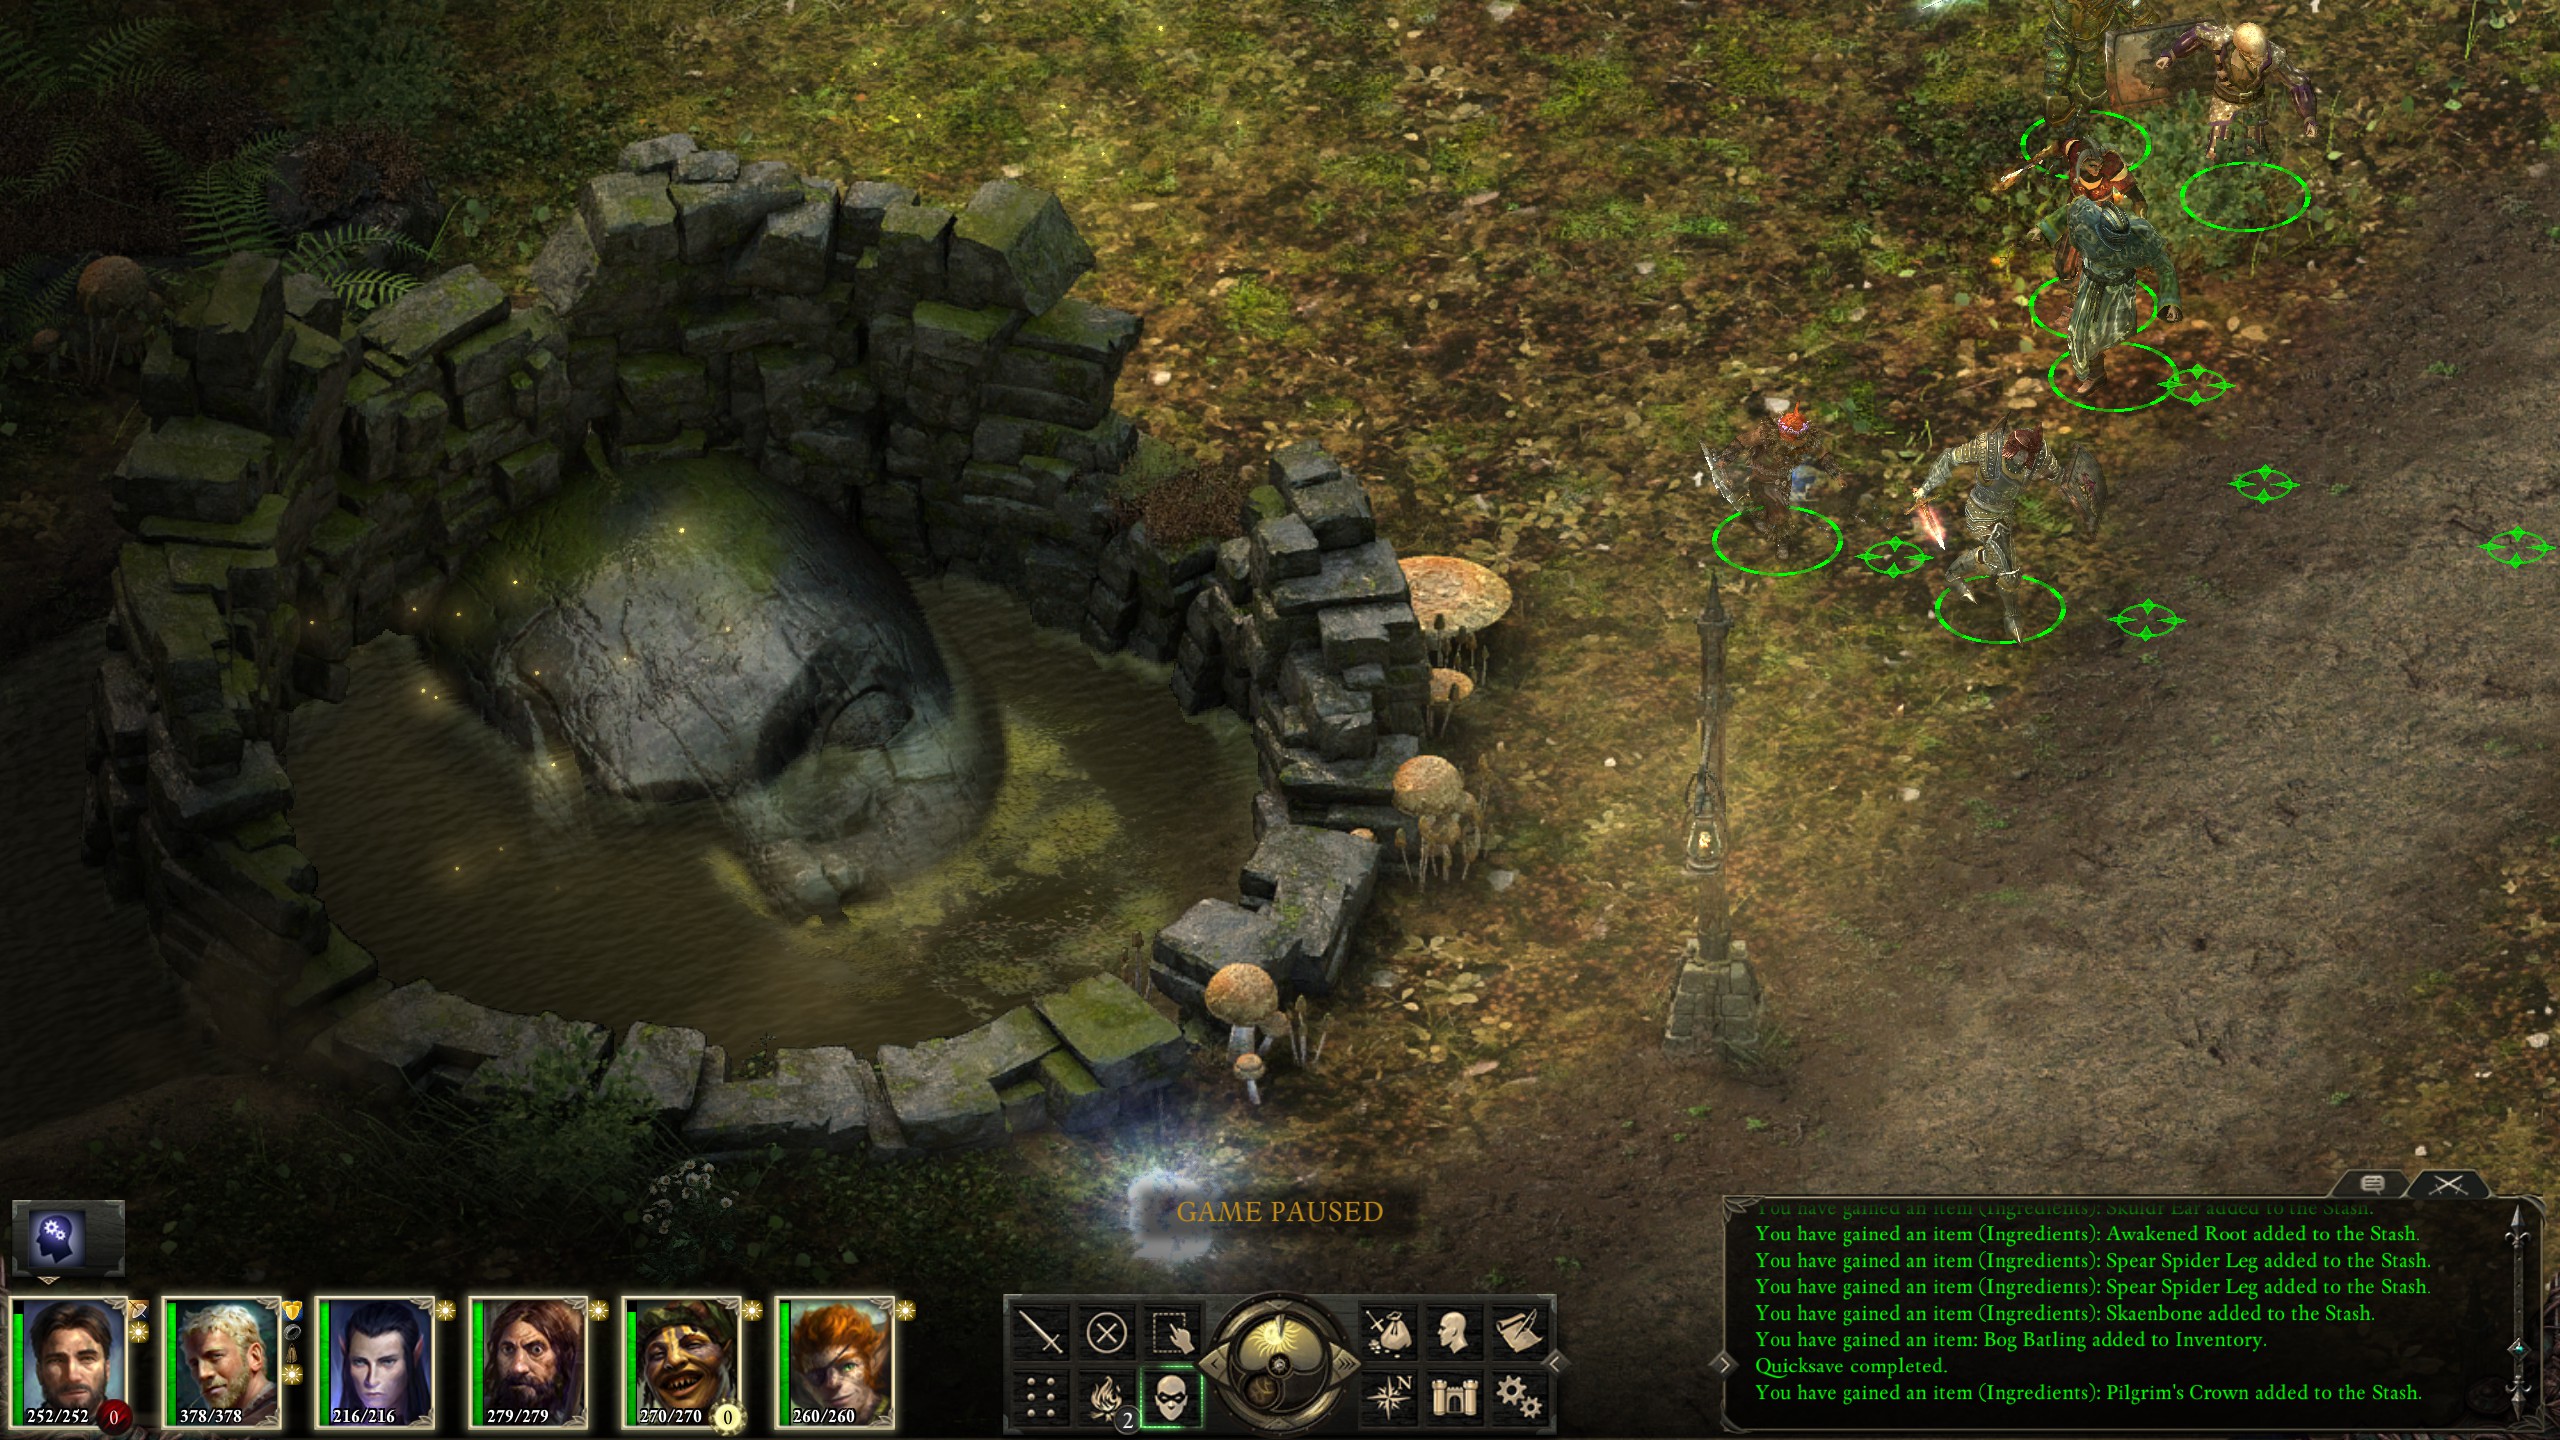
Neither did the bog cultists, for that matter. Though I did have an issue where one of them managed to petrify my monk and do some serious damage, a lucky shot! They didn't cause much trouble beyond that, though.

Beyond the bog cultists lay the final boss battle.
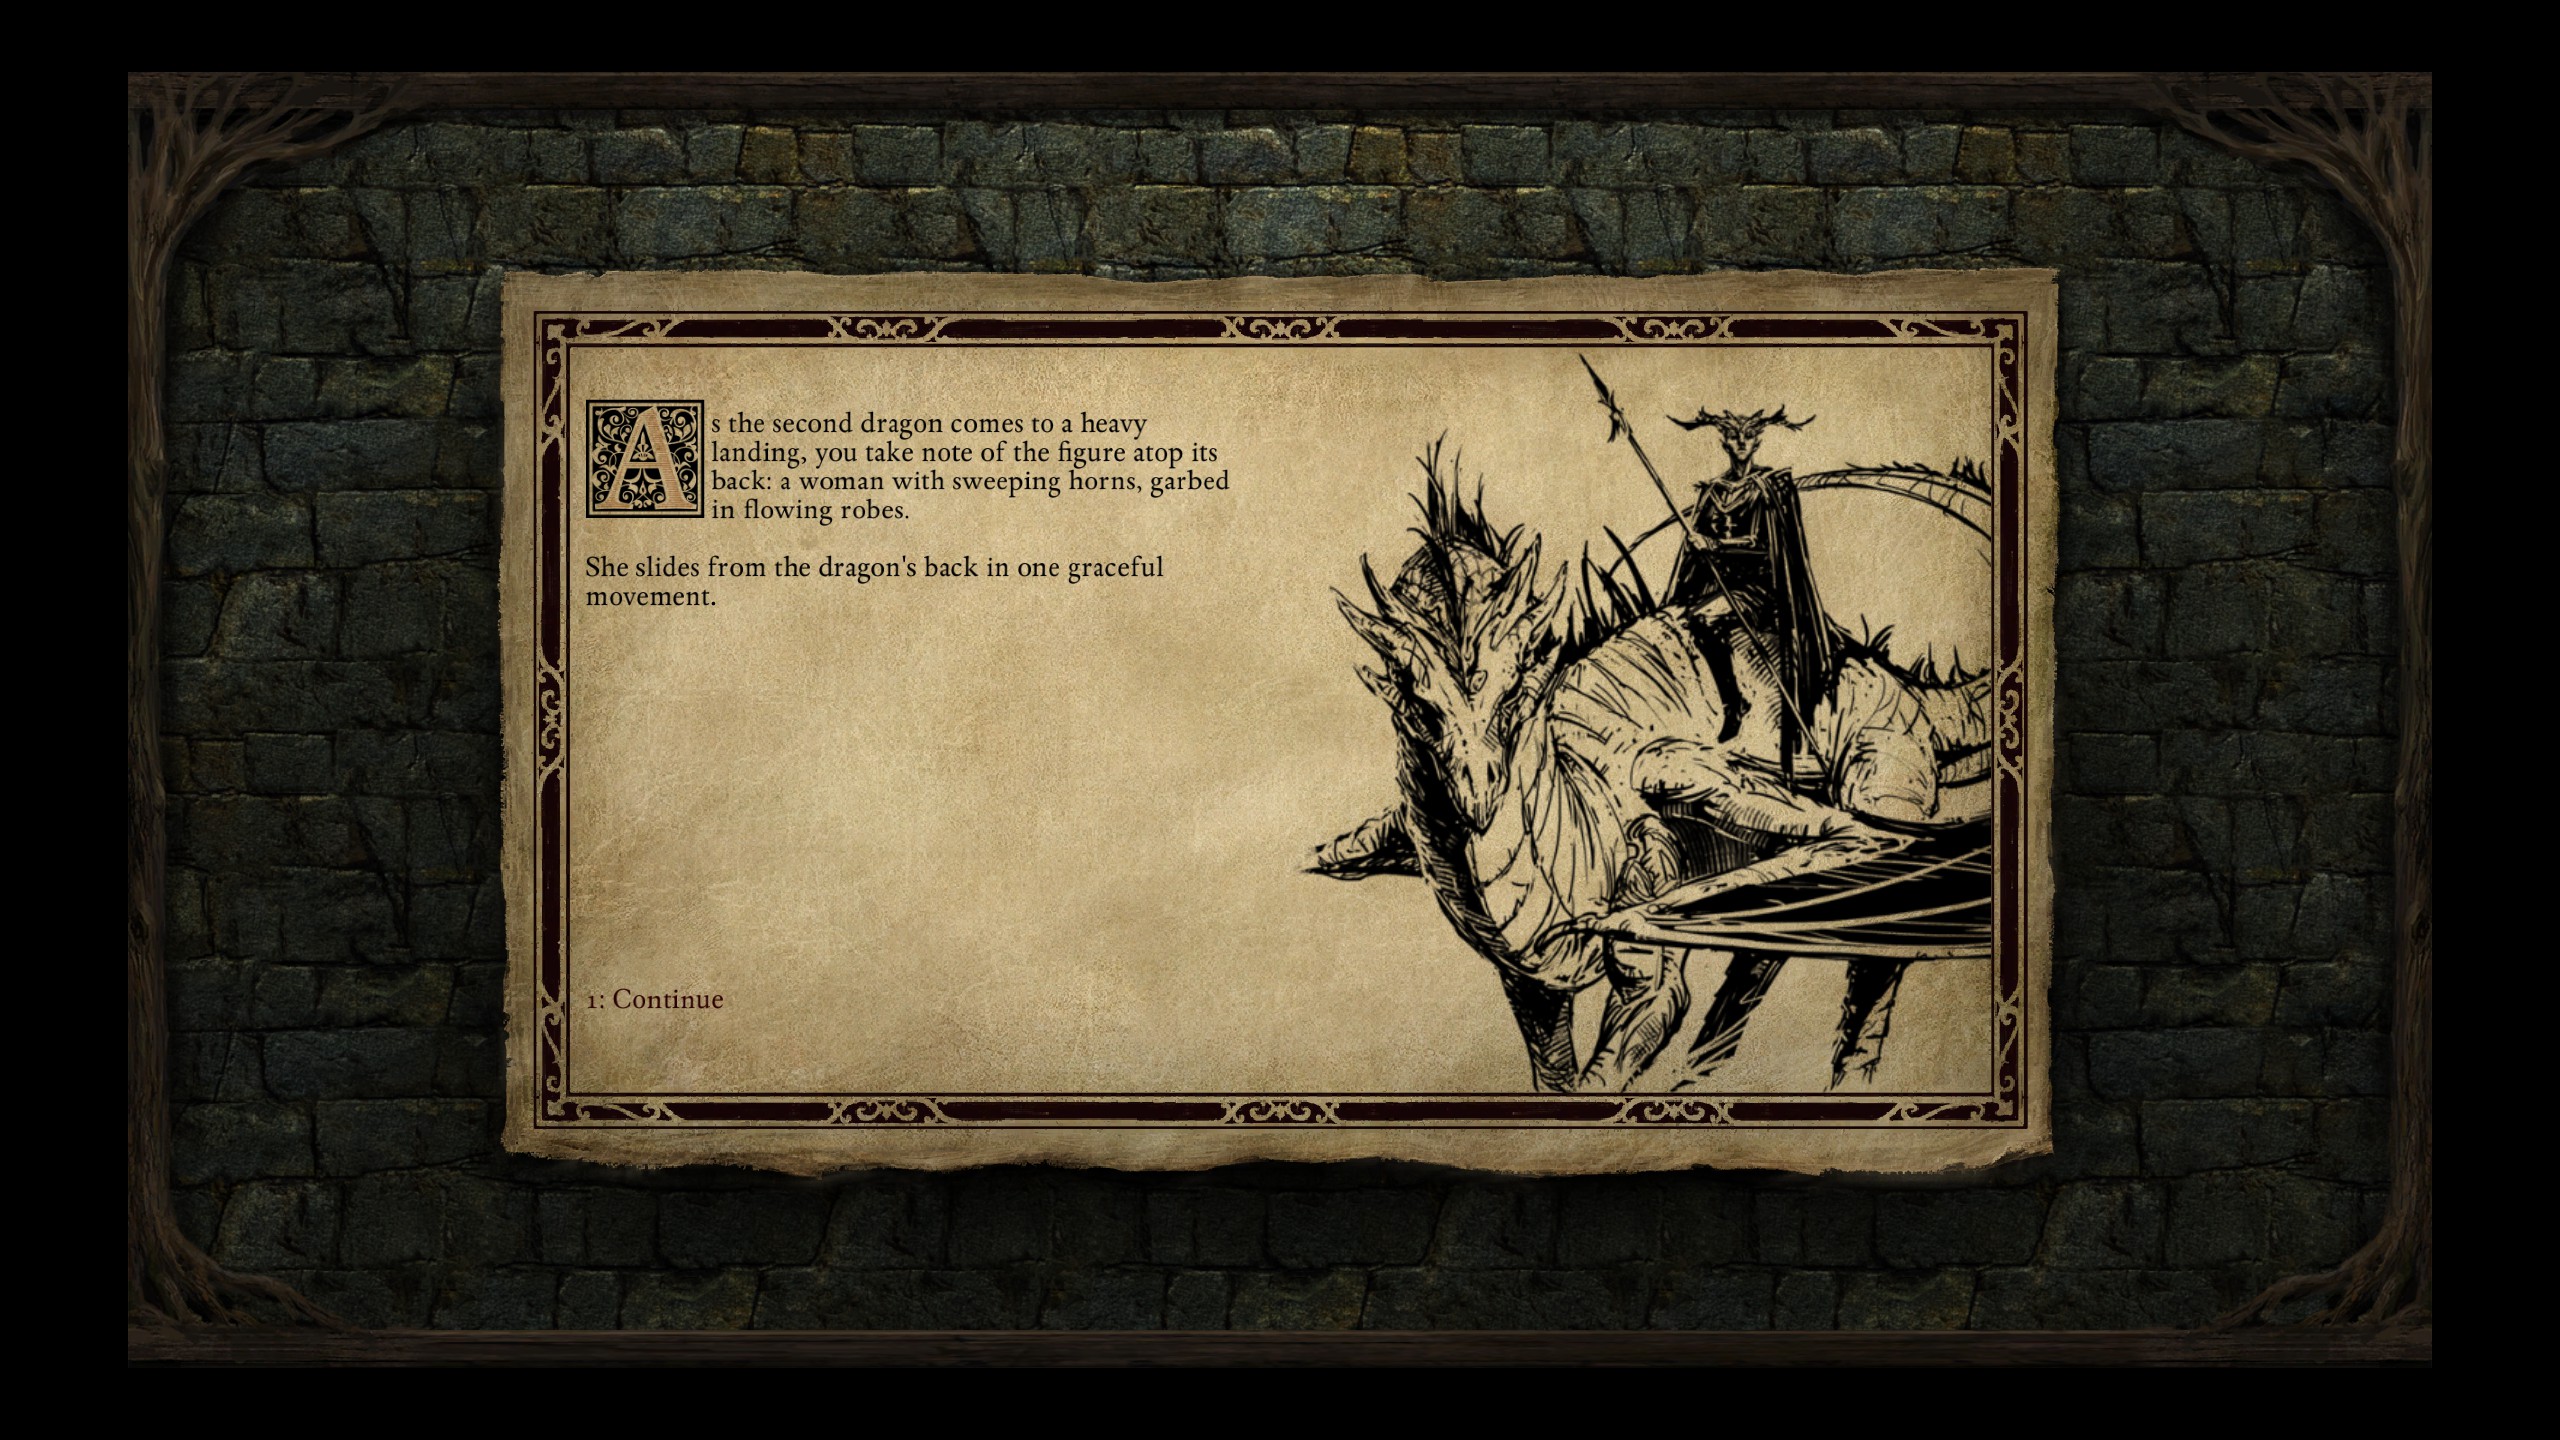
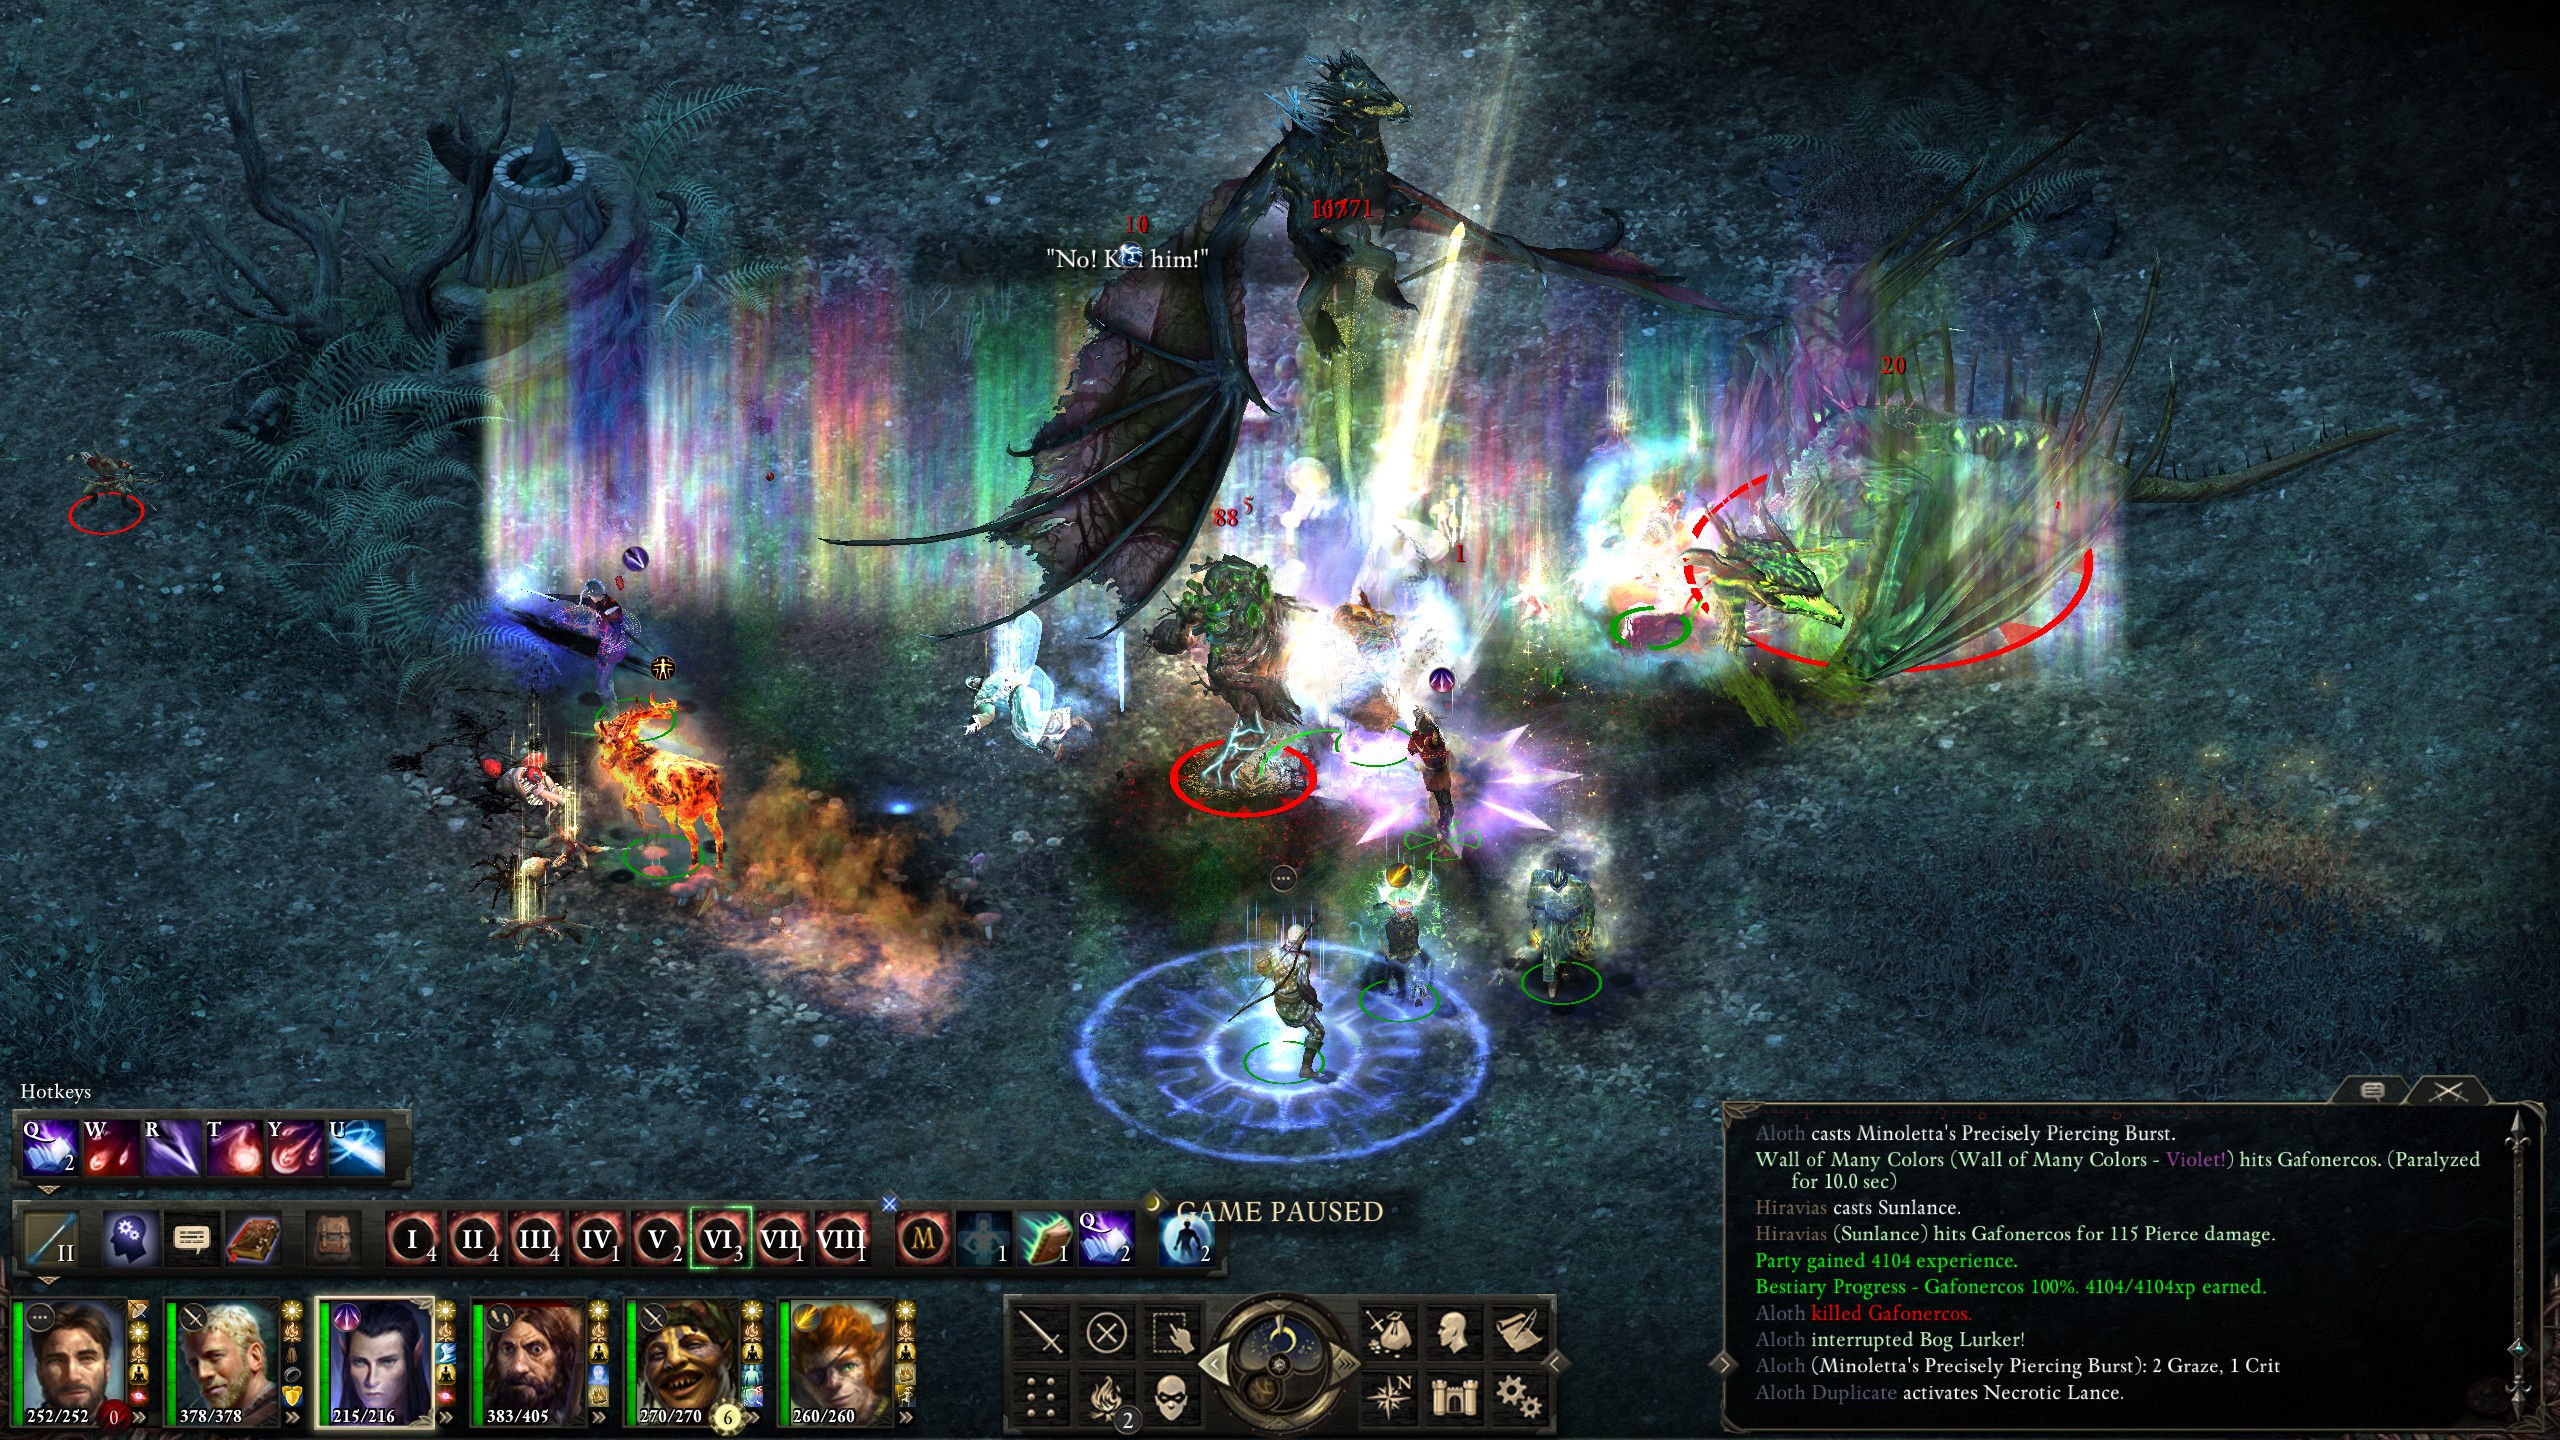
This was no ordinary dragon fight. However, each individual dragon wasn't as tough as some of the other dragons I'd fought, such as the Adra Dragon or even the Alpine Dragon. Since the enemies were far away, I began by staying in the back and buffing myself up.
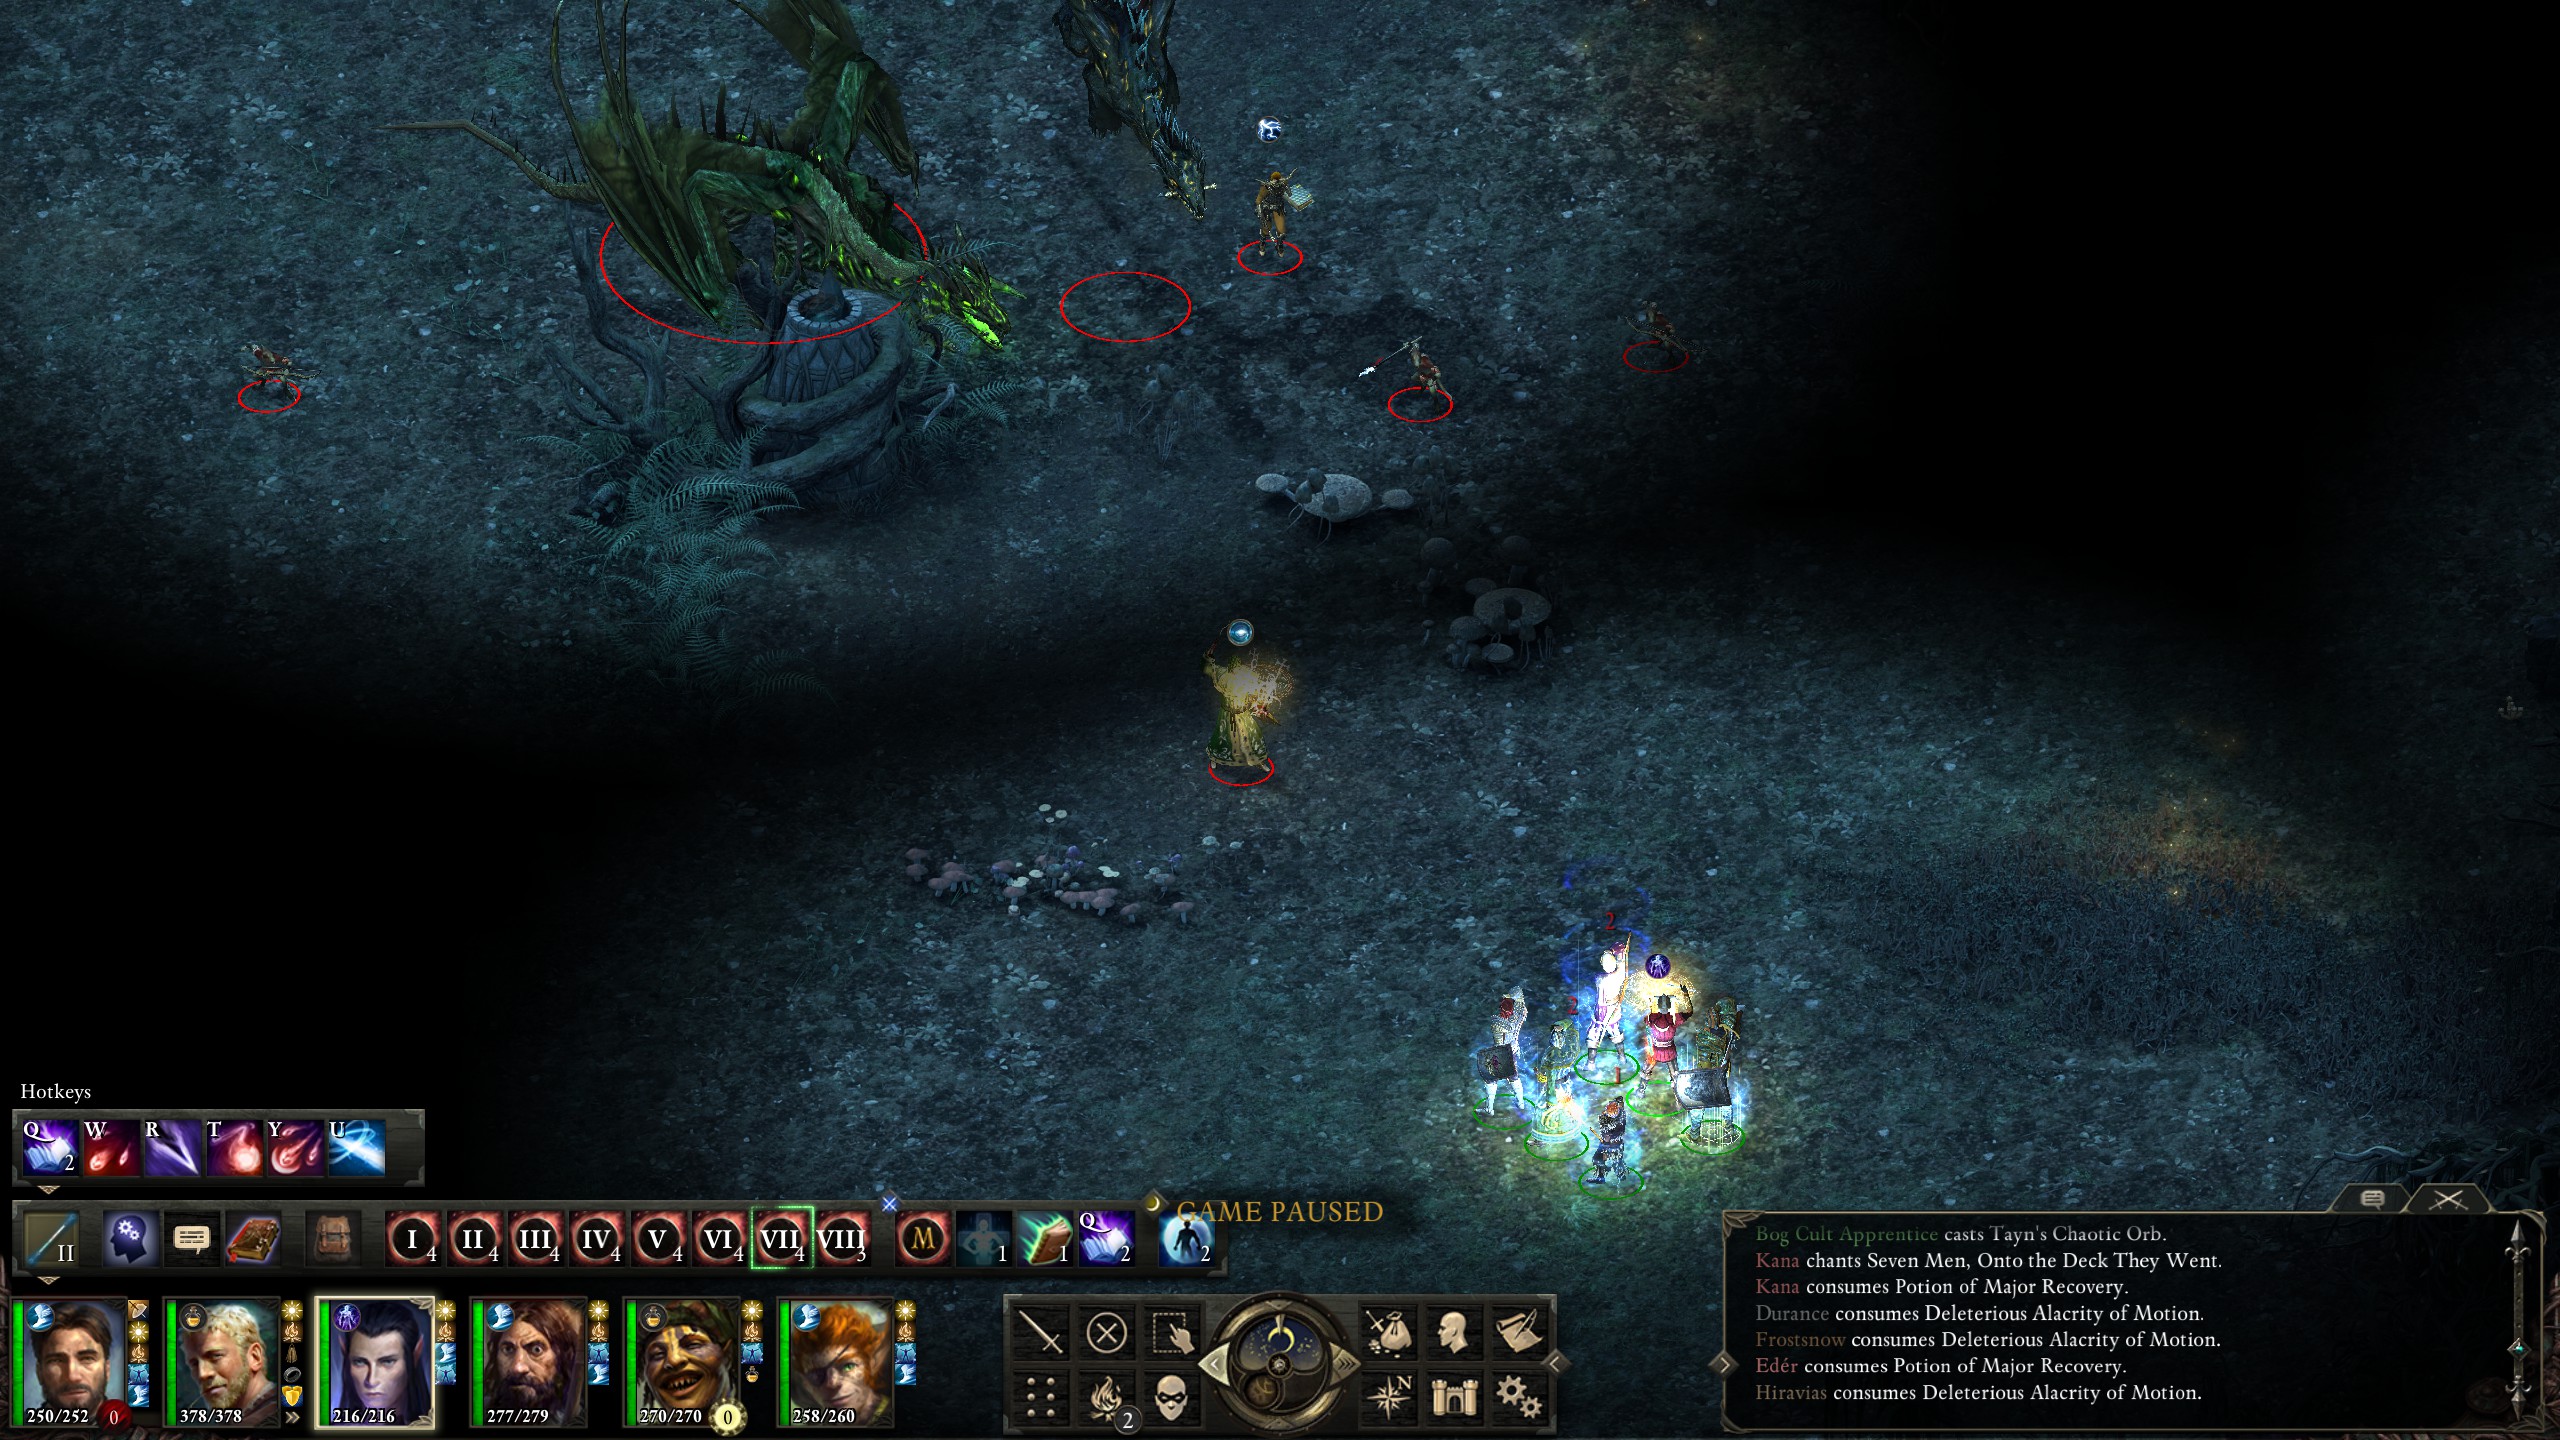
In order to buy more time for buffs, I had each character use their summoning trinkets in order to create a defensive wall of minions in front of me while I prepared.

By the time I did engage the enemies, I was very powerful. To my added amusement, Aloth's “Wall of Many Colors” actually managed to dominate the dragon Gafonercos, turning him against his allies and greatly increasing my odds of winning.
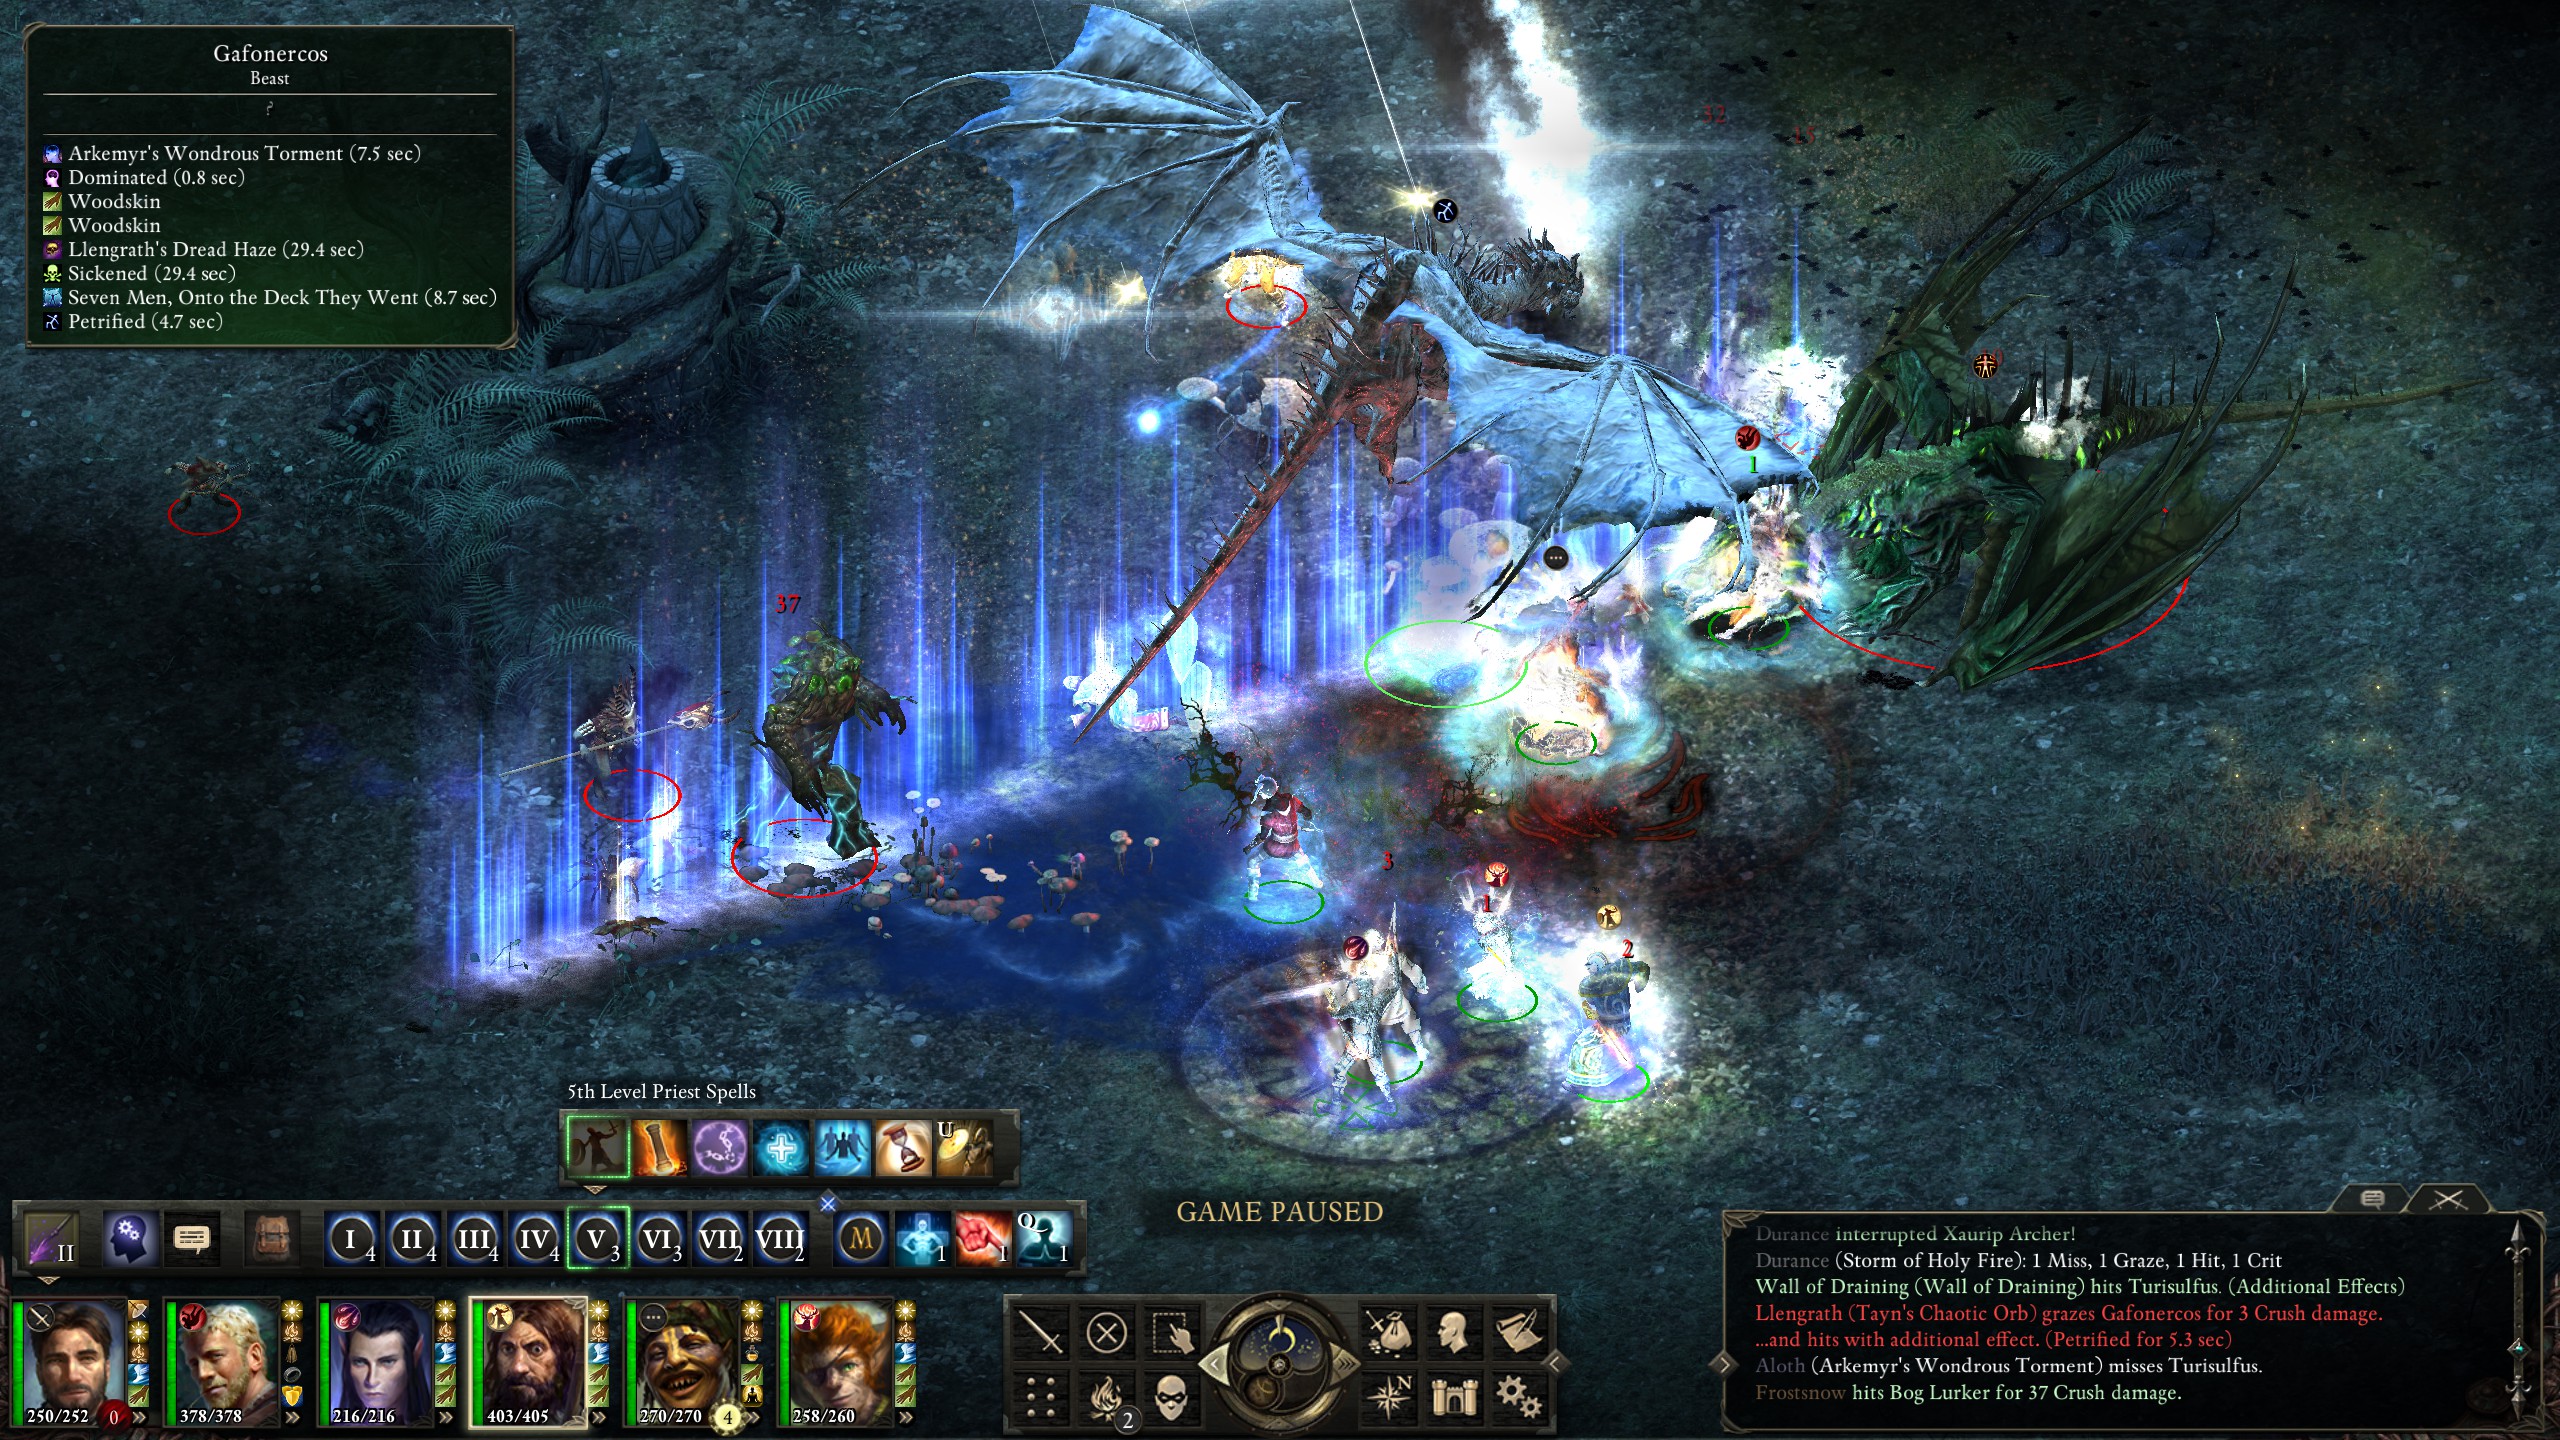
When dominate wore off, I took advantage of the petrified and paralyzed afflictions from the wall in order to deal massive damage to him and kill him.
With one dragon down, I set my fiery stag on the remaining enemies, surrounded Llengrath with Kana's summoned ogres, and cast “Concelhaut's Crushing Doom” on the dragon Turisulfus.
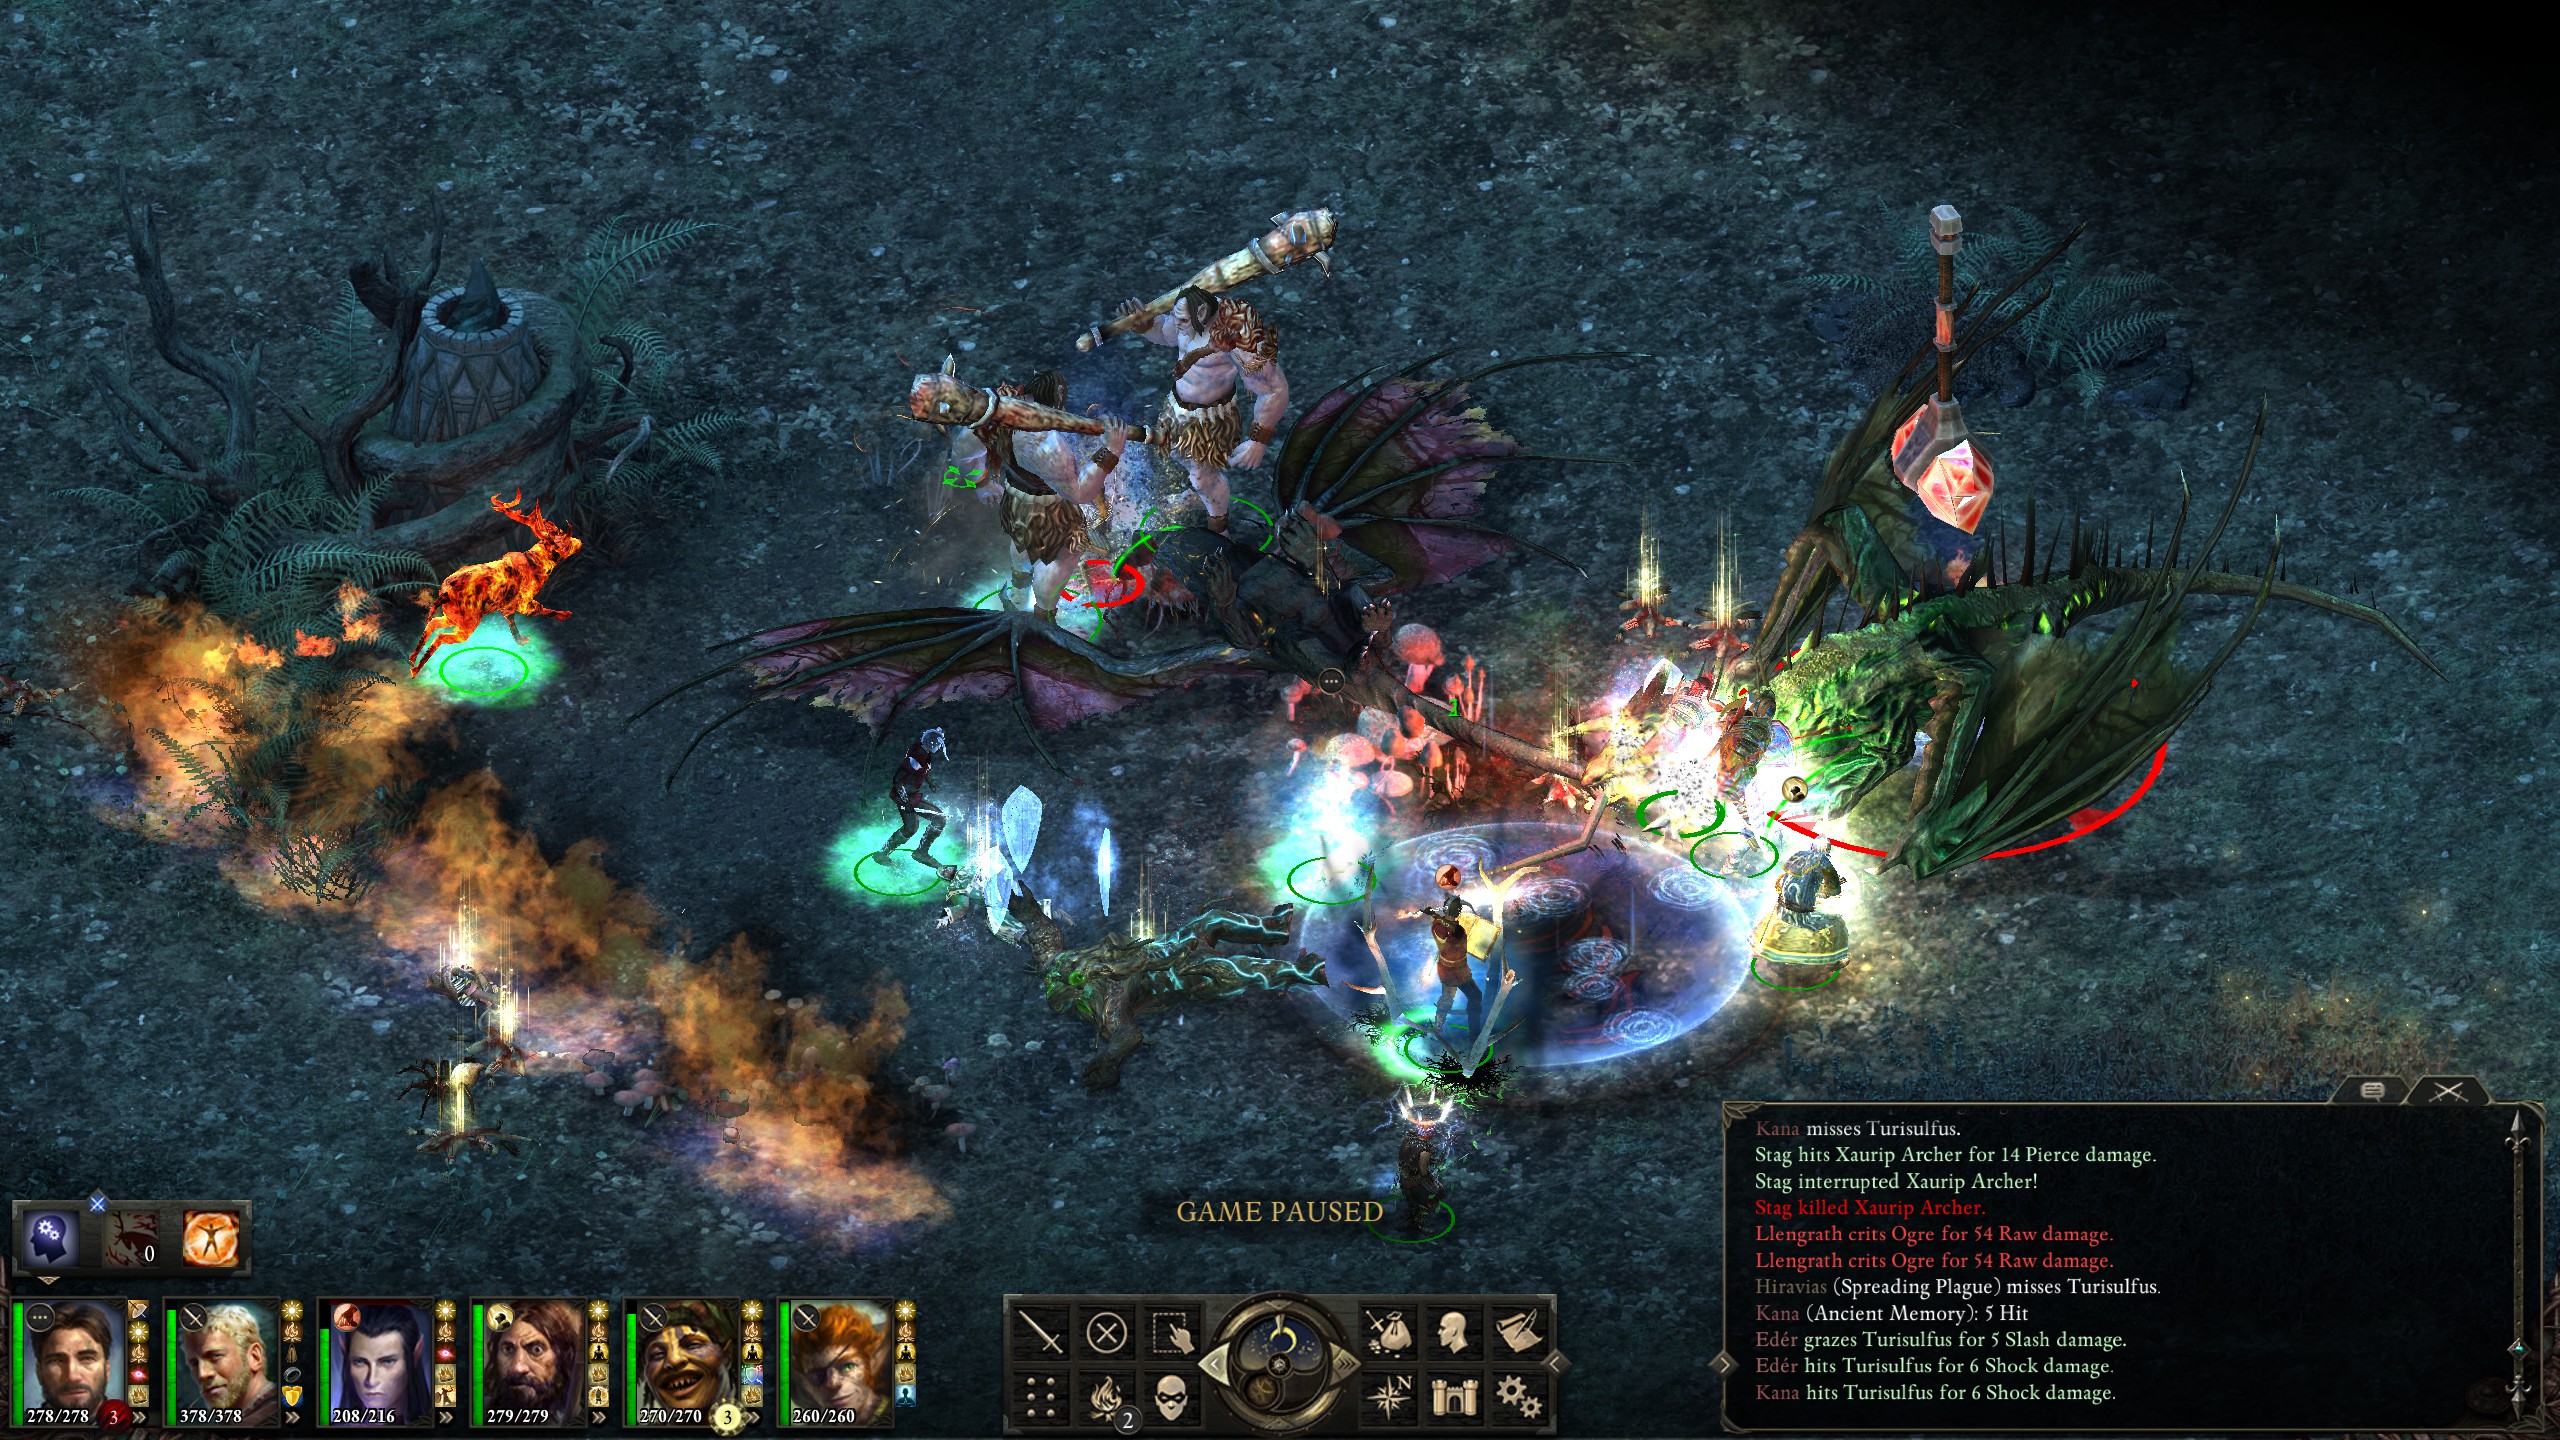
They did not last long after that.
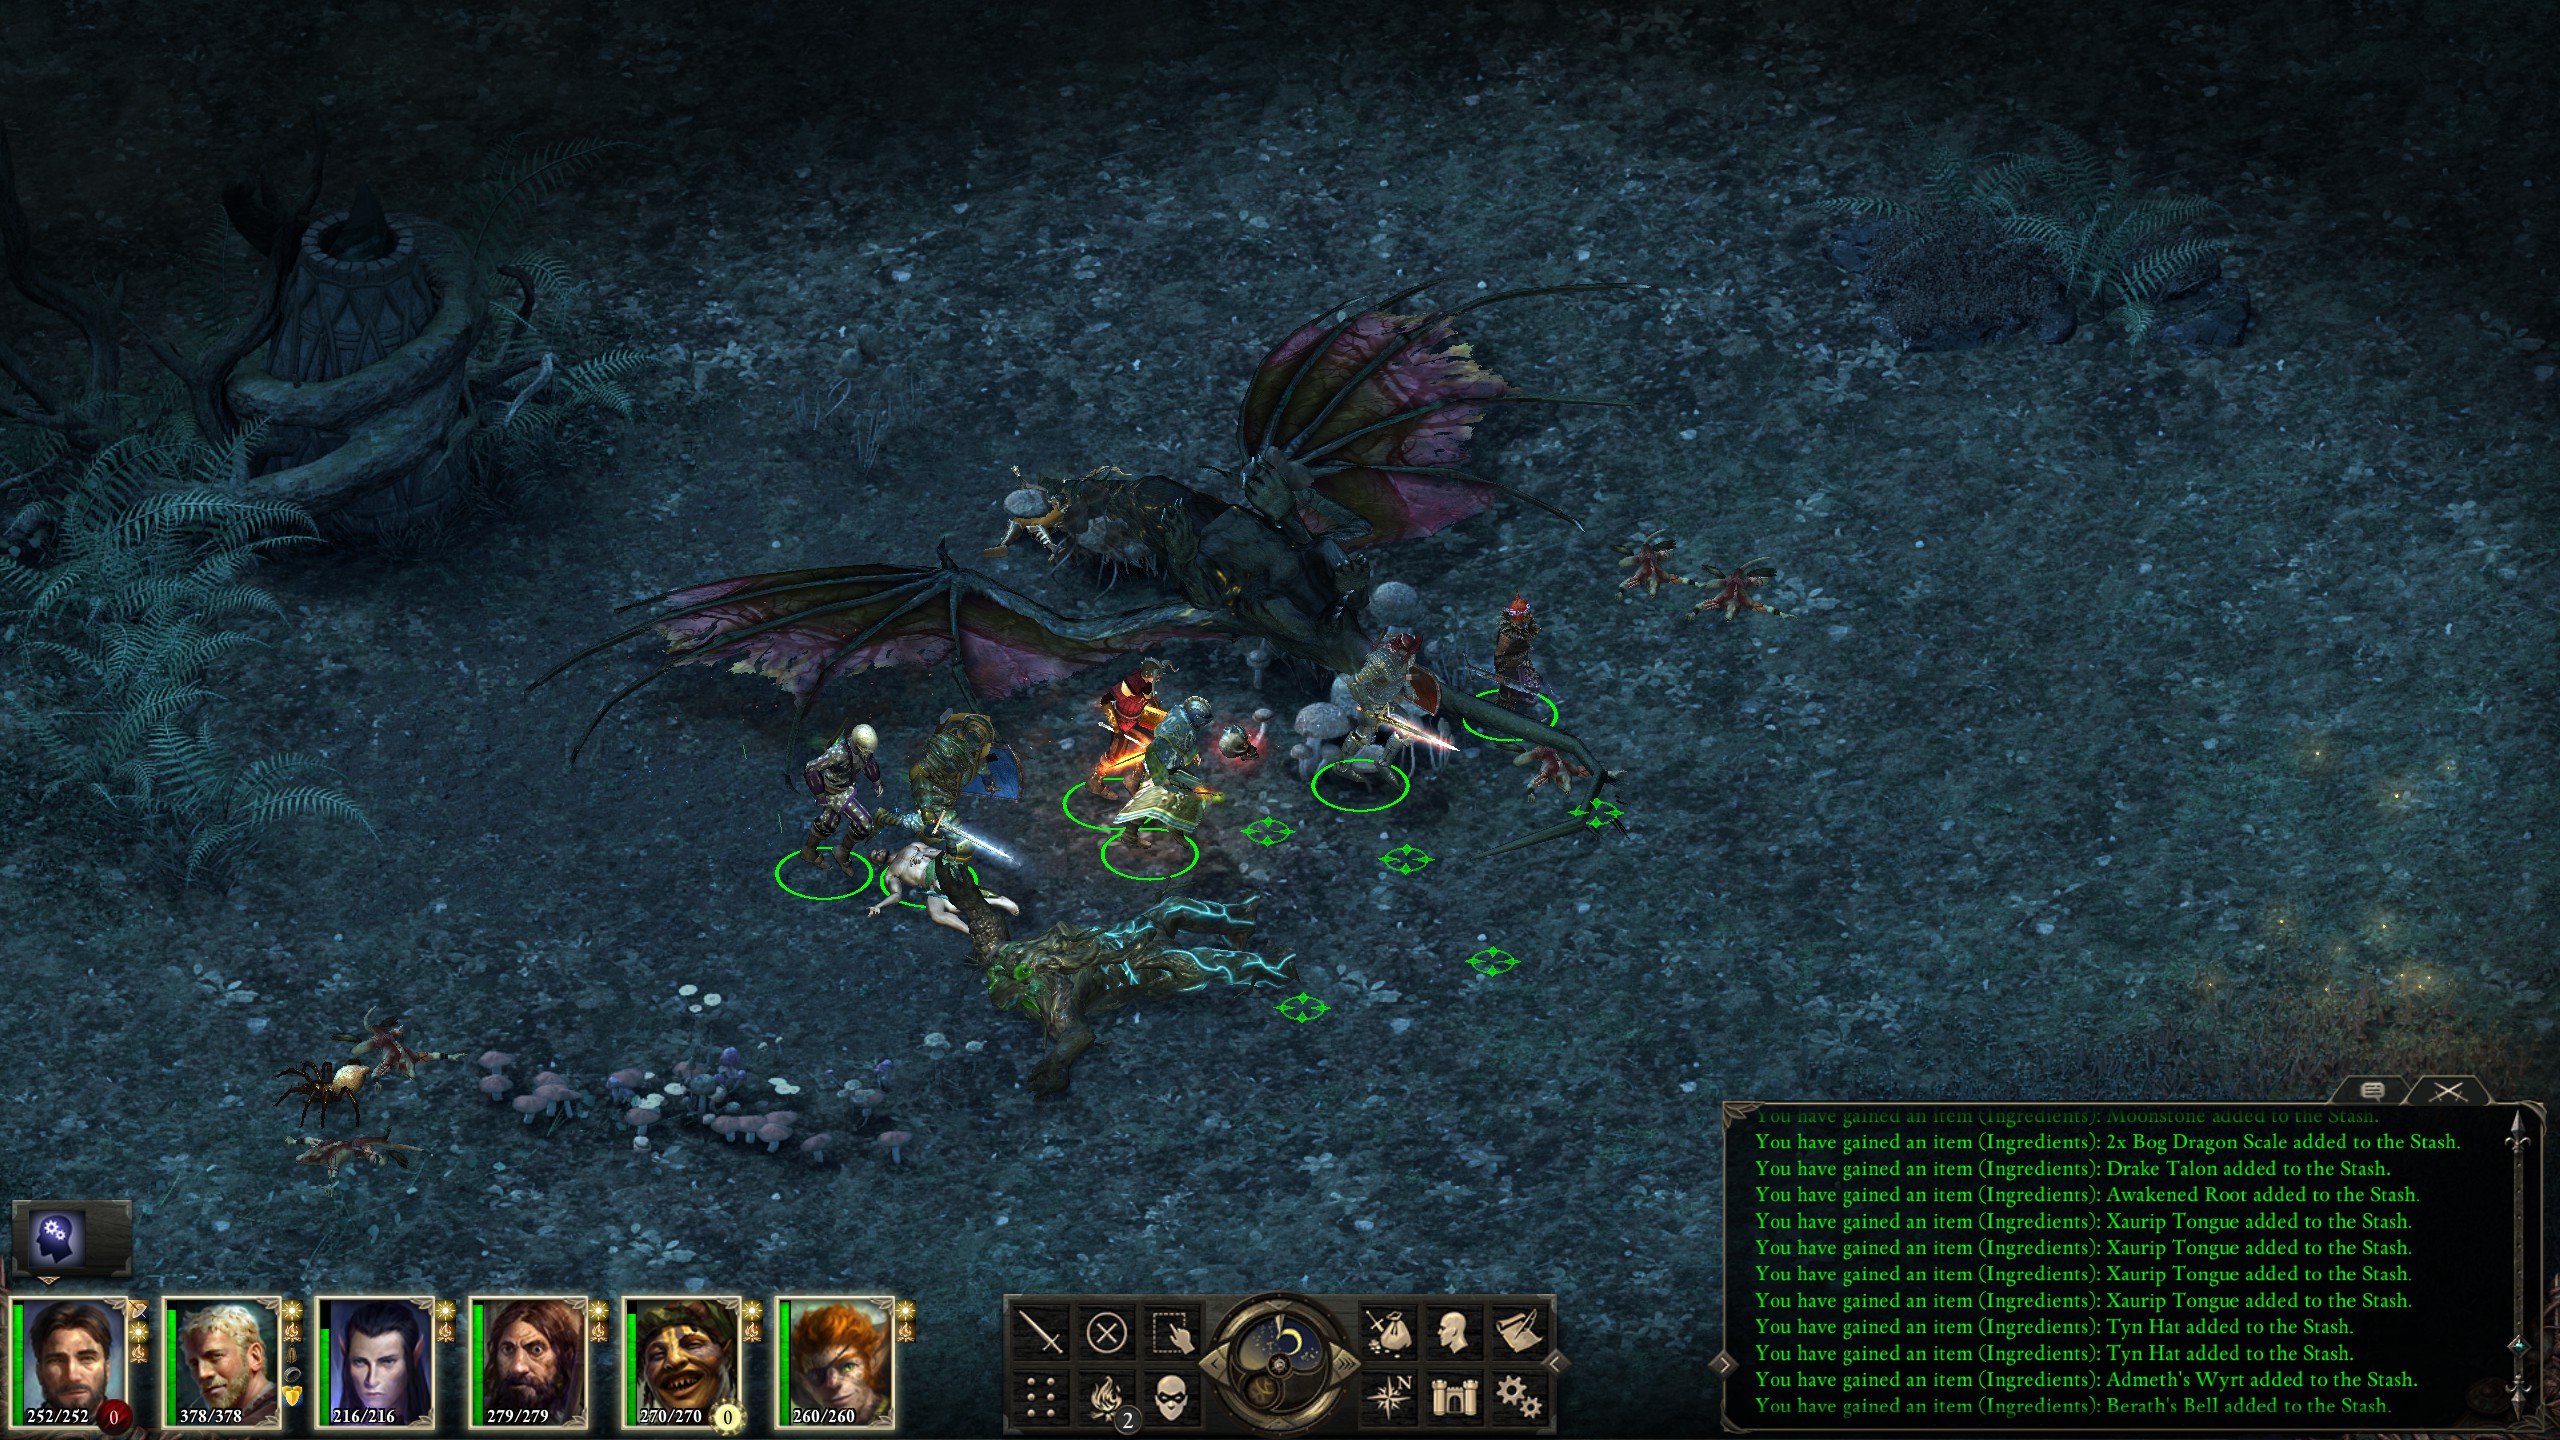
In actuality, I found that the fight was pretty easy no matter the difficulty I played it on. Llengrath seems to have mostly defensive spells, and the dragons seem weaker than the other standalone dragons. After looting the bodies, I treated my monk to the highest possible enchantment for his civilian clothing.
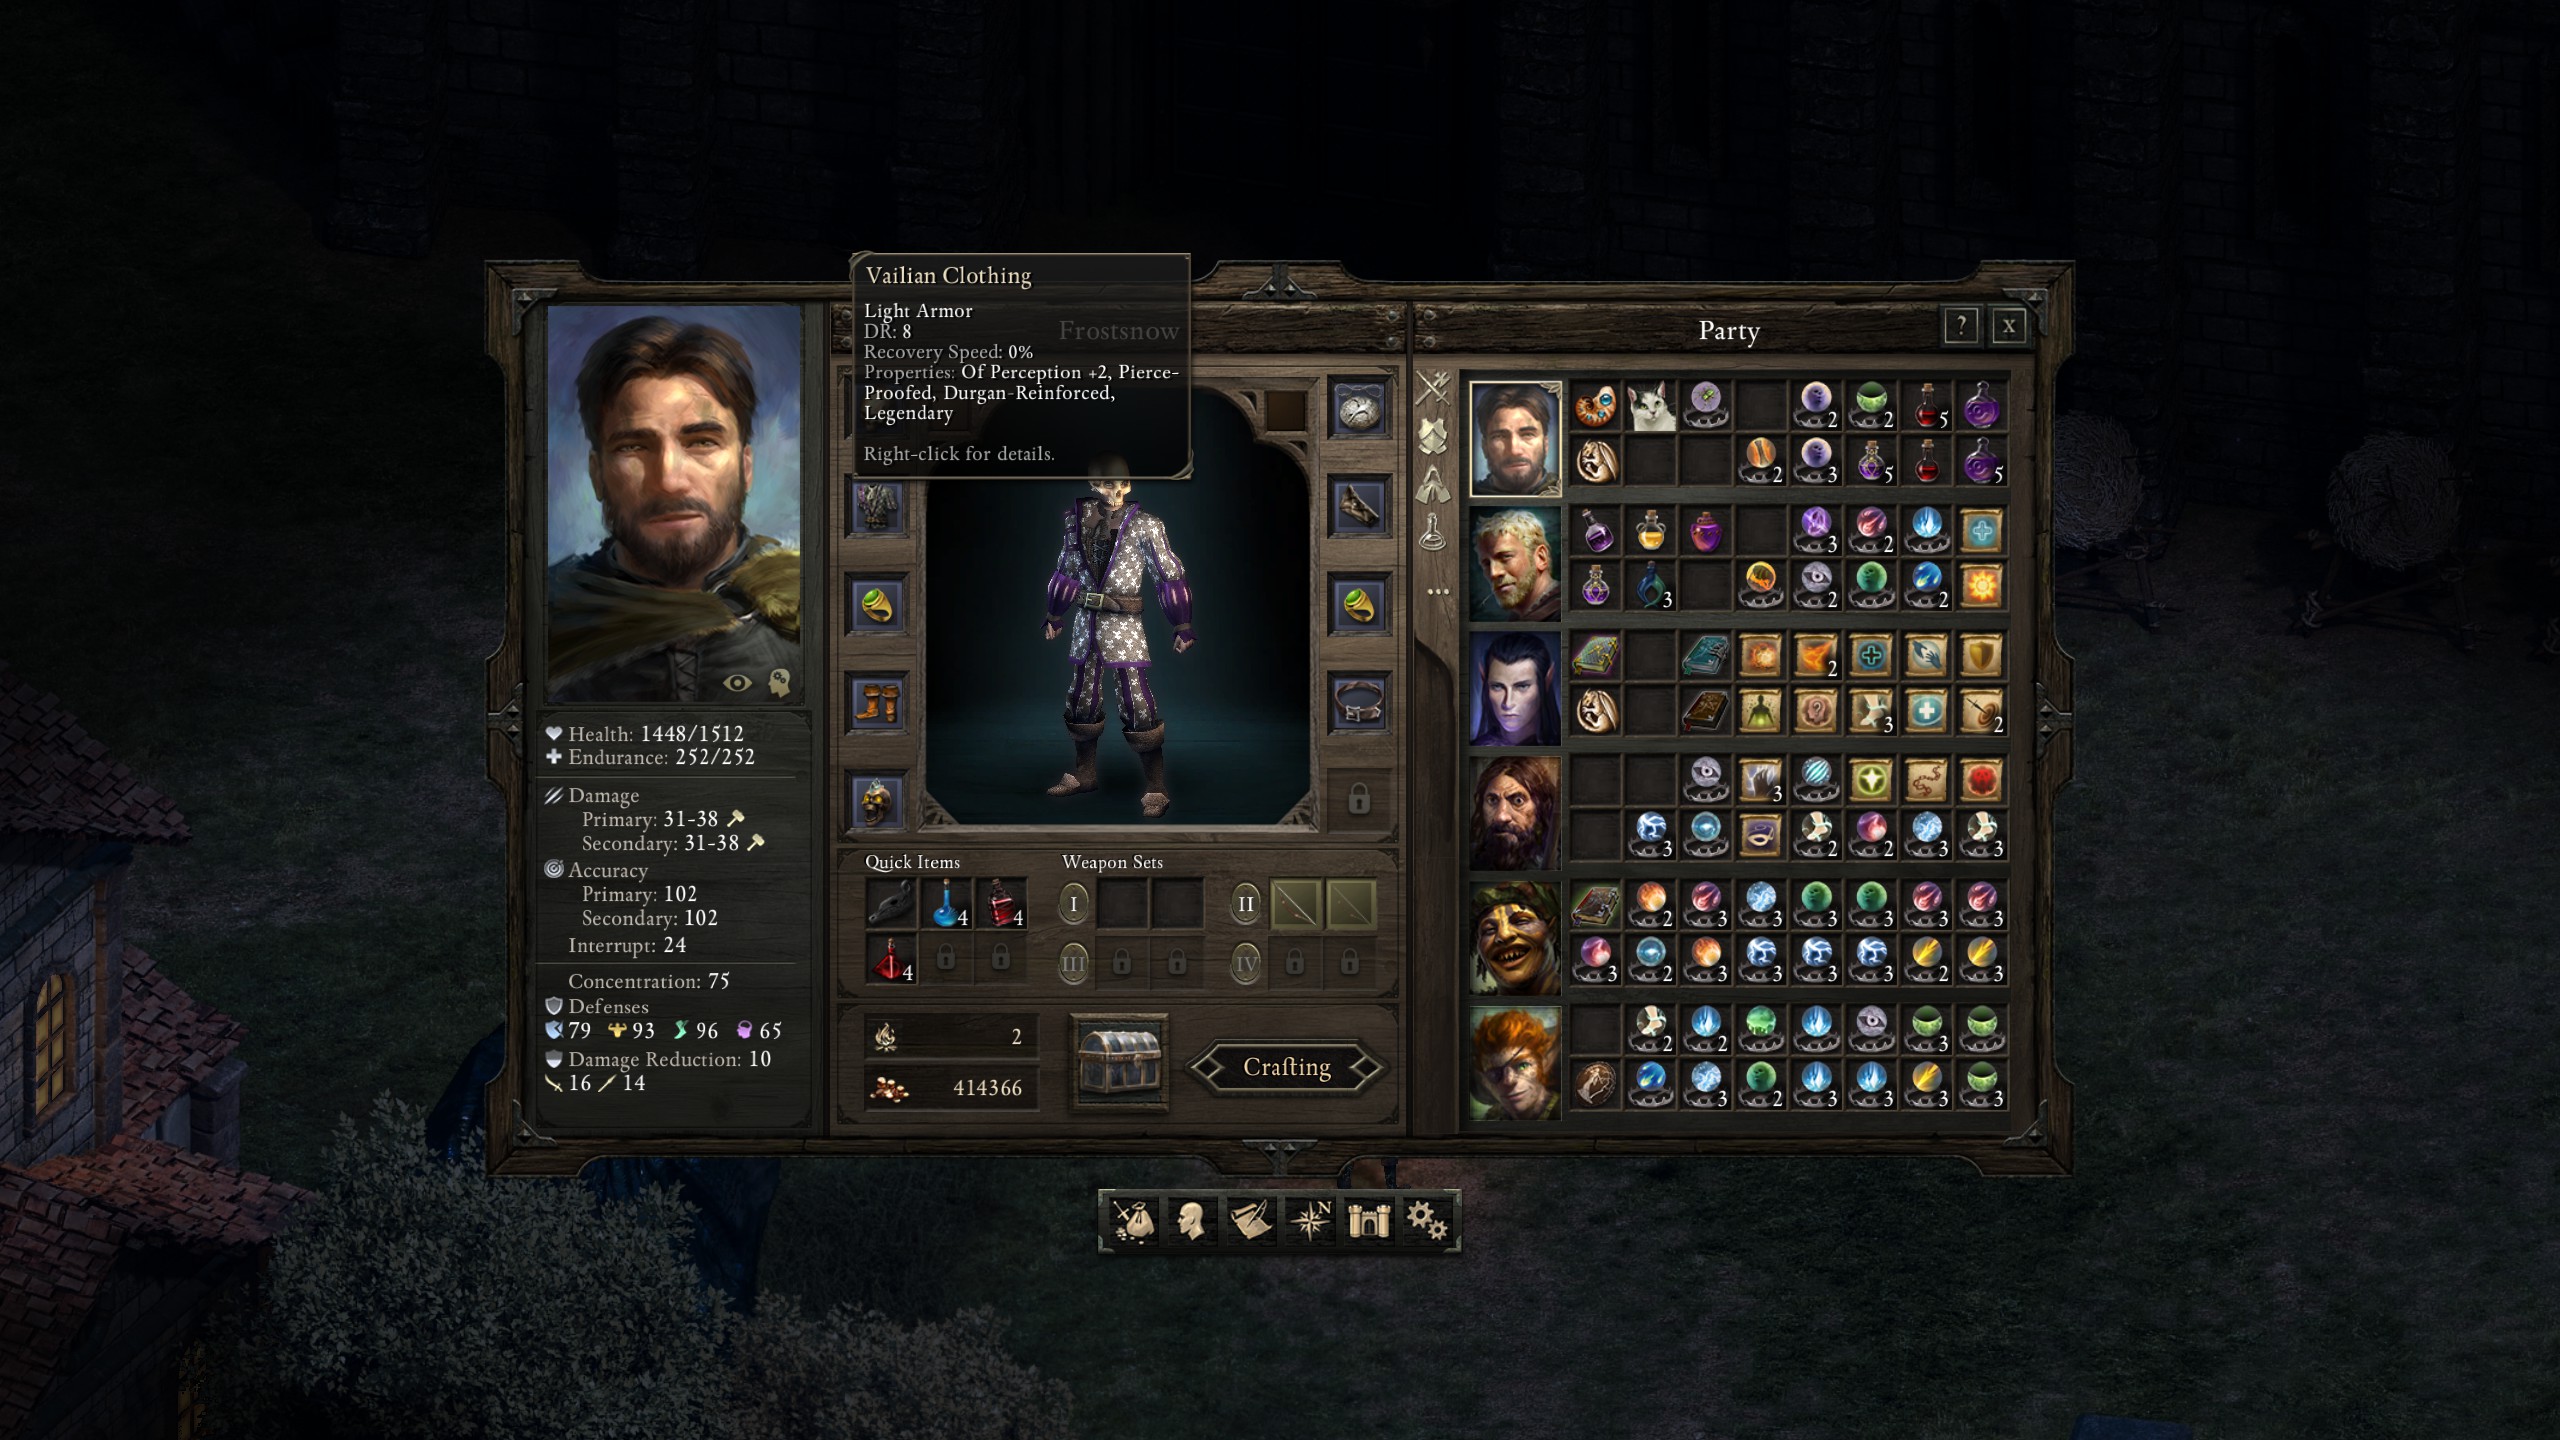
Legendary clothing! Though I've yet to figure out what exactly -15% recovery speed means on armor with a recovery speed of 0%. -15%, perhaps?
That's pretty much a wrap. Being a completionist, I did a quick vanity run through the actual endgame with Thaos and then relaxed by watching the epilogue and credits at normal speed as a celebration. Below is a screenshot of some of the backers.
I wonder if any of them will ever end up reading this blog? Probably not.
Now, it is finally time for me to play the sequel, though I intend to import the save for my original run through of the game, mistakes and all, rather than the polished save that I created from this run. I'm looking forward to seeing how my original choices play out in the sequel.