
Complaints aside, many of the areas were gorgeous, the difficulty could be bumped up by selecting the High Level challenge, and the extra, optional bosses were both excellent. Since the difficulty wasn't that high, this blog will be more scenic than strategical.
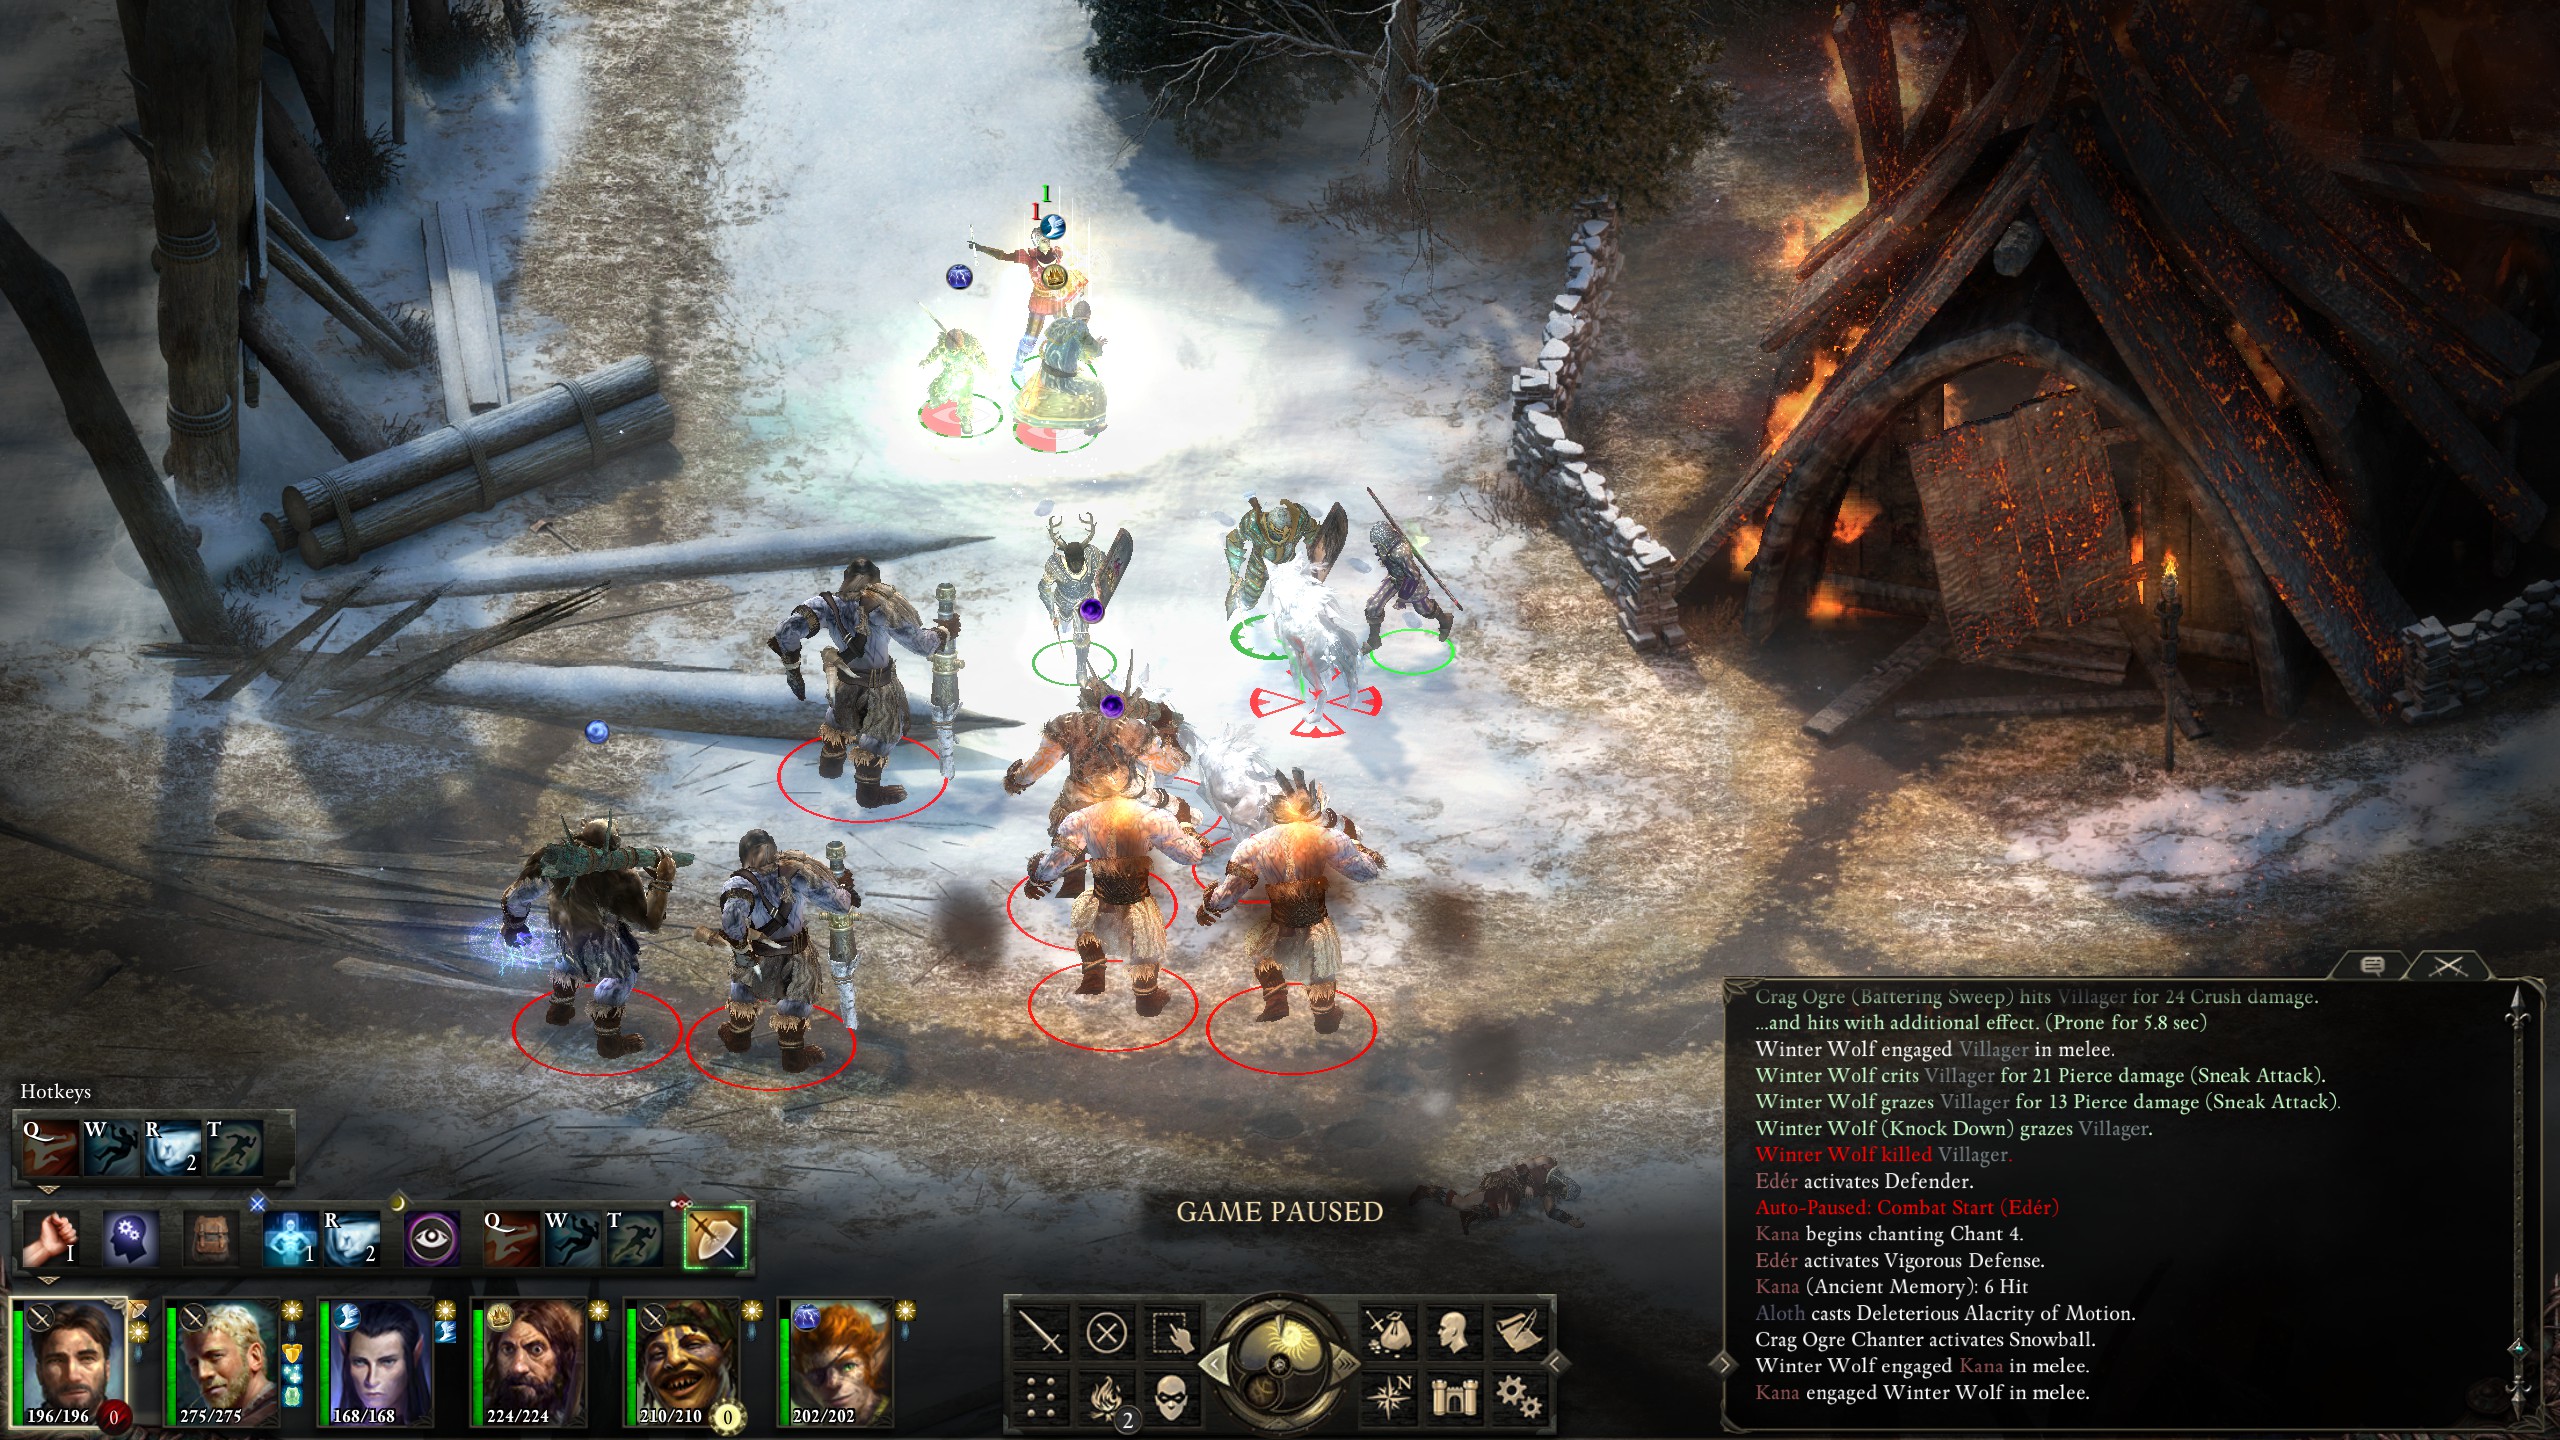
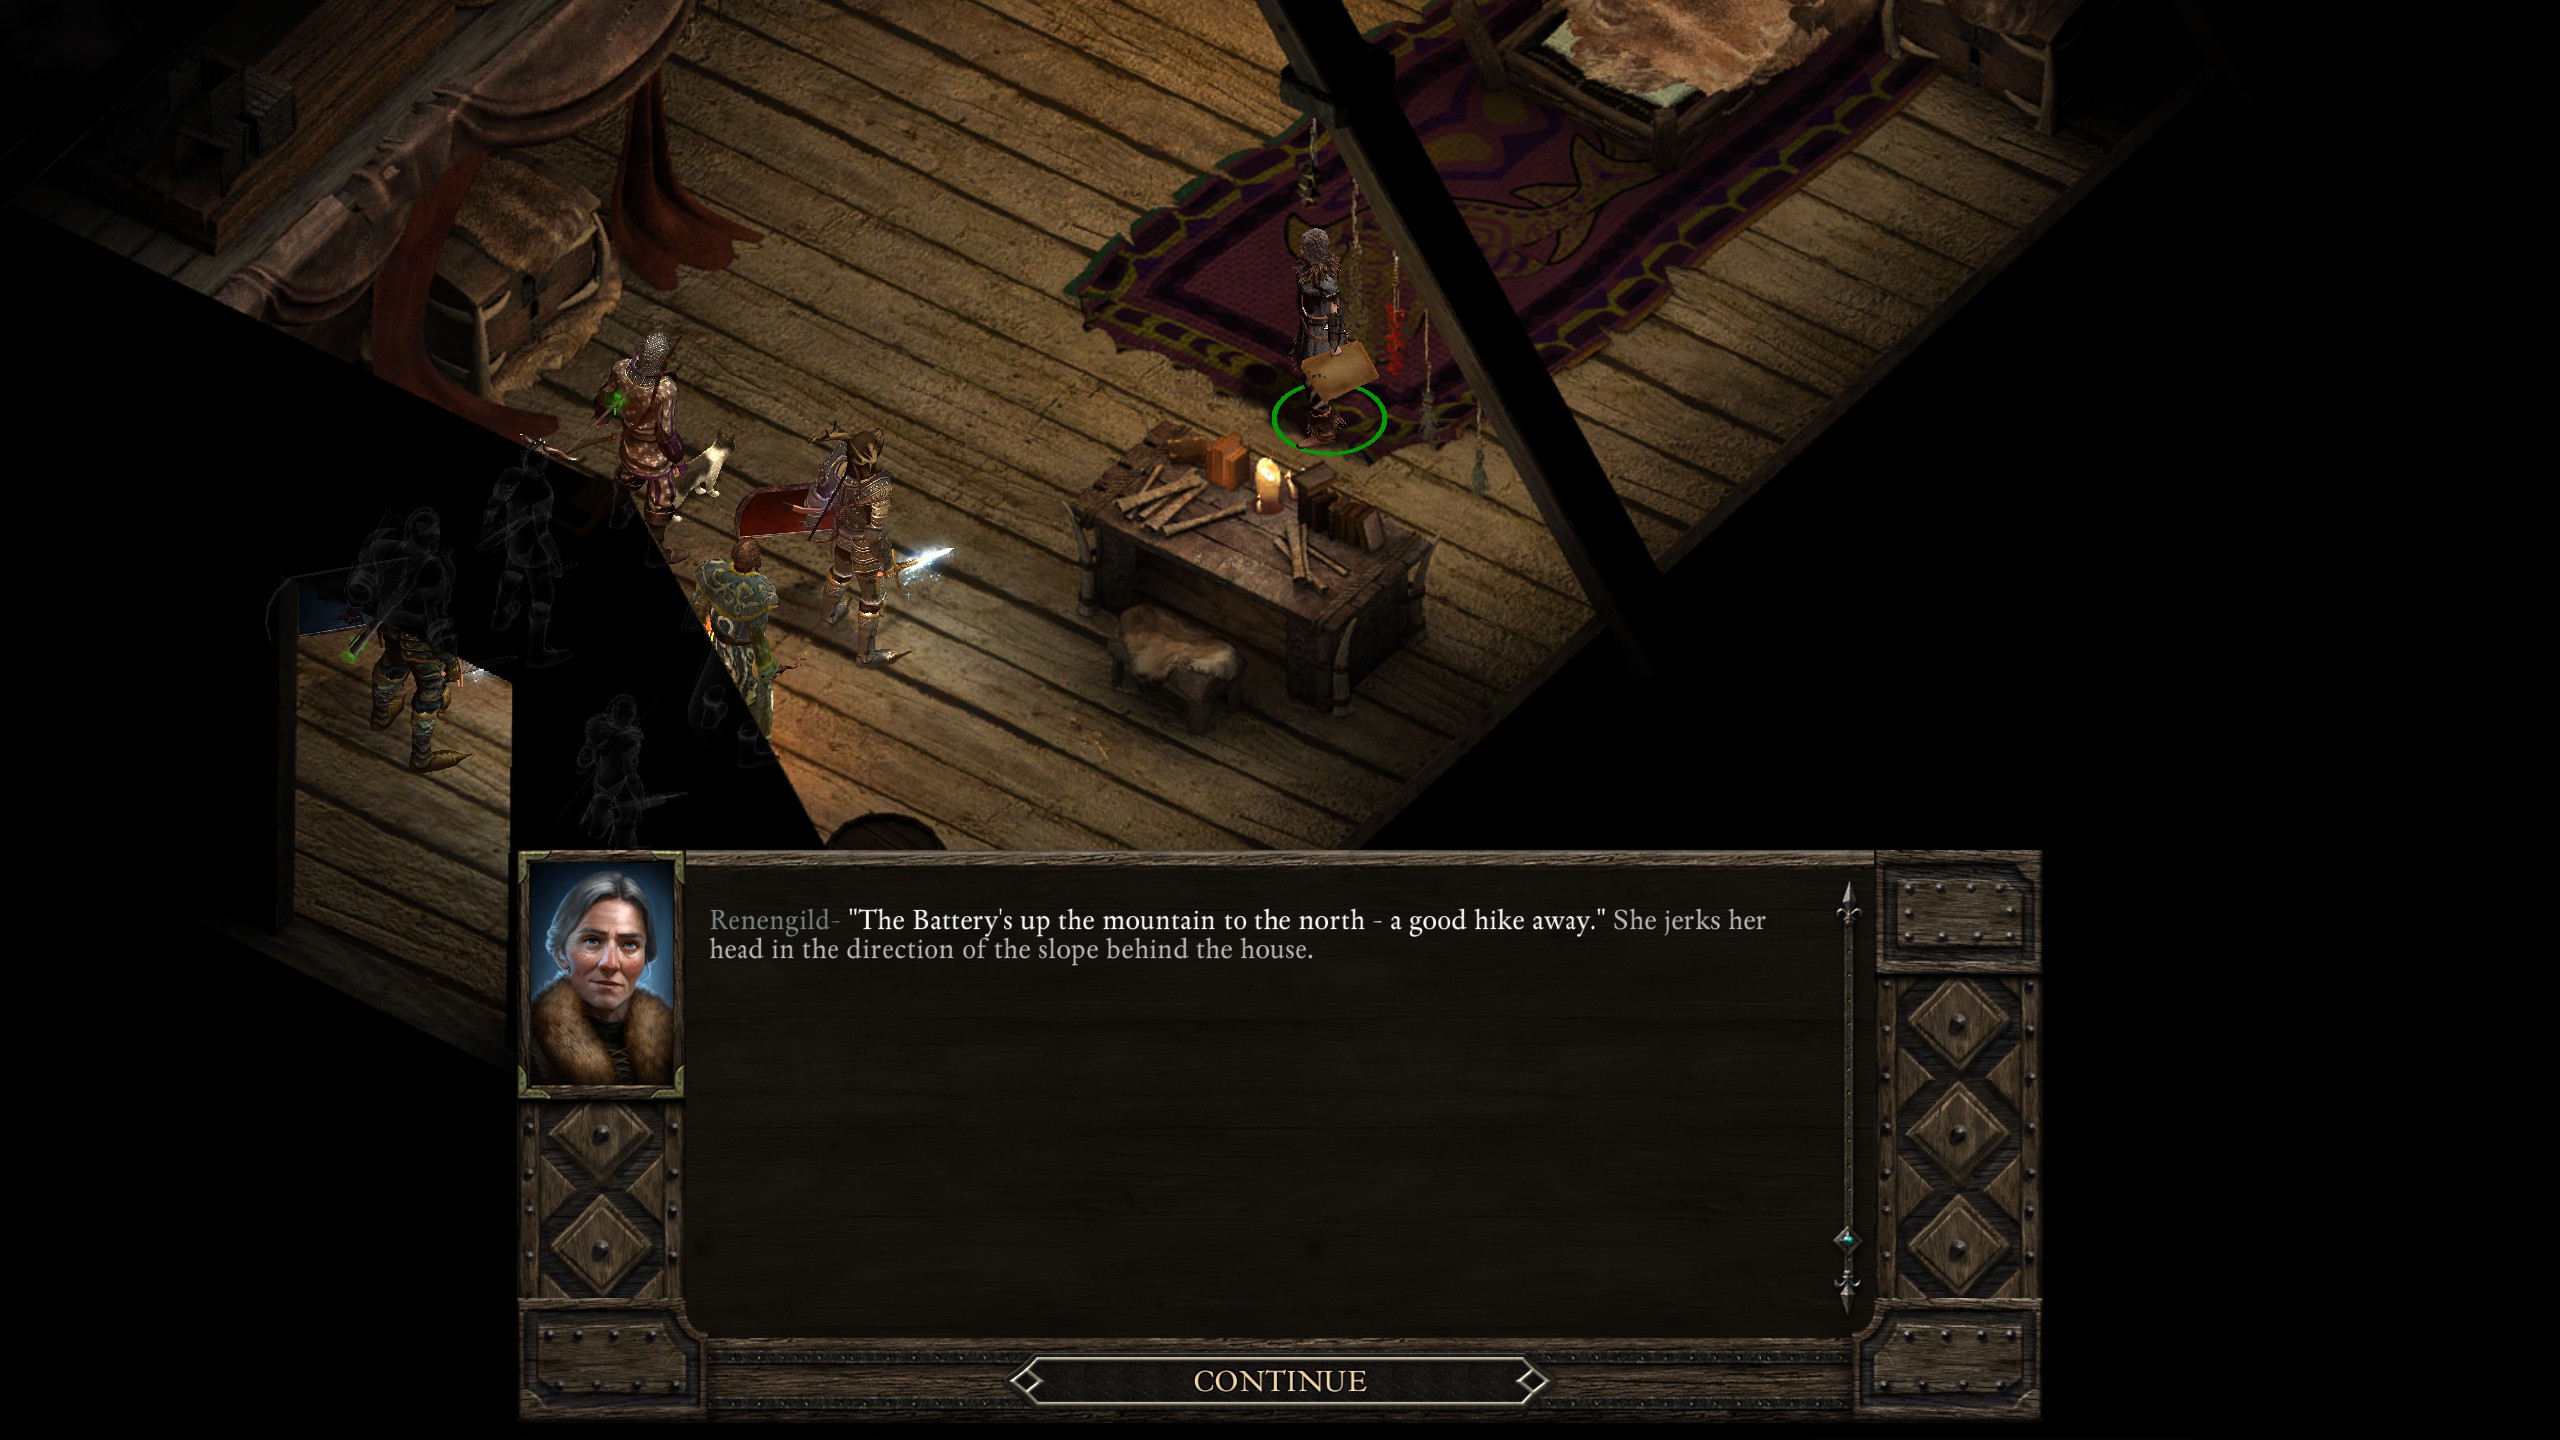
Due to the high difficulty, the villagers often died before I could intervene, but, luckily enough for me, they don't actually affect who actually exists in the village afterwards. With the ogres cleared out, I went ahead and talked the mayor Renegild.
Then I ran around the village gathering quests and a few useful items, such as an "Ivory Wurm Figurine" from the fishery.
Also worth noting is that I won the games of chance in the inn by save-scumming until I'd won 3 in a row and gotten each's respective buff (and, no, I don't feel at all bad for save-scumming what is essentially a dice roll). Quests in hand, I headed westward to Russetwood.
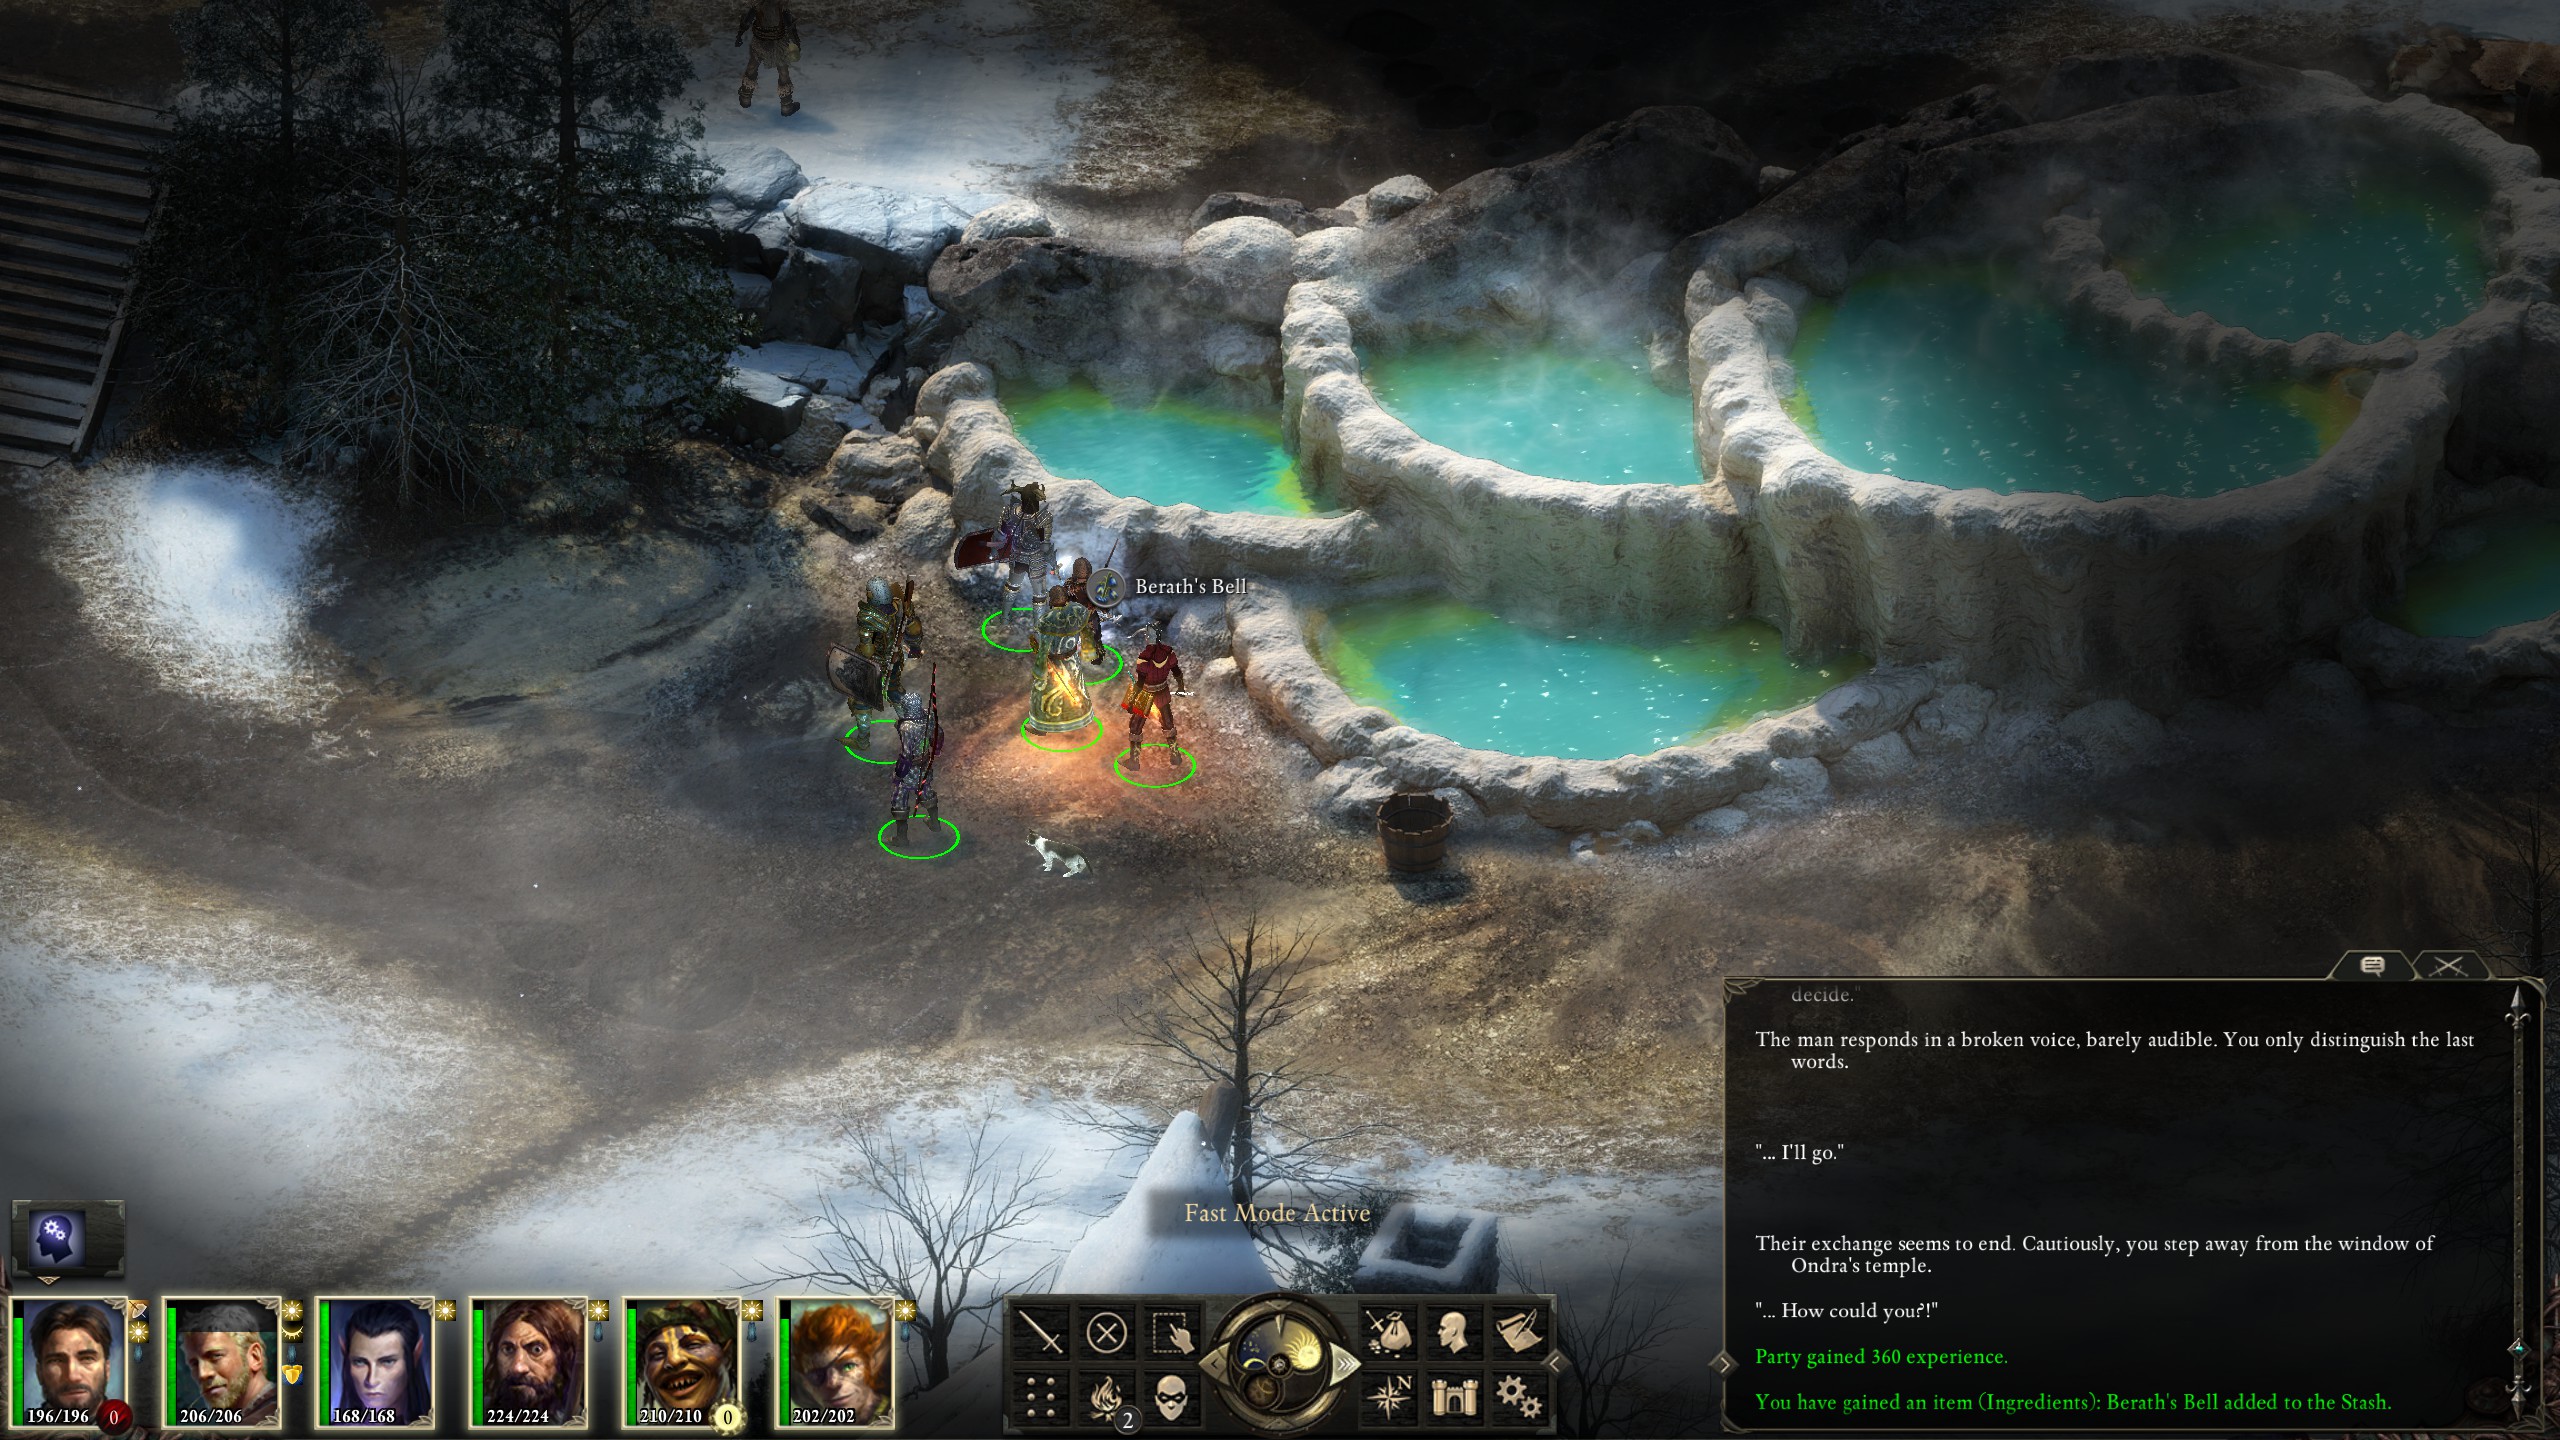
I also killed the slavers, fampyrs, and Greyjaw in addition to finding the false Ondrites' fake, sunken treasure (and later let them go after retrieving the dwarf's items and banishing them from Stalwart). With the open area cleared out, I headed into the Flames-That-Whisper Caverns.
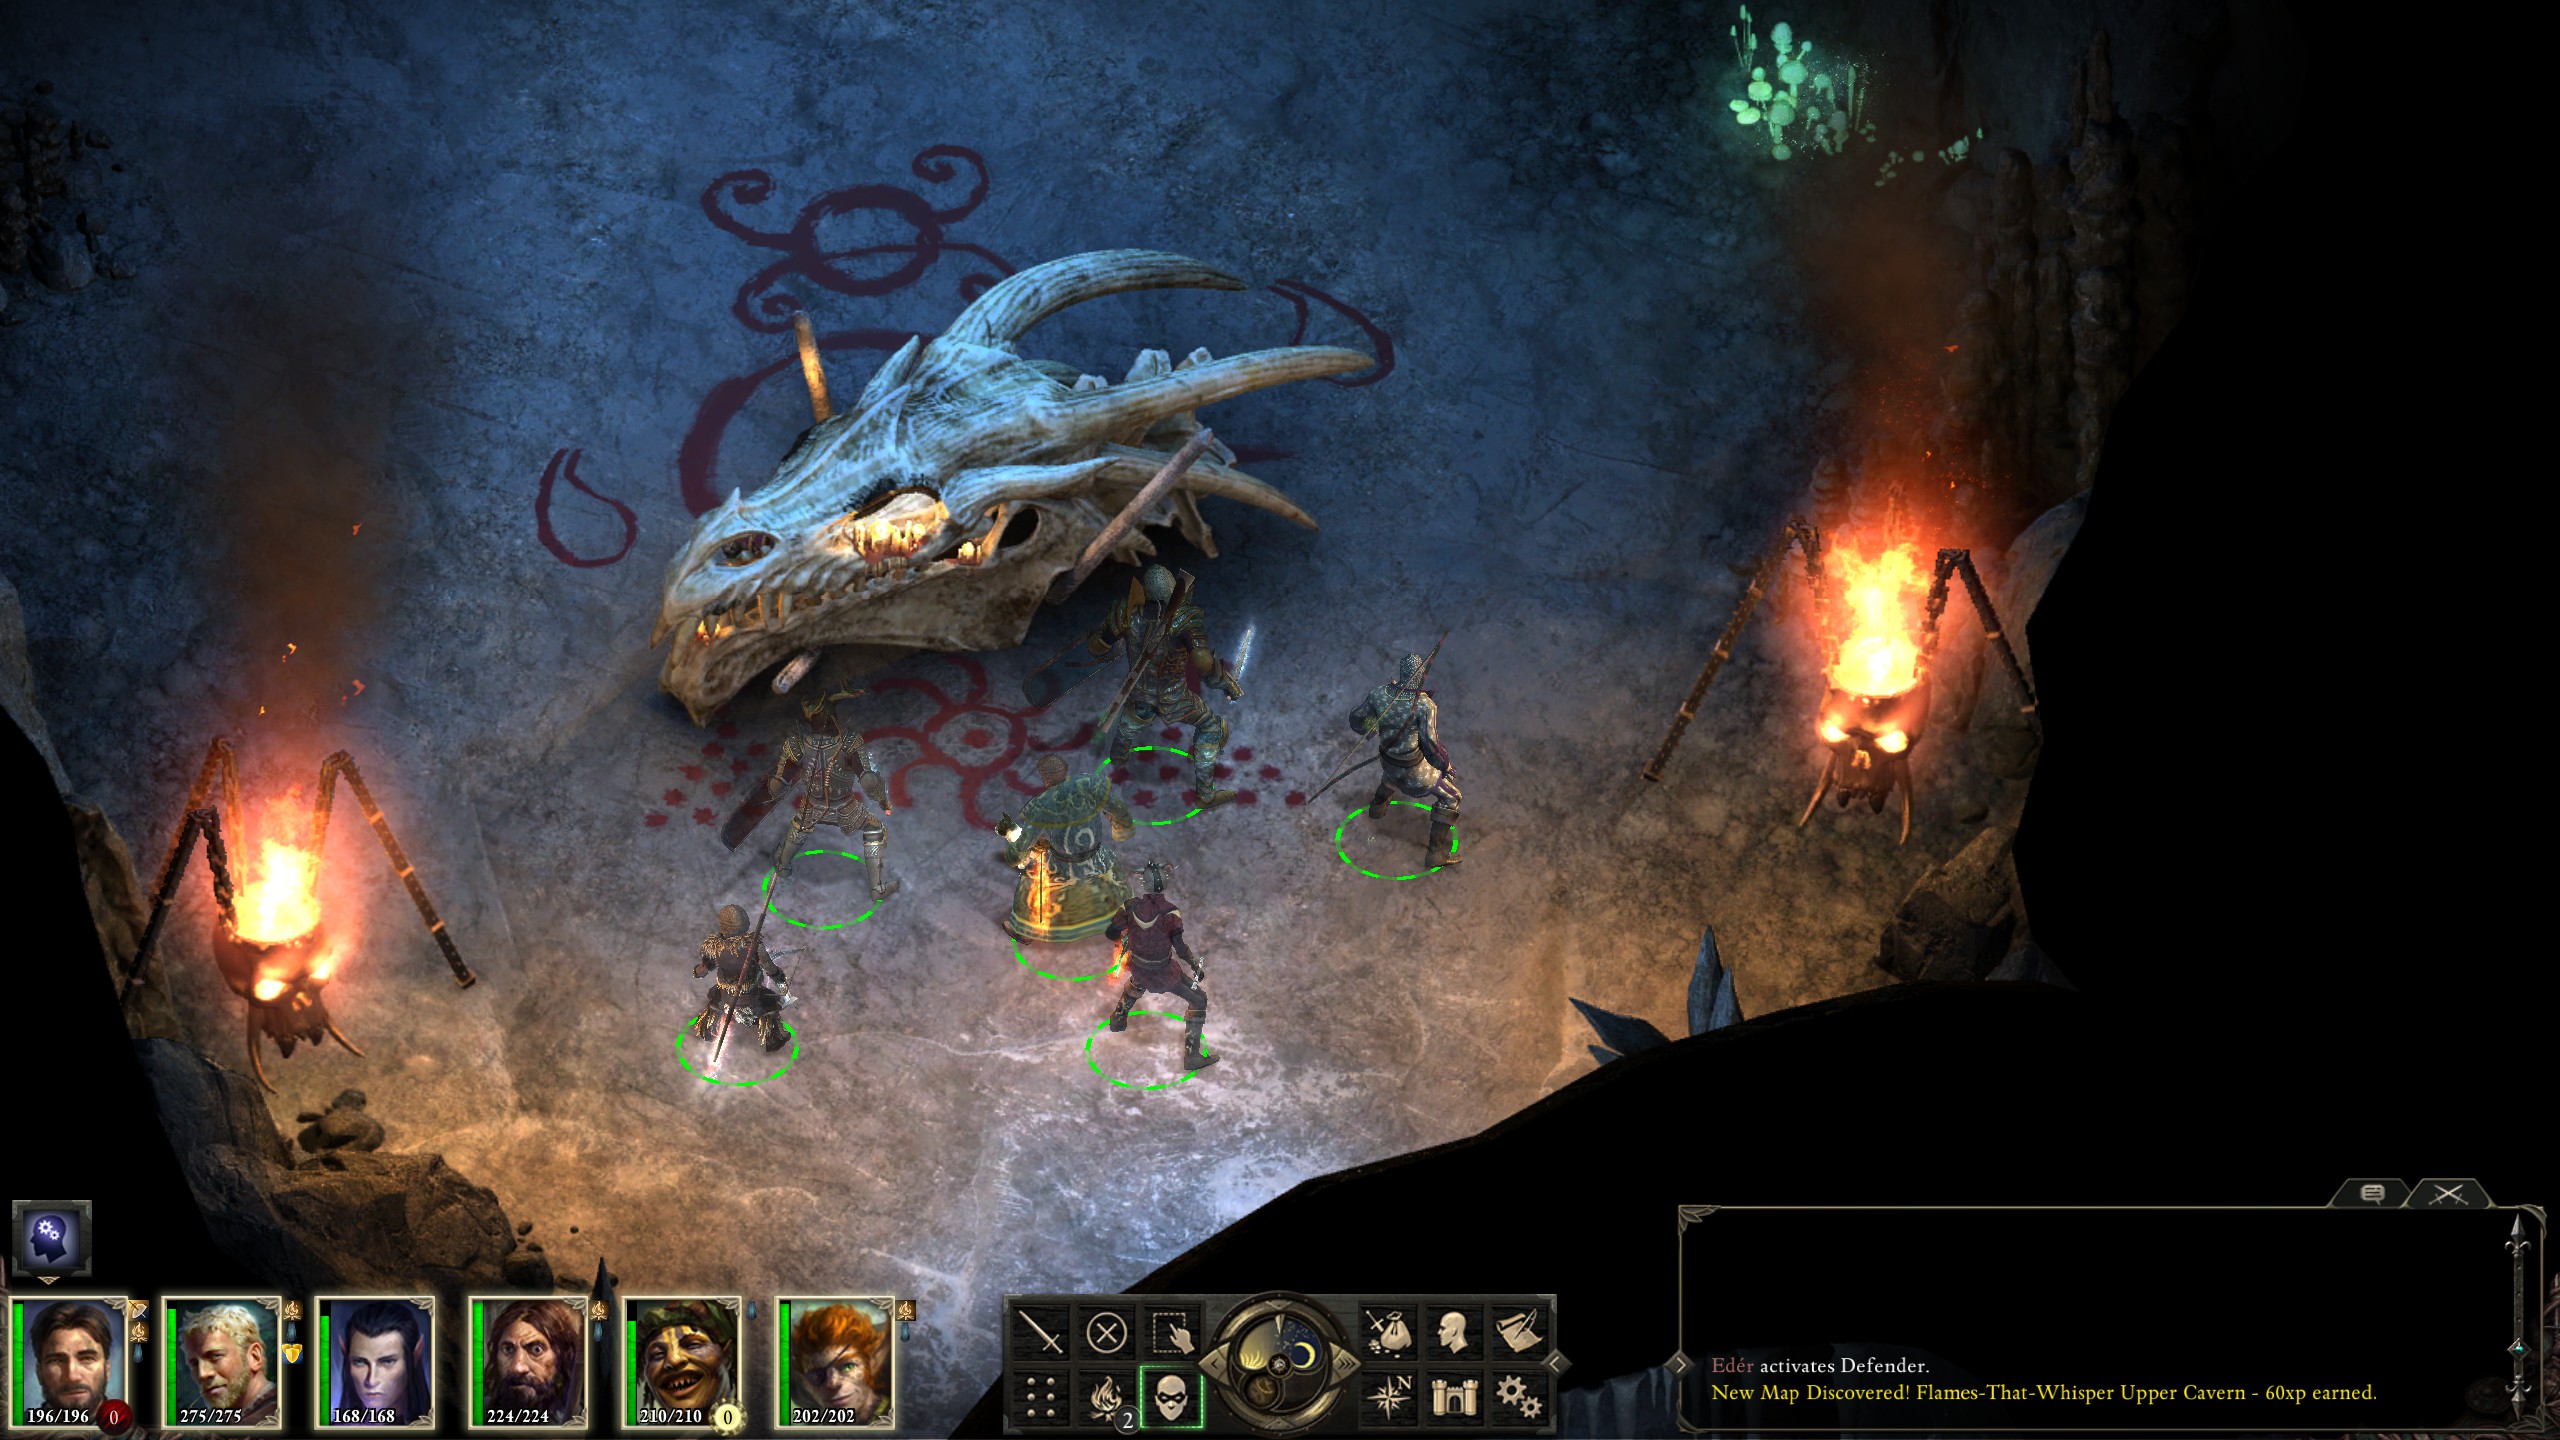
Rather than rush into the boss's chamber, I decided to clear the whole thing out for loot and experience, thus I ran around most of the first floor and then went to the lower floor in order to clear out the lagufaeth.

Then I took the route towards the boss chamber by disarming the traps.

And arrived through the backdoor rather than the main entrance.
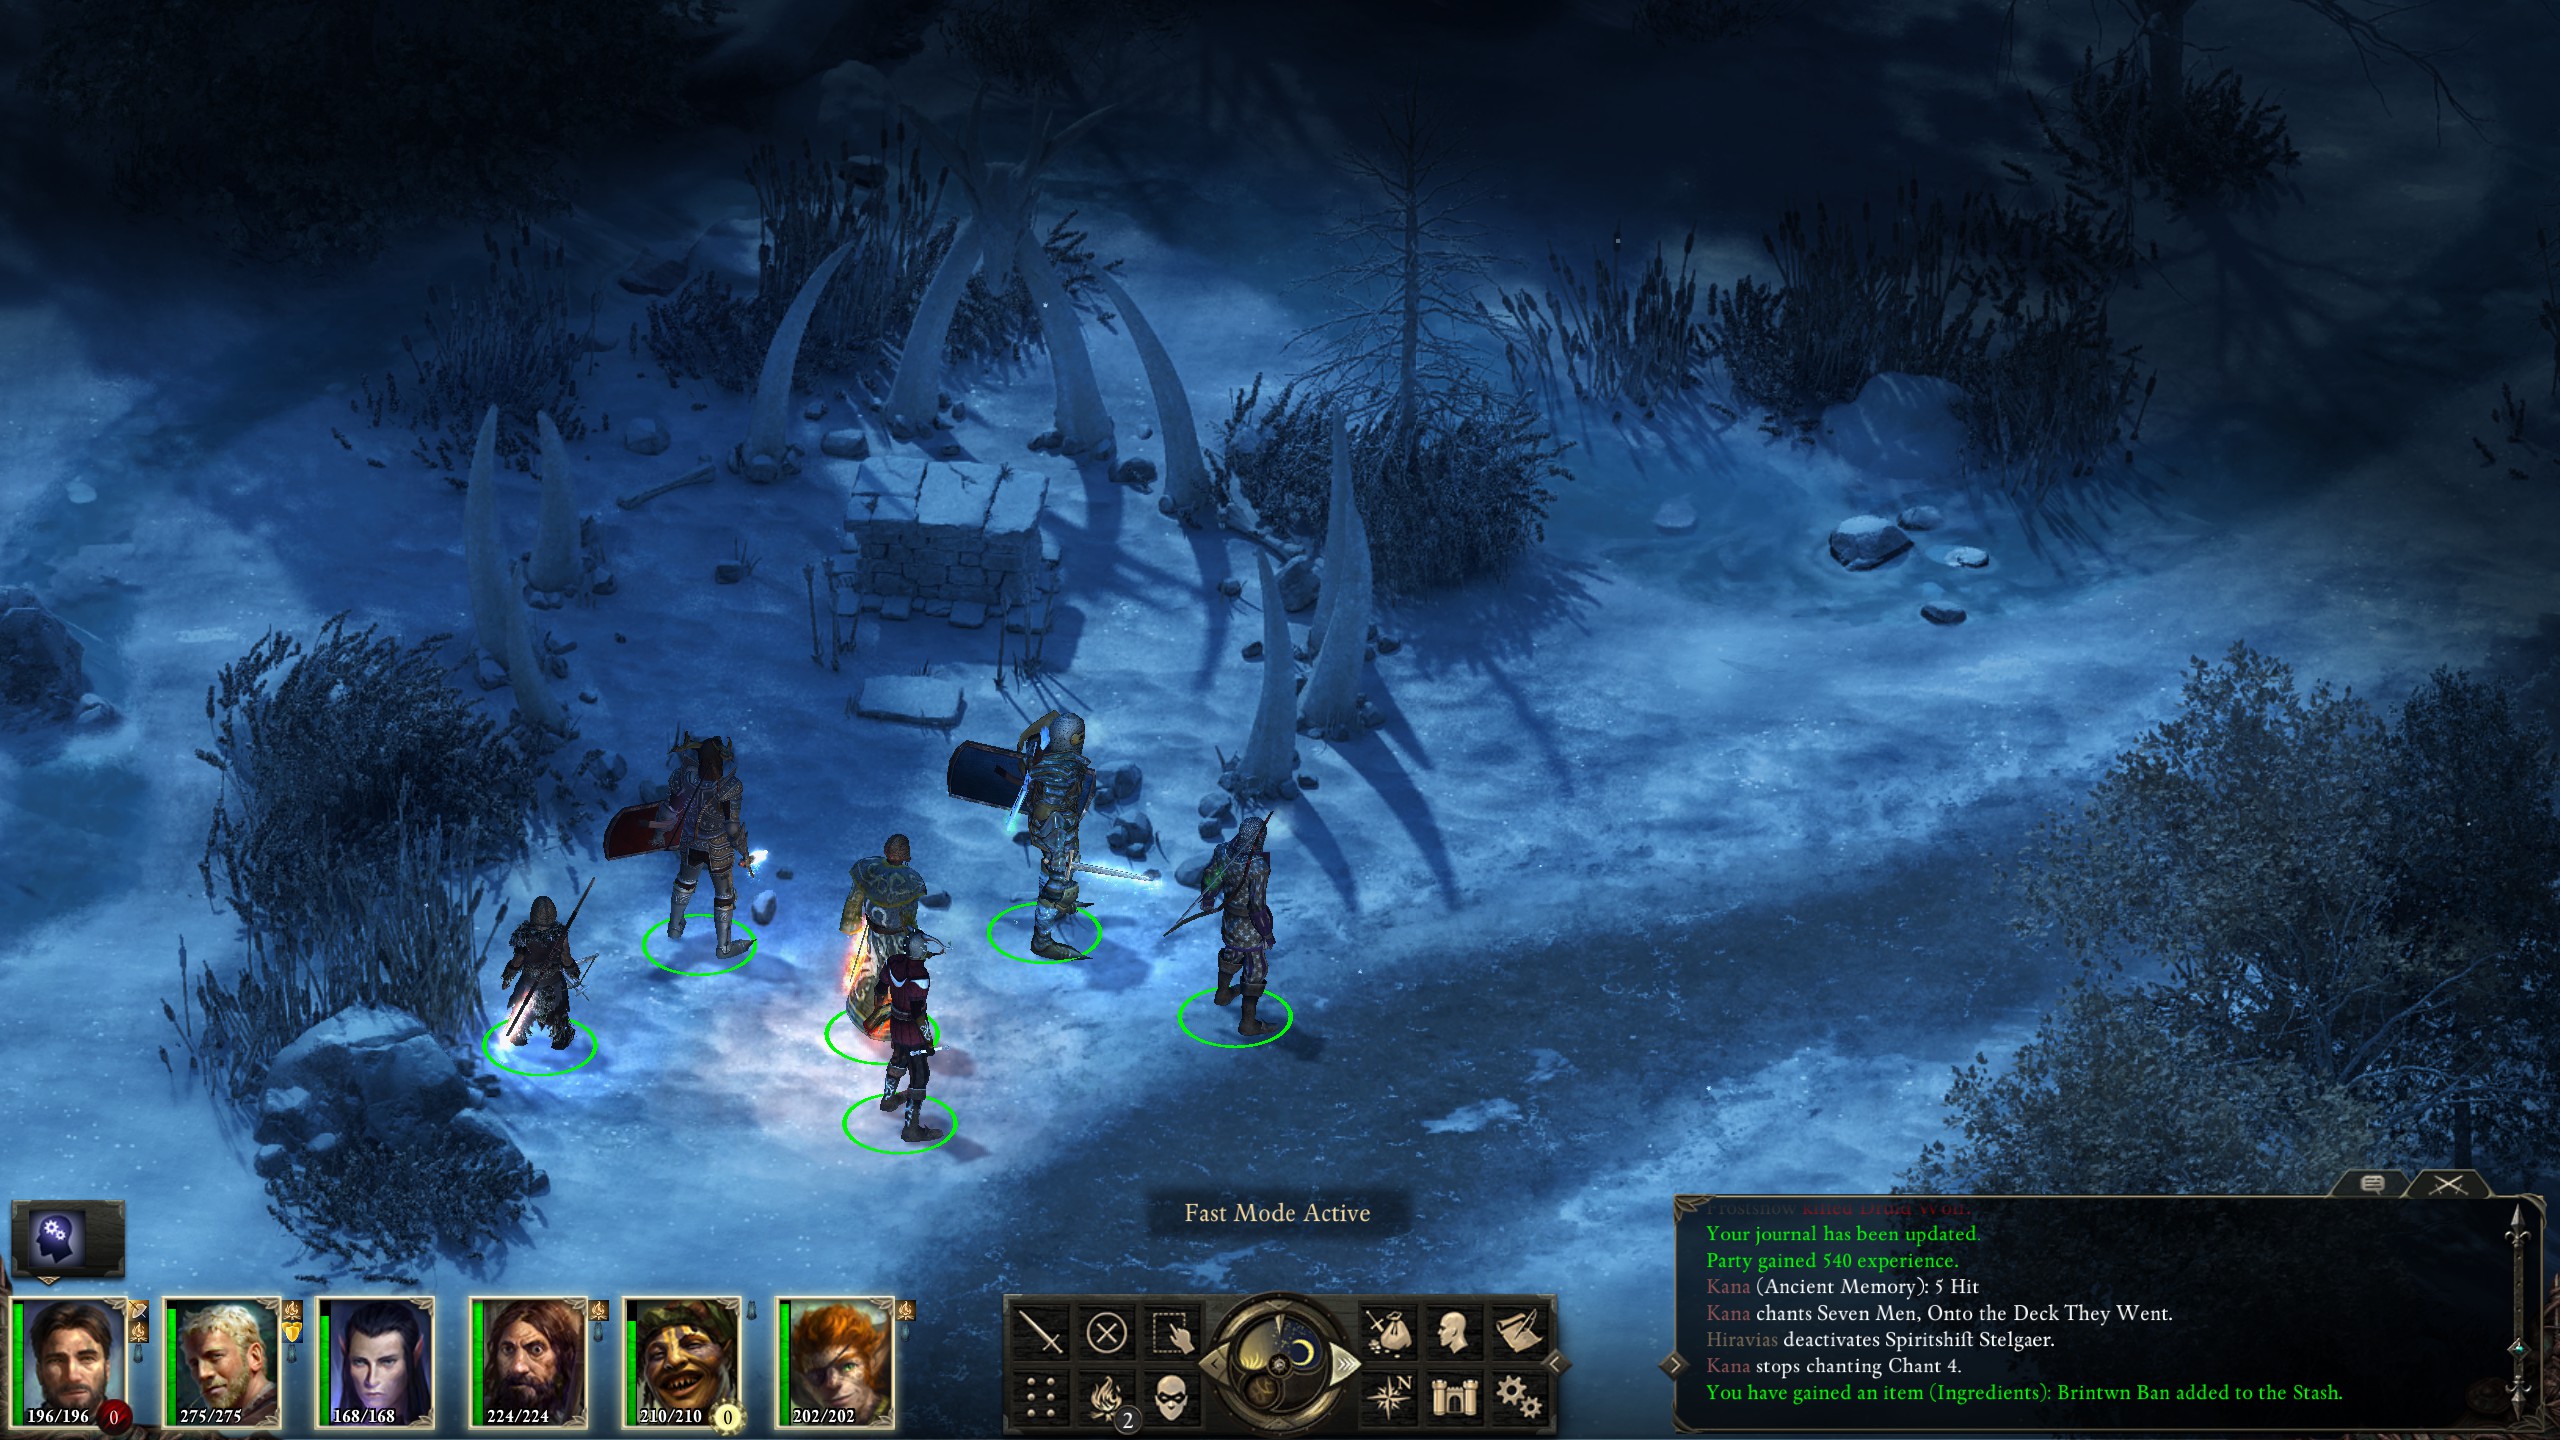
Their boss is a matron; we struck a deal that she wouldn't attack Stalwart Village and in return Stalwart Village wouldn't attack her clan. She also gave me the quest item I'd need in order to later open Durgan's Battery (though it isn't made clear in the game that's what the item does at the time it's bestowed, I'd been through here before...). Now that the ogres had been dealt with, I headed eastward to Longwatch Falls.
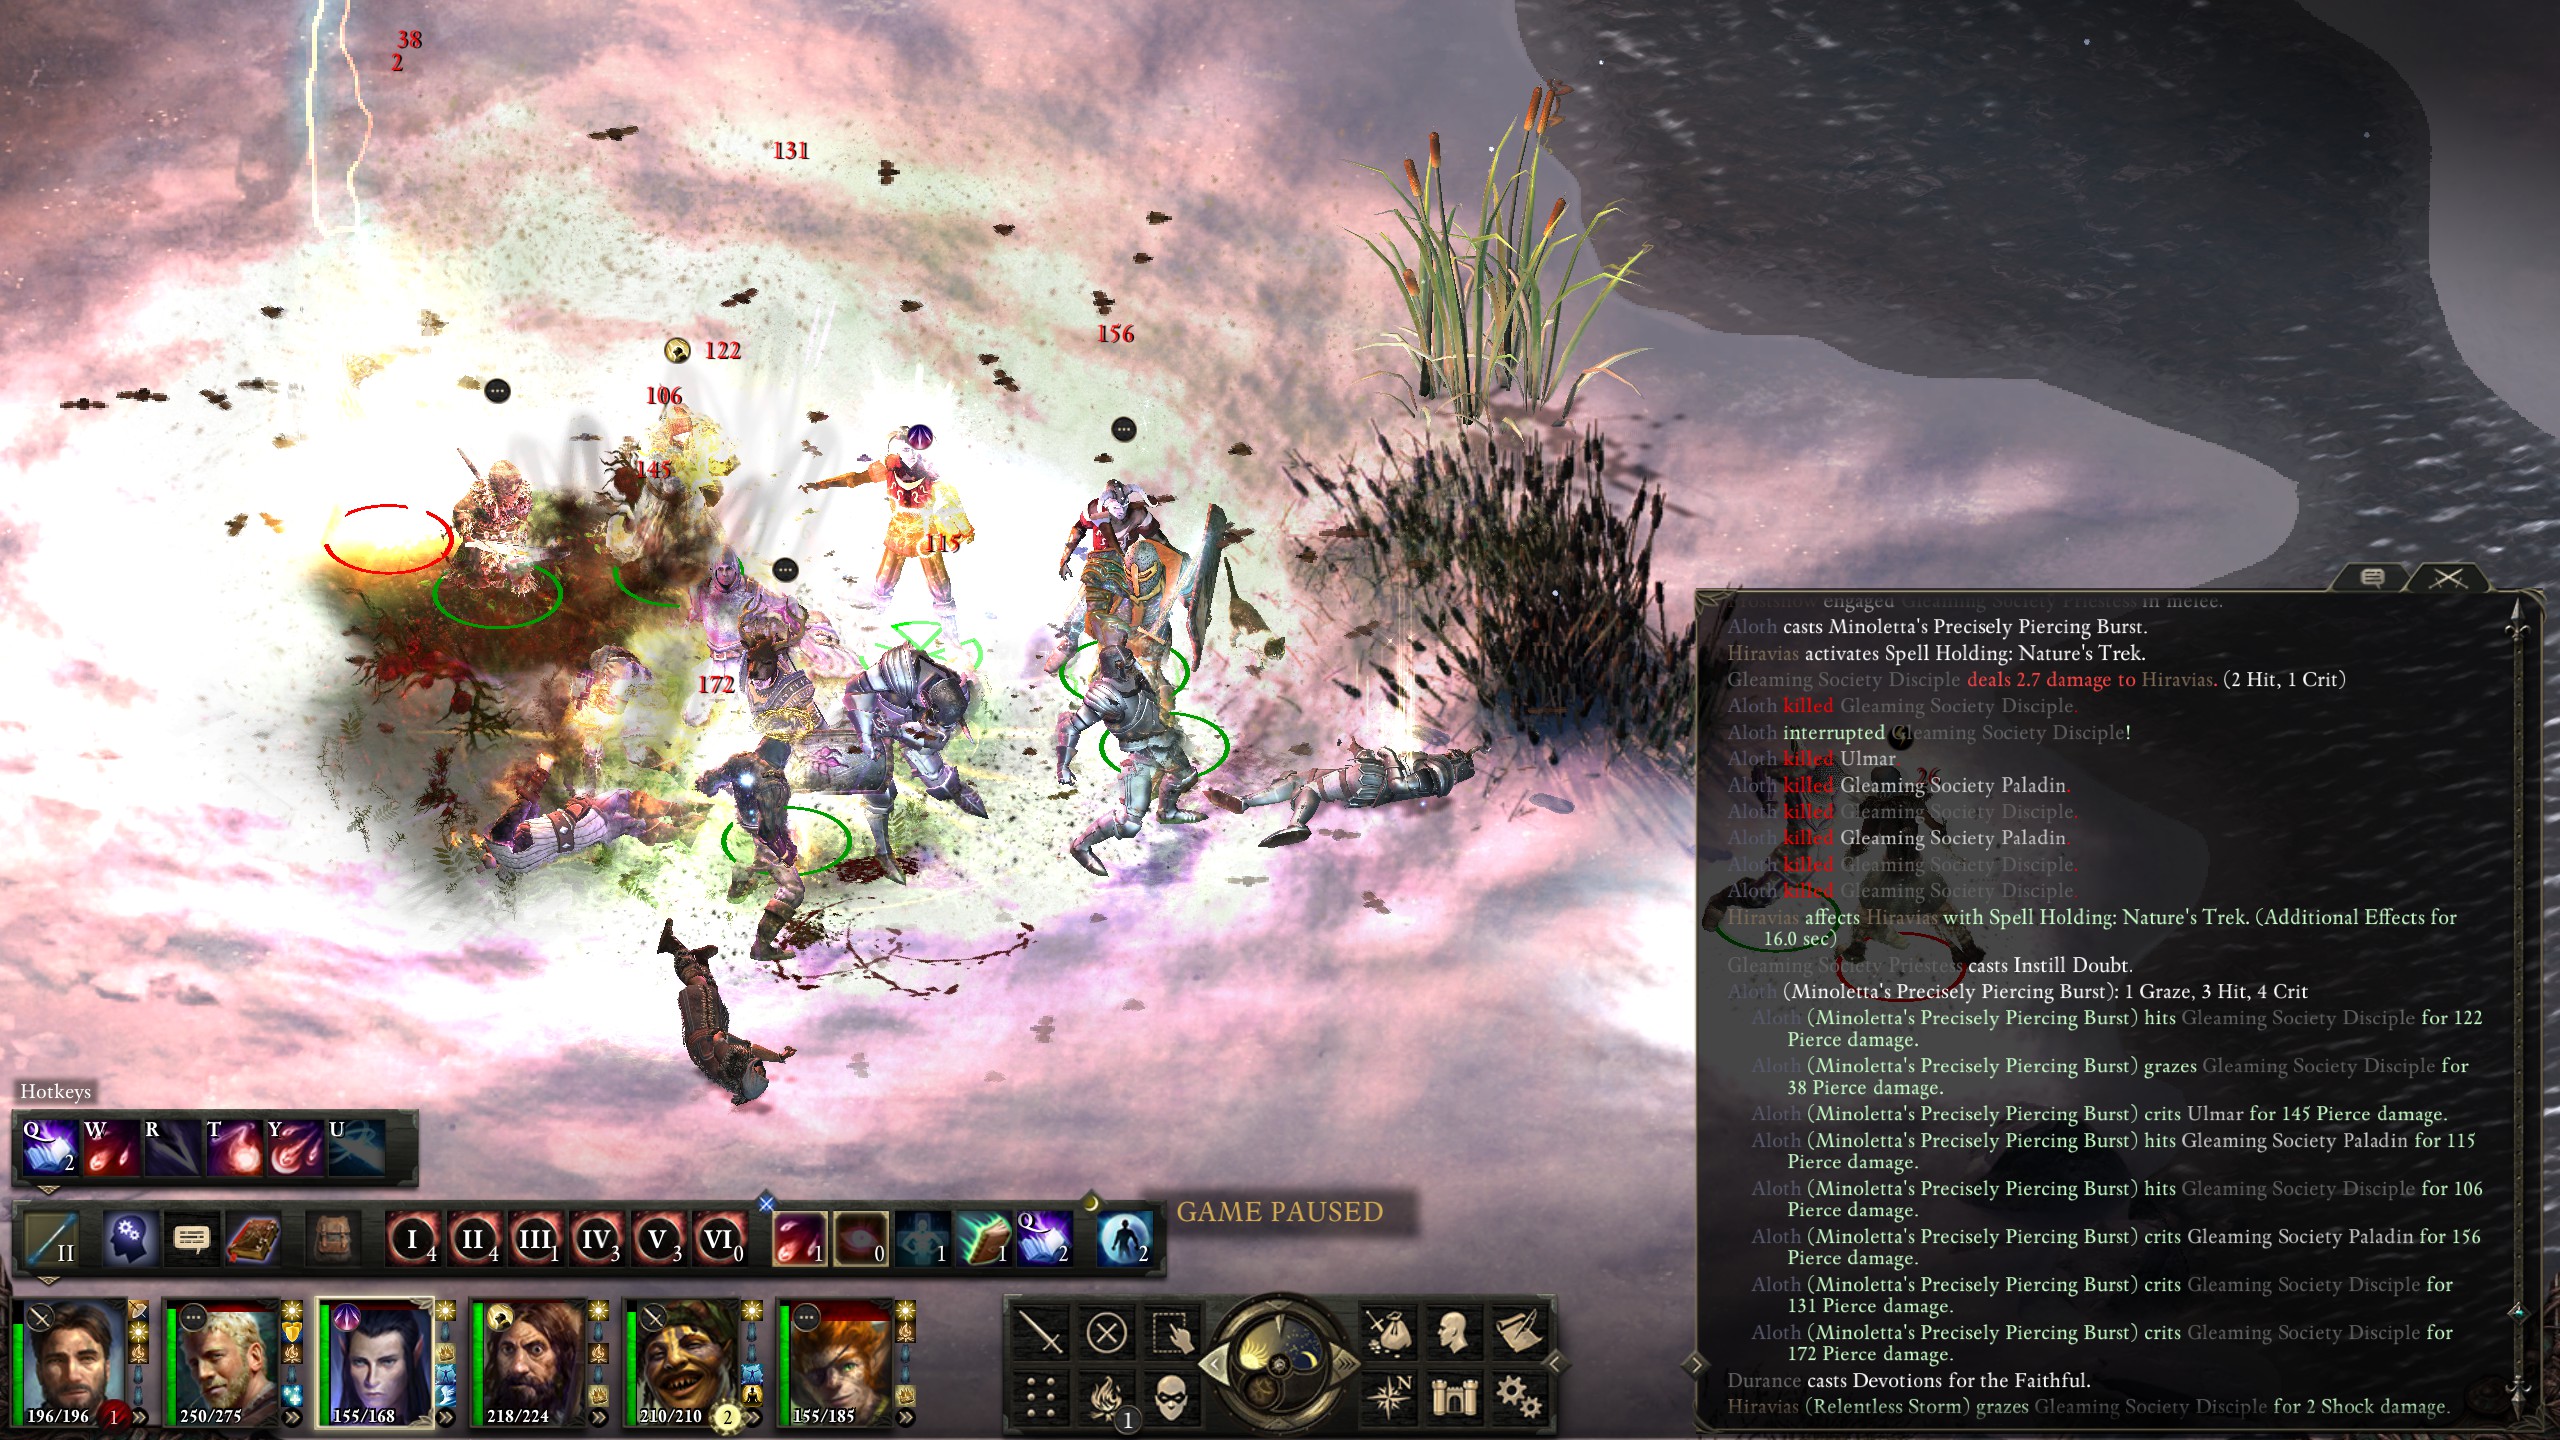
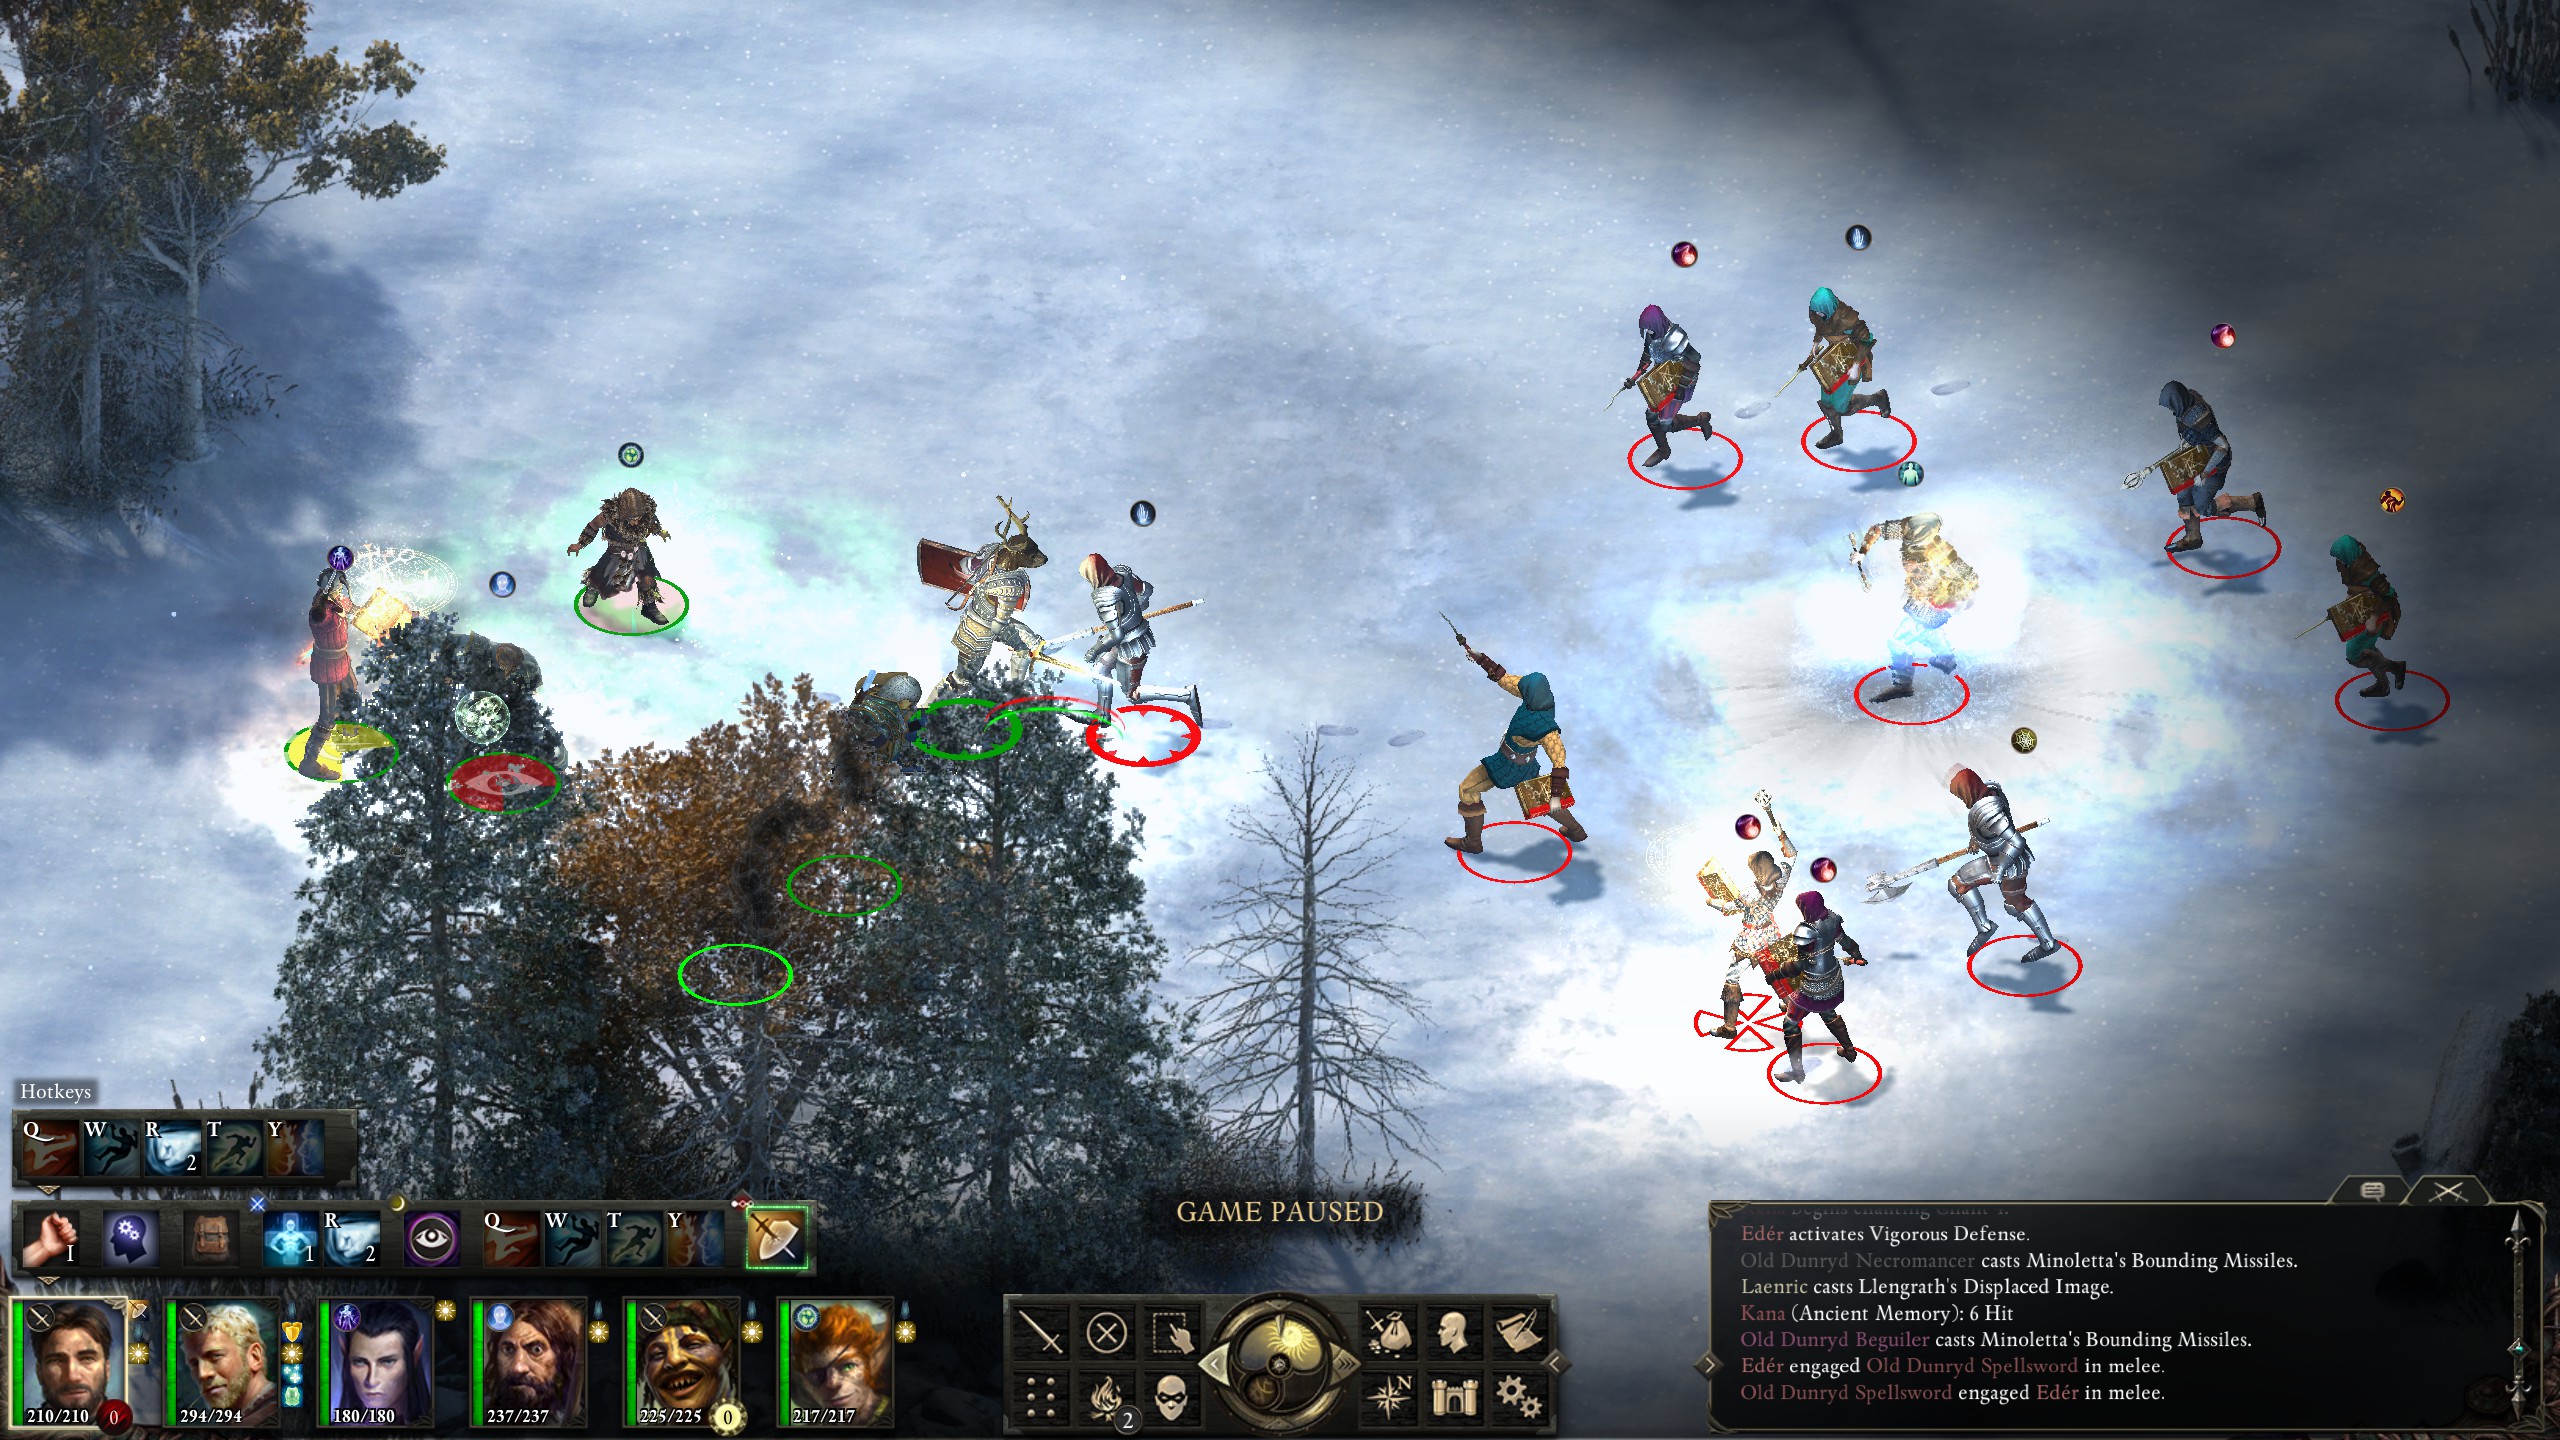
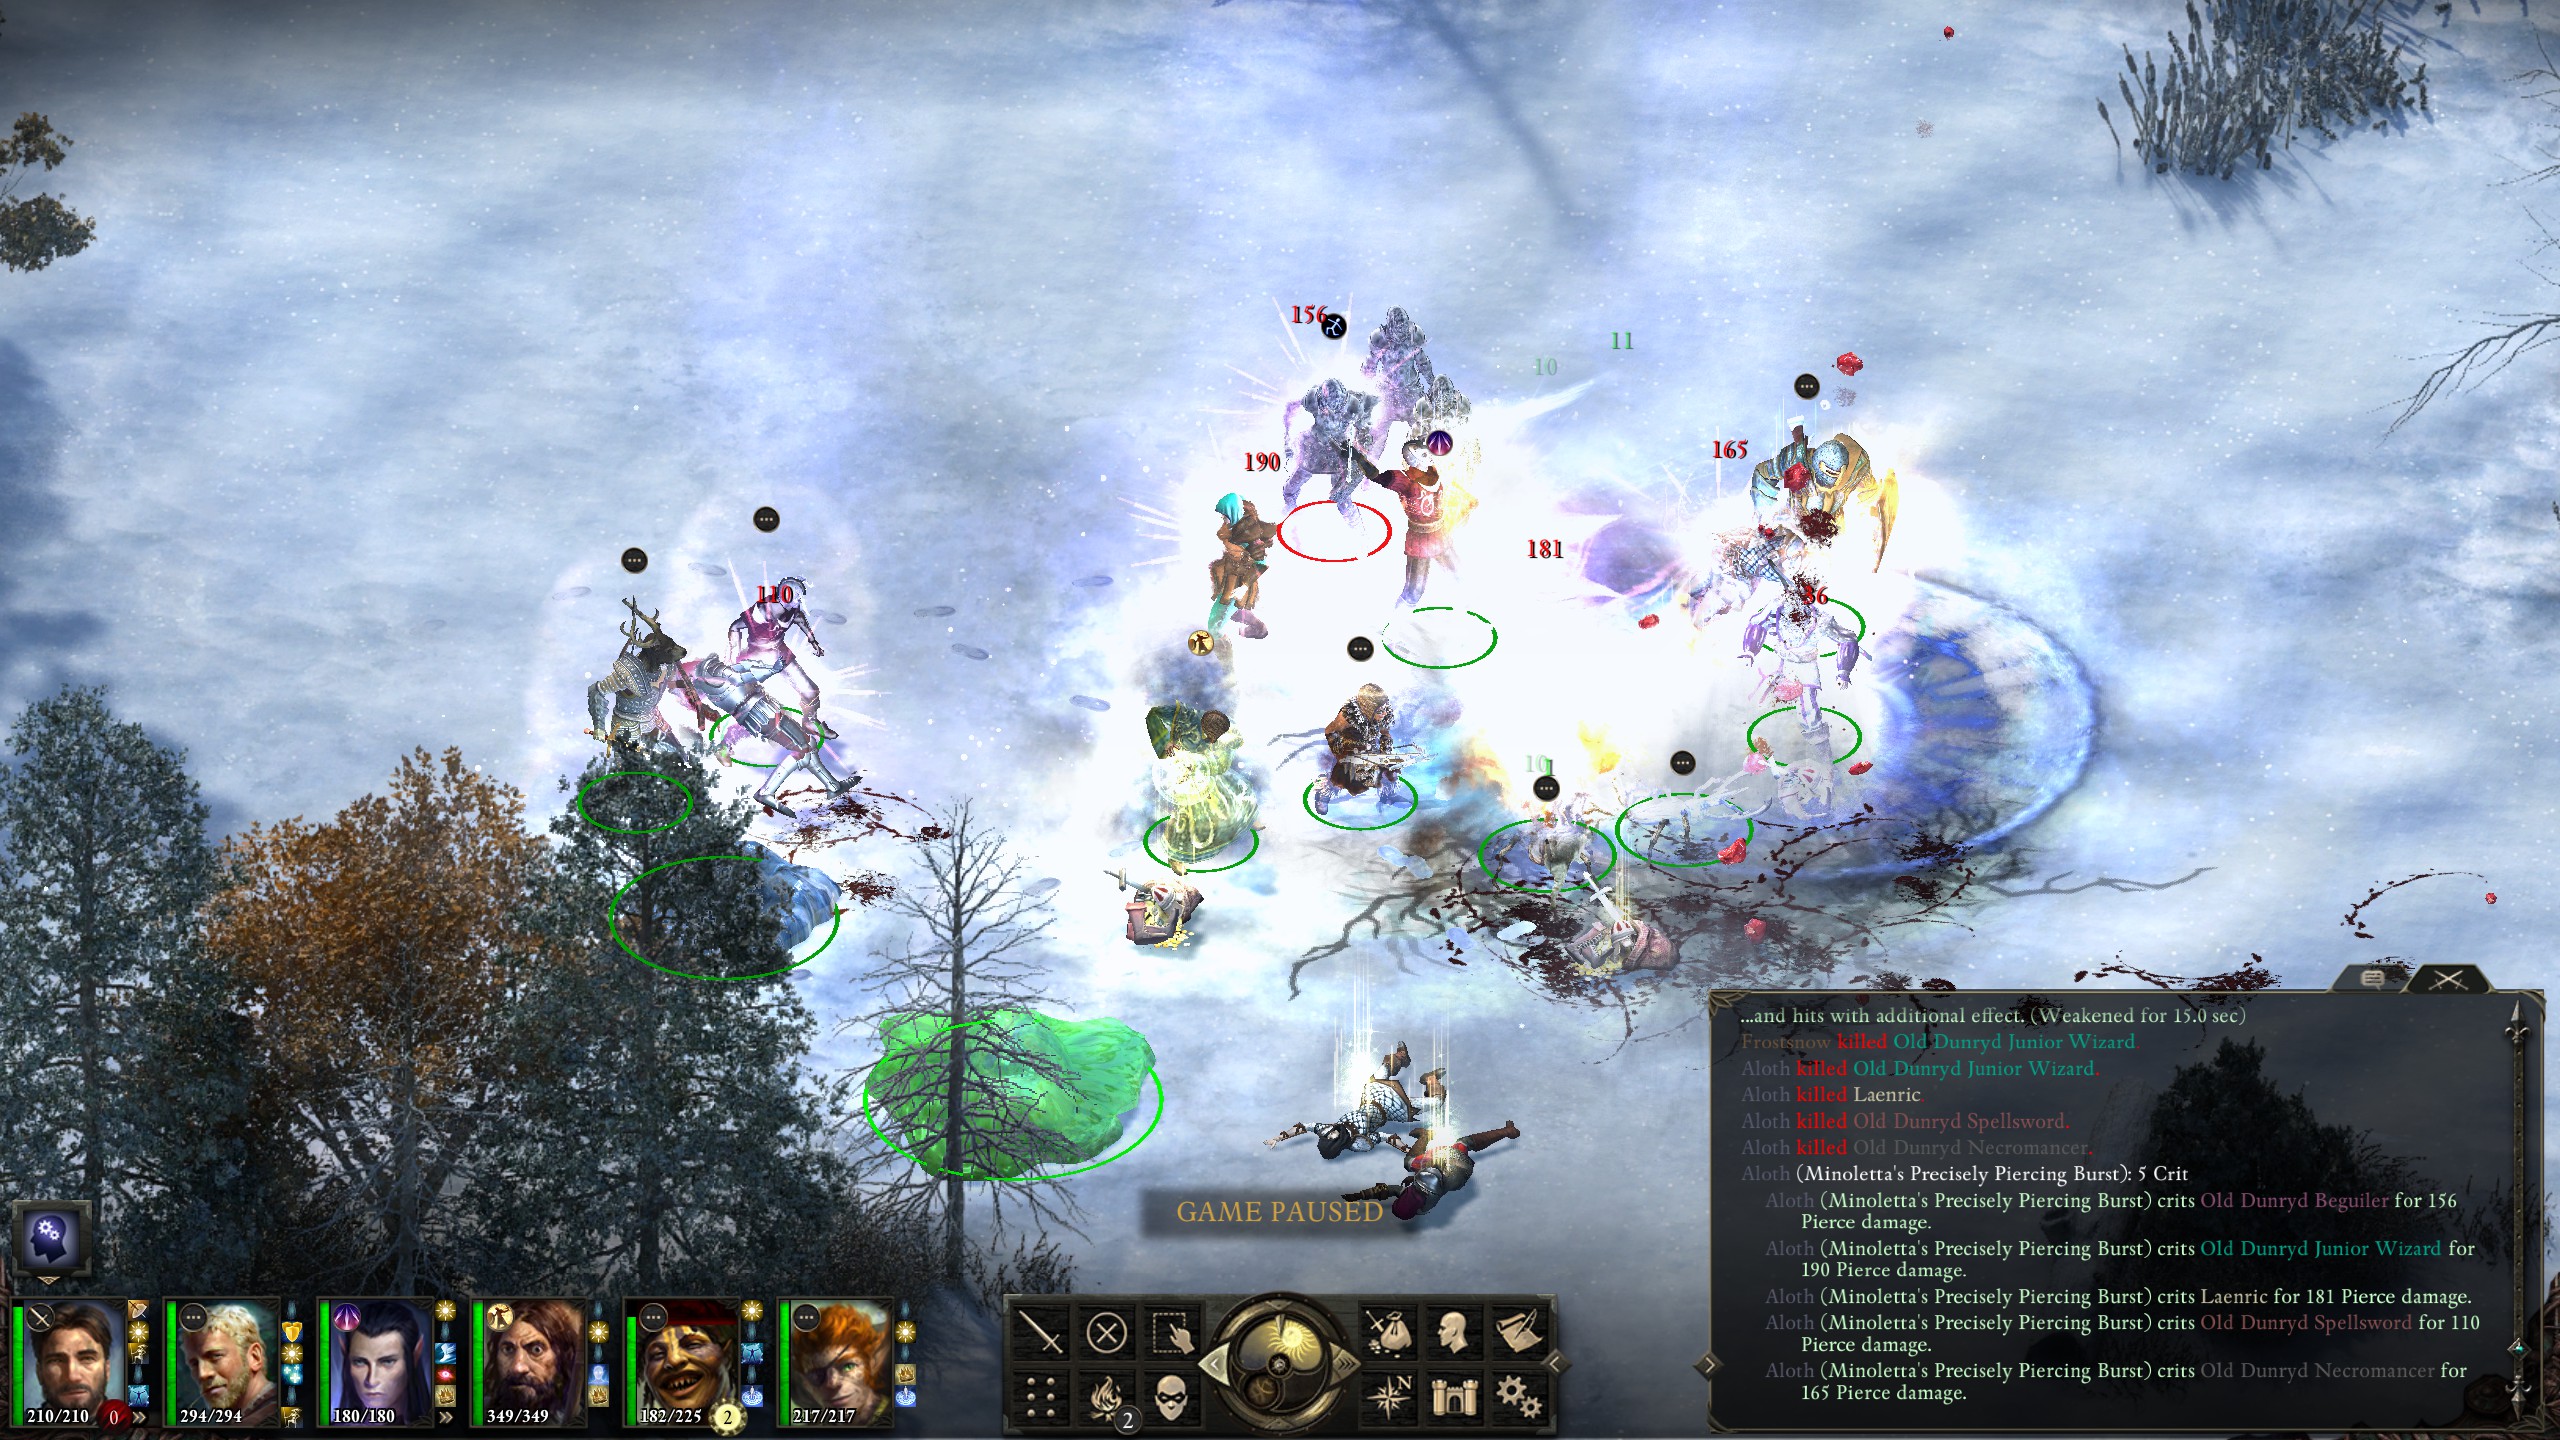
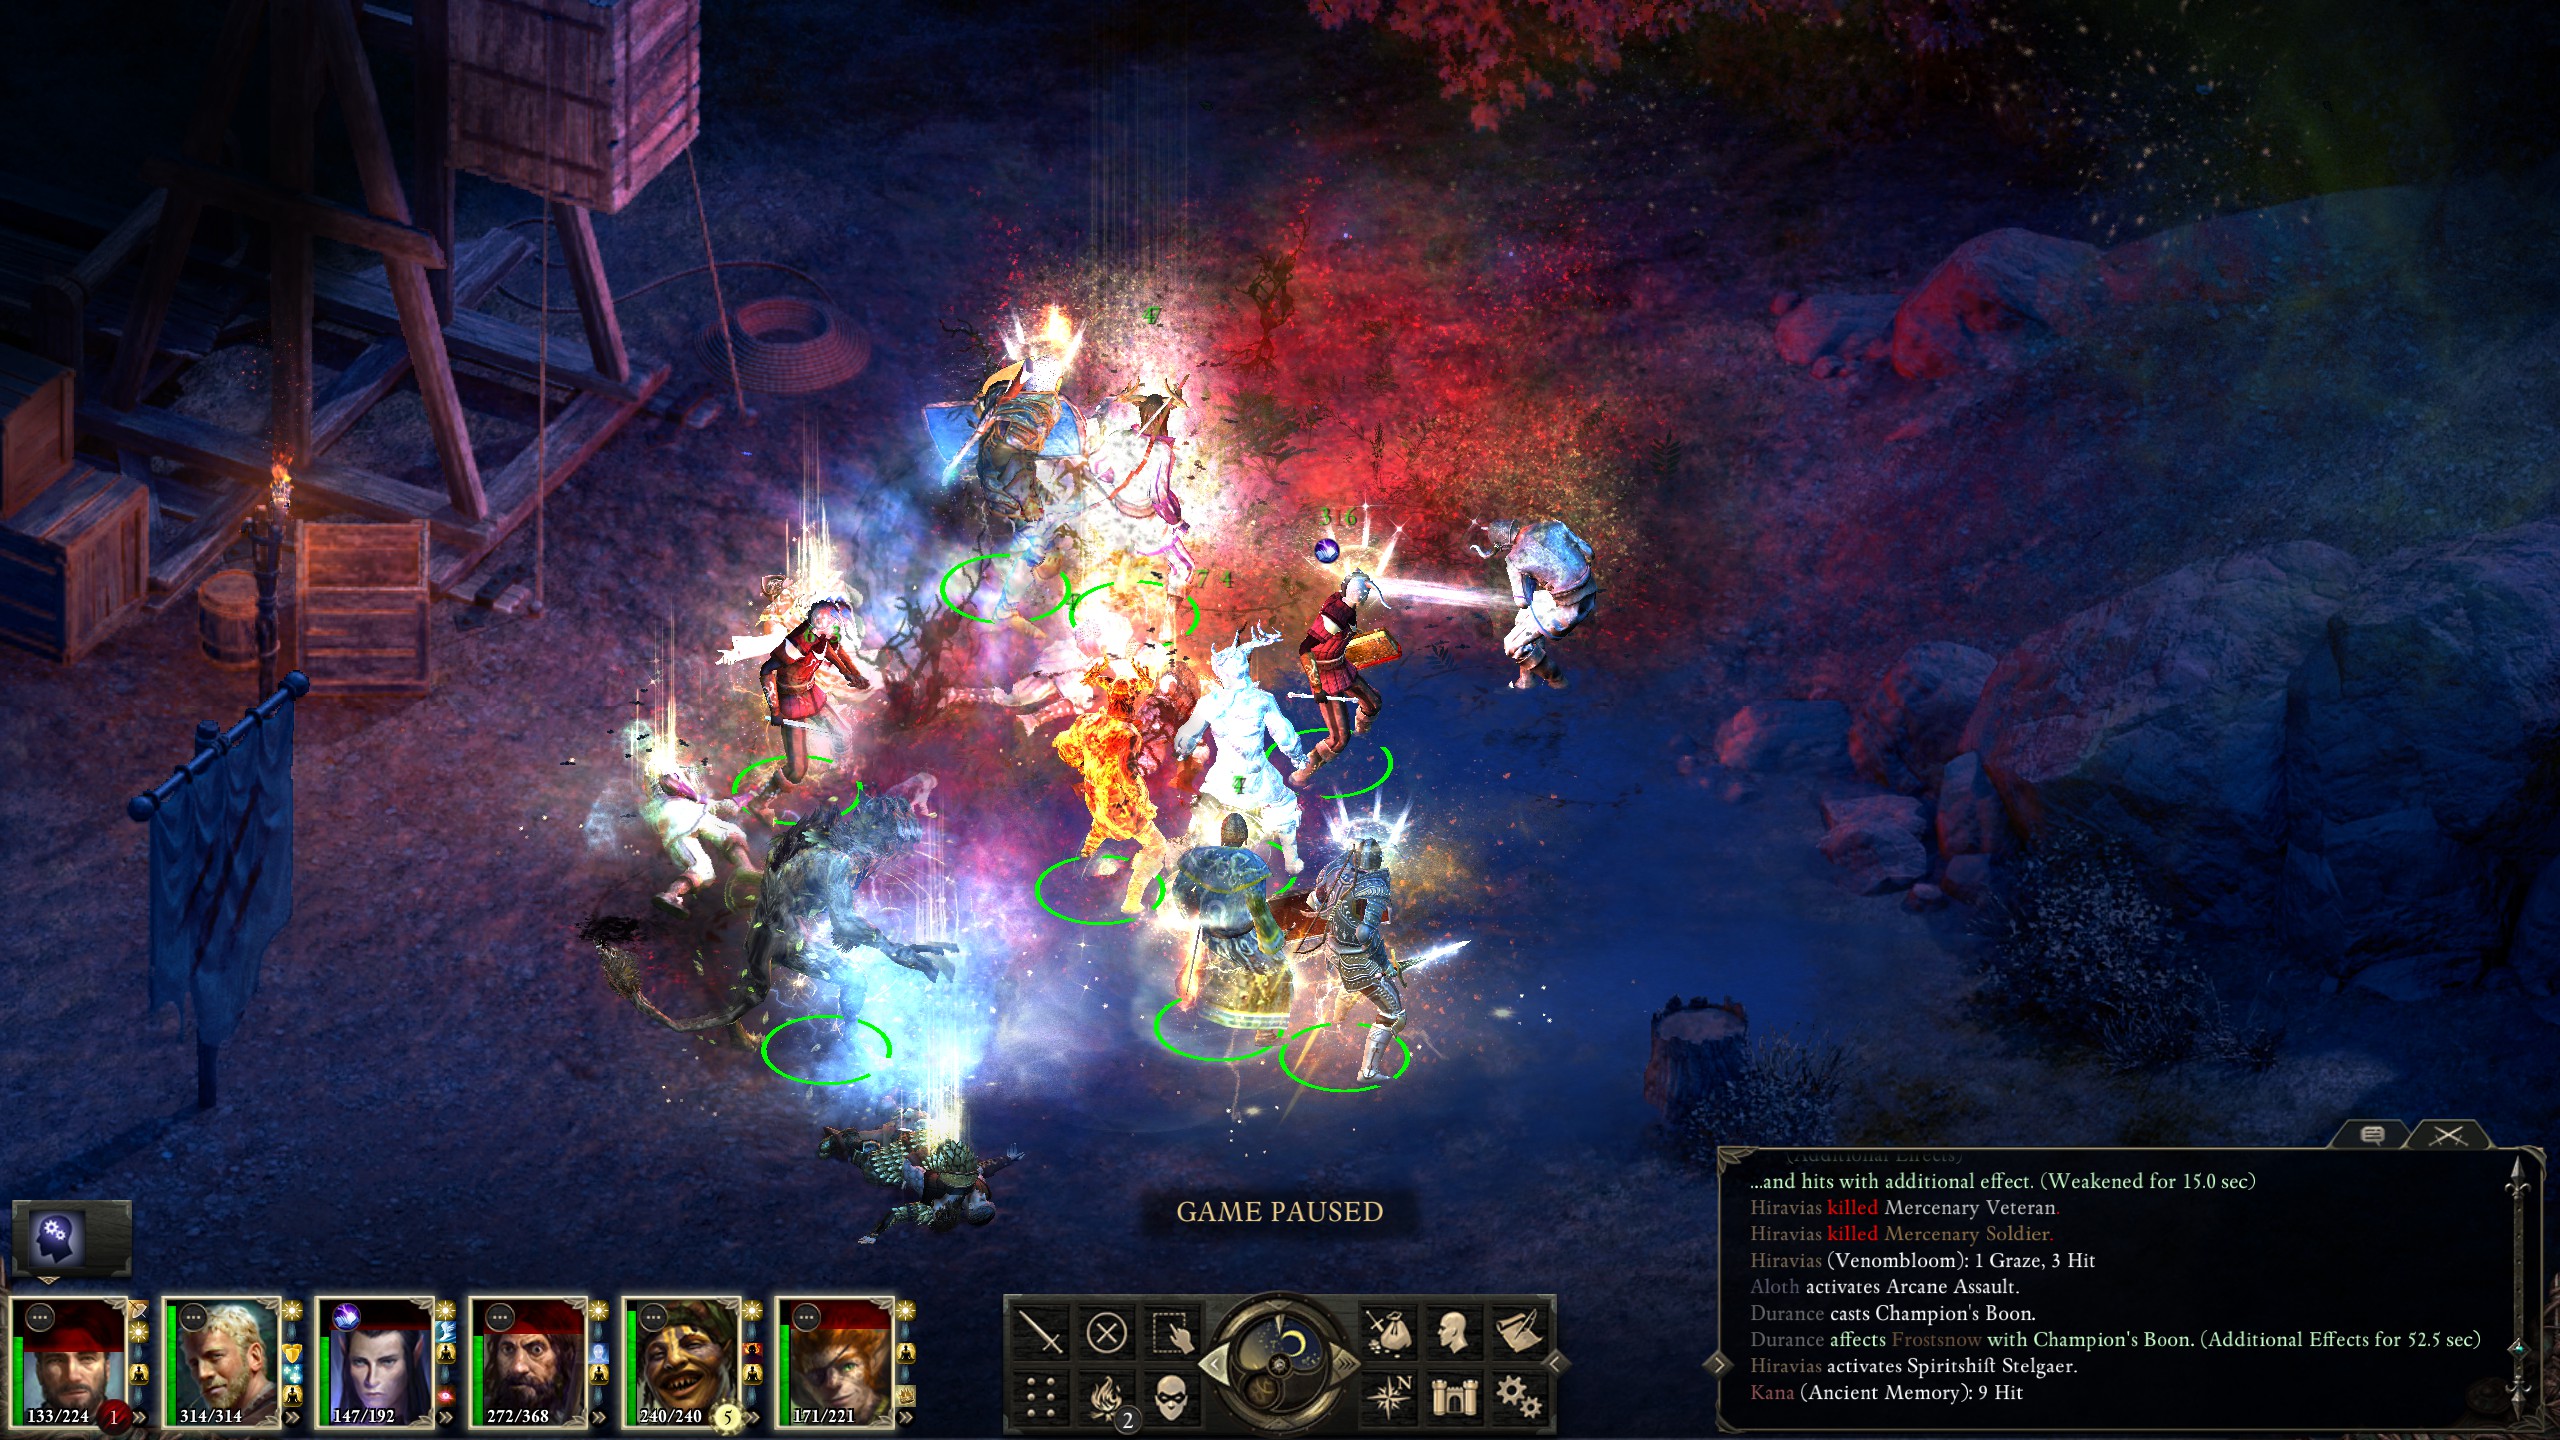
I don't know how I hadn't seemed to realize it until then, but during this fight I used Aloth's "Gaze of the Adragan" in order to petrify everyone, as I'd done before, but this time I followed it up with "Minoletta's Precisely Piercing Burst". The meant that the enemies with -40 Reflex and 100% extra damage taken had to make a reflex save, resulting in Aloth getting a septa-kill. I continued to used this combination with great mirth throughout the expansion.
Moving on, I retrieved the "pearl" from the lagufaeth, and cleared out a path to the Alpine Dragon, though I would not be taking him on just yet.
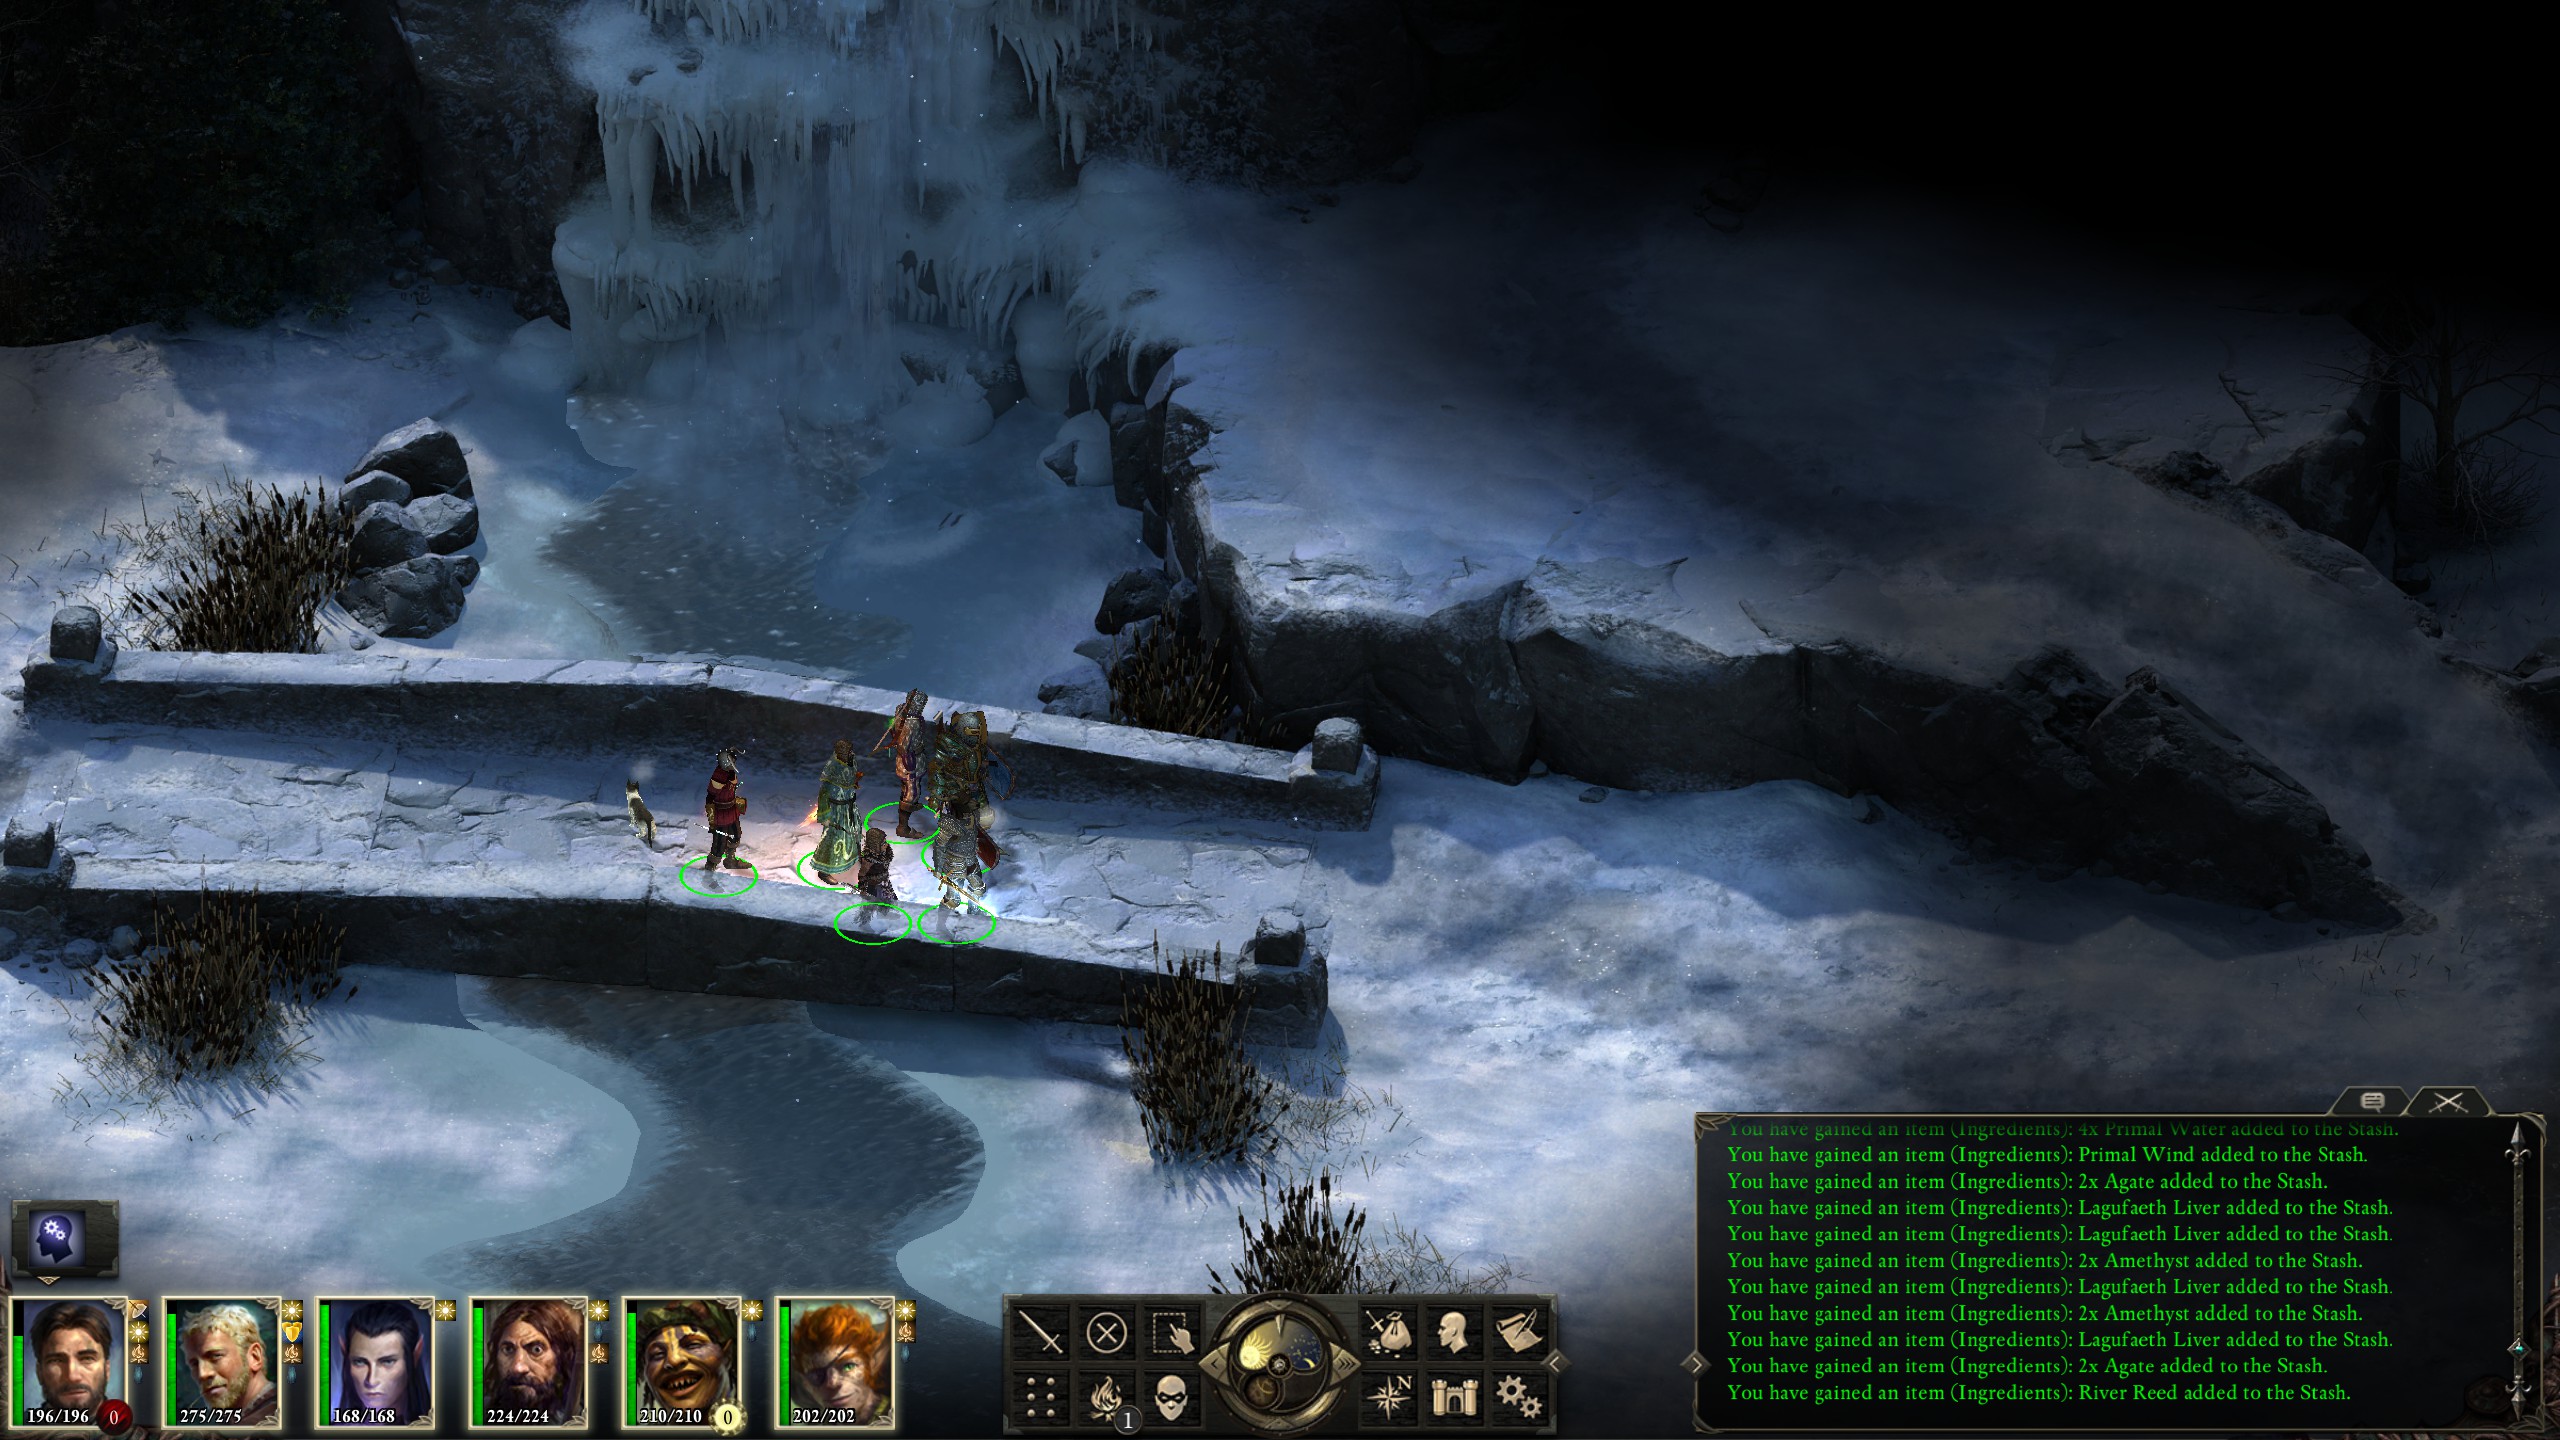
I also cleared was a way to the excellent "Gray Sleeper" estoc, but, as I had no one who wielded two-handed weapons, I simply left it. What else was I to do?
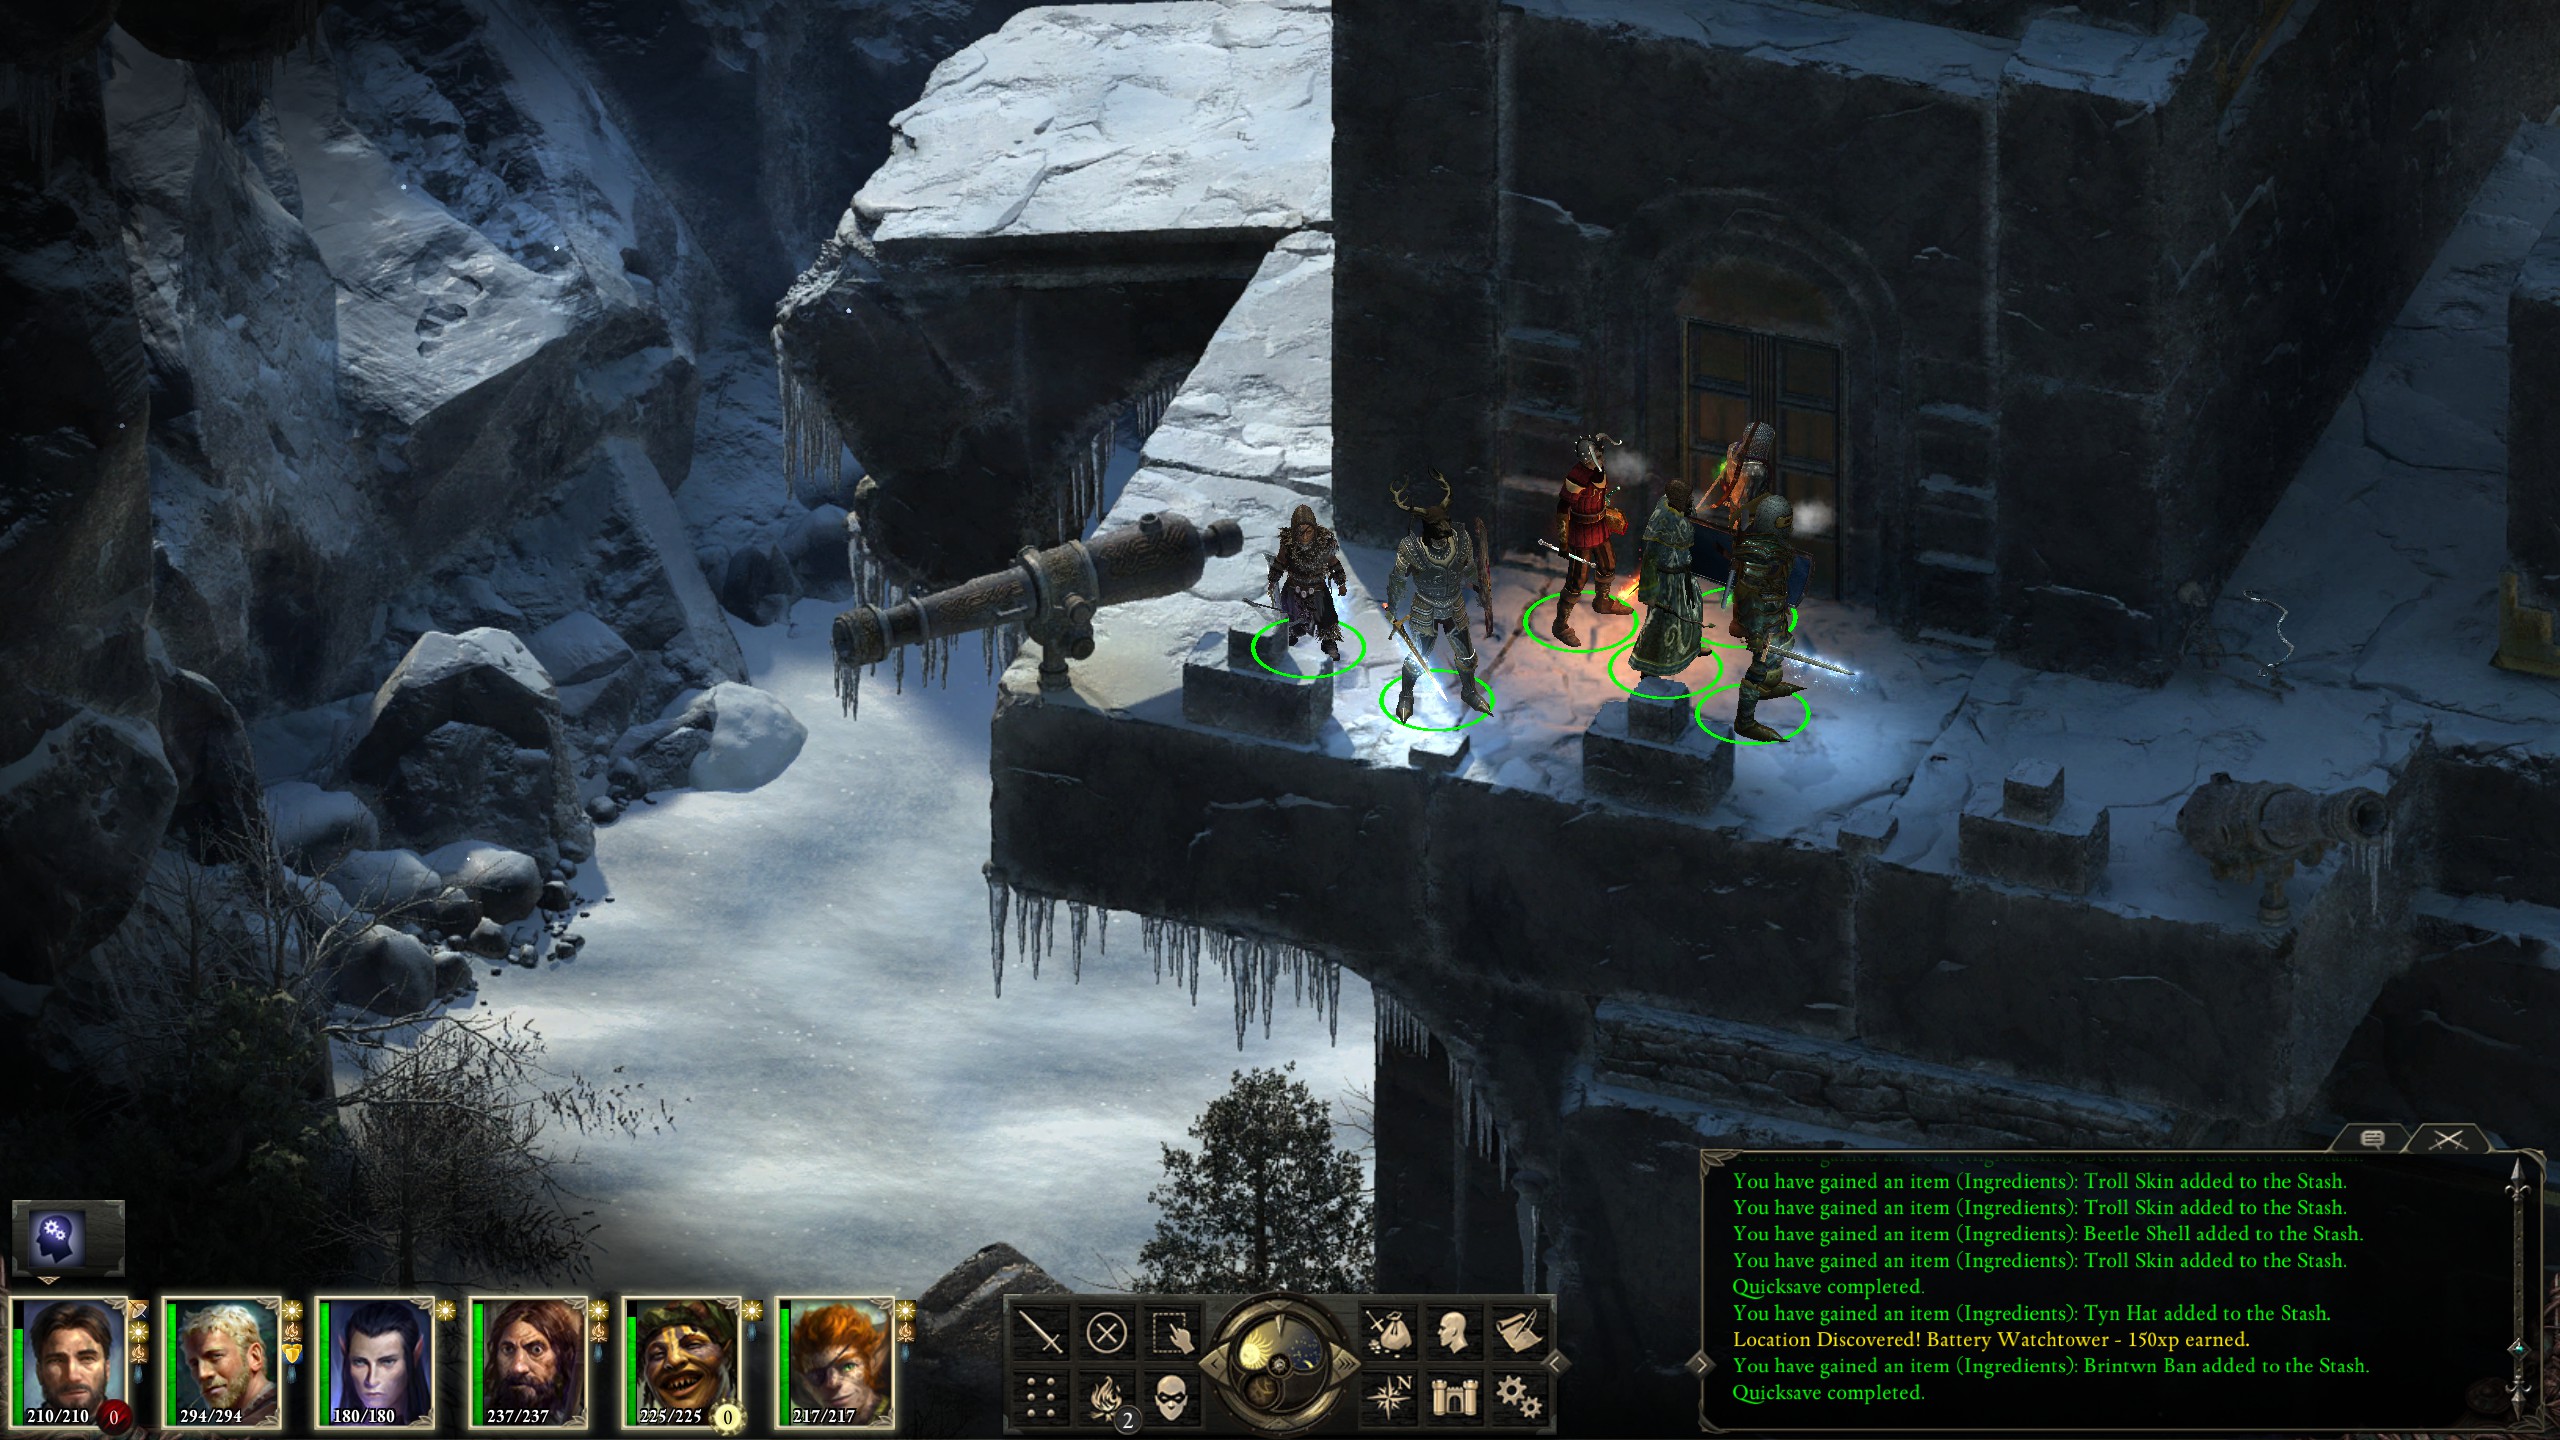
I then continued northwards to the outside of Durgan's Battery.
There was another bounty, Meztla, here, but I forgot to take a screenshot of their demise as I worked through the area.
Of note was the retrieval of the "Ninagath's Black Pages" grimoire, which contained the spells "Ninagauth's Shadowflame" and "Ninagauth's Death Ray"; the former is a Fireball-like spell with a powerful petrification affliction attached. I added them to Aloth's grimoire for future use.
There weren't any real decisions to make within the area, though I did save the villager from falling down the crevice, and cleared the outdoor area up to Durgan's Battery.
With the outside cleared, I entered Galvino's house and descended into his workshop. The Unstable Constructs were actually rather difficult to deal with due to their self-destruct causing large amounts of damage.
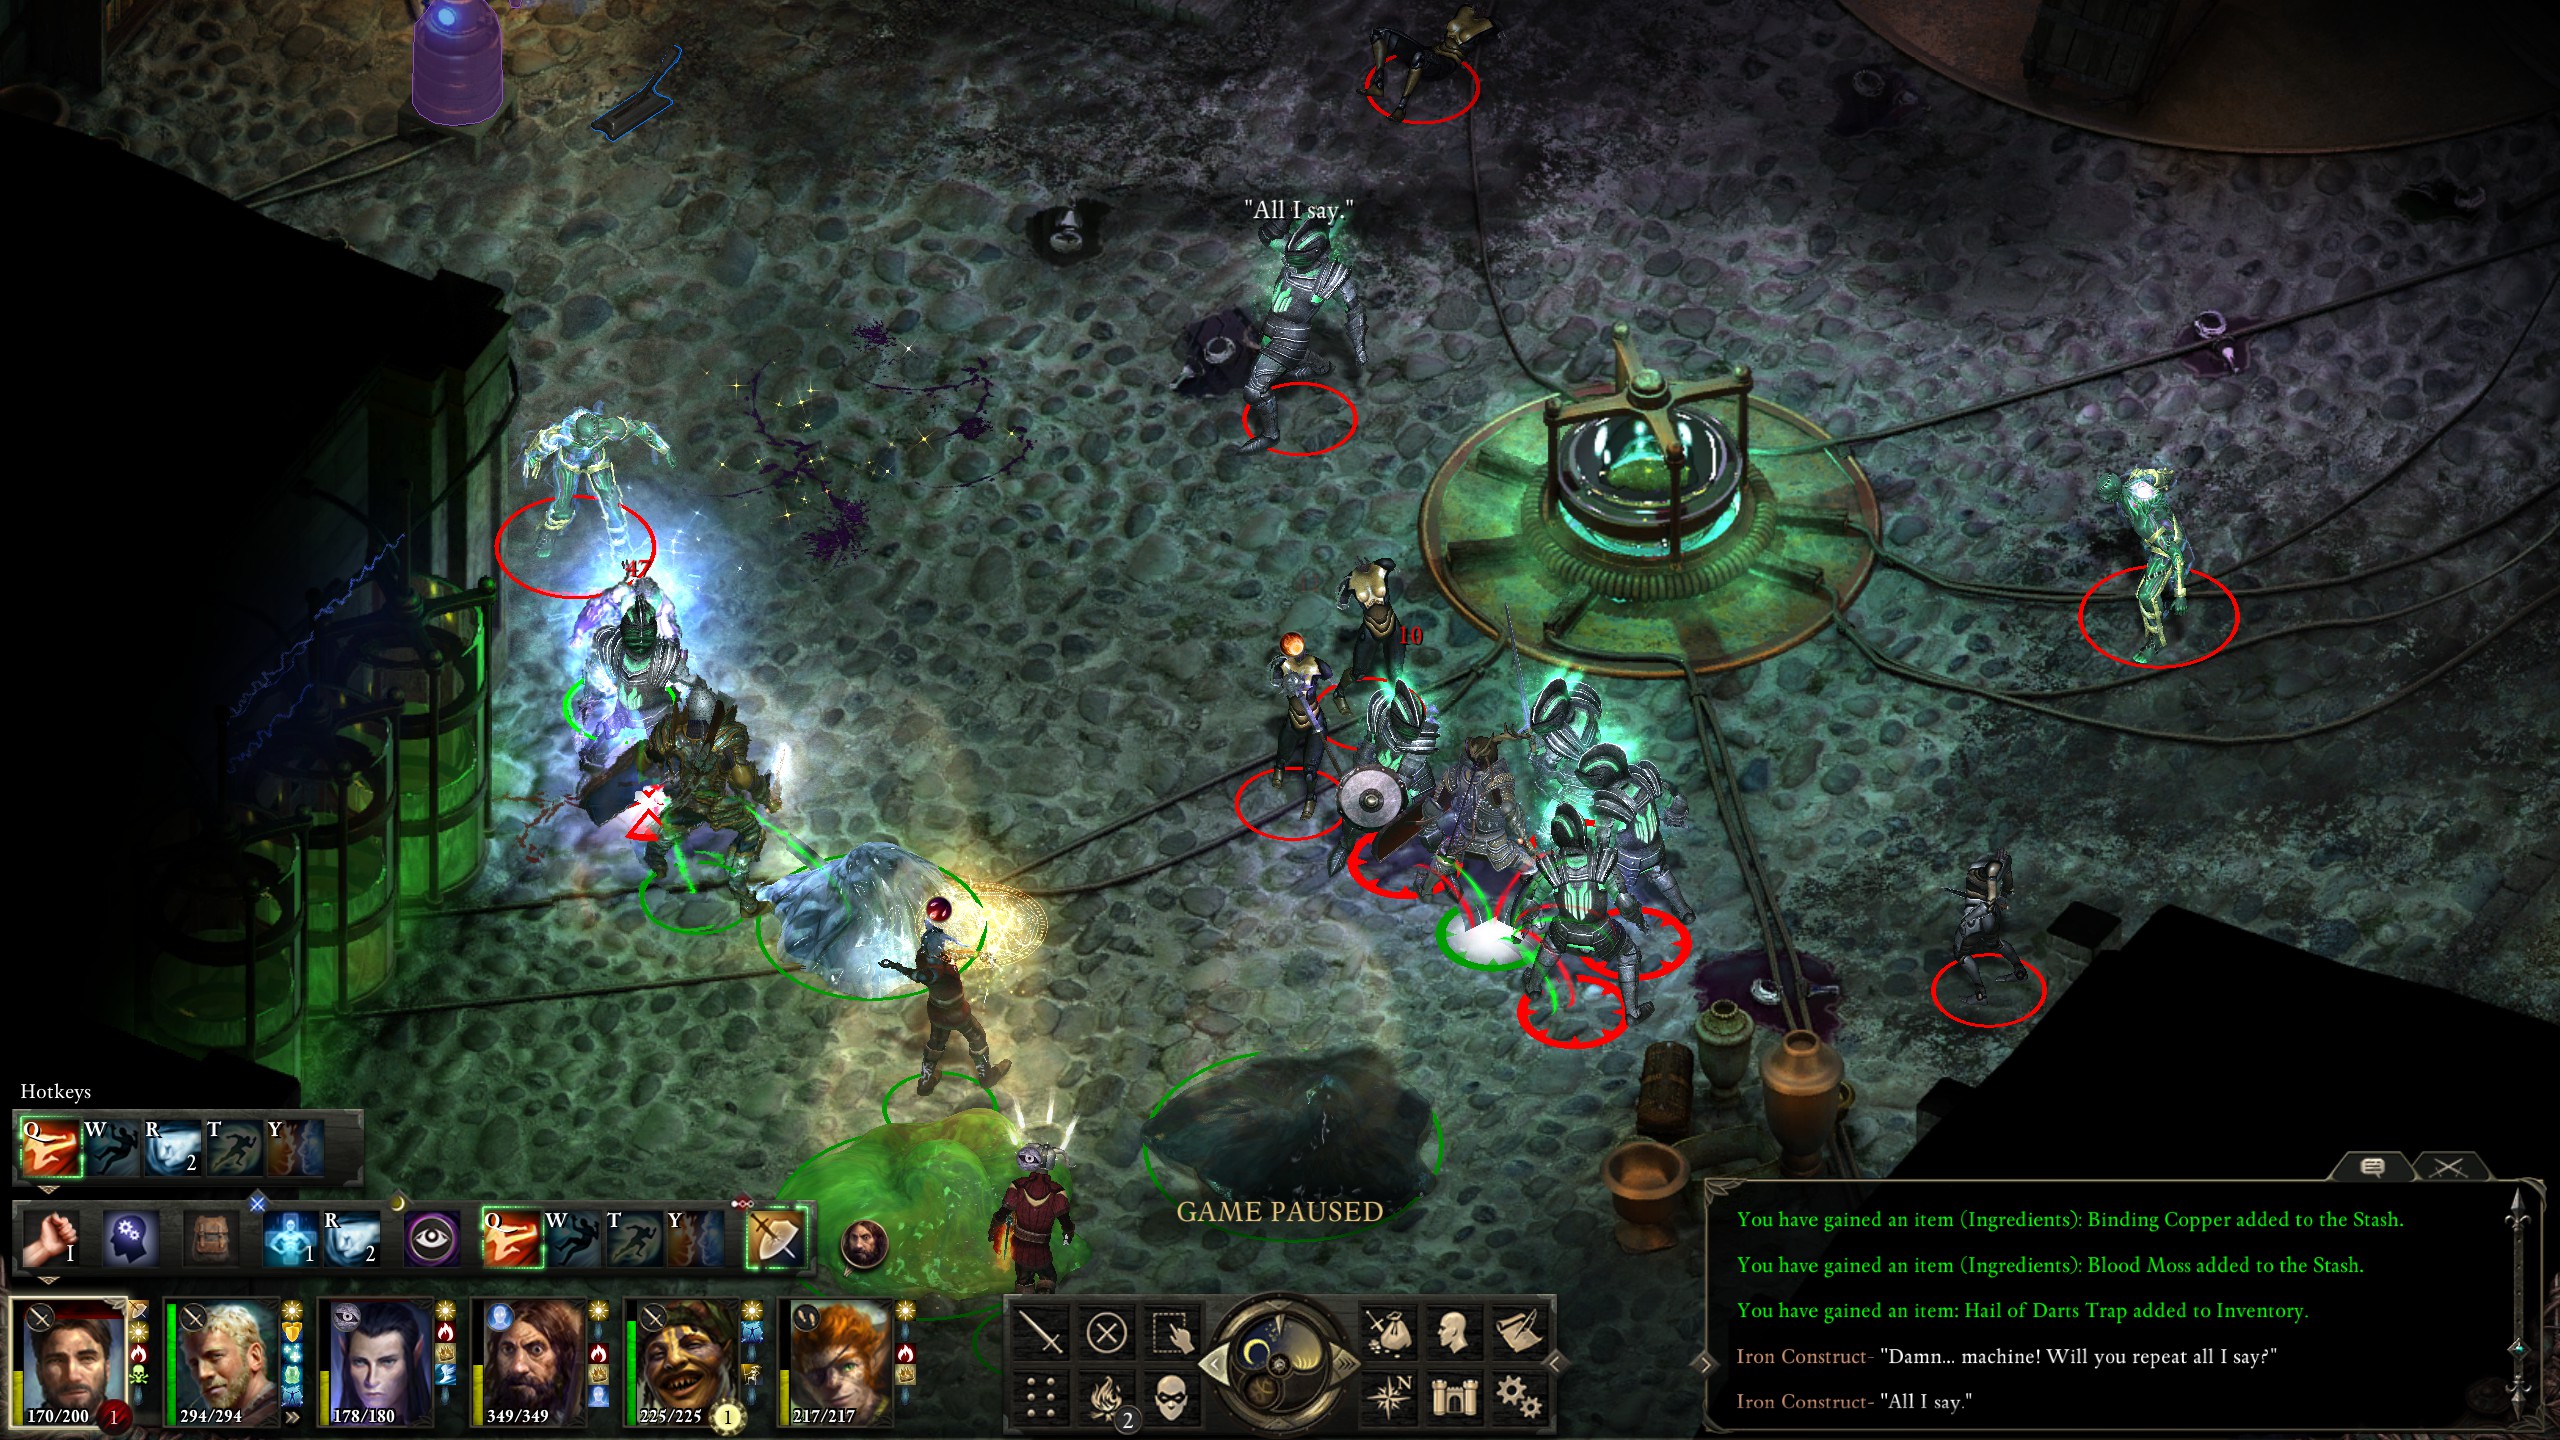
Aloth's "Arduous Delay of Motion" came in handy, though, as it was enough to stop the constructs in their tracks while my party picked them off from afar. Before long I made it through to Galvino.
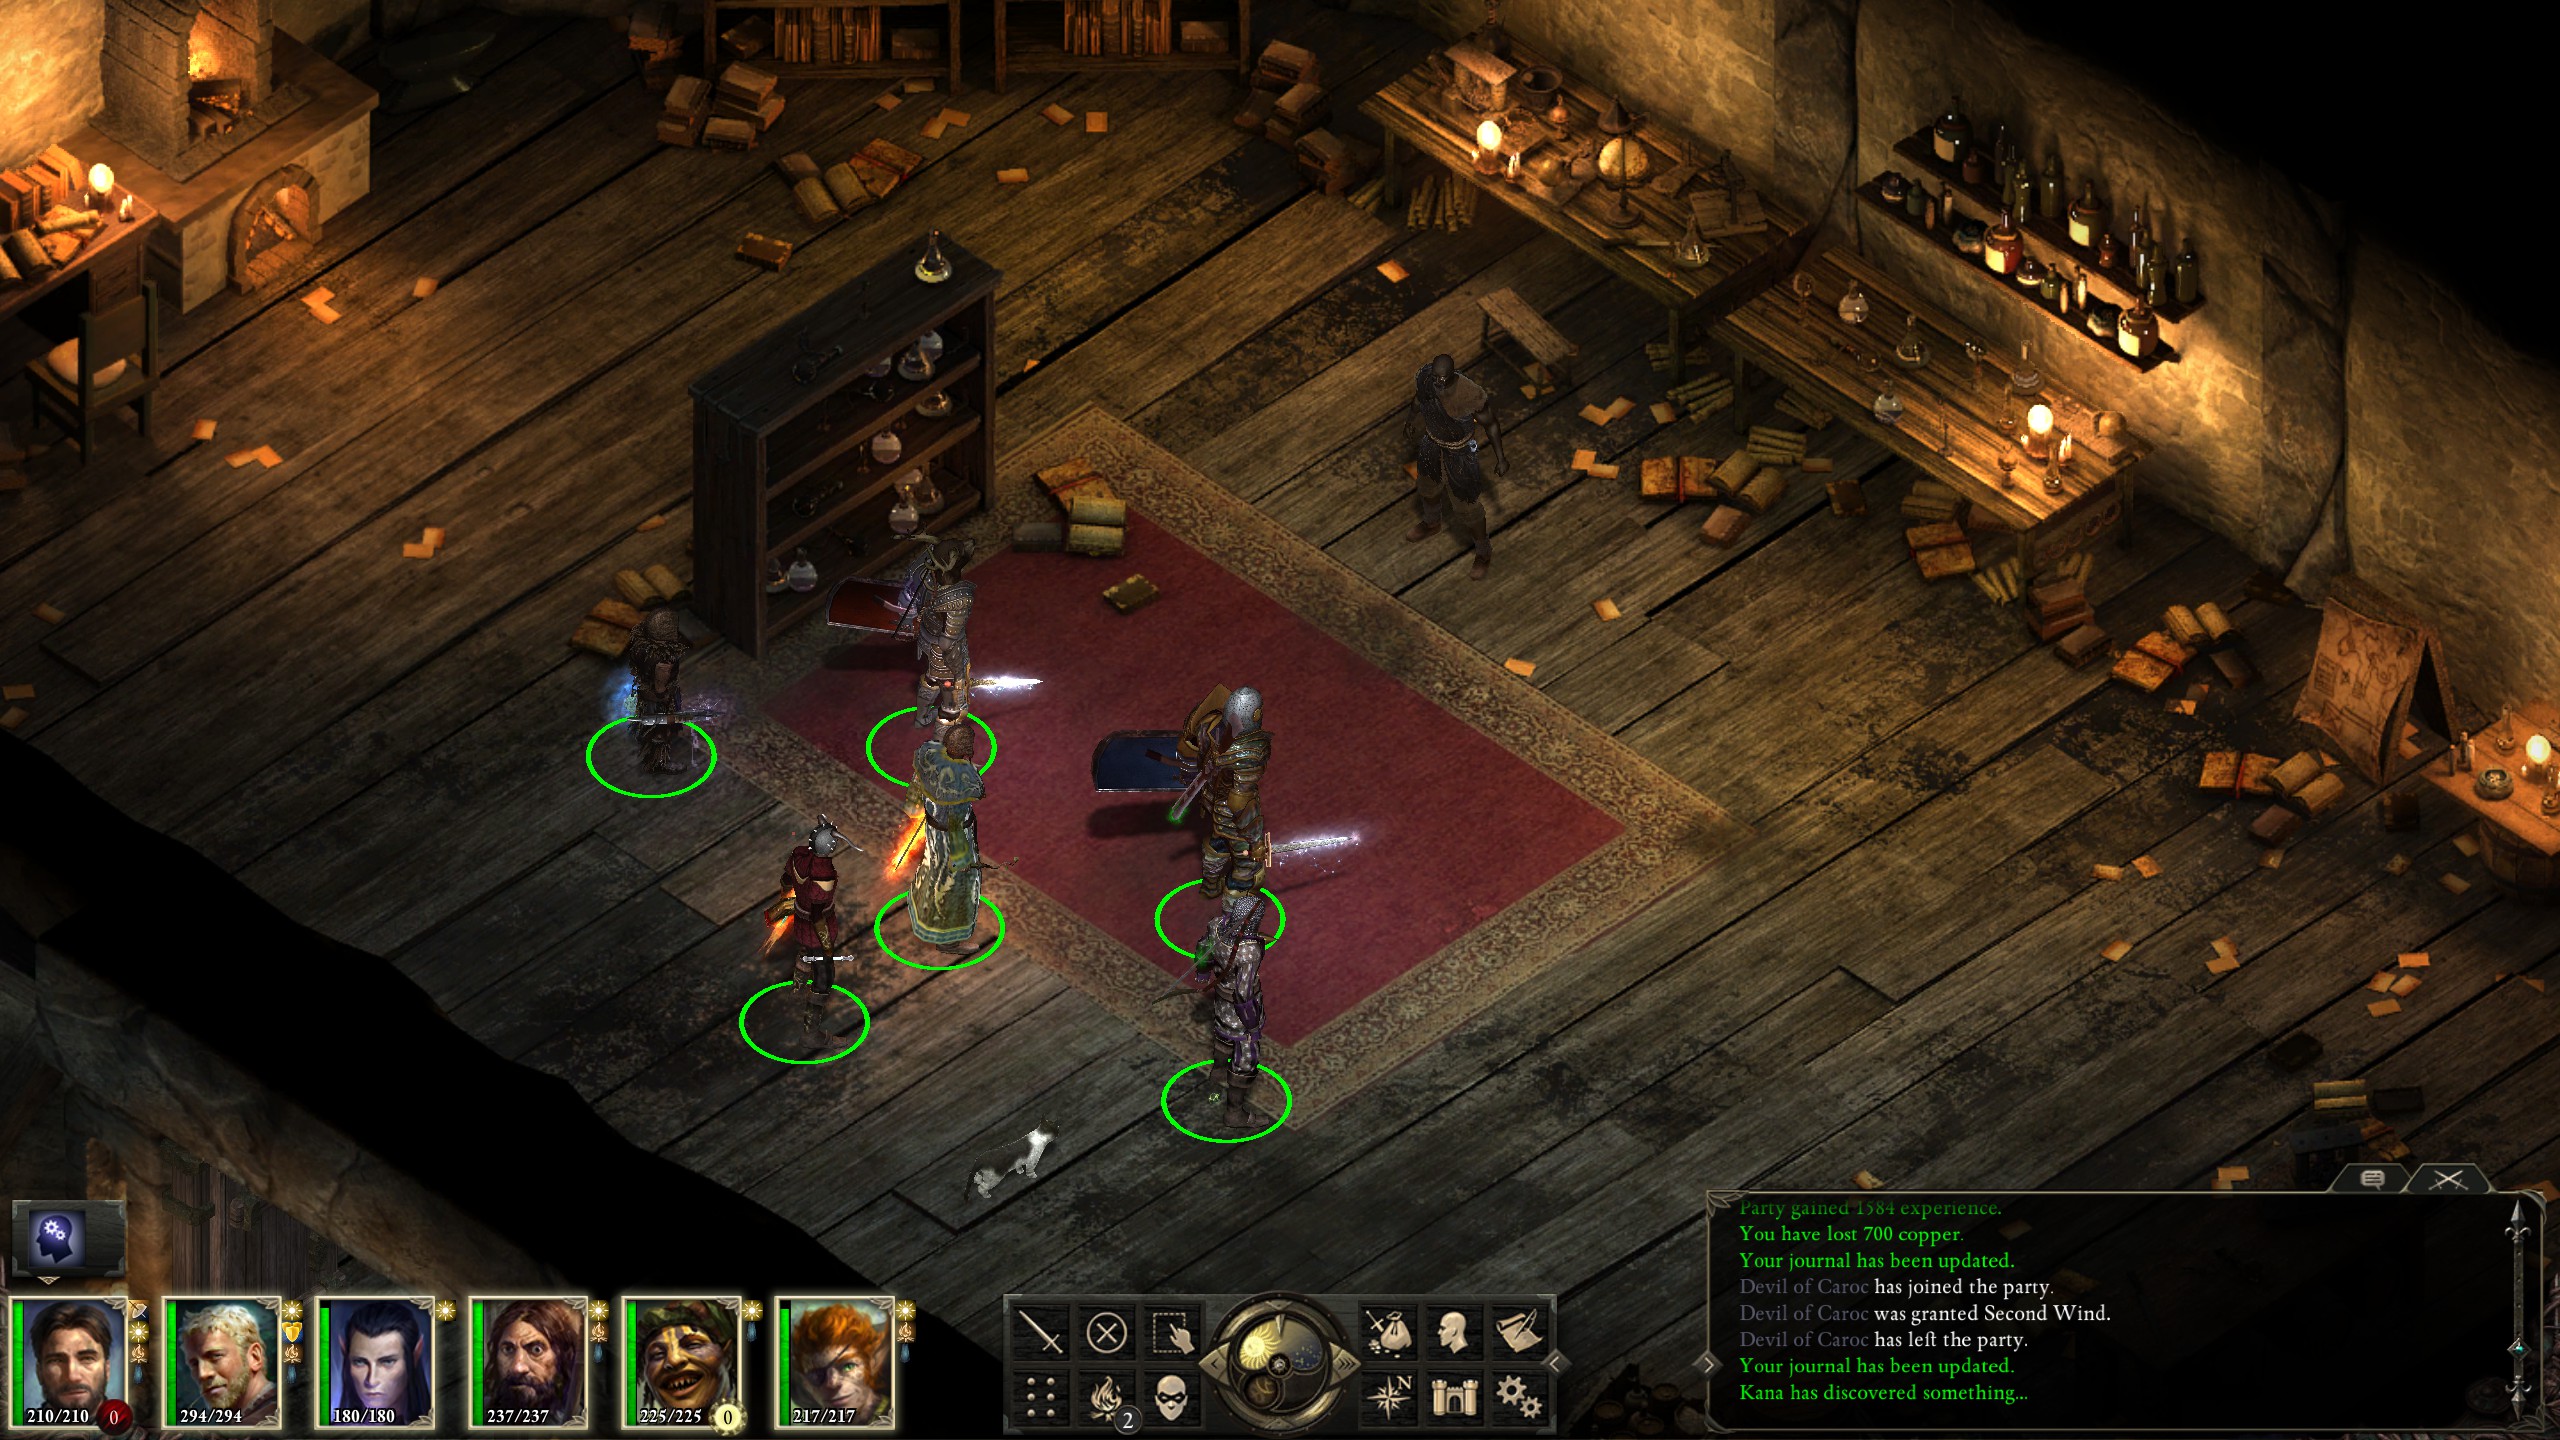
After a bit of dialogue I then learned about the cantec I would need, added the Devil of Caroc to my party, and headed back to Stalwart Village in order to learn the cantec, turn in quests, and pick up a few more bounties.
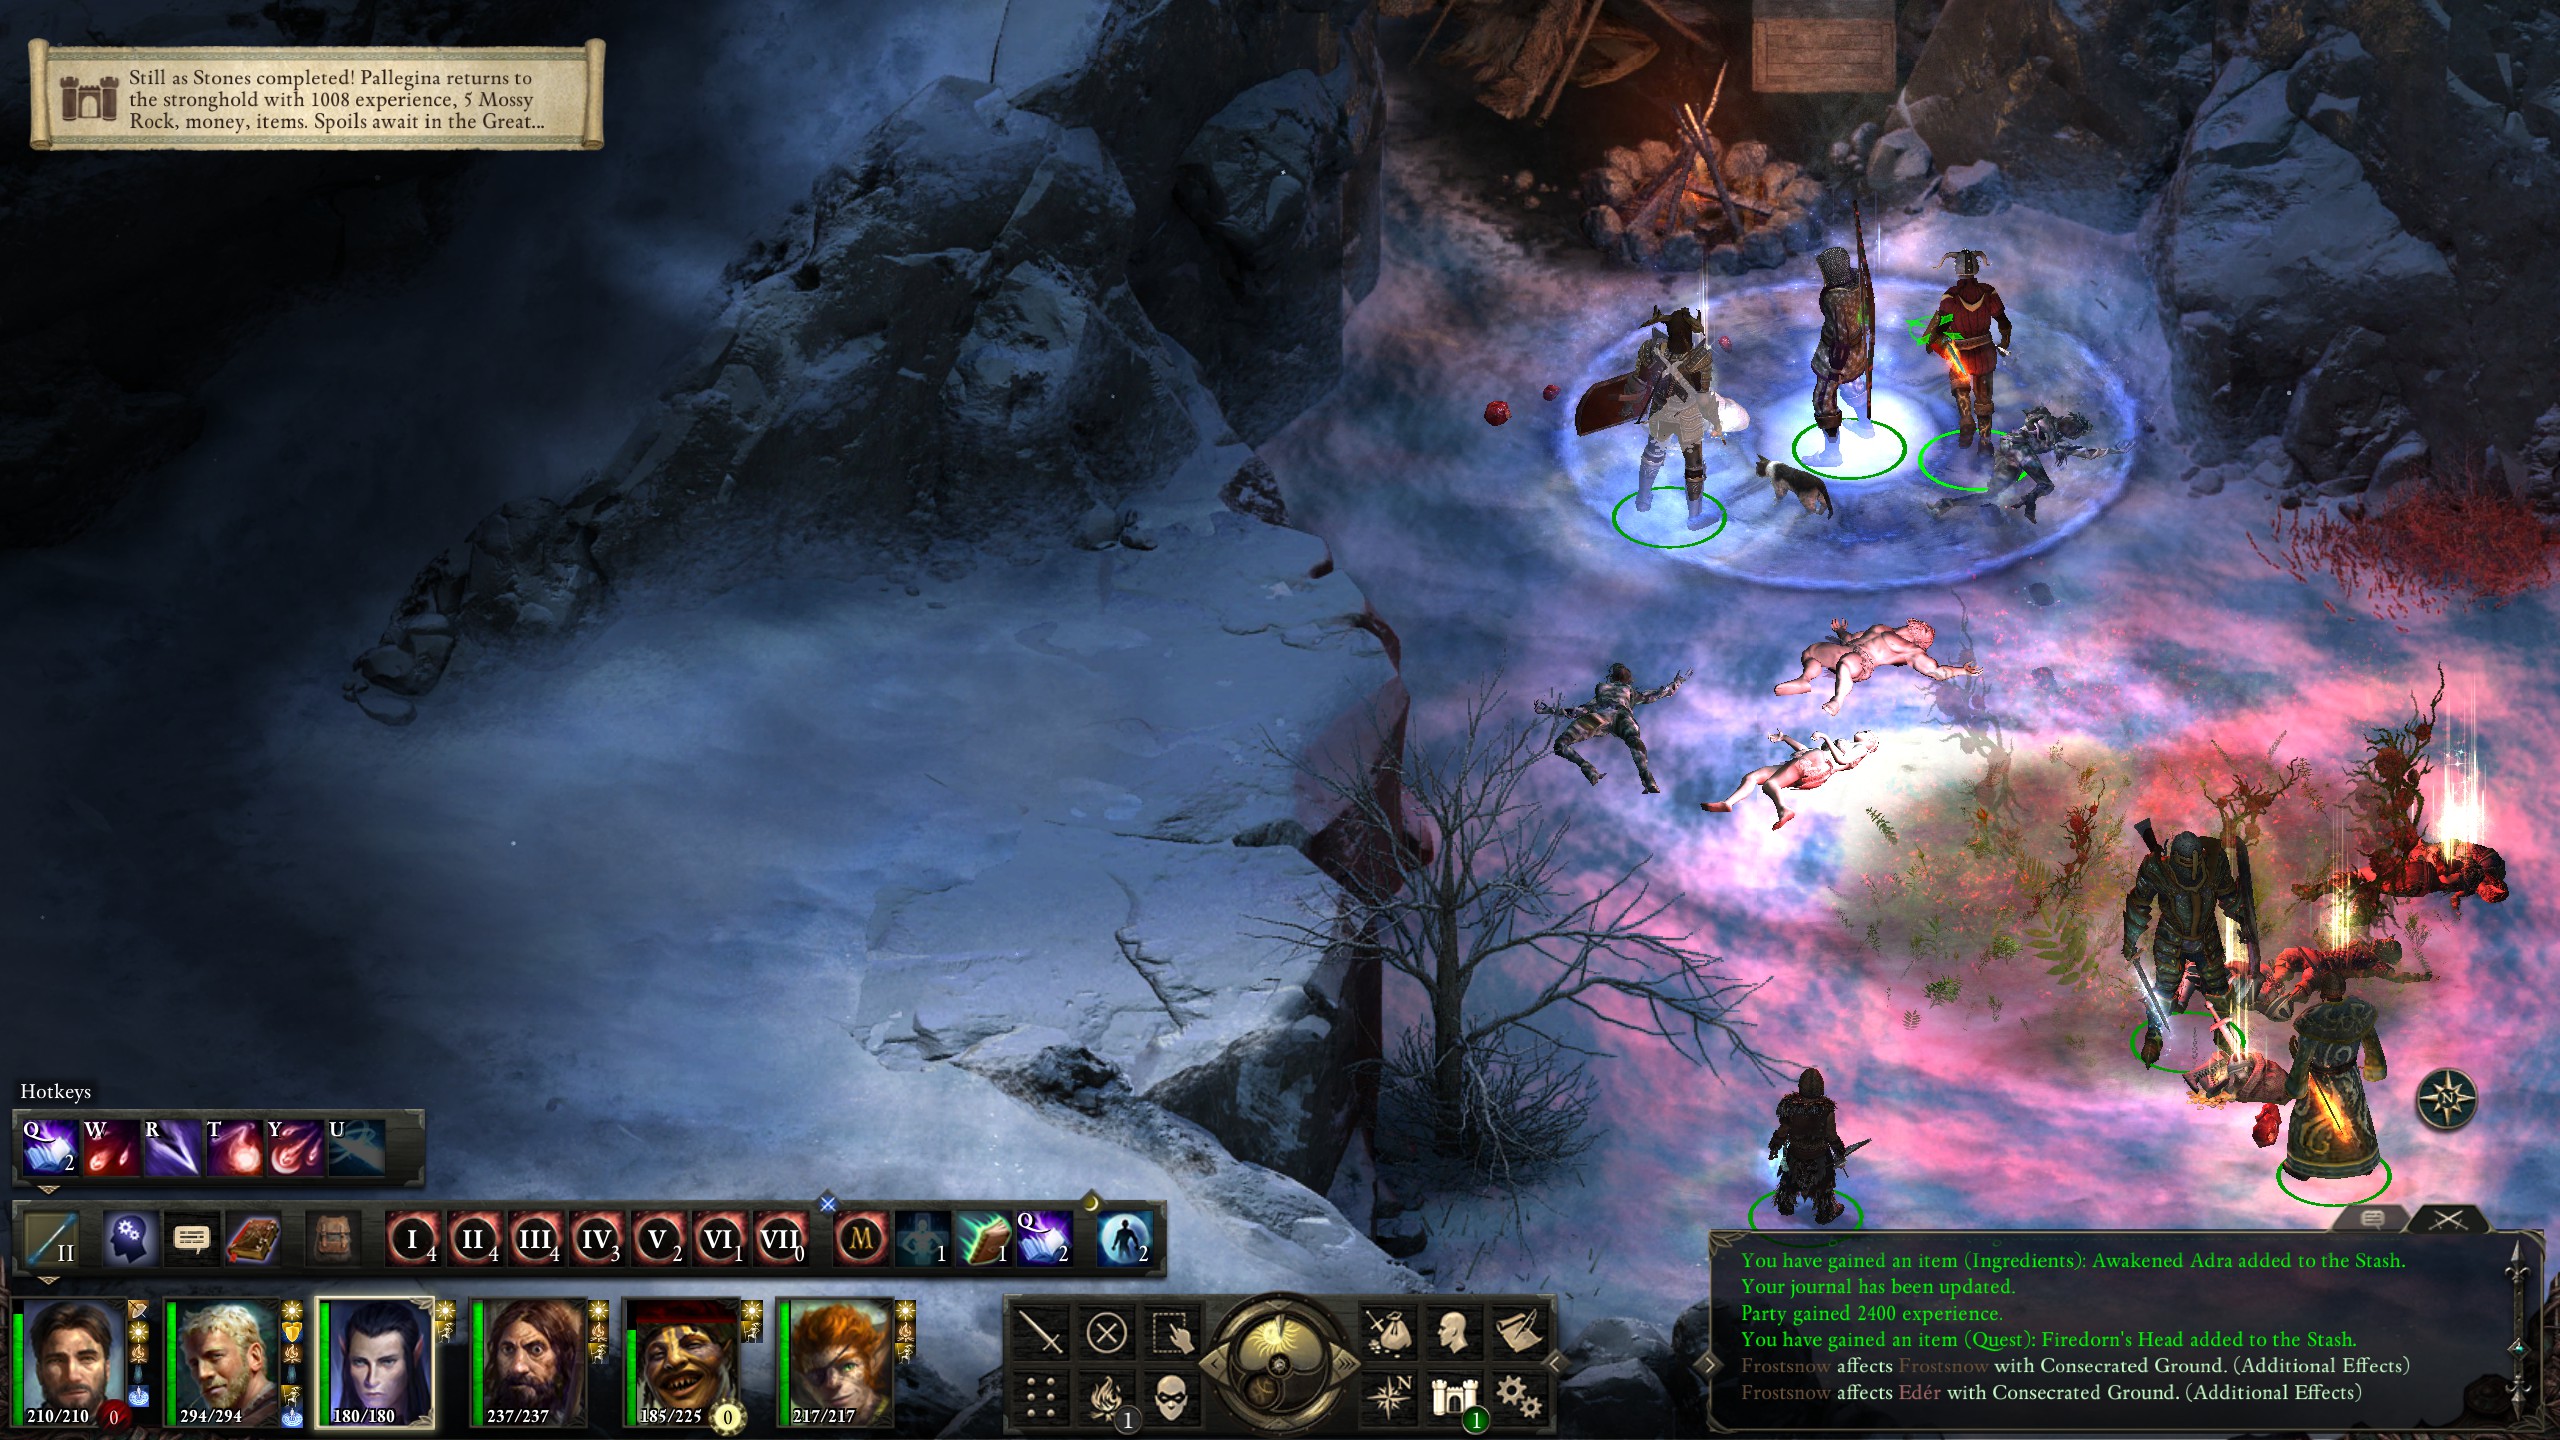
Mages may be powerful, but they are also squishy, especially when petrified.
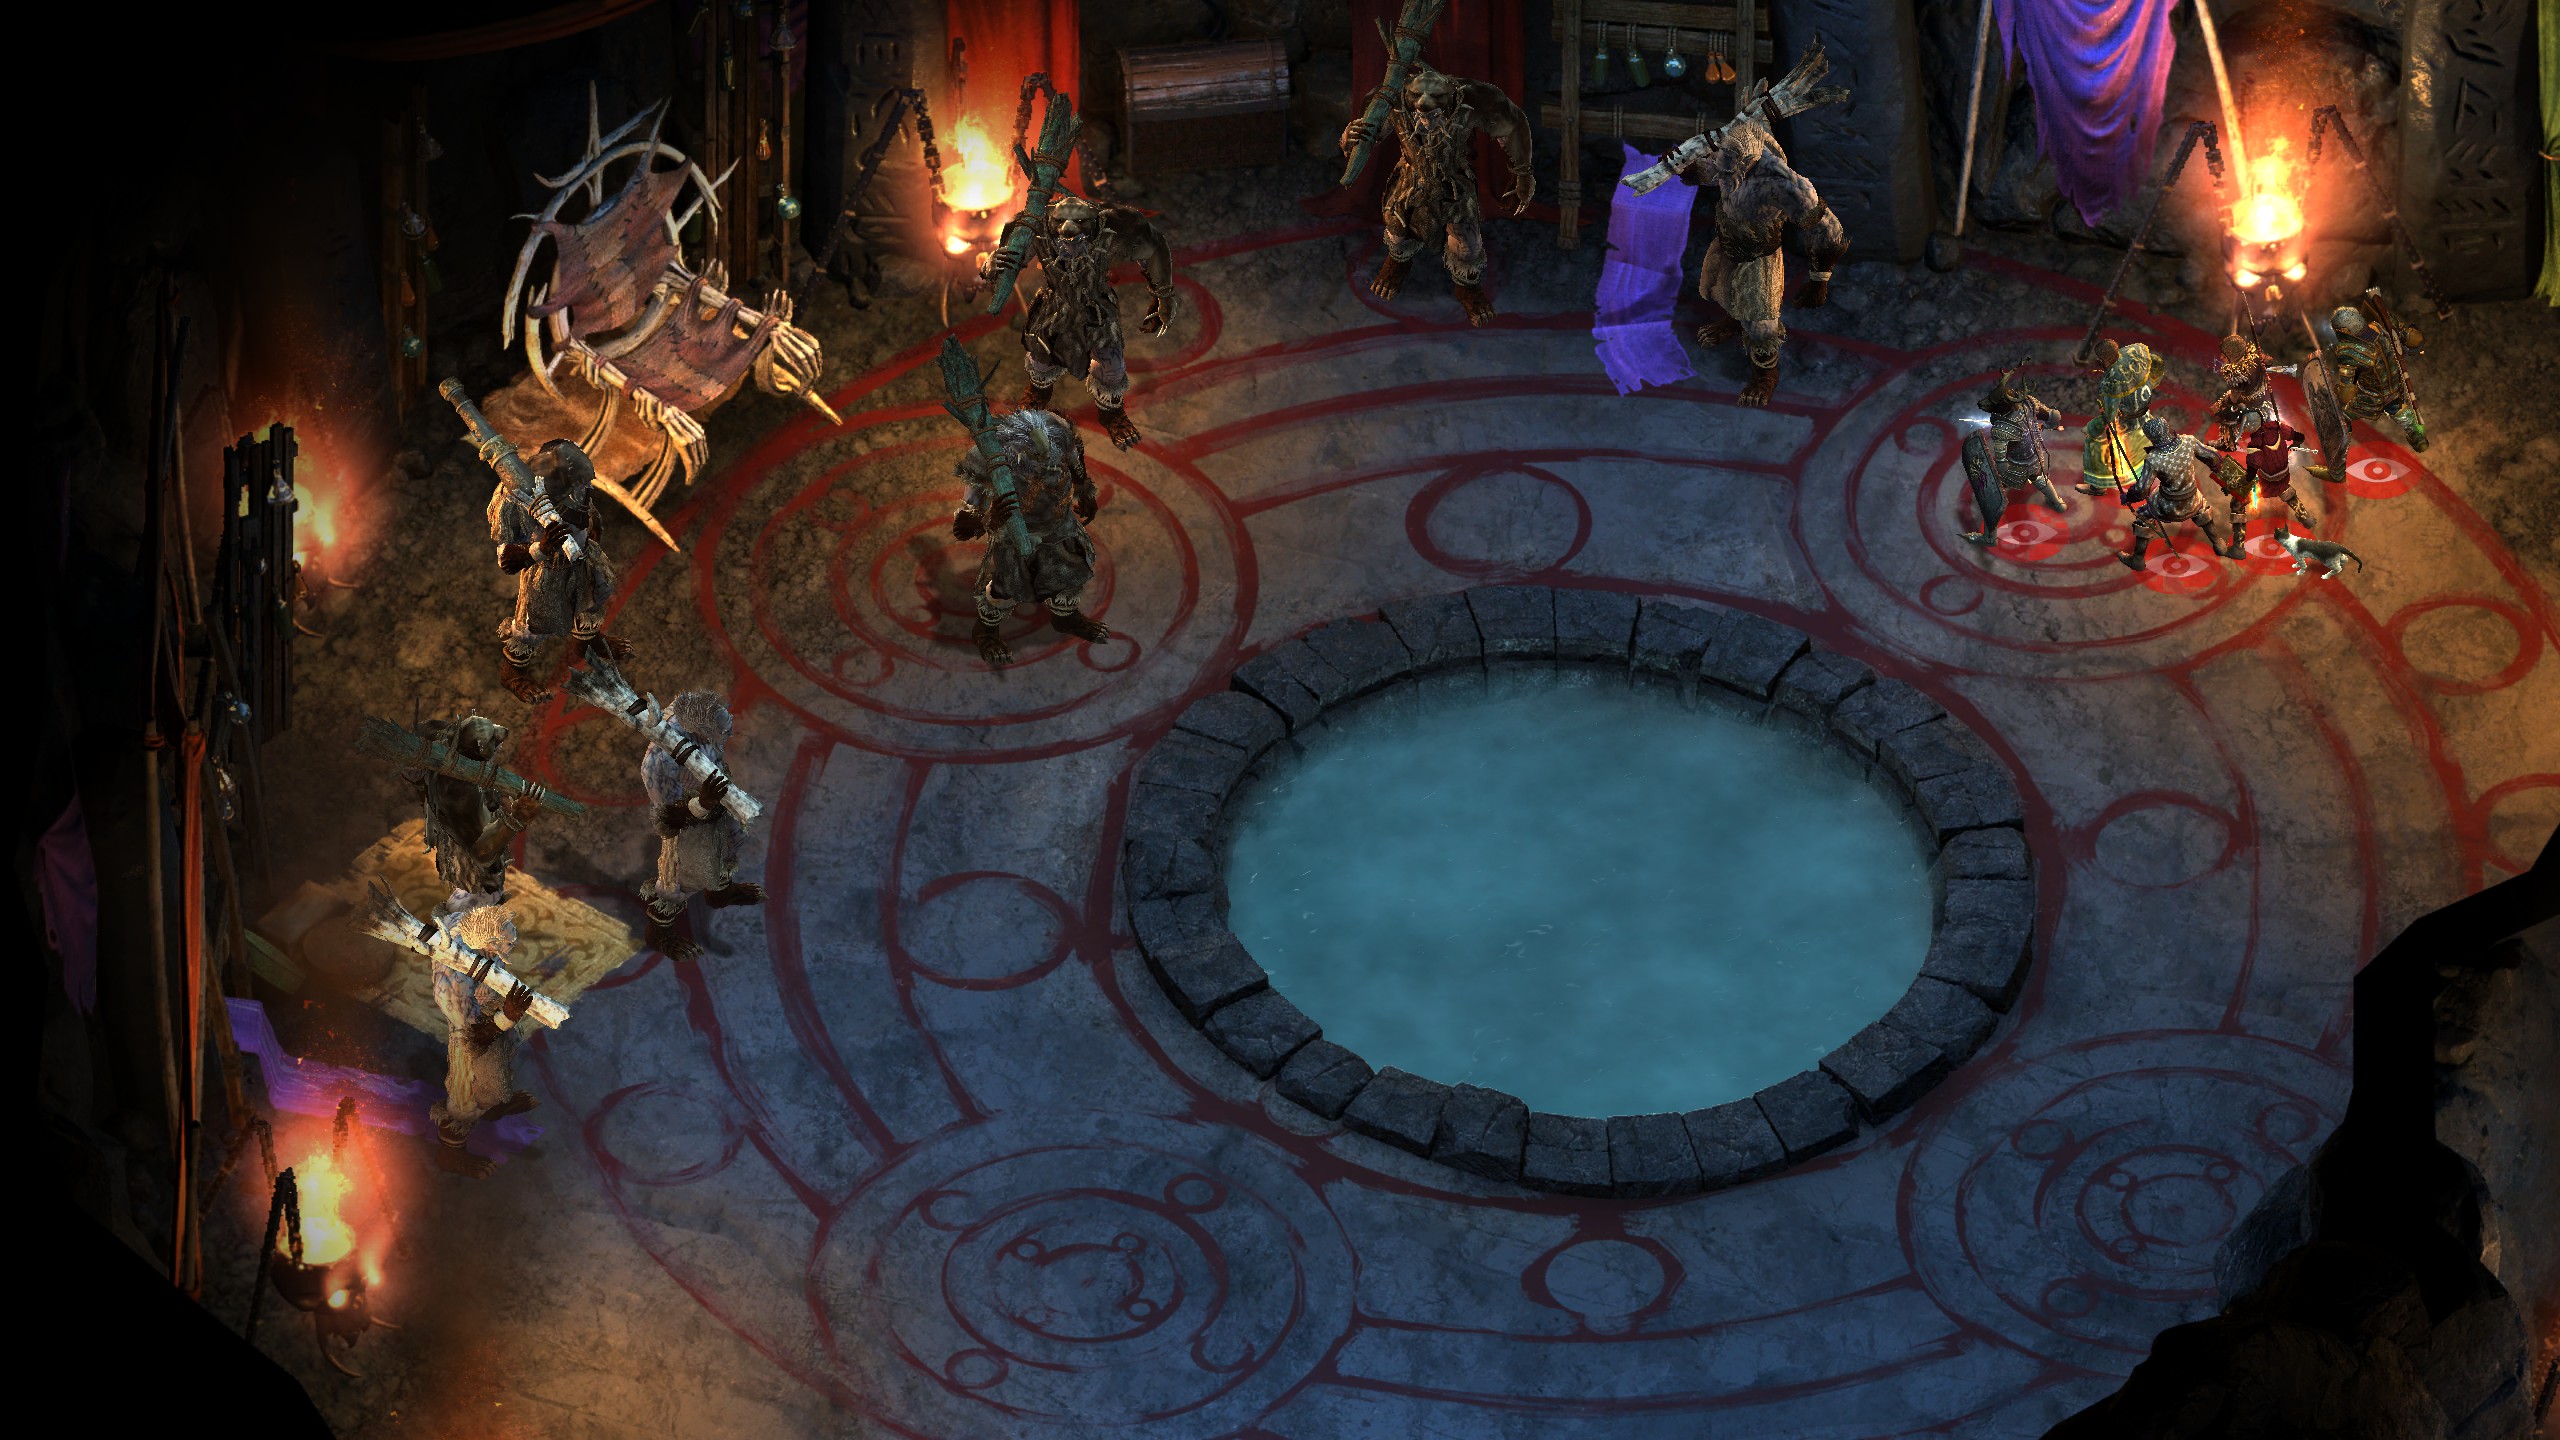
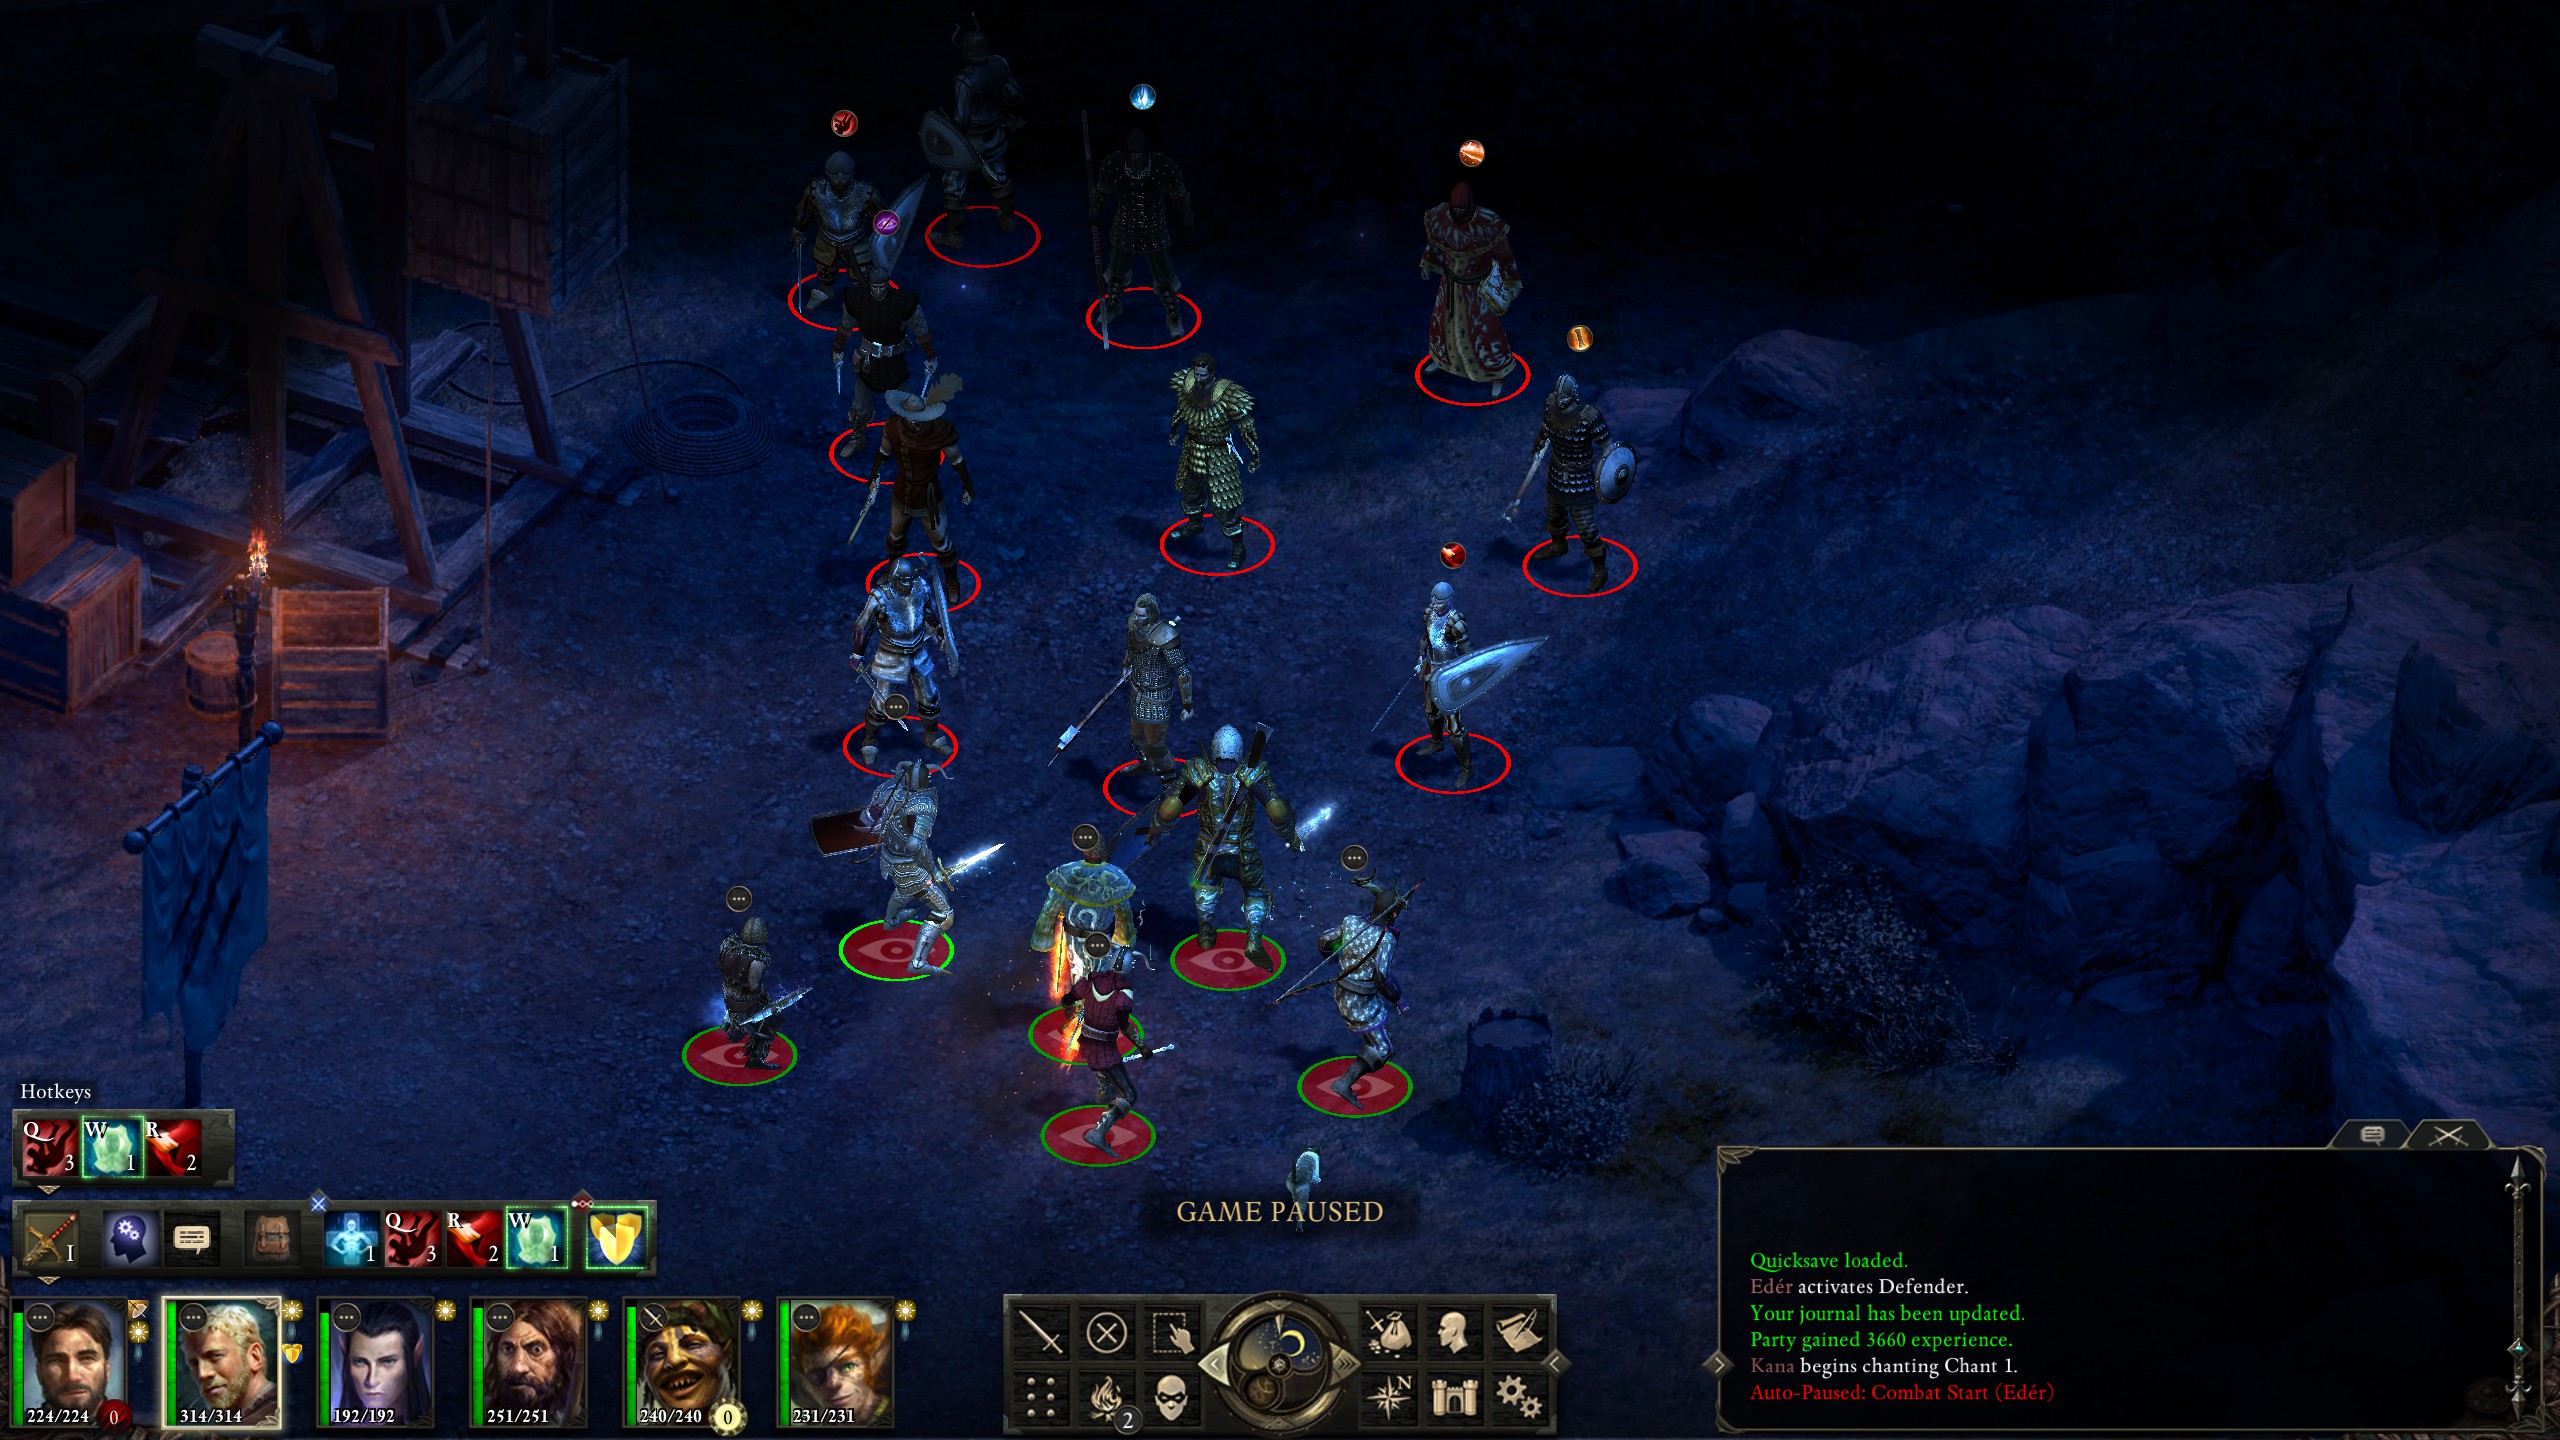
They didn't stand a chance. Next up, tucked into an annoyingly tight corner of the map, were the Disciples of the True Flame with their leader, Firedorn.
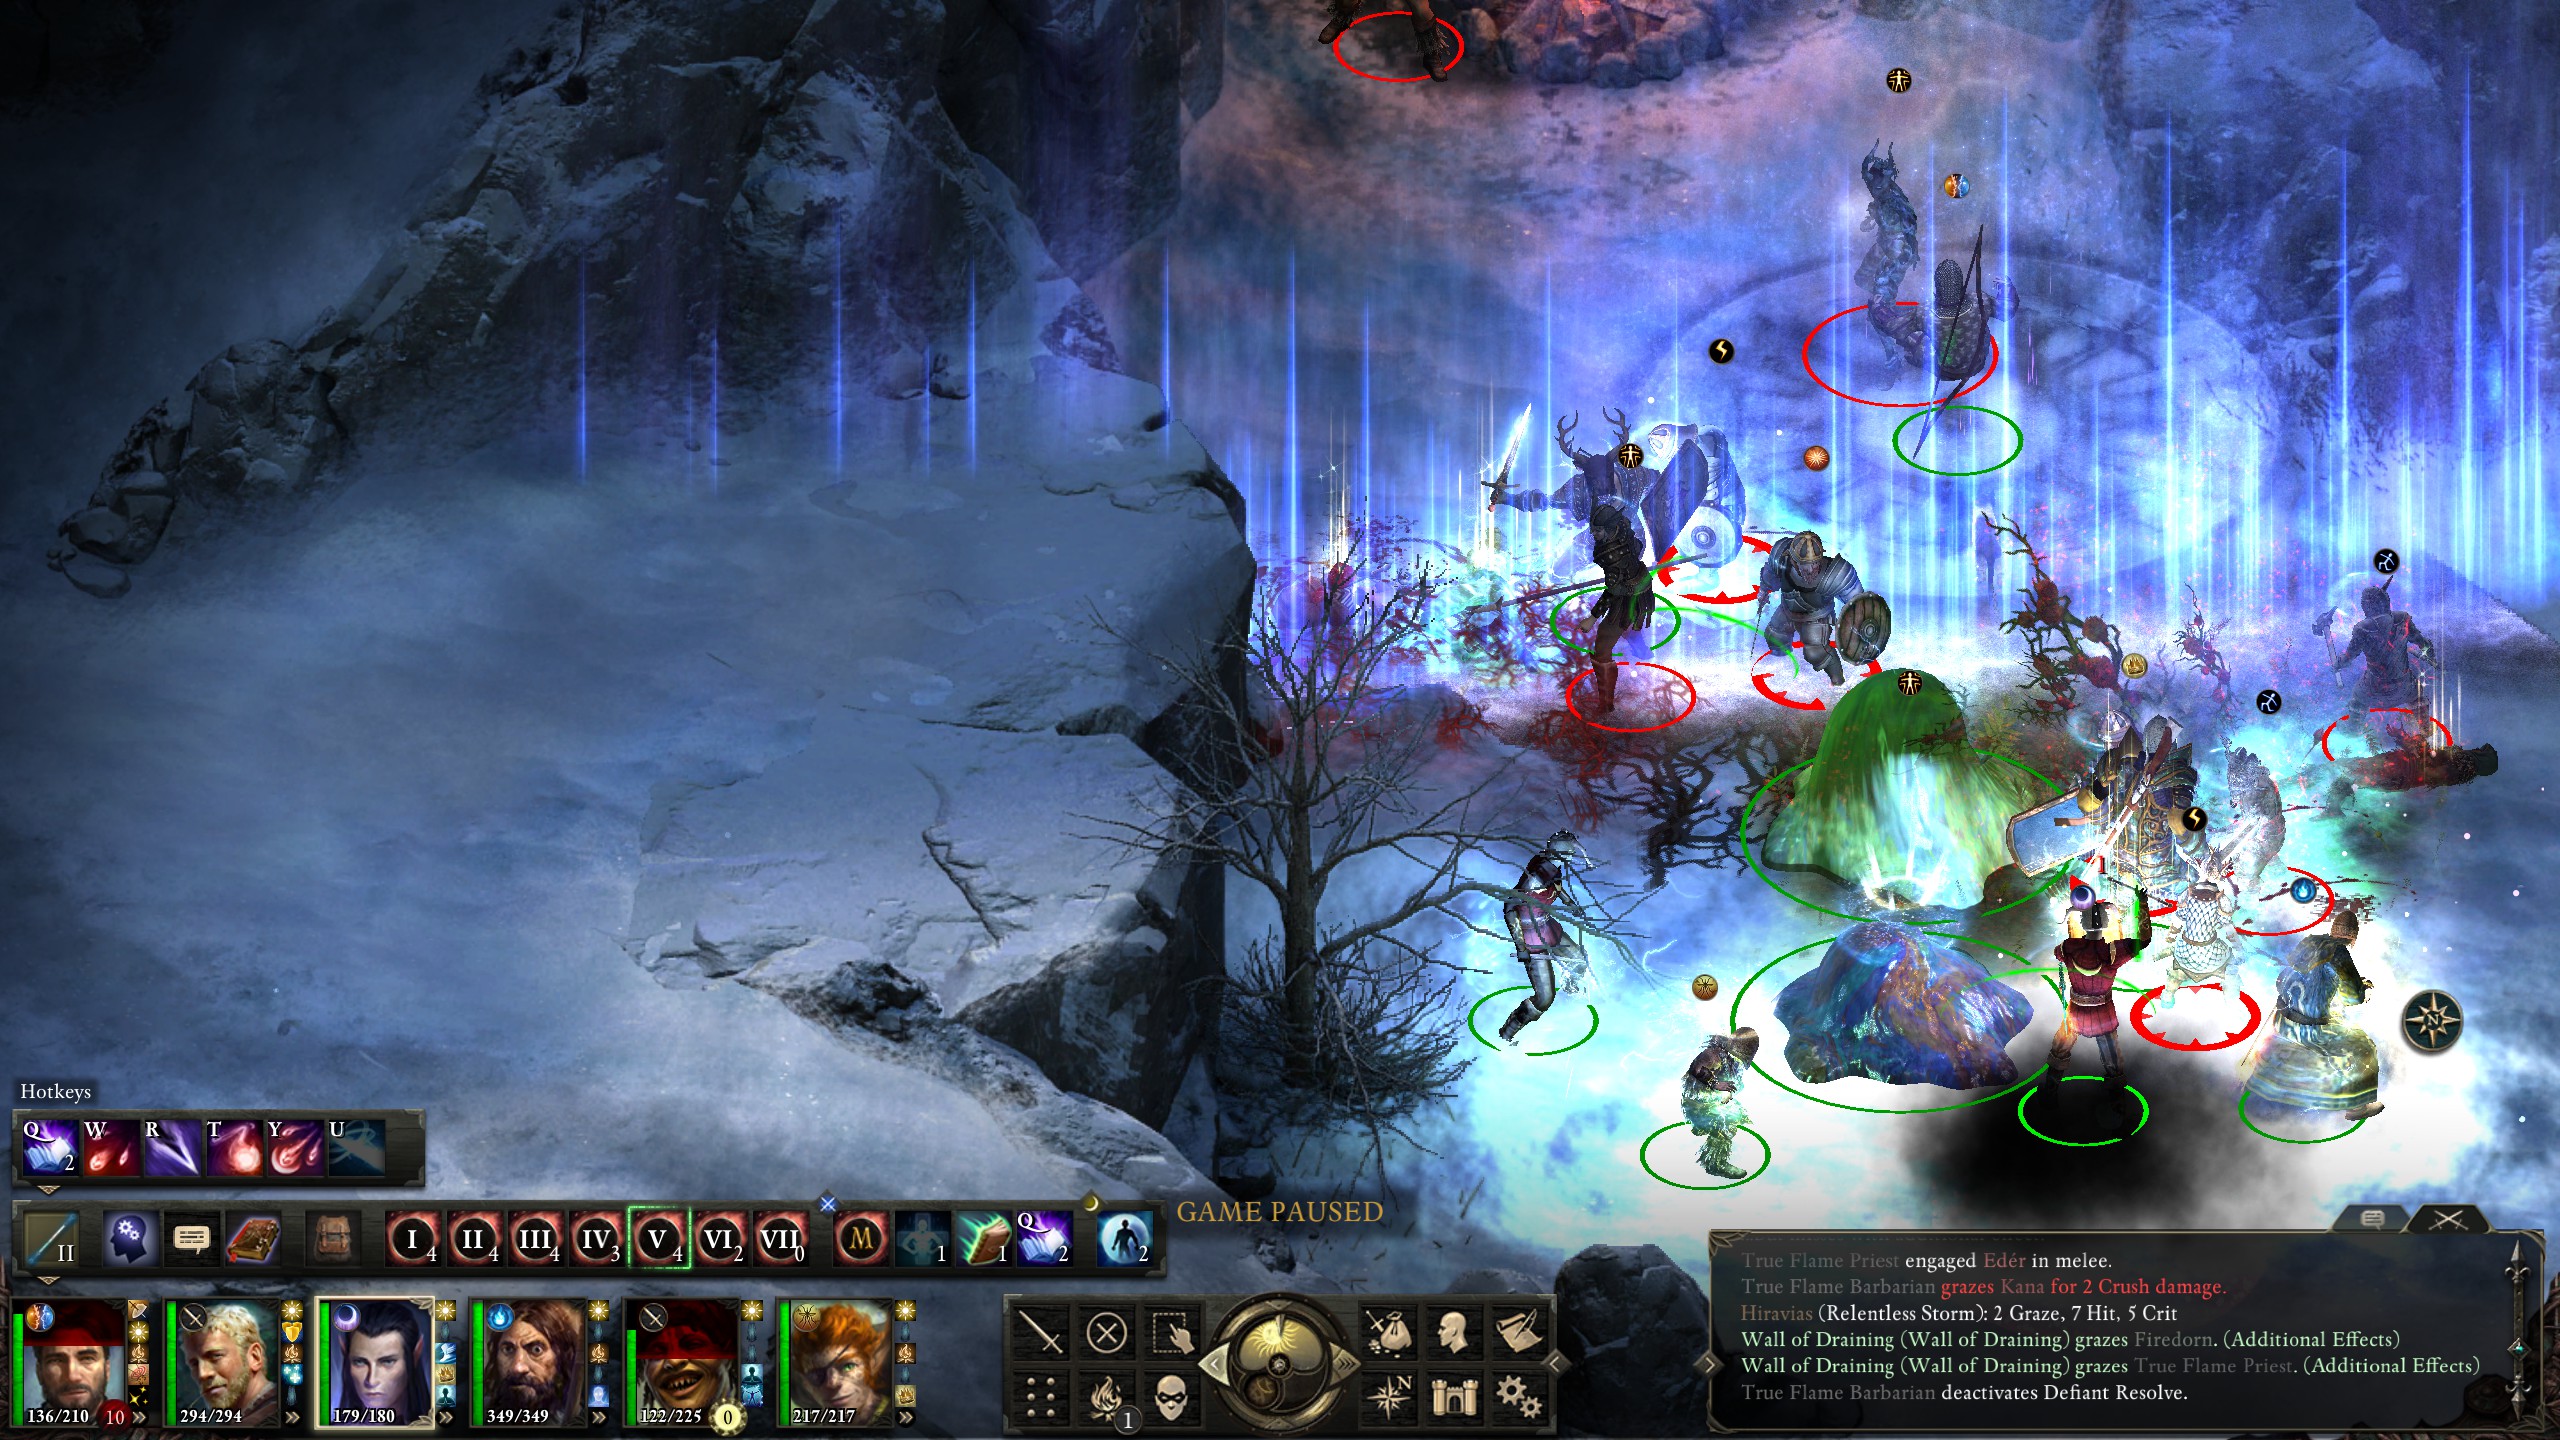
Being tucked into the corner made them rather vulnerable to my AoE spells such as Aloth's "Wall of Draining" and Hiravas's "Venombloom".
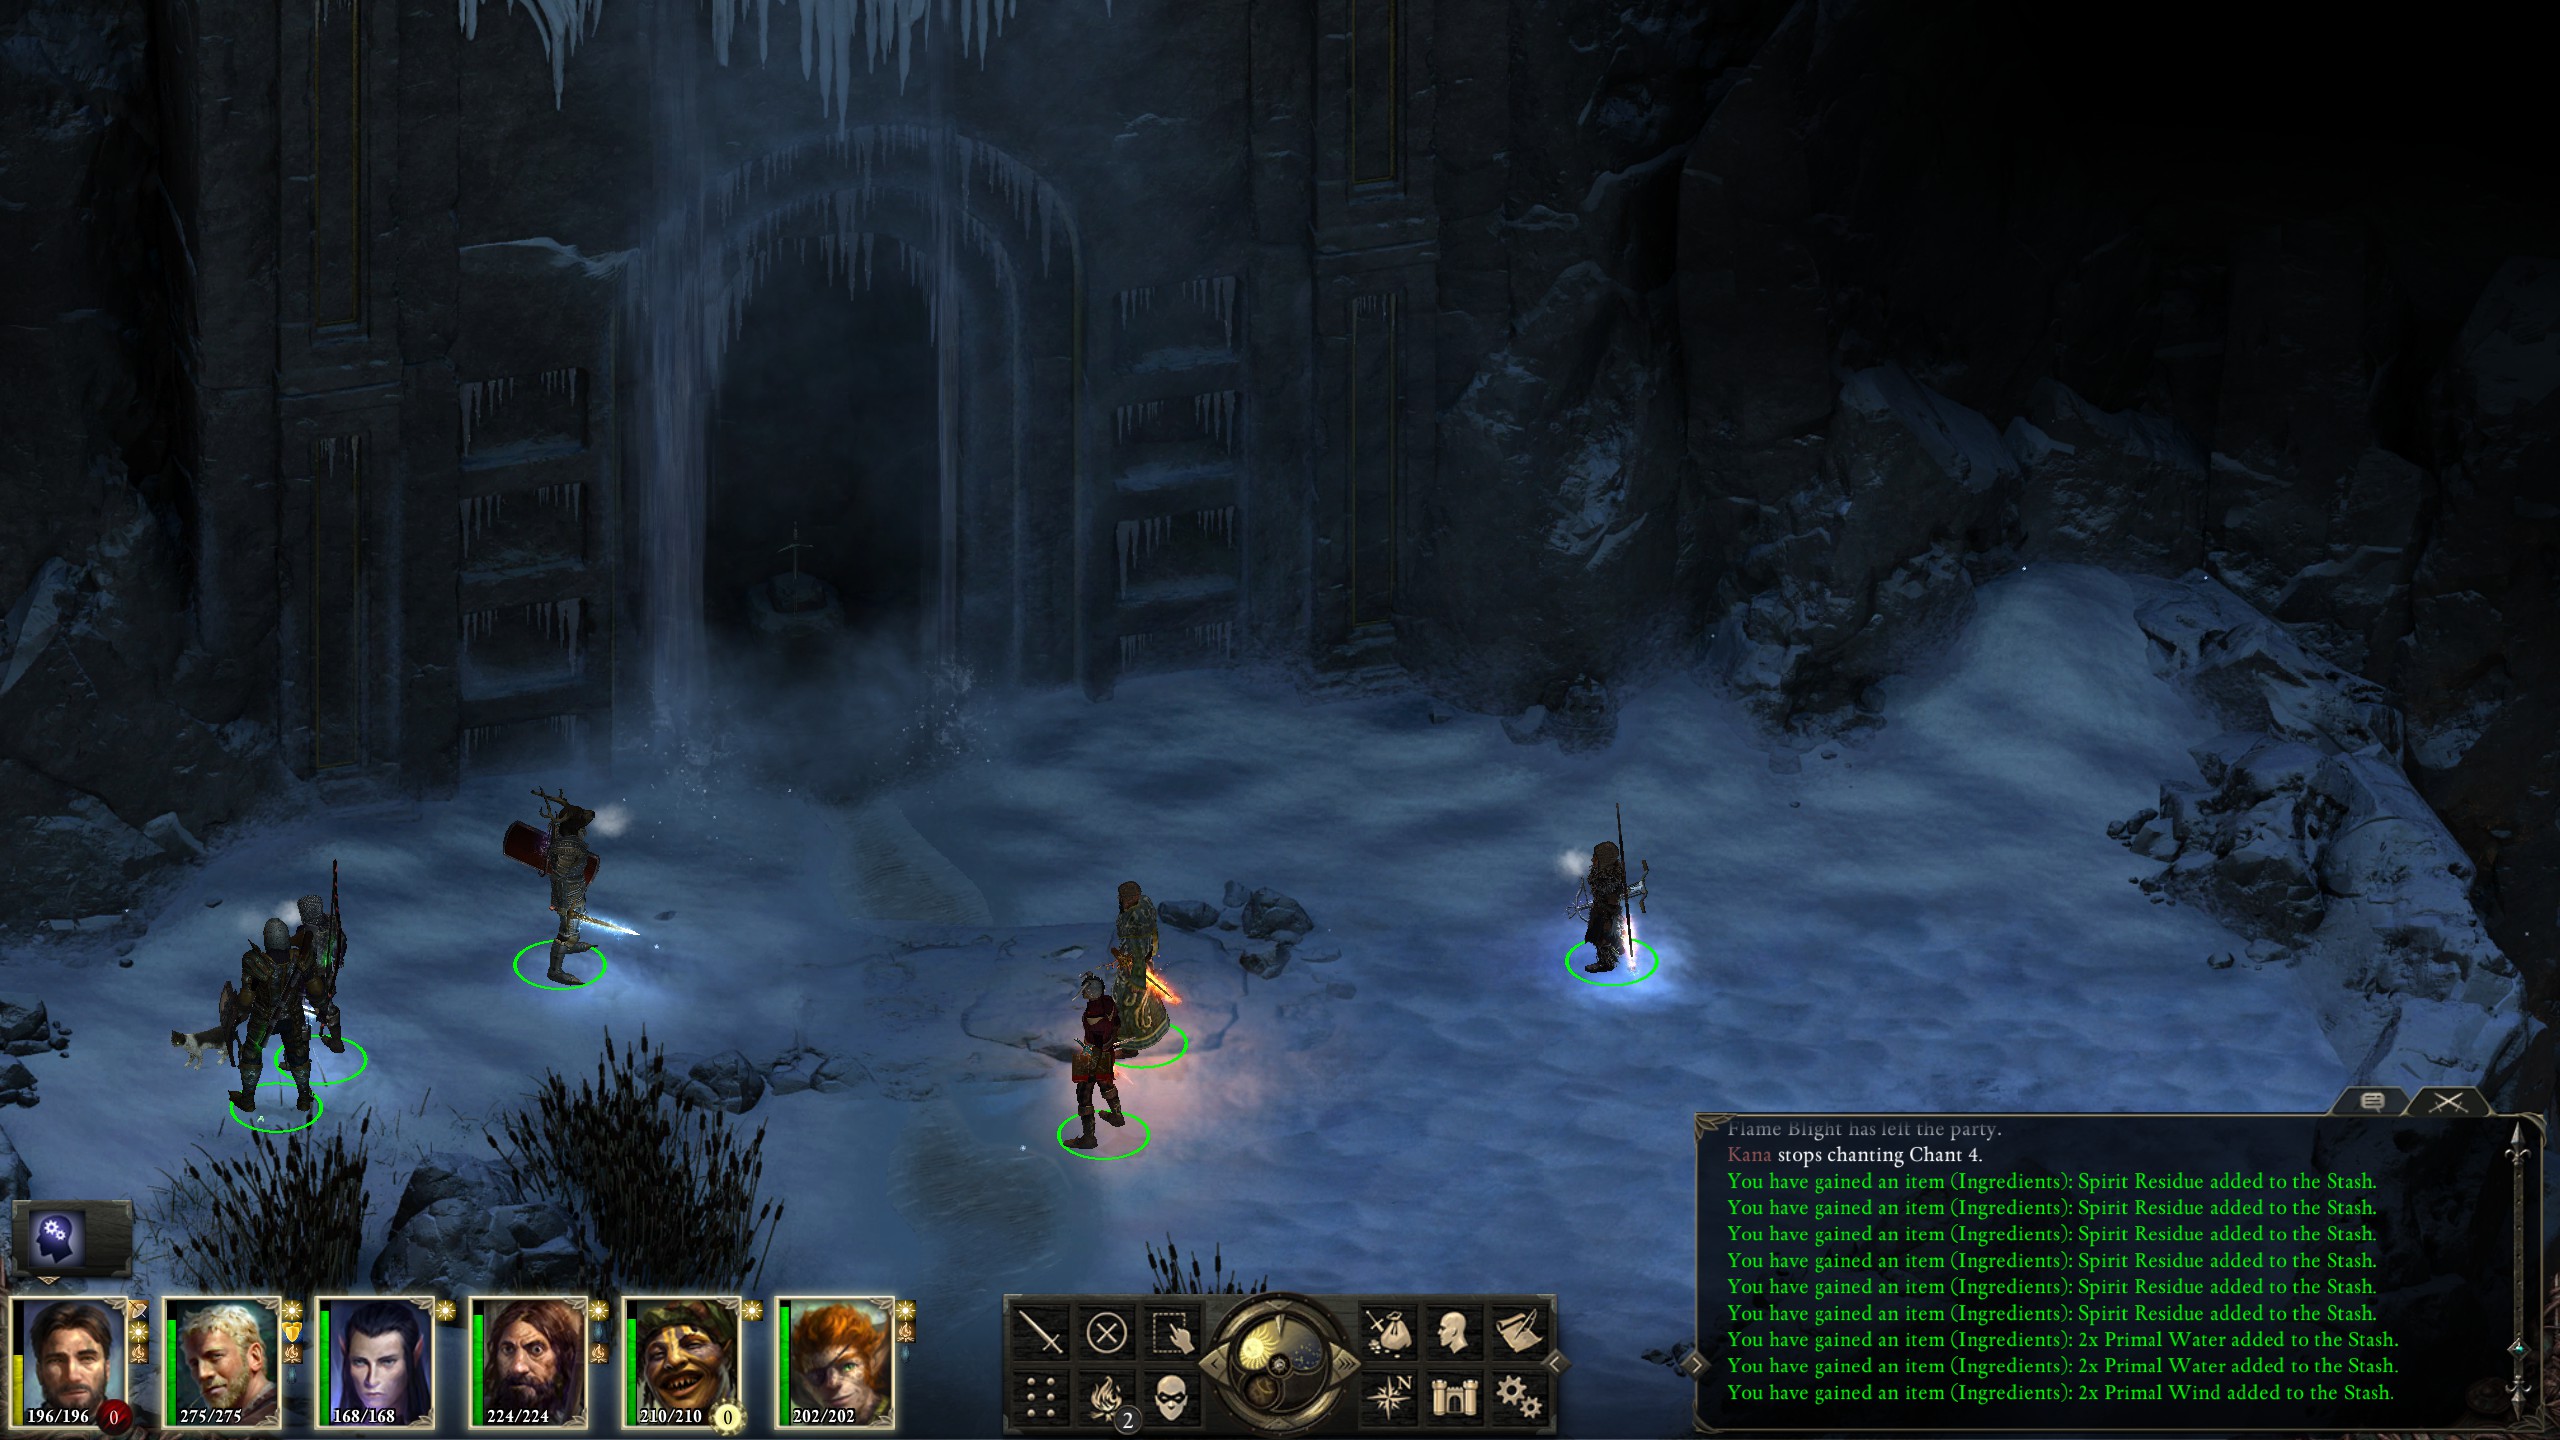
The spells quickly made short work of them. I then headed back to Stalwart Village once more in order to turn in the bounties, and then headed back to Durgan's Battery.
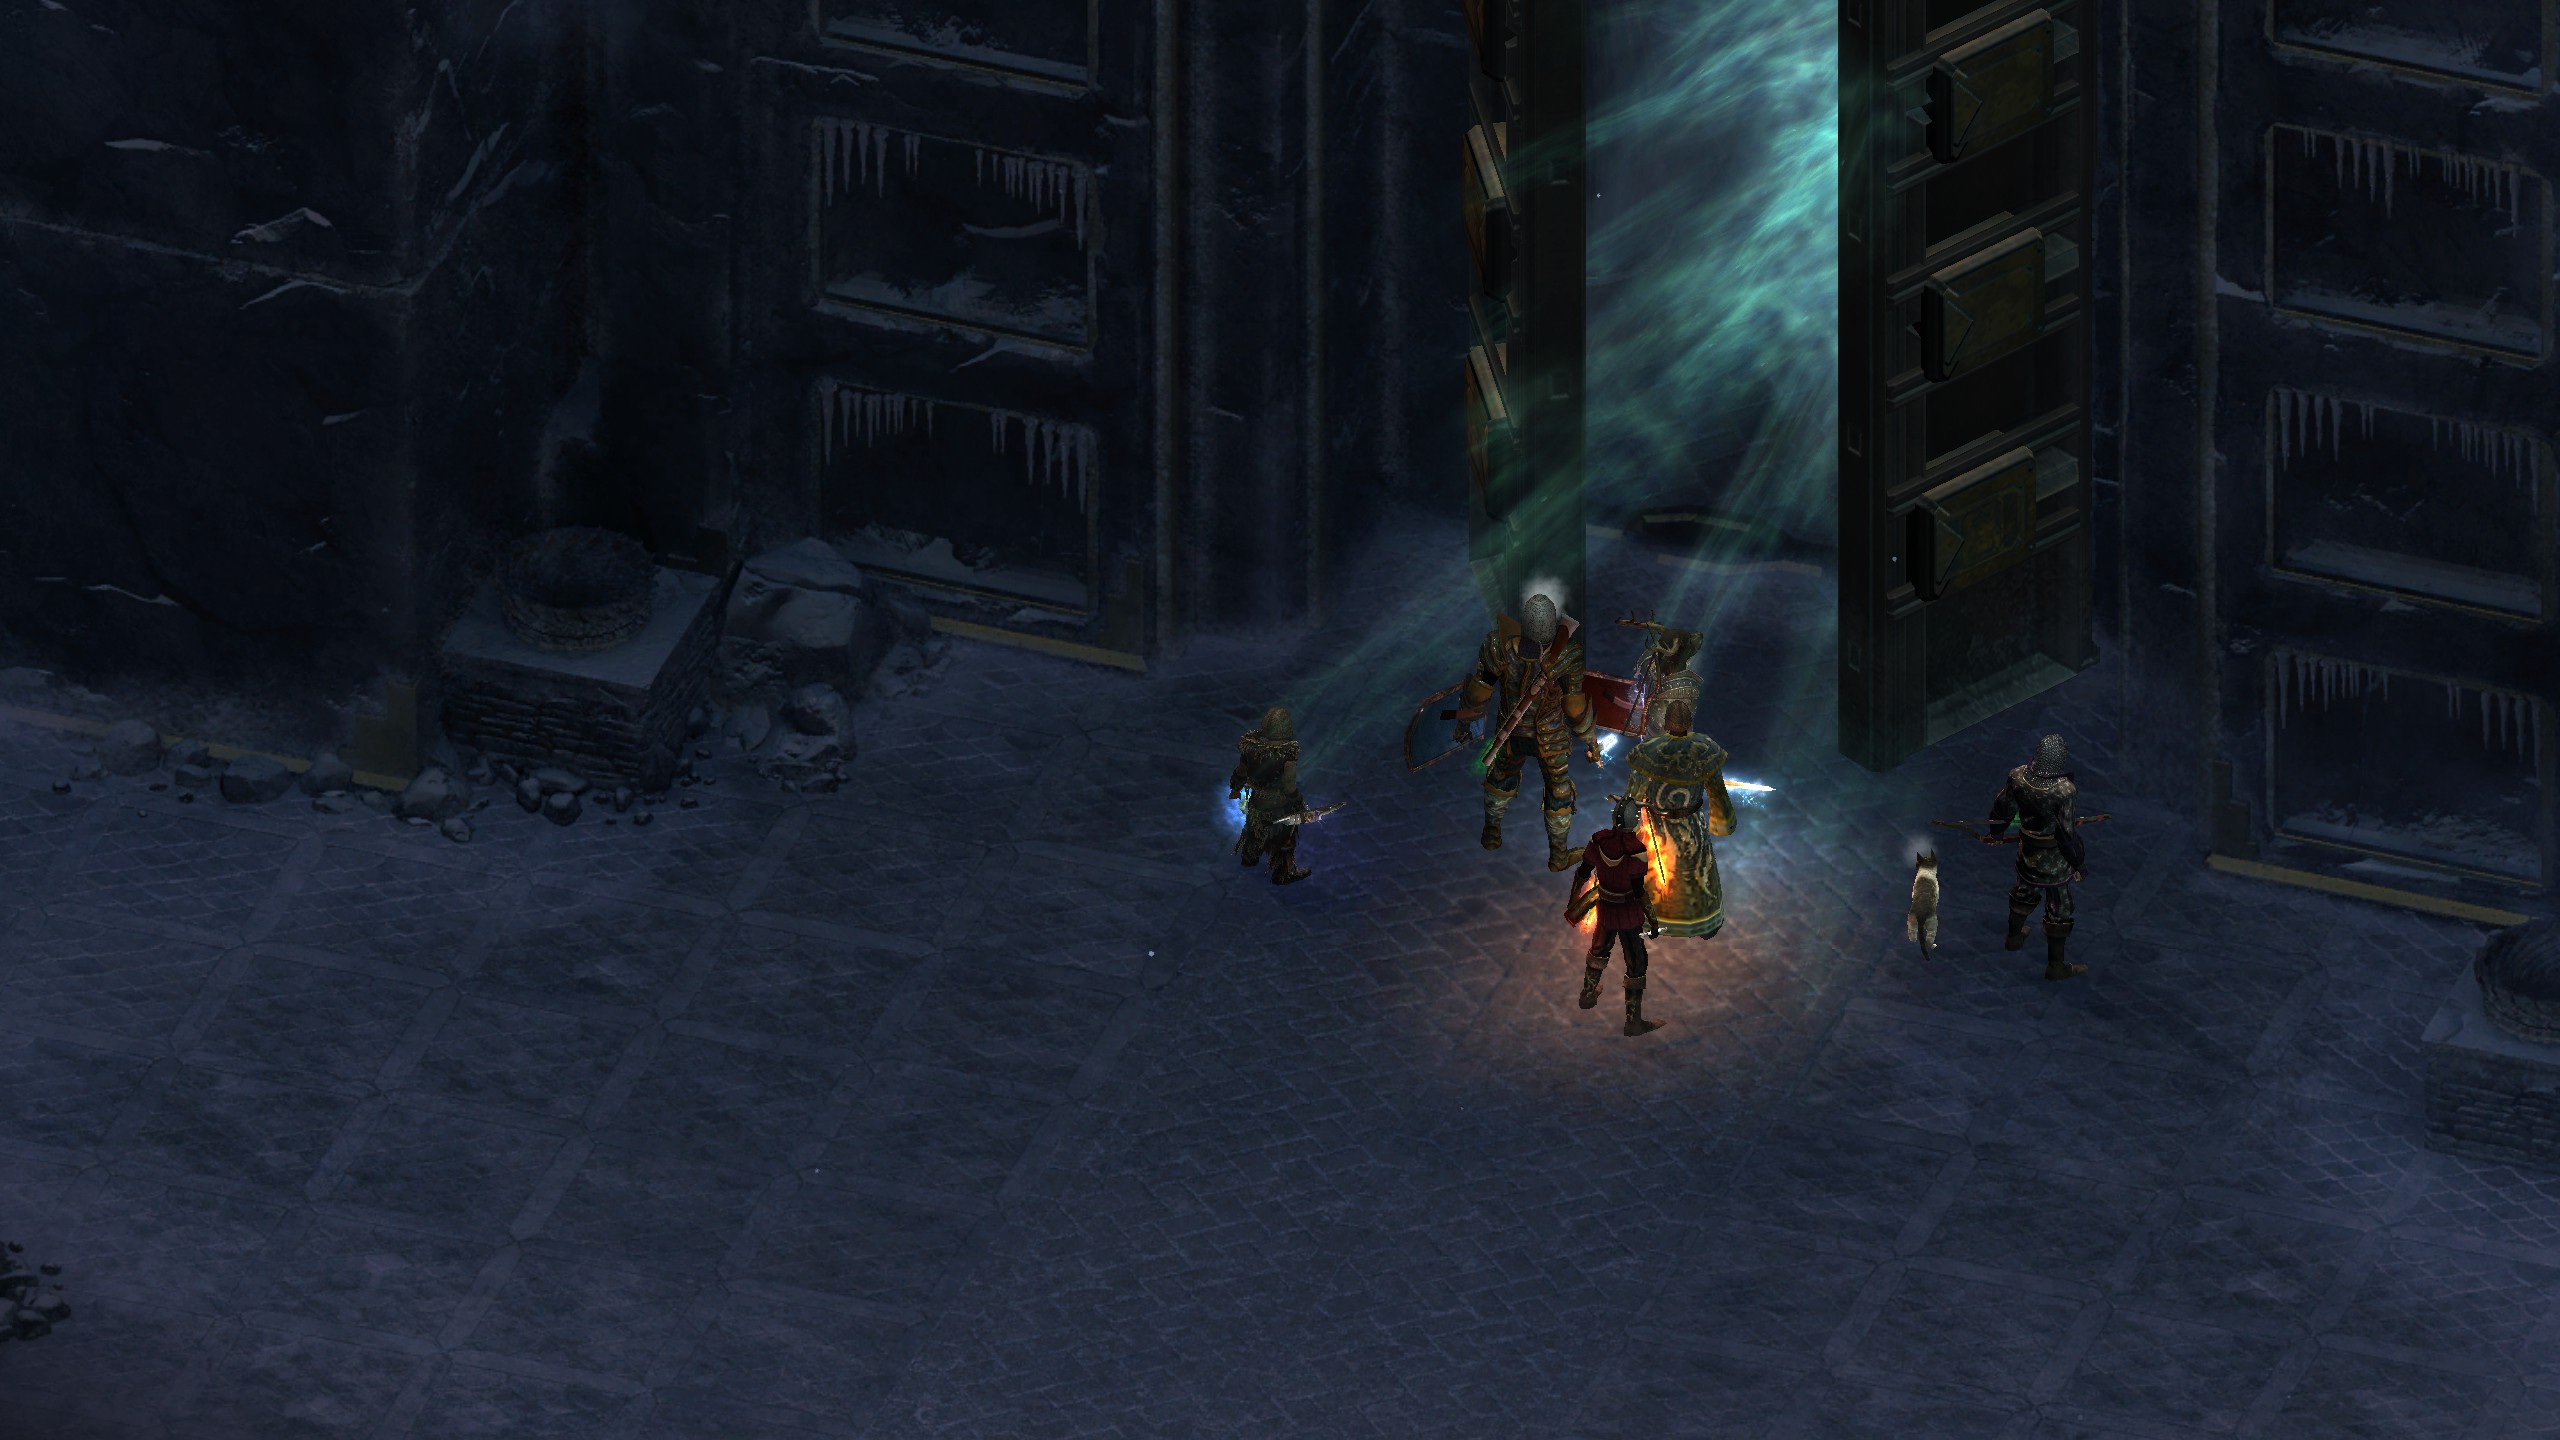
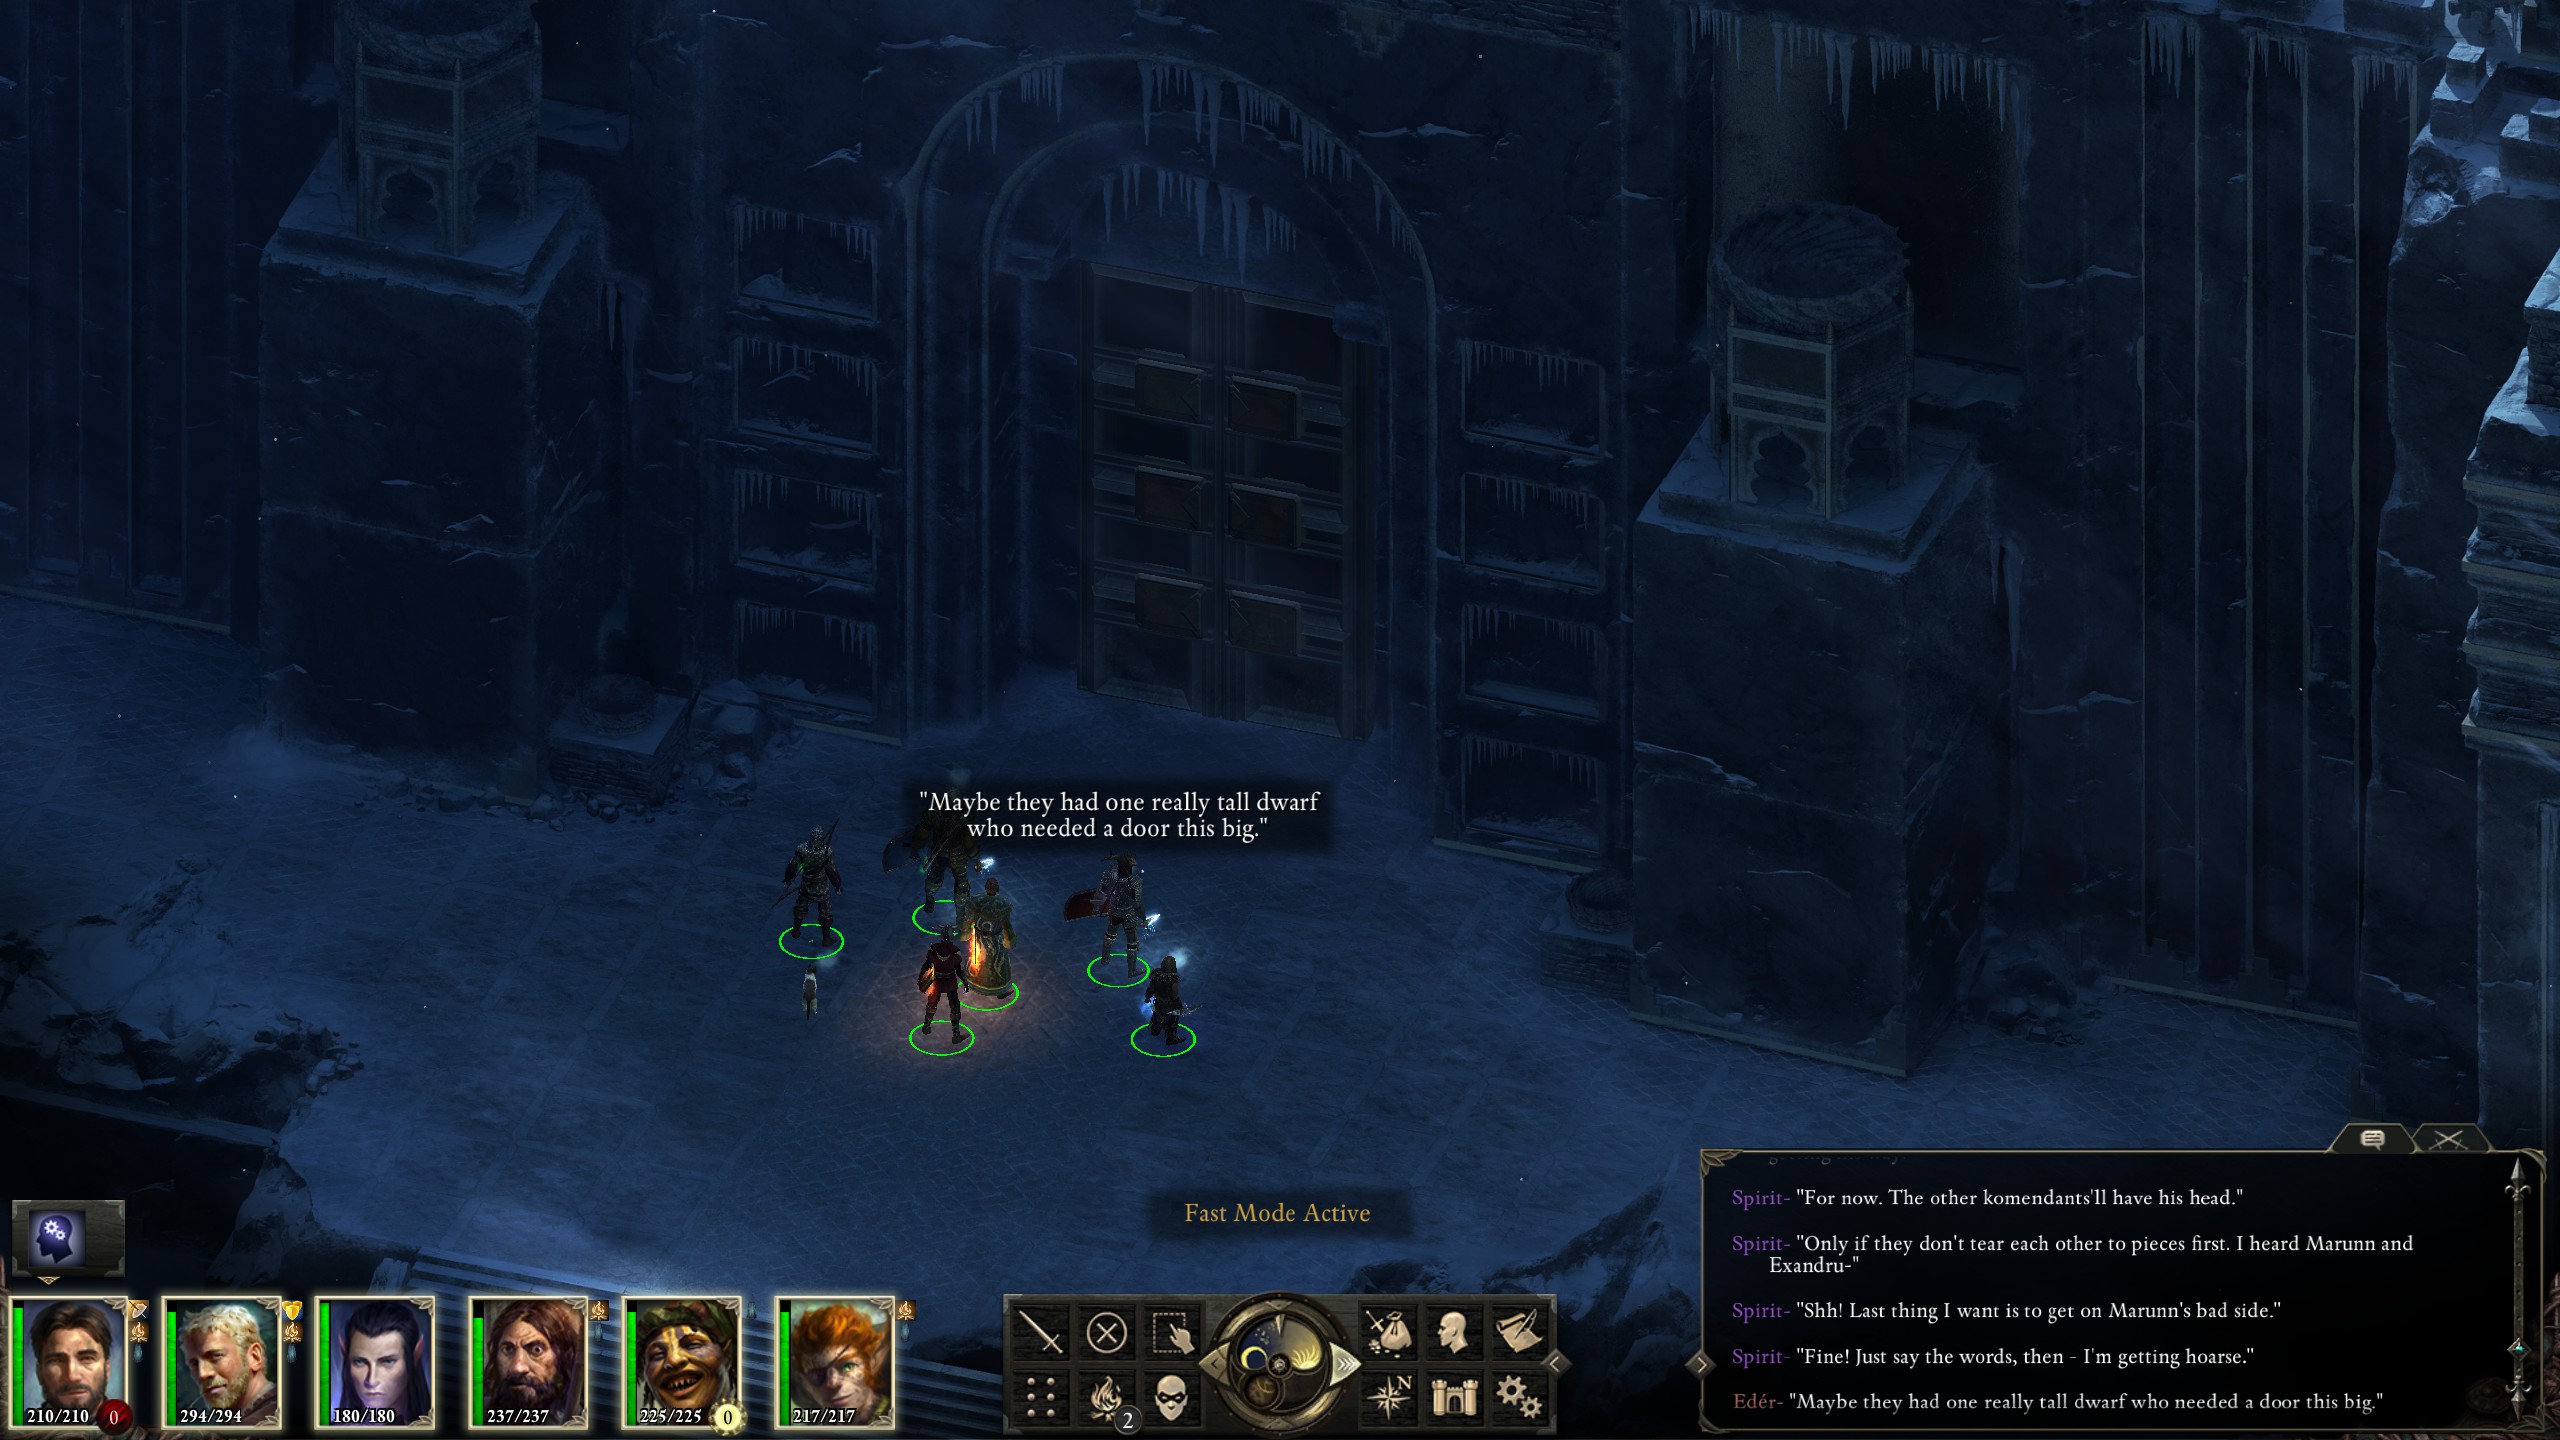
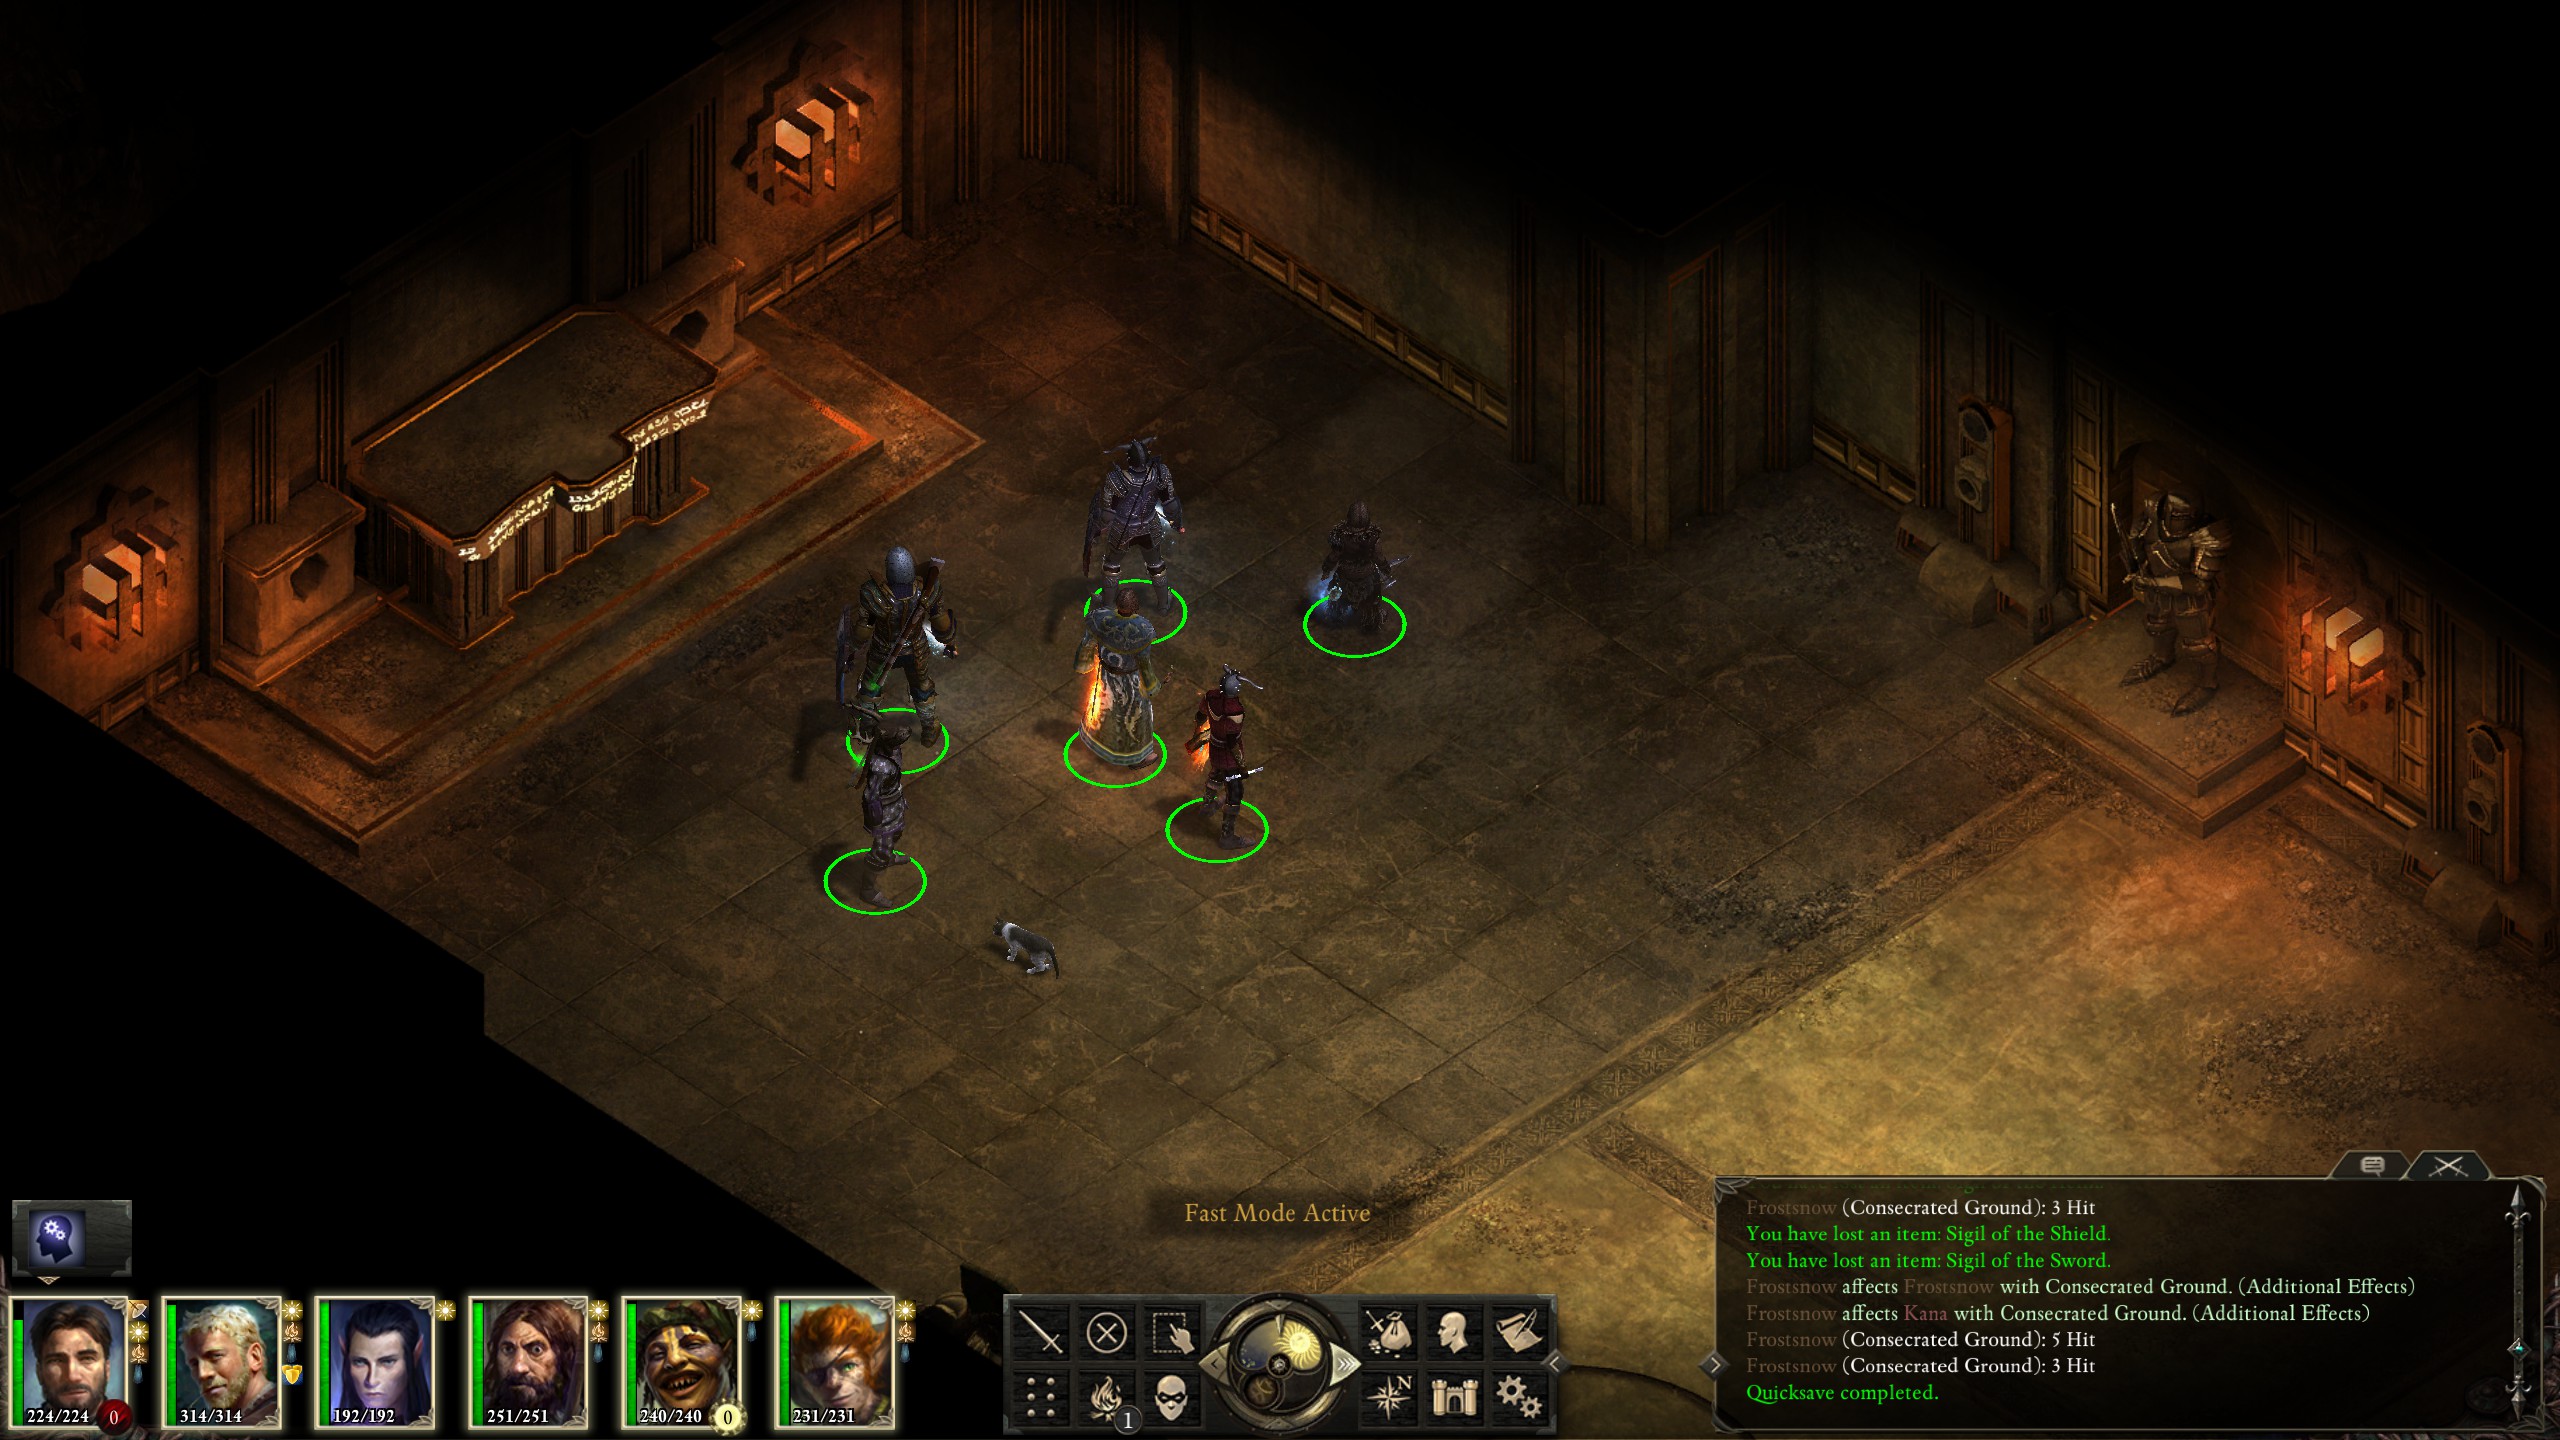
Rather than the warm welcome I'd expected, I entered the keep only to find it cold and abandoned.
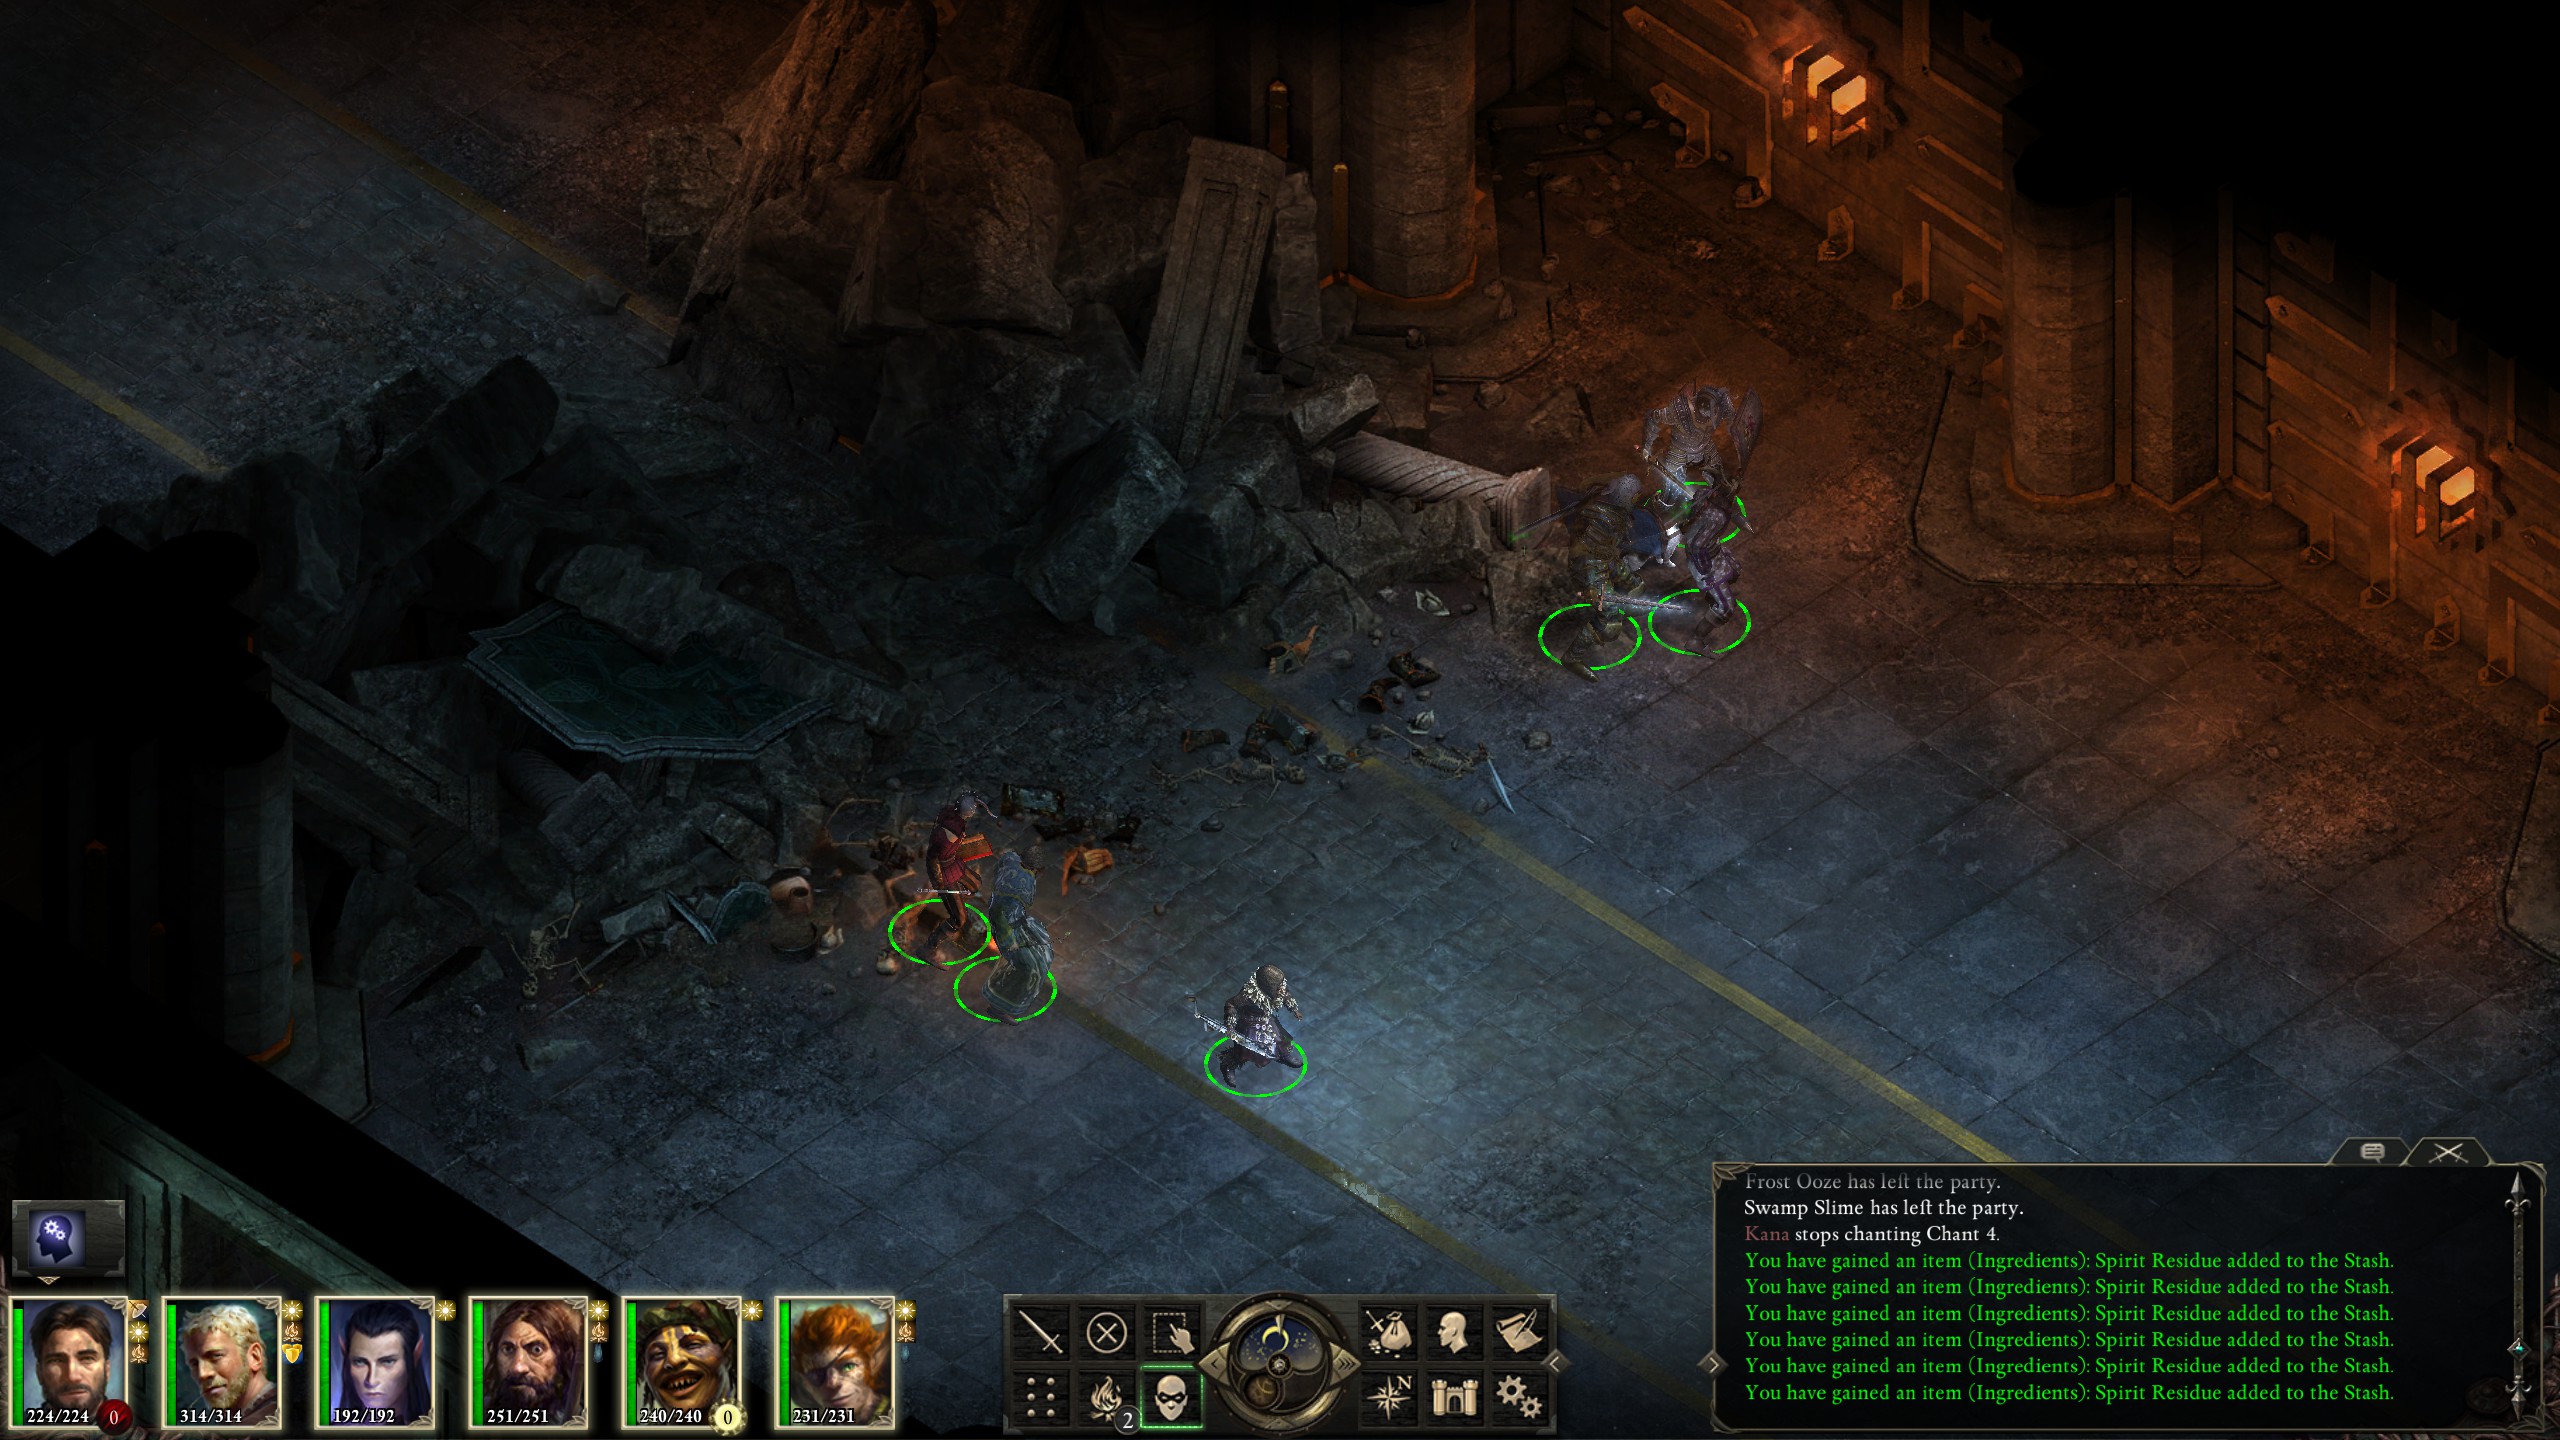
I then fought my way through the ghosts of the dwarves who once lived there, observing that the place had been sacked as though a great battle had taken place there.
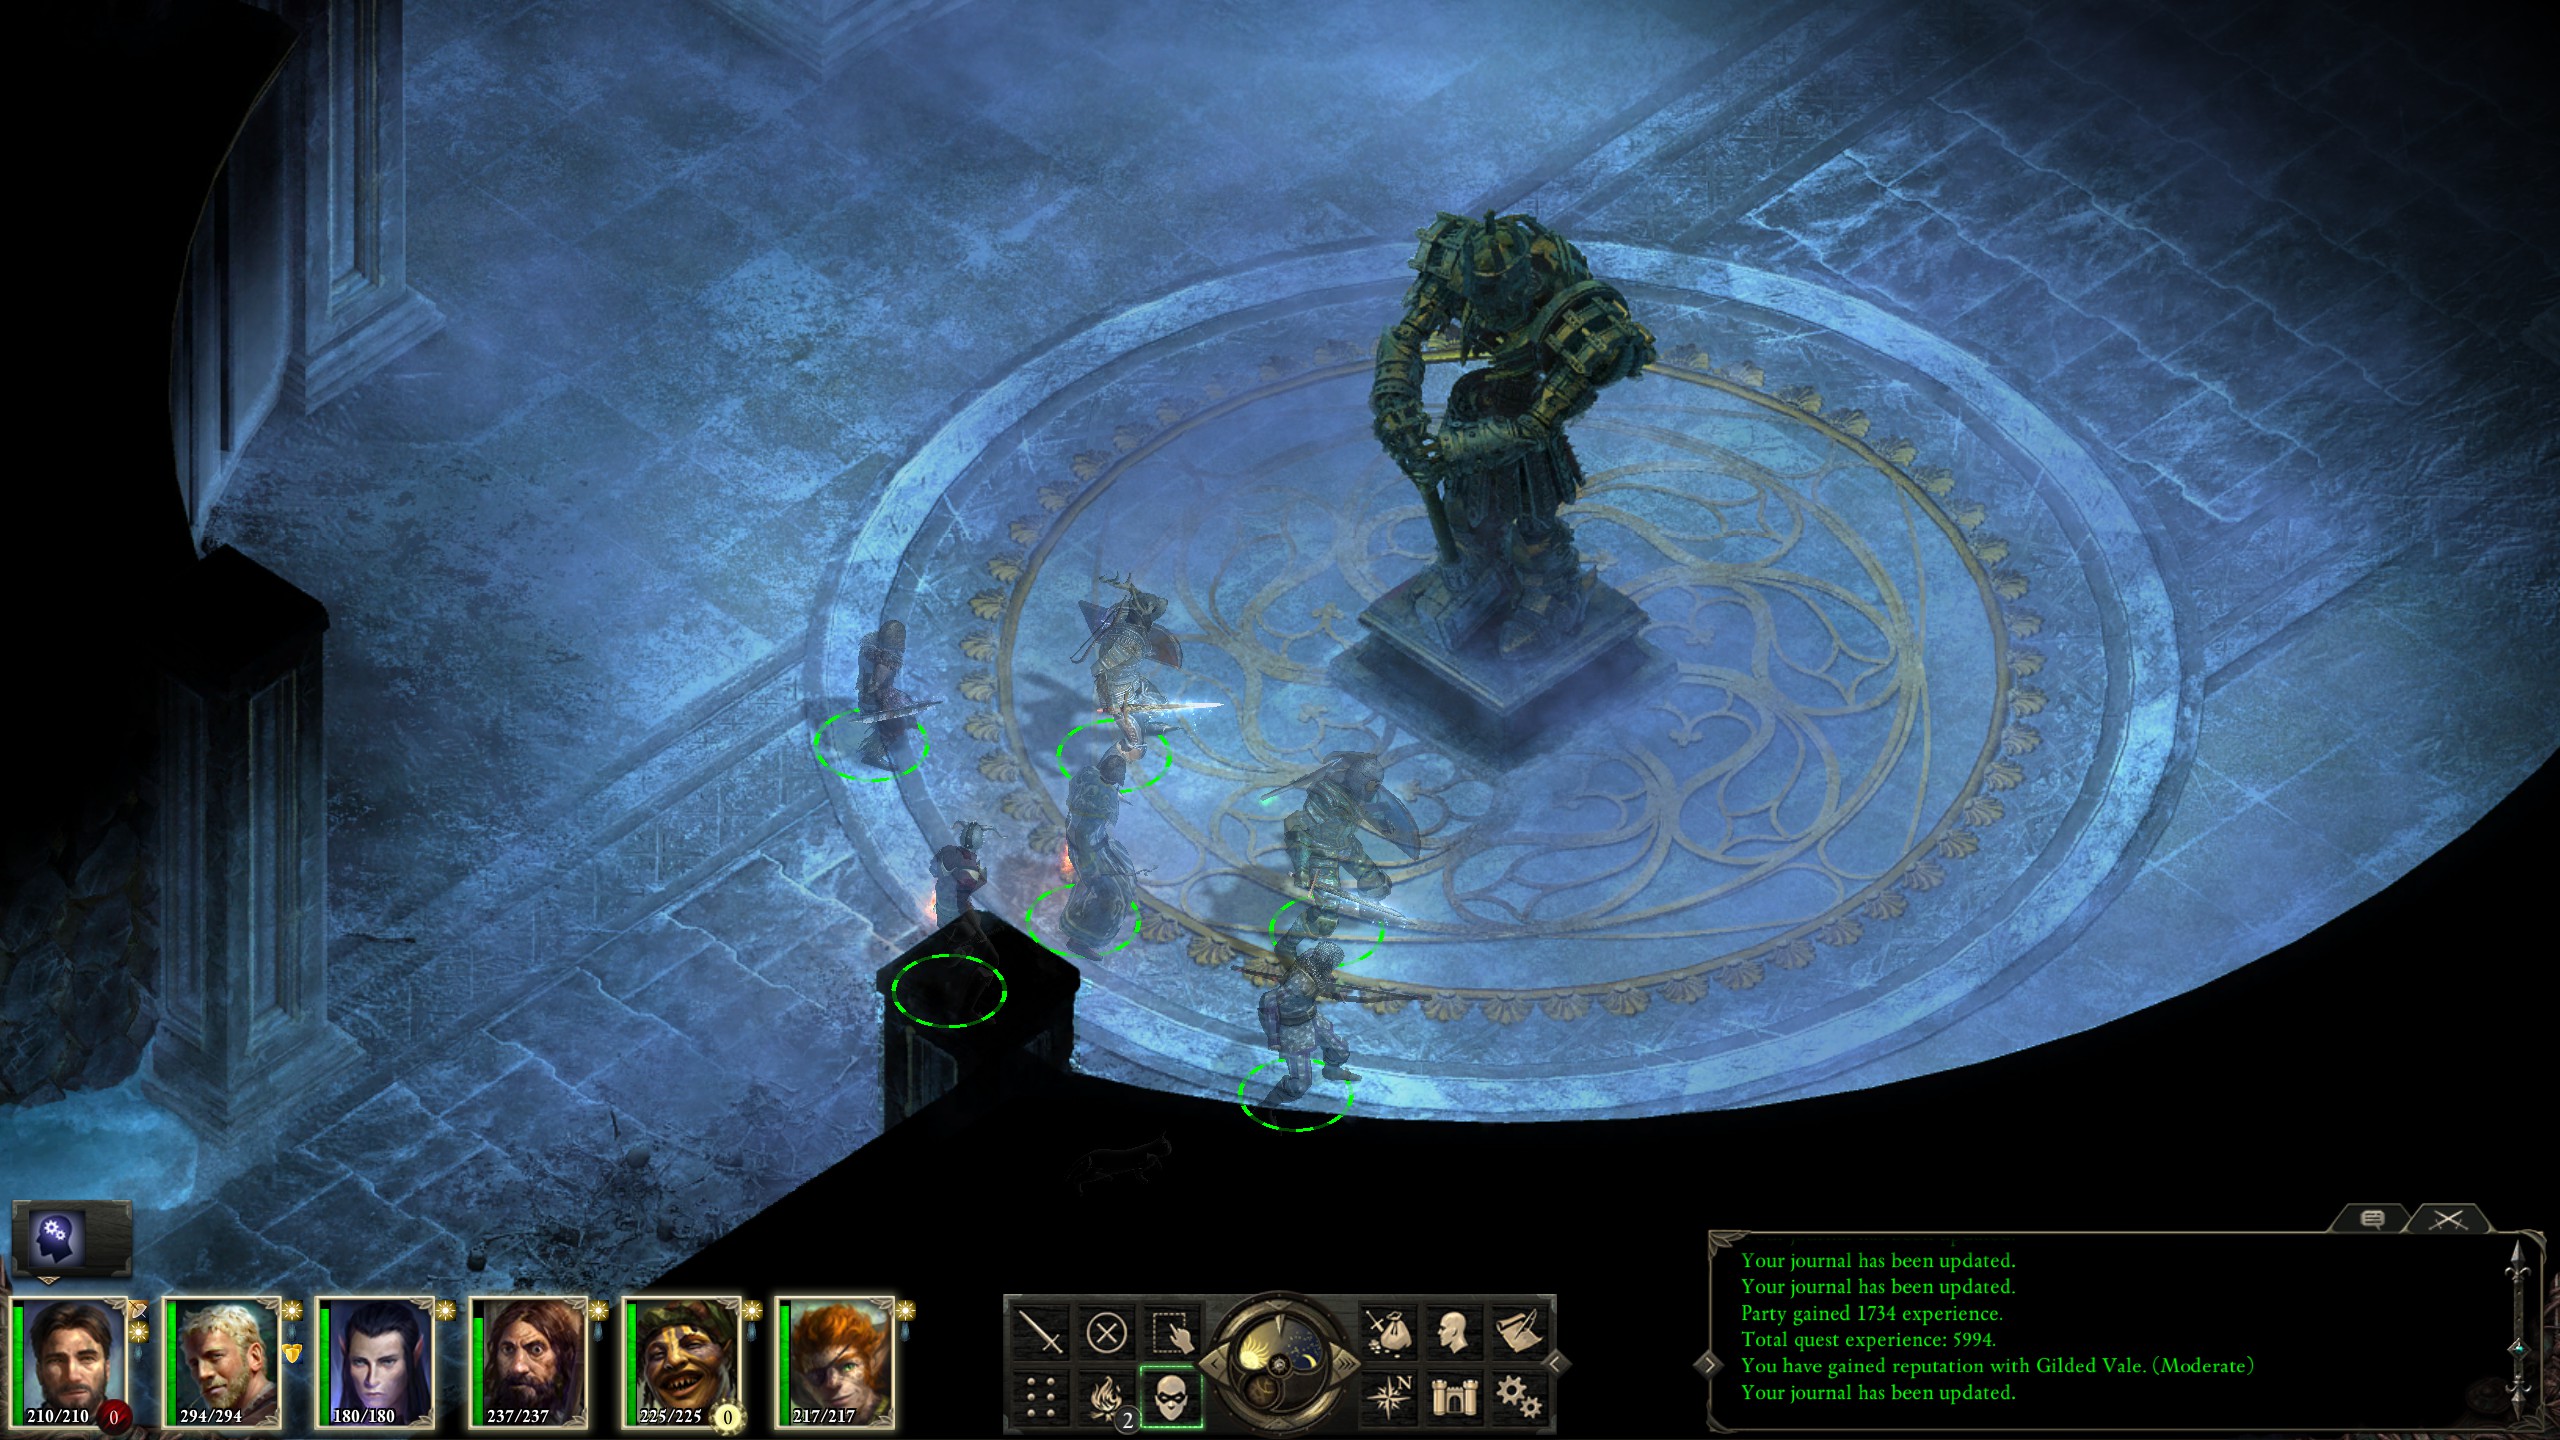
Within one of the rooms, an abandoned shrine to Abydon remained untouched.
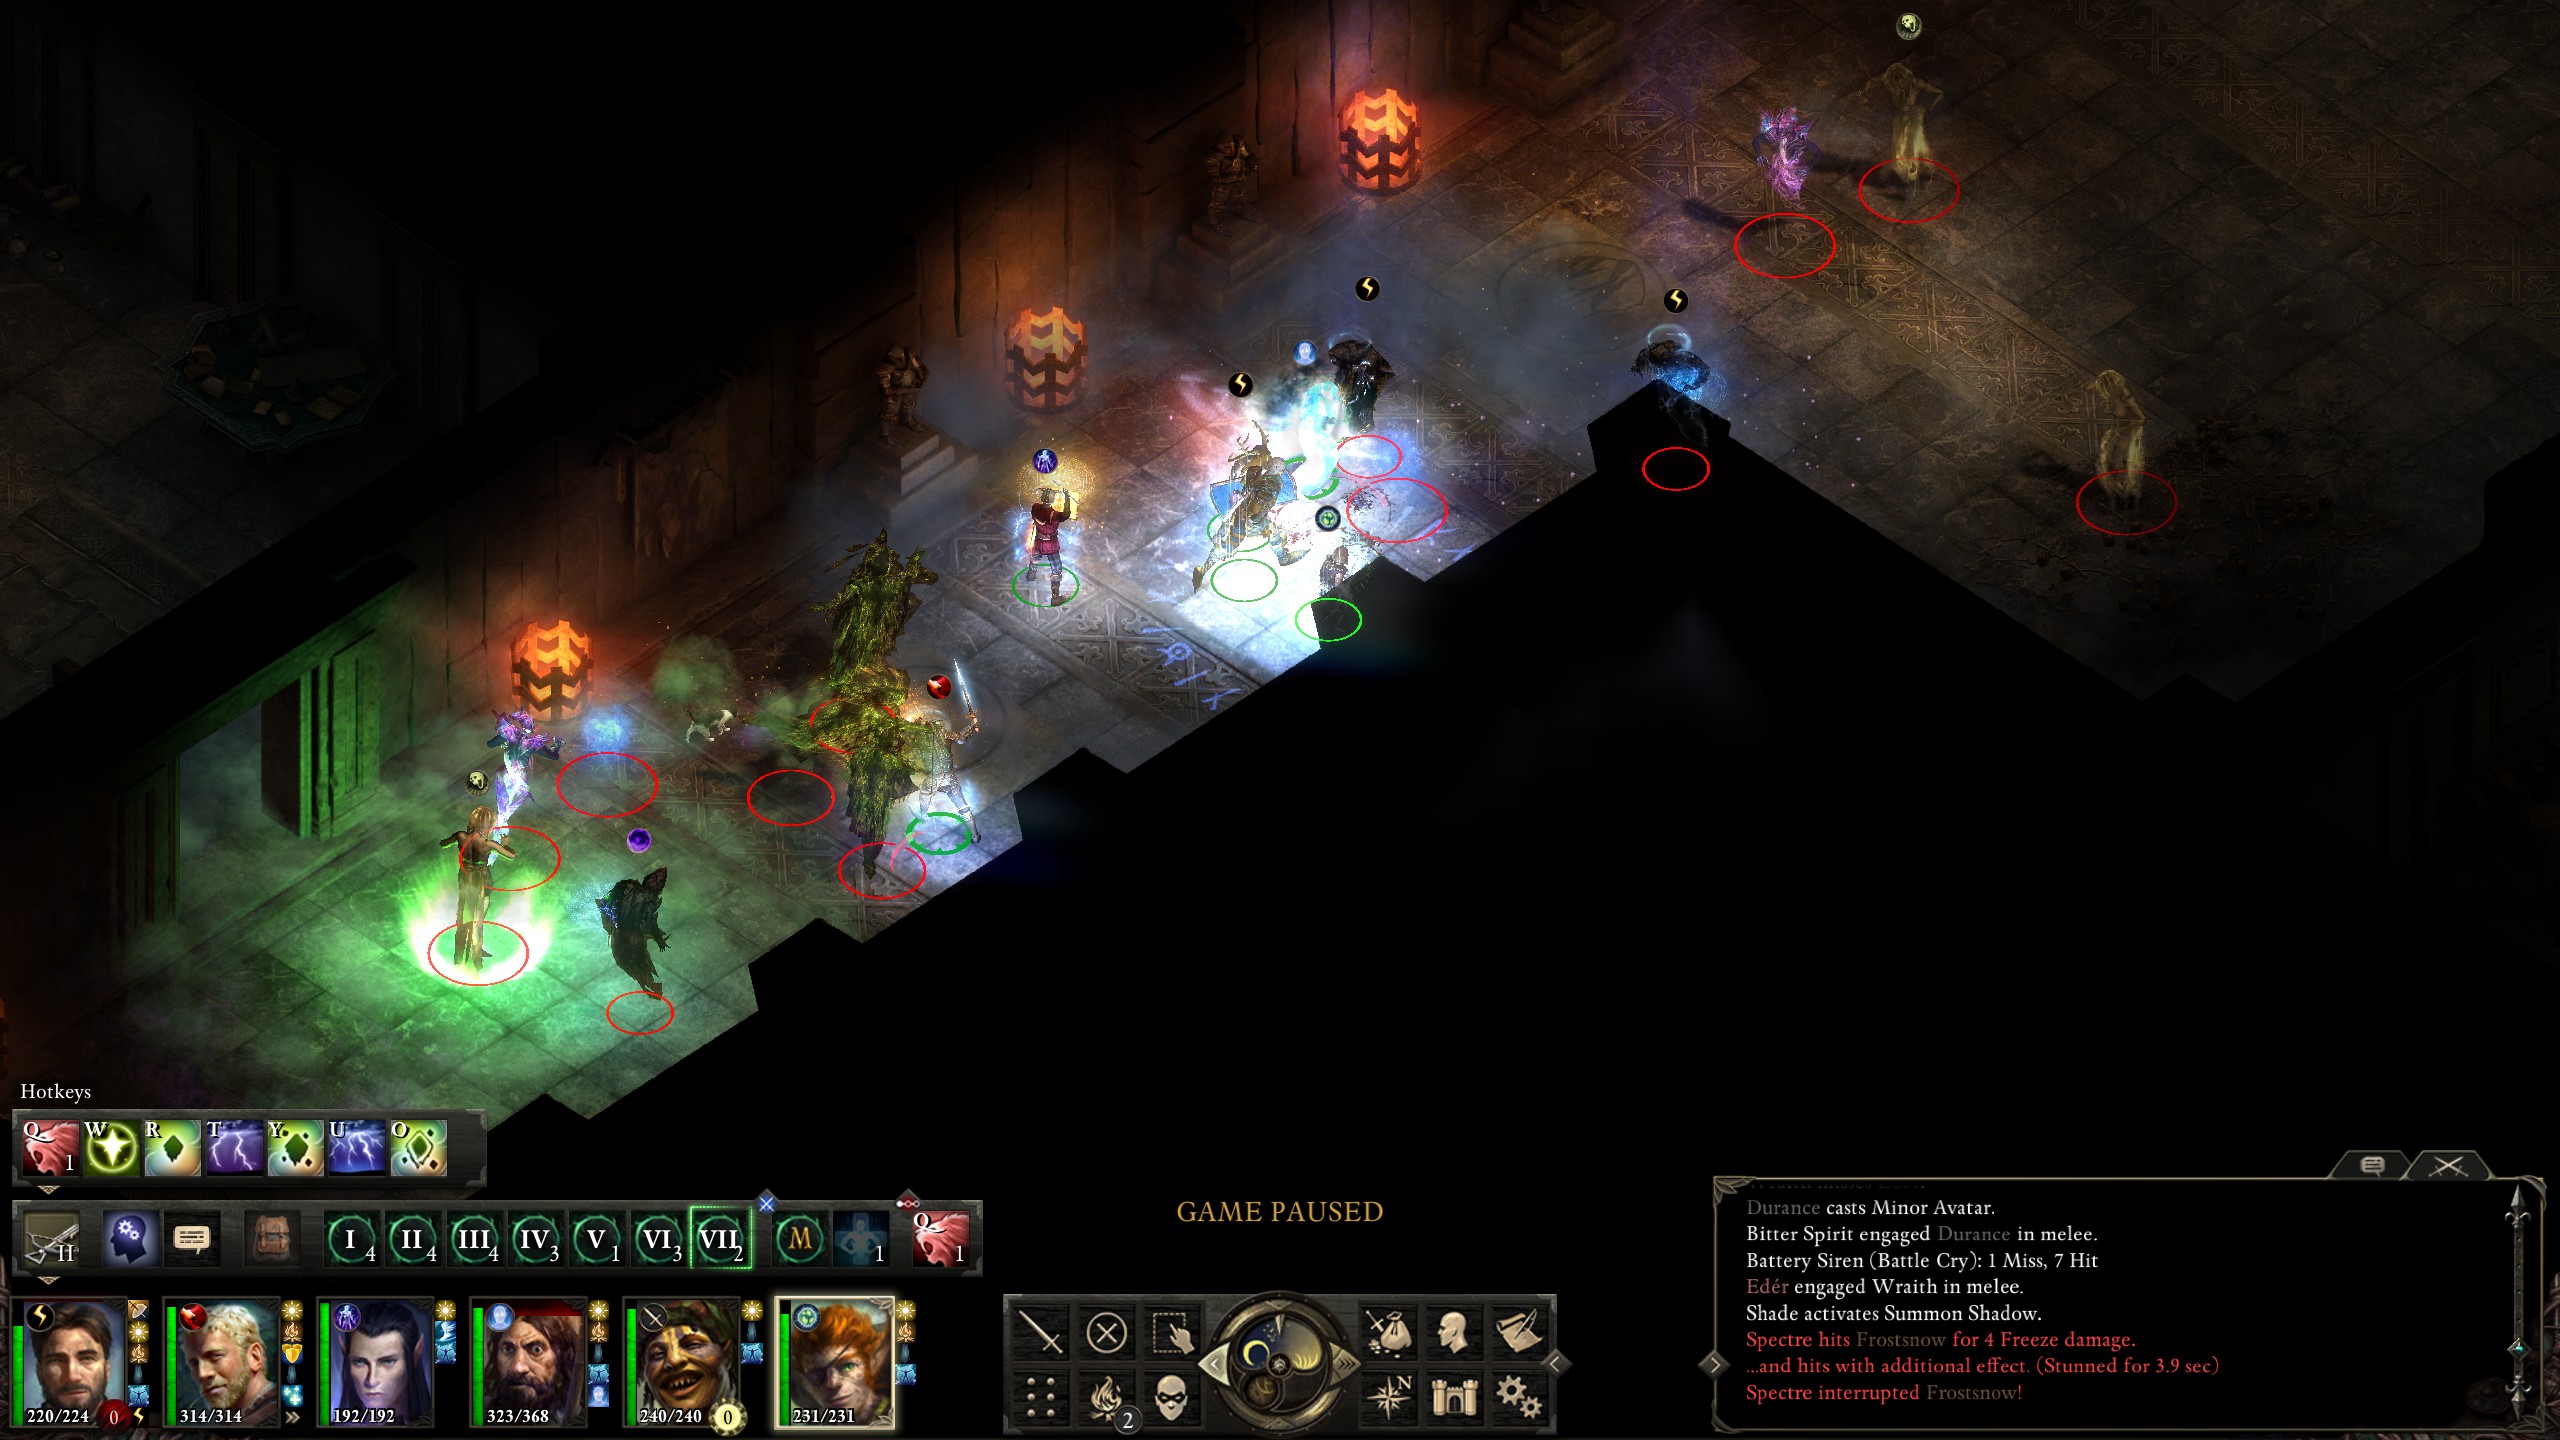
After working my way down two floors, on the third I was ambushed by a rather large group of ghosts.
When the ghosts were dead, I continued my way though the floor before eventually finding the White Forge.
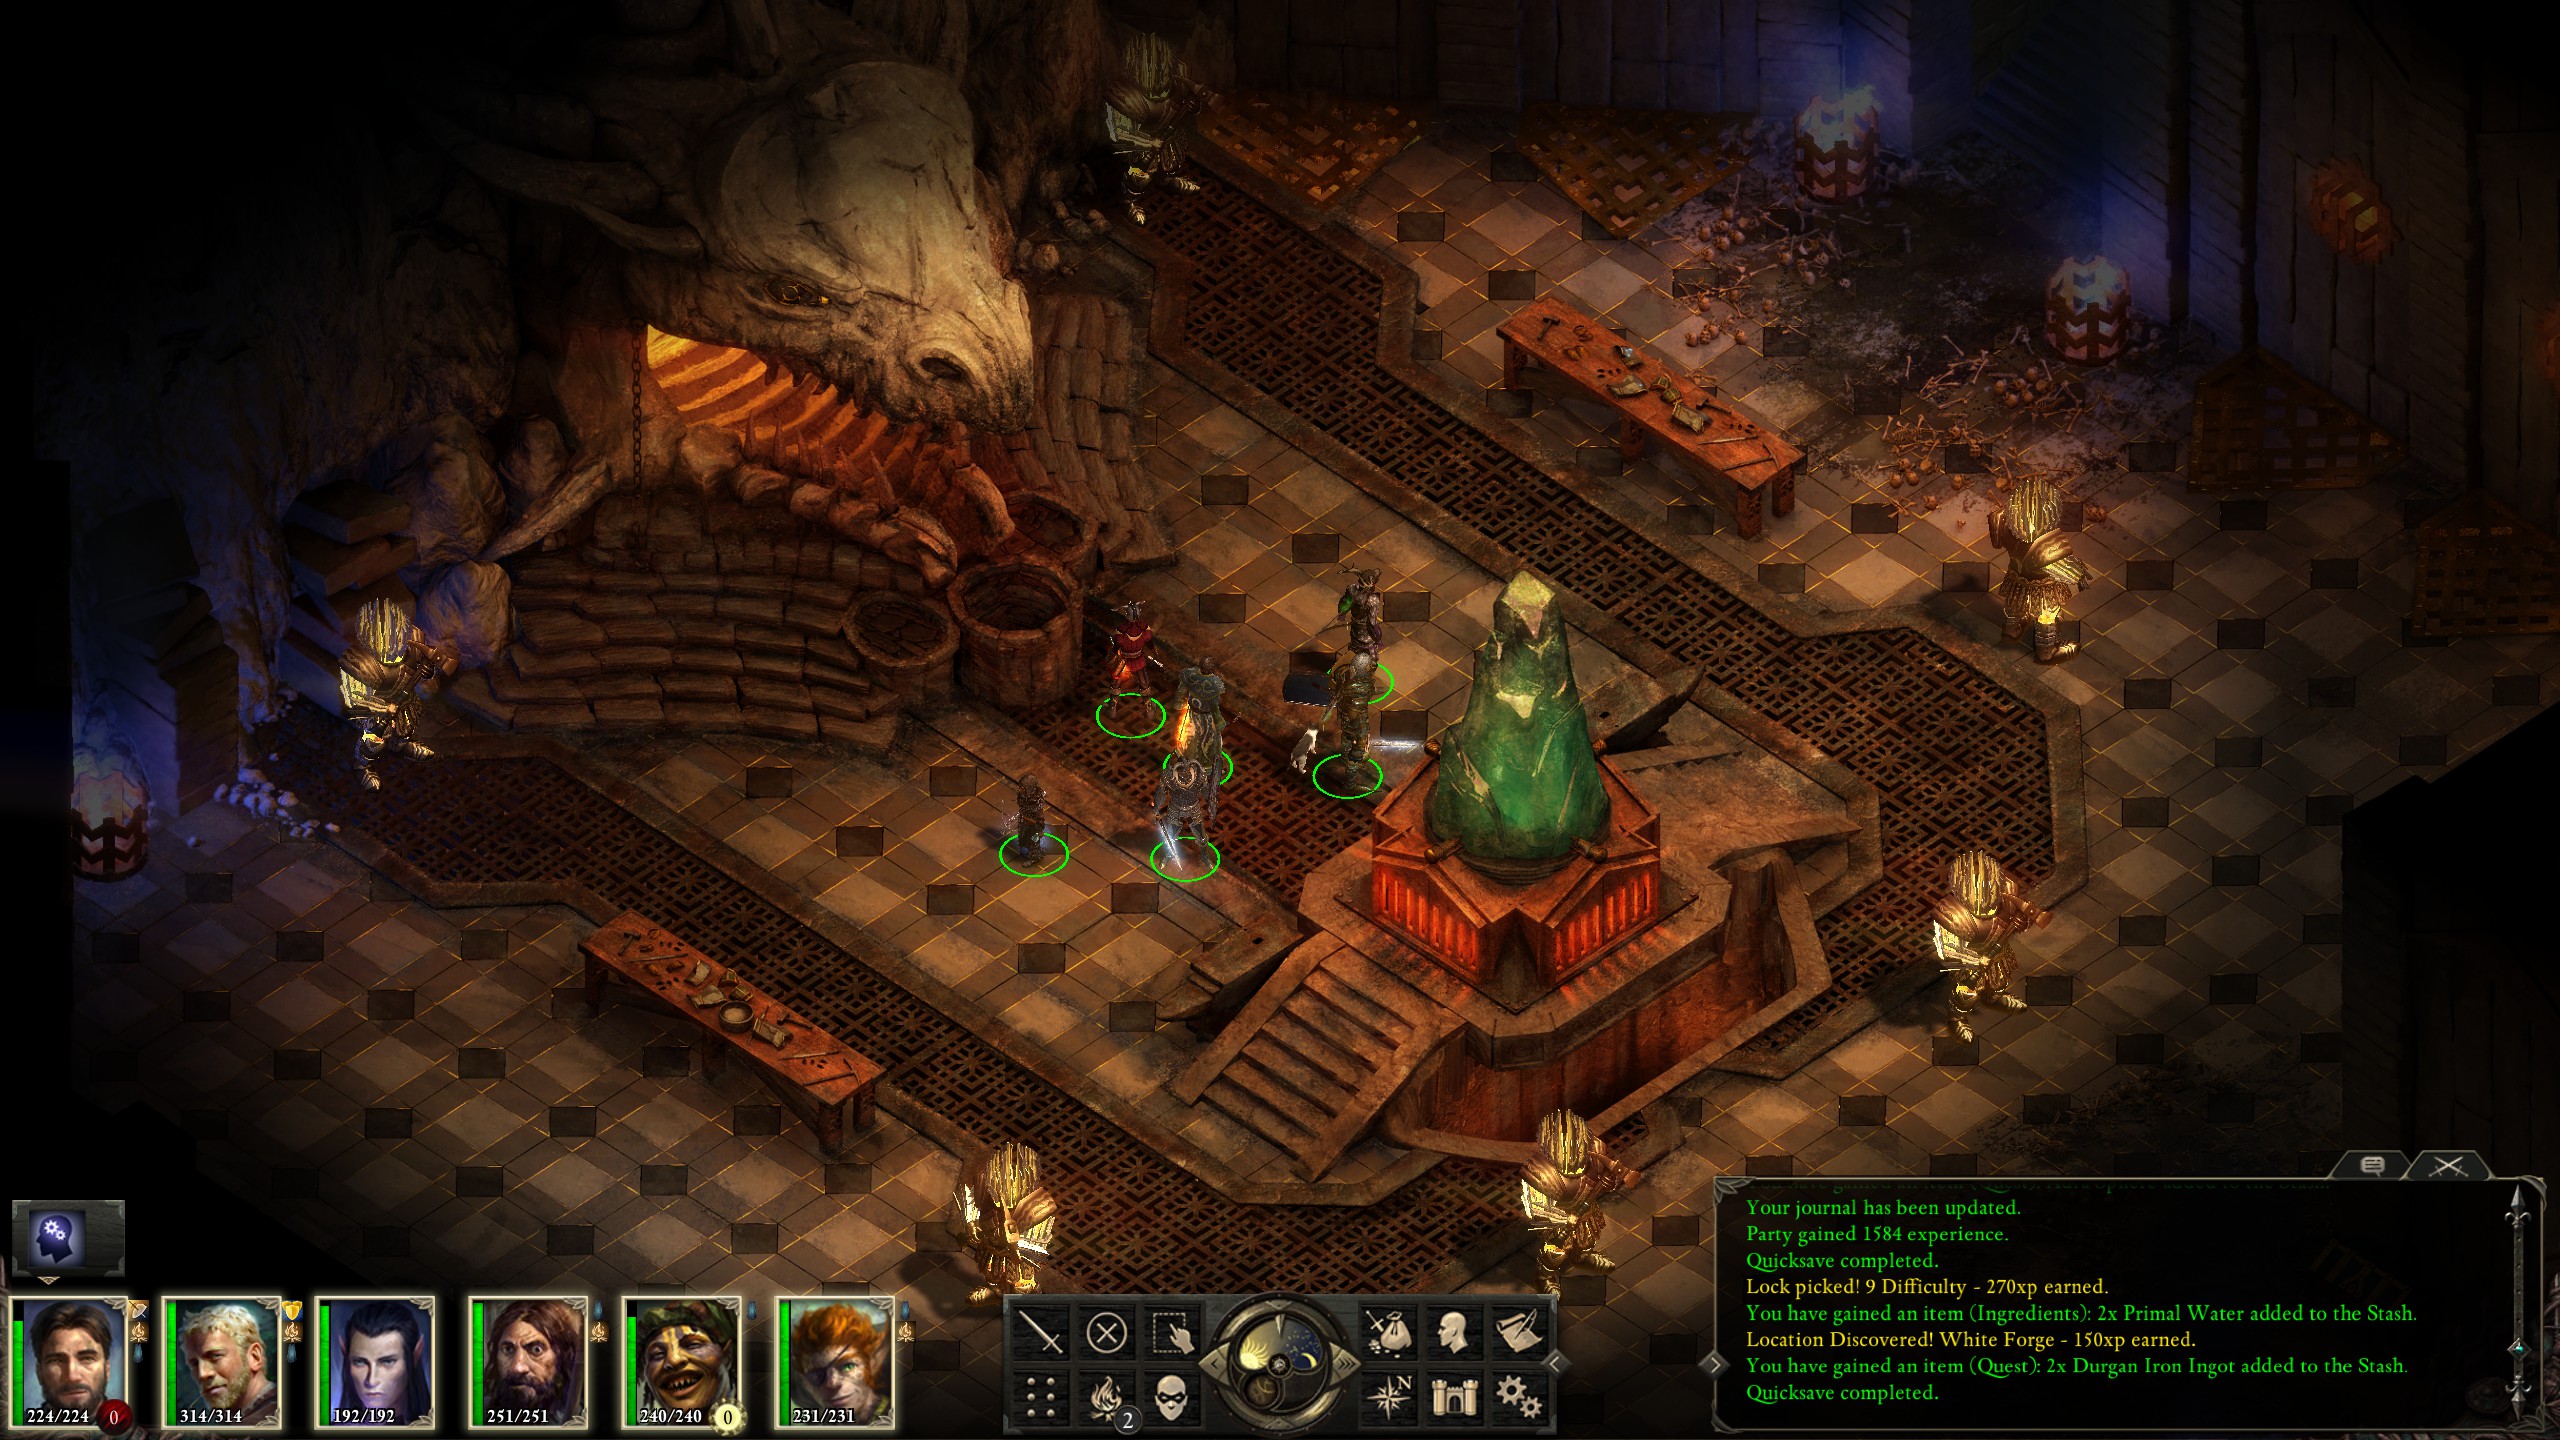
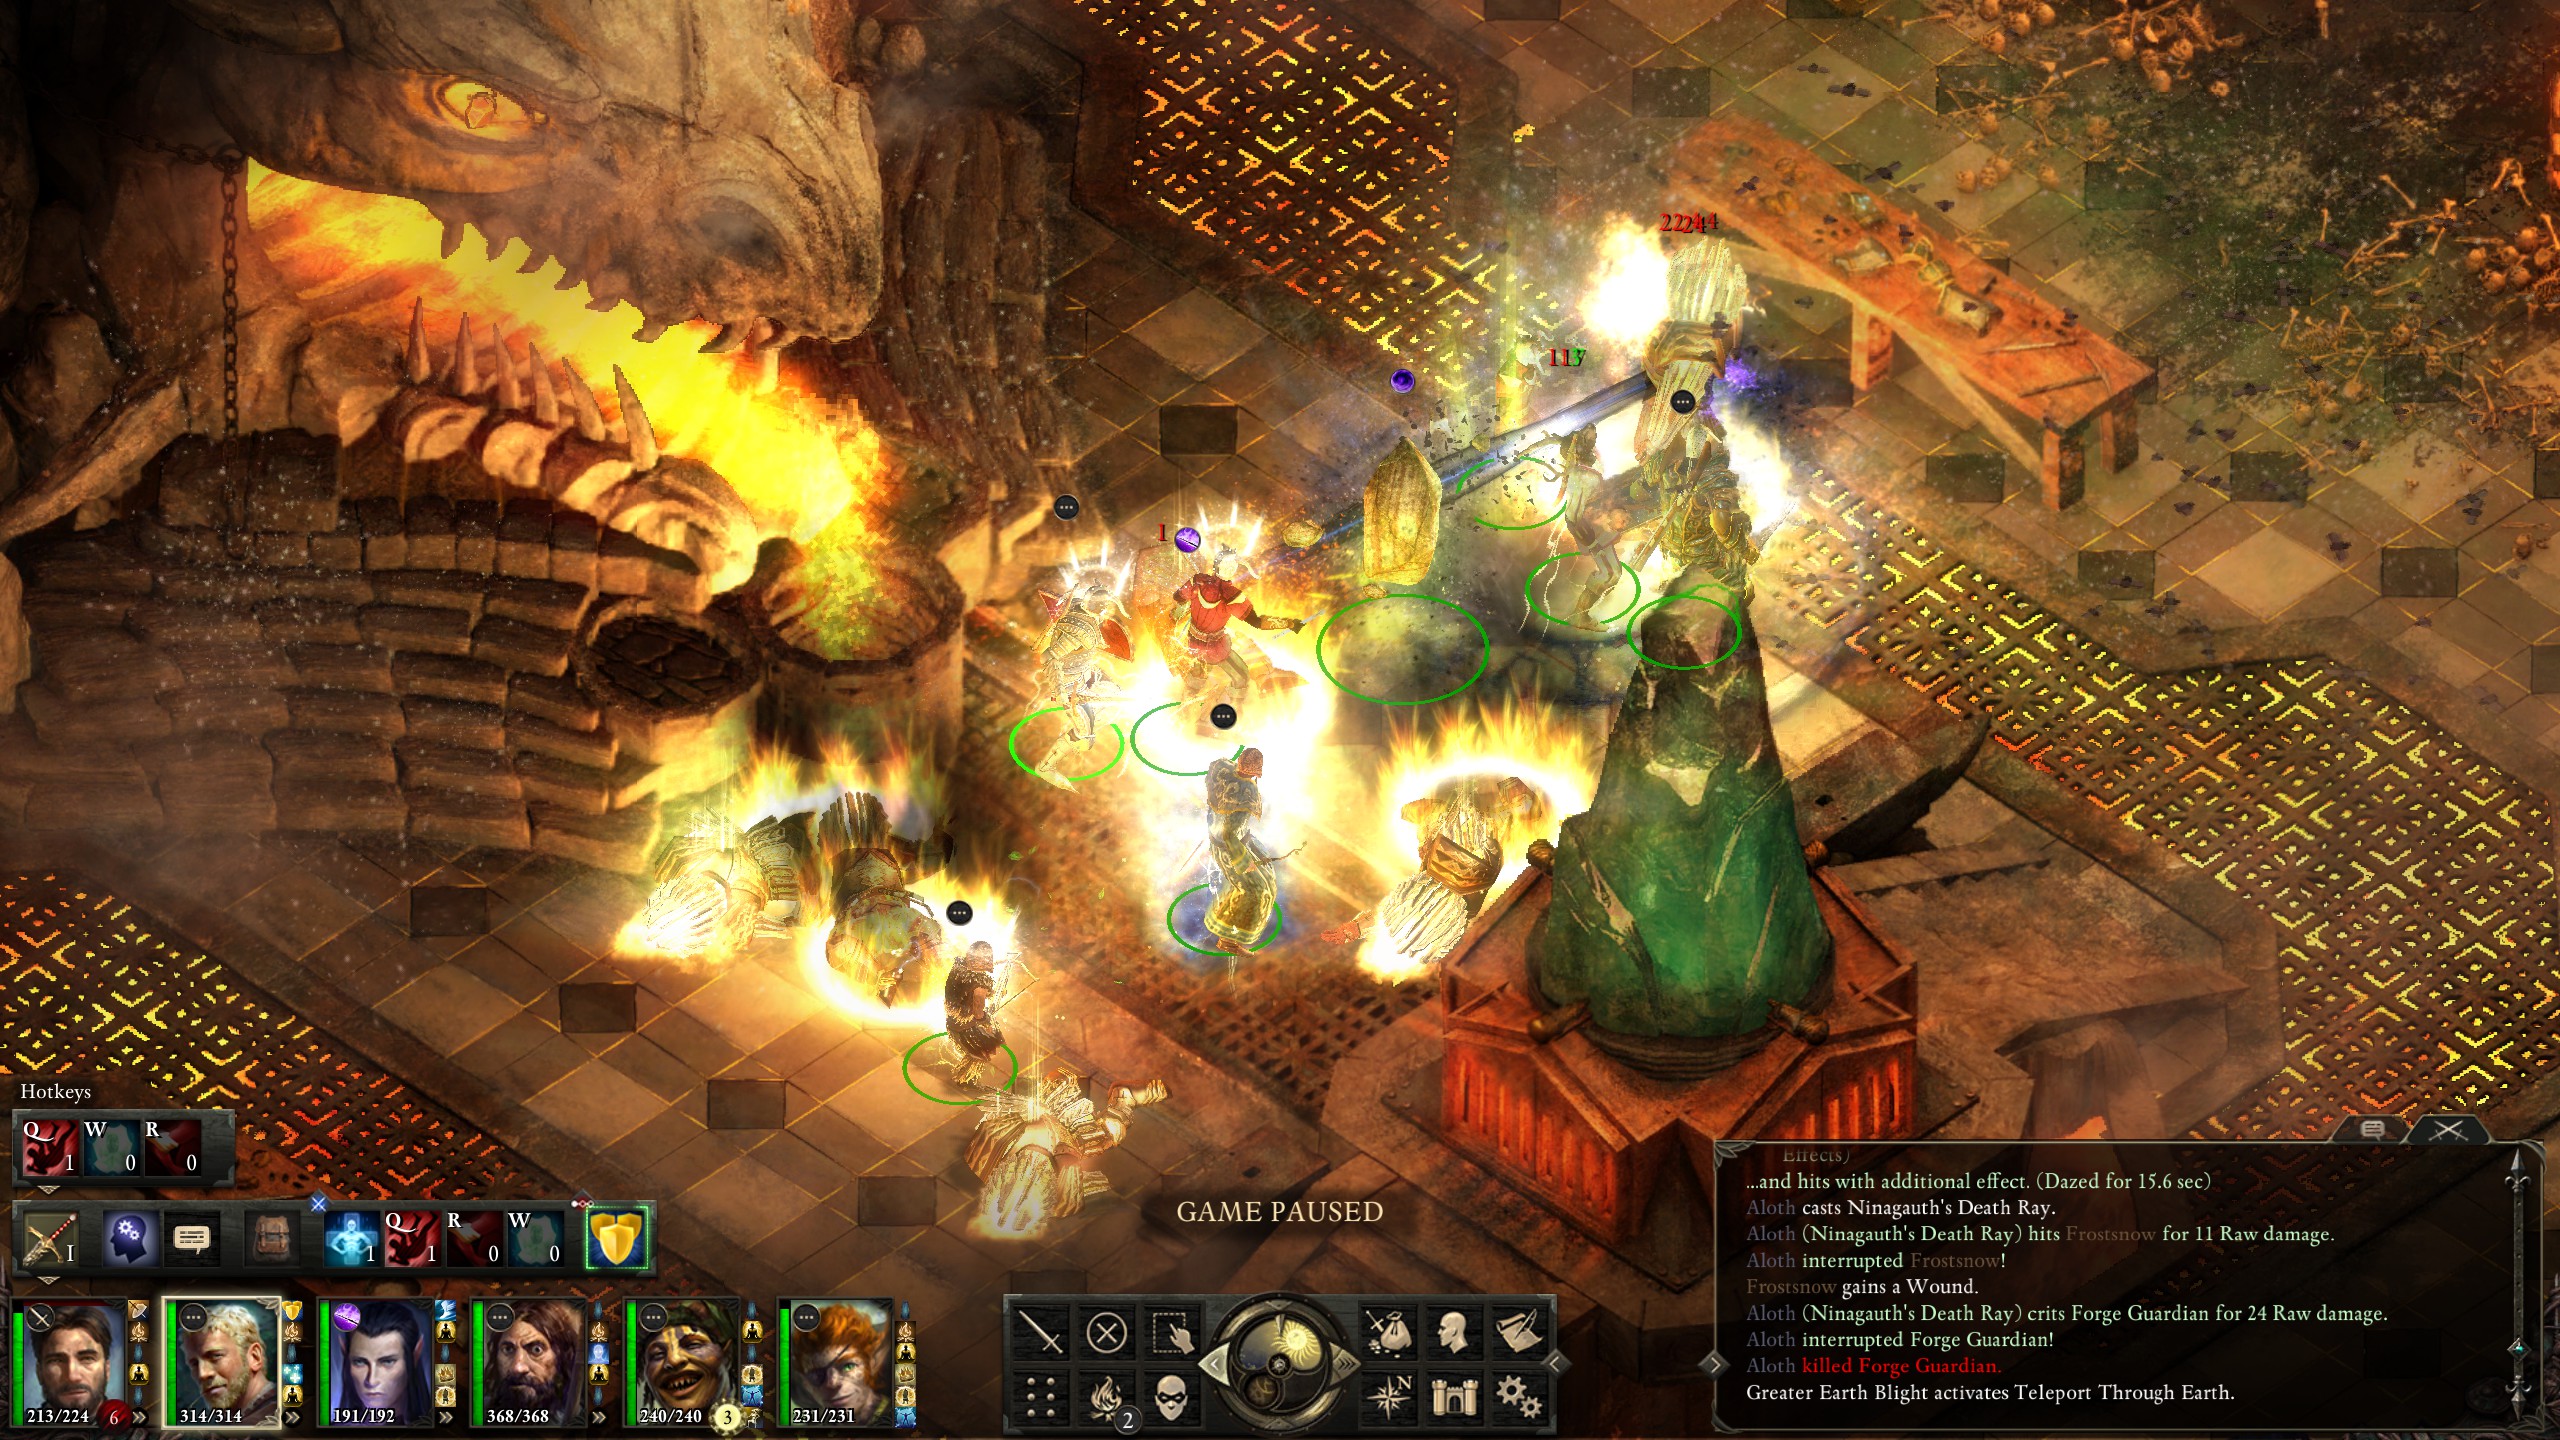
Upon activating it, the ghosts of the Pargrunen leaders and the Forge Guardians attacked me.
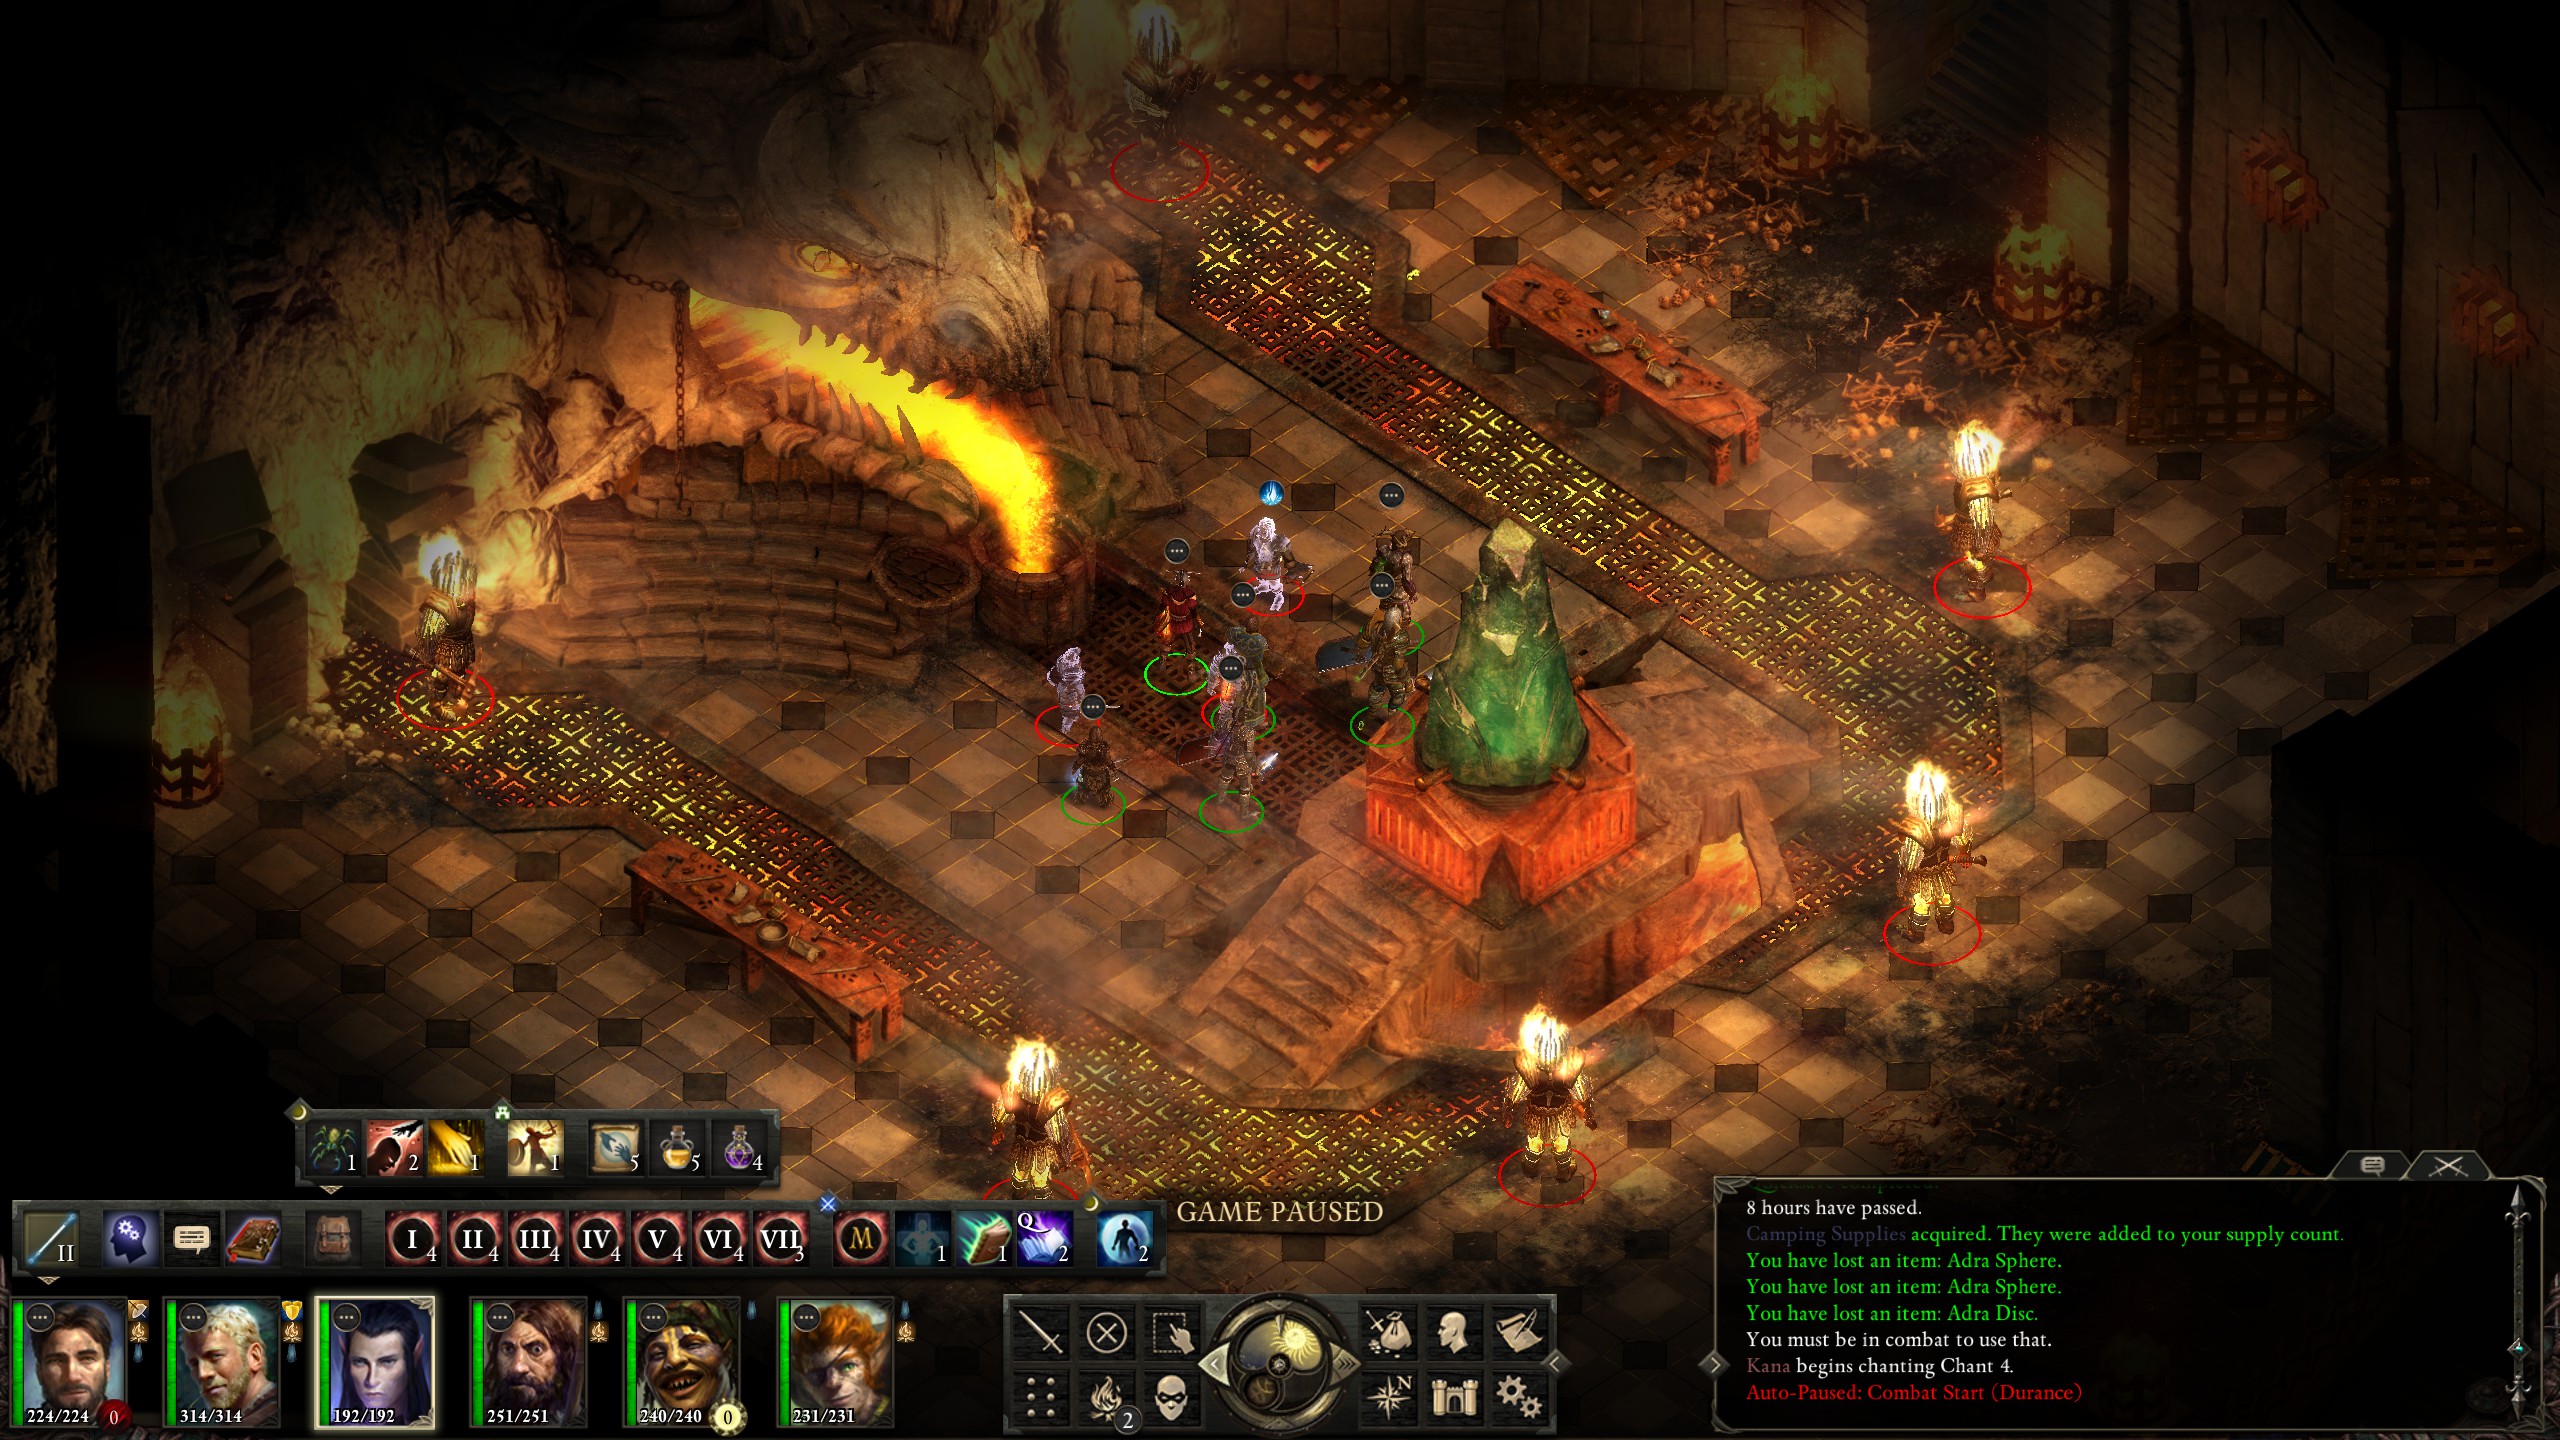
The Forge Guardians do large amounts of fire-damage, so I had Hiravas cast "Weather the Storm" early on. Once all the enemies gathered in close I then had Aloth chain cast "Minoletta's Precisely Piercing Burst".
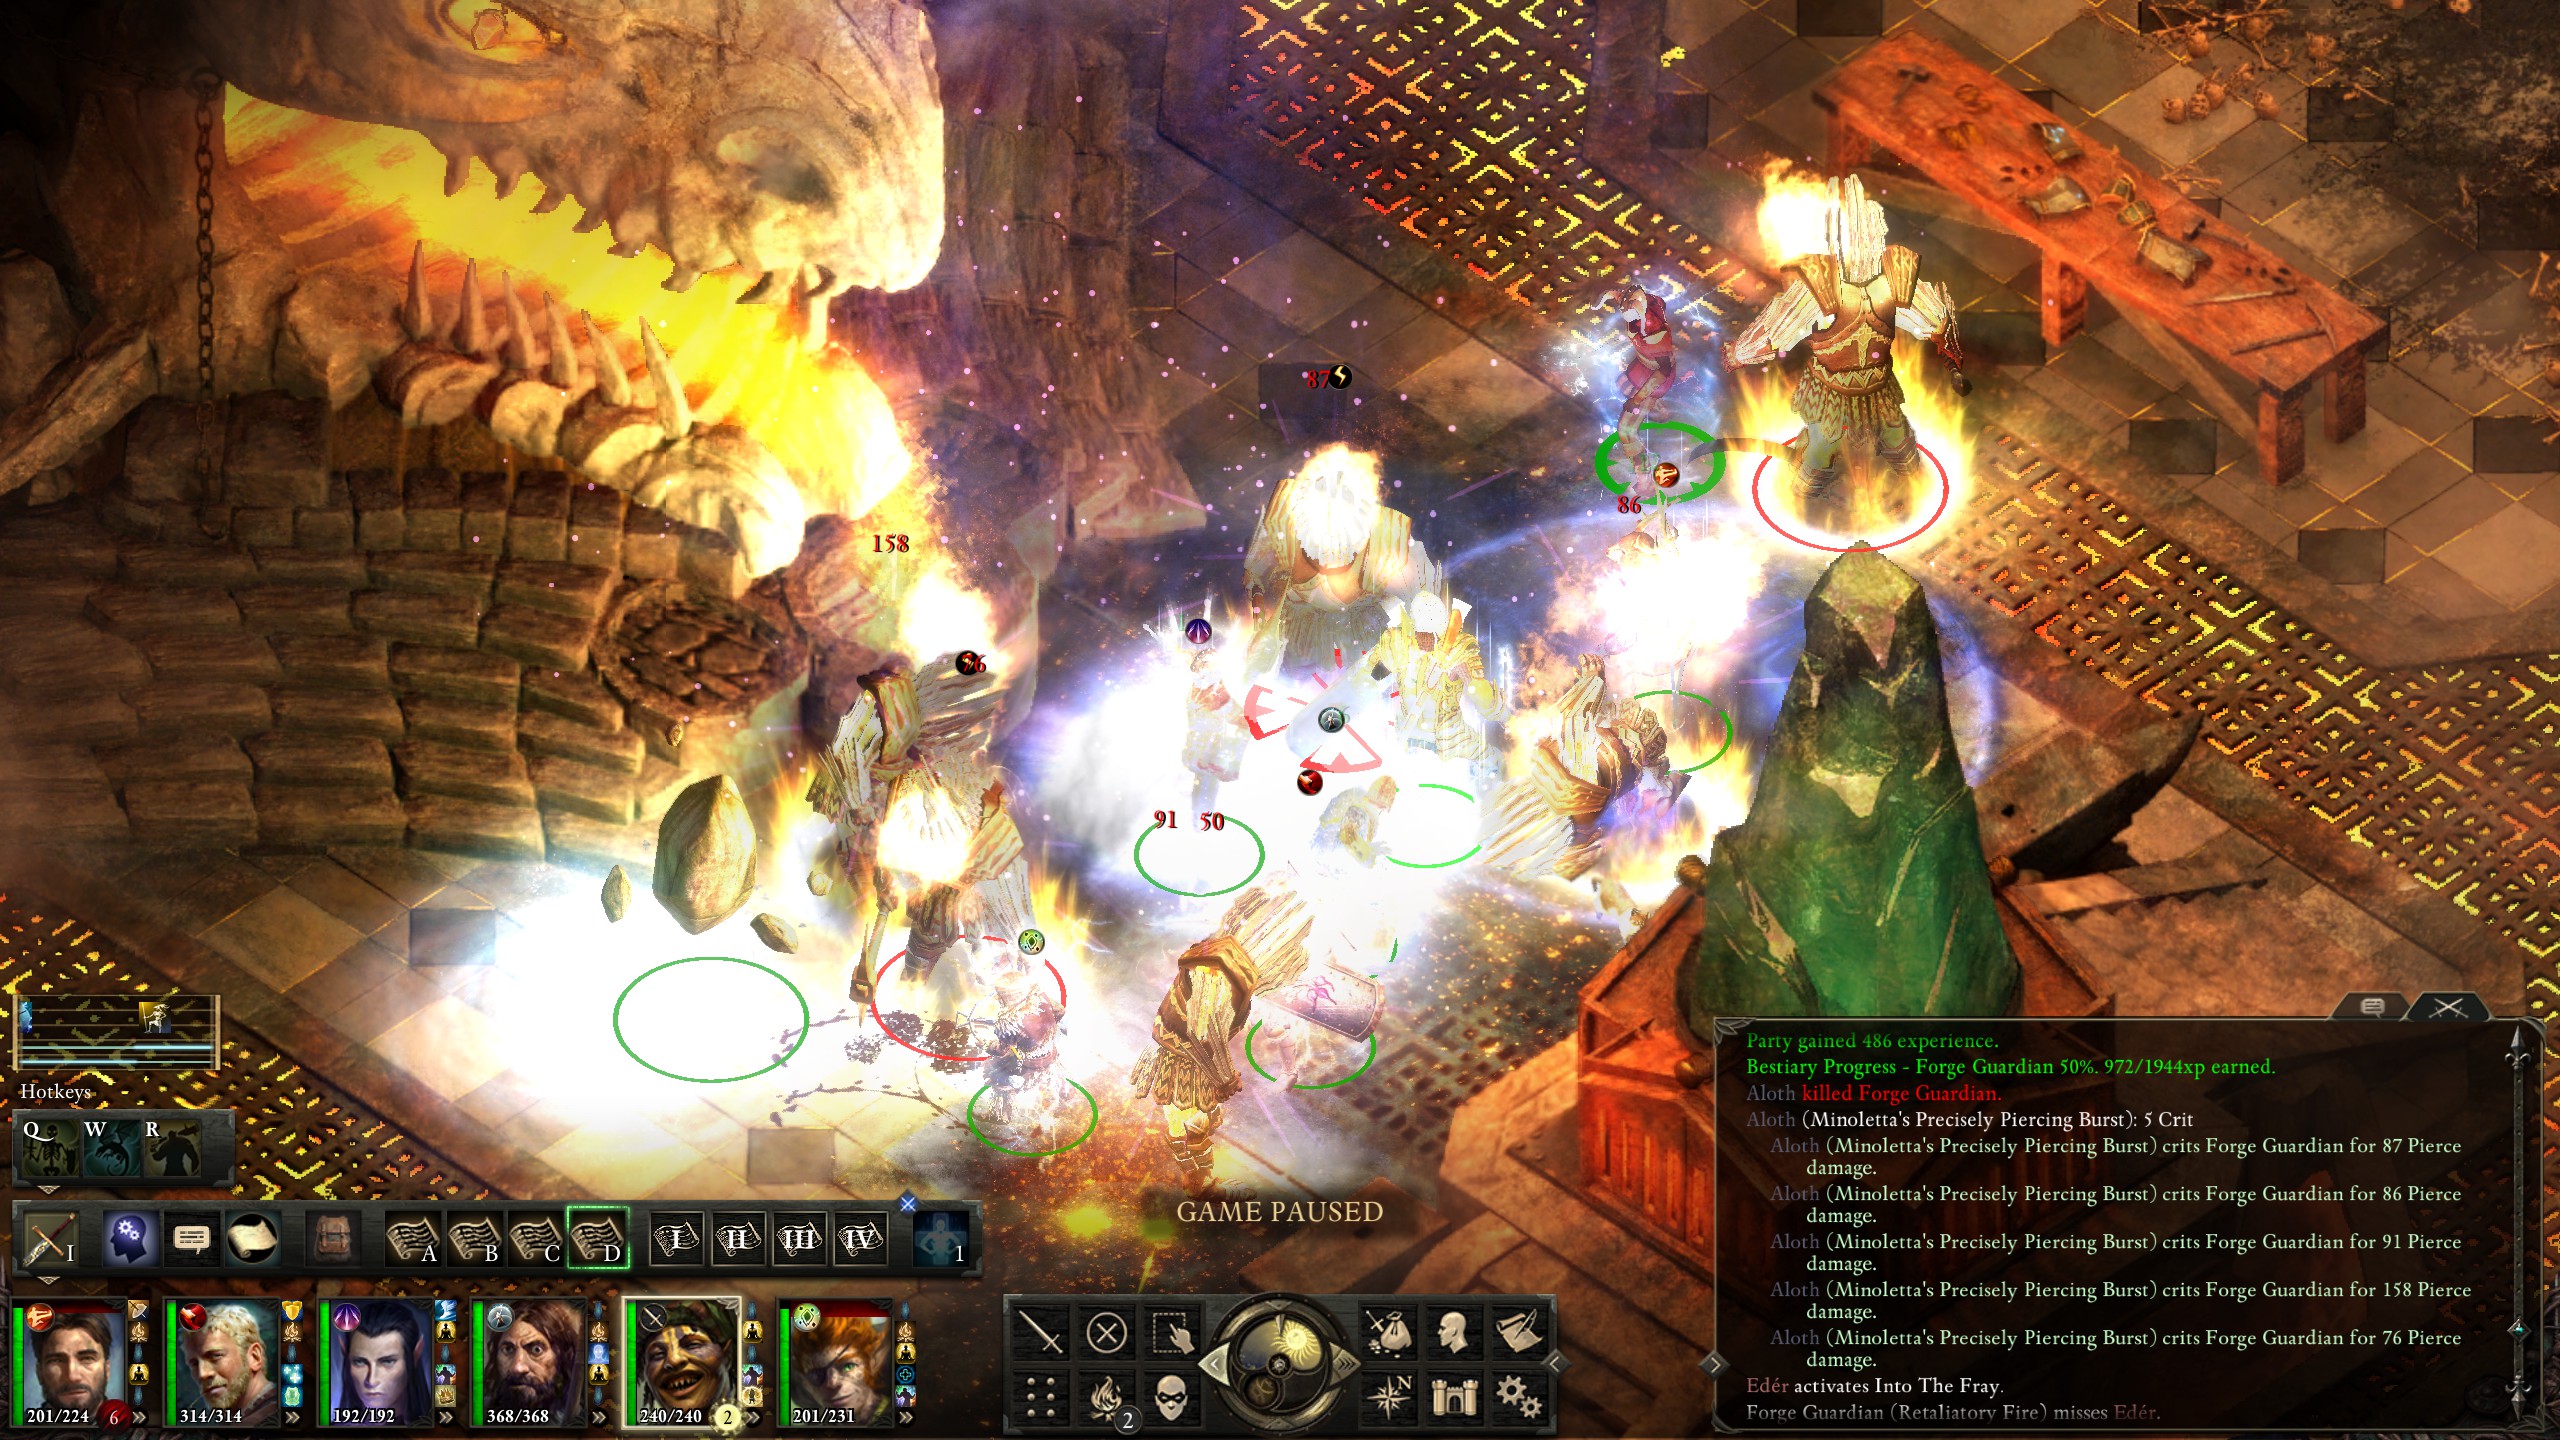
Between my damage and durability, the ghosts and guardians were defeated without much trouble.
With their forge guardians and selves defeated, the ghosts of the Pargrunen leaders once again appeared, though pacified this time, in order to tell us their story.
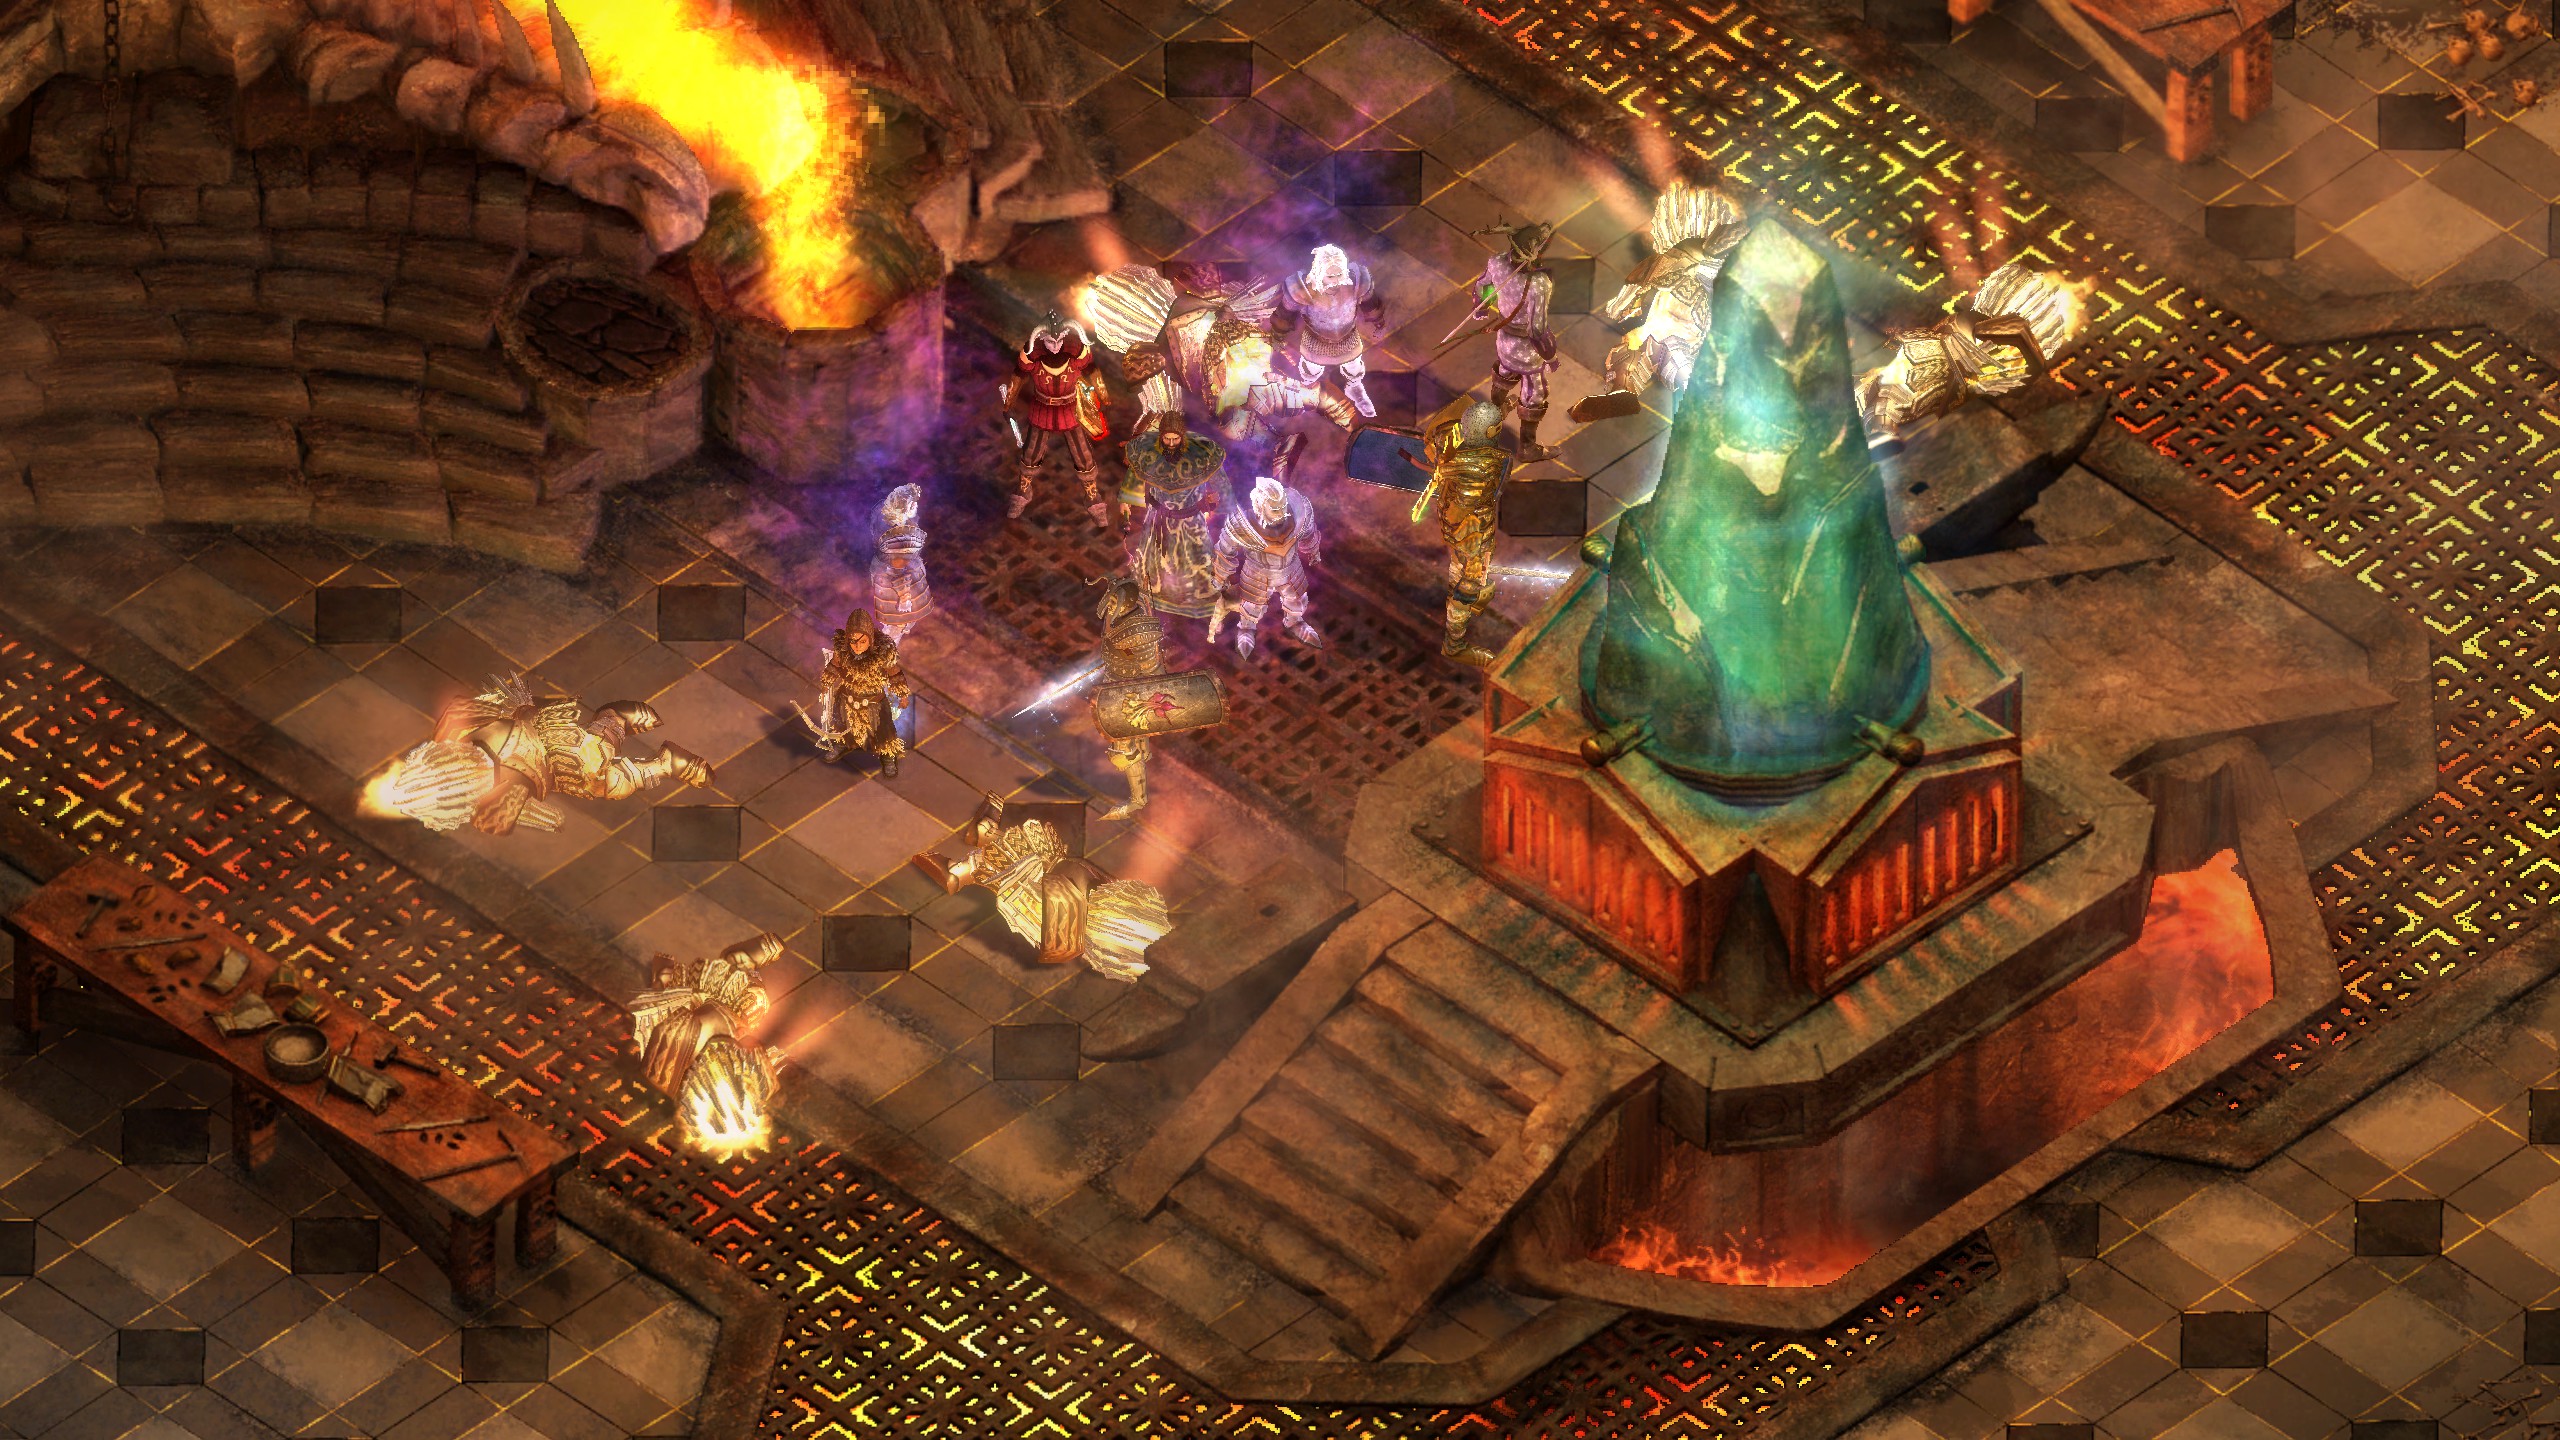
Having listened to their story, I bound them to place so that I could get the extra durgan-reinforced enchantments, and the main storyline was completed! There were, however, two extra boss fights that needed doing.
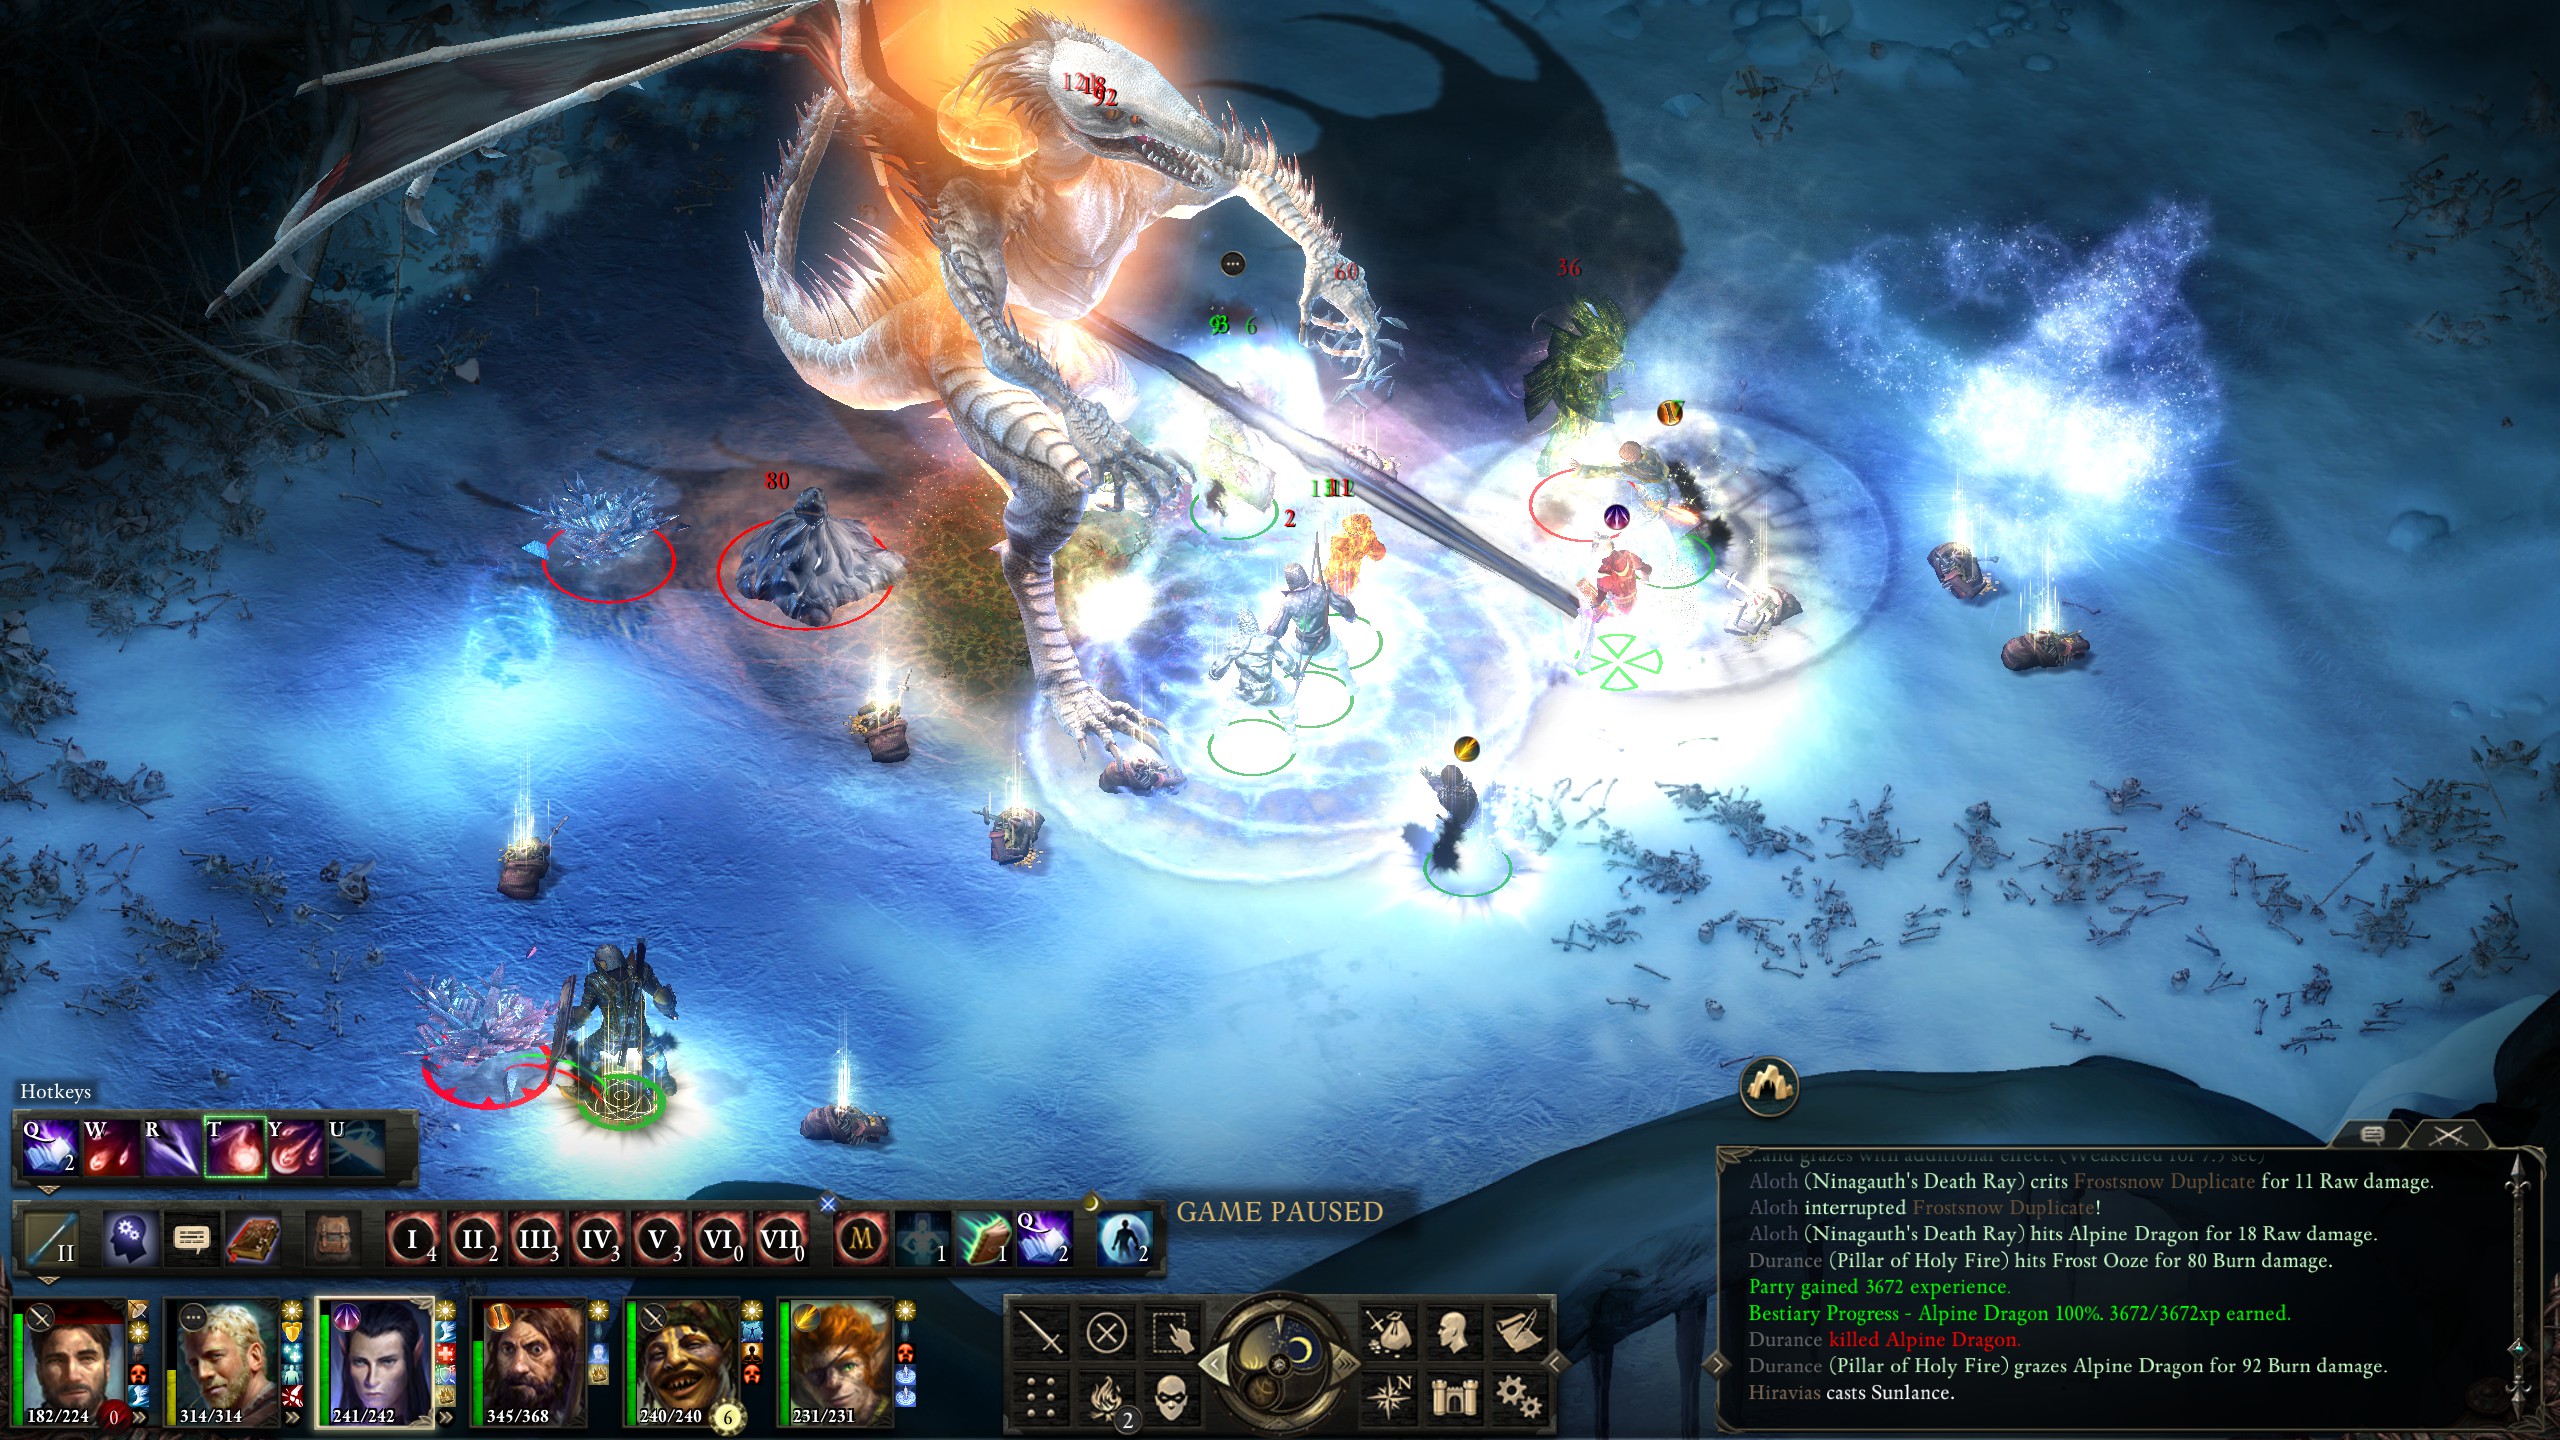
I began the fight using the two-pronged approach that I'd developed against the Adra Dragon, sending Eder in to do the main tanking.
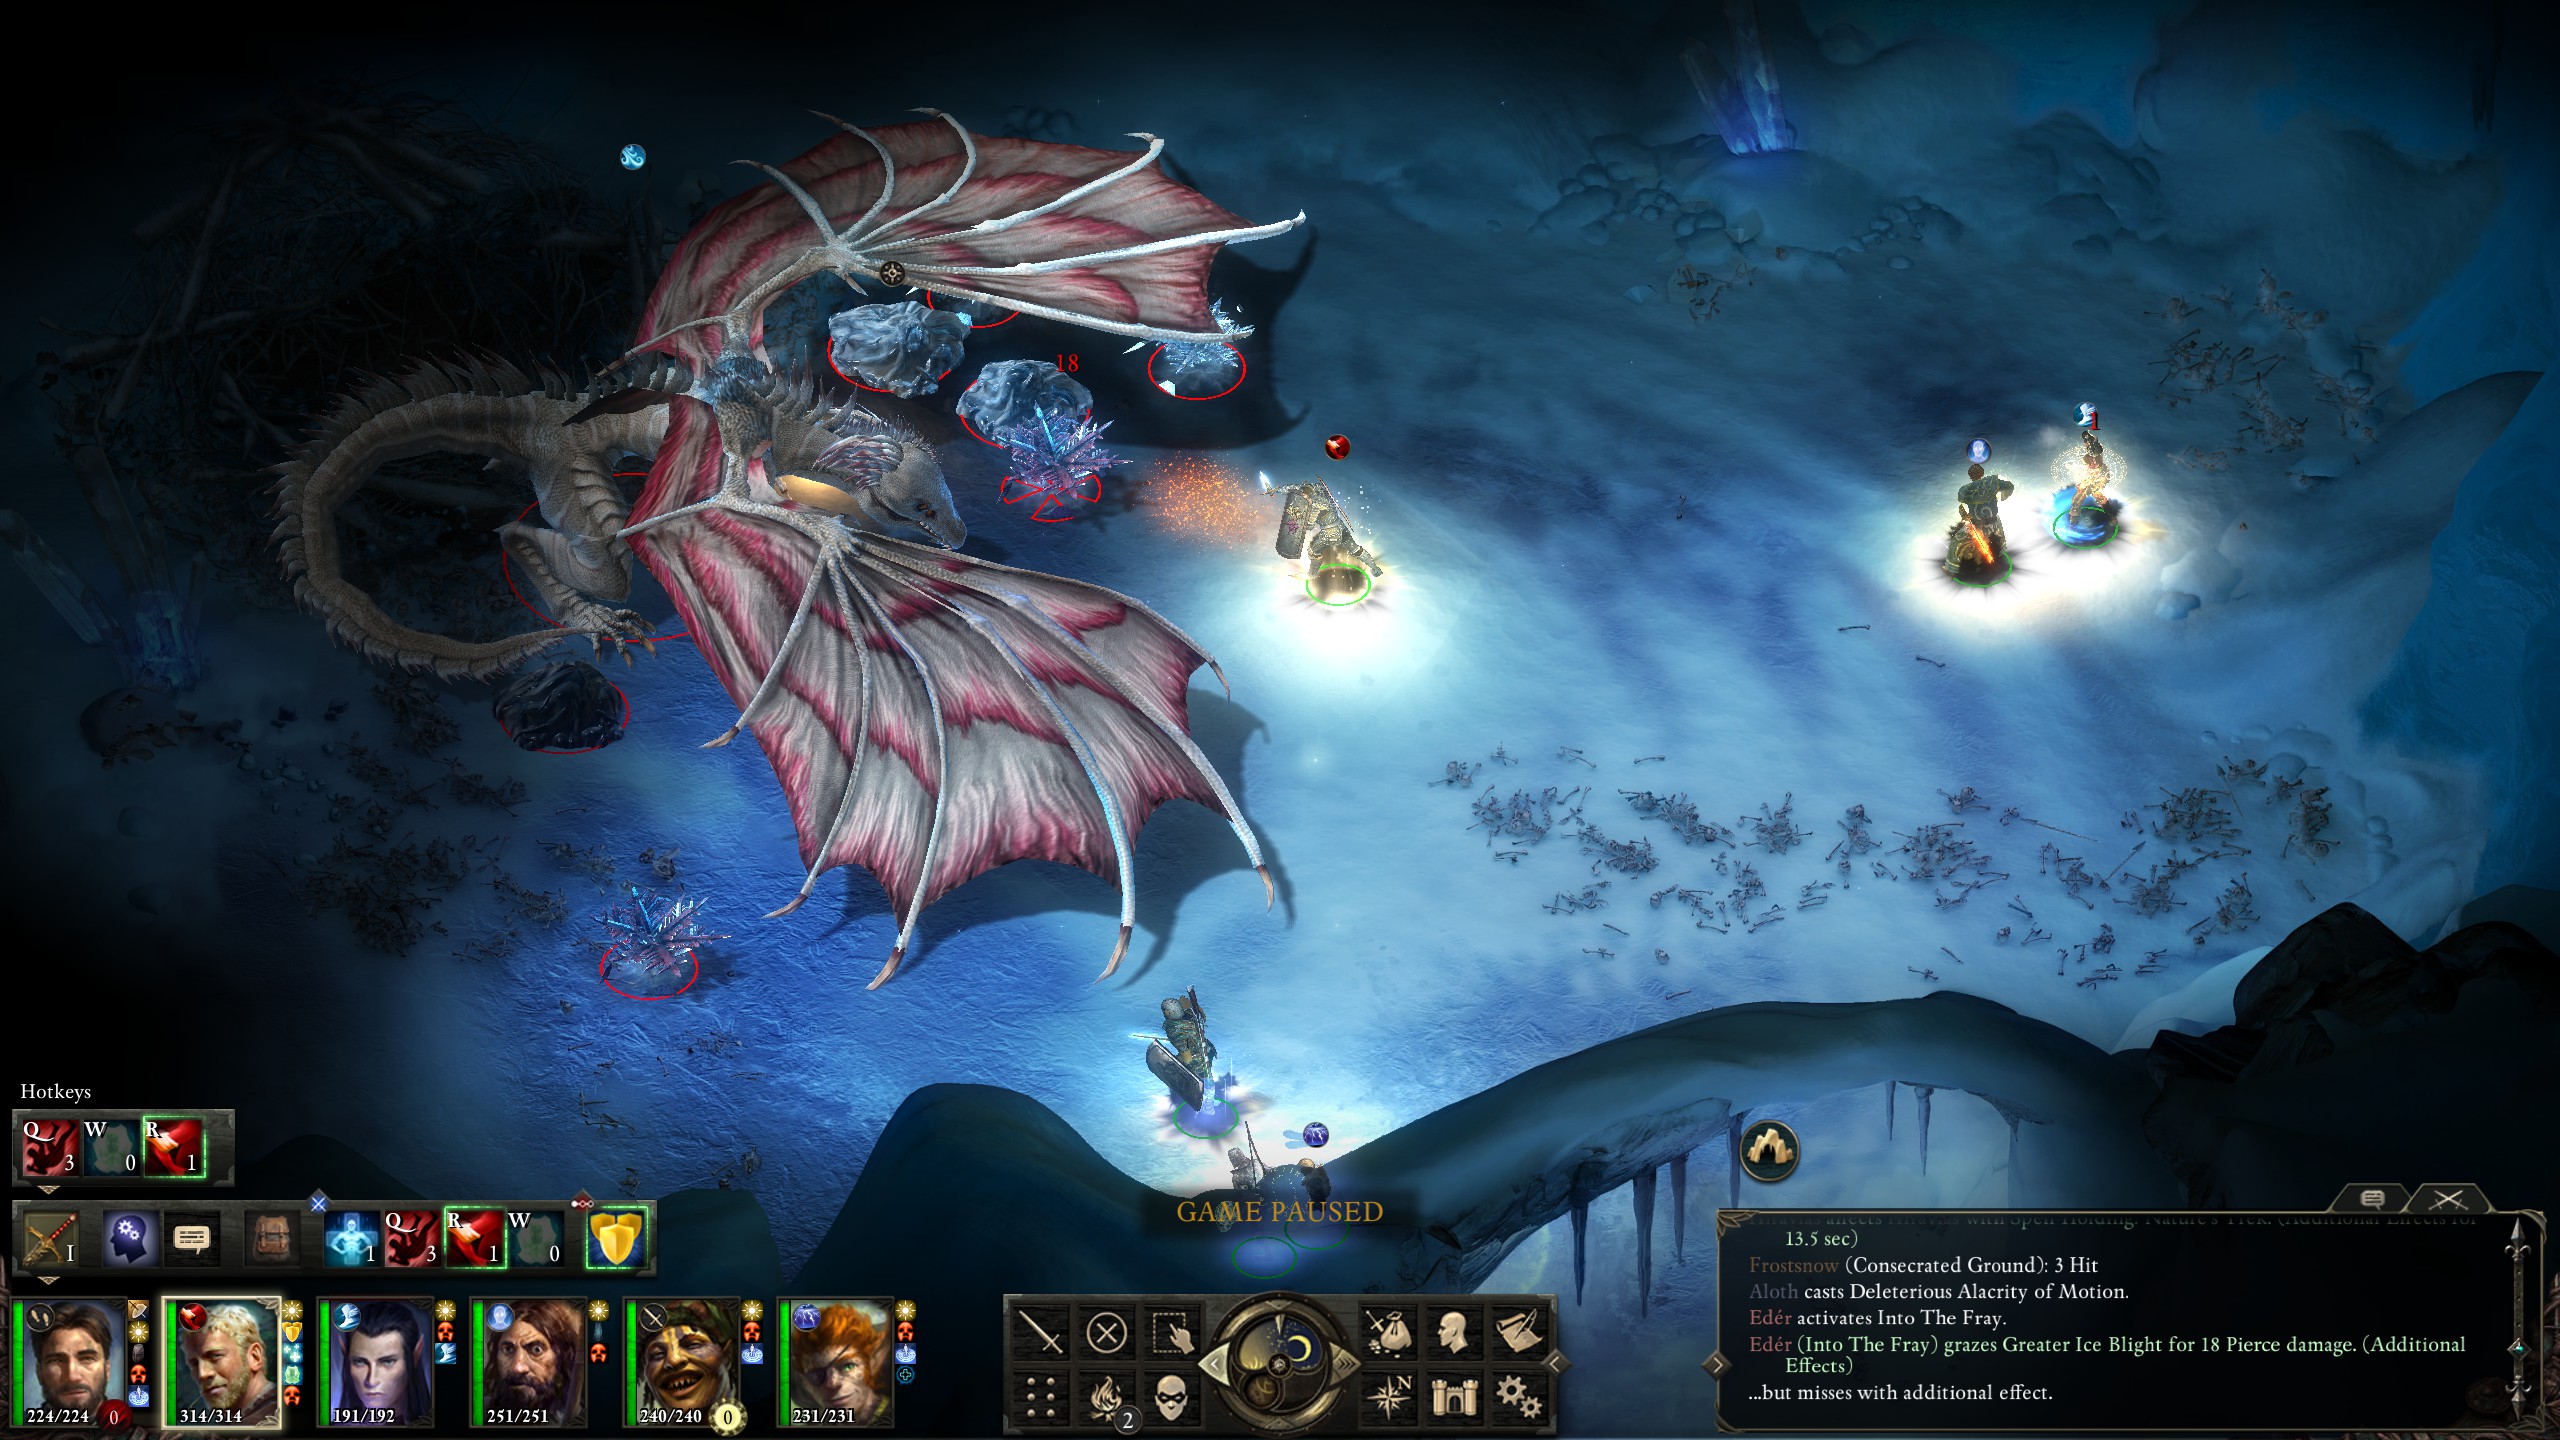
I had forgotten, though, about the ghosts that would appear, and they began chewing into my rear formations.
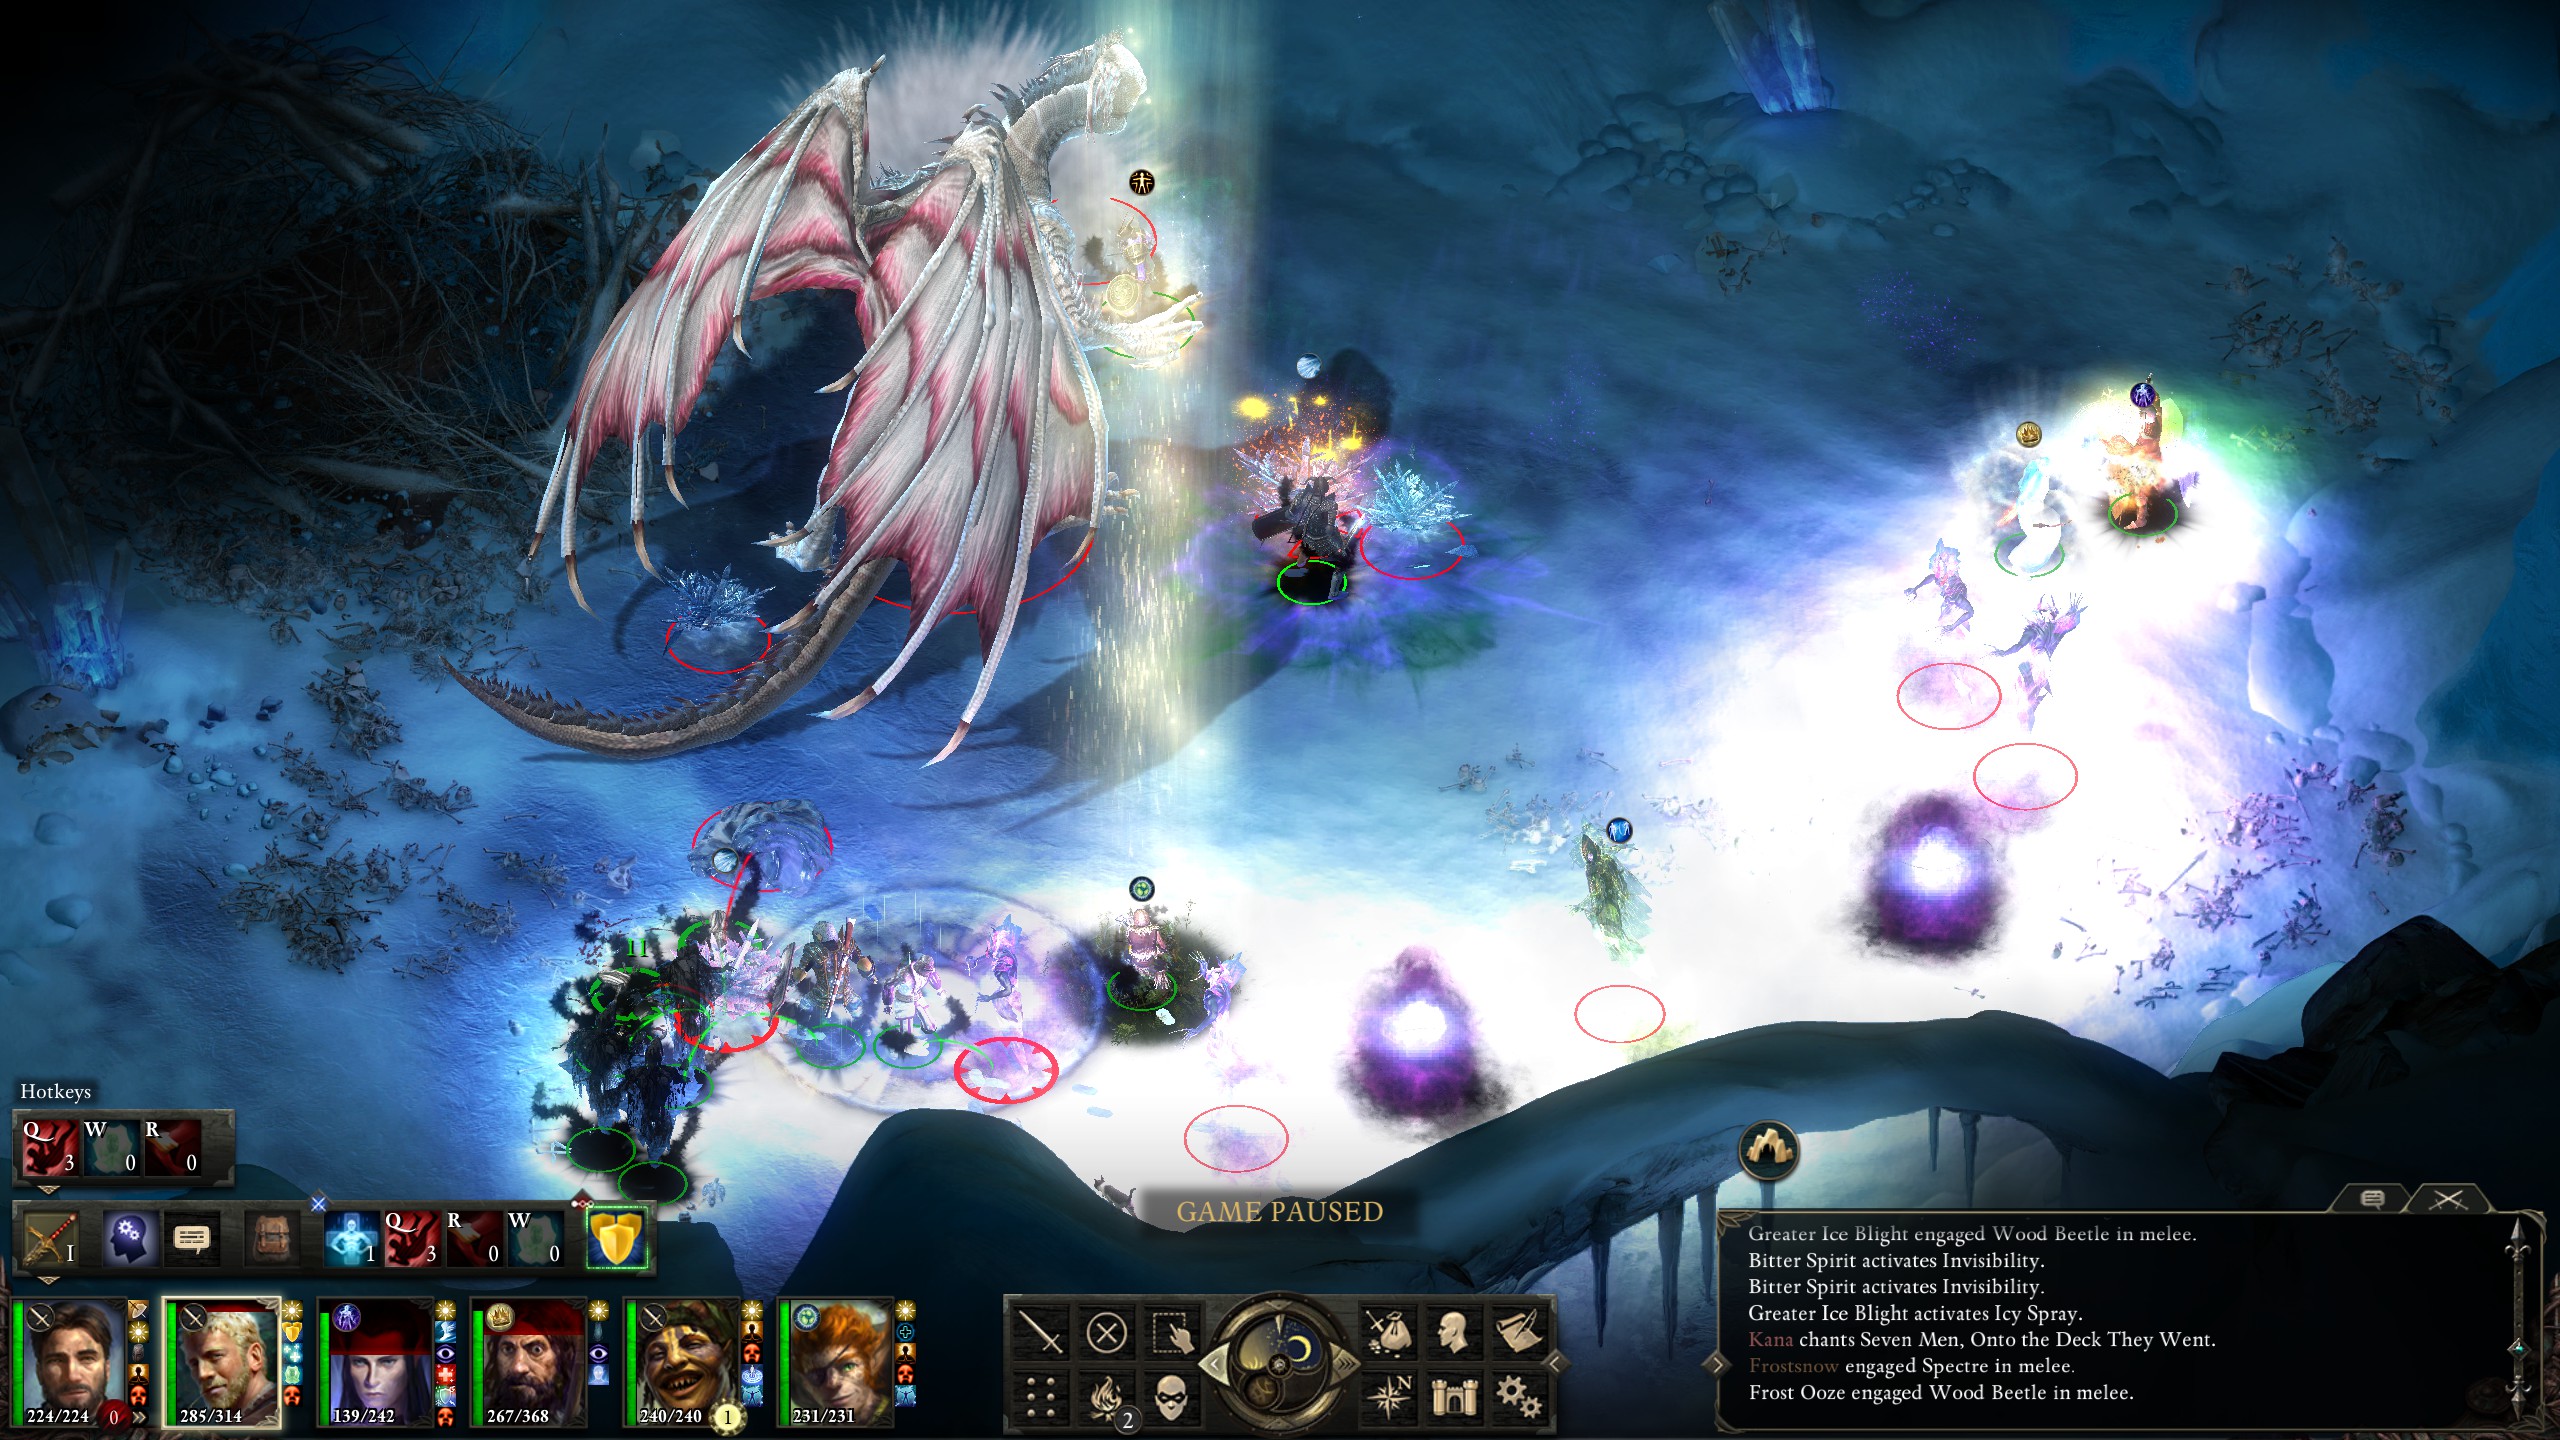
While I focused on clearing the ghosts out of my rear formations, the dragon wasting no time in blasting my tank and even my Priest with a breath attack.
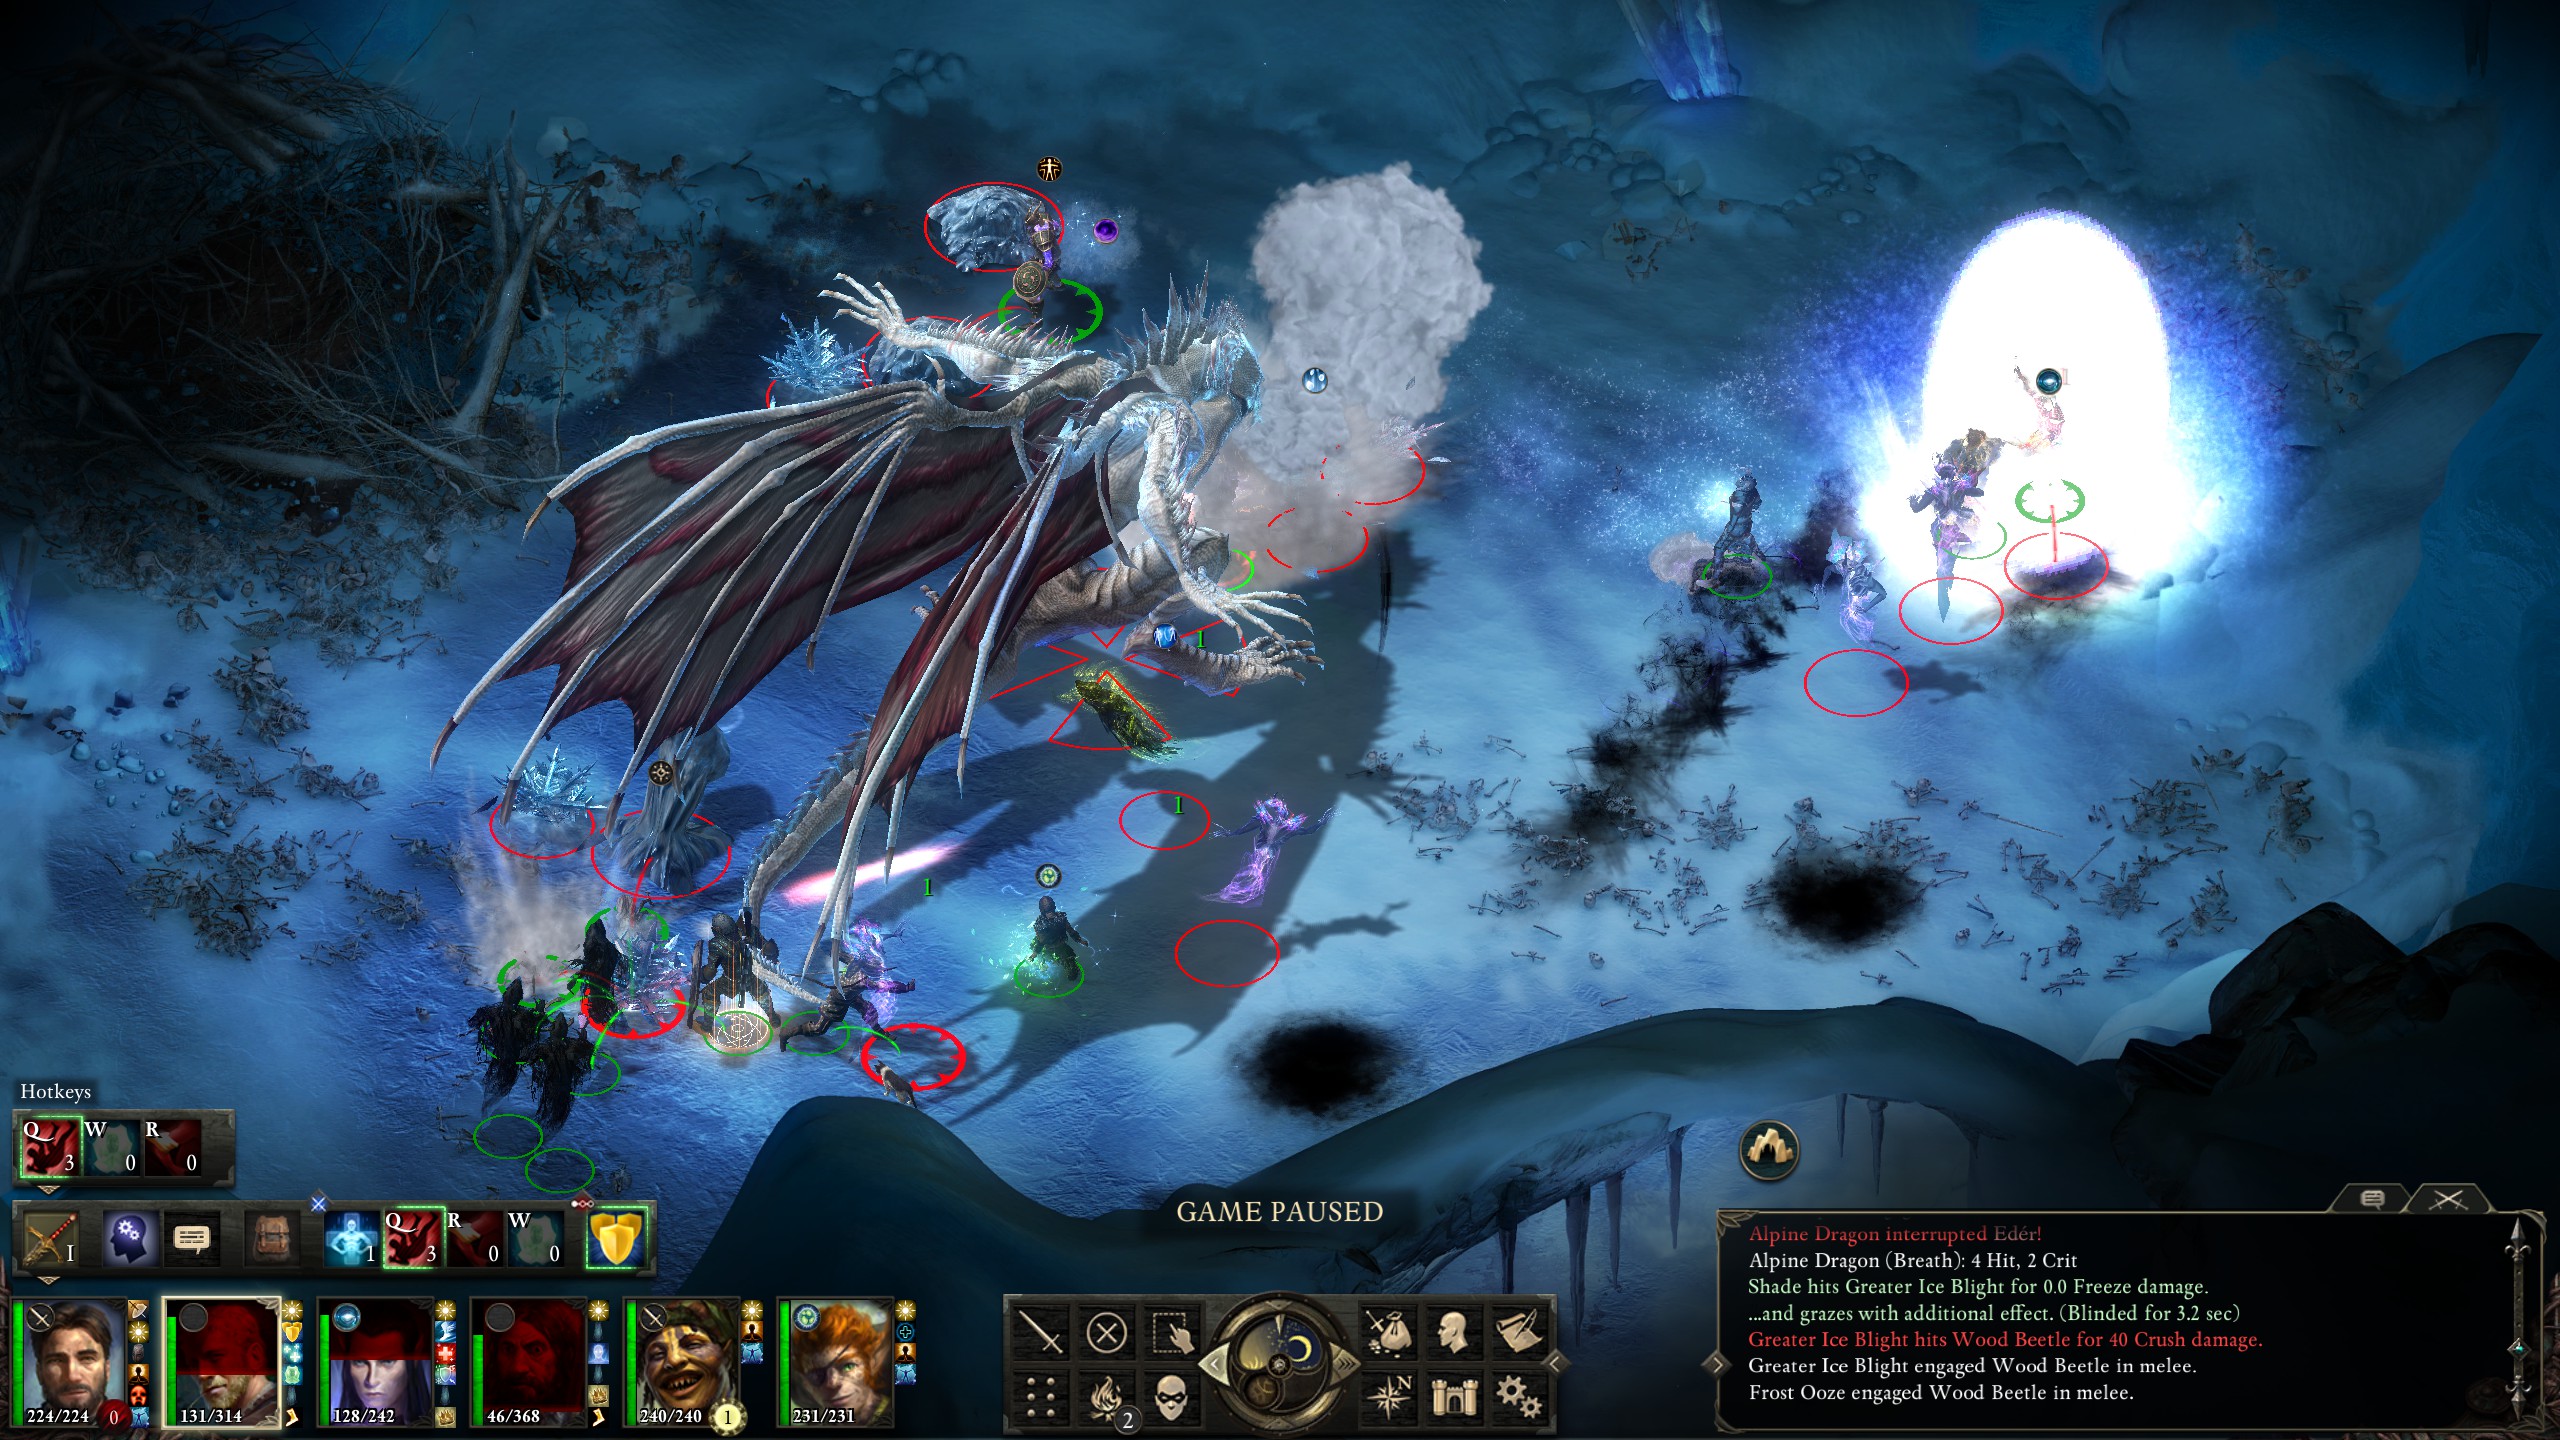
What I hadn't anticipated, though, was just how much damage the dragon was capable of doing. It turned out that he had some rogue talents, and, while the damage from the additional blights that Eder was tanking was not a big concern, the fact that it allowed the dragon to use Sneak Attack was devastating, quickly burning through Eder's "Unbroken" ability and causing me to send Durance over with a "Ressurrection" spell.
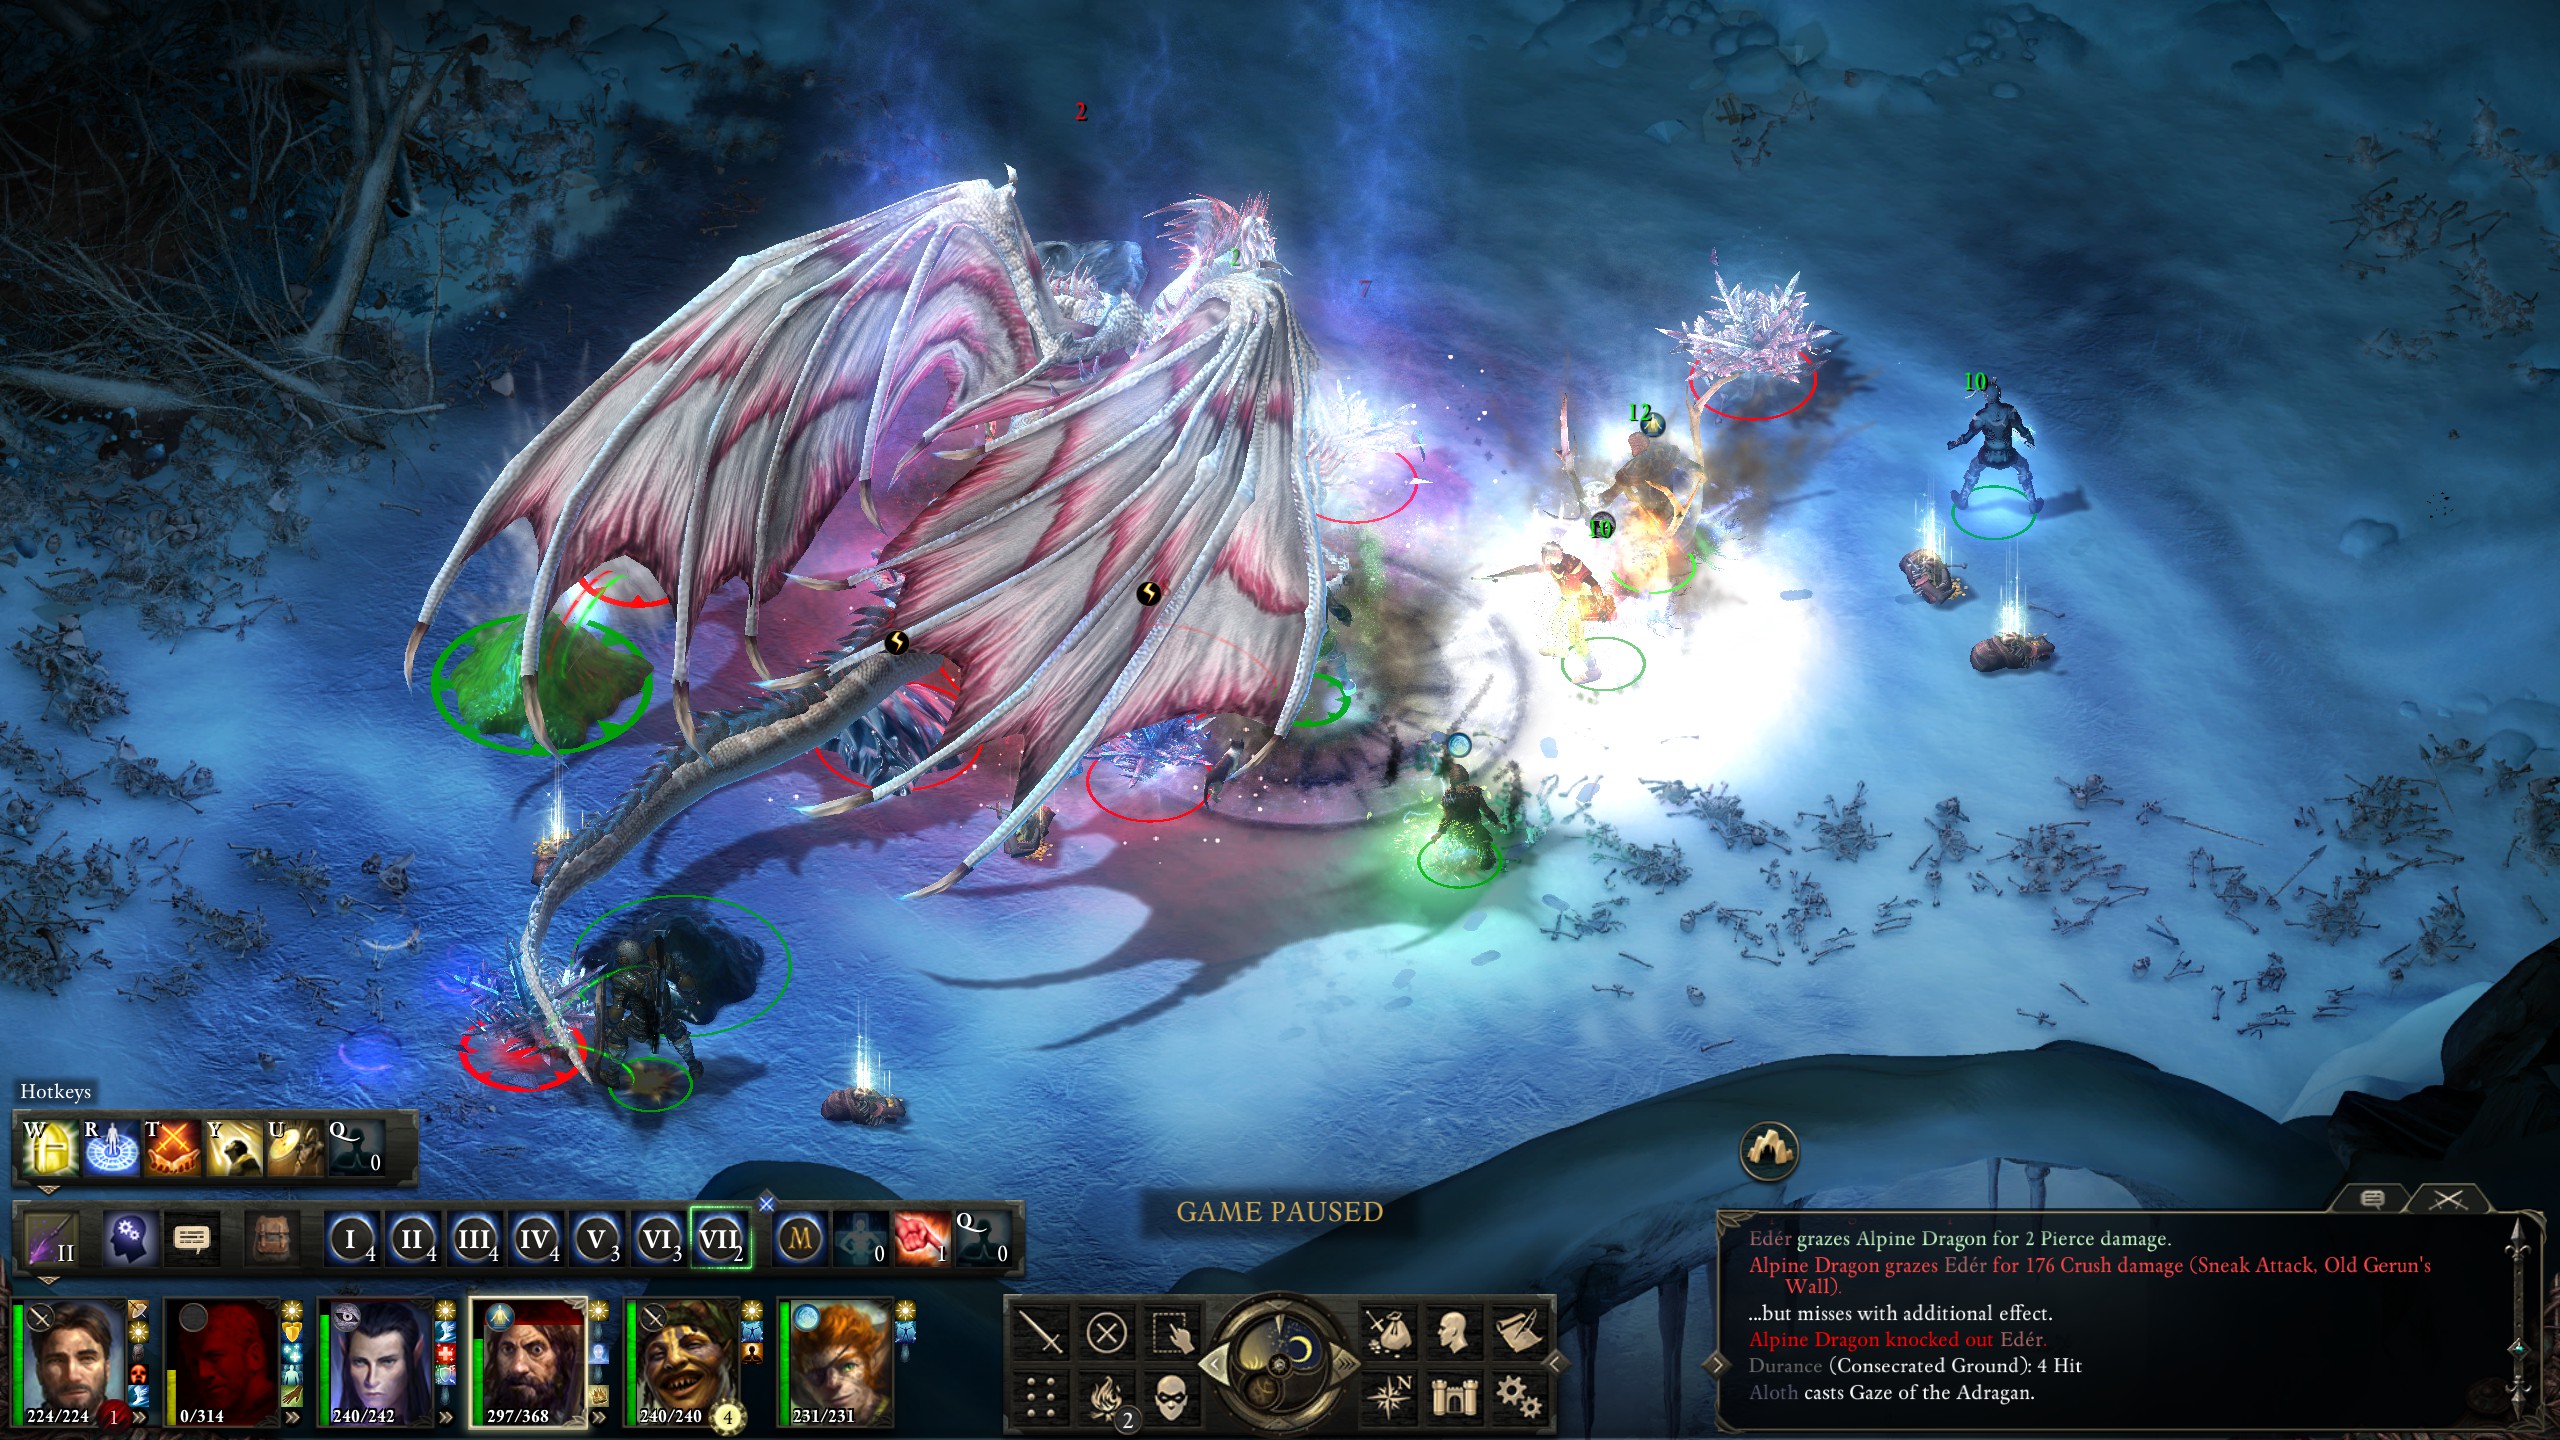
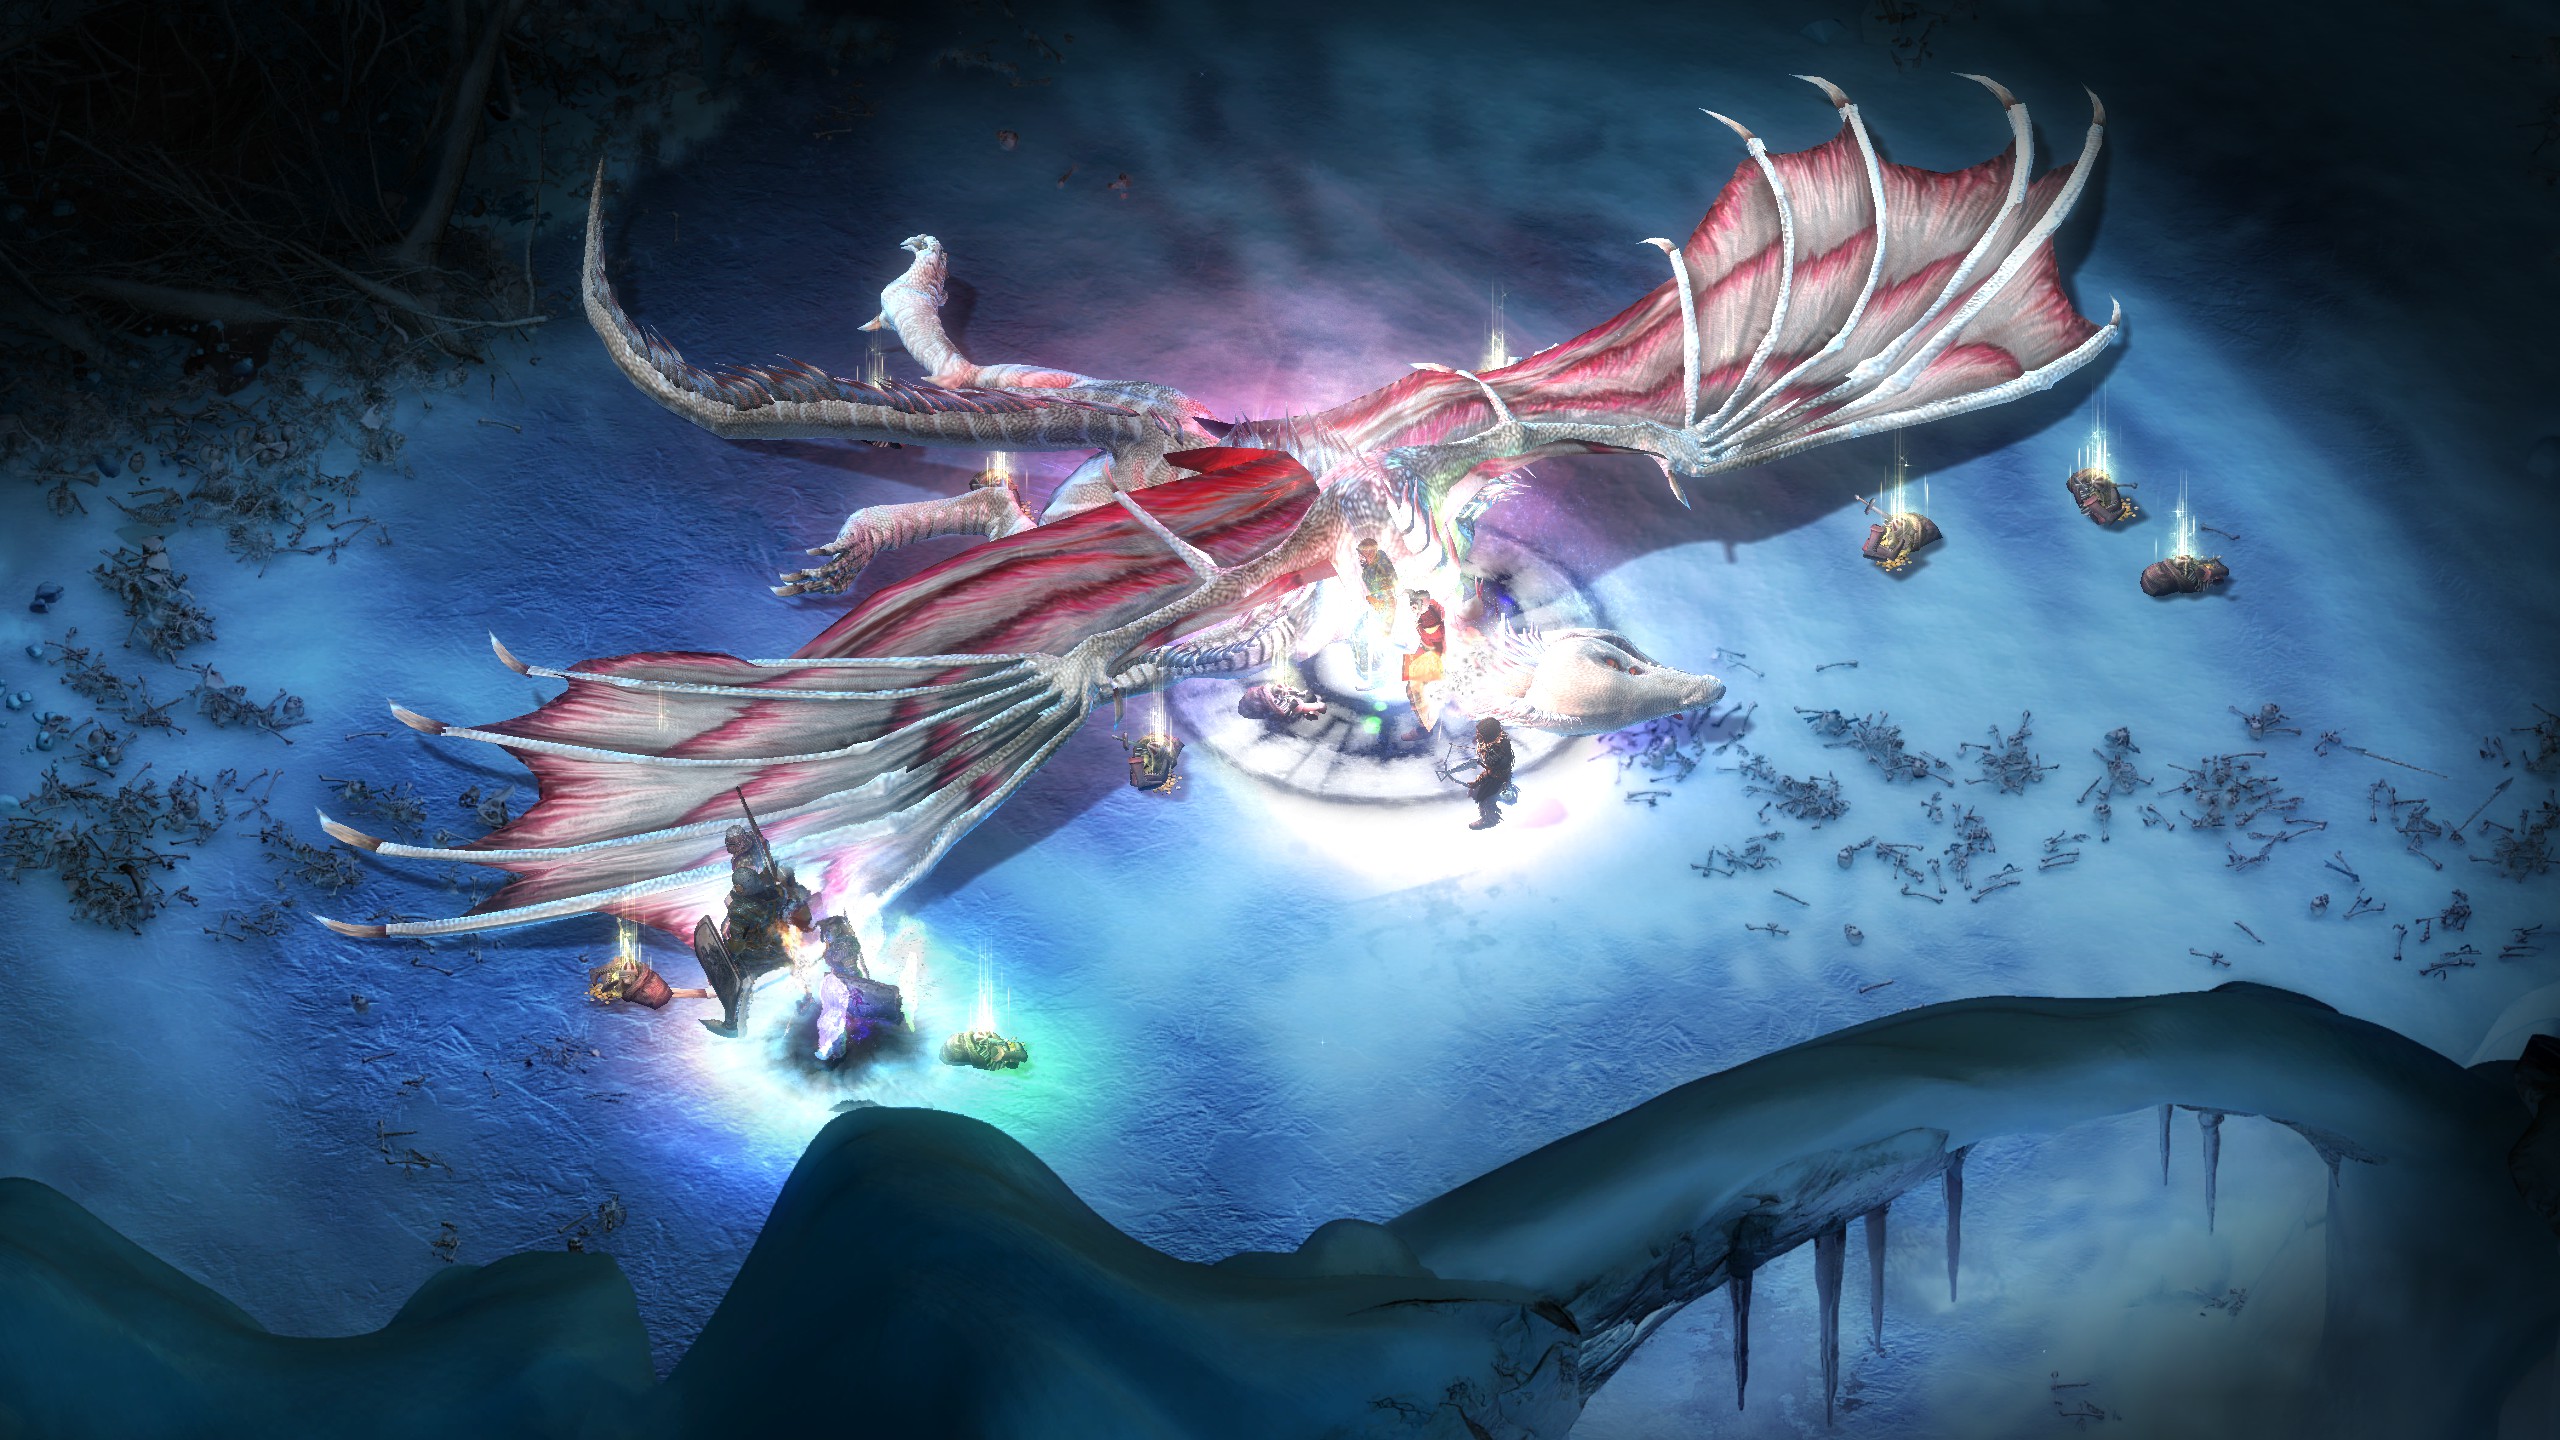
The dragon was doing too much damage. The blights would have to wait. I decided to focus all that I could on the dragon while ignoring everything else. Aloth cast "Gaze of the Adragan" and, to my luck, scored a direct hit.
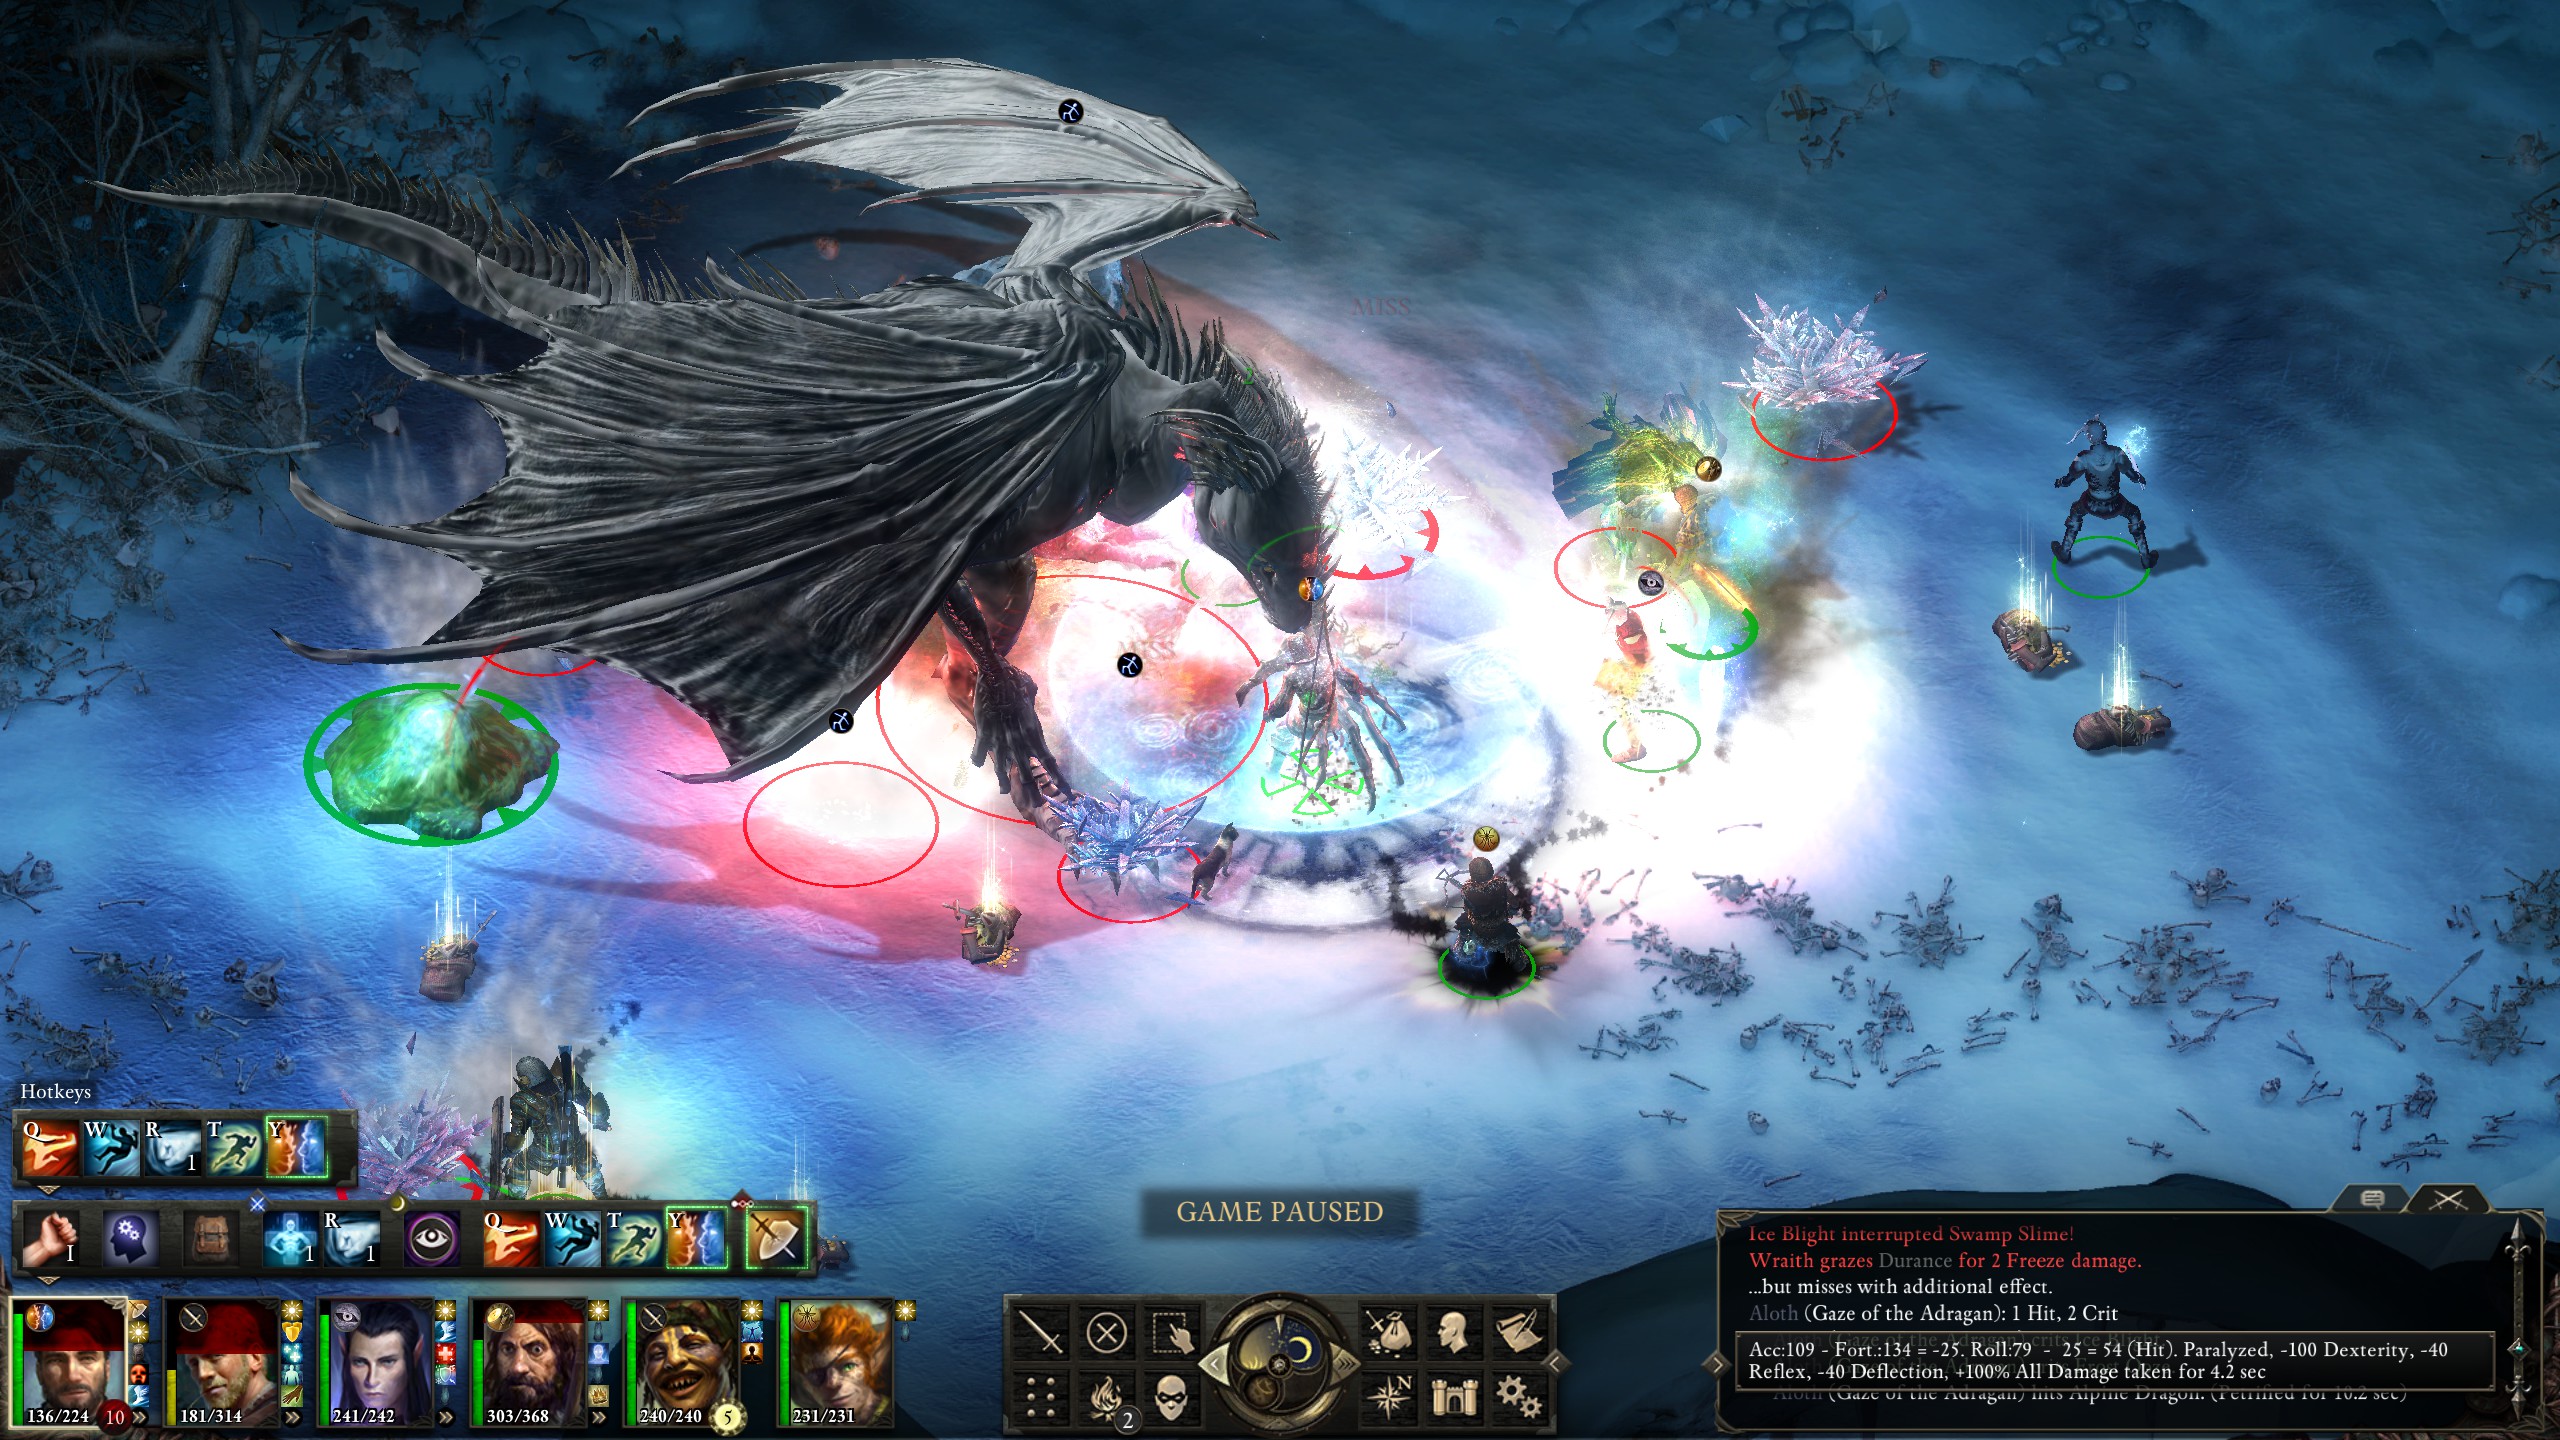
I unleashed everything that I could as quickly as I could, and brought the dragon down a short while after the affliction wore off.
After clearing out the blights, the fight was finally over and the dragon defeated.
The fight was actually pretty close. If I hadn't been able to revive Eder in time or he'd gone down for the count things could have easily turned out in the dragon's favor. I won, though, and it was time for the next high-level boss.
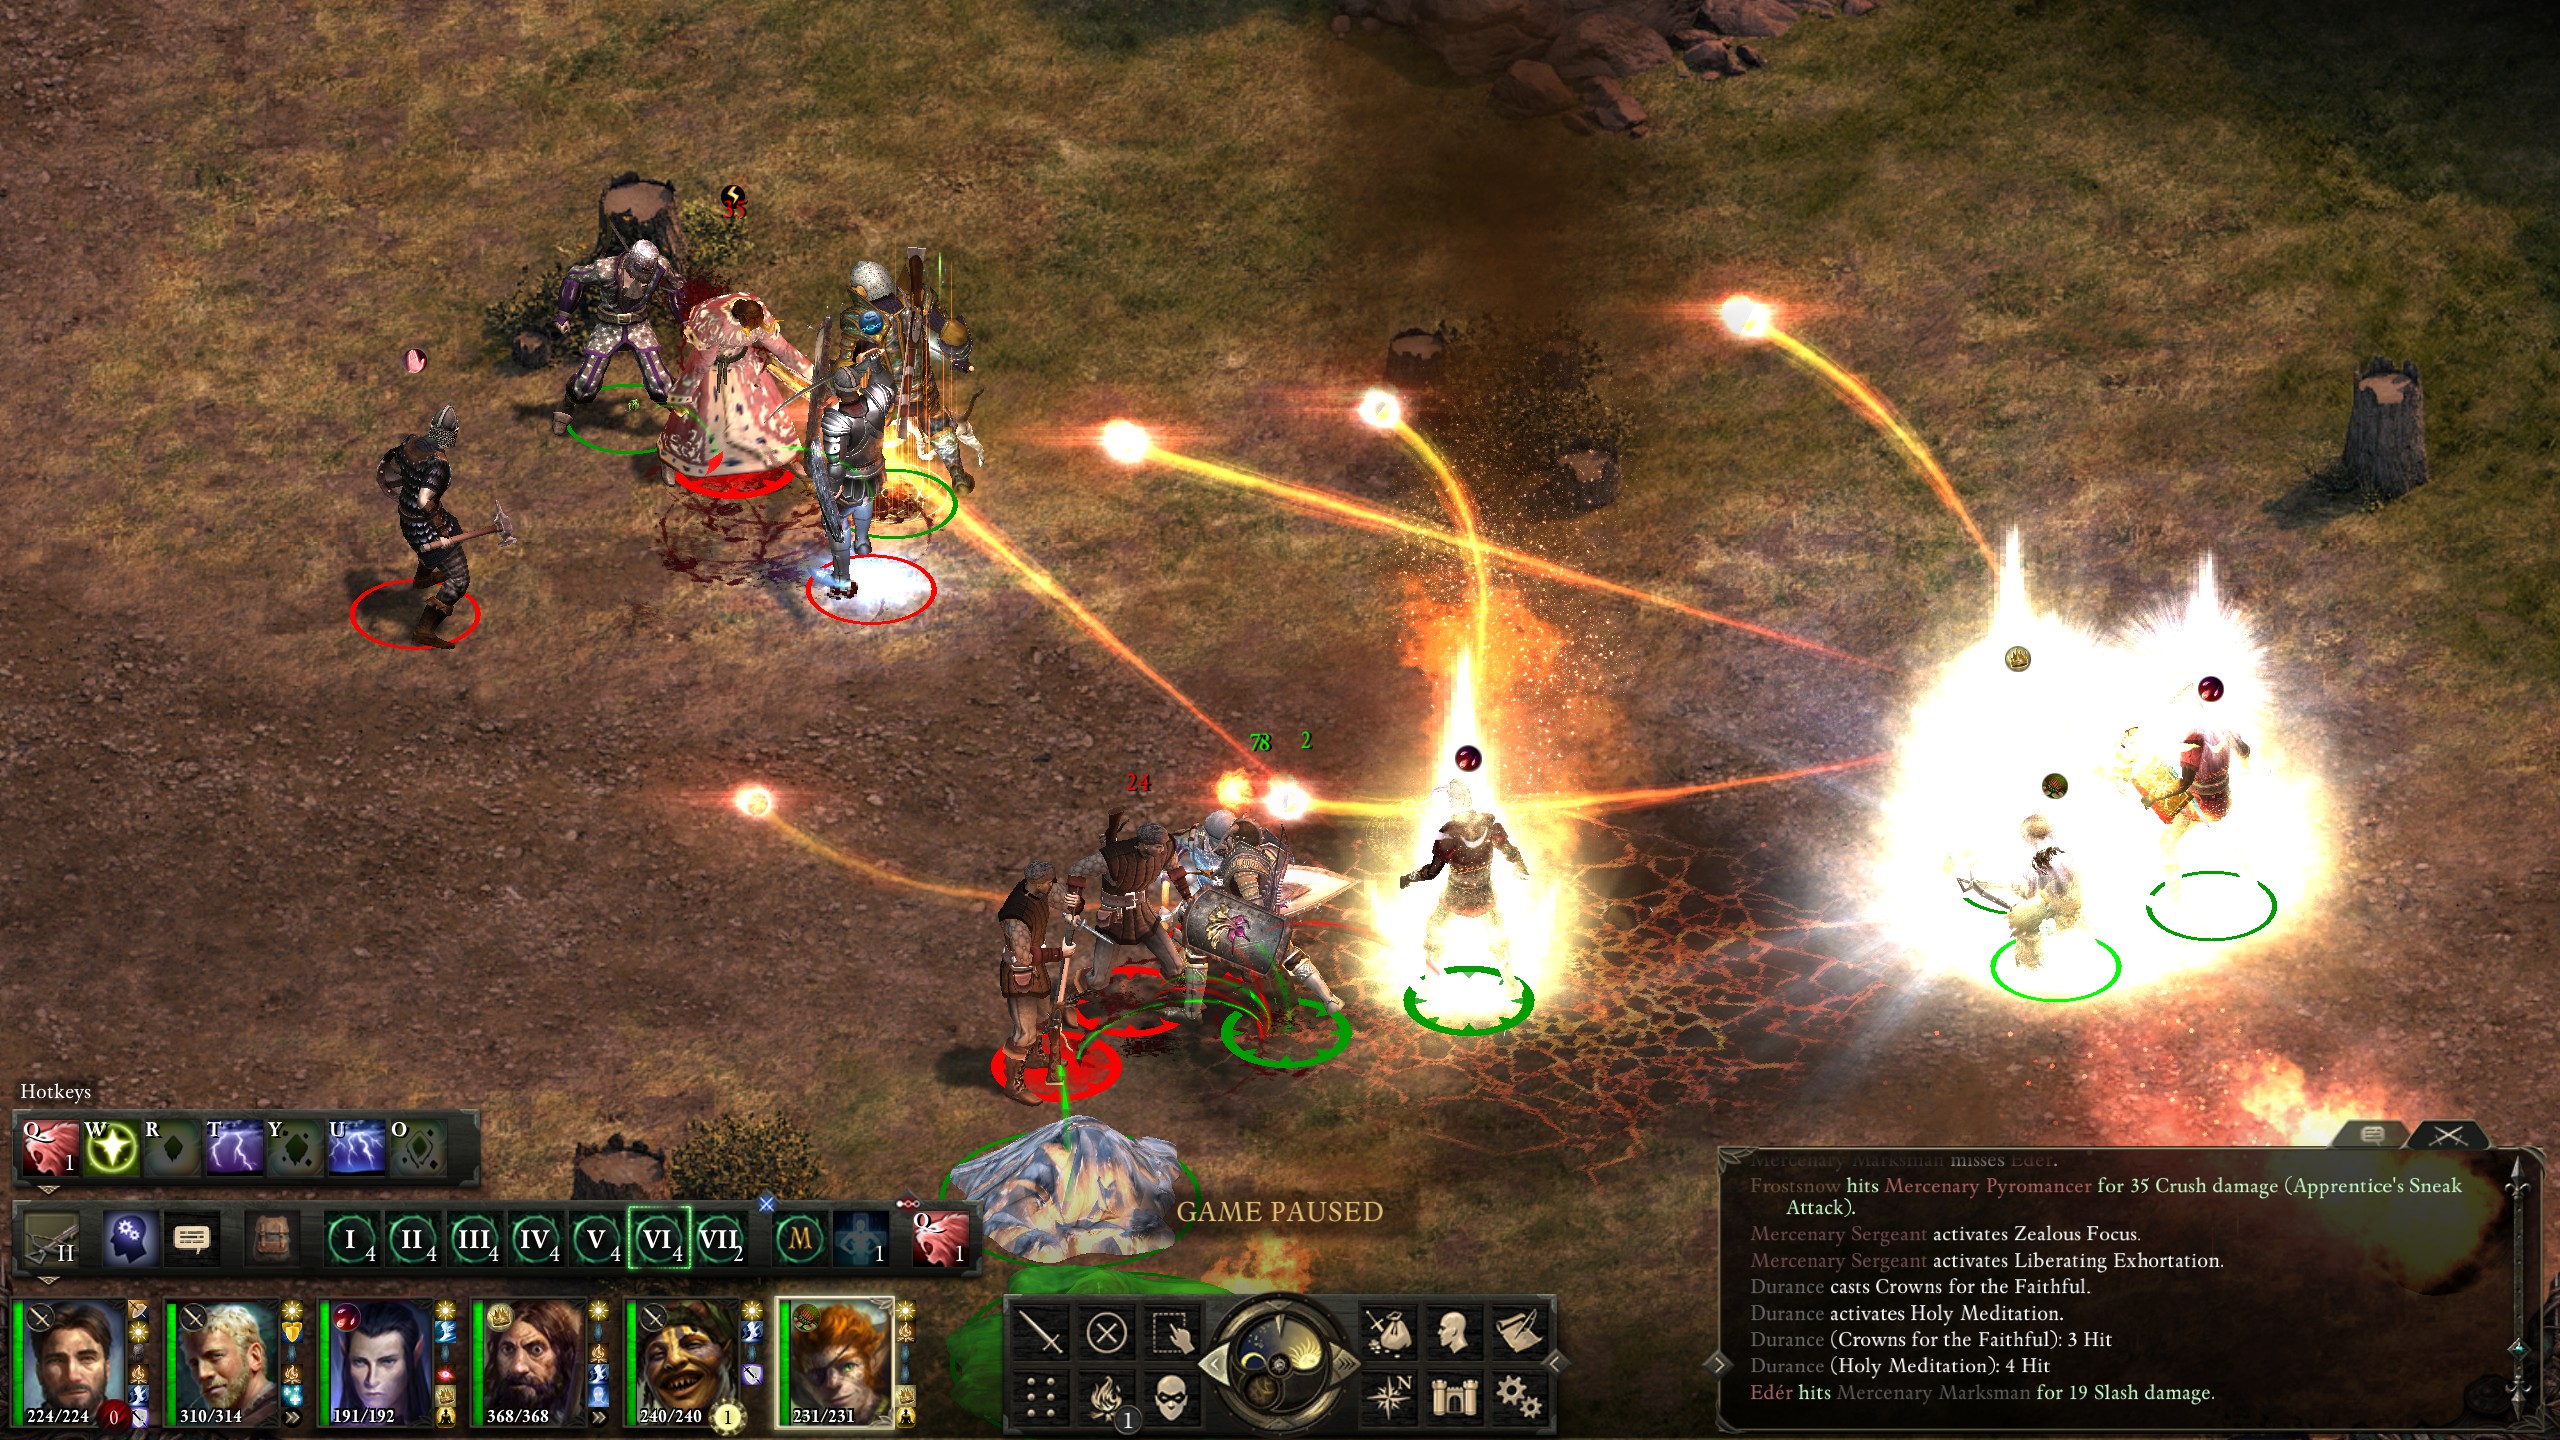
Their commander, Baelorin, was, of course, very well-guarded.
Not that his guard was able to save him from my AoEs.
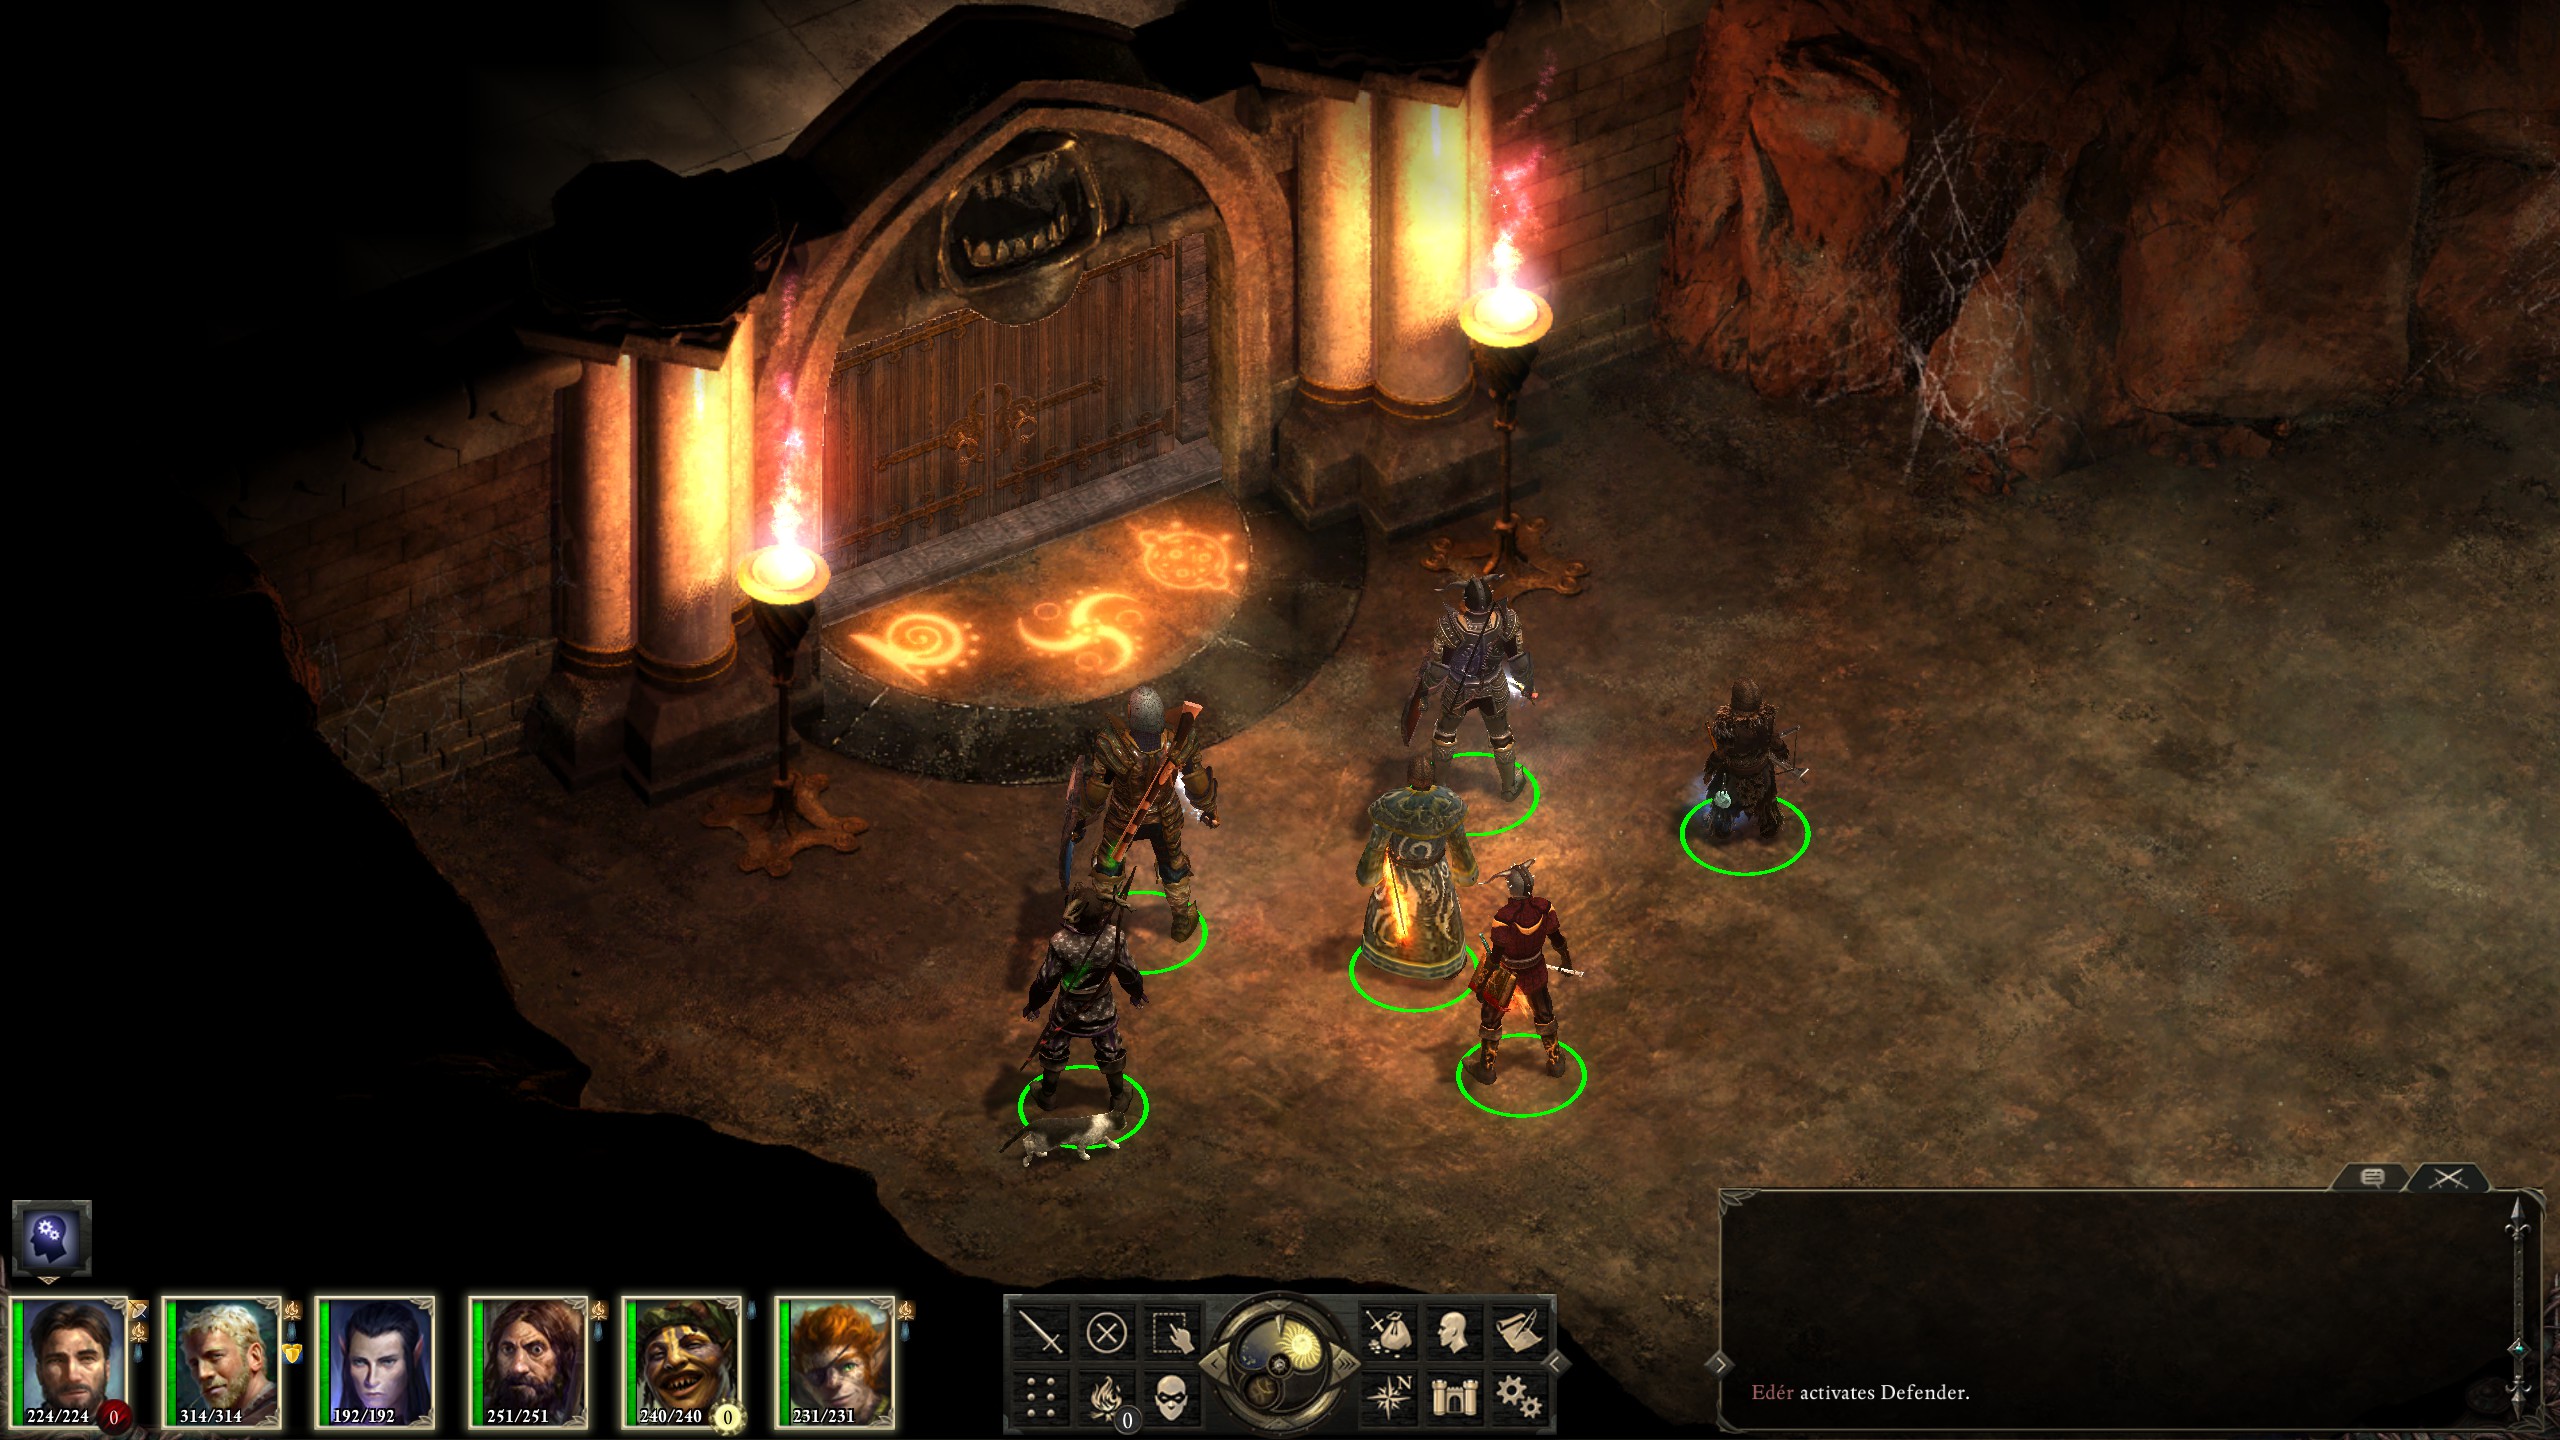
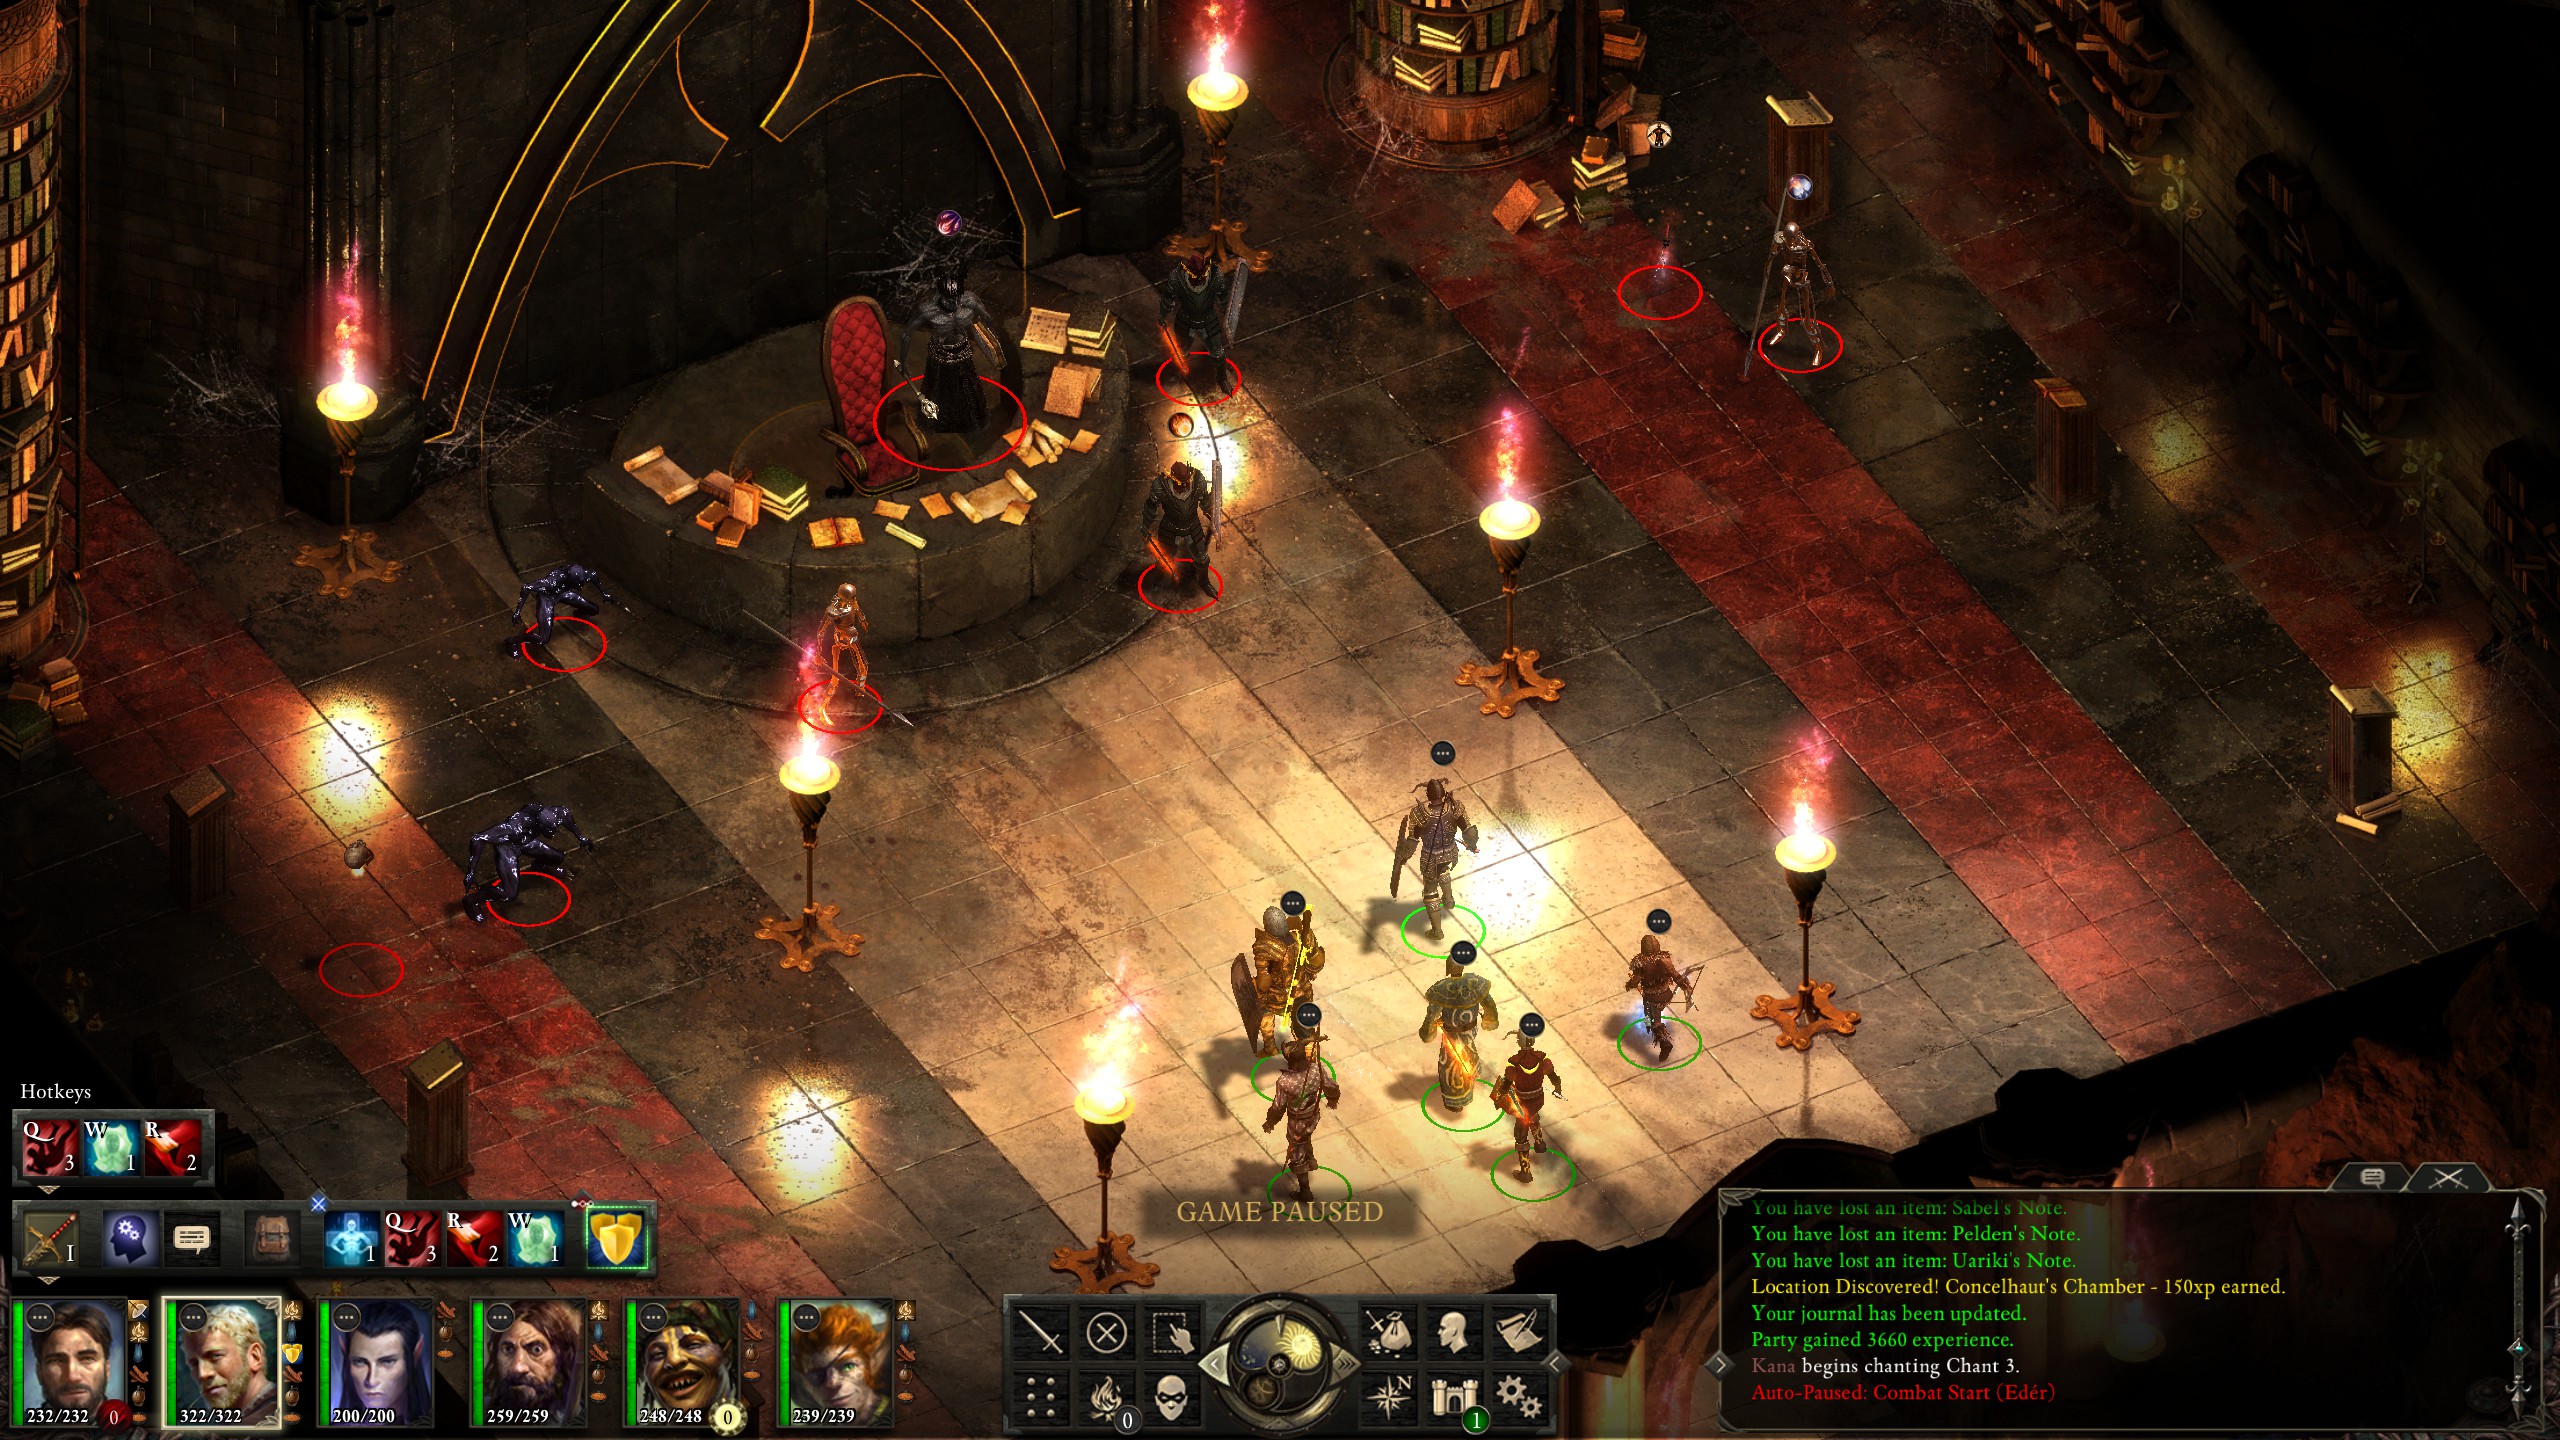
After Baelorin, I proceeded to battle my way through the ruins of Concelhaut's castle, fighting off the death guards, before descending into the lower keep. Inside, I battled his aggressive students (except for Uariki), obtained their pieces of knowledge, and headed to Concelhaut's chamber.
After solving his quizzes, it was time to confront the lich.
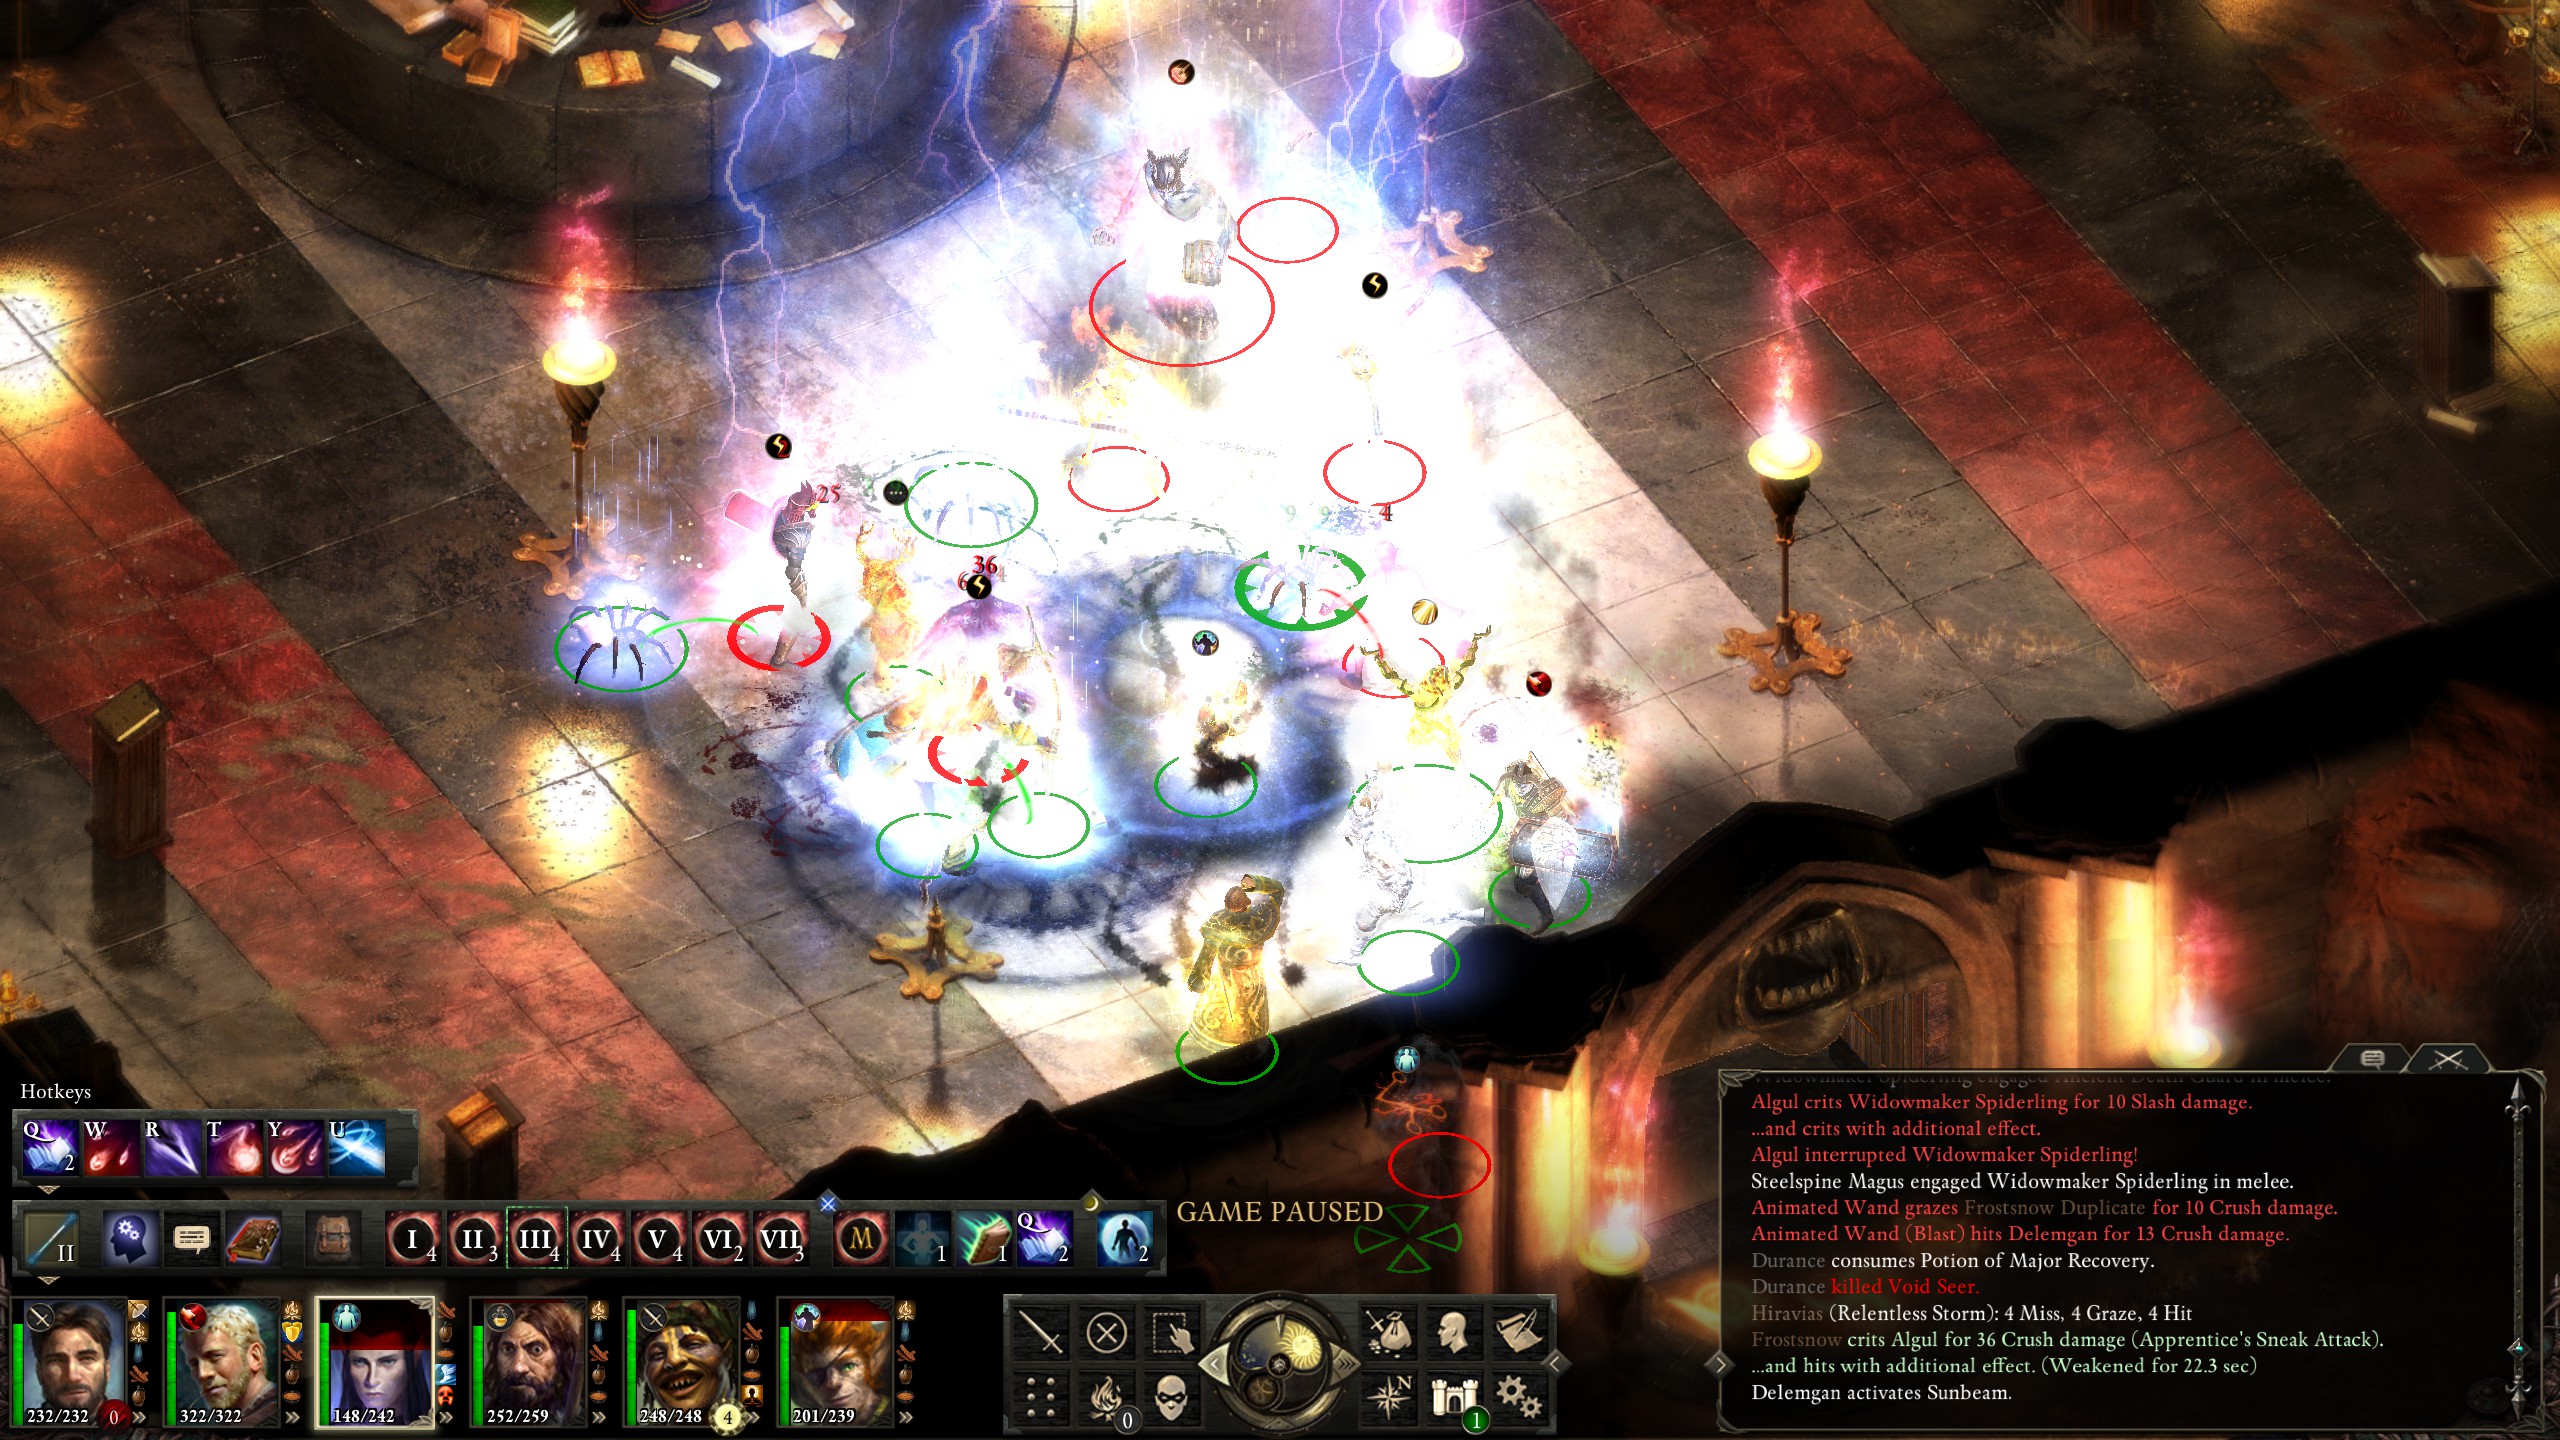
I began the fight by having my heroes each chug a "Potion of Major Recovery", but this was a mistake, as the death guards instantly threw a fireball at me which interrupted my chugging and then followed it up by casting "Clear Out" and knocking most of my party prone.
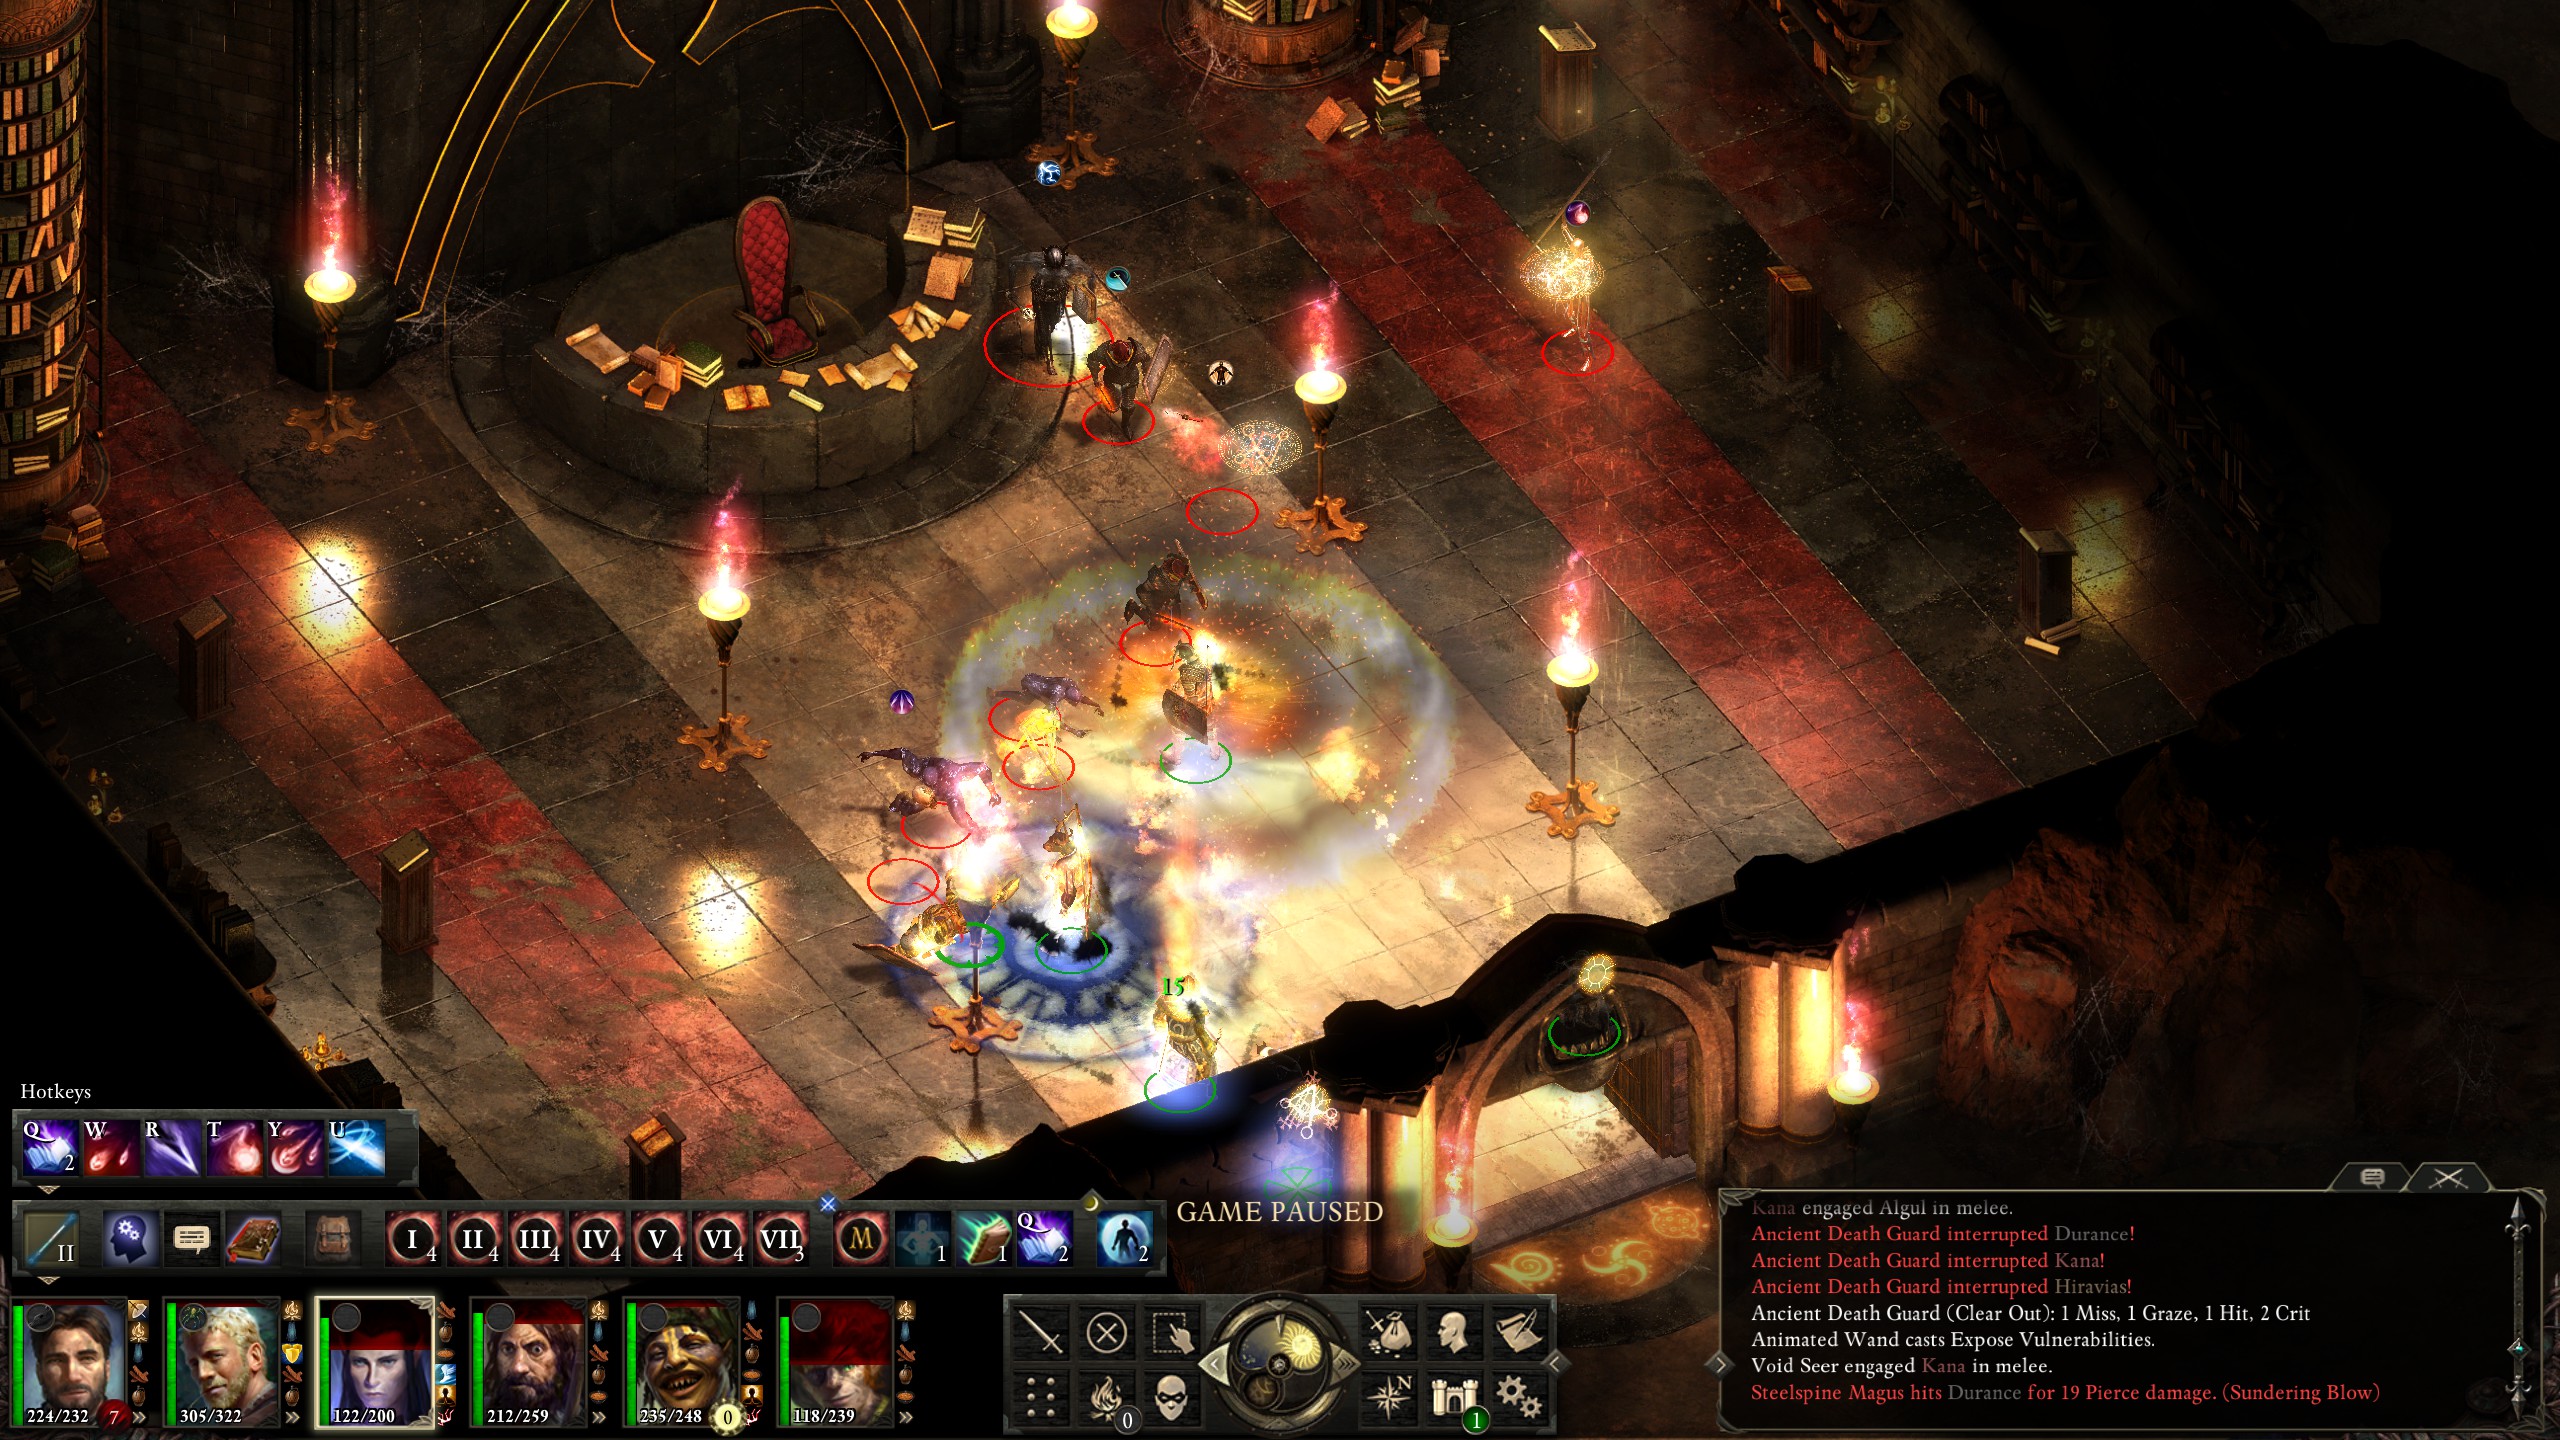
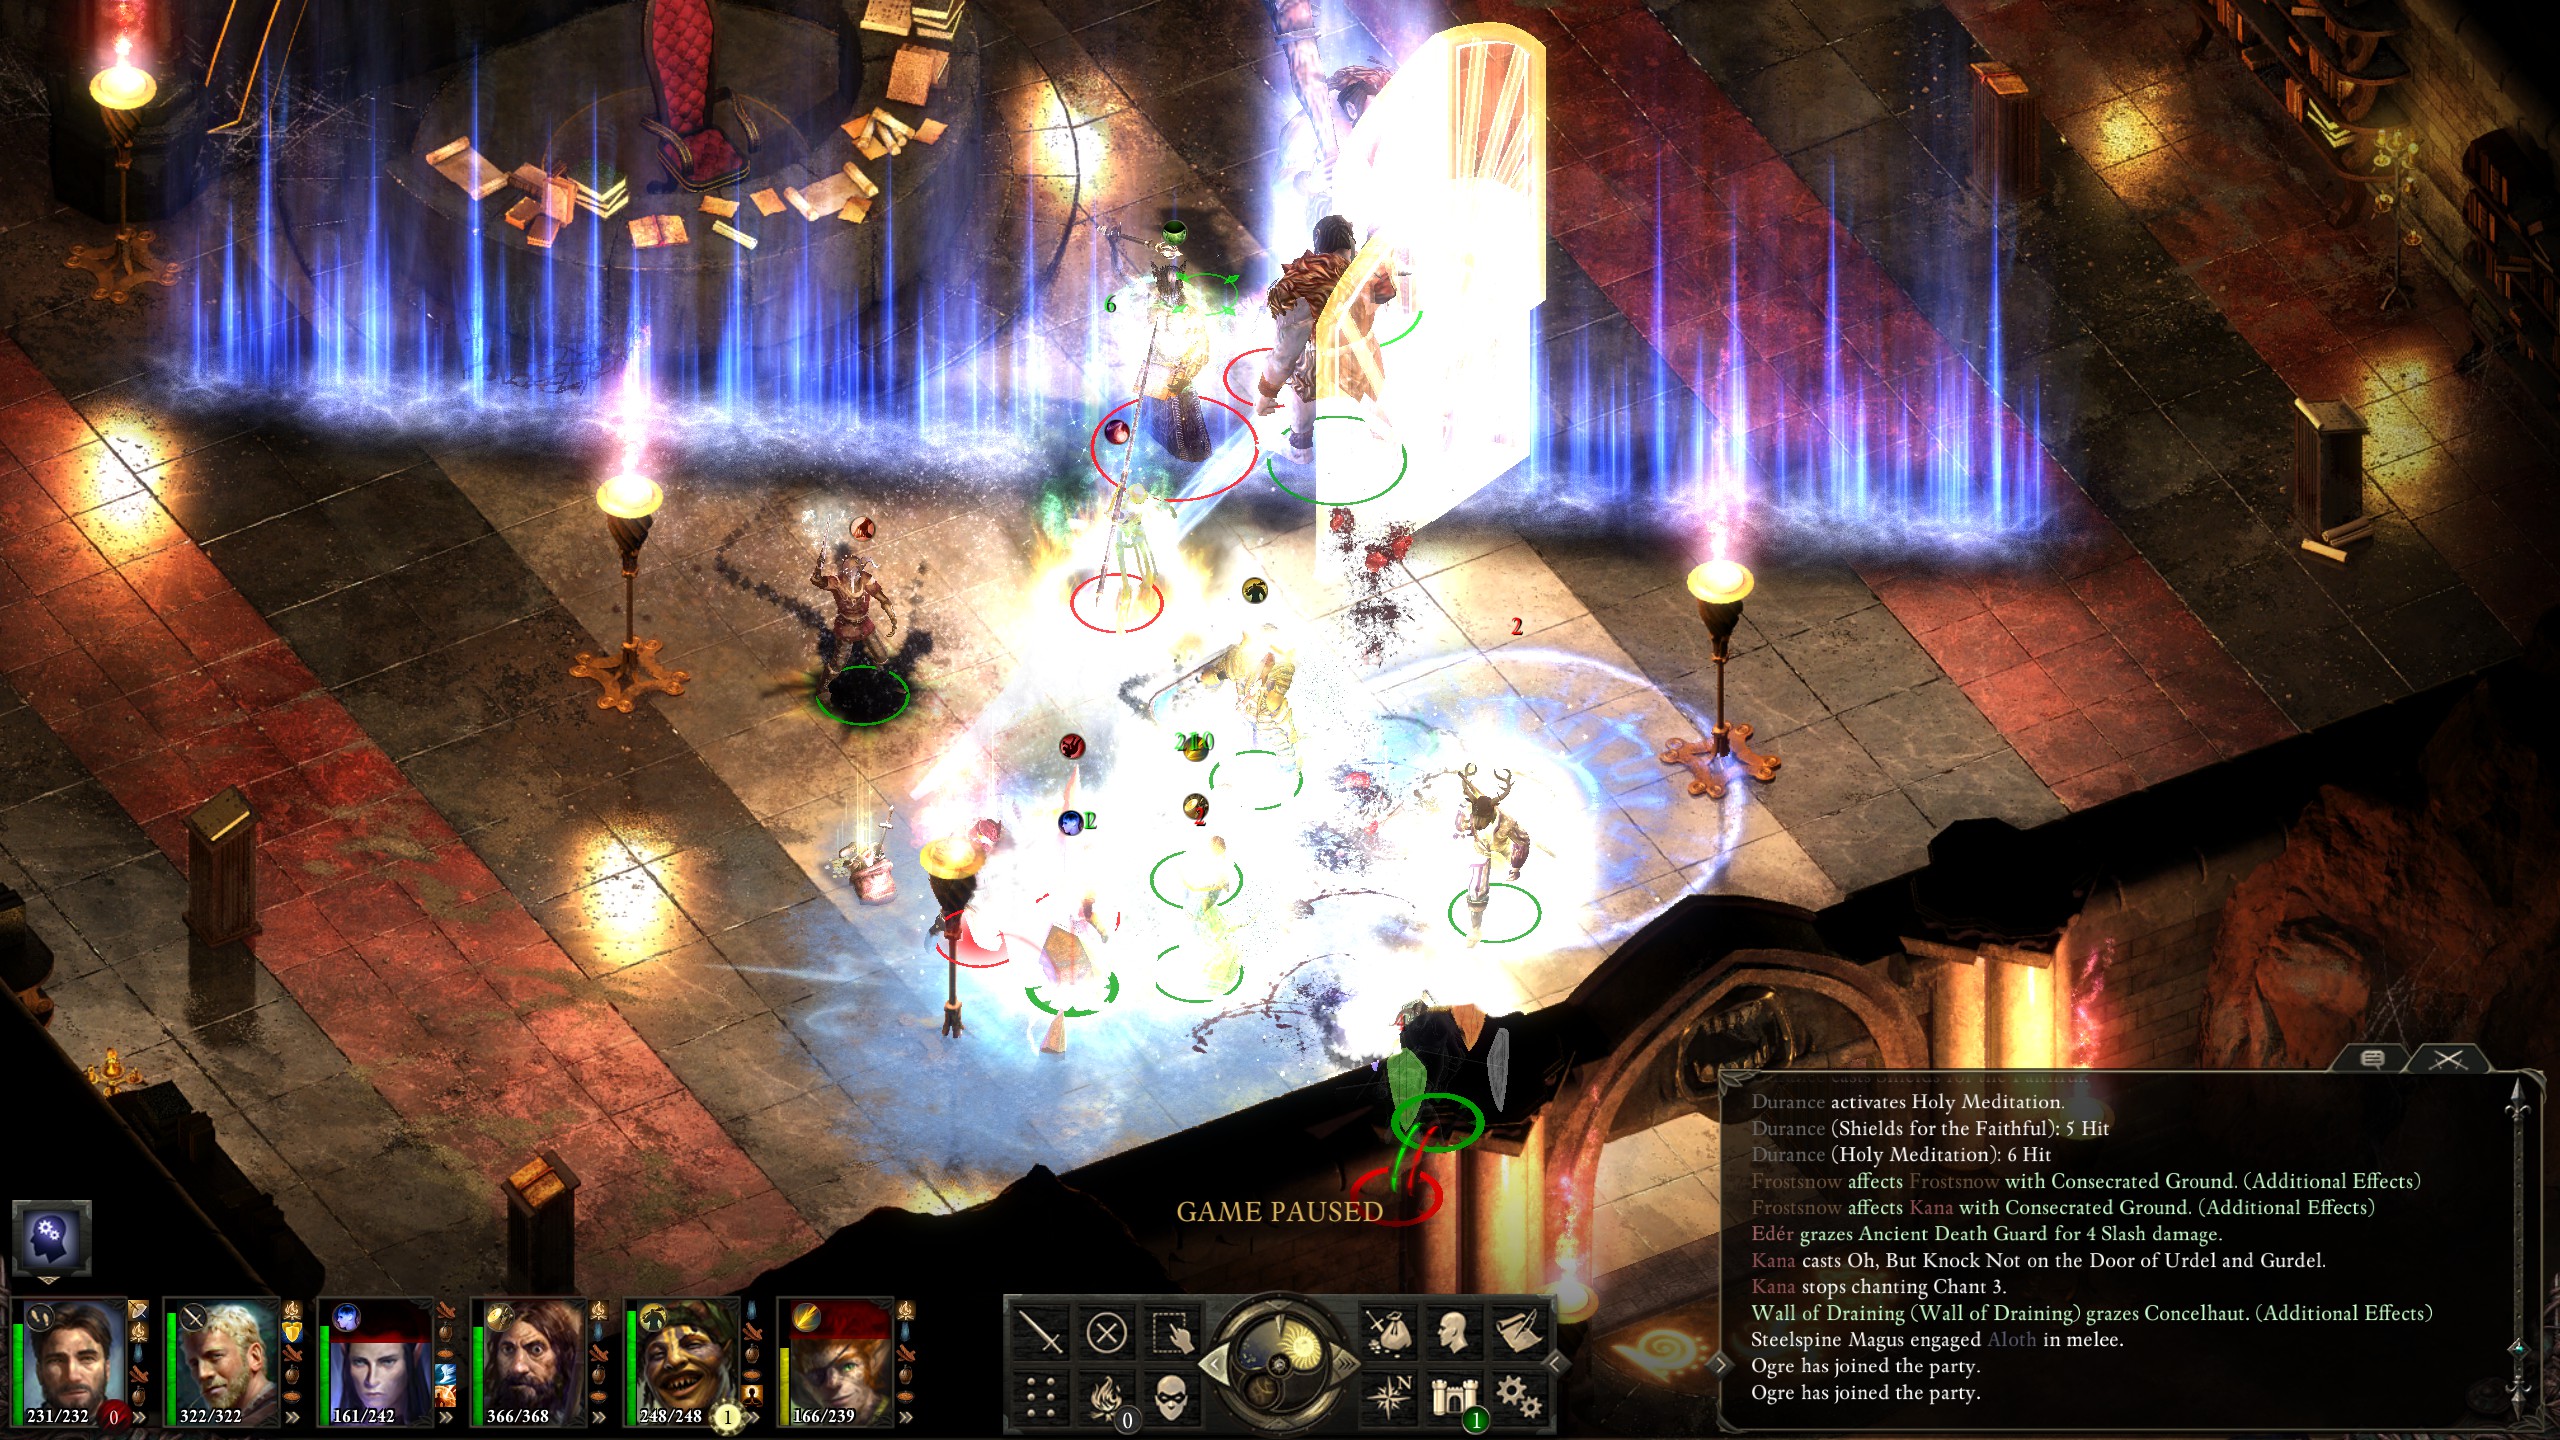
At this point I almost rage quit, but decided to stick it out. After a brief recovery period, I managed to get Hiravas up and have him cast "Relentless Storm", periodically disabling the adds. I then proceeded to chug potions and chain cast buffs on my party.
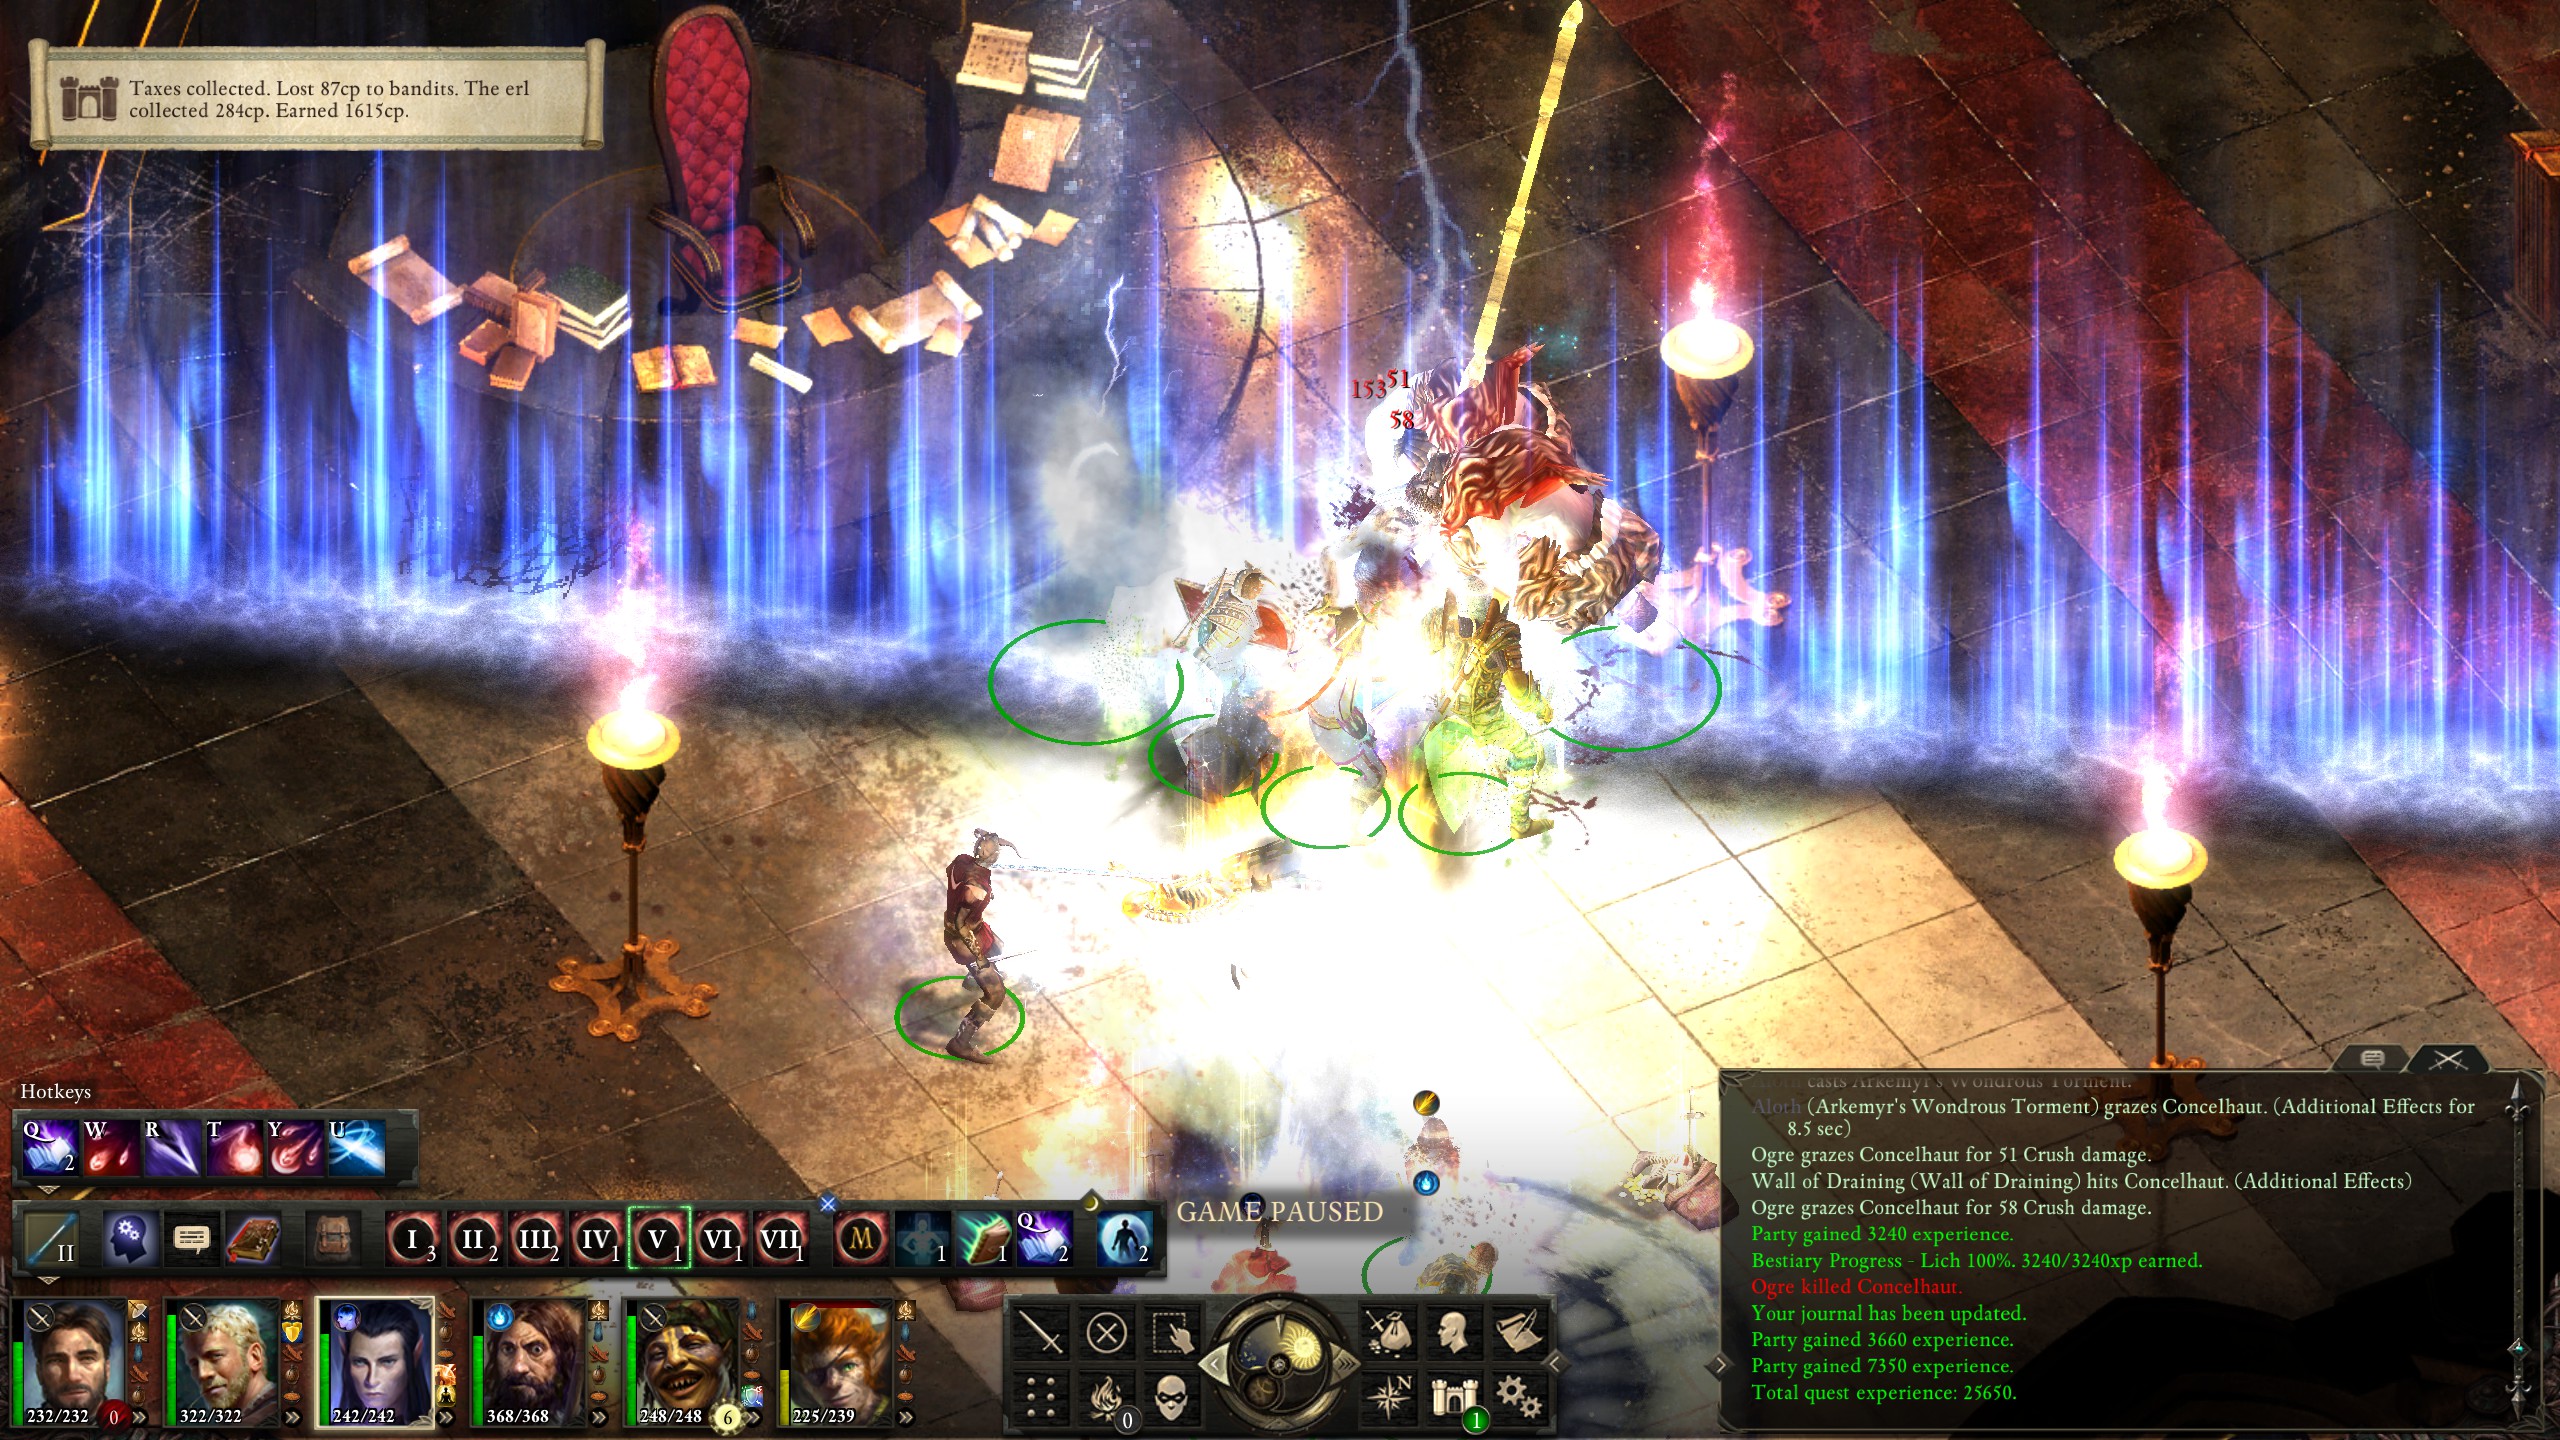
Once I'd gotten sufficiently buffed, I then started throwing debuffs on Concelhaut with Aloth, casting "Wall of Draining" on him in order to sap his powers while adding them to Aloth's, followed by "Arkemyr's Wondrous Torment" in order to weaken Concelhaut's spells and defenses.
After I'd cleared the adds furthest from the boss, I had Aloth cast "Gaze of the Adragan" on the boss and his remaining adds, scoring direct hits on all of them.
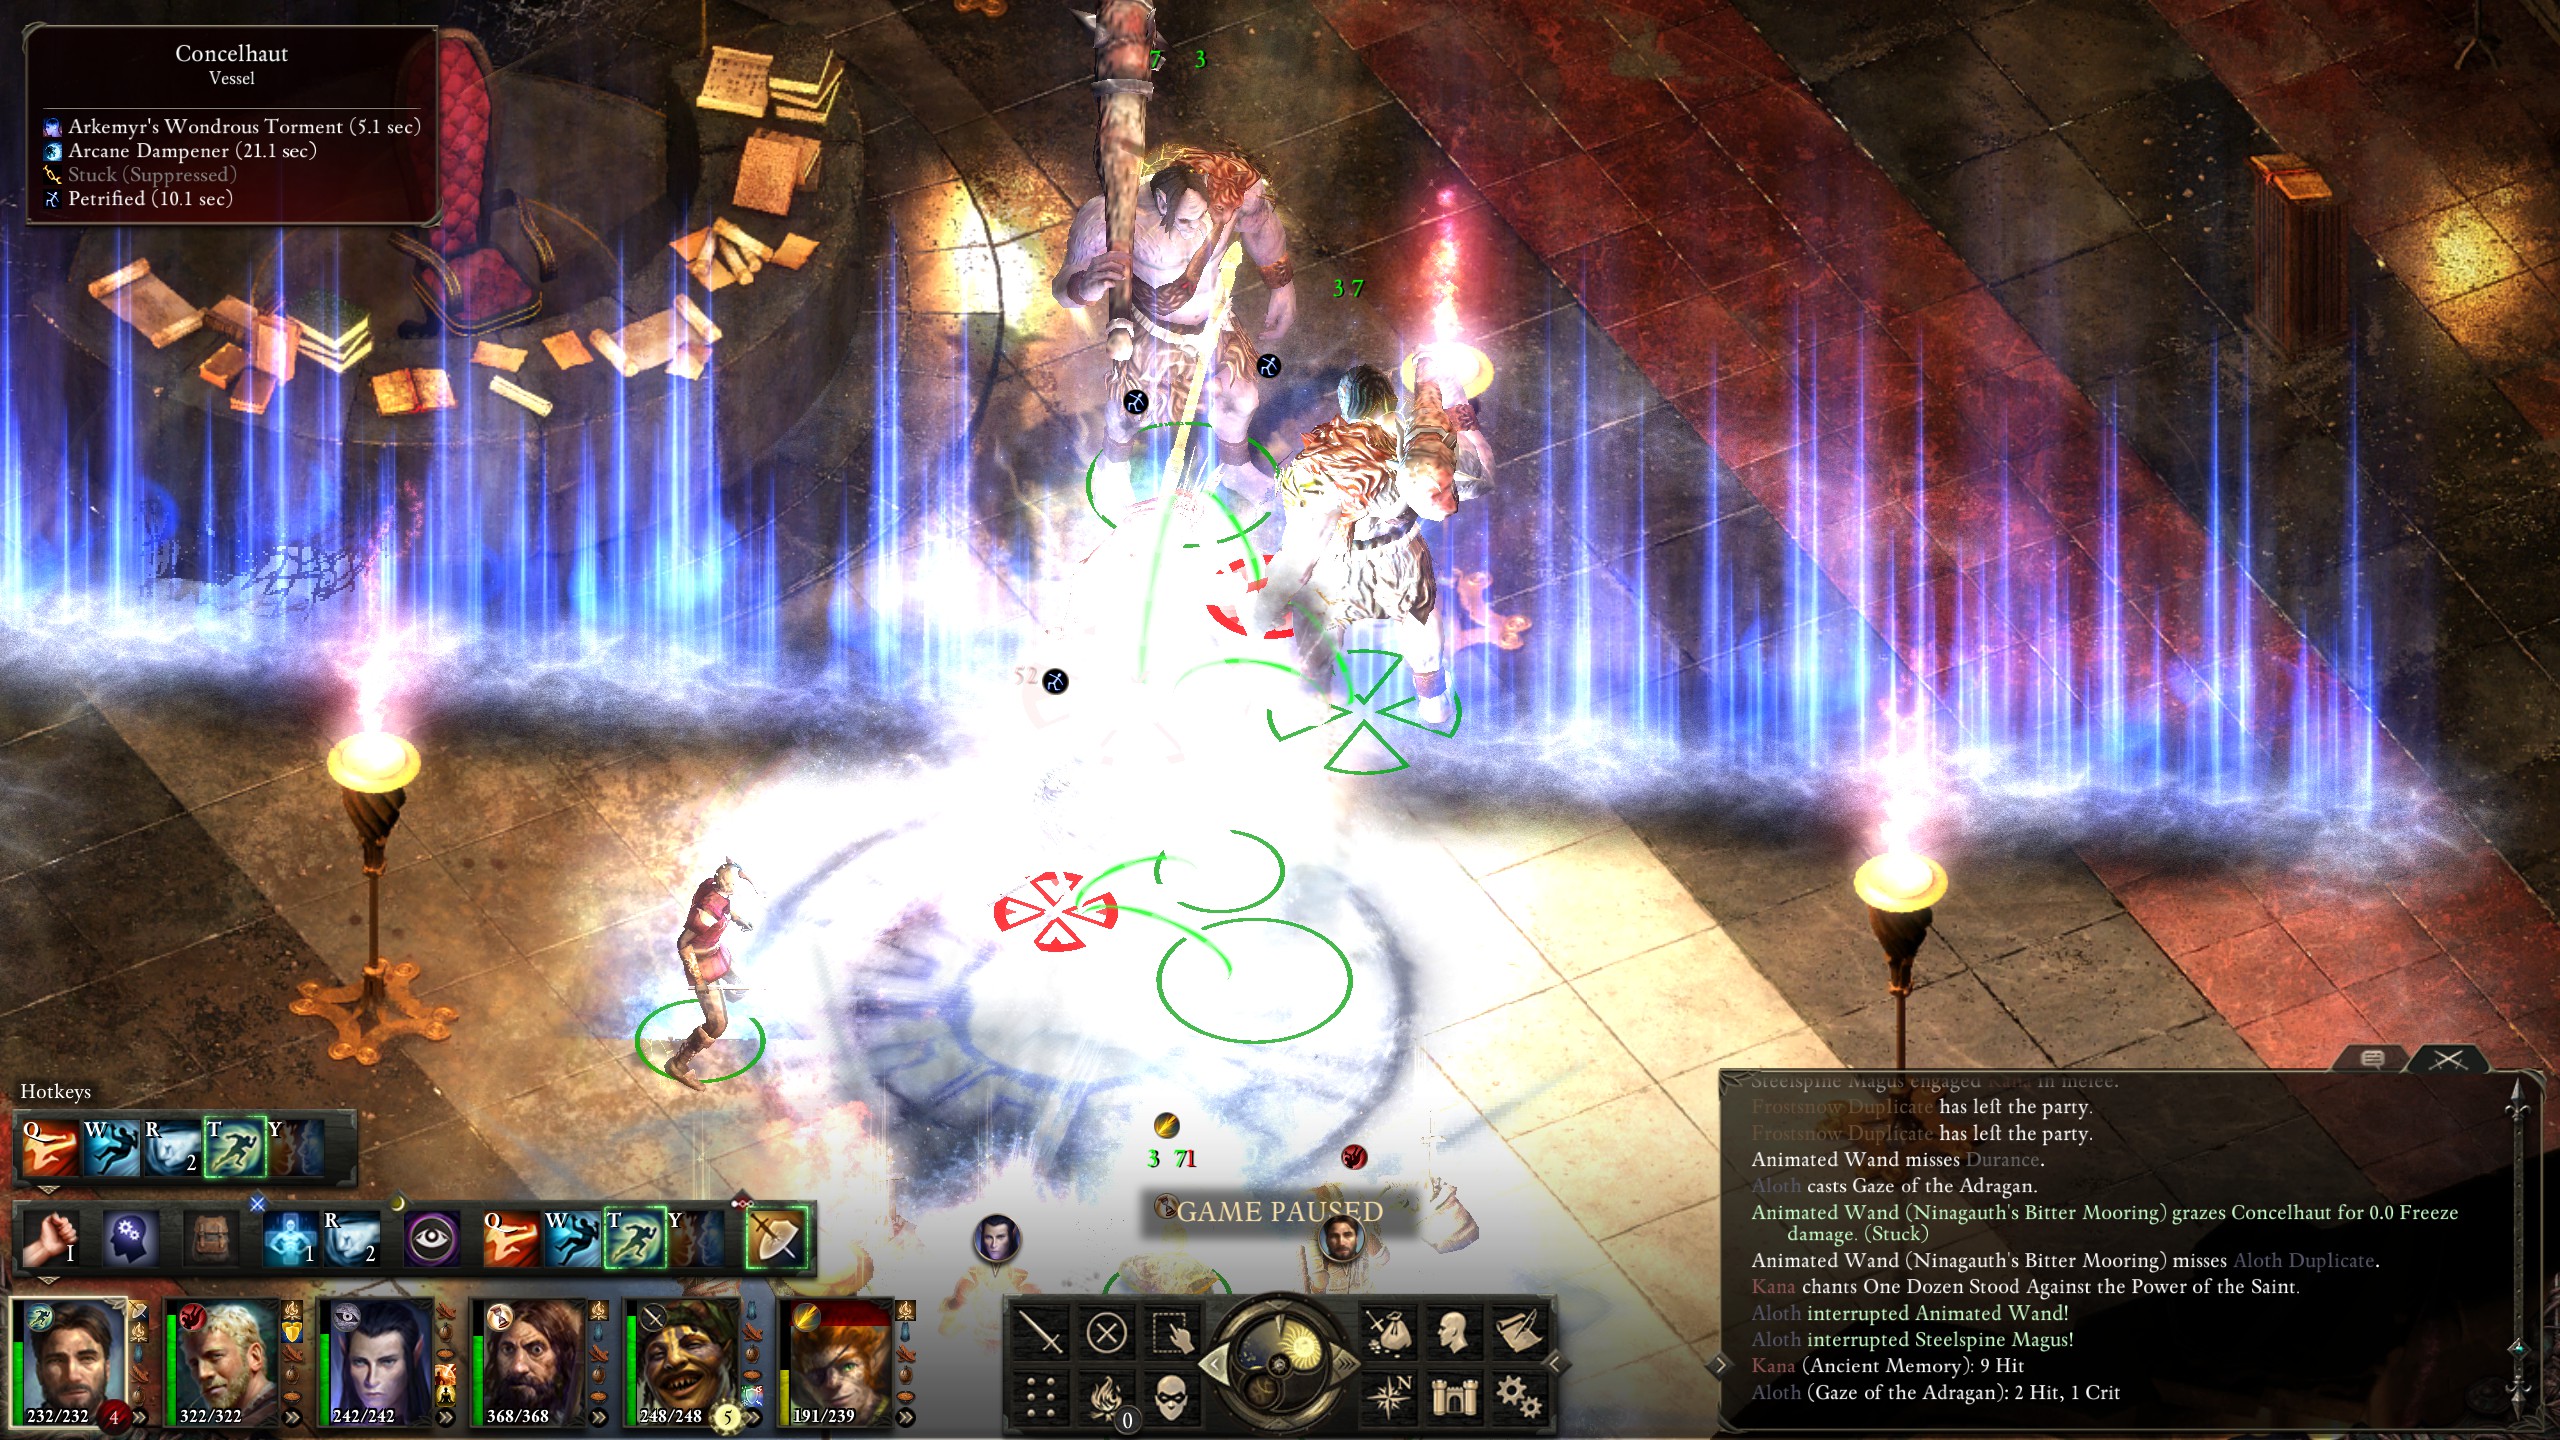
This, of course, meant that it was time to unleash every damaging spell possible on him.
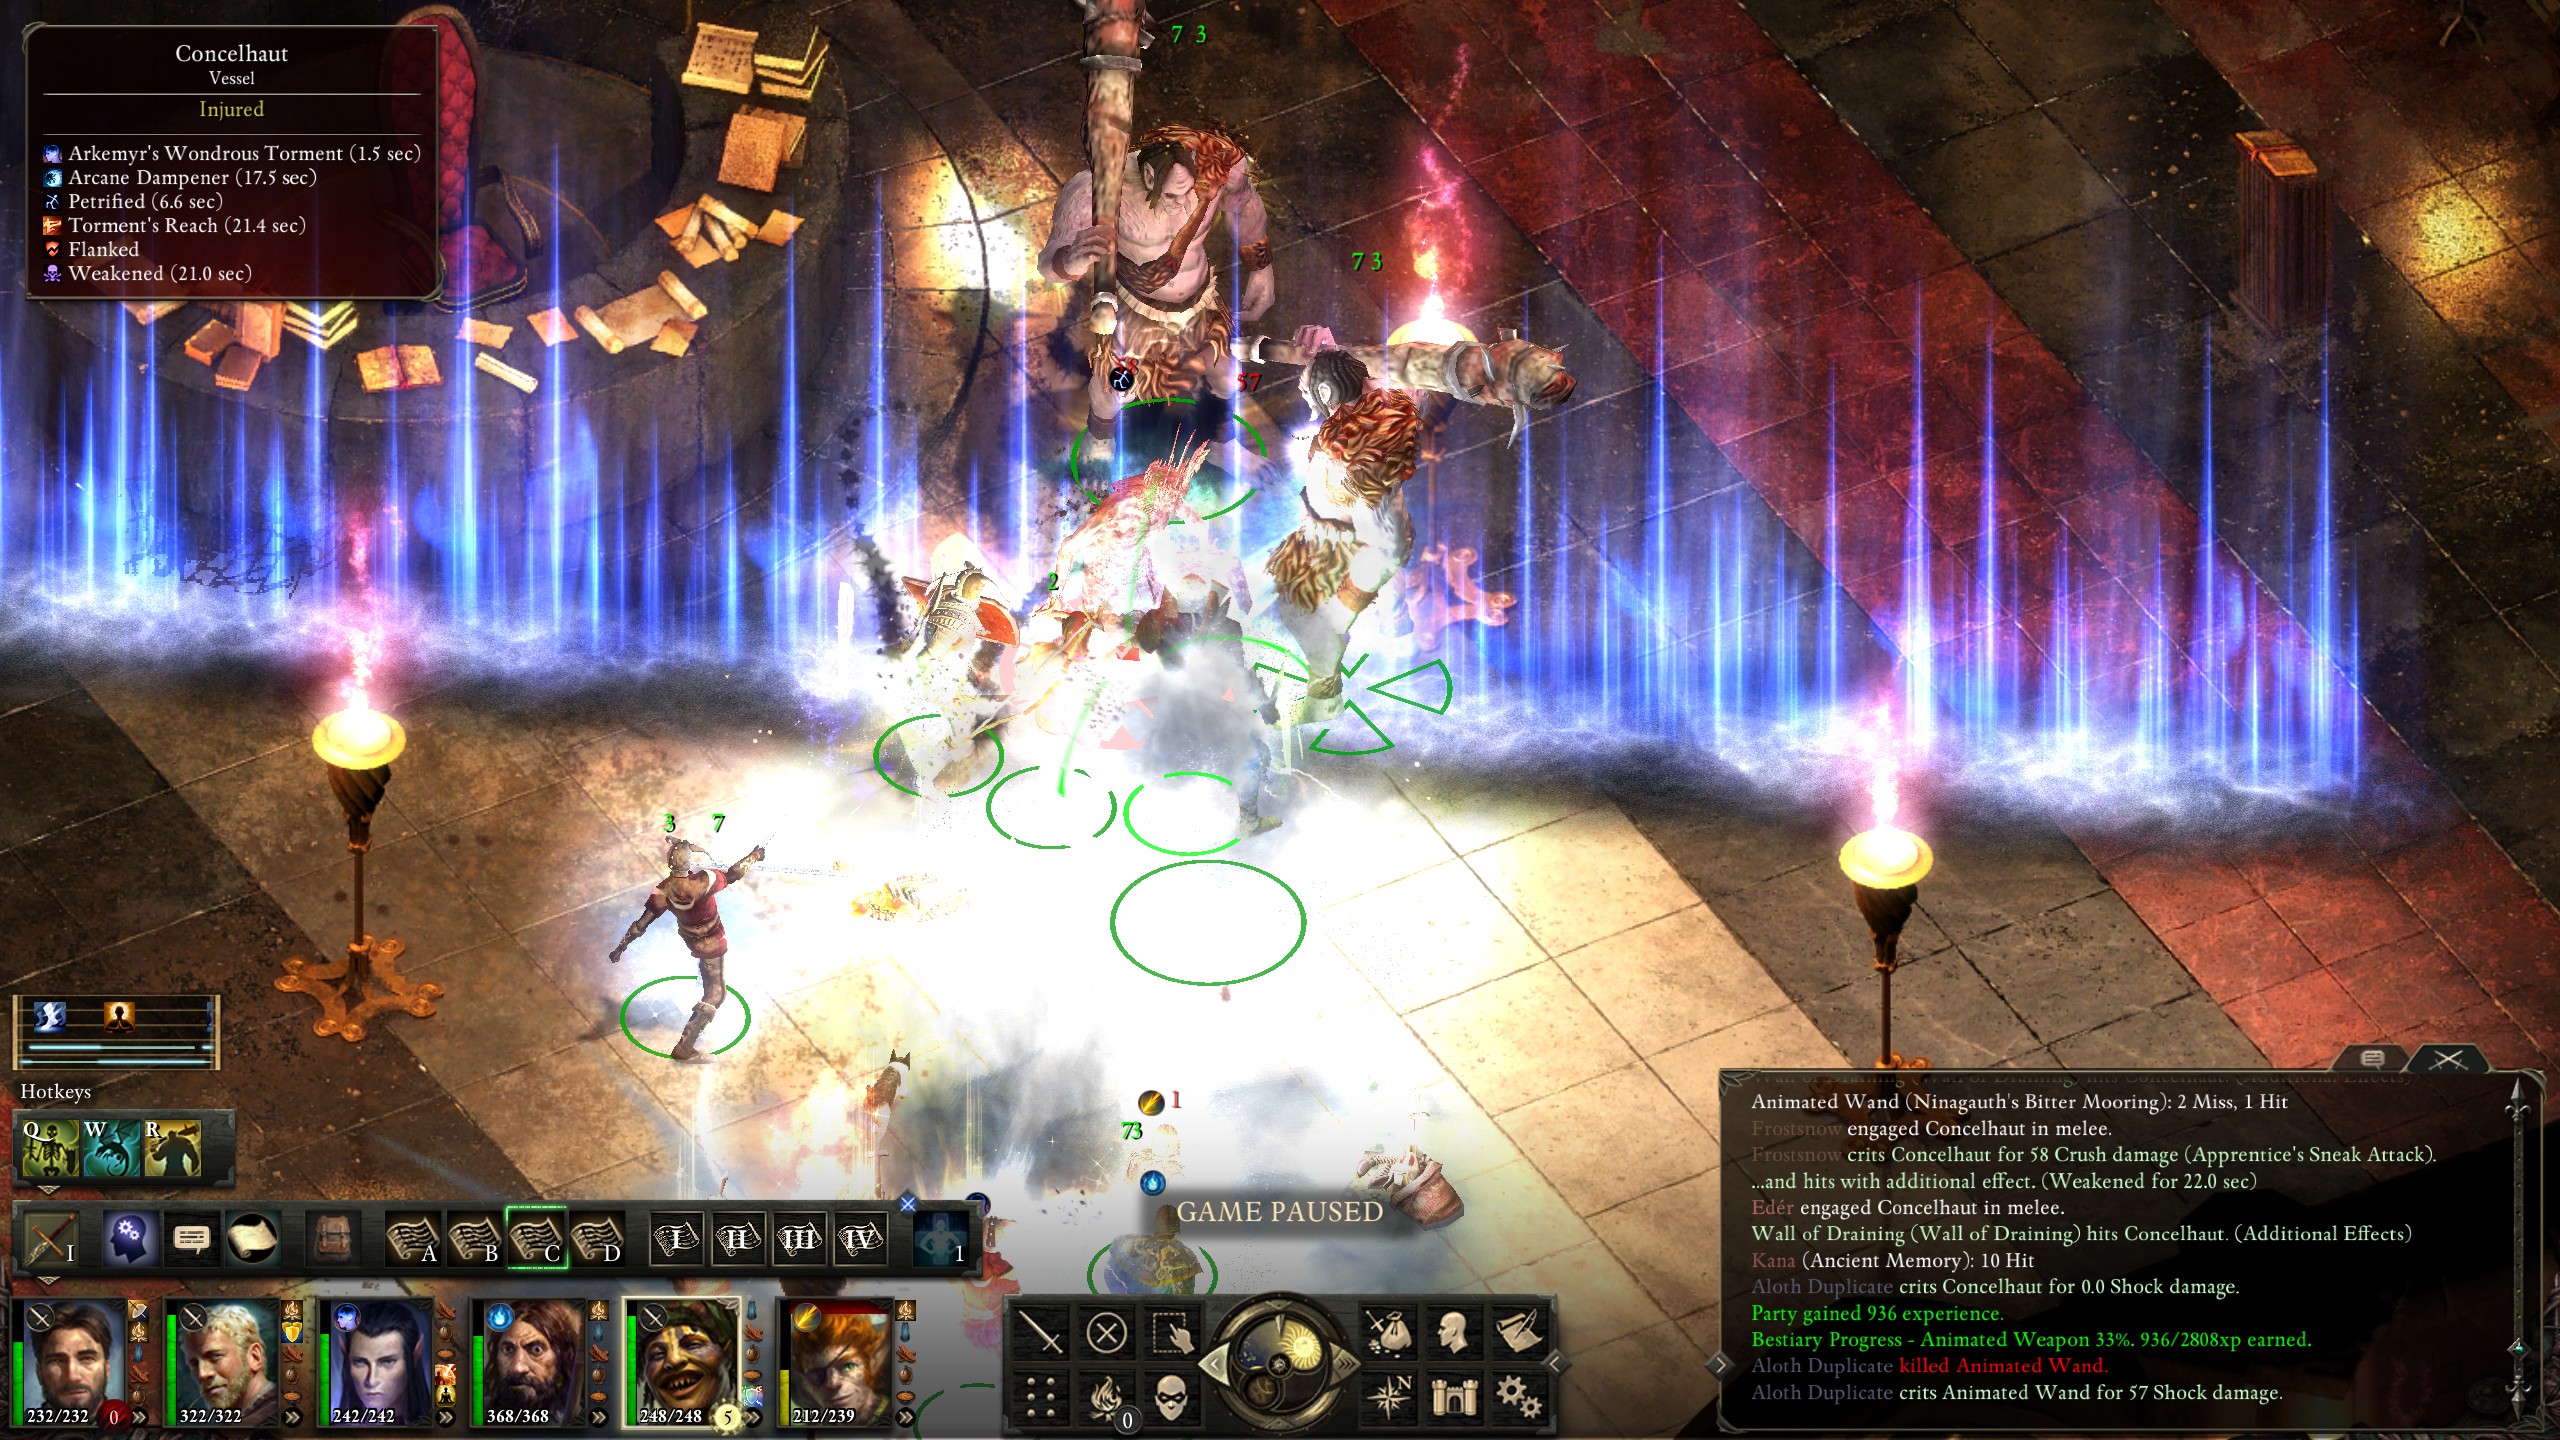
He then broke like the frail, mage skeleton that he was, though the glorious killing blow went to one of Kana's summoned ogres, arguably to the lich's great shame.
With that, I'd completely beaten The White March Part 1! I was actually rather surprised that I managed to beat even the extra bosses without a wipe, though I'd also spent ridiculous amounts of time playing this game by then.
Now, there is just one more expansion left and I will at last be ready for the new game! Perhaps it will be like a Christmas present... or New Year's present... or maybe even Valentine's Day. Hopefully before then.